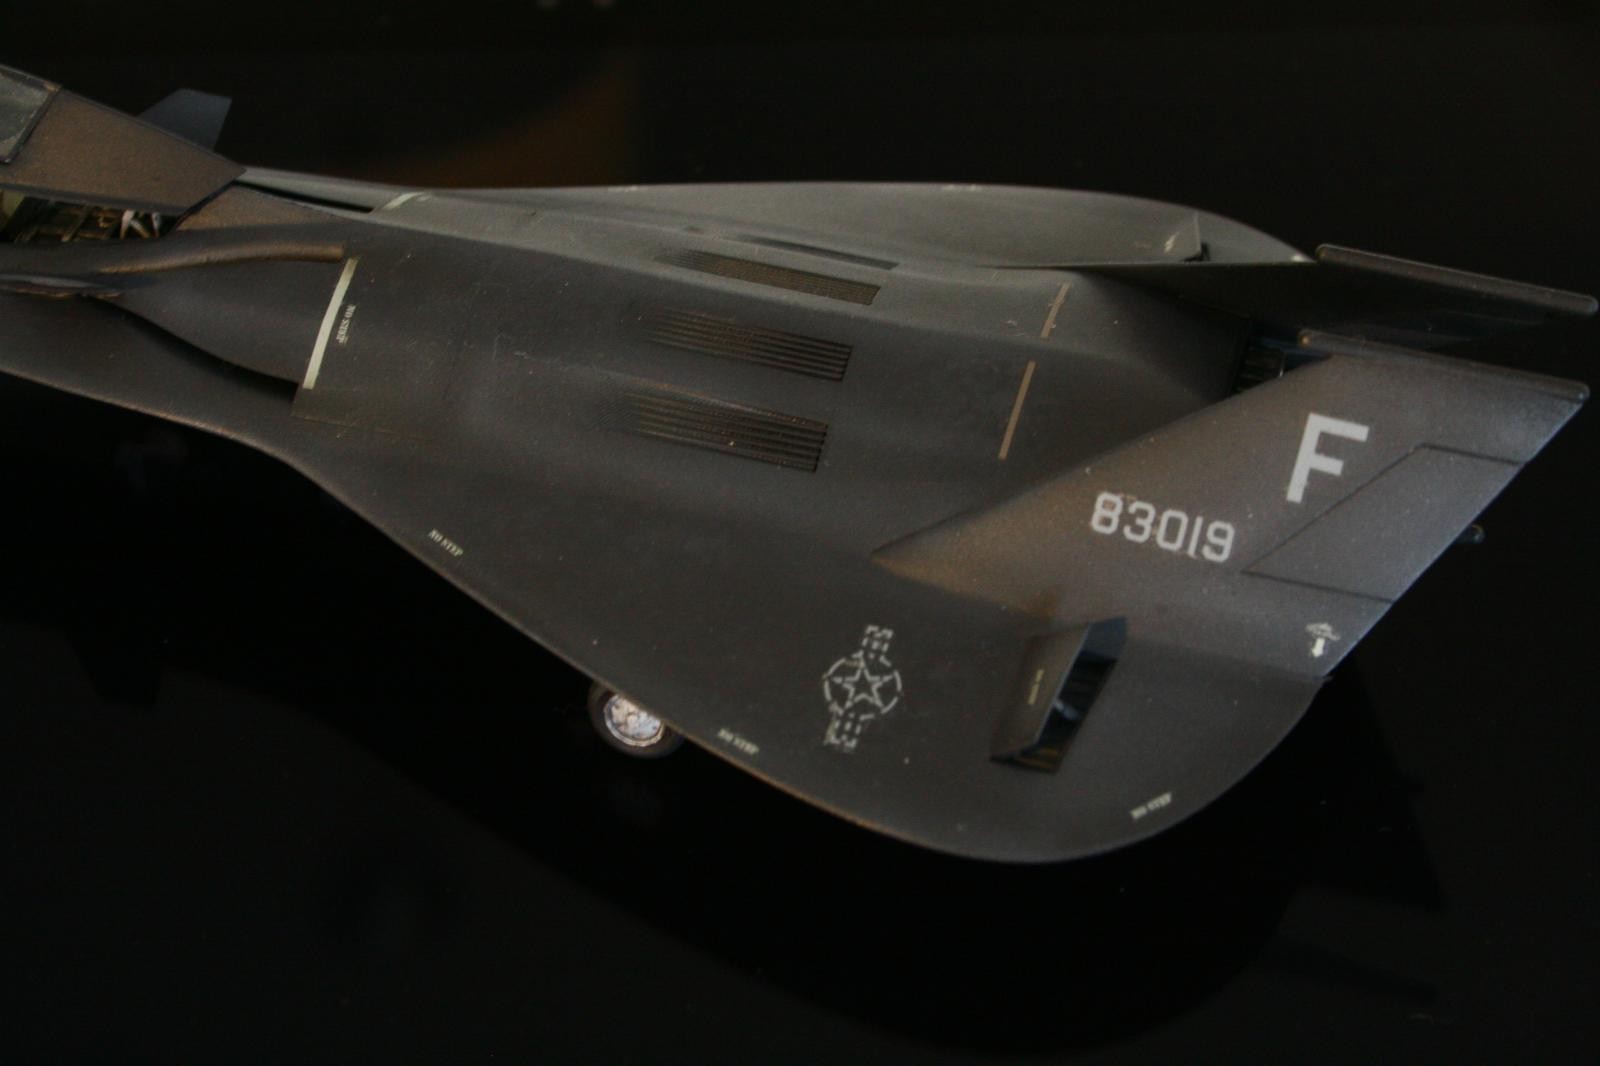
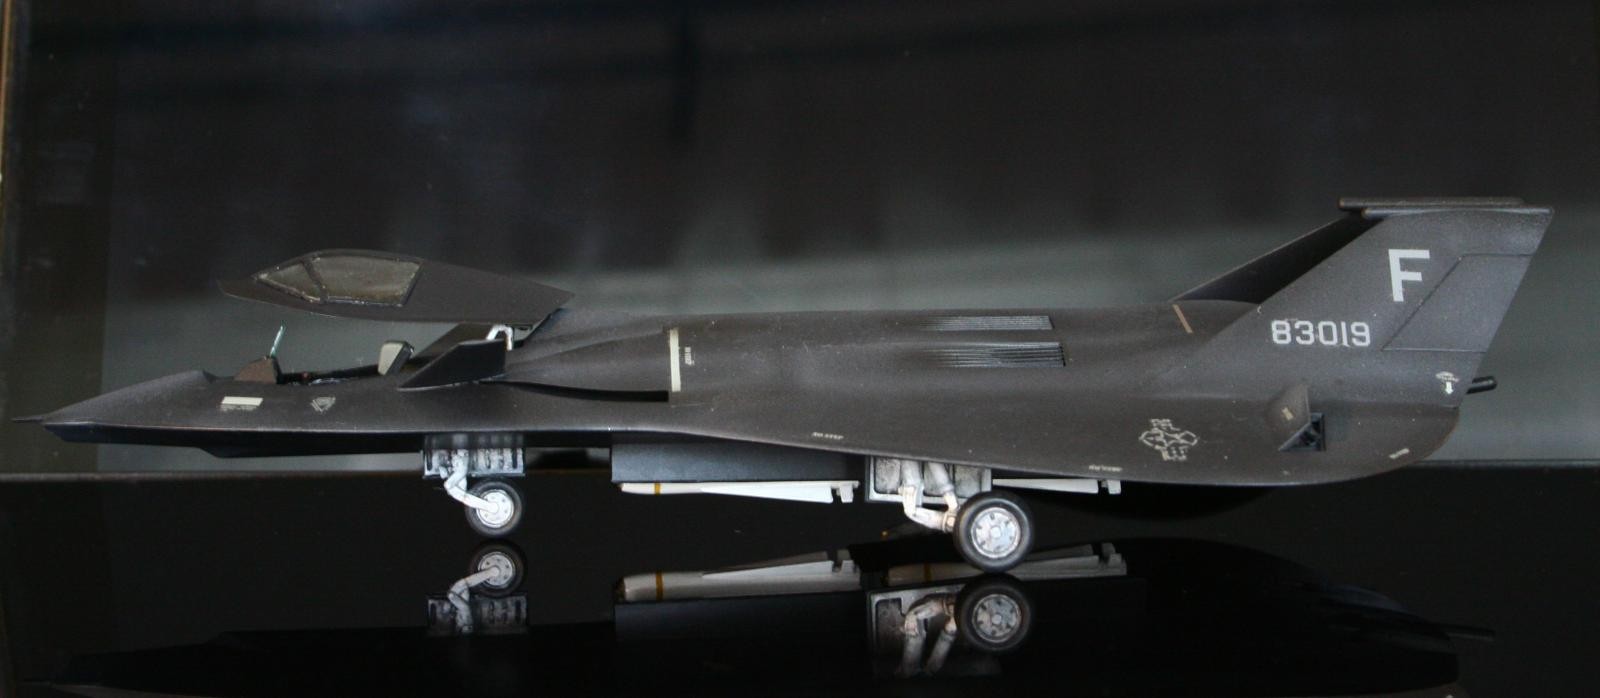
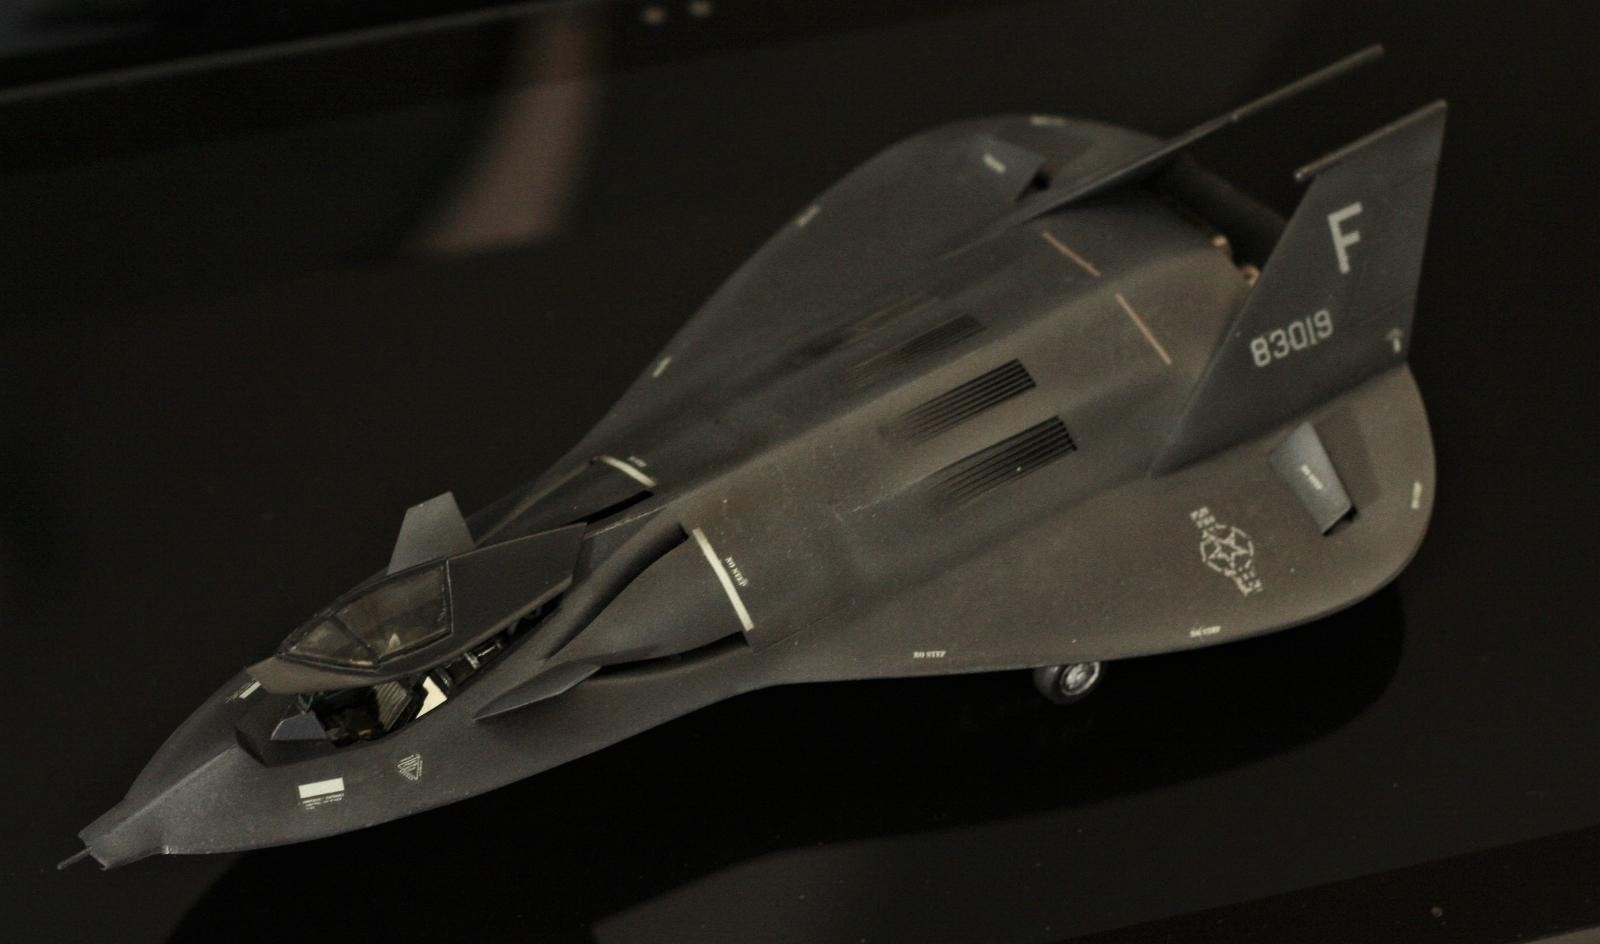
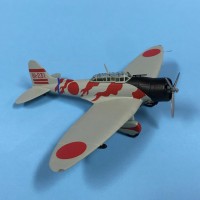
30+ year old kit restoration (F-19; 1:72)

One of these days, when storing kits built as a teenager, I found an old Italeri F-19, built more than 30 years ago.
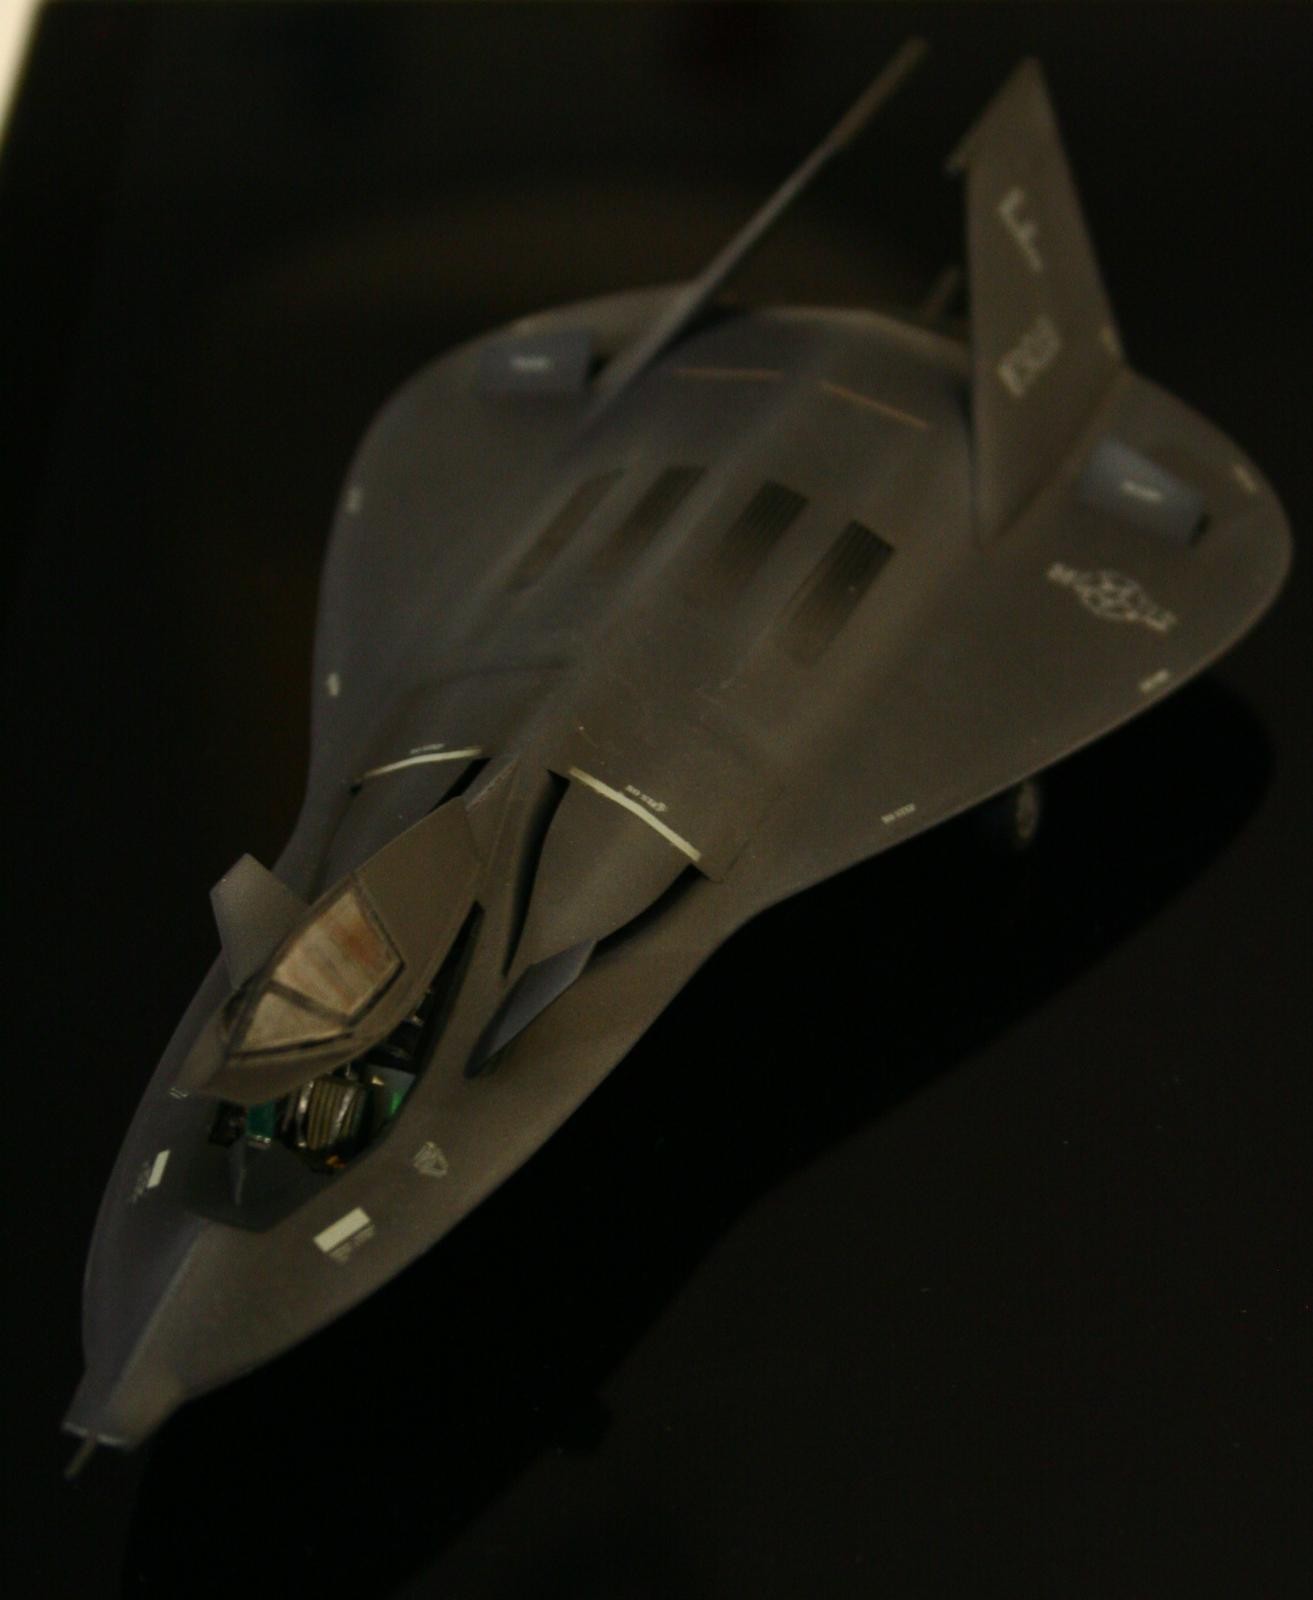
Although I don't like what-ifs and the like, this kit was important in my youth for the years spent playing the simulator of this hypothetical plane.
The kit was not badly built and painted, so I decided to do a quick restoration and include it on the display with the rest of the collection, as a memory of my youth.
So, I started with what was in the worst condition: the decals were peeling, not least because in the 1980s, varnish was not used. With some MicroSet and patience, they left easily. This was followed by a light sanding to create the perfect base for a touch-up painting.
I started with pre-shading and motling, followed by a very diluted layer (about 80%) of black and dark blue in order not to miss the highlights and effects of pre-shading.

When satisfied with the result, I applied a layer of Alclad gloss varnish. As this varnish is somewhat thick, and before applying the decals, I applied a light polishing with fine sand.
Interestingly, I still had original decals from this kit for the "second version", so I decided to give it a try. the decals were more than 30 years old, so the glue was no more than a thick yellowish paste. I chose to wash them carefully after being separated from the paper and apply them to the kit using MicroSol.
It was a time-consuming job but it was worth it.

At the end I applied a new layer of gloss varnish, this time a very diluted Hataka lacquer. Finally, new polishing with 5000 sandpaper to obtain a smooth surface and then two very diluted layers of Hataka matt lacquer varnish. I must say that I really liked these varnishes.
The set would not be complete without some exhaust work, with burnt metal, smoke and jet exhaust paint and tones, as well as some weathering on the wheels and gun bays, as well as the re-painting of the Mavericks.
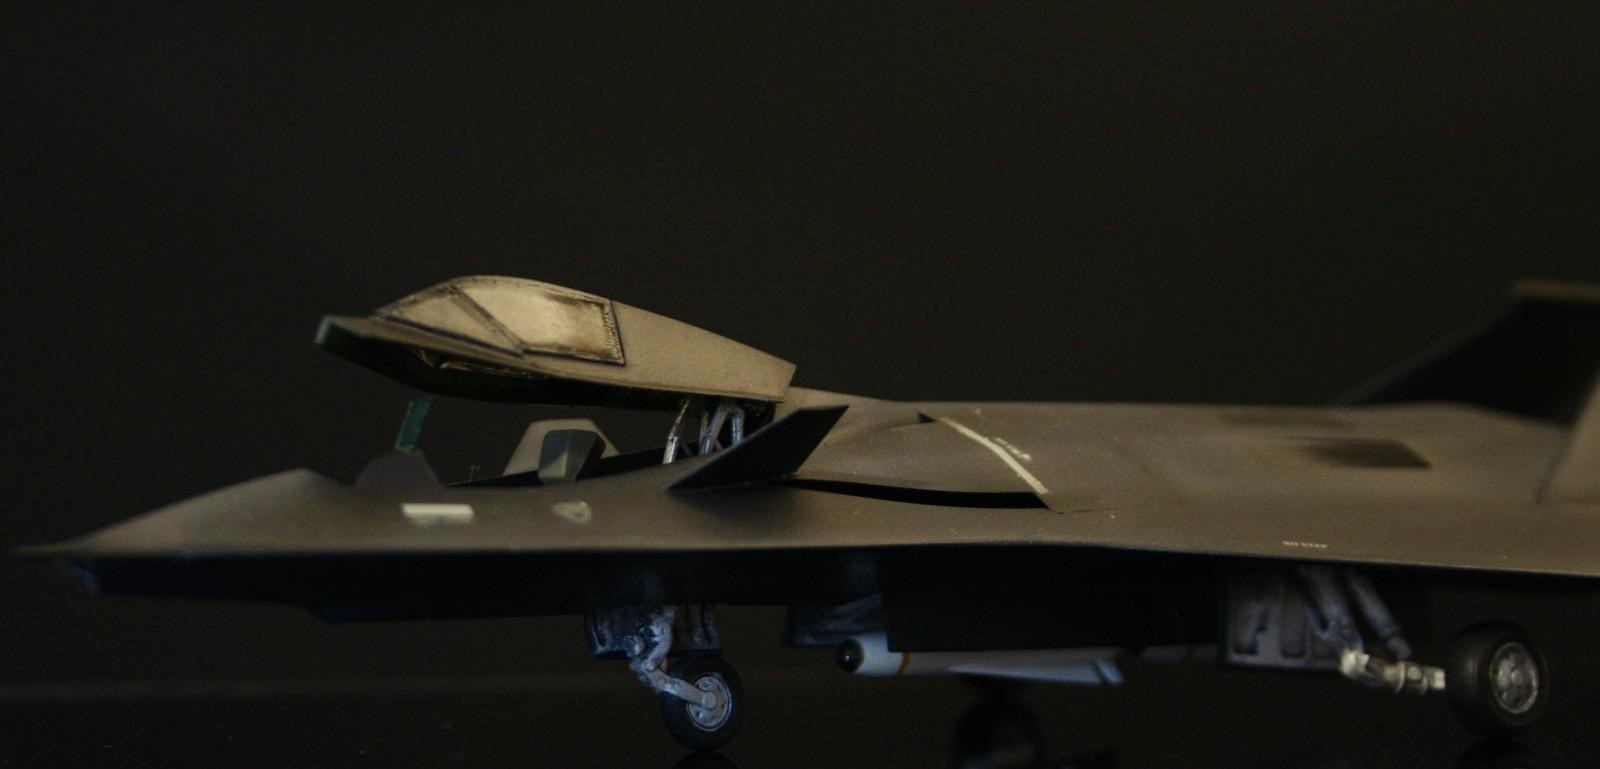
The last task was to confirm that the cockpit would be as built 30+ years ago and to apply a Tamiya Smoke XF-19 inside the canopy in order to create a dark glass. AK Gauzy Glass Coat was applied to the exterior of the canopy.
In the end I was happy with the result and the recovery of this very unusual item for my collection. A good way to spend these days of 'confinement'.
Hope you like it 🙂
Cheers,
Manuel


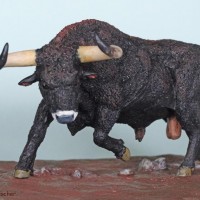

Perfect restoration job, Manuel! Very much liked! I also have in my thoughts to refurbish some models I did when I was very very young, that have somehow survived to this day, their condition being from good to less than mediocre (just take a look at my pic below...). They carry all these memories, just cannot toss them. For sure I will give them a try somedays...
All the best, my friend!
1 attached image. Click to enlarge.
Thks Spiros! Yes, some builds are full of memories, they can't be tossed away. Do it, have fun.
All the best and stay safe
A great restoration! I remember this kit, there was a also a 'B-2' kit that wasn't the actual aircraft. I've held on to a few old timers myself.
Thank you Robert!
Yes, I think we all have some old timers, beaten up but loved kits in our heart that we just simply can't let go.
All the best and stay safe my friend
M
Nice restoration Manuel, she looks good.
Thks Tom!
I had this kit in my stash when I was much younger Manuel, but I never built it. It is fun to look back at the "stealth" speculations and compare them to the actual thing. I really like your restoration.
Sincerely,
Scott
Hi Scott!
Thks for your kind words. If you still have it, consider give it a try! as I remember, its a quick and fun build. But beware of the decals, as I wrote above you may have some trouble.
Stay safe!
M
nicely done!
Thks Greg!