MagneStand
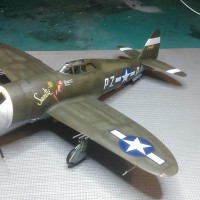
So to take up from where I left off in my previous article...( https://imodeler.com/2020/04/spitfire-hf-vii-by-italeri-in-1-72/ )
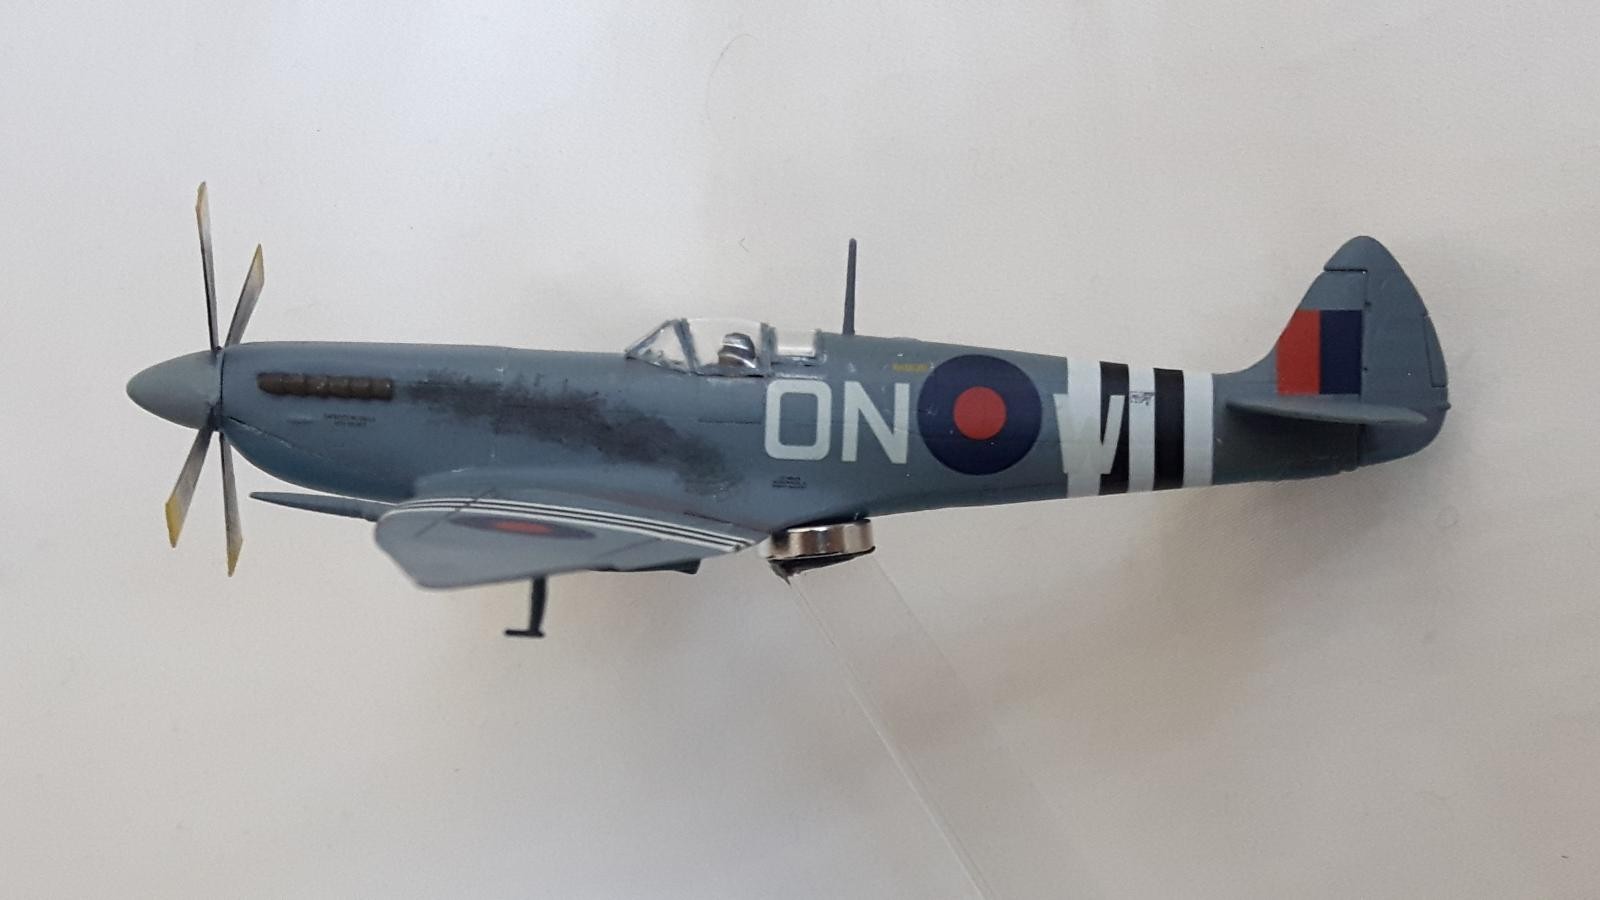
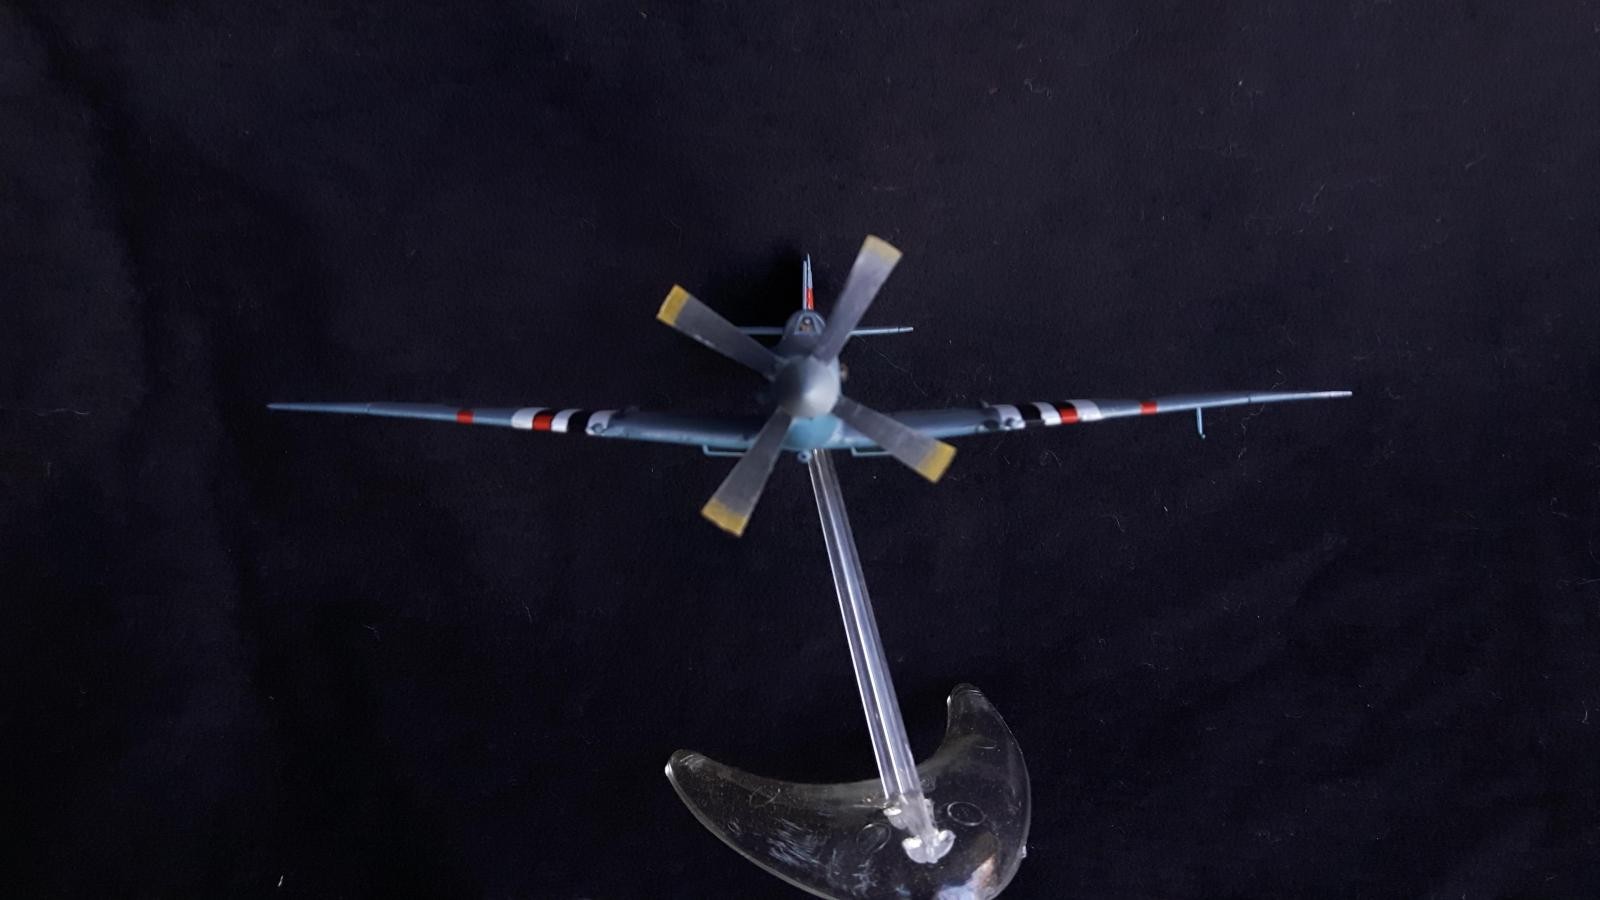
Now having a lovely flying aircraft, I needed a stand, but I couldn't bring myself to drill holes in the lovely underside detail to accommodate the tab of the stand arm, or (shudder) glue it permanently on.
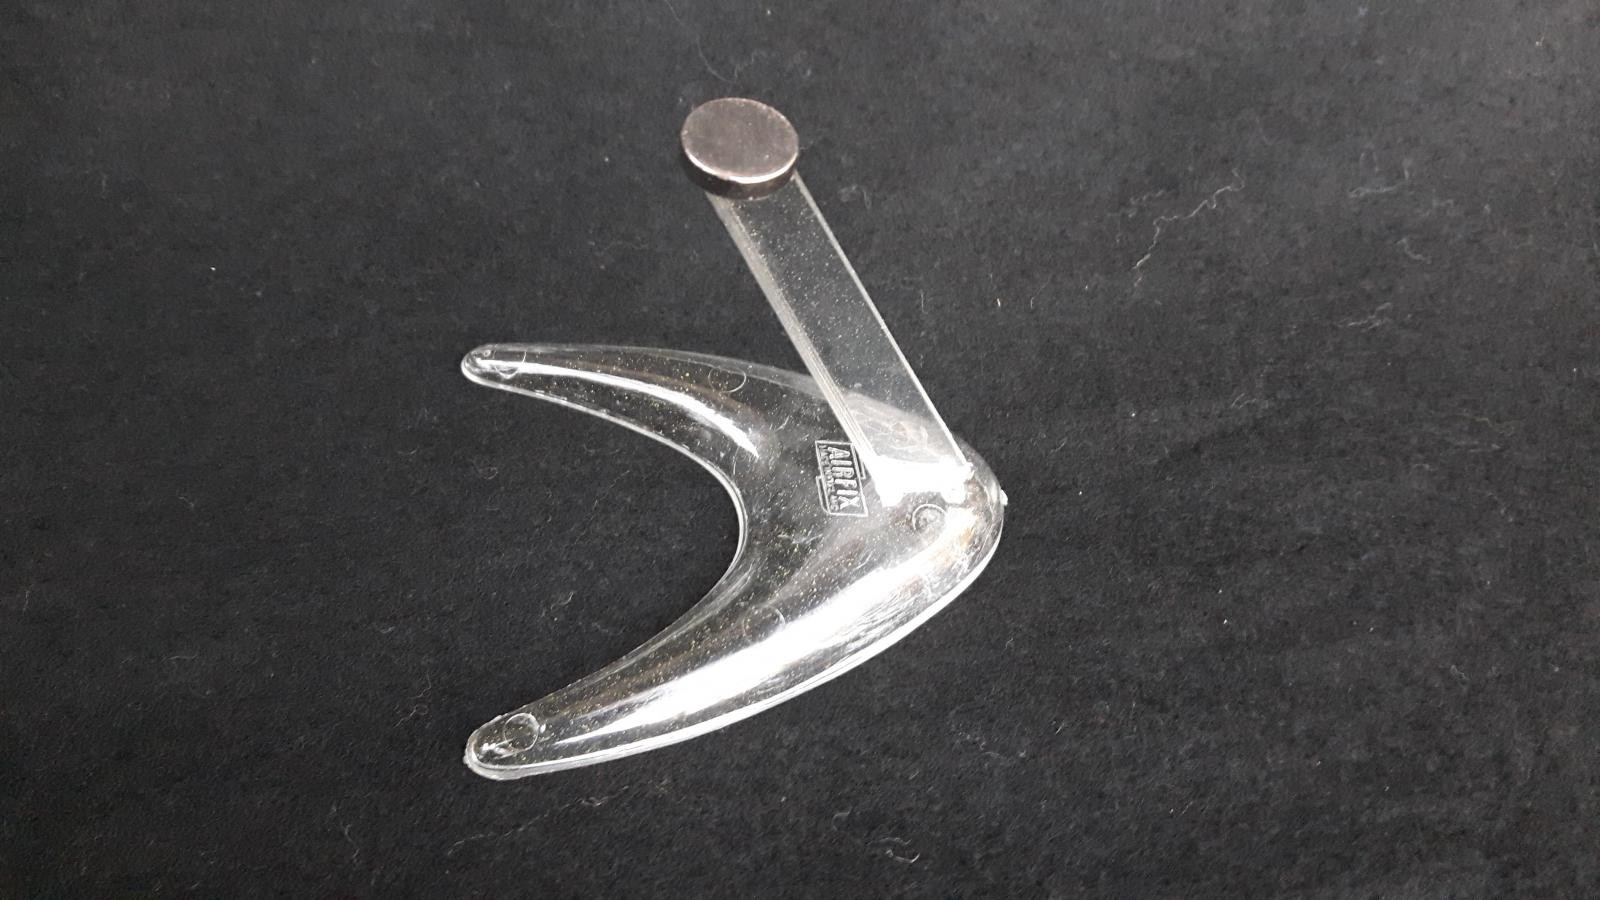
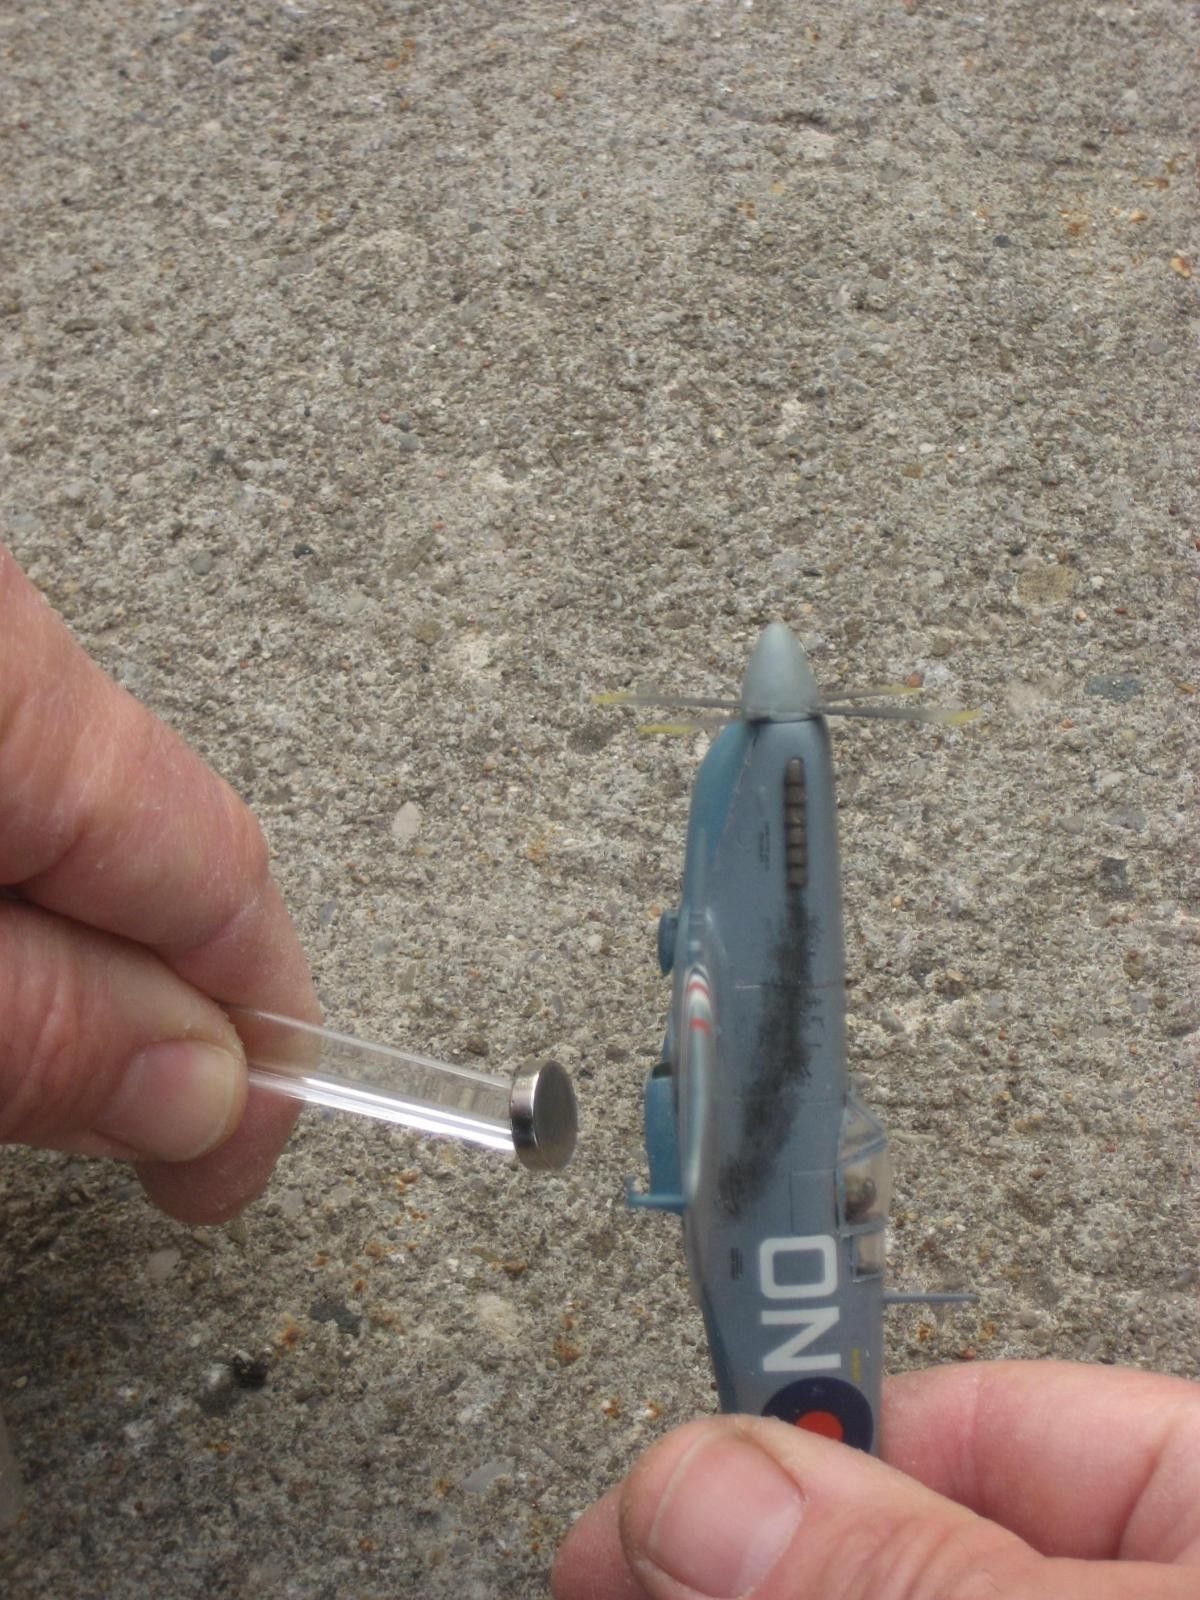
So I'm not sure where the idea came from, but I had an old classic Airfix “U” stand, and realized I could cut the tab off, glue on a magnet, drop some metal in the model and “voila” (as we Canucks say in our other official language).
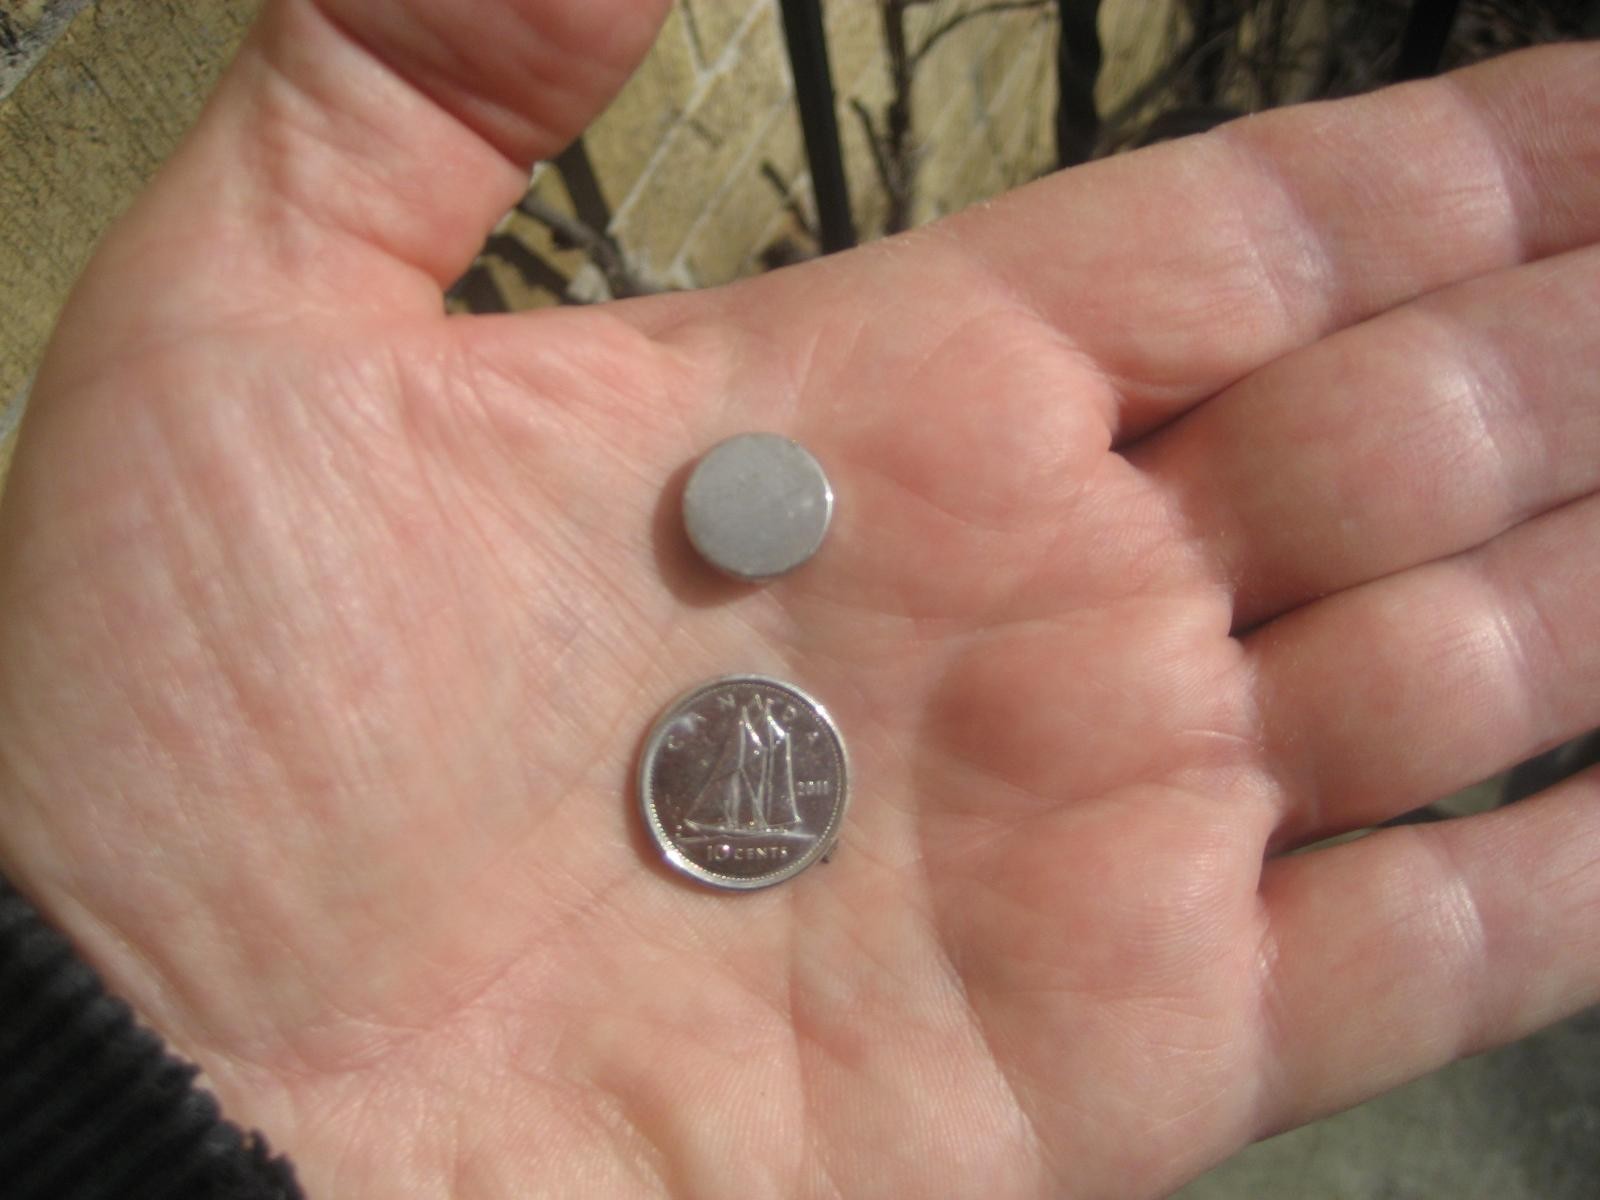
The magnet in the palm of the hand is a small but mighty ceramic magnet, smaller than a dime. This size works fine for a 1/72nd single engine plane, you could size up for bigger models.
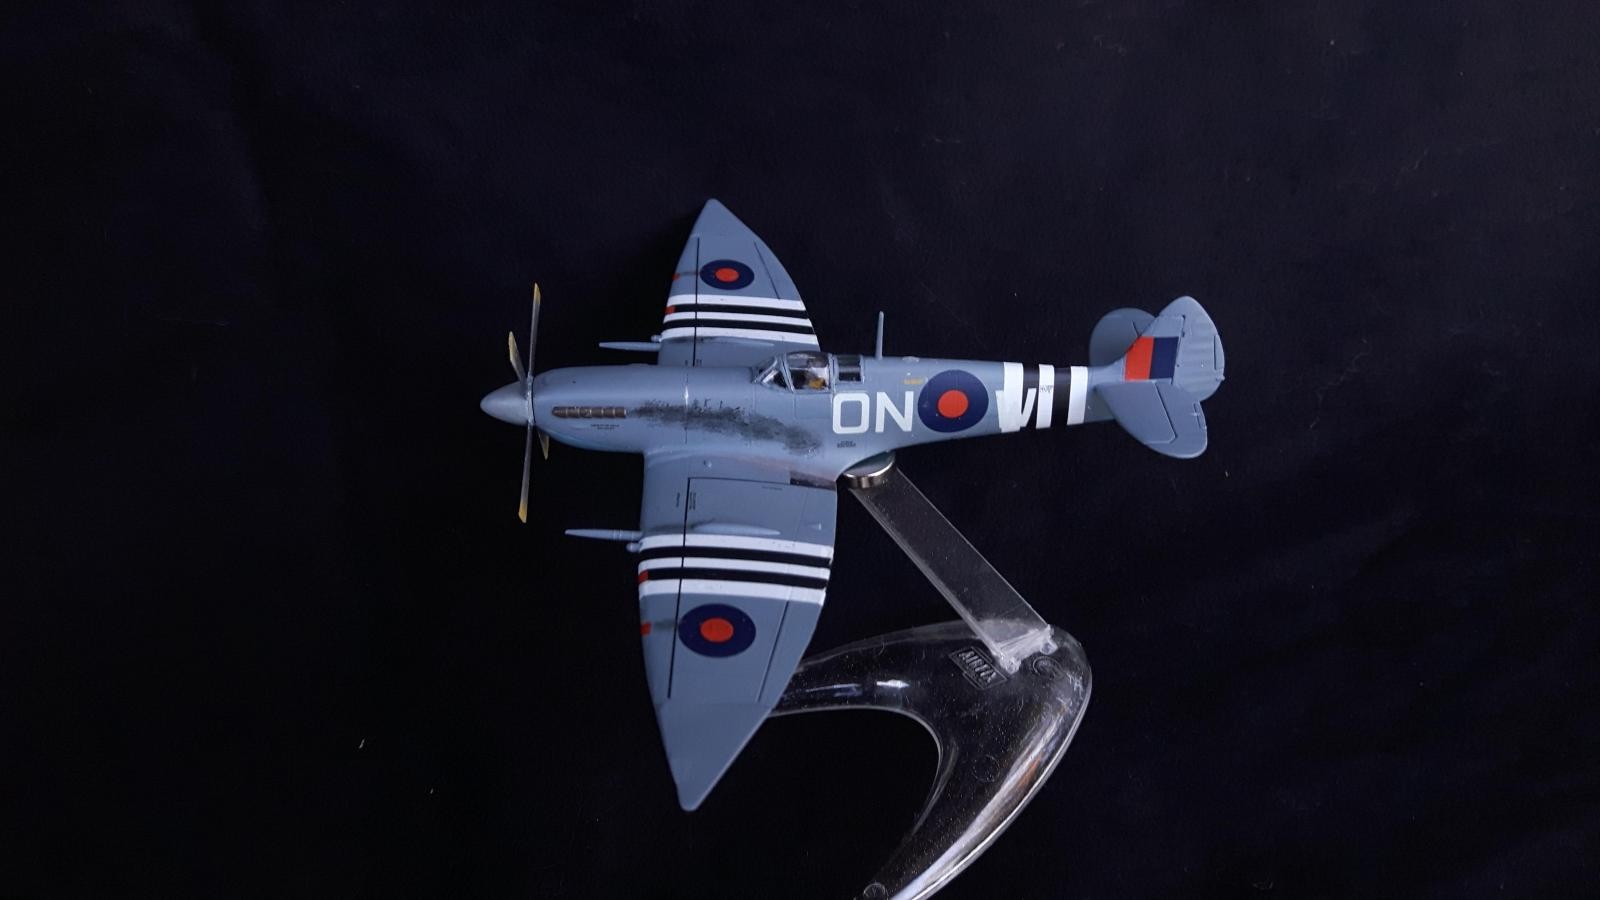
As I mentioned in the piece on the Spit VII, I decided to go wheels up quite far in the assembly, so the only thing I could drop into the back of the already assembled cockpit and guide into place was a smallish machine bolt, but even this provided strong enough pull to keep the plane on securely. I can turn it upside-down (carefully), and it will stay on (as long as I don't do dogfights with my FW 190 Dora - can't handle the G's).
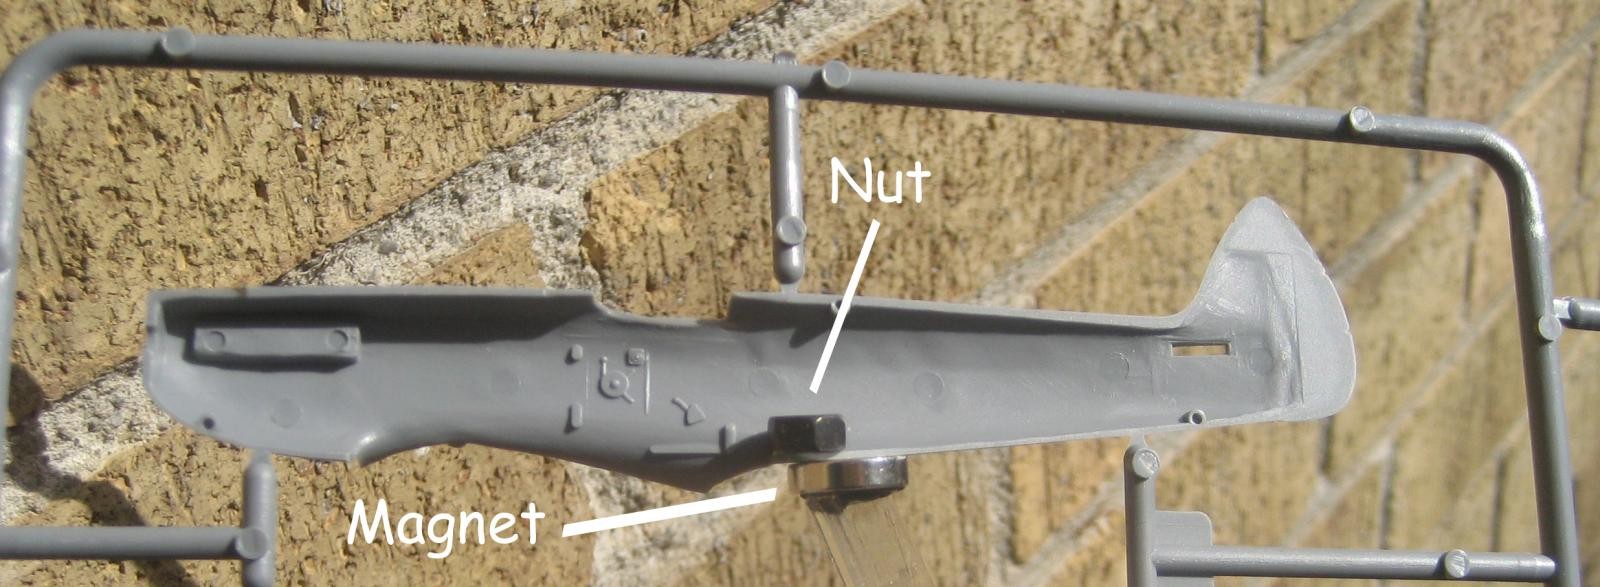
Next time, I would install a nut inside the fuselage before assembly (logical, no?). I would not recommend using a matching ceramic magnet inside, as the pull would be too strong. If you've ever tried to pull two of these s*****s apart, you'll realize that you'll probably end up pulling the fuselage off the wings when removing it from the stand.
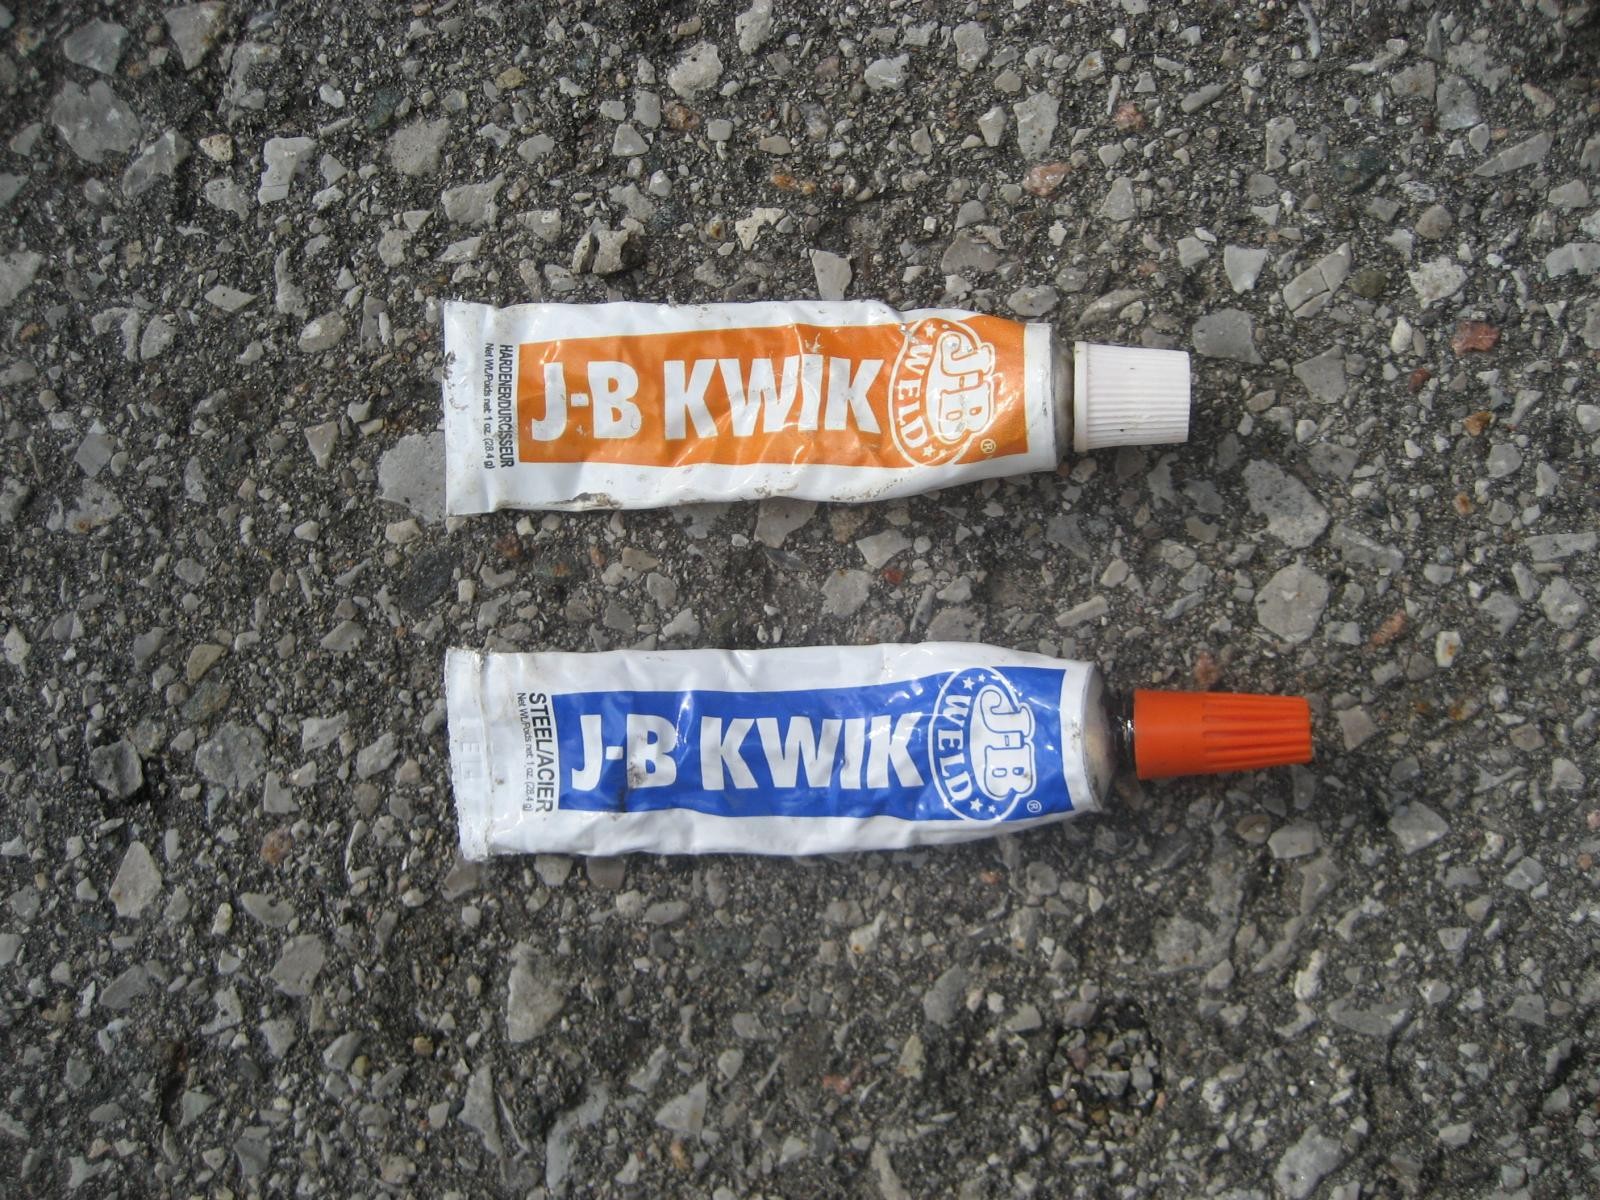
I used JB Quick 5 minute epoxy from JB weld to glue the magnet to the stand. If you don't have this stuff in your toolkit, get some. Many uses - I keep it in my camping repair kit.
Now if I could only get the spinning prop effect looking as good as Roland's.
Cheers.


Good thinking!
Very nice idea, Aldo!
All the best!
Great plan Aldo!
Sometimes the simpliest solution is the best one. You just have to think 😀
Congratulations! (and thank you, maybe I'll use it in the future)
Thanks for this simple tip, I will try it soon!
Impressive.
simply brilliant...
Simply marvelous!
That’s very nice! You can safely attach a magnet inside the fuselage as well, as with this Tamiya P-51 in 1/48. Epoxy was the best bet for me to attach to the acrylic rod, super glue didn’t work for me. Thanks for sharing! Also works with two rare earth mags for 1/72.