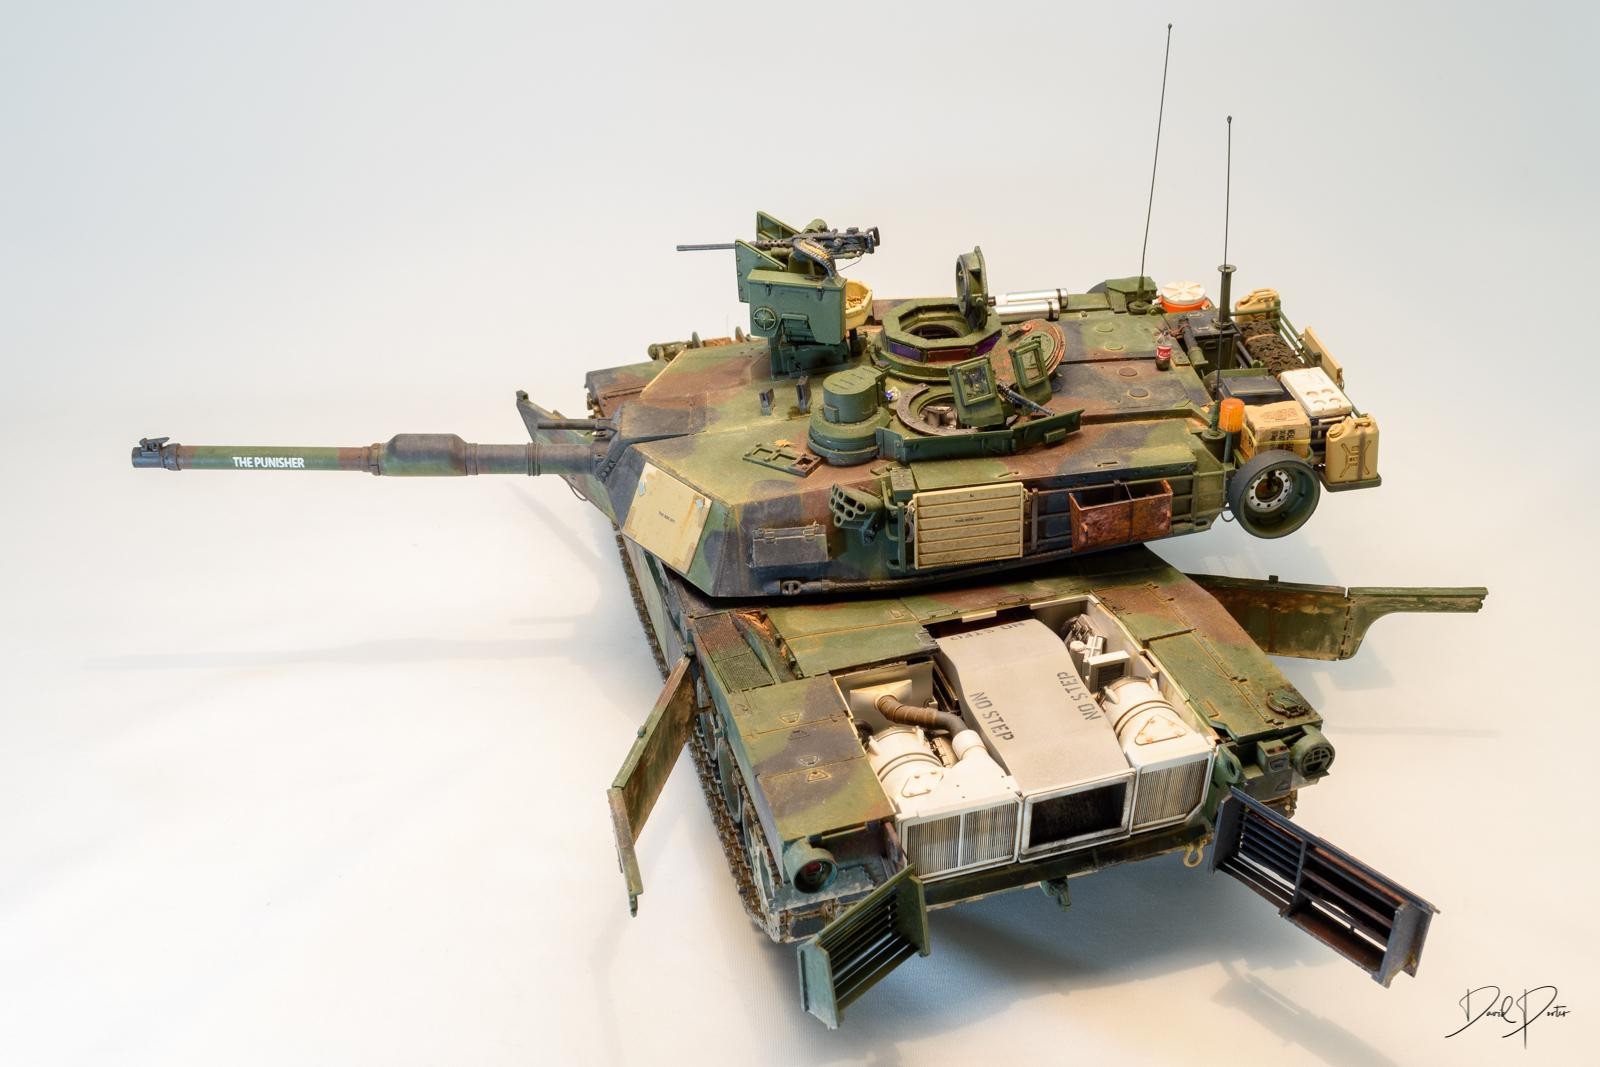
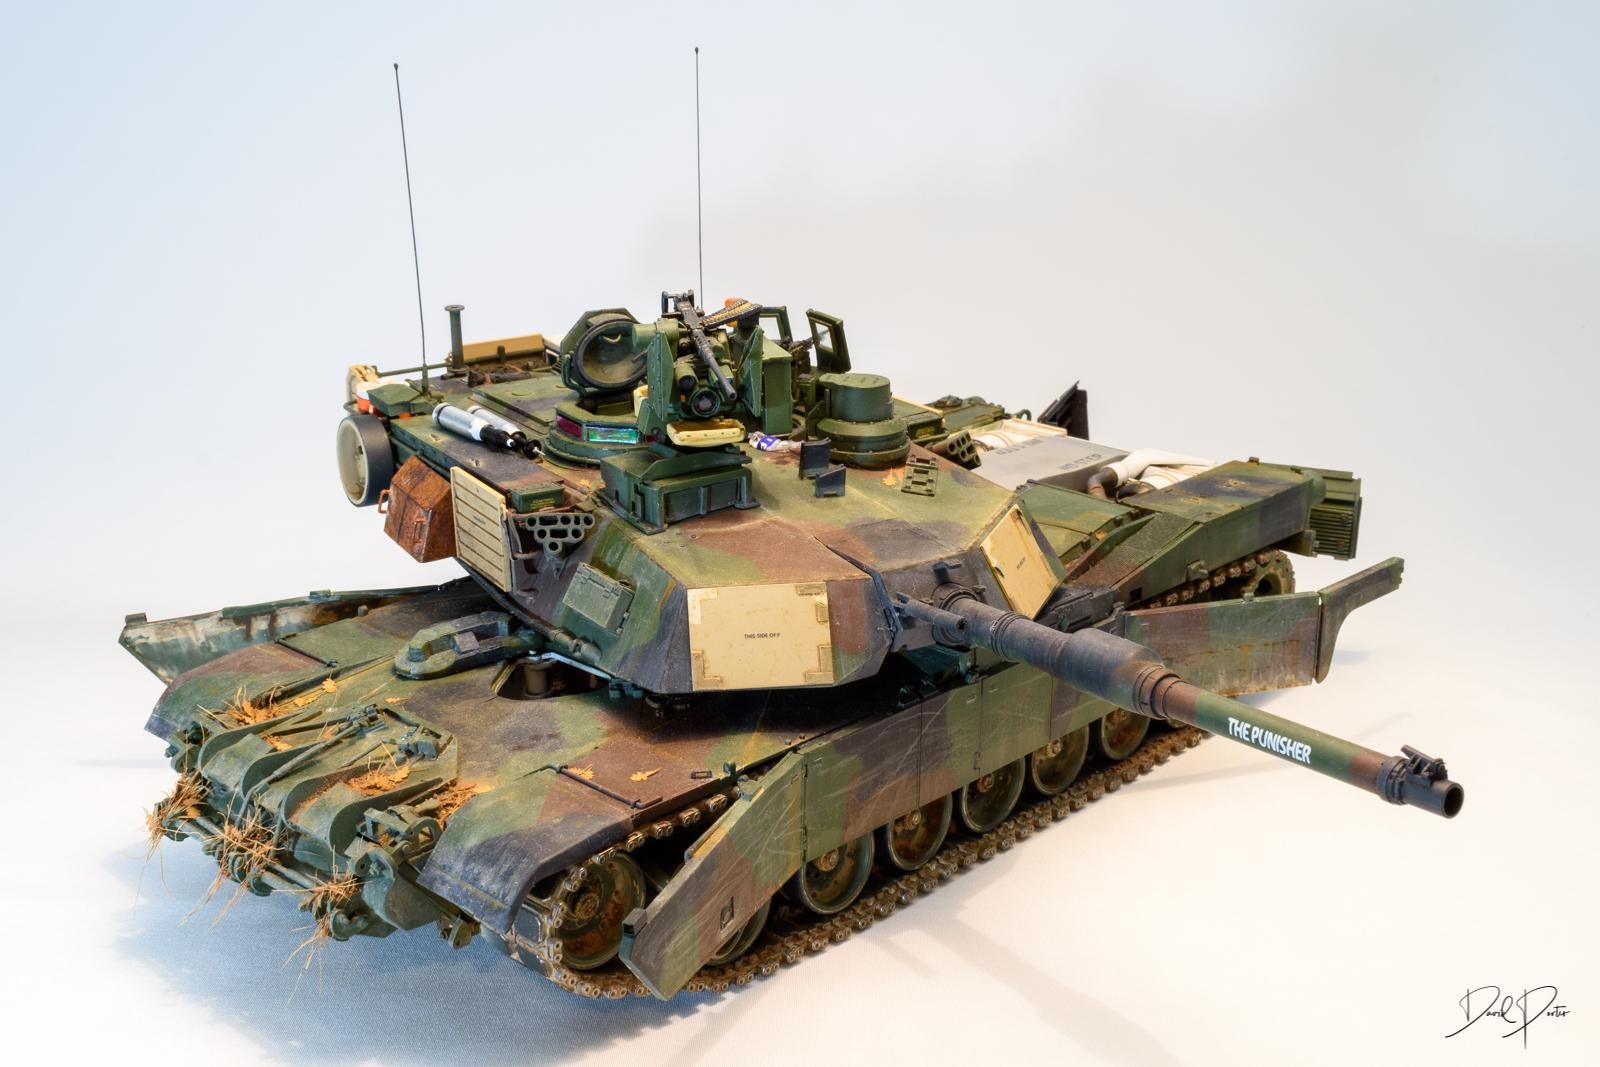
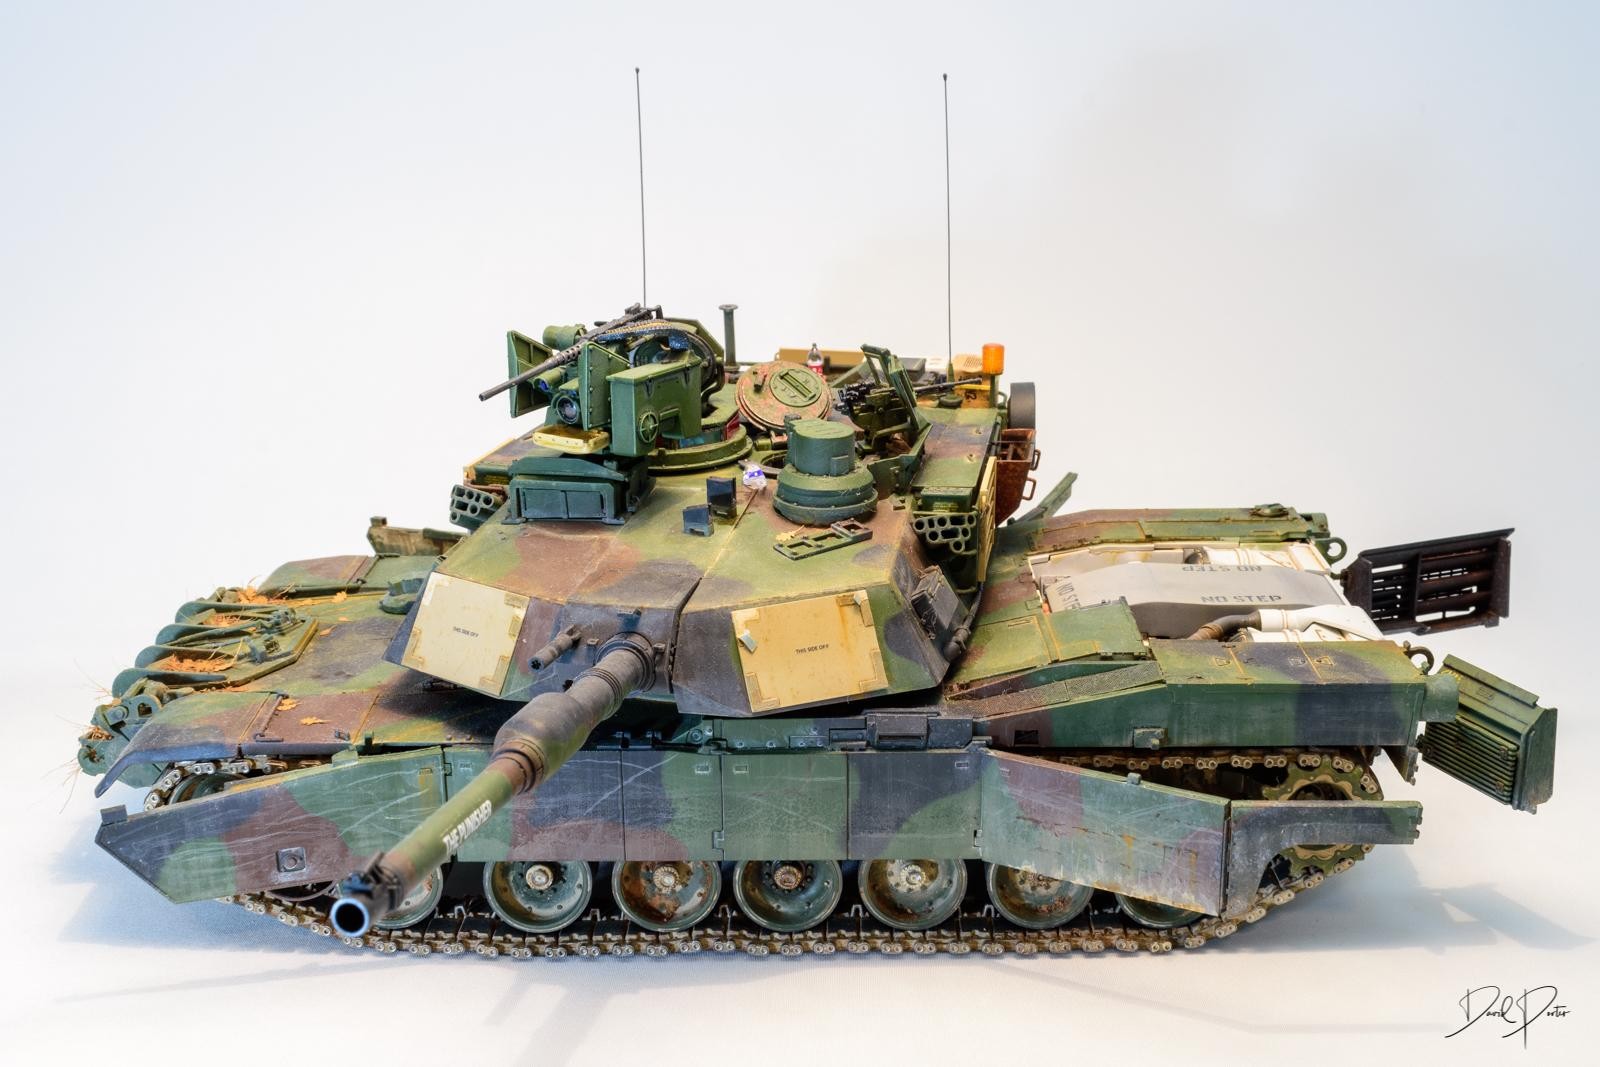
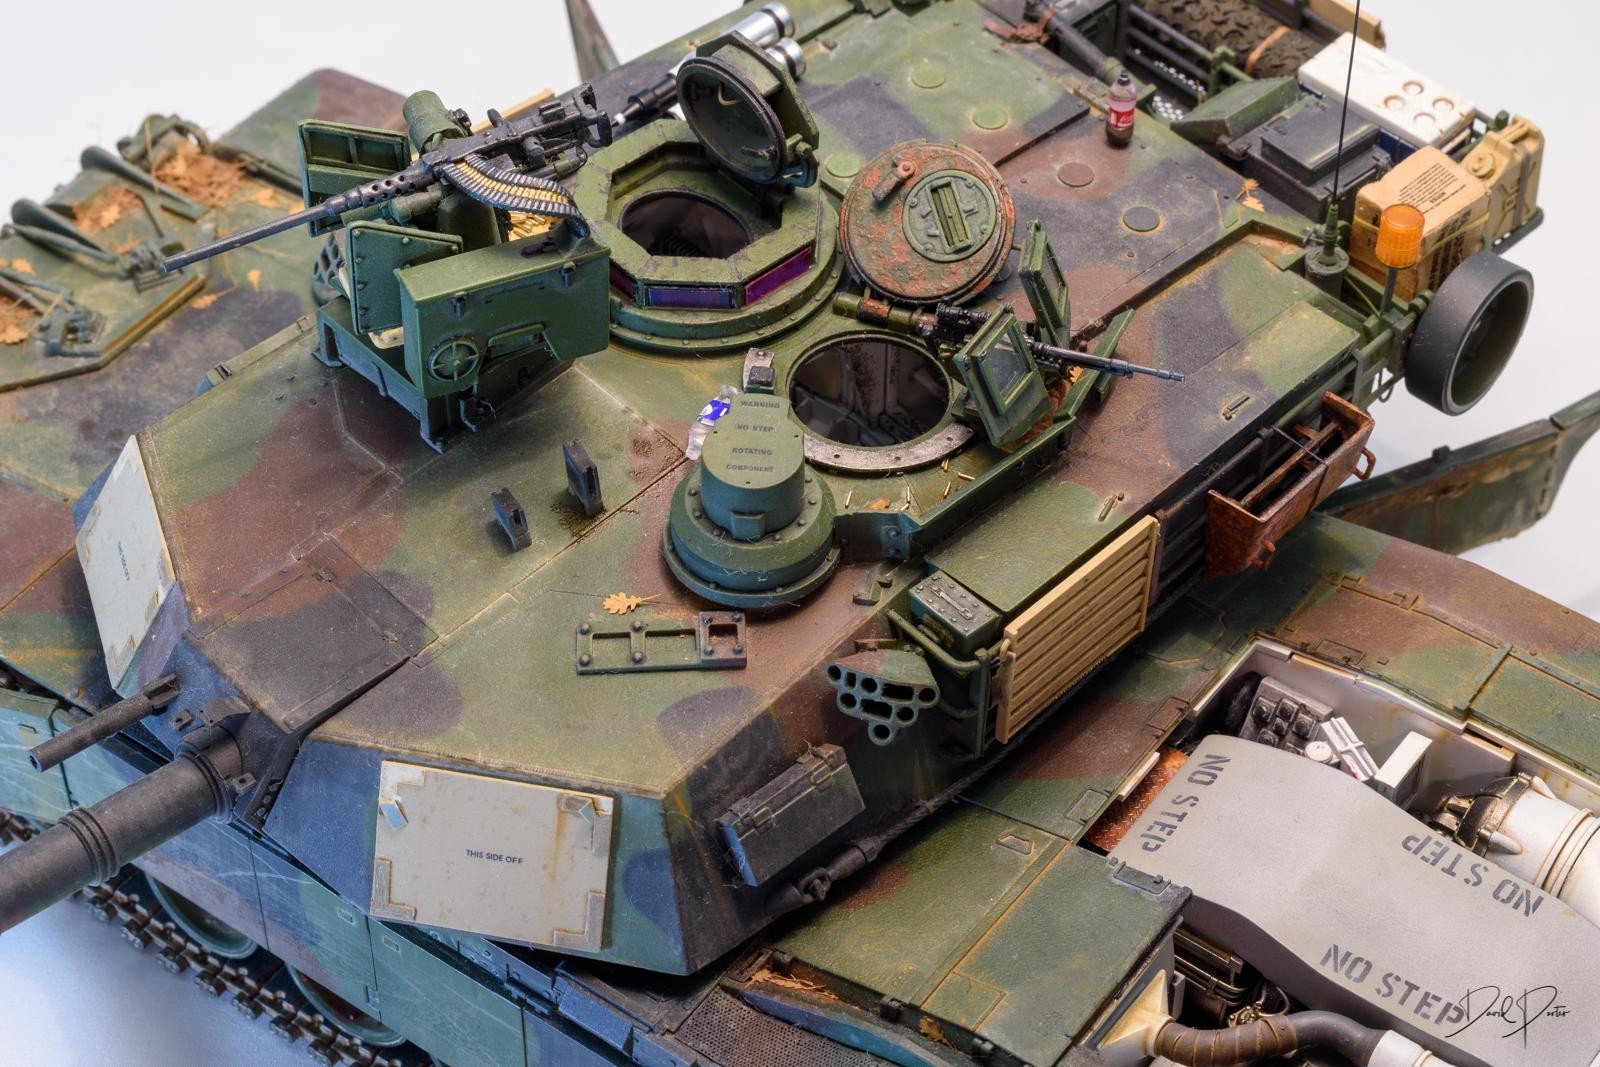
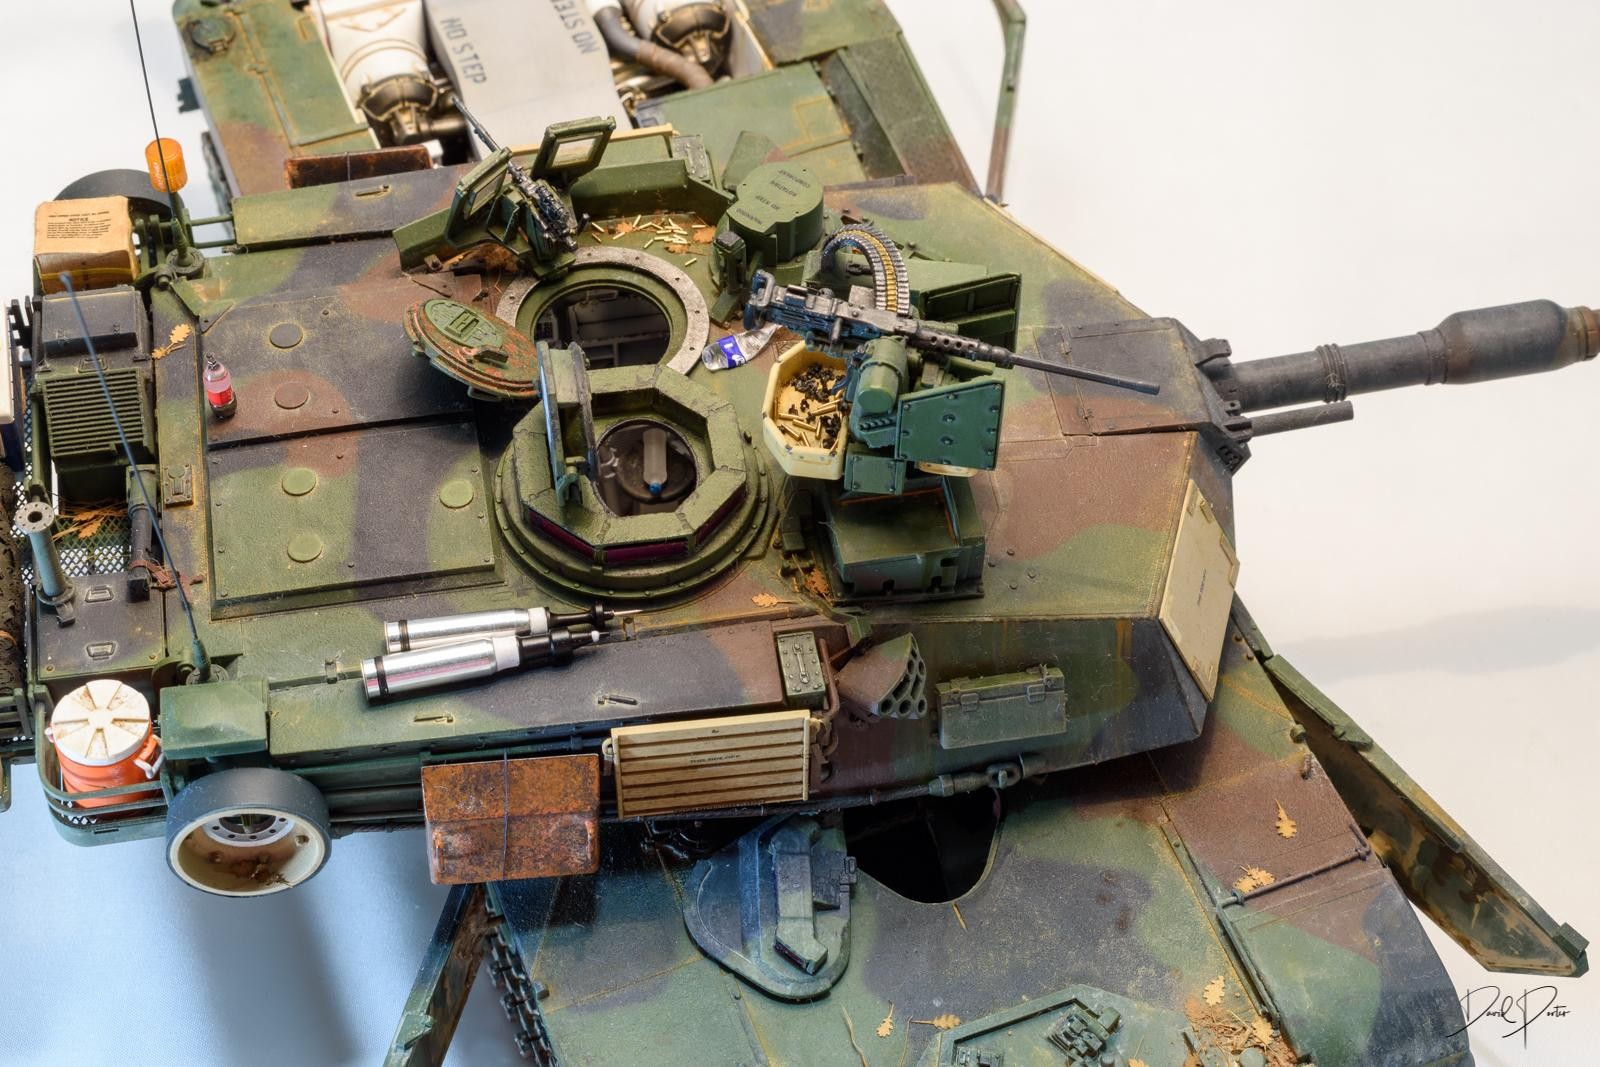
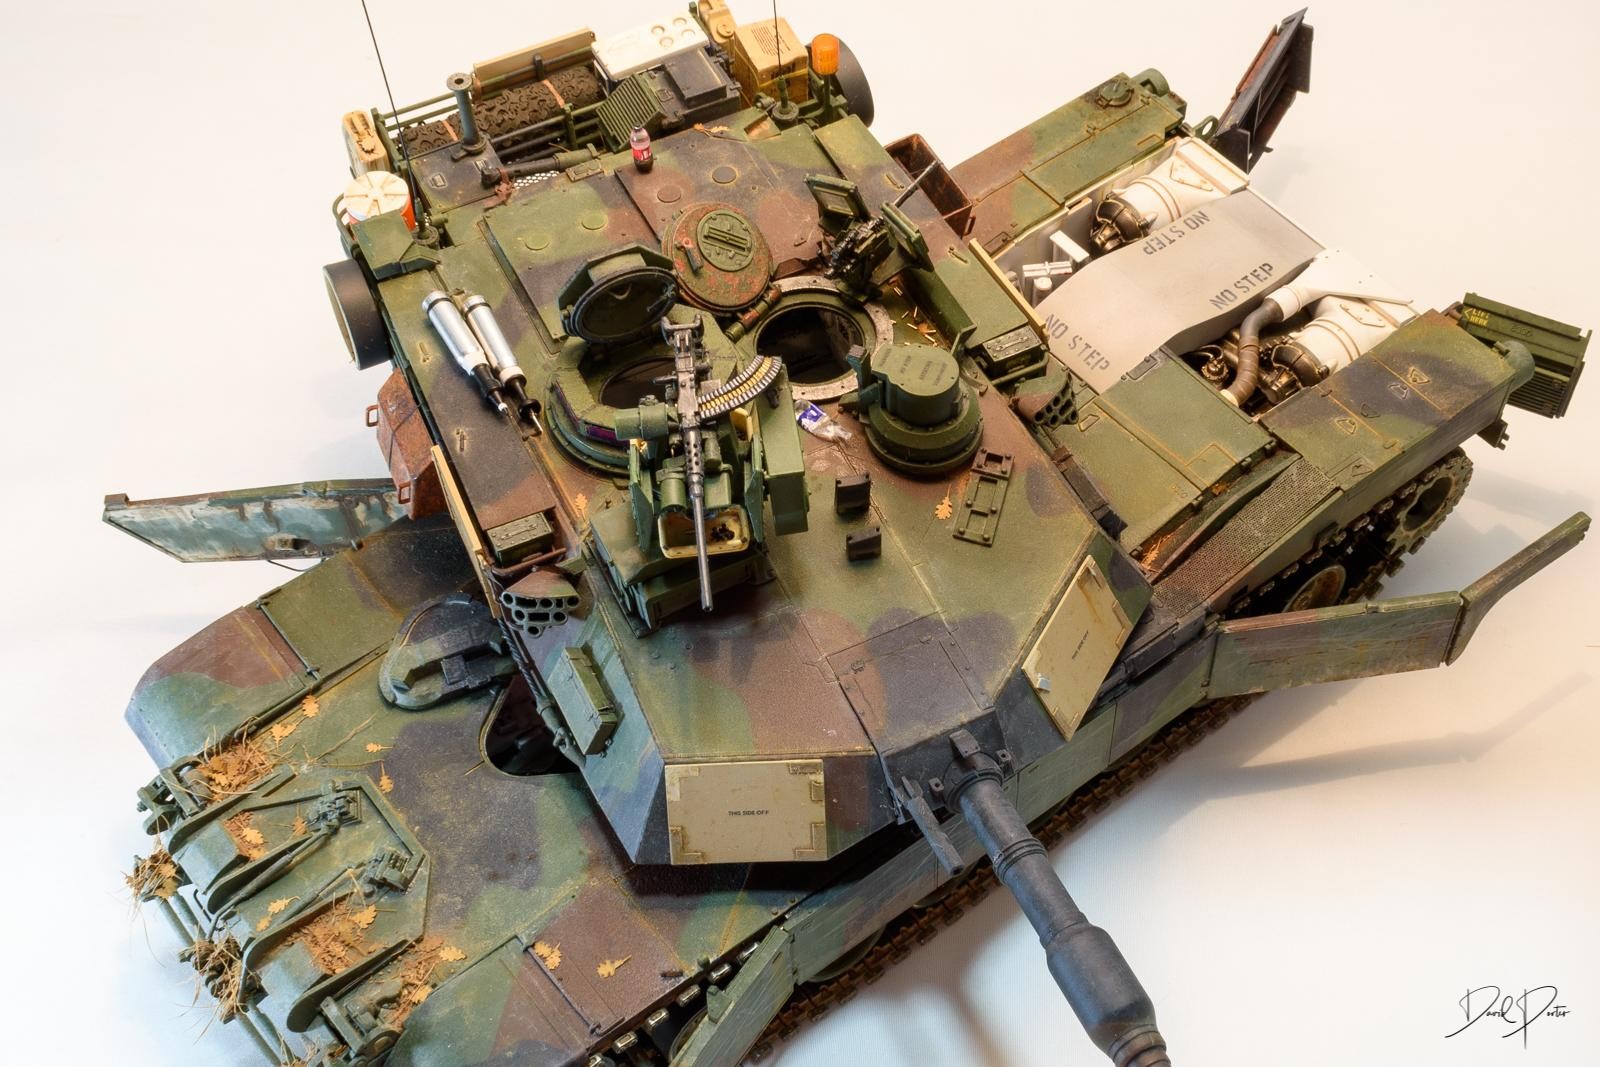
1/35 Ryefield Model M1A2 SEP v2
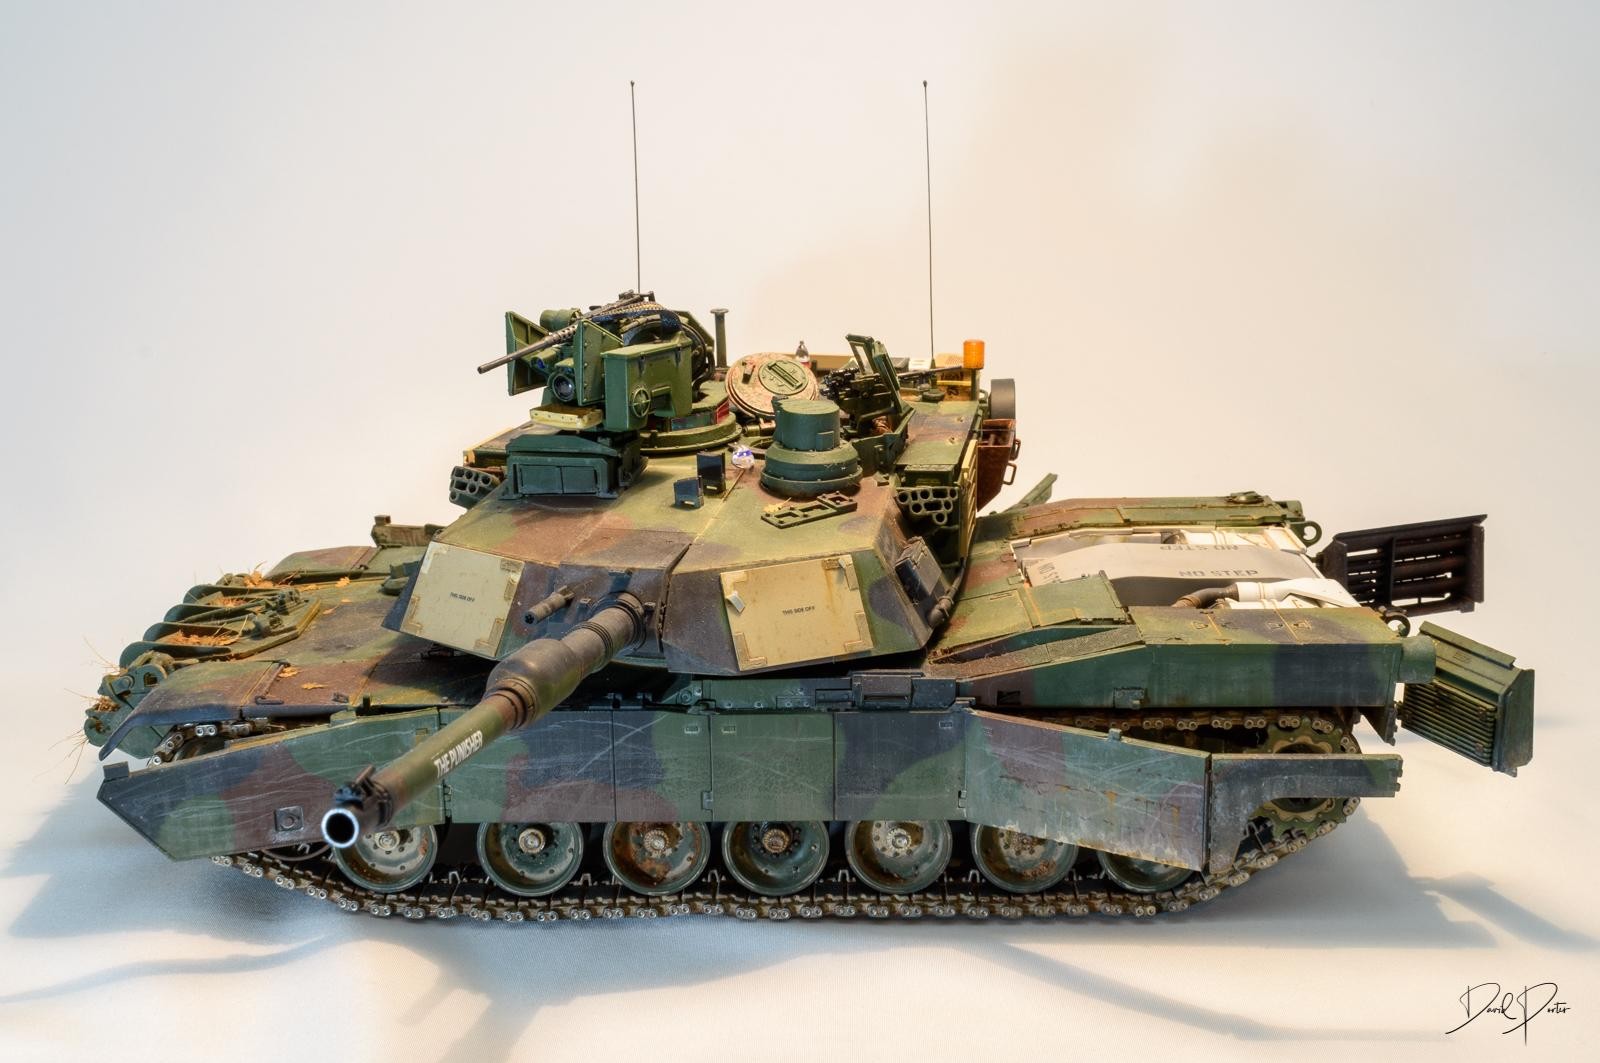
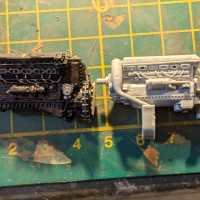
I don't get to build much these days, due to extensive work and study commitments, and not to mention 1/5 scale humans wandering about the house. Nevertheless I managed to finish Ryefield Models magnificent M1A2 Abrams by combining both the M1A1/M1A2 and their new M1A2 SEP v2 boxings. Superb model kits, probably the best armour kit I have built to date. There are truly some brilliant model kits coming out these days, we are really spoilt for choice at the moment.
I eventually plan to add this to a maintenance diorama, but you can enjoy the vehicle for now. Hope you like it, and there are more pics on my website if you feel inclined at http://www.porterblemodels.com.
Cheerio!


A great job of painting and weathering I am pending the Diorama that will be great
REGARDS
Thanks Carmelo, I have started working on all of the accessories to go with the diorama, i.e. the figures, generators, tracks, oil barrels, pallets and ammunition etc. But the structure will need to be scratchbuilt. Hopefully by Christmas on the Diorama!
Nicely done!
Thanks Robert! Have a great day.
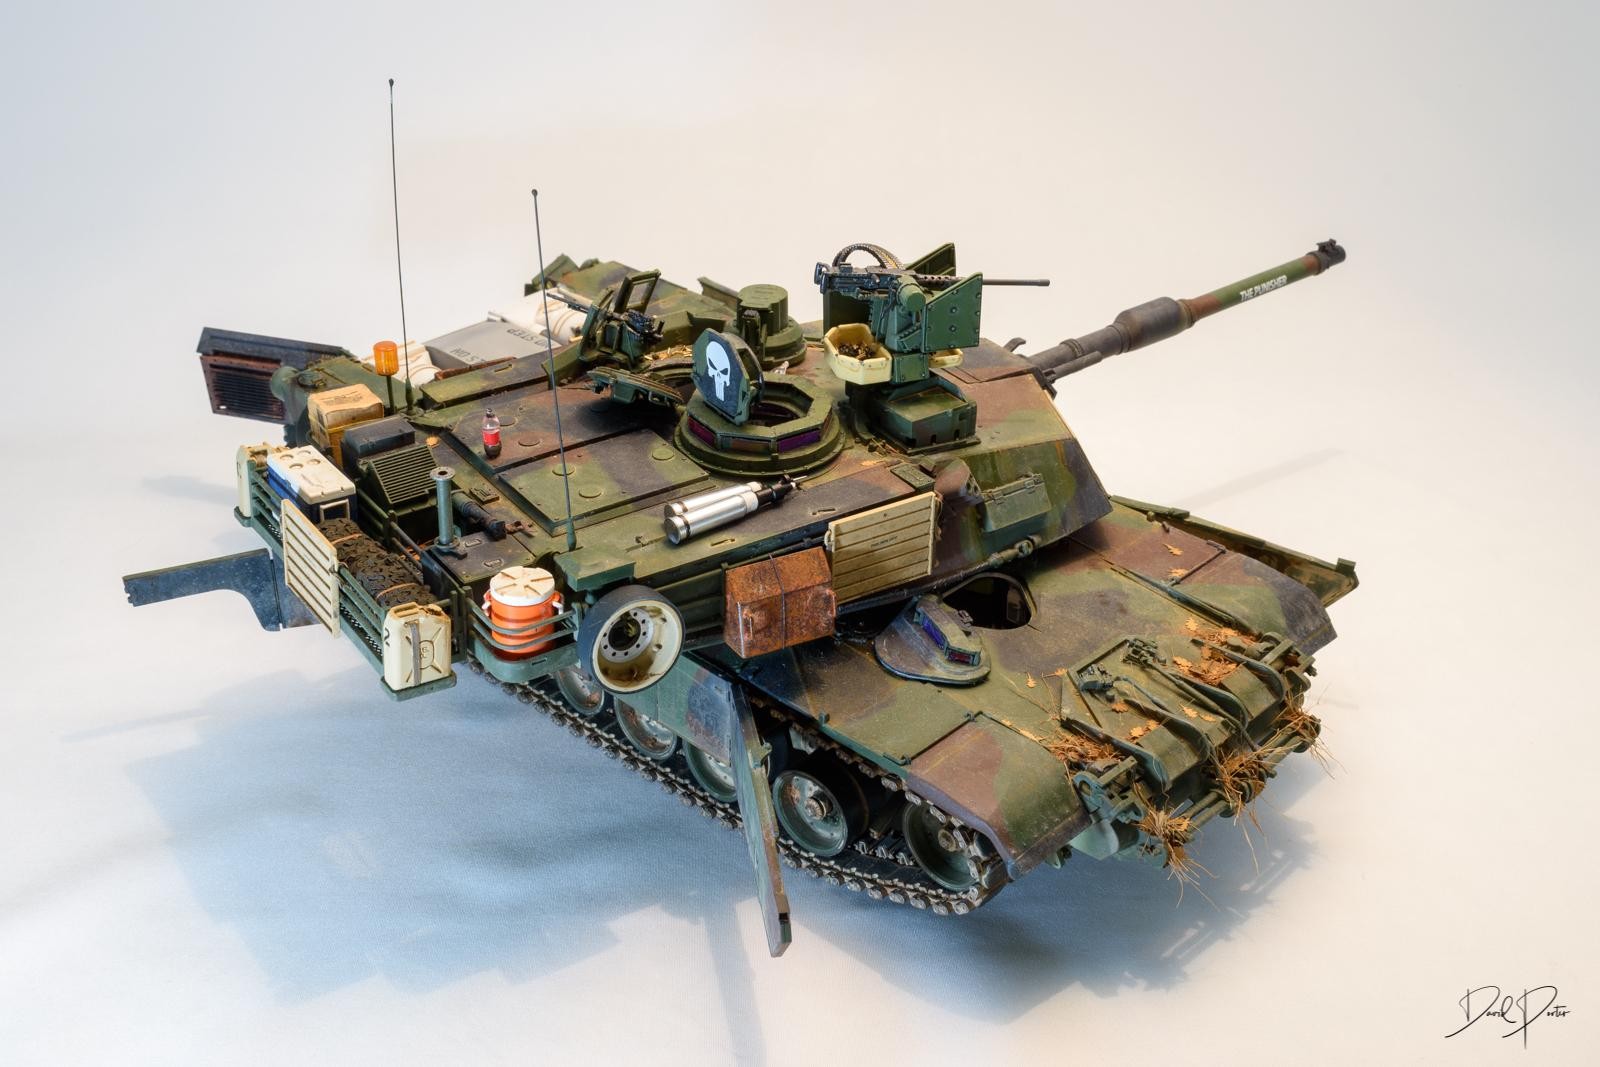
Beautiful work. Did the "whoopie light" come with it or was that aftermarket?
Actually the RFM V2 kit does include it, and a bunch of other training material including the MILES gear etc. However, when I started the conversion I was using a DEF model conversion designed for the Dragon kit, so the light actually comes from that. The CROWS is from the RFM kit, as I managed to acquire it halfway through the build. But that’s often how it is; the things you actually want to build is released just before you finish it (or just after).
Cool, Thanks!
Very nice work ! I served in the M-60 series tank and two months before I got out of the Army we were the first unit to receive the M-1A1's. Ours were delivered in overall green color. The A2 came out well after my time in the Army, so I'm not too familiar with the additions that came along with the upgrades. Ahhhh good ol' MILES gear. That brought back some memories...
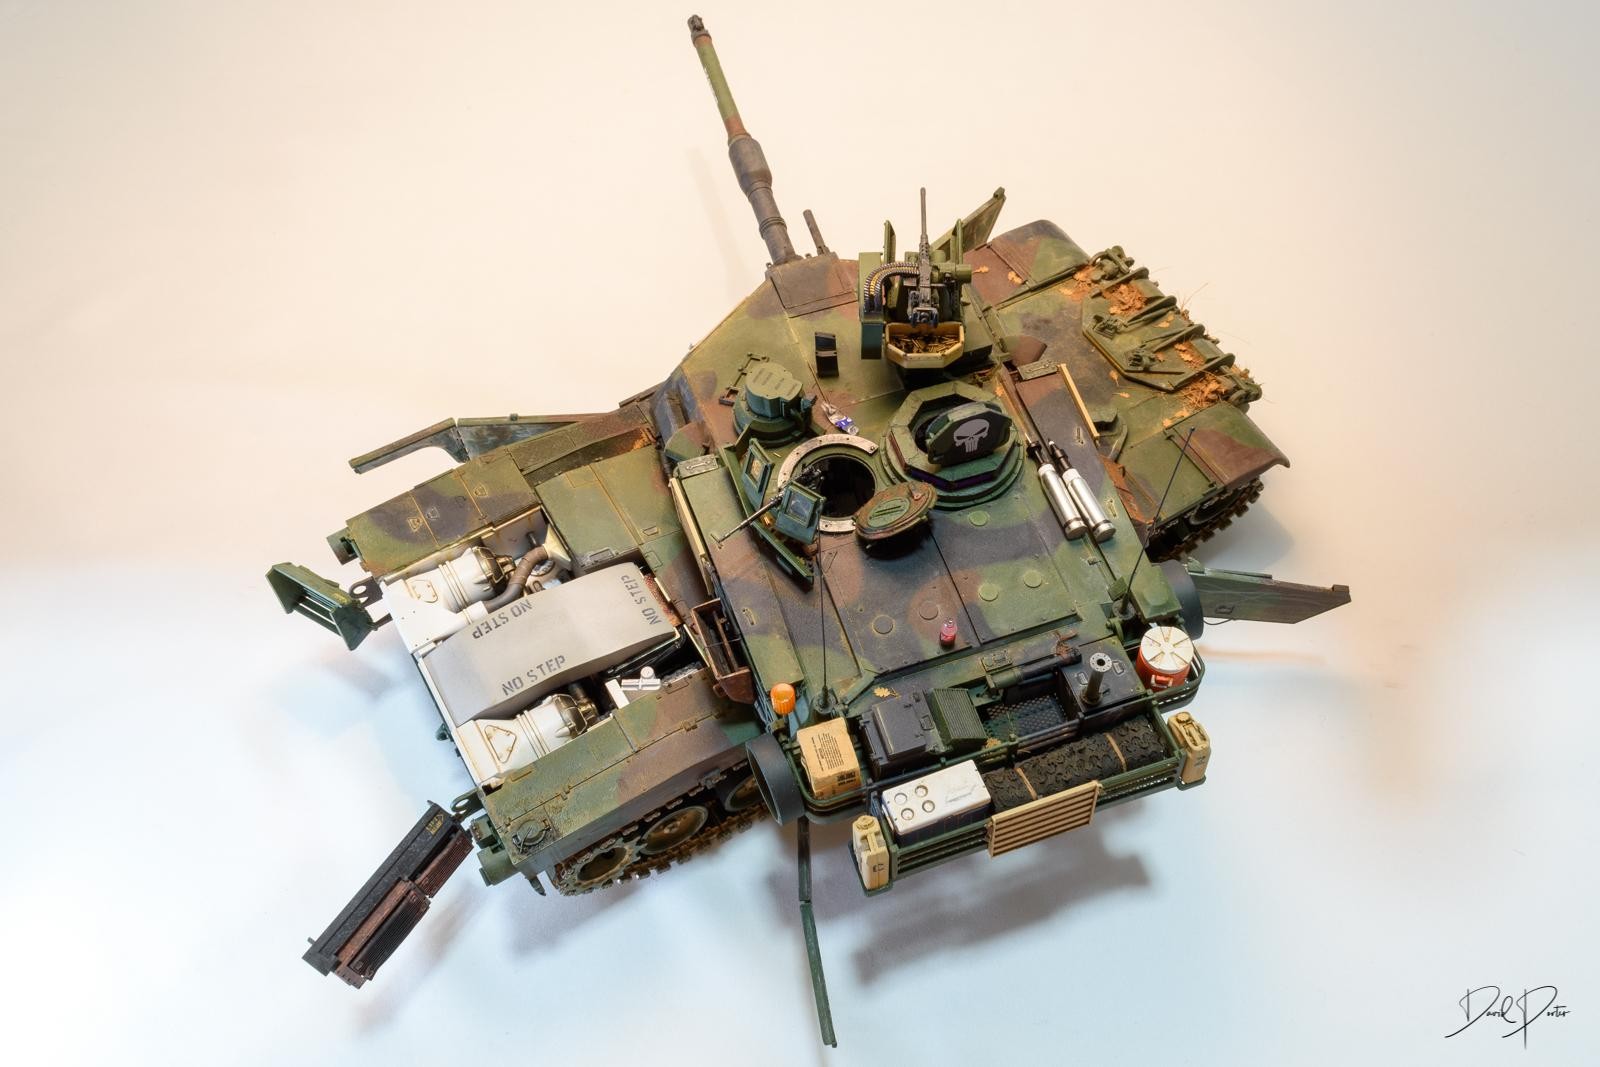
I noticed that you even had some spent 7.62 brass next to the loaders hatch... Nice touch ! The 120MM ammo looks cool up there on top of the turret, but I don't think that would have made the Tank Commander all too happy. We were real strict with handling the ammunition, especially the main gun rounds.
Beautiful work on display here. Are you going to build a M-88 to go with this ? I have the AFV Club version and was planning on building mine up with the "Pack" suspended from the lifting boom on it's lifting cradle.
"liked"
You have captured the look rather well.
Thanks Louis! I would love to build an M-60 one day that's another great classic American piece of armour. My original plan was to do an overhead crane with a maintenance sling hanging slightly overhead, and then adding that to a kind of field roll in/roll out maintenance facility. Adding an M-88 is a possibility but it would make the diorama too large I think, but it's a good idea. I will consider it!
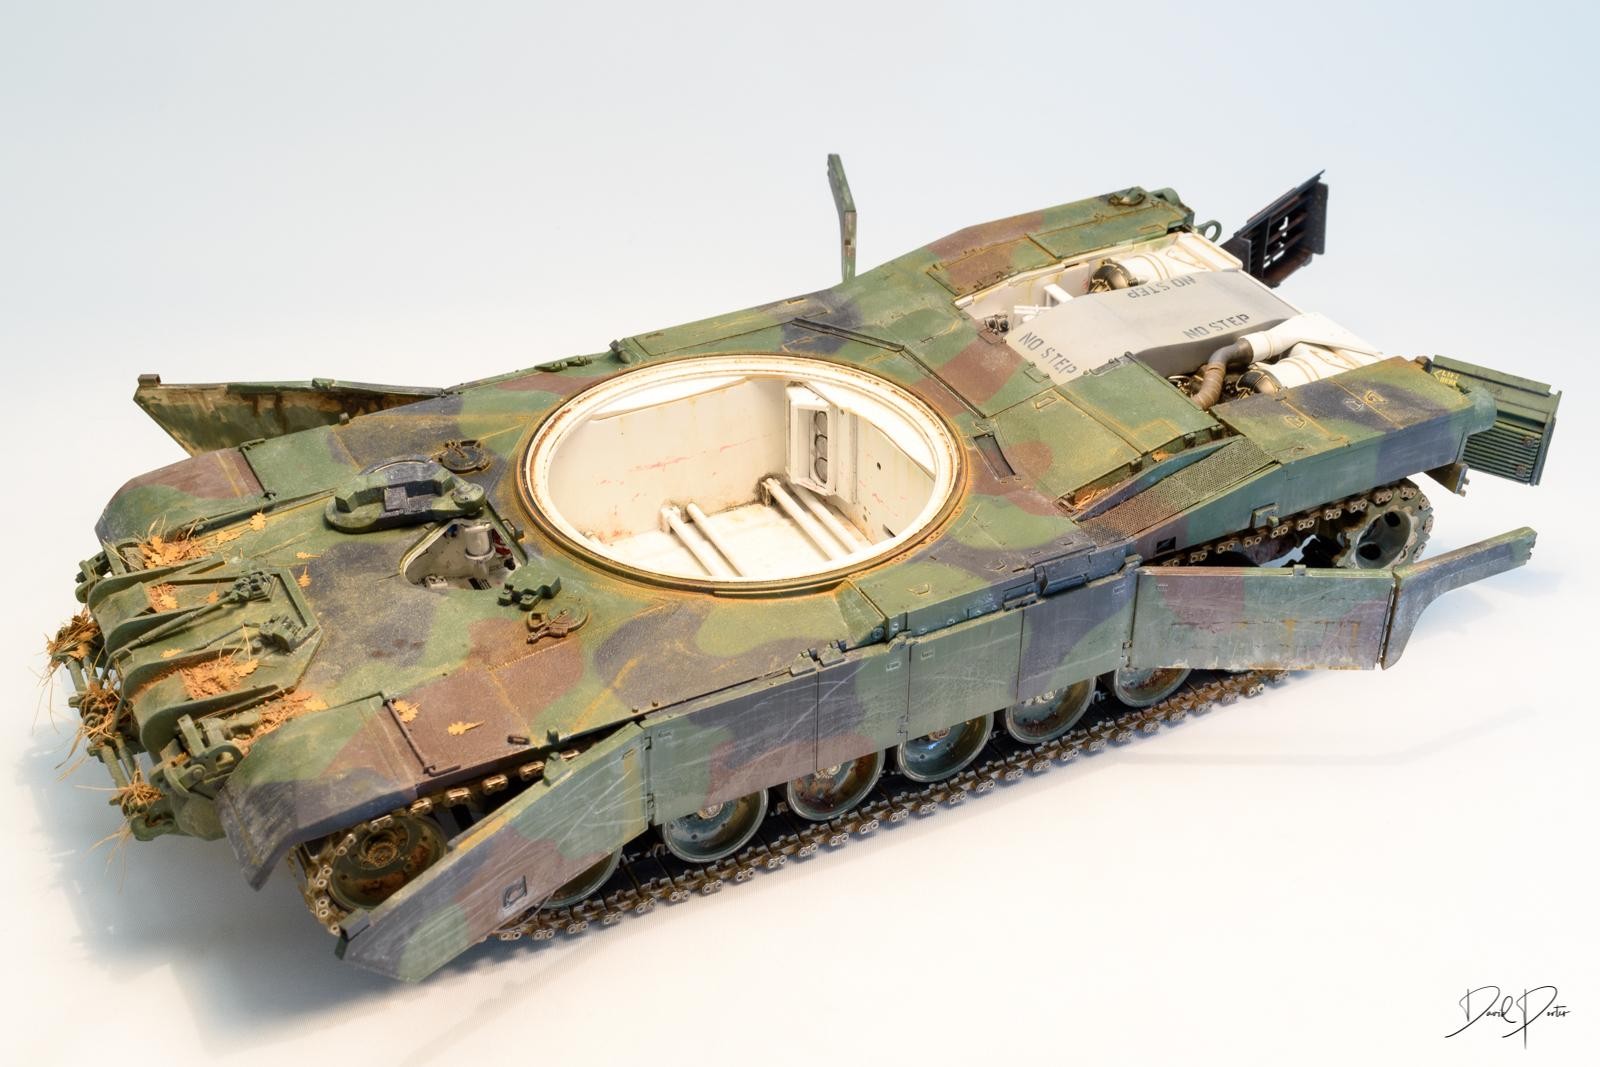
As for the tank rounds, I have gone for some artistic liberty here! Originally I was going to leave a blast panel open so you could see through the back of the ammunition storage into the loaders area, however with the V2 version there is a wiring loom and a metal bracket than runs over the back of it so it couldn't be removed. It was then that I researched and found that they never remove the blast panels as the loading pod was never really adopted by the US Army so I suspect they are now bolted shut and the ammunition is loaded through the loaders hatch the good old fashioned way; hand over hand. But I still wanted to show some tank shells, so I have left then on the roof in violation of various safety protocols! Sometimes, to make a model more interesting we have to waive the realism a bit. Since I spent my entire time as light infantry, I was never privy to the procedures of our cavalry units, but I suspect they require the ammunition to be removed before a major refit too!
I have started working on all kinds of odd bits for the diorama so we'll see how long it takes. Glad you liked it!
Great job, David. Not an armor guy, but I find your model fantasic!
All the best!
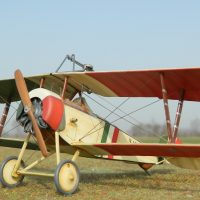
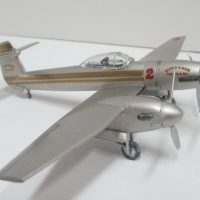
Thanks Spiros! I do the occassional aircraft too - actually I seem to mostly aircraft but my real passion is dioramas.
Cheerio!
Stunning piece of armour mate! The detail is amazing and the weathering is spot on!
Thanks Richard. It was a fun build. I can't say they all are, but this one was.
Superb job on this David @moxibustion, Really superb. Attention to the details is amazing.
"Liked"
Thanks James. That encourages me to start on the next one!
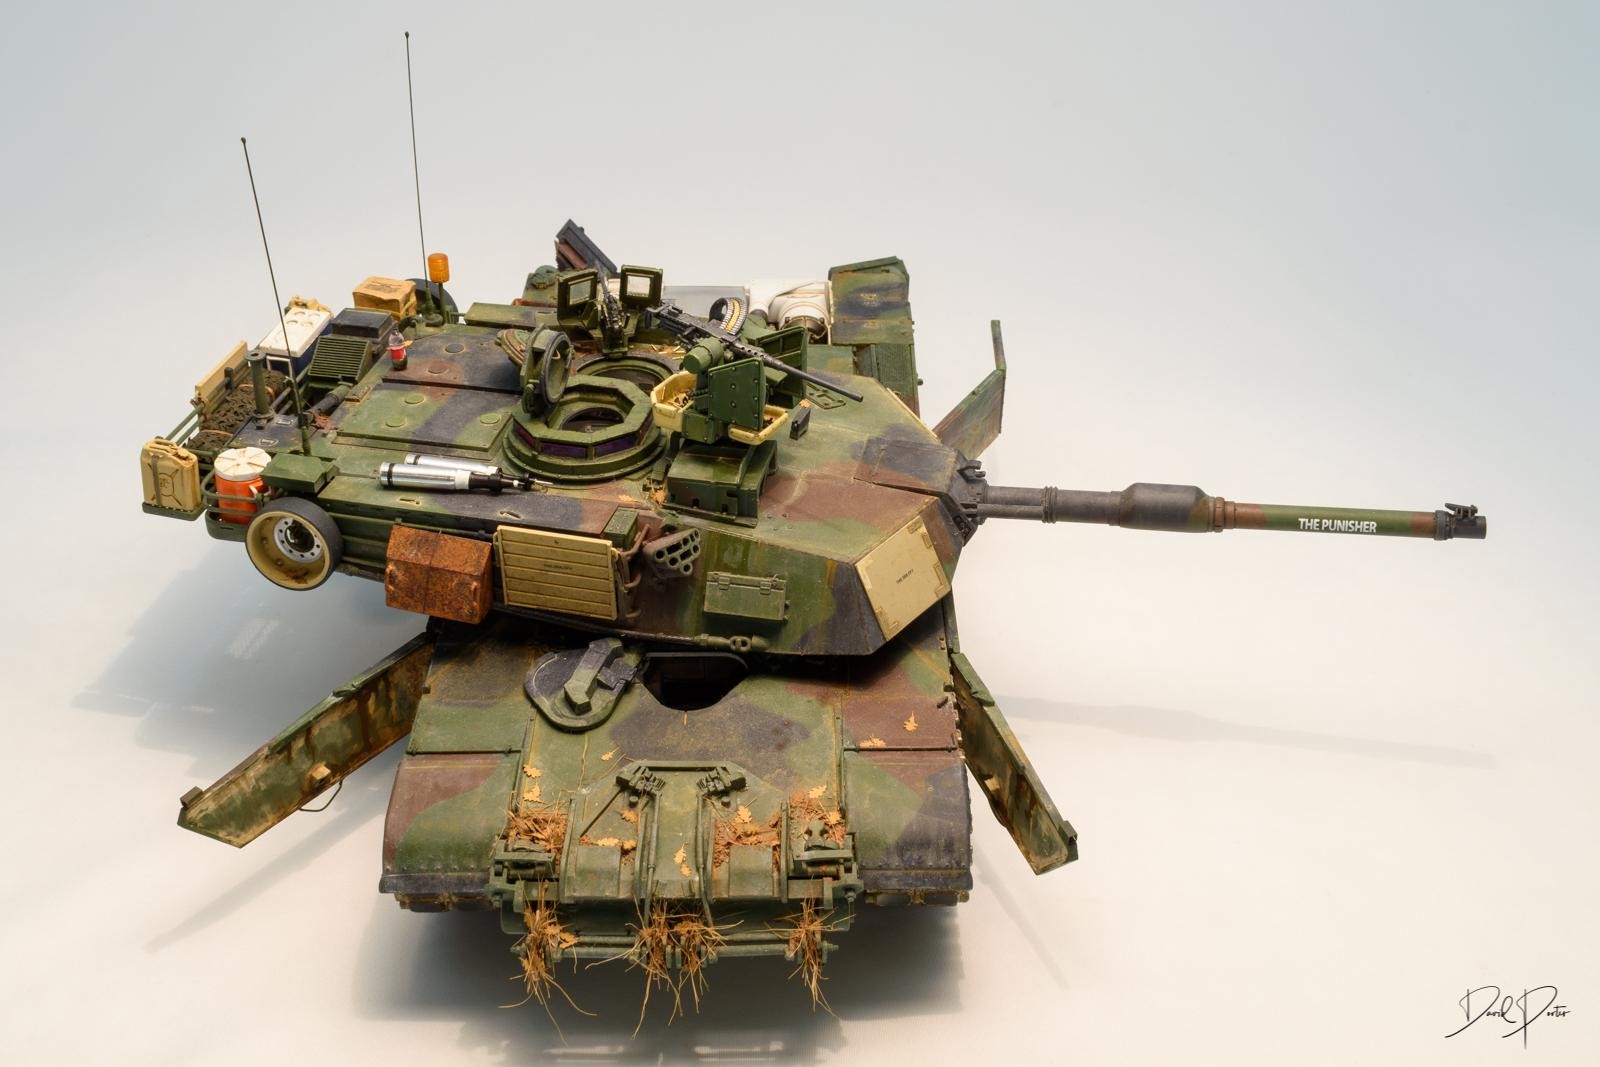
Nicely done! A little too late now, but for added realism the intake plenum doors should be open and the "b***h plate" removed.
Really like it.
Thanks Mark. I actually constructed and painted those areas, and also the battery compartment. But the intake covers are molded on, and I ran out of motivation to open them. In the end I think I just needed to finish i so I can move on to the next one. Glad you liked it!
Yeah, I get it.
Still looks great!