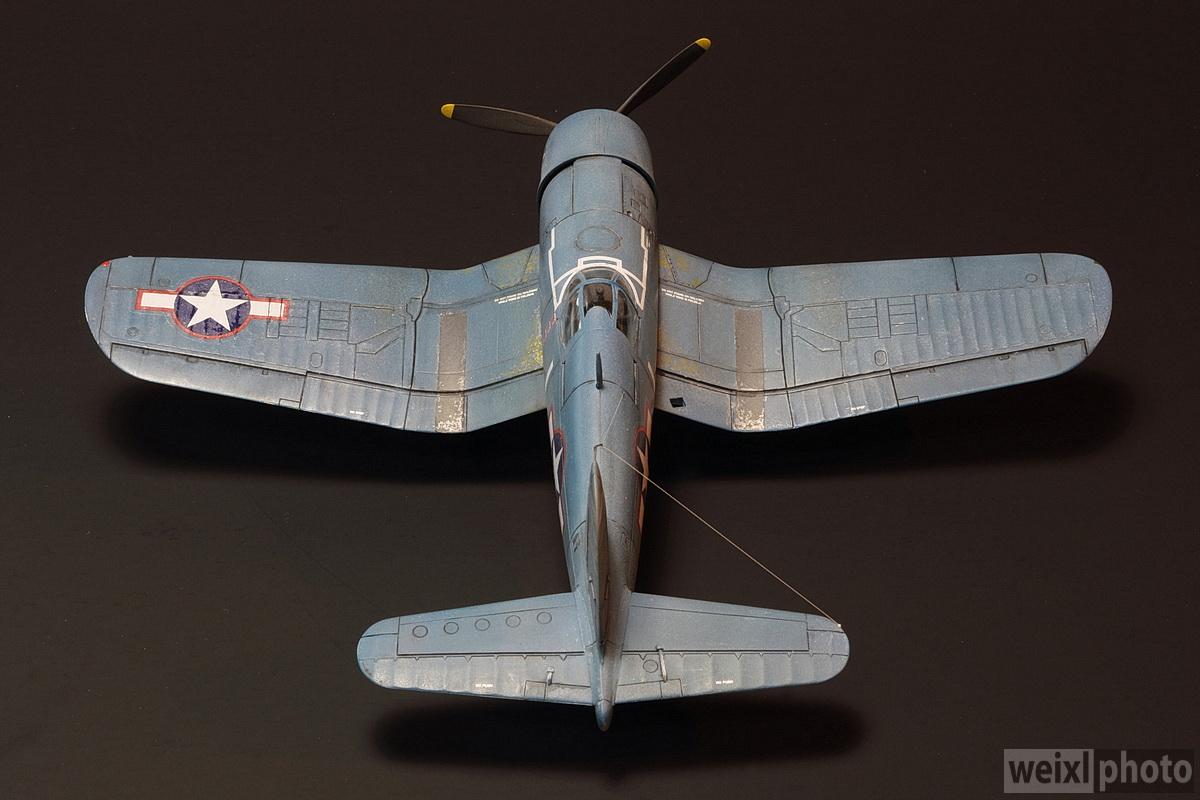
1/72 Scale Academy F4U-1 US Navy VF-17 Corsair “Big Hog” by Don Weixl
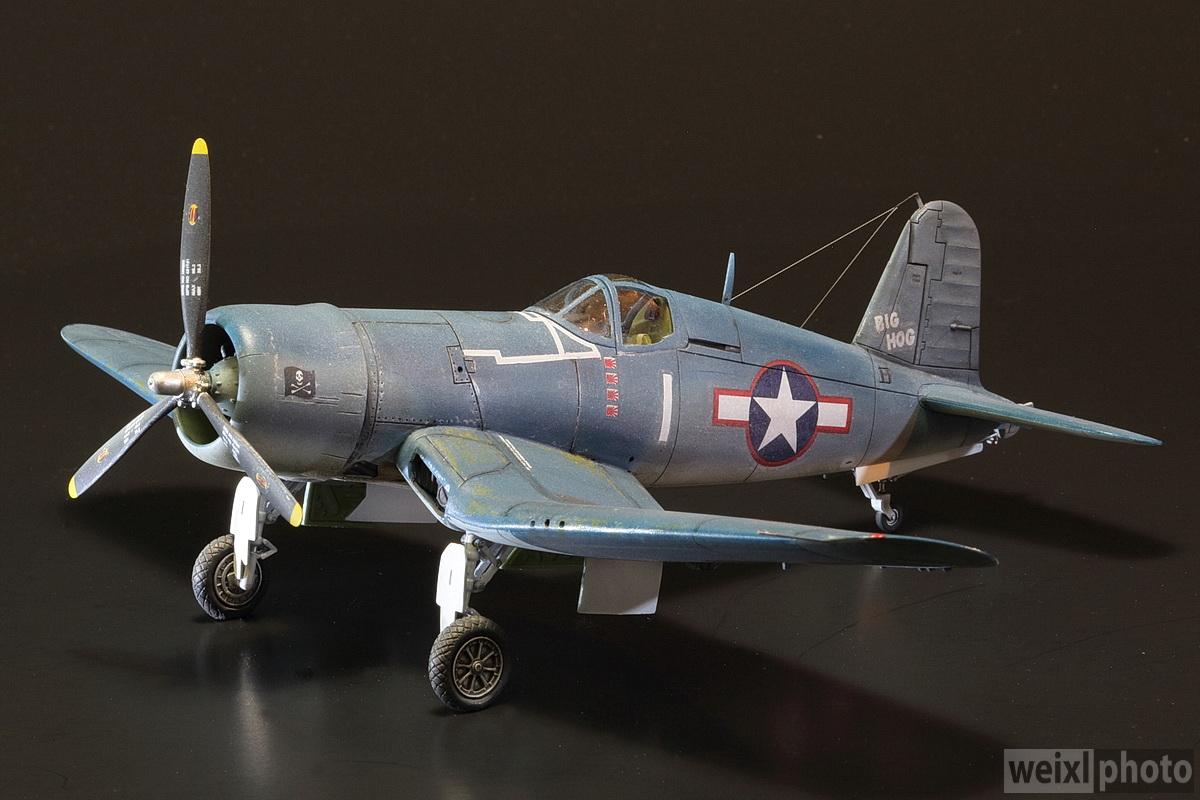
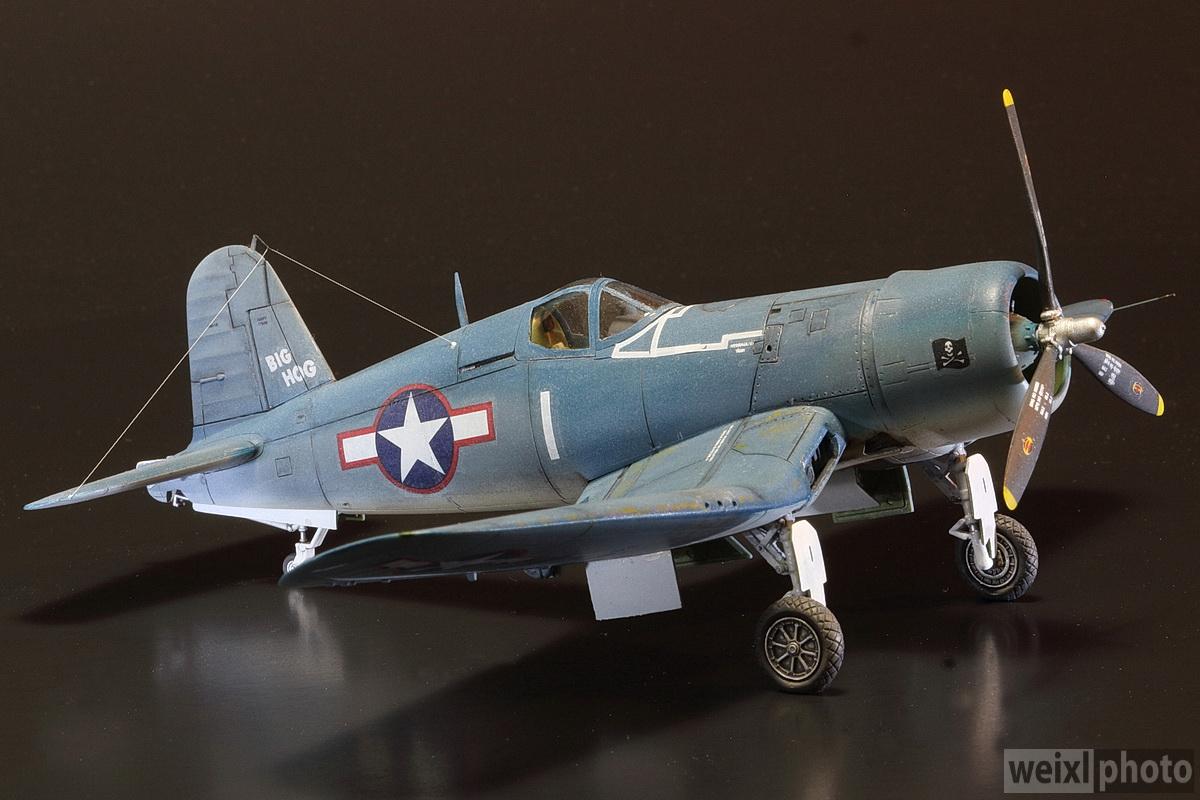
Everybody loves the Corsair with its unique gull wing and massive propeller. I am not a Corsair expert, but wanted to do a decent job of modelling the famous “Big Hog” Corsair flown by US Navy ace Tommy Blackburn of the VF-17 Jolly Rogers Squadron.
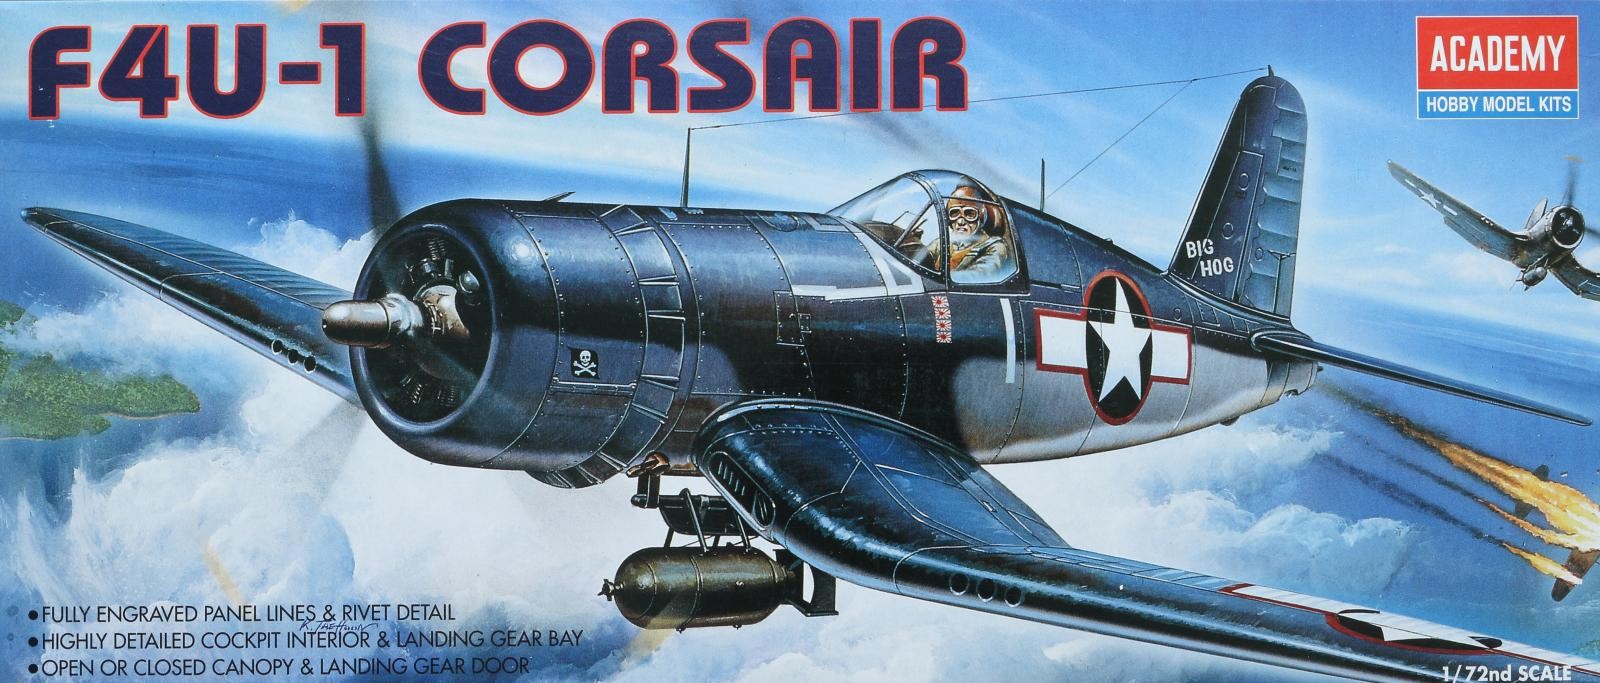
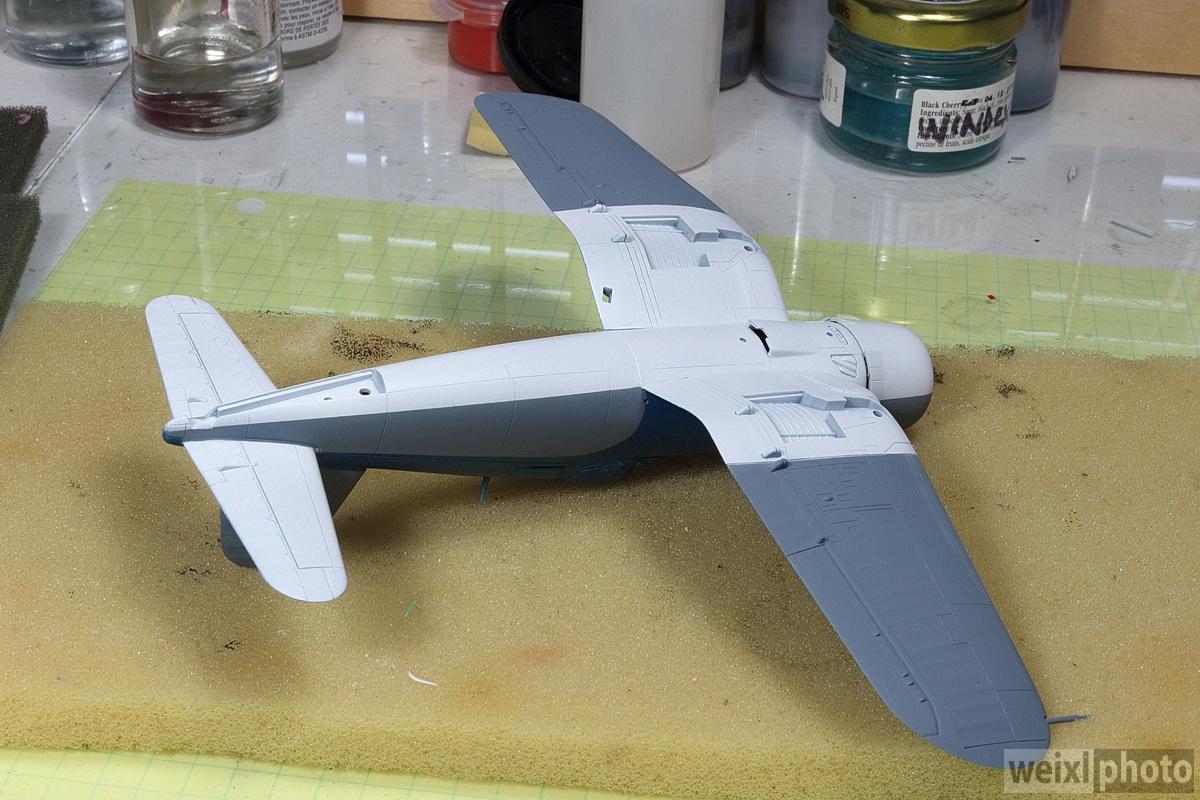
The Academy kit features fine recessed panel lines and a clear canopy. The kit goes together well with hardly any gap filling required. My plan was to build out of the box and use the kit decals. I replaced the kit wheels with a pair of True Details Corsair resin wheels that I had lying around. They aren't perfect, buy they have good tire tread detail.
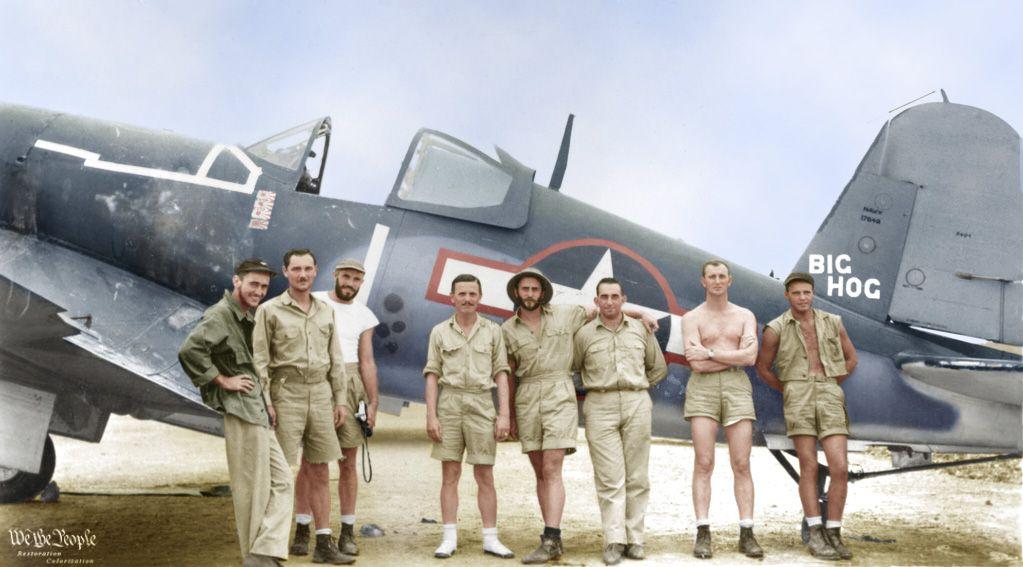
The WW2 US Navy 3 colour paint scheme was the most challenging part of this project. US Navy and Marine WW2 Corsairs were notorious for being heavily weathered. Most reference photos from that era are in black and white, so determining the correct colours can be tricky. If you go by the kit painting instructions, you will end up with a Corsair that doesn't look like most of the photos I found on the internet and in books. Using other models as reference is not usually recommended, but in this case I ended up using photos of other modeler's Corsairs for paint colour reference.
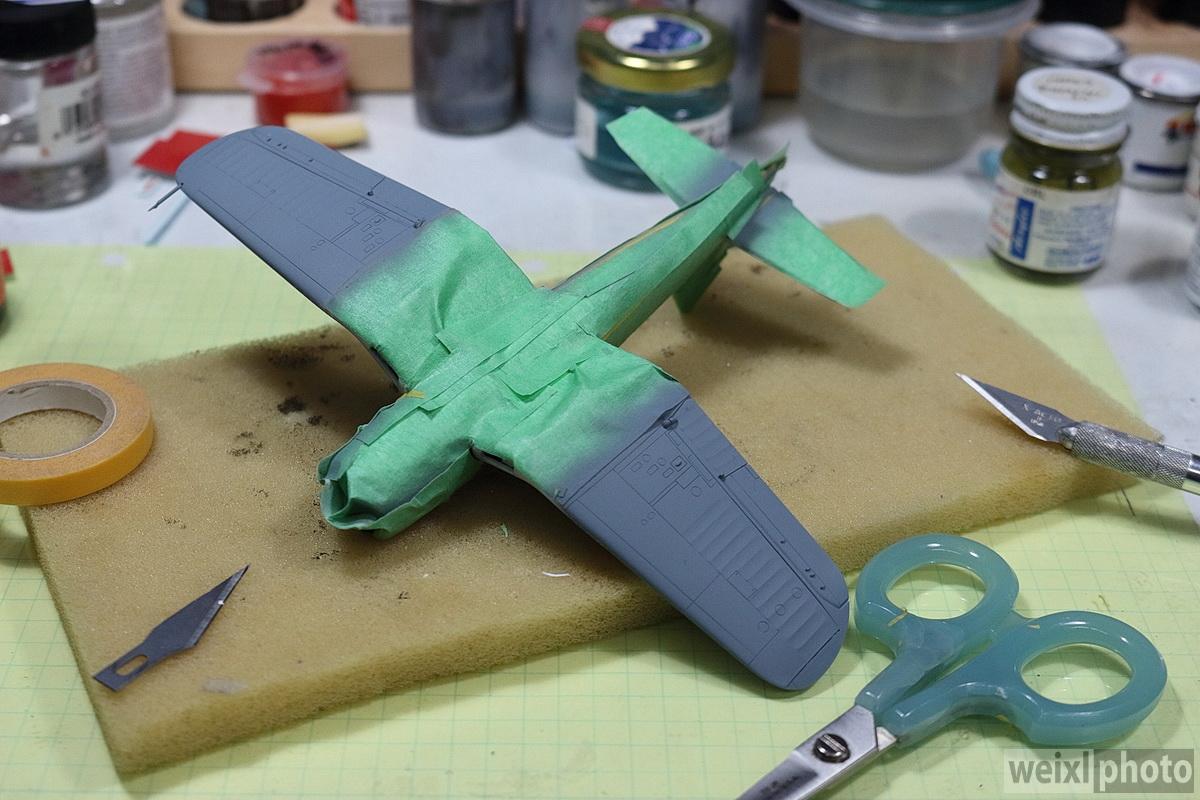
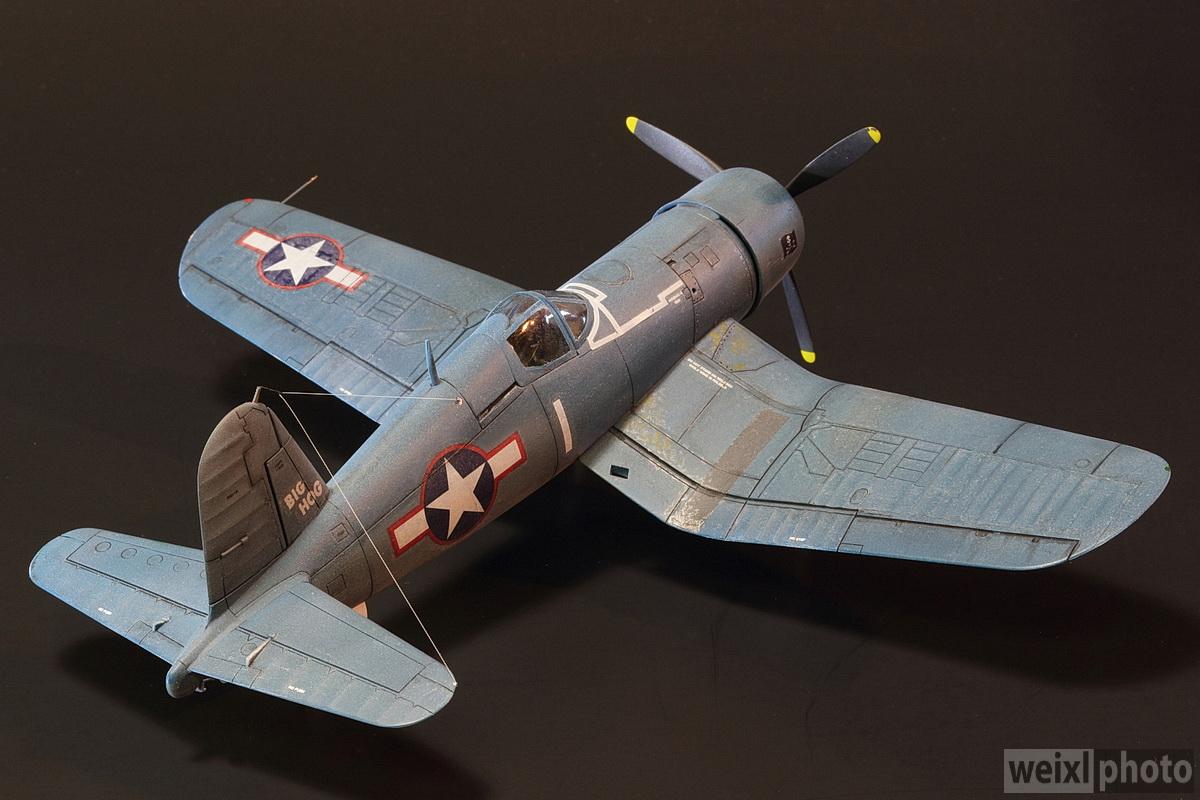
For the 3 colour paint scheme, I used Humbrol enamels and Tamiya white primer sprayed through my Paasche H airbrush. First I sprayed the lower section with Tamiya's white primer. 2nd I sprayed the Intermediate Blue on the lower wing outsides, fuselage sides and tail areas. Last I sprayed the top Navy Blue. My plan was to lighten the Navy Blue and Intermediate Blue with white to achieve a faded look. For the Navy Blue I used Humbrol #15. When lightened with white it came out much too bright, similar to a Royal Blue. To try and fix that problem I re-sprayed a thin coat of non “whitened” #15. It was still too blue. The final solution was to over spray a very thin coat of Medium blue Humbrol #155, the same colour that was used on the sides and tail, and outer bottom of the wings. This achieved the sun bleached look that I was looking for. My take away from this exercise was that The US Navy 3 colour scheme used paint colours that were actually closer to grey than blue.
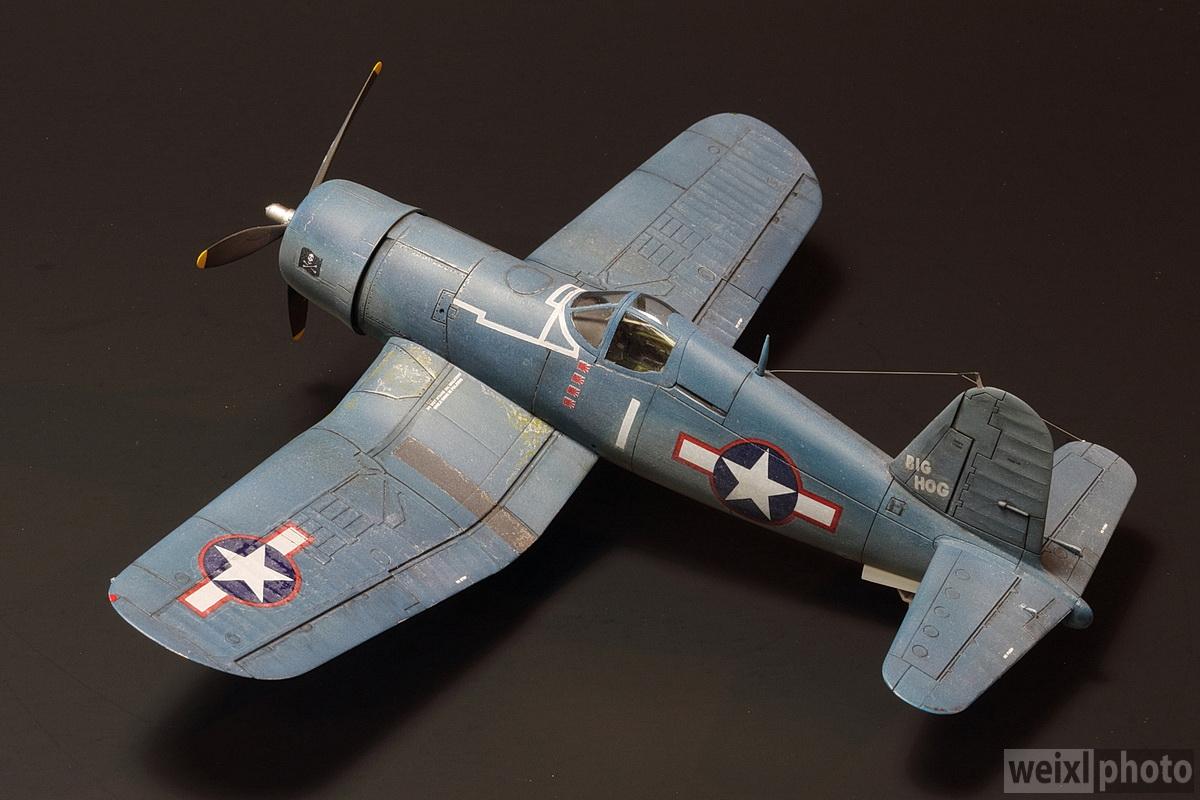
To reduce the chance of decal “silvering”, I sprayed a coat of Future to provide a gloss layer for the decals to adhere to. In retrospect I should have airbrushed a second coat of Future to provide a higher gloss, to avoid the dreaded “silvering”. Academy decals can be challenging to apply, although they look great on the sheet. Decal solutions don't seem to help. I ended up using Future as a decal setting solution which worked fairly well. The next time I use Academy decals I will trim away any excess clear decal film, as it tends to silver. To make the markings match the faded paint, I over sprayed the entire model with a very thin coat of light grey. It has come to my attention that Academy made a mistake with the size of the wing insignias. They are the same size as the fuselage insignias, but should be larger. Academy also missed the famous bullet hole damage patches that can be seen in photos aft of Big Hog's cockpit in many photos.
Before I airbrushed the final matt coat, I applied a wash to the panel lines, made from black artist oil paint thinned with lighter fluid. Any excess wash was wiped off in the direction of the airflow using a Q-Tip. The final weathering was to simulate paint wear. I used a silver pencil crayon and dry brushed zinc chromate primer acrylic paint on the high wear areas of the wings.
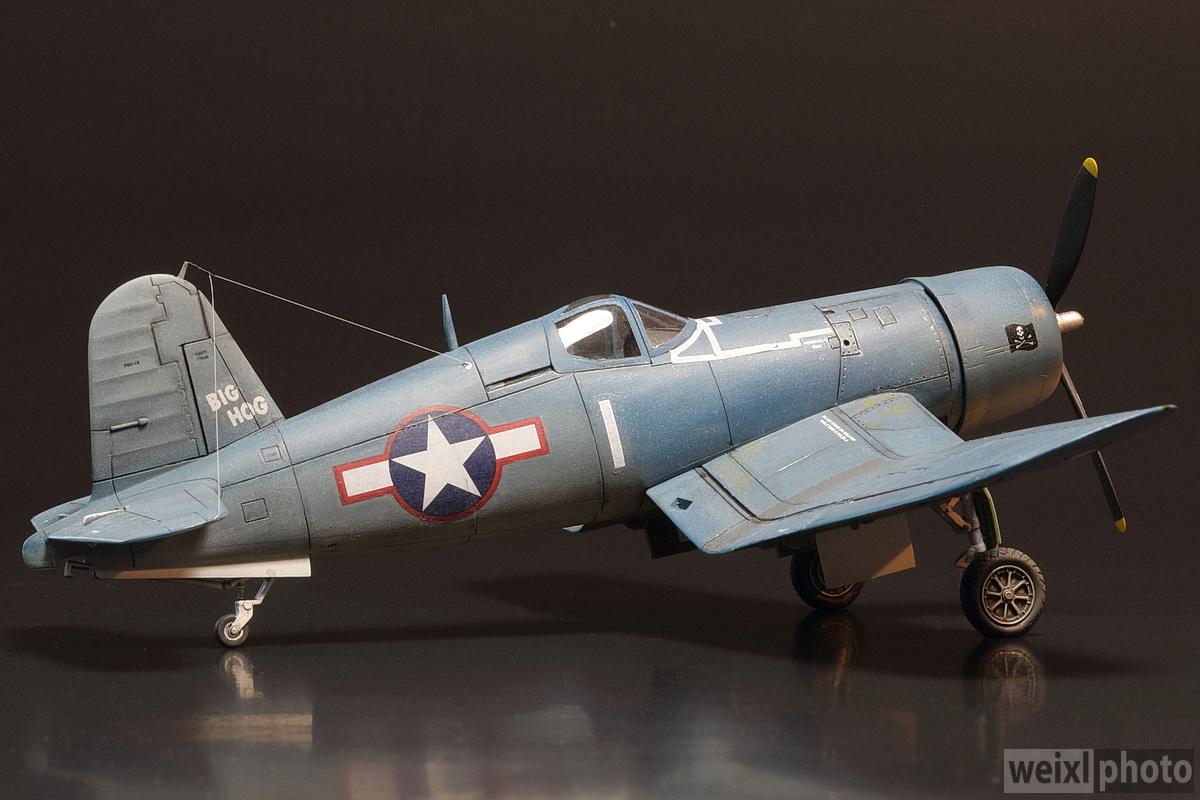
During my research I noticed that Corsairs have many different antenna configurations. I found conflicting information on what would be accurate for the “Big Hog”. I contacted Jim Sullivan, author of multiple Corsair books. I met Jim online through another modelling project. Jim graciously provided me with many reference photos and even a hand drawn sketch showing how Big Hog's aerials were configured. I made my antenna wires from sprue that I stretched over a candle flame to a very fine diameter. I attached the wires with tiny blobs of CA glue. To tighten the wires, I carefully waved a recently blown out match underneath the wires. The heat from the match head tightened the wires just enough to remove any wire sag.


Very sharp work especially the paint and weathering.
Thanks Dale.
A great looking "Hog"! I've had problems with Academy decals I there P-40M/N kit.
Ah yes. I love the corsair. I've actually built 4 of them. There will likely be more lol. I love seeing them on here. Well done!
Thanks Jordyn. I have a 1/48th Tamiya Corsair build in my future.
a beauty
Thanks Bob.
That's a spectacular build, Don. Excellent in every way. Hard to believe it's 1/72. Could easily pass it as 1/32.
Congratulations!
Thanks Spiros.
Looks good Don.
Thanks Allan.
Nicely done Don, especially in that scale.
Thanks Tom.
A real beauty! All that work paid off!
Thanks Greg. A bit of a struggle with the colours but ended up turning out OK. Never give up! LOL.