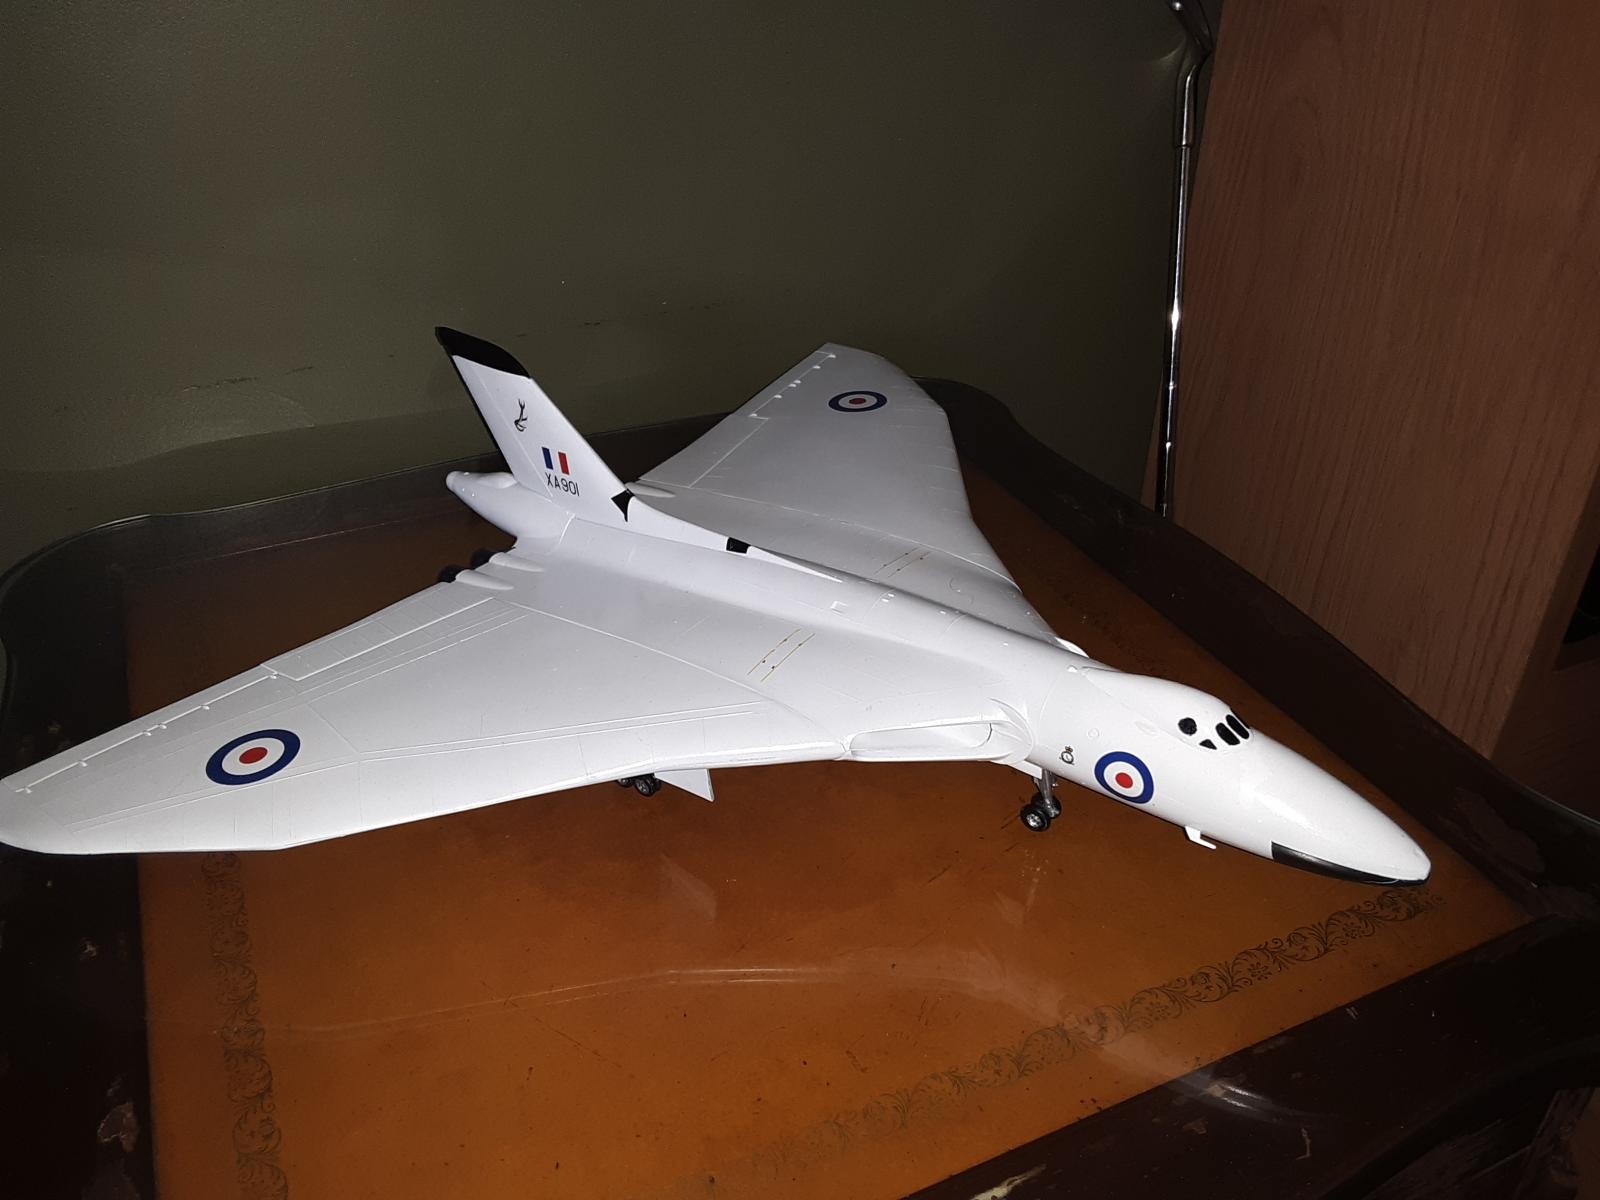
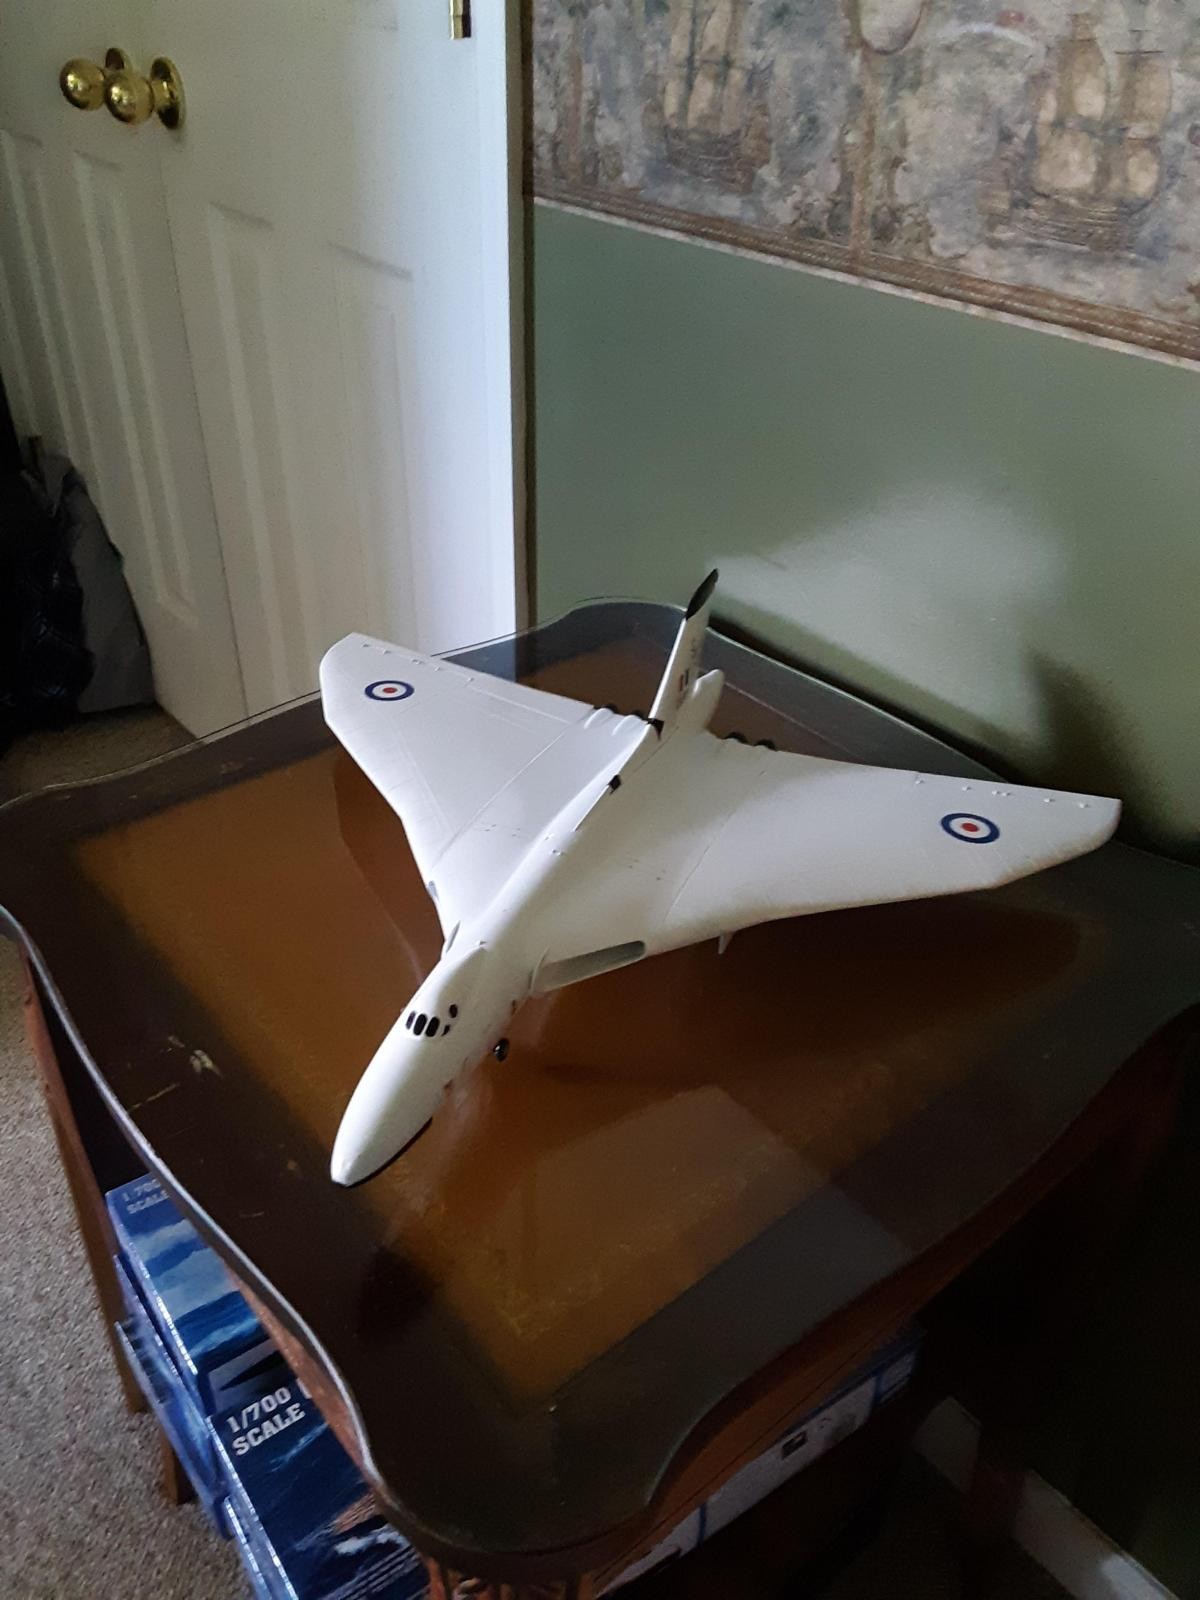
Avro Vulcan 1/72
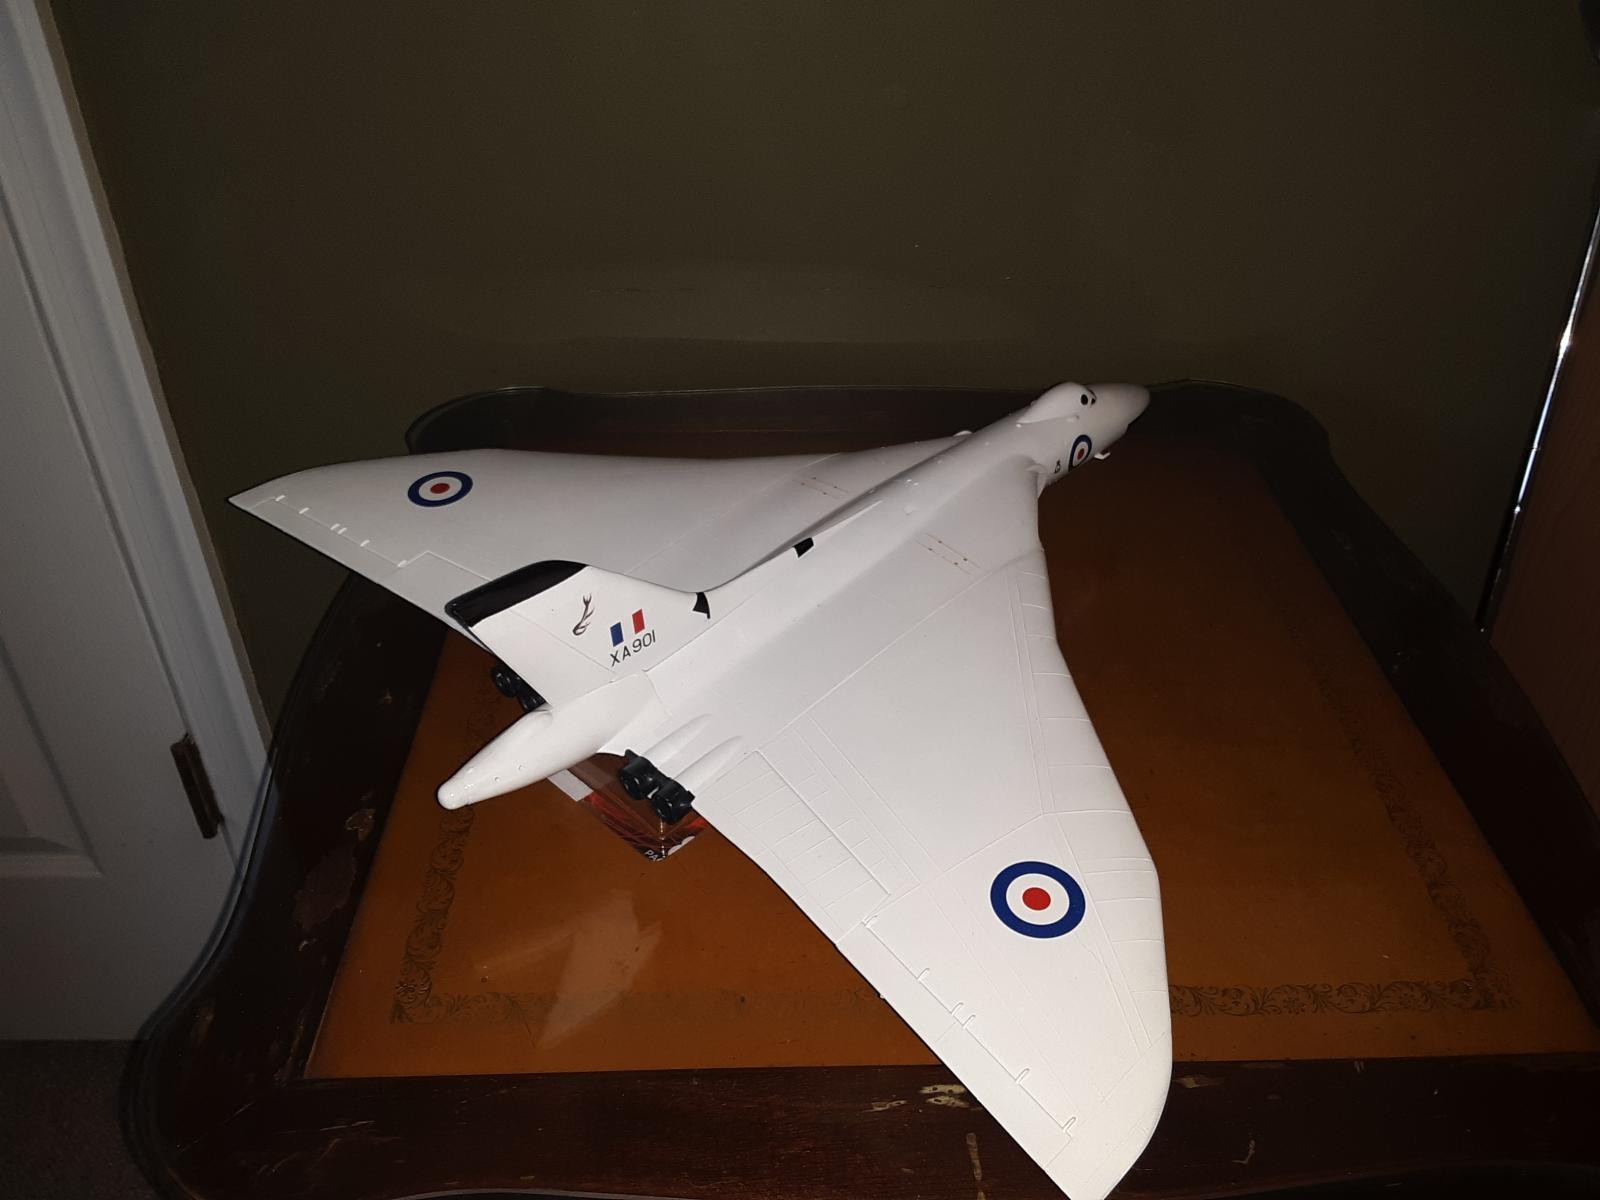
This has to be one of my finest models and I never expected it to be. It is an Airfix kit and had its fair share of problem, but now looks great and is a great addition to my room. I decided to sharpie over the cockpit instead of keeping it clear. I must say I think it gives it a more "bought" look that I appreciate, especially since the cockpit had little to no detail on the inside. On an interesting side not I tried to way the nose down with bbs and some red testors glue and it melted into the thick plastic of the nose over the course of a few day (can you see it in the underside photo?) The black nose kept it hidden pretty well.
All and all a fun build that I am proud of. Cant wait to see your guys comments!

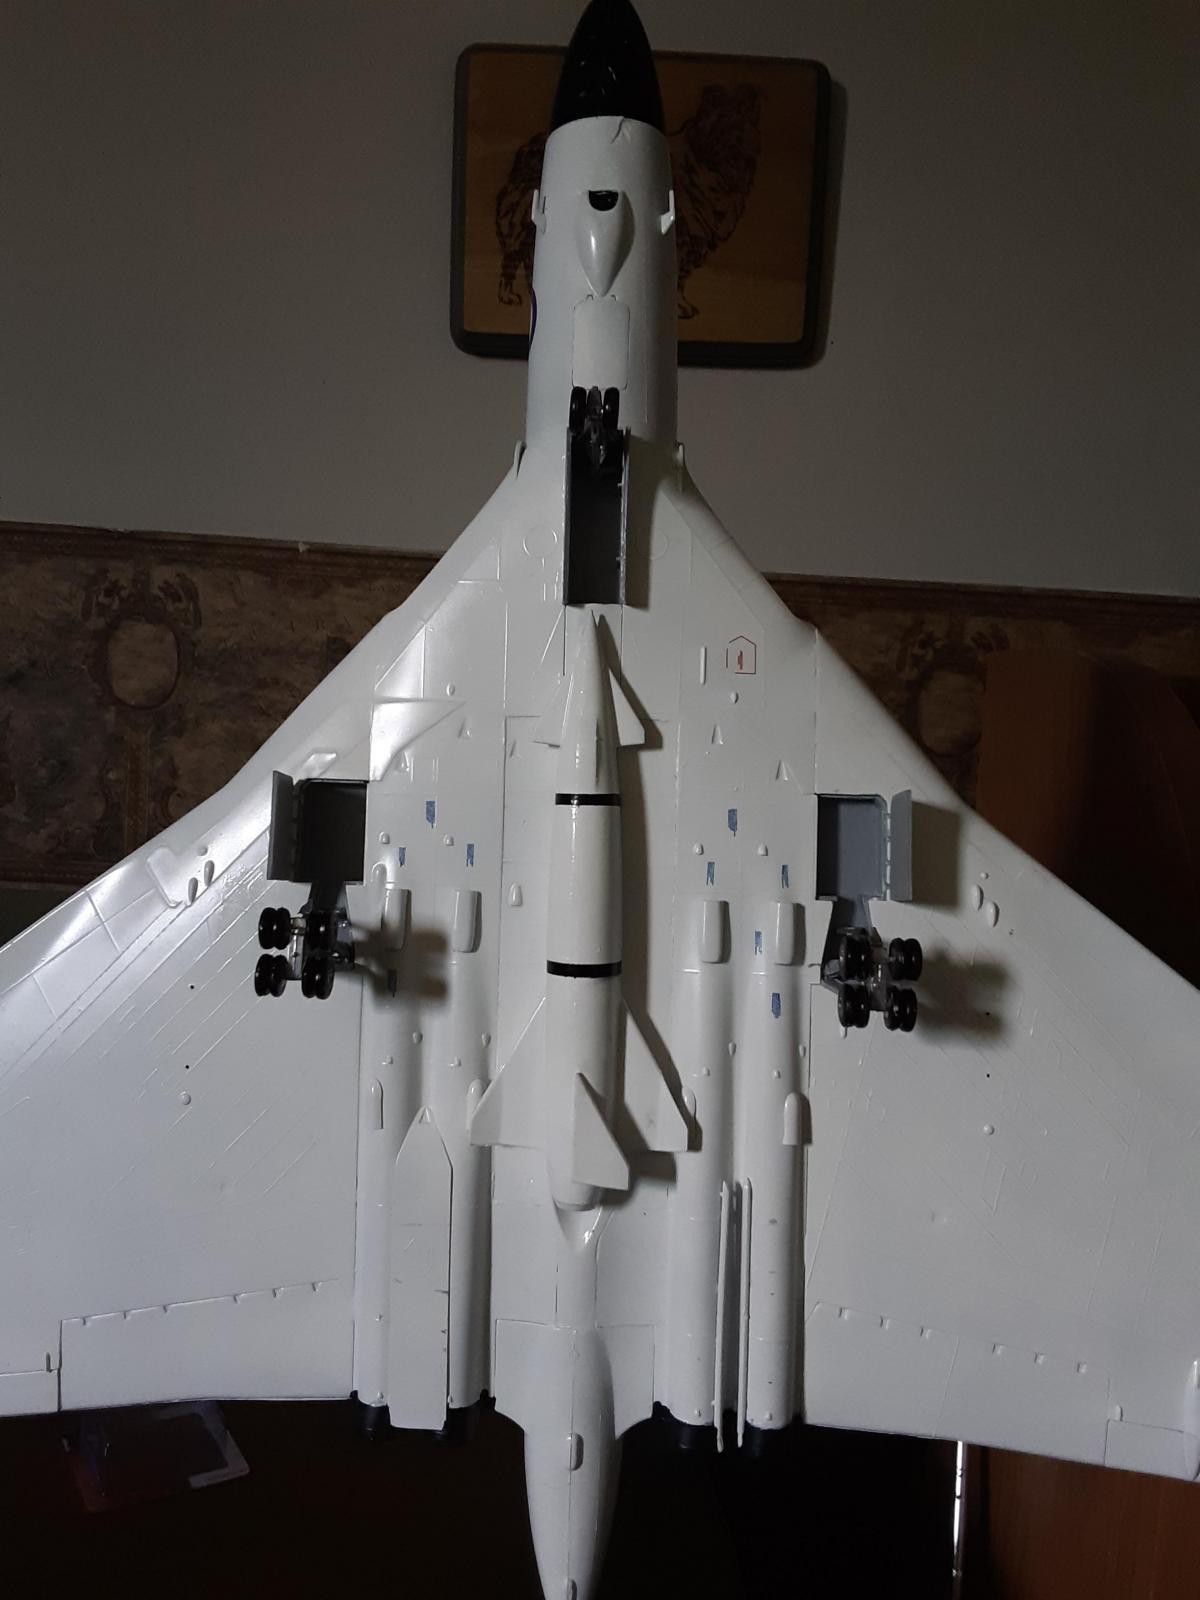
Quite a nice model there! Seems like something is missing in the third picture though. 😉 Nice build!
Nice build Jonathan. Well done.
Even at 1/72 this is a huge plane.
Thank you
Nice Vulcan in white! I like the ghostly image of the underside the table gives it in the second shot. Next time you glue some weight into the nose of a model use thick CA (and some accelerator if you want) or two part epoxy. They won't melt the plastic like styrene cement will. (And yes, the black hid any abnormalities very well!) I have this kit too (with XH558 markings) but I am waiting on the release of their new tool Vulcan!
Looks great! I did the same thing when used a metal pin for a pitot tube in the nose of an old Revell Draken, talk about melt down.
I know right! the weirdest thing is that it started out small enough to where it could be sanded, but then grew over a few days to pretty big spot. I wonder sometimes if it is still melting even now.
That's a great Vulcan Jonathan!
Looks awesome in white; very imposing!
Have the XH558 built with the wraparound camo, as I do love that camo and thought it was the best looking Vulcan, ut seeing your model i can see white is equally great, or better even!
For the weight melting styrene issue, apart from cyano, you may even consider using children's modelling clay to squeeze and secure the lead weight into place. Just take care to form the whole stuff in such a way, so that it will be tightly snuggled into place.
All the best!
Thank you, I love the white but would have agreed a month ago that camo was best. Now after building the white I definitely say that it is my favorite by far. On a side note I like to use clay to heavily weigh down my model ships... I love doing that. So I do have clay on hand and may use your idea in future builds.
Nicely done Jonathan, looks good, I make a plaster mold to cast lead into and use super glue to hold it in place ! ---- I too am waiting for the new tool kit !
2 attached images. Click to enlarge.
1. I make another plaster casting around this to pour the lead into once it is completely dry !!
1. Cast lead weight super glued in
Nice work there. Do you know when the new tool kit will be released, it sound interesting.
I love Allan's @kalamazoo idea, as it takes advantage of all the available space to put weight. Especially at some "difficult" planes that spaces to put lead are very limited (Monogram 1/48 P-39 Airacobra pops up...), this technique will make the difference between failure and success.
Thanks Allan!
I put quite a bit of bbs in mine but the plane was so heavy it did not matter. Hopefully something like this would be more appropriate because of the amount of weight you could use.
Nicely done.