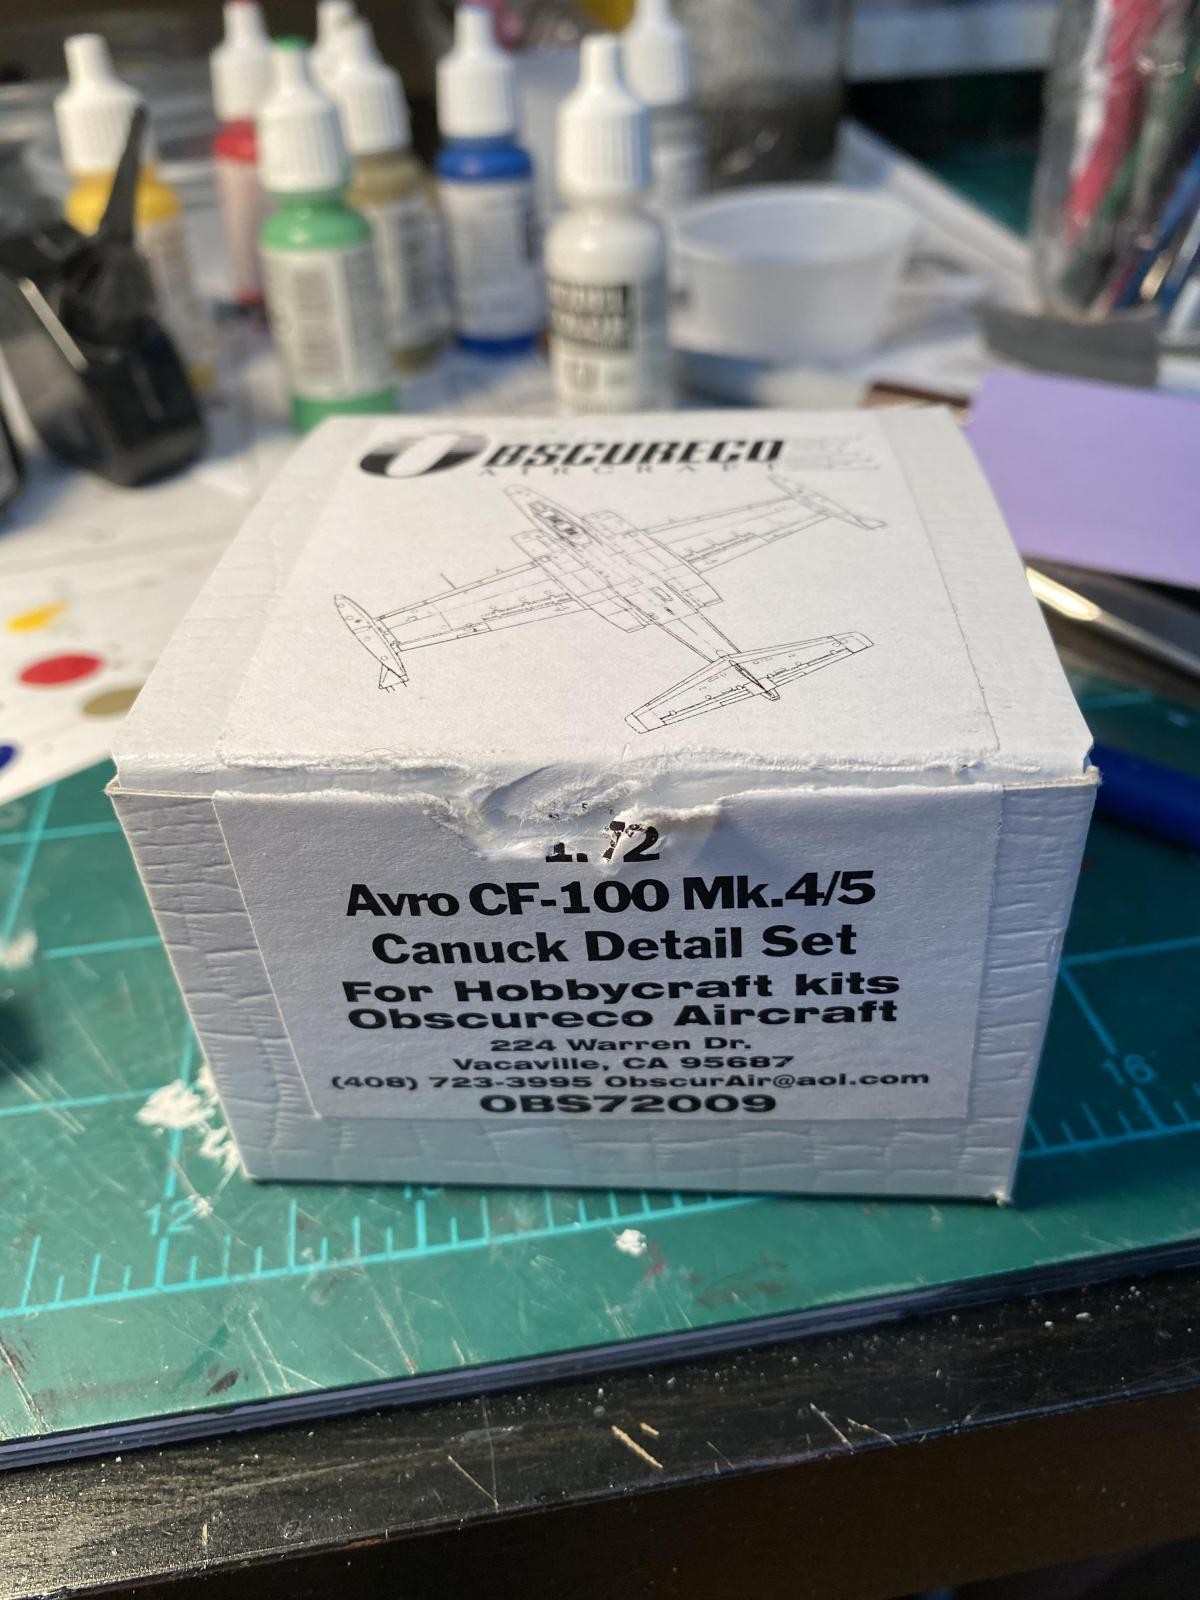
Hobbycraft 1/72 CF-100 (Hypothetical)

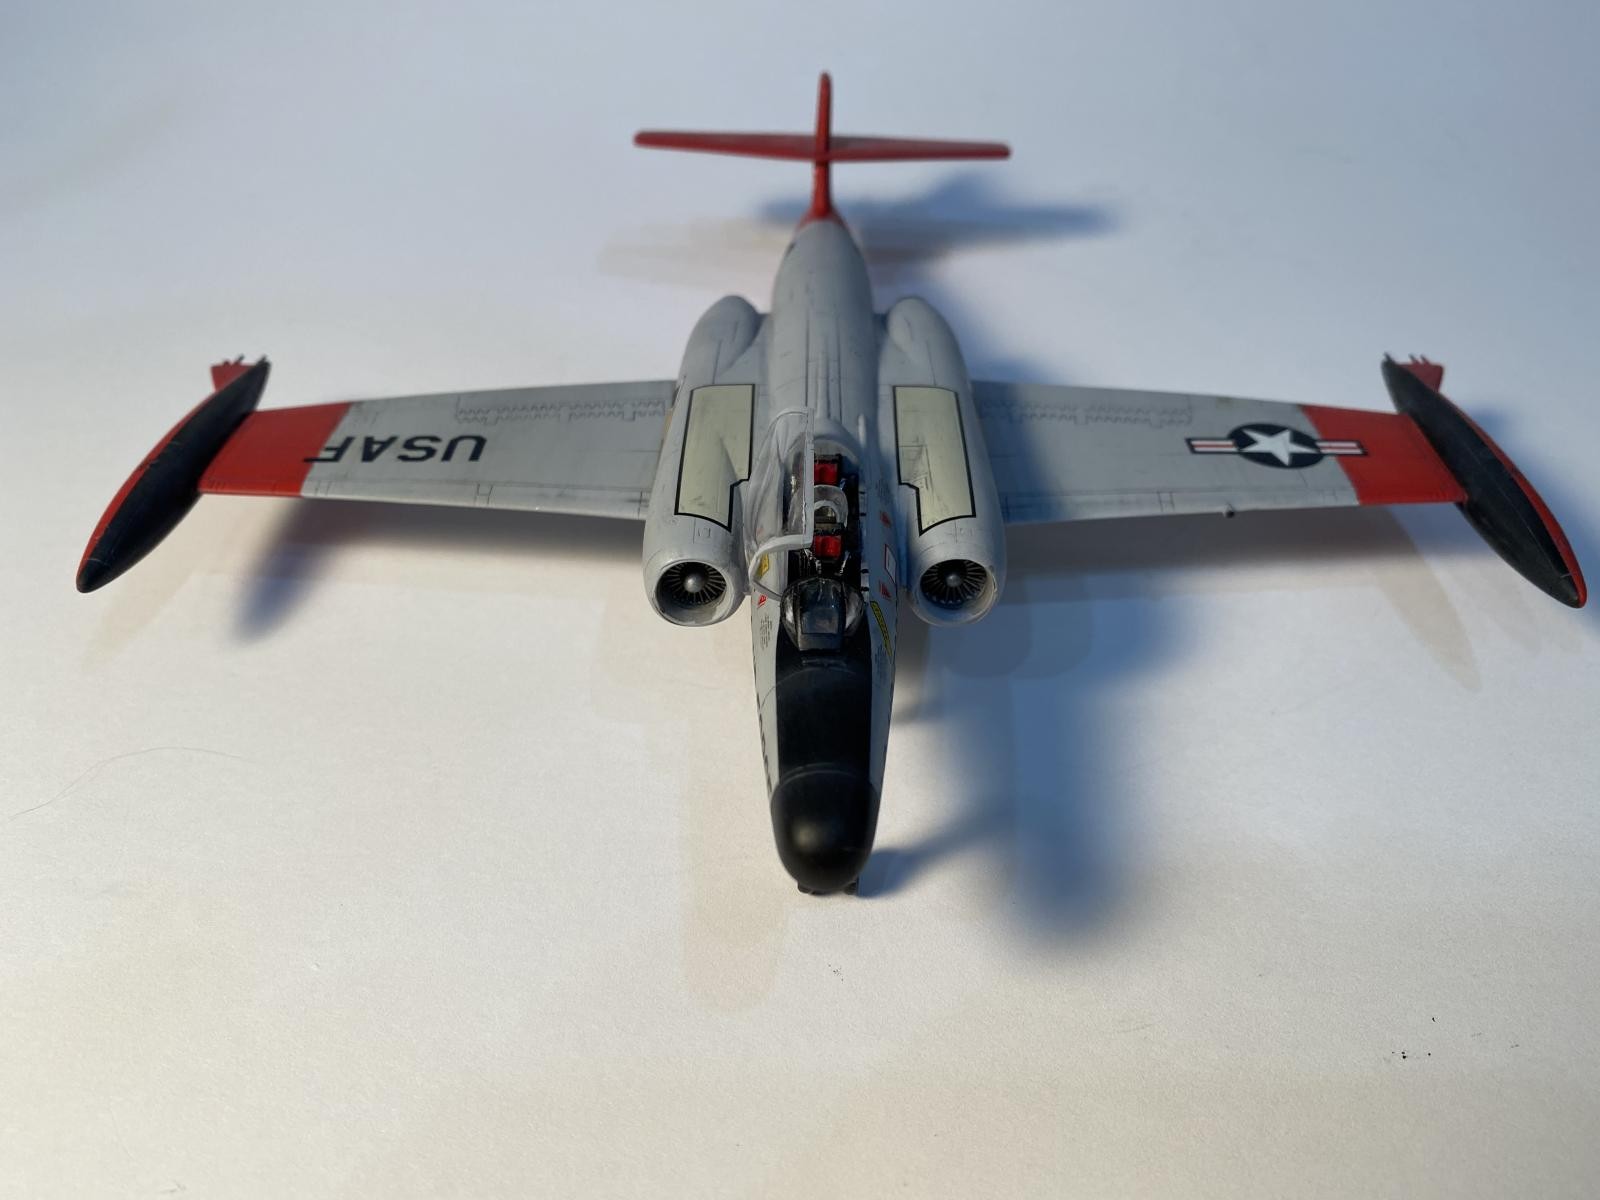
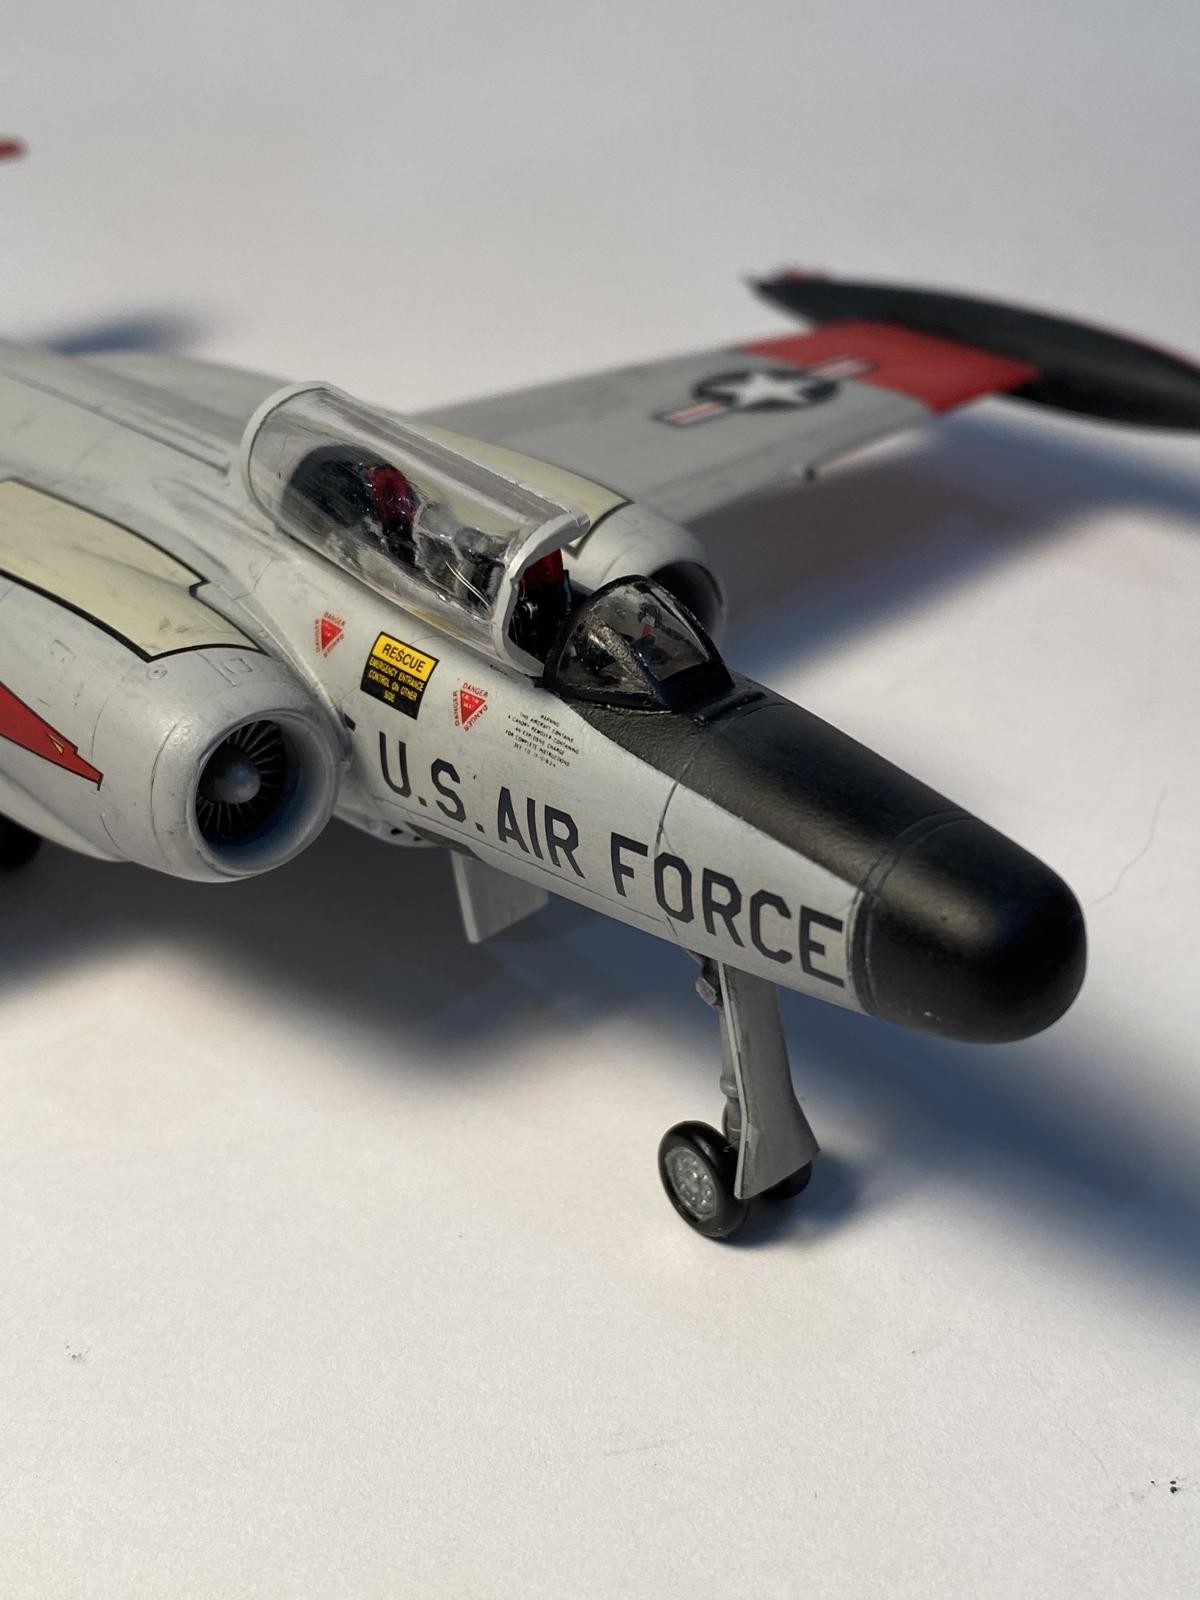
This kit called to me from its shelf in the garage, and I wanted to build something different. I sometimes build a kit in a paint scheme that never actually existed, and this is what happened here. To make it more plausible in my mind, I always create a backstory for the plane, and this guides the paint and markings. So, here is the fictional story for the CF-100: The Americans were developing the F-101 Voodoo, but ran into some problems. So, they decided to buy the CF-100 as an interim all-weather interceptor instead of the F-101 Voodoo. The paint scheme and markings for this model hopefully portray that idea.
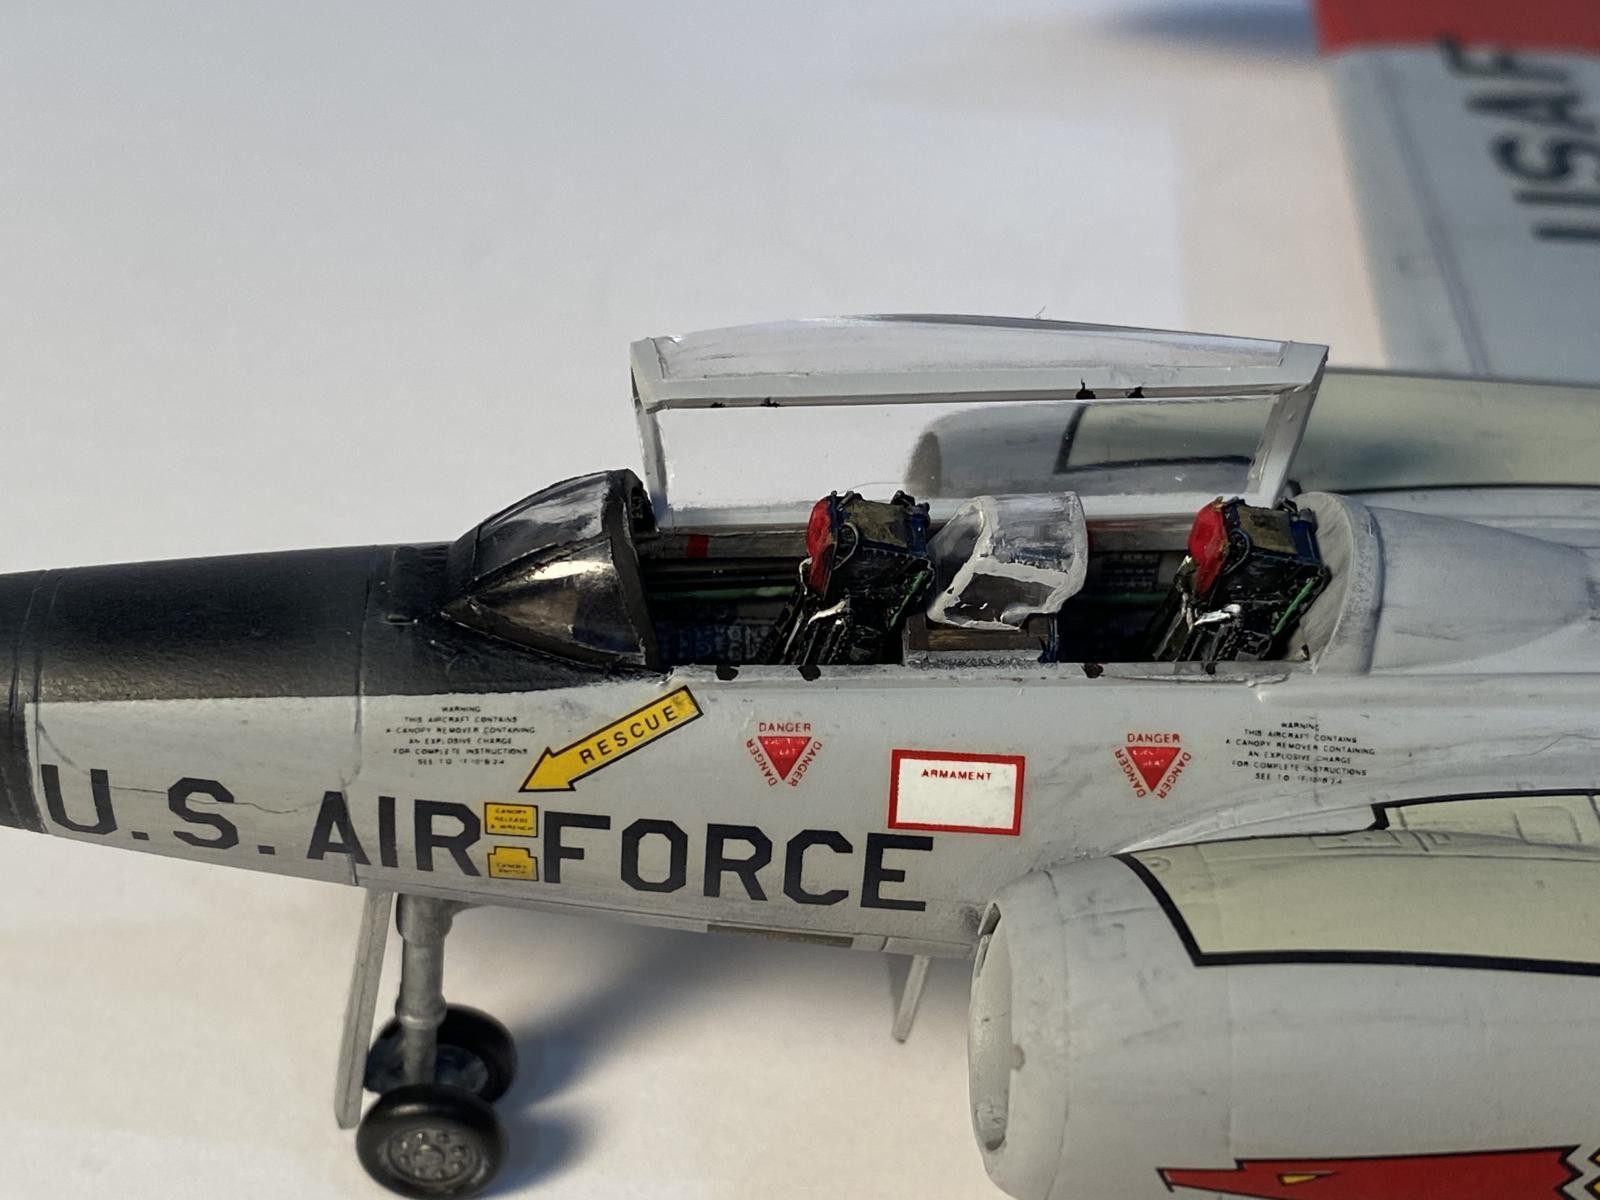
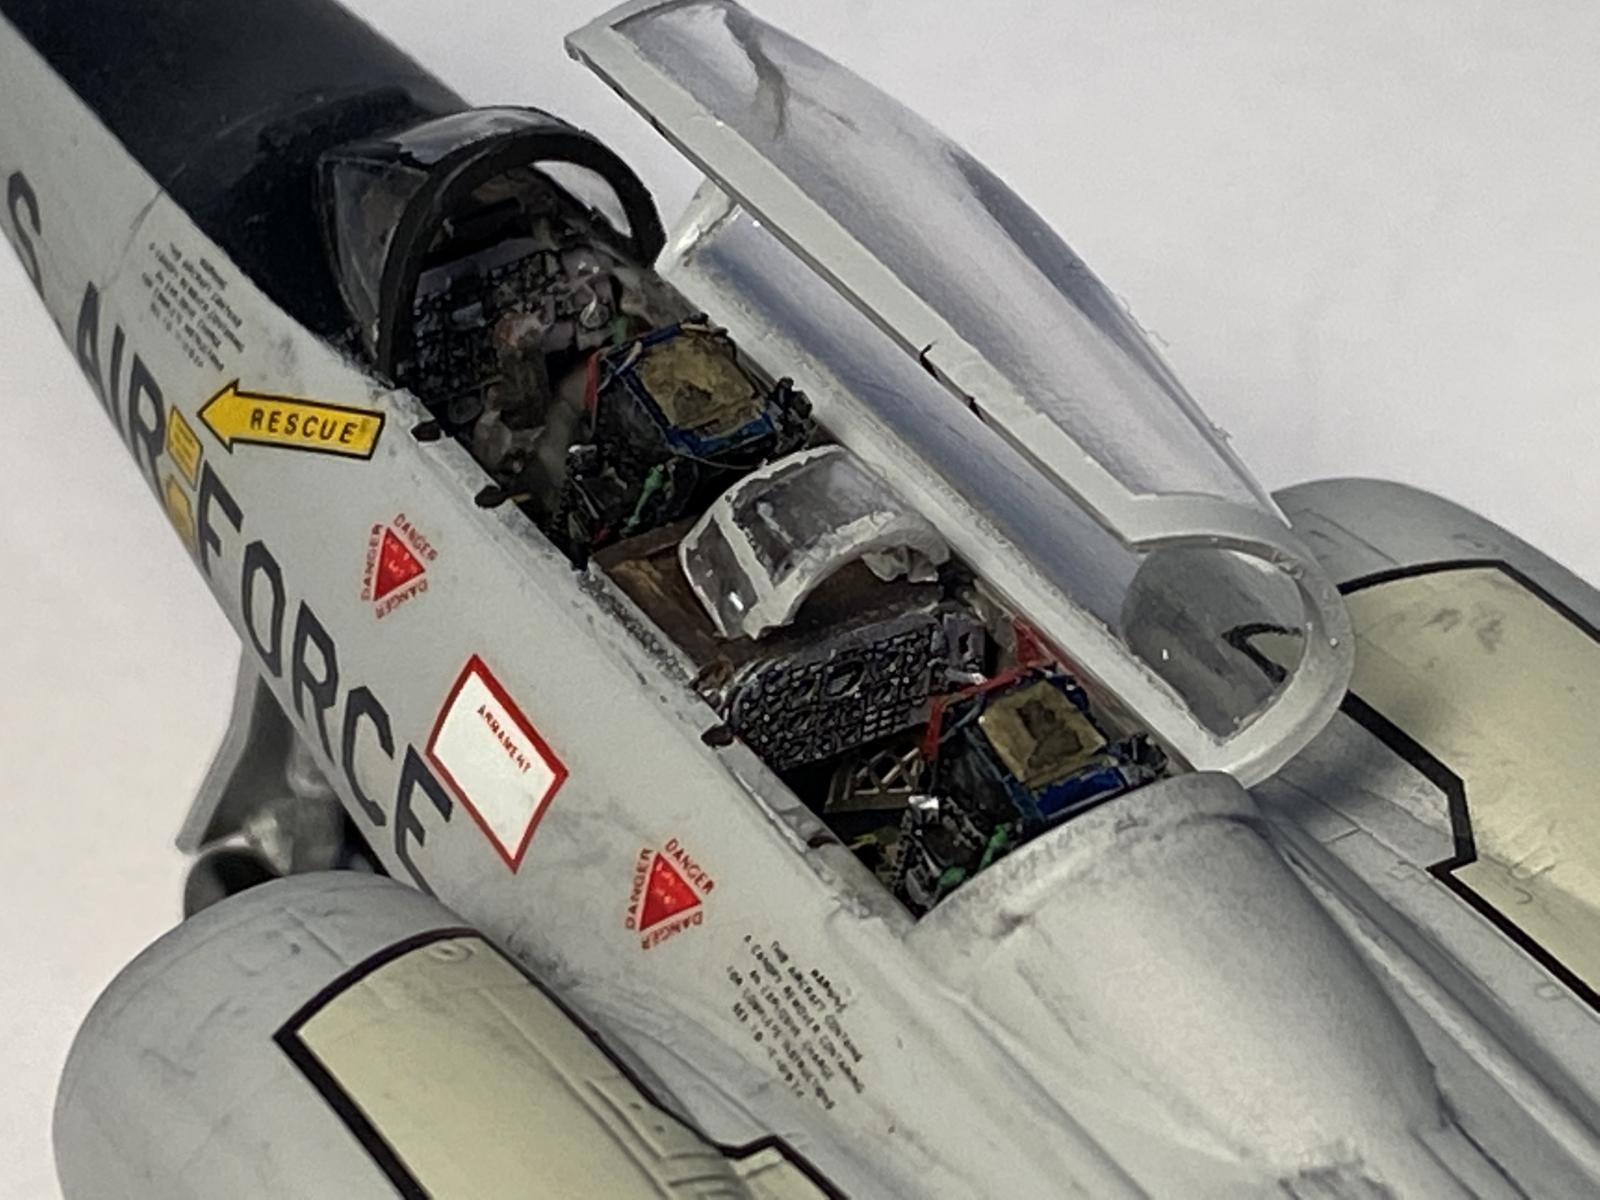
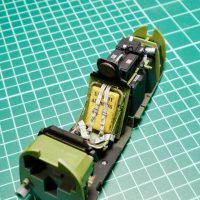
Building this kit was a good news, bad news proposition. The details are on the soft side, especially in the cockpit which consisted of a tub and two seat blobs. The kit didn't even include any form of instrument panel or decals to represent the instruments. I wanted to dress up the interior and open the one-piece canopy, so that's where most of my time was spent. The good news was that the model went together fairly well.
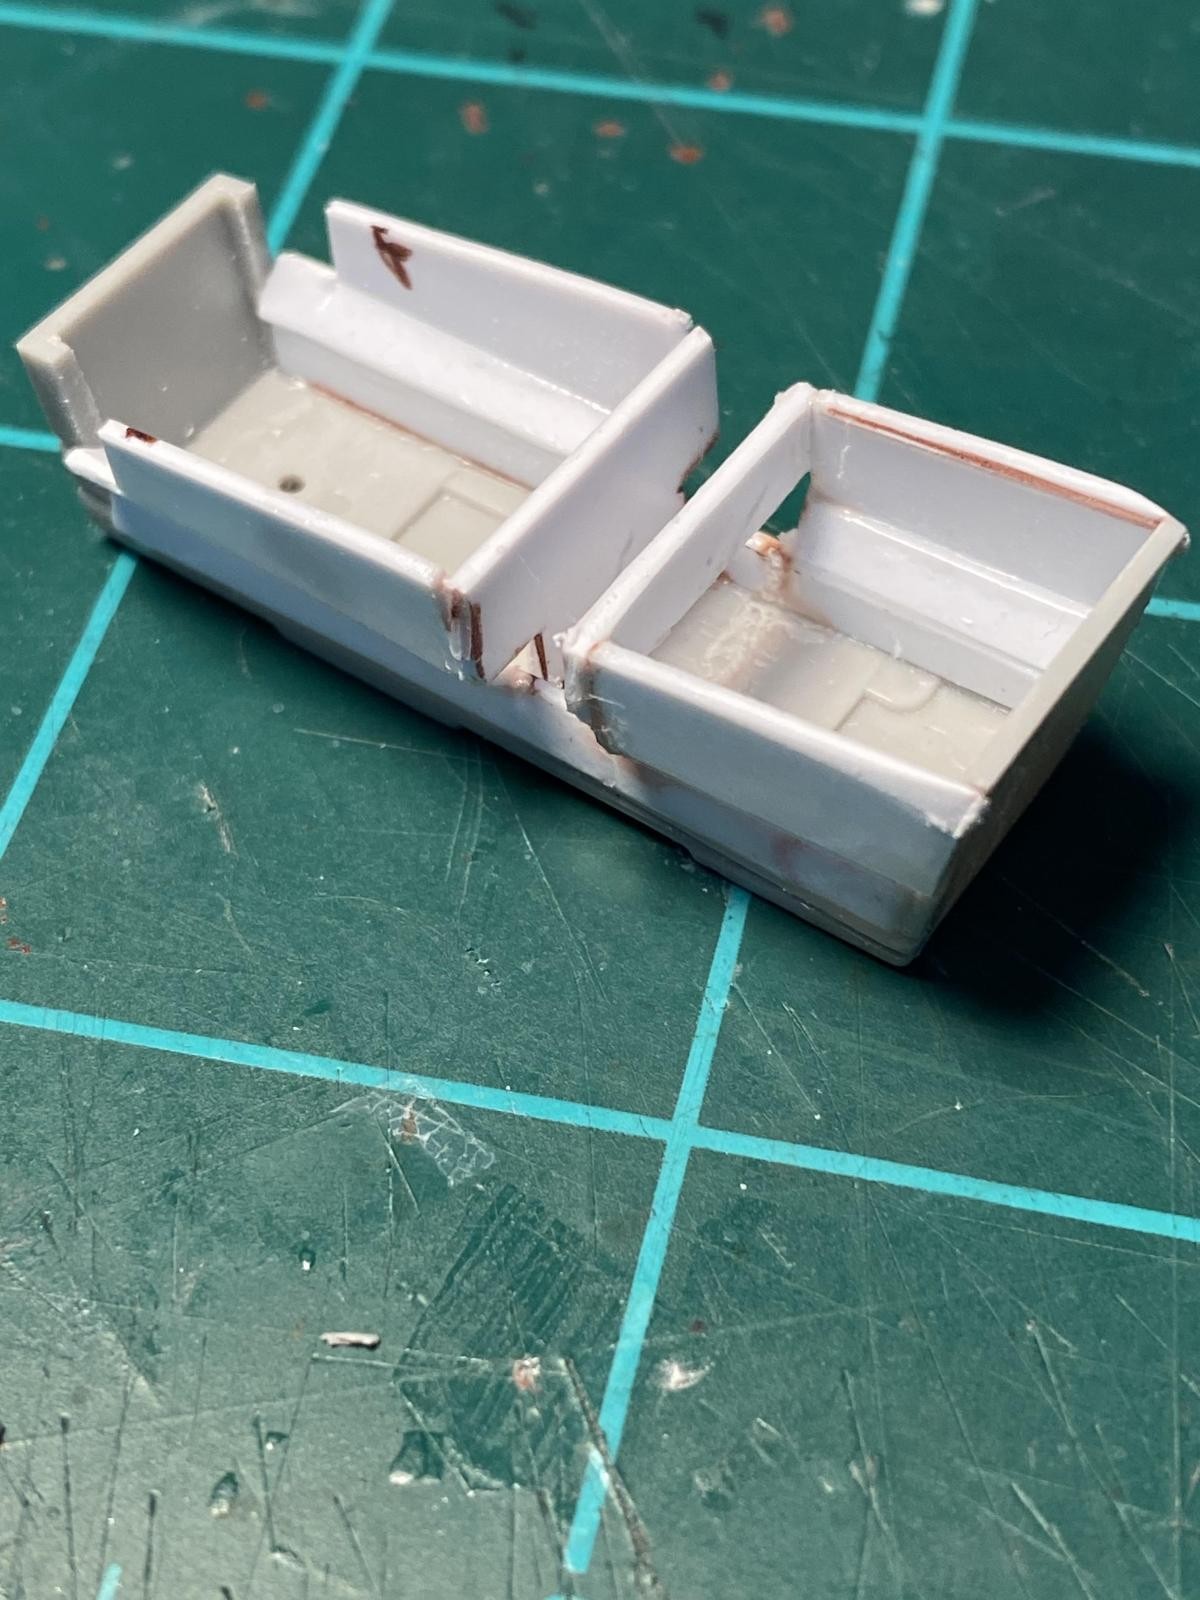
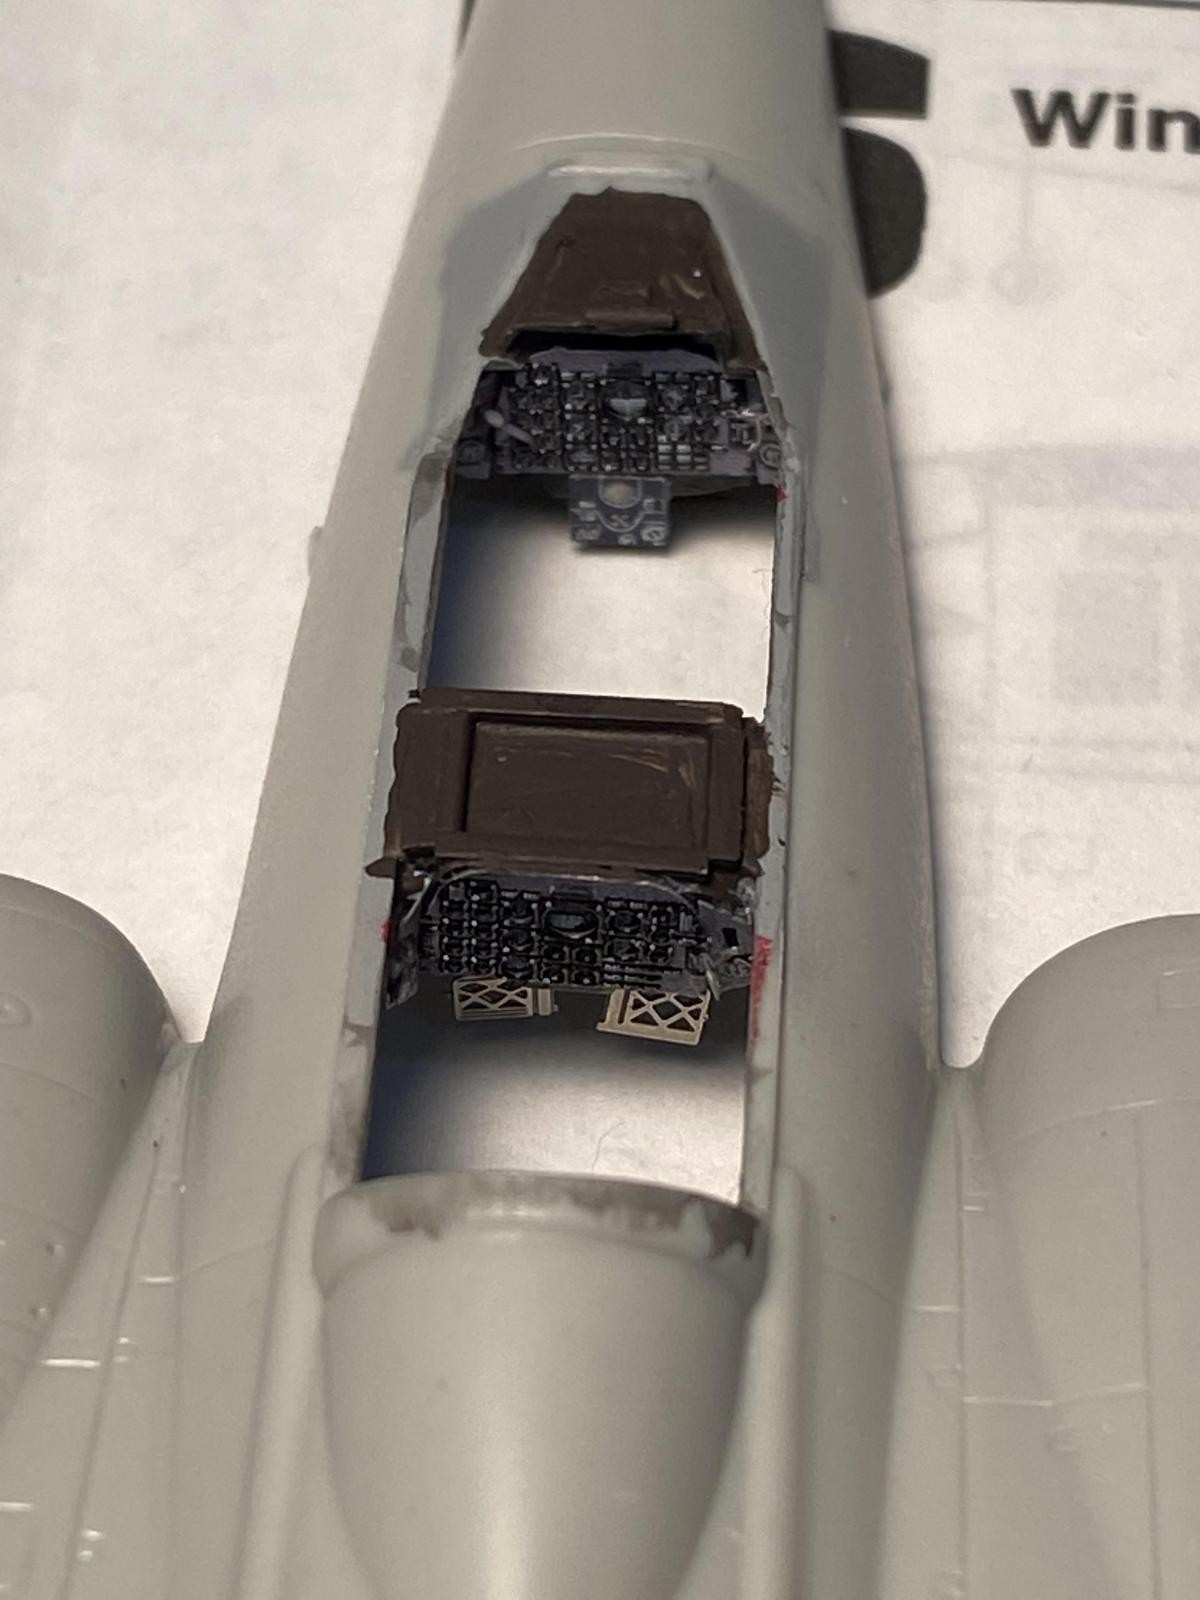
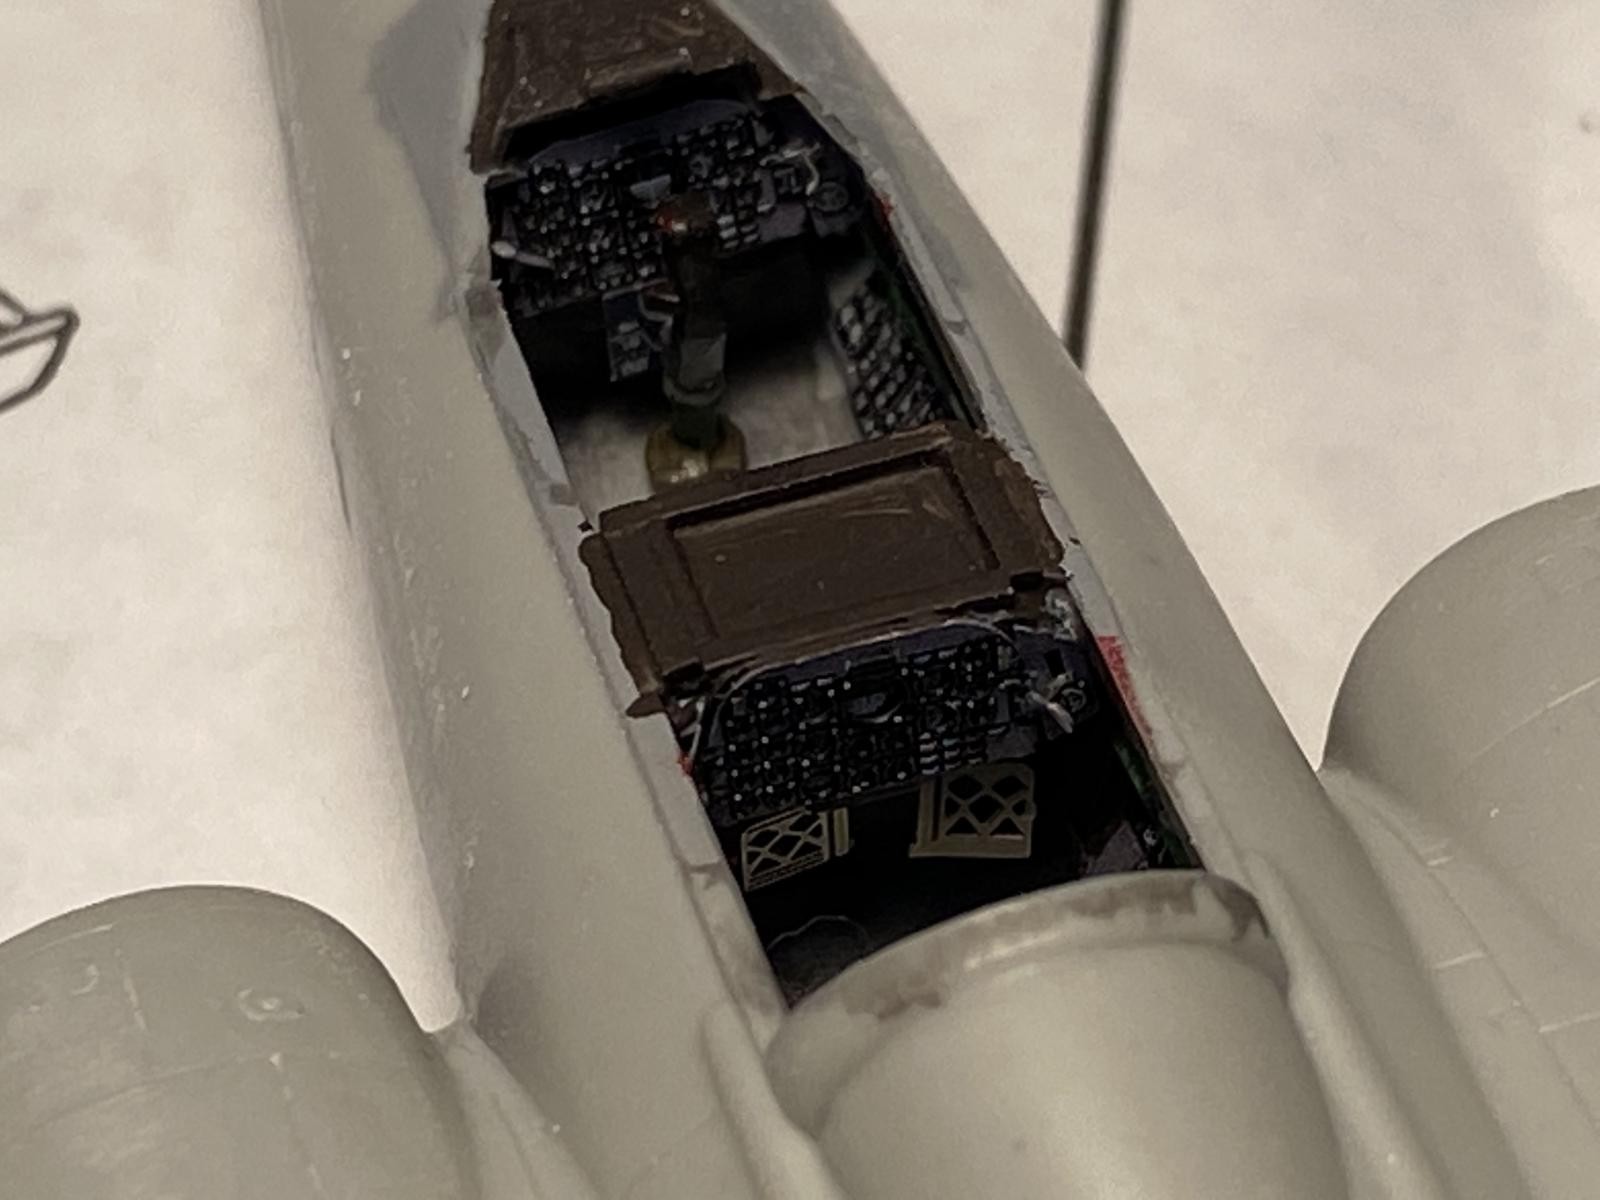
The plastic cockpit tub was too narrow to allow for any details, so I cut off the sidewalls of the tub and built up some structure with plastic. I found some pictures of the CF-100 cockpit, and tried to build something that would give the same crowded, 1950s feeling. I used spare parts to flesh out cockpit, including some spare ejection seats for a Gnat and spare photoetch from several different packages.
-
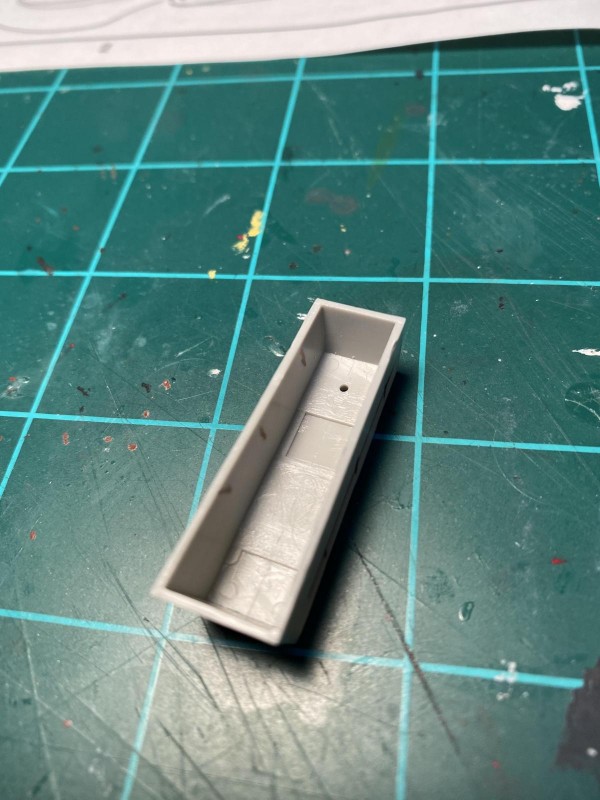
- 1. original cockpit tub

-
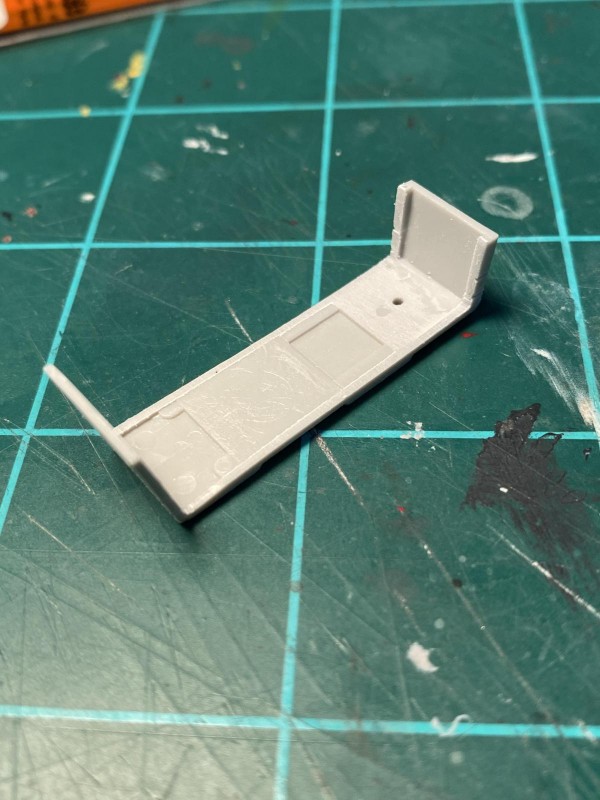
- 1. sides removed

-
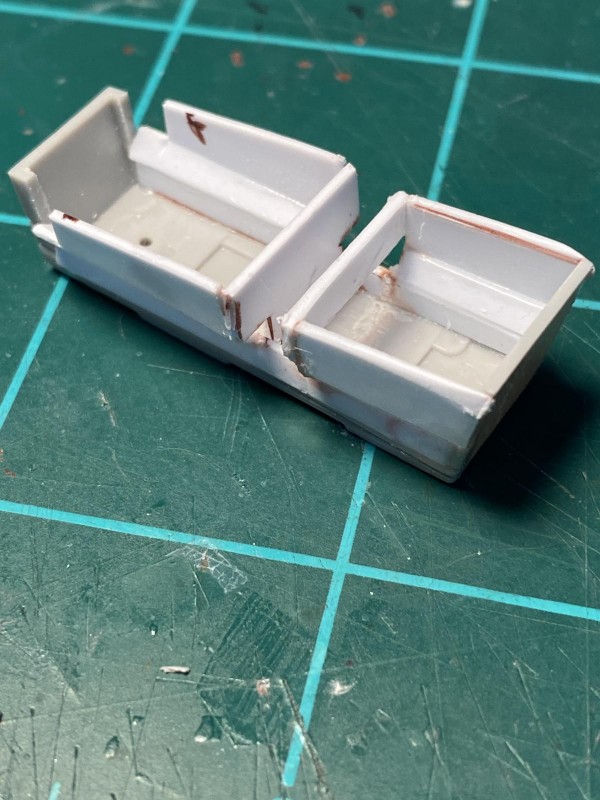
- 1. basic structure added
-
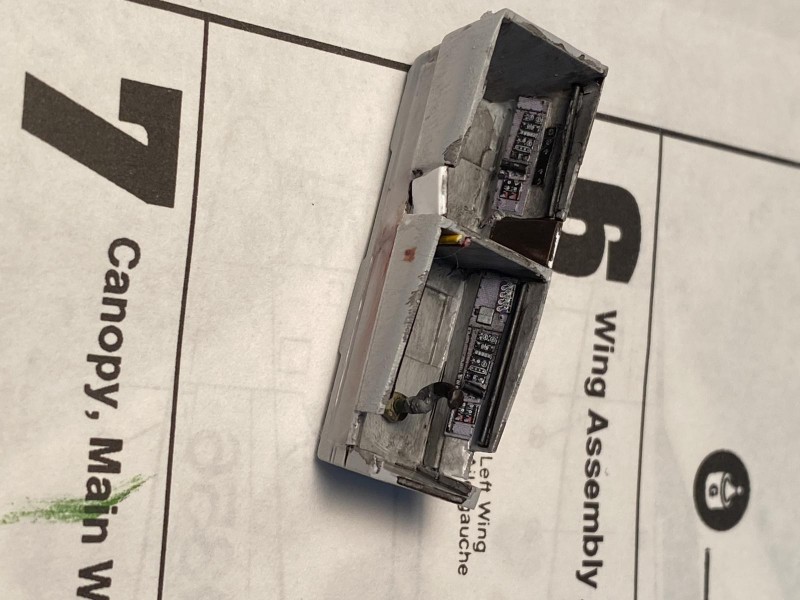
- 1. photoetch odds and ends added

-

- 1. Instrument panels and rudder pedals added
-
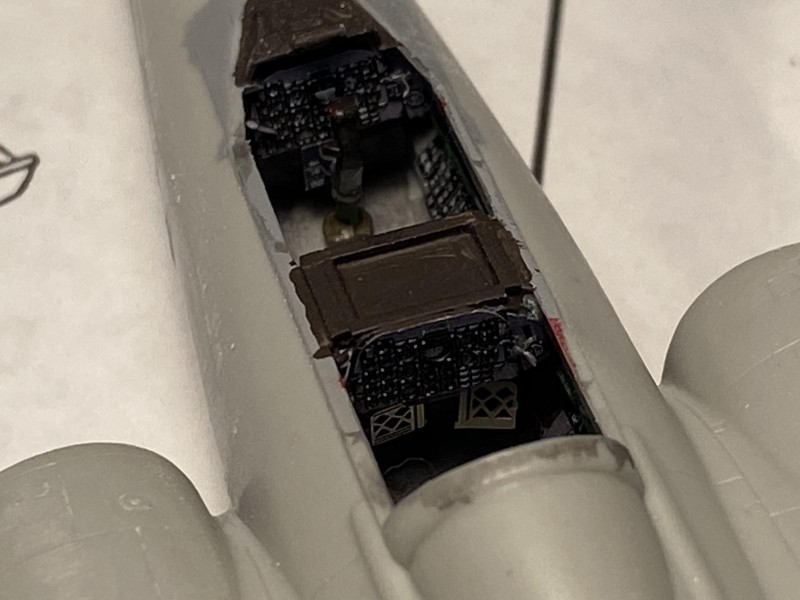
- 1. Interior coming together
After I had finished the cockpit, I discovered that many years ago I had purchased a resin cockpit set from Obscureco for the CF-100. I have a second kit of the CF-100, so I decided to save the resin replacement for the next build of the CF-100.
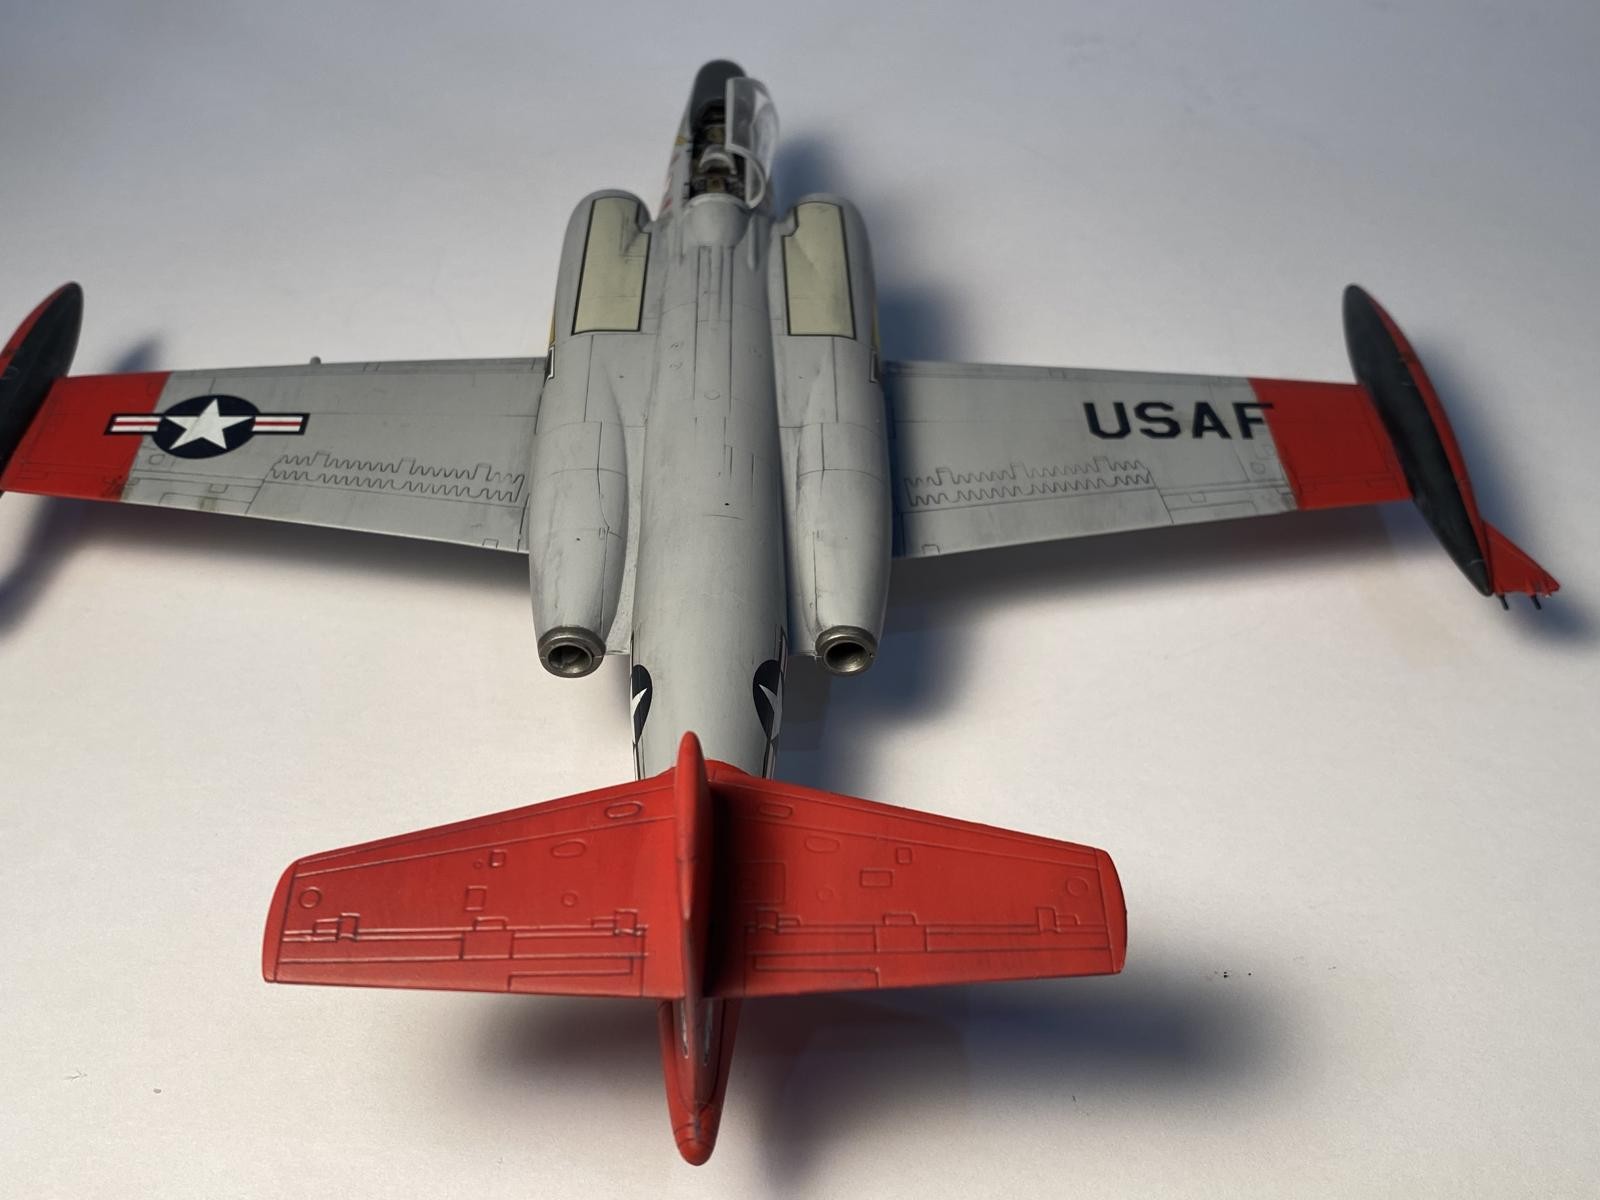
My initial inspection of the kit parts made me think that there would be some problems. The wings attached to the fuselage in what was essentially a butt joint, and the same type of joint was used for the tip tanks. Much to my surprise, none of these areas caused any problems at all. The entire tail assembly is separate, probably allowing for a different version, but it also went together fine with some putty to blend it in. There was a problem with the vertical stabilizer, which was warped to the port side, which caused the horizontal surfaces to tilt significantly. A lot of glue softened it sufficiently that some clamping eventually pulled everything into line.
-
- 1. Butt joints everywhere

-
- 1. Not a lot of putty required, but it was needed everywhere.

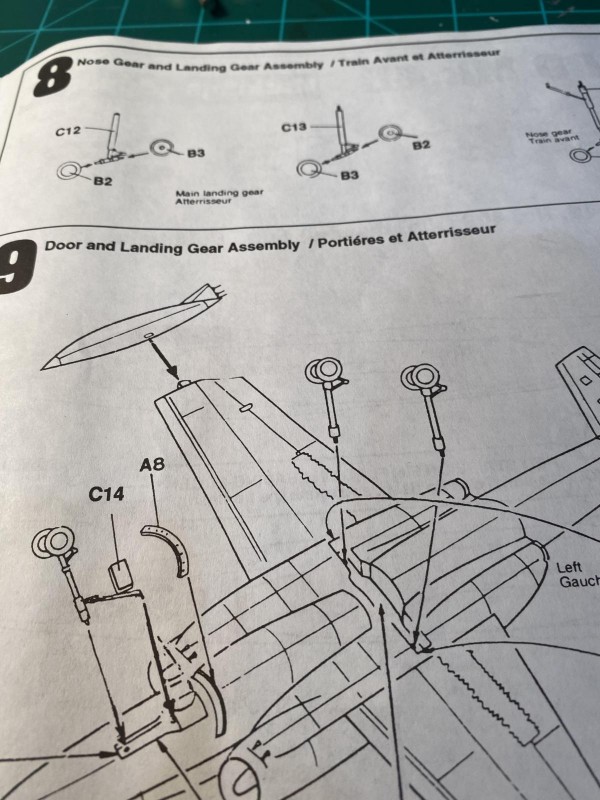
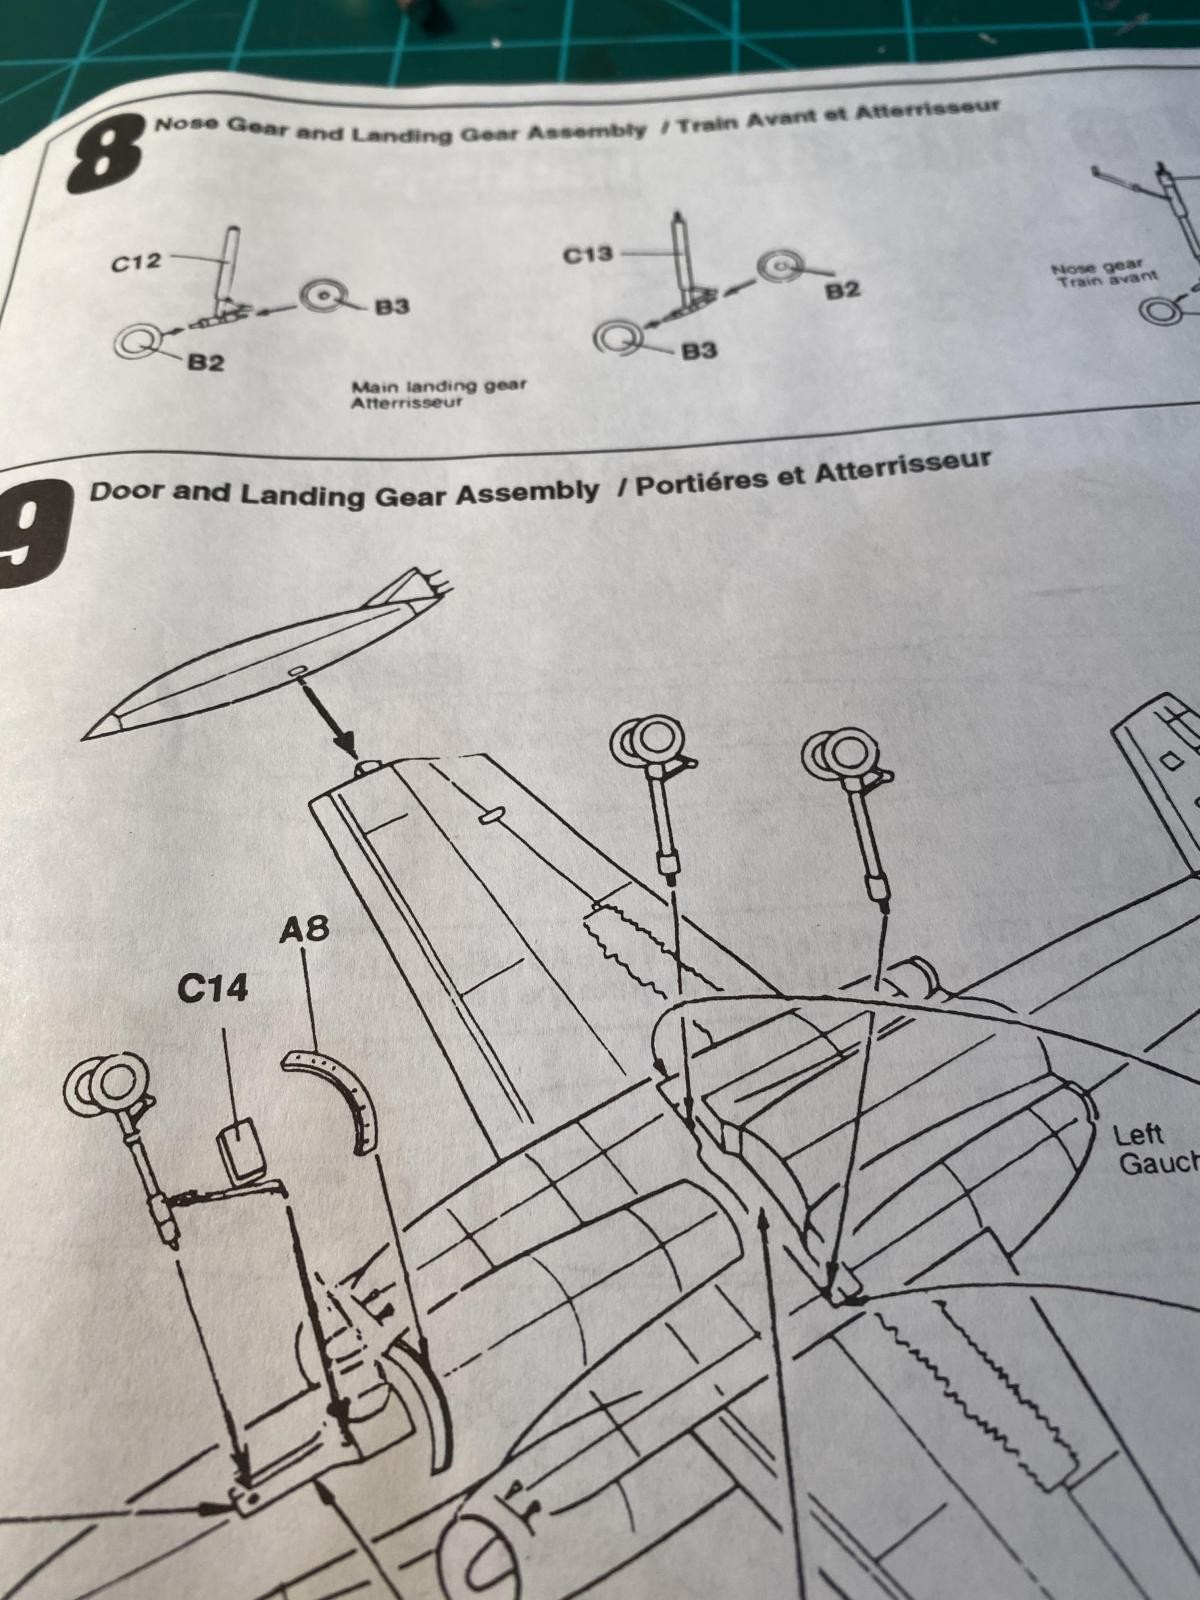
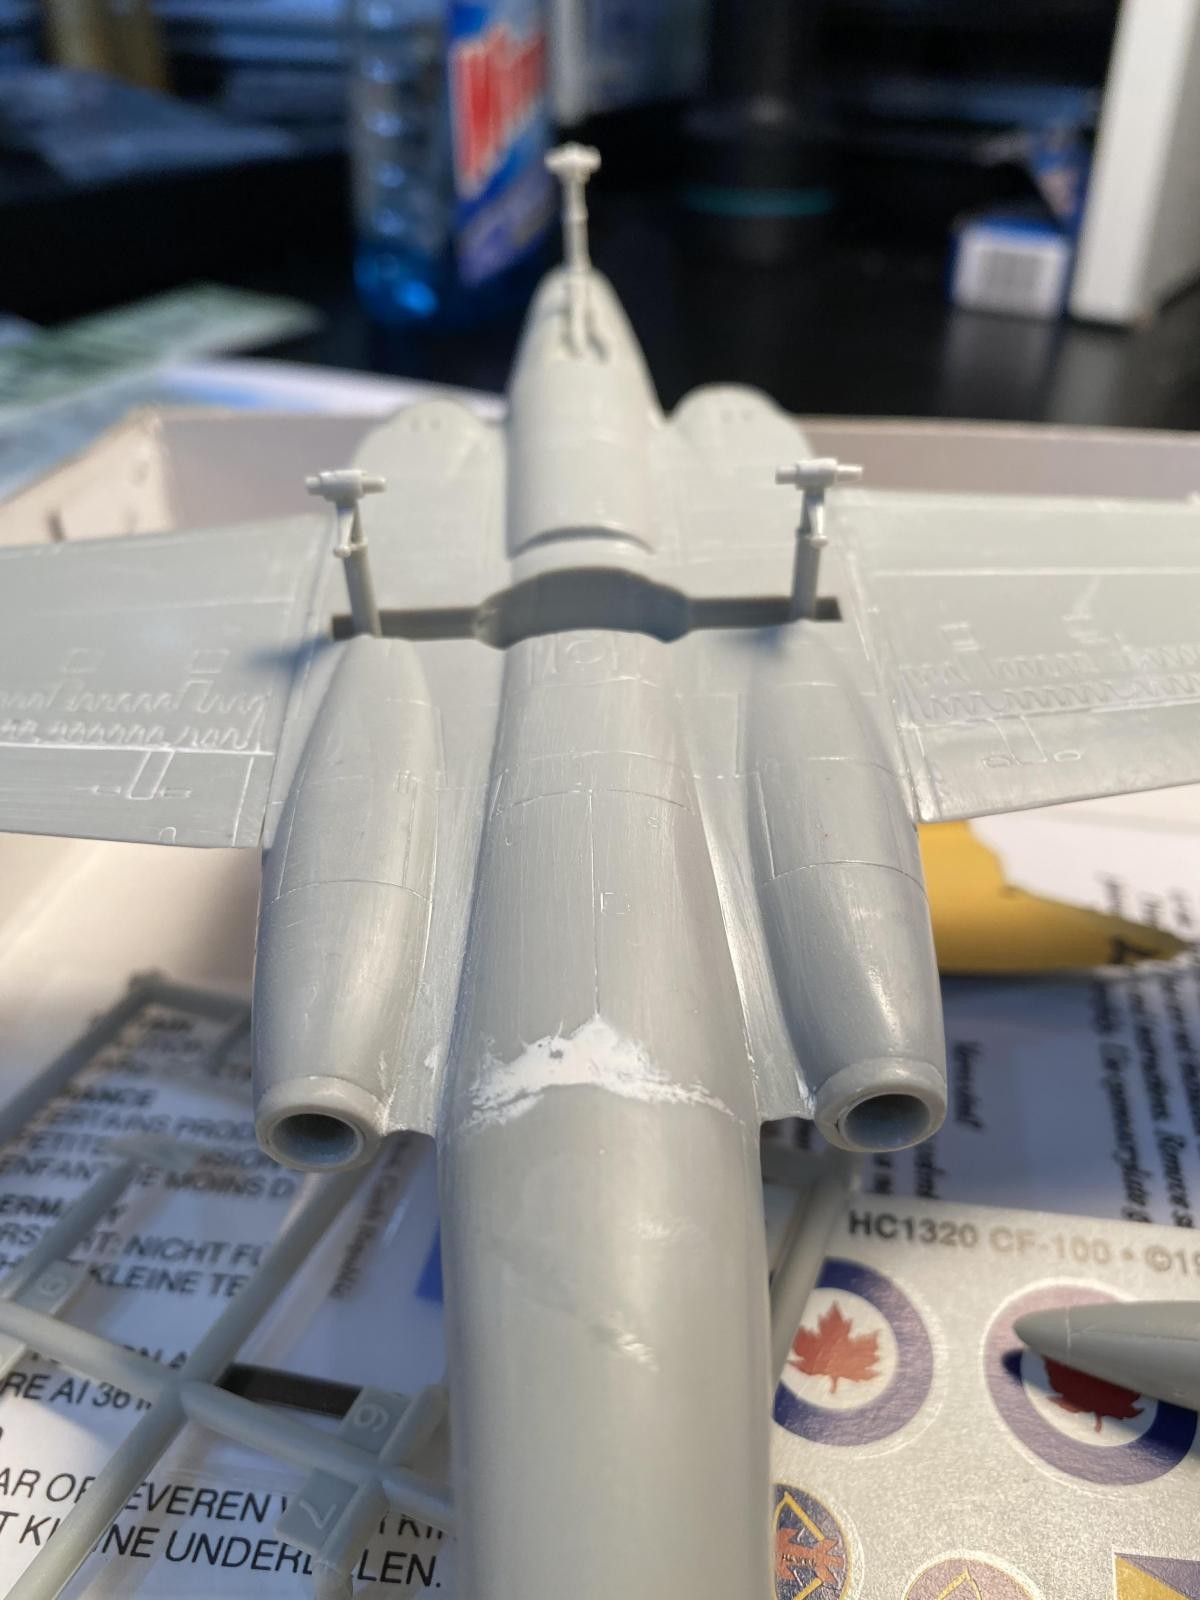
Probably the worst part of the kit is the landing gear. The nose gear is OK, but the main gear are basically long stilts with no actuating arms or other support. I scratchbuilt some actuators and made things look a little better. The instructions are a little vague on the placement of the landing gear doors, so I found some photos of the actual plane to figure out where the doors should go. The model had no provision for the bulkhead that separates the the two landing gear bays. This seemed like a big miss, since two of landing gear doors rest on this bulkhead. Another quick scratchbuild and the missing bulkhead was added.
-
- 1. Stilts for landing geat
-

- 1. Actuators yet to be added
- 2. Missing bulkhead
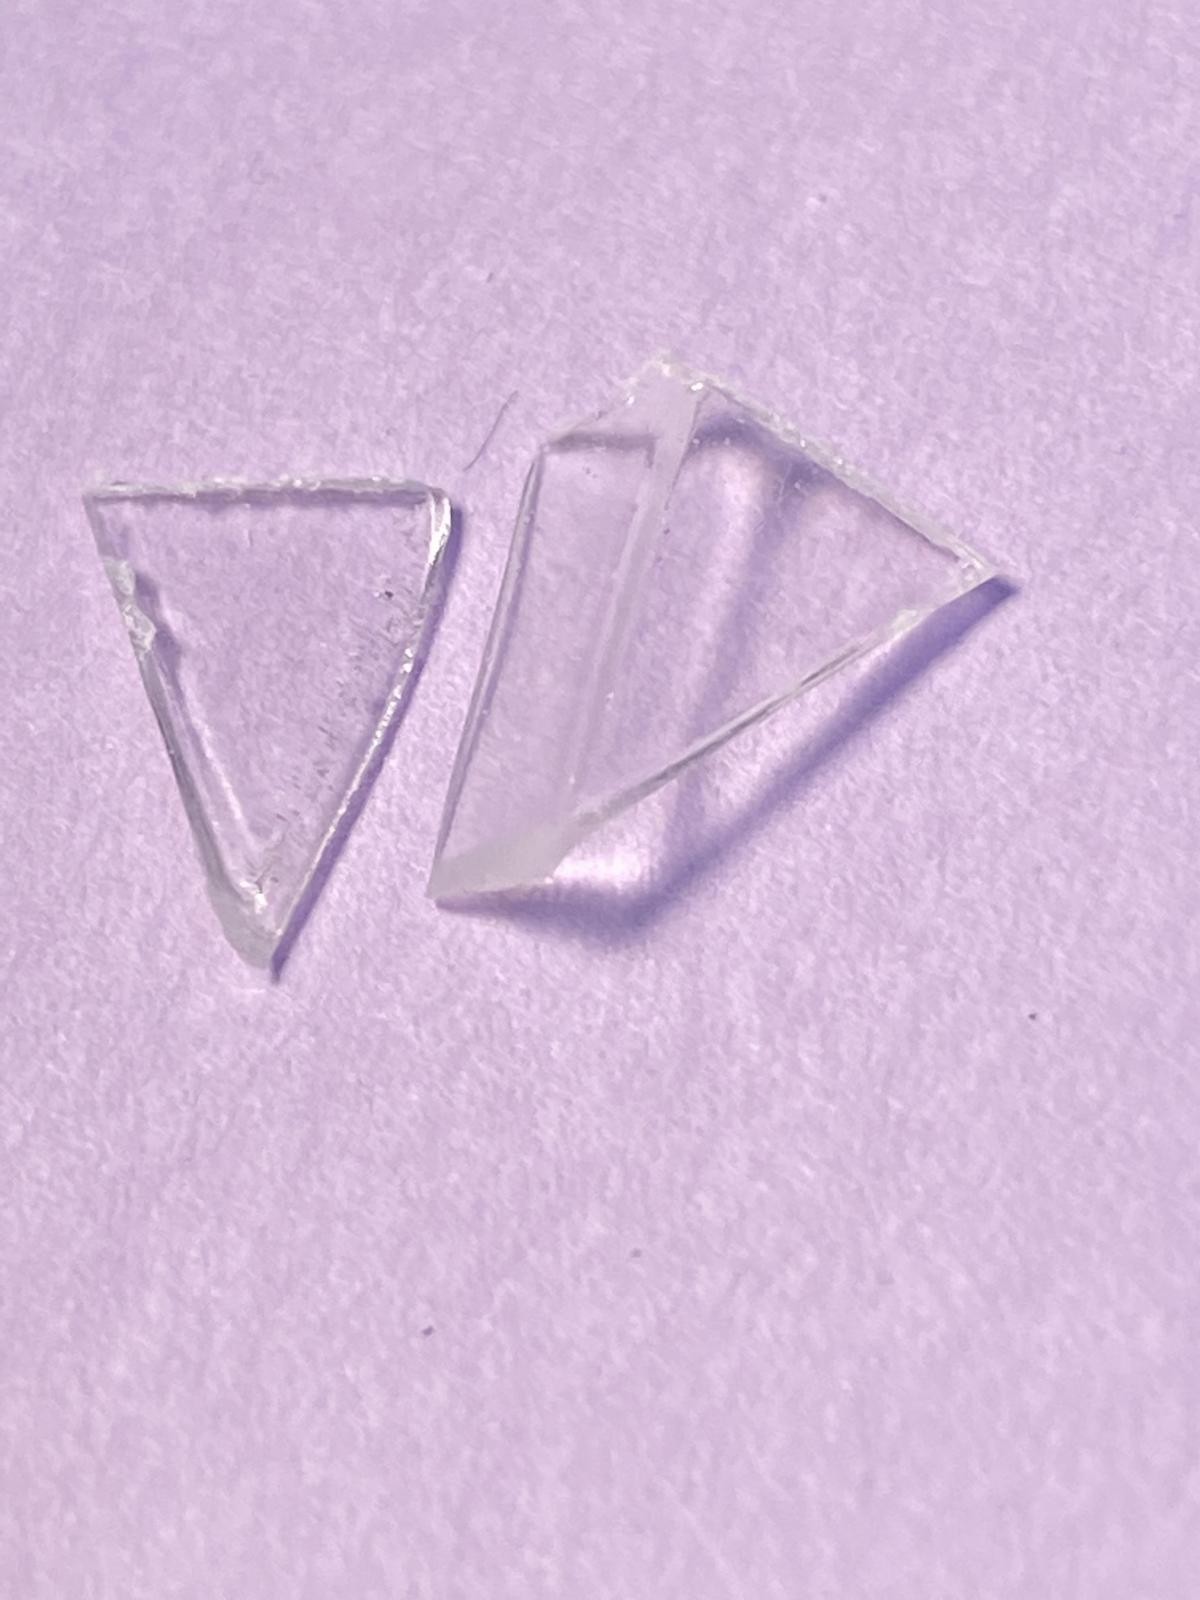
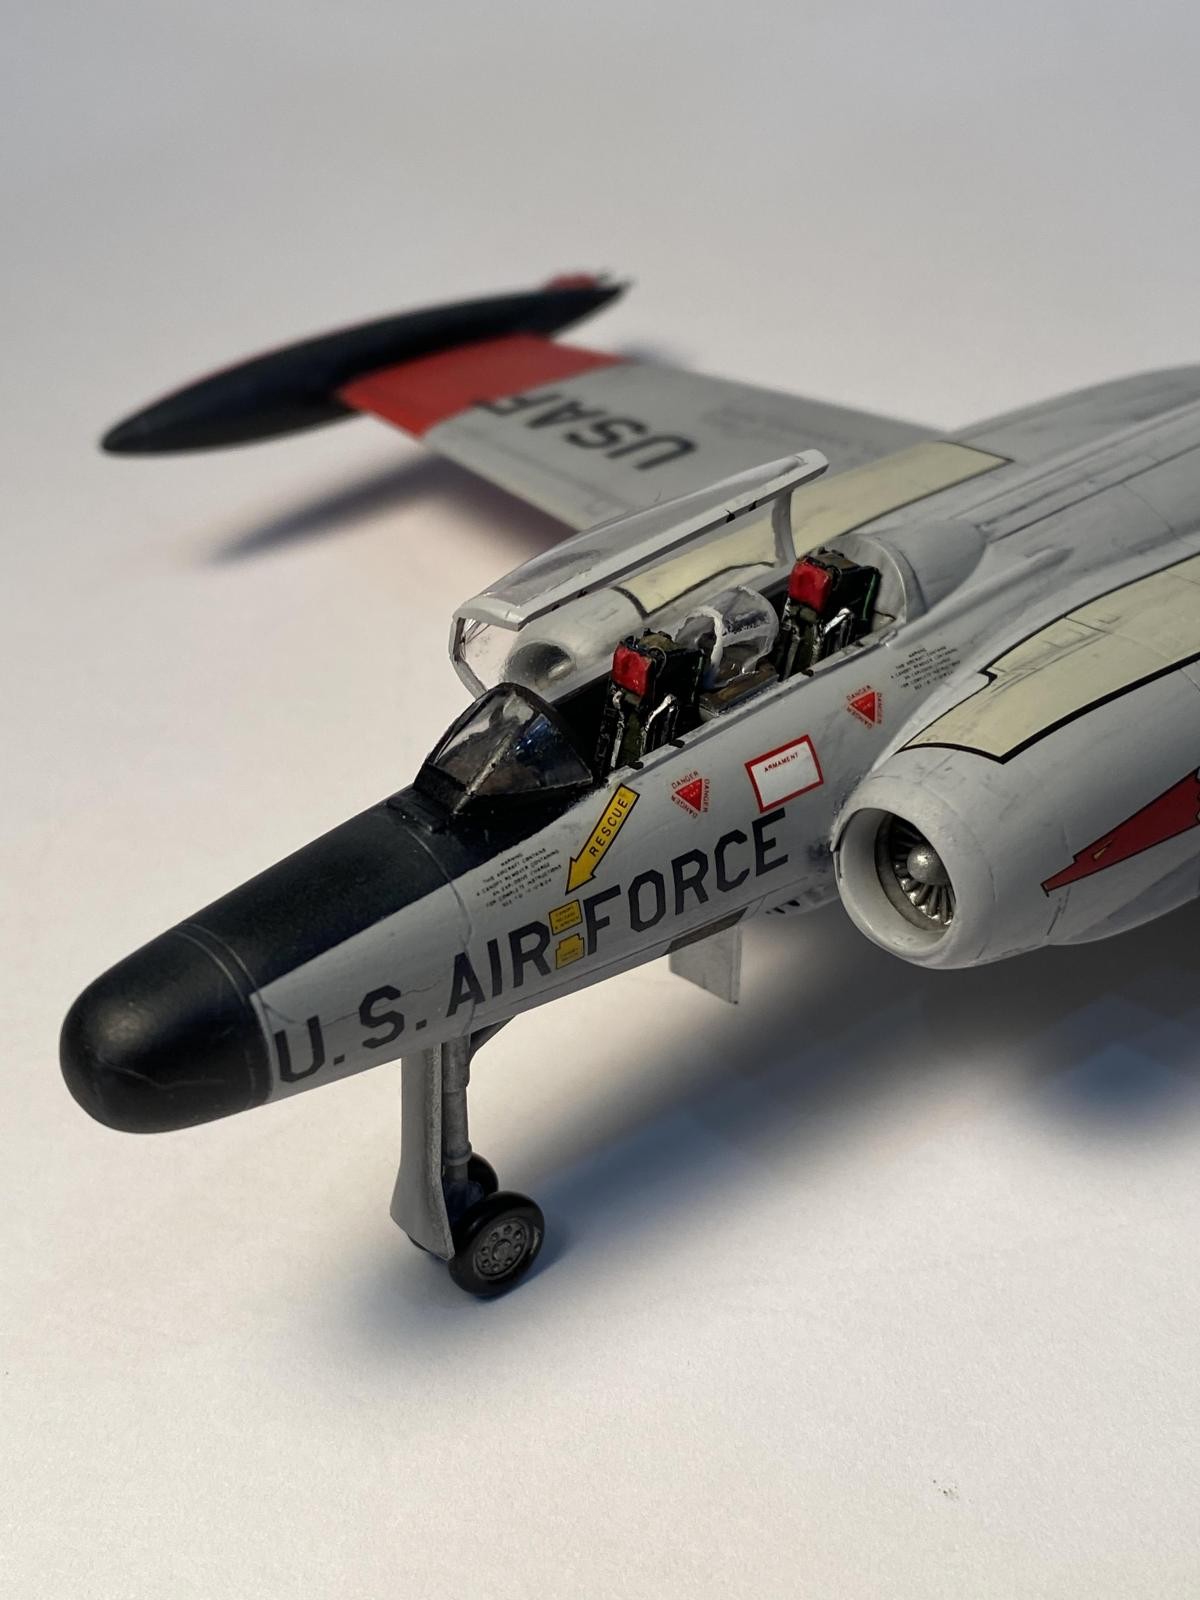
The worst problem I encountered was my fault. I wanted to cut the one-piece canopy into two parts so I could display an open canopy. I got out my razor saw and started carefully sawing the windscreen off of the rest of the canopy. I was about halfway through the cut when the canopy shattered. Clear plastic is always a little brittle, and being 40 or 50 years old didn't help at all. The windscreen wasn't salvageable, and there were cracks running through the rear canopy. I used the windscreen from an old Heller T-33 that I had, even though it took some major surgery. The distance from the front of the windscreen to the canopy bow at the back of the windscreen was much longer on the CF-100, so it took some major reshaping of the T-33 part. I managed to fill the cracks in the rear canopy using Future as a filler and surprisingly the cracks almost disappeared.
-
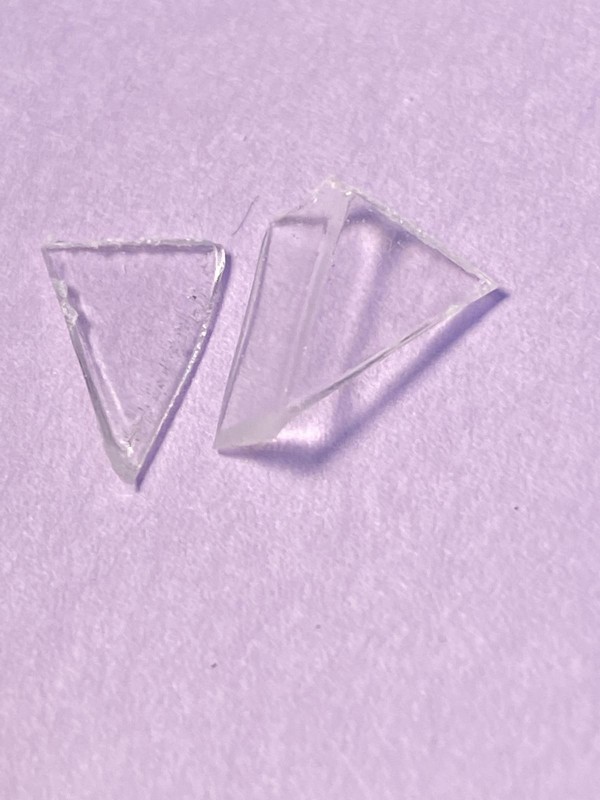
- 1. What was left of the windscreen
-

- 1. Front windscreen much longer on CF-100 than on this T-33 replacement.

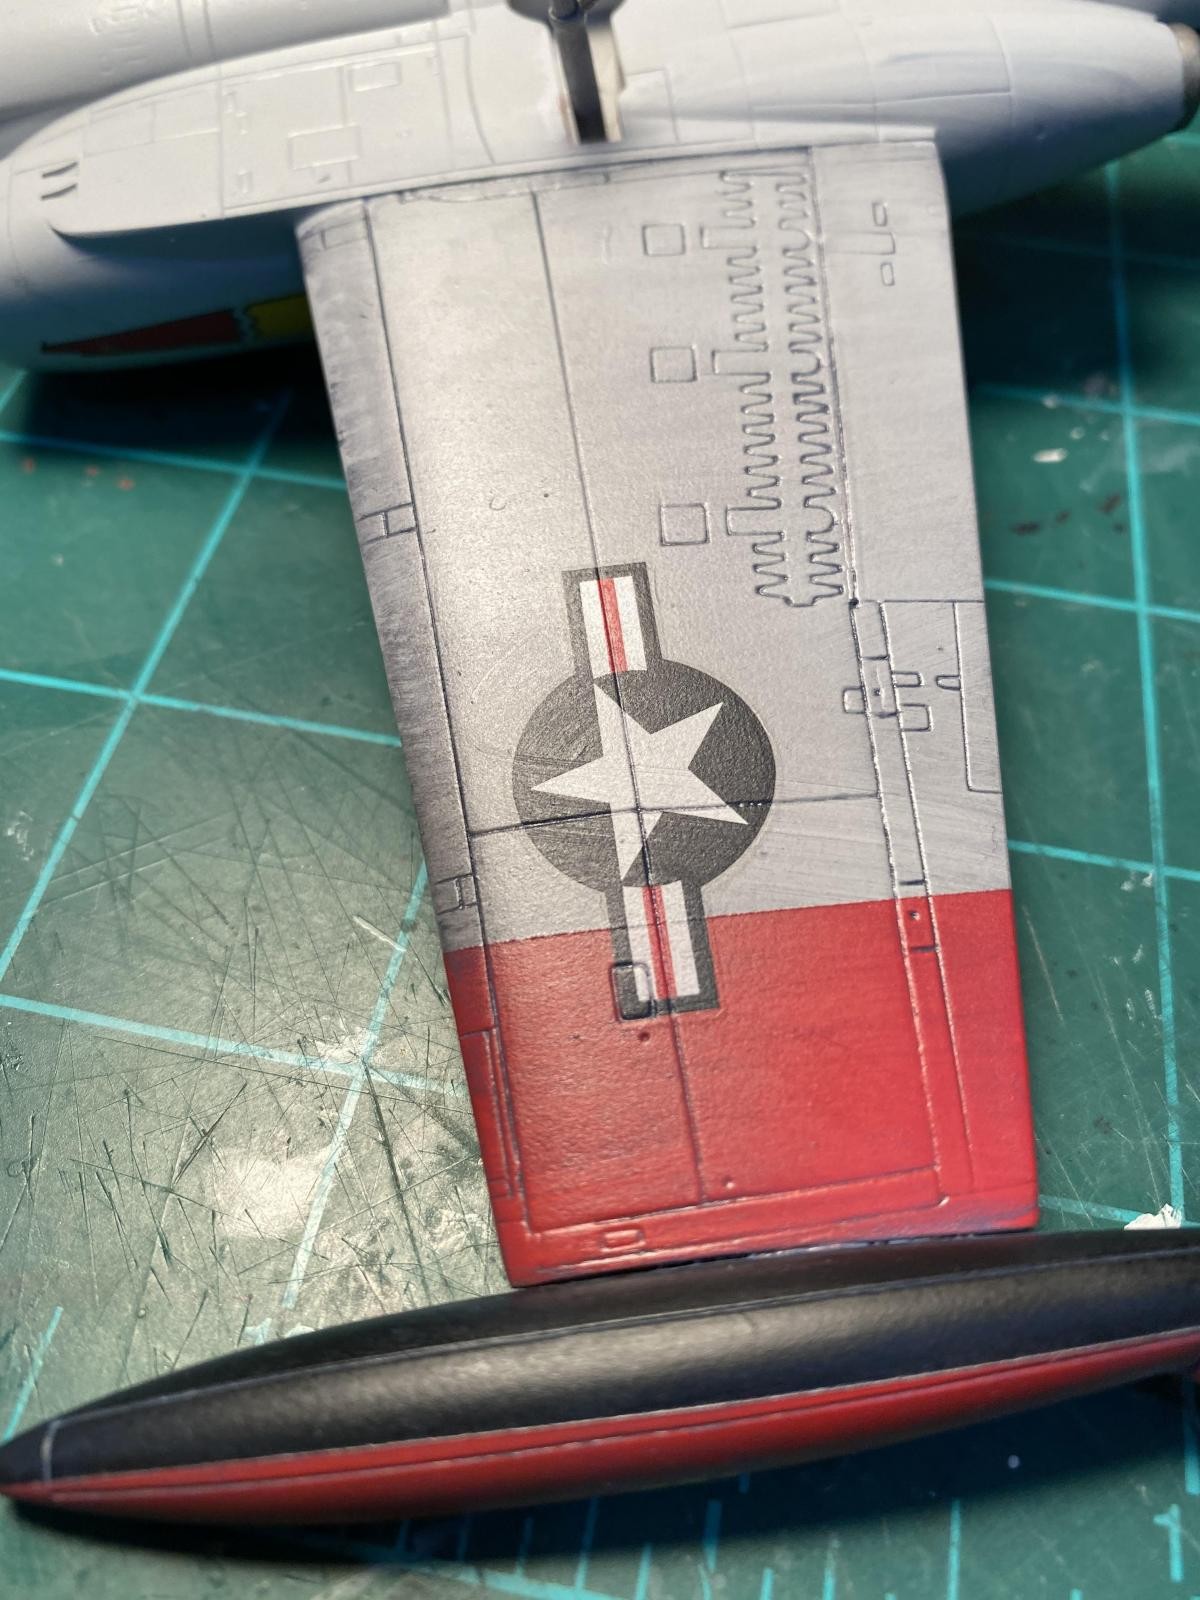
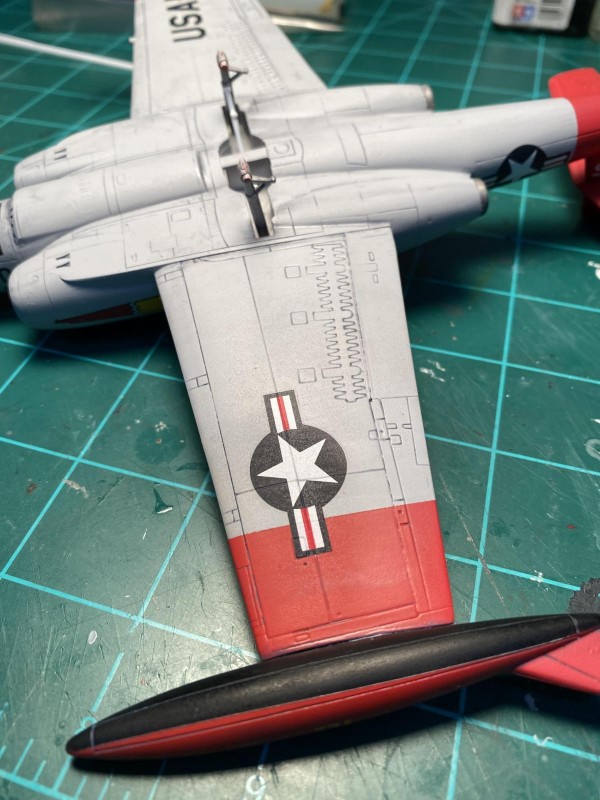
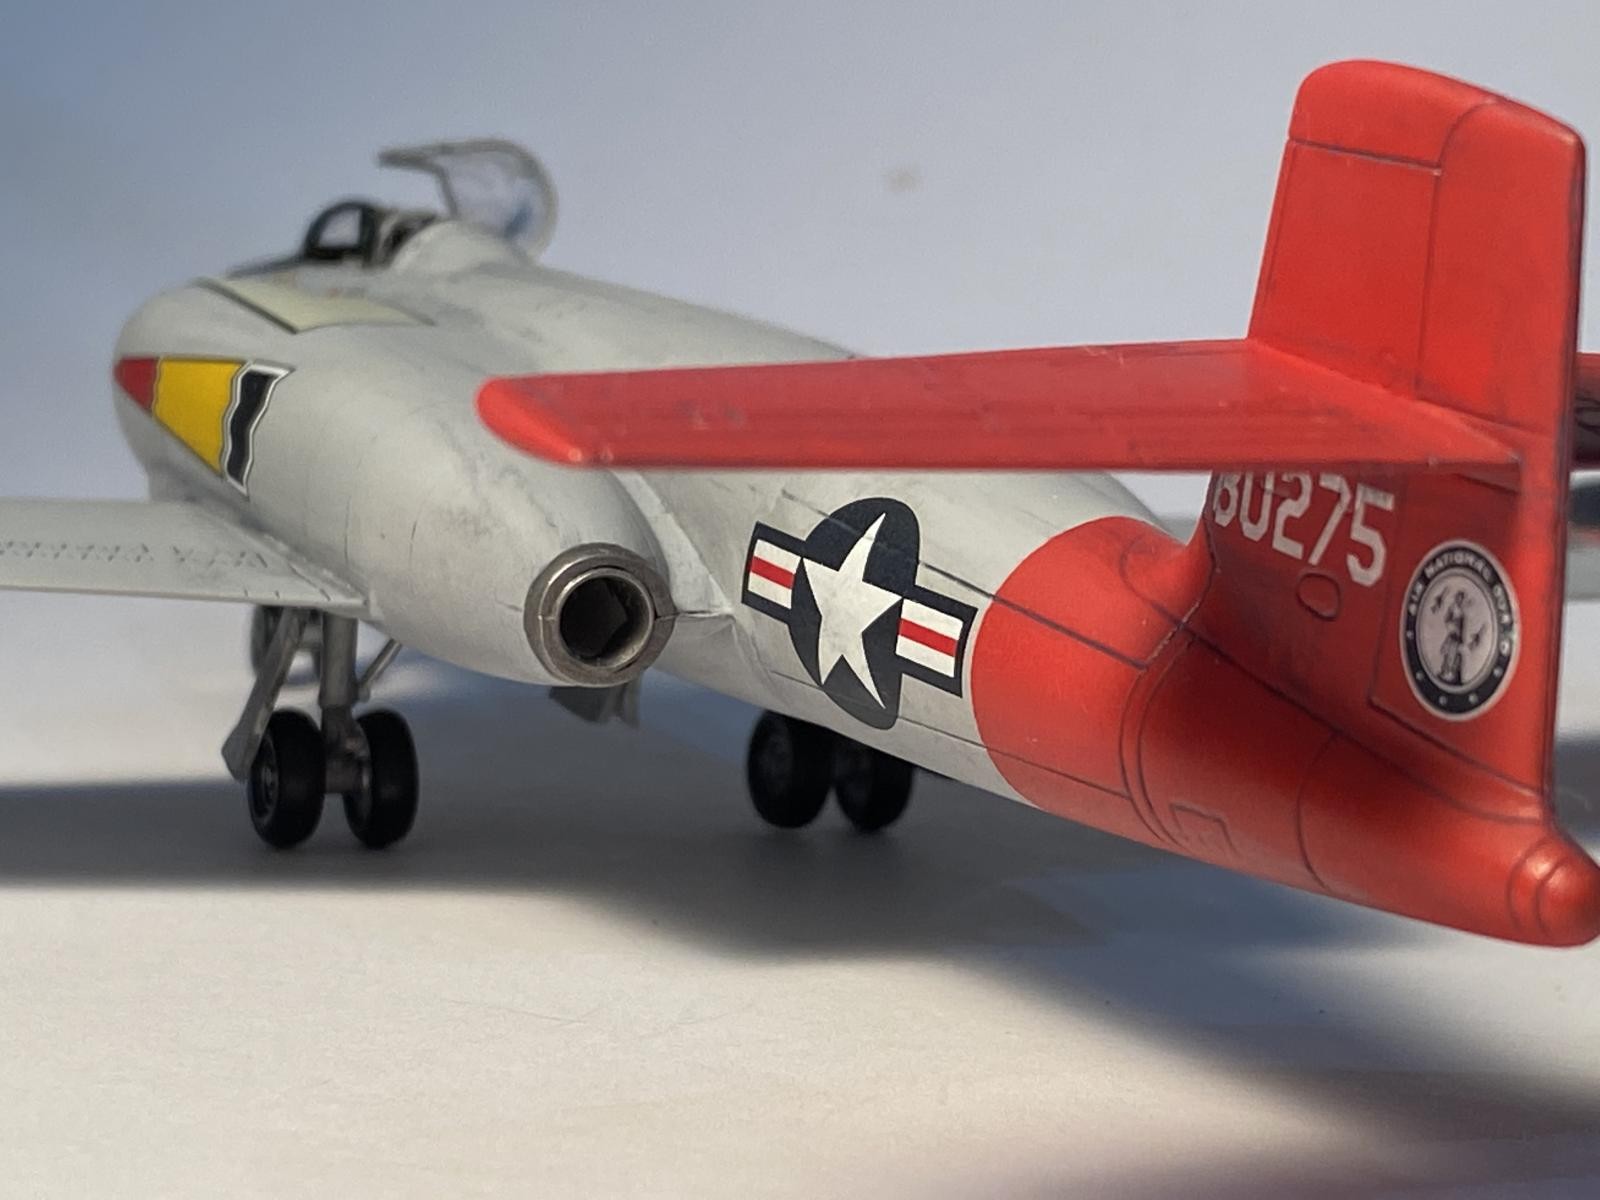
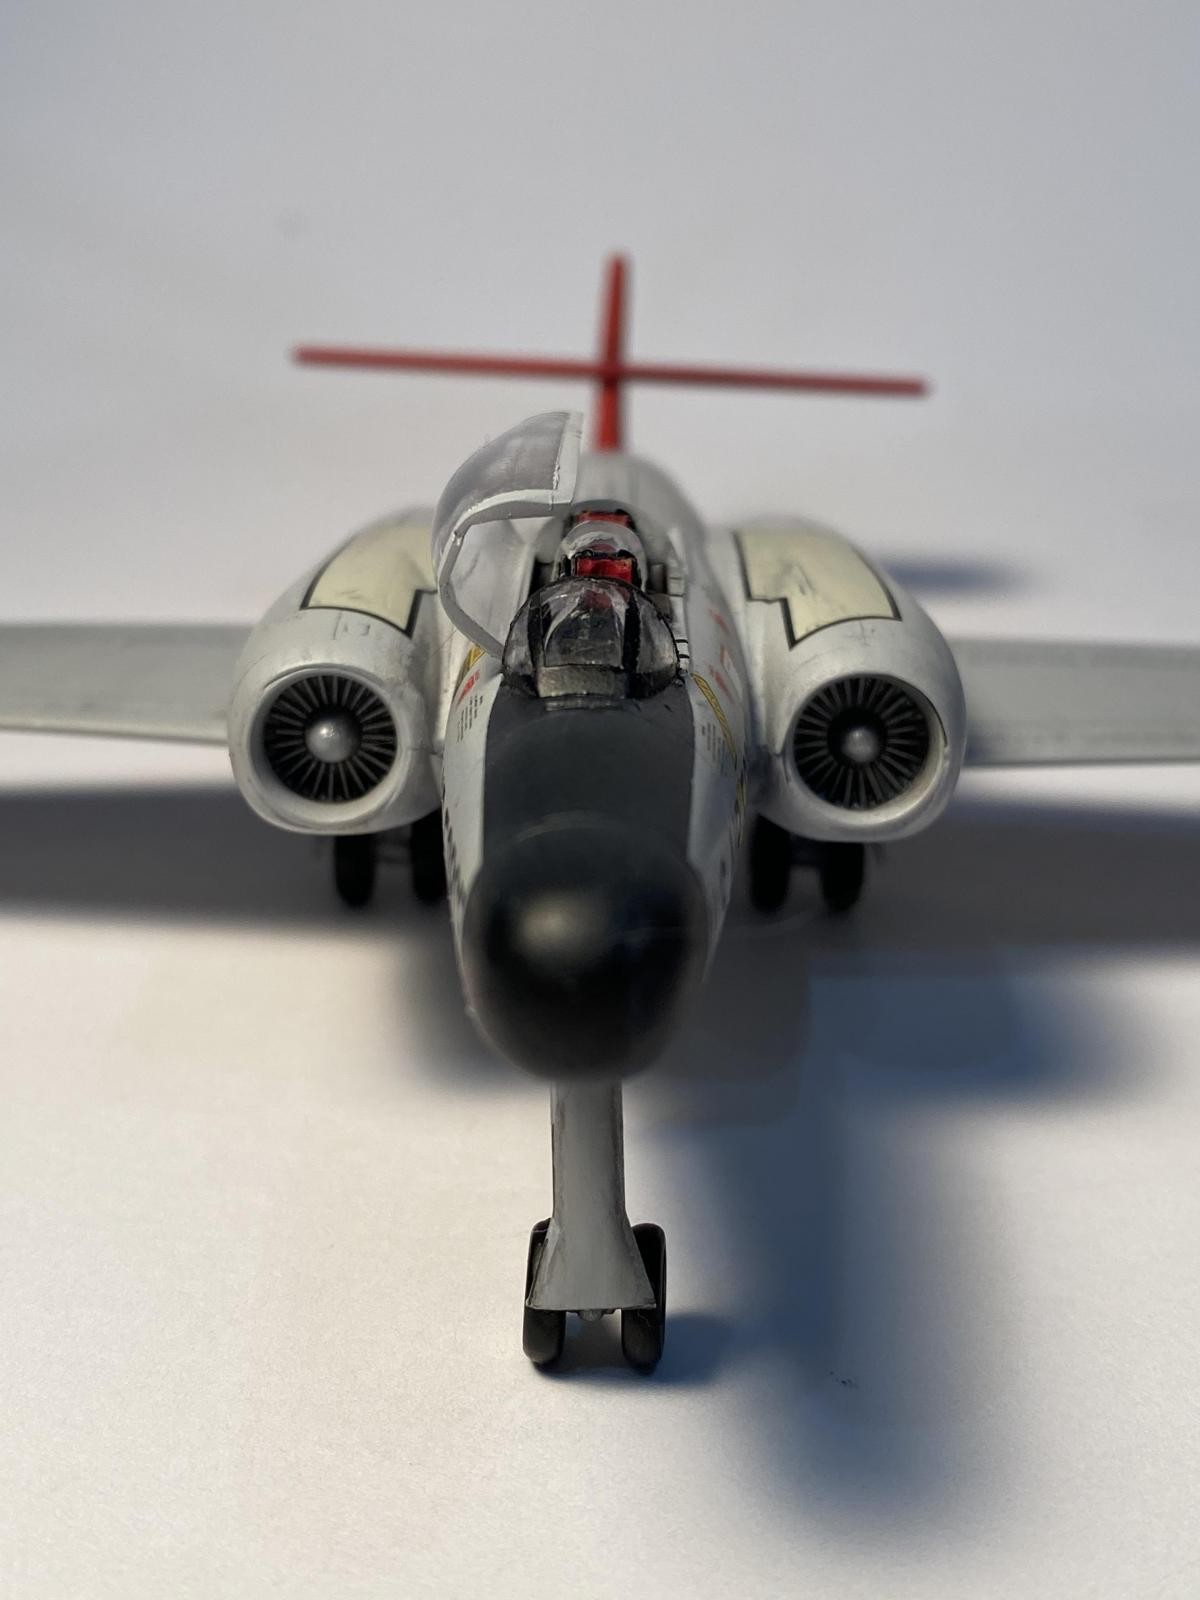
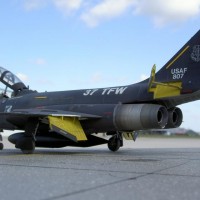
I gathered some pictures of planes of the period, namely the F-101 and the F-89. I decided to paint the plane in ADC gray with some red Arctic panels on the wings and tail. The plane is large enough that some creative masking was required. I used some Vallejo clear gloss to prepare the plane for the decals. I had several sets of decals for F-101s which fit perfectly on this kit. Once the decals were in place, I used some Matt Lucky Varnish from Mig to seal everything in.
-
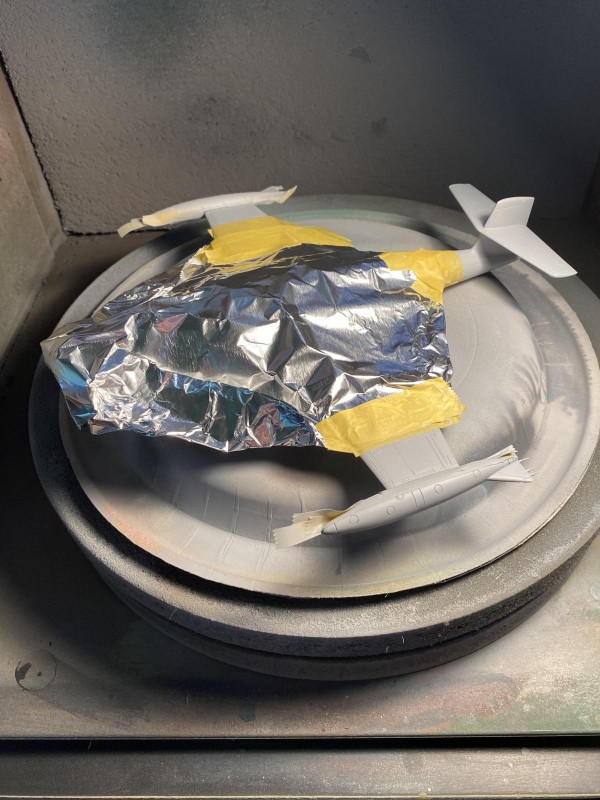
- 1. Aluminum foil is cheaper and easier to use than tape.

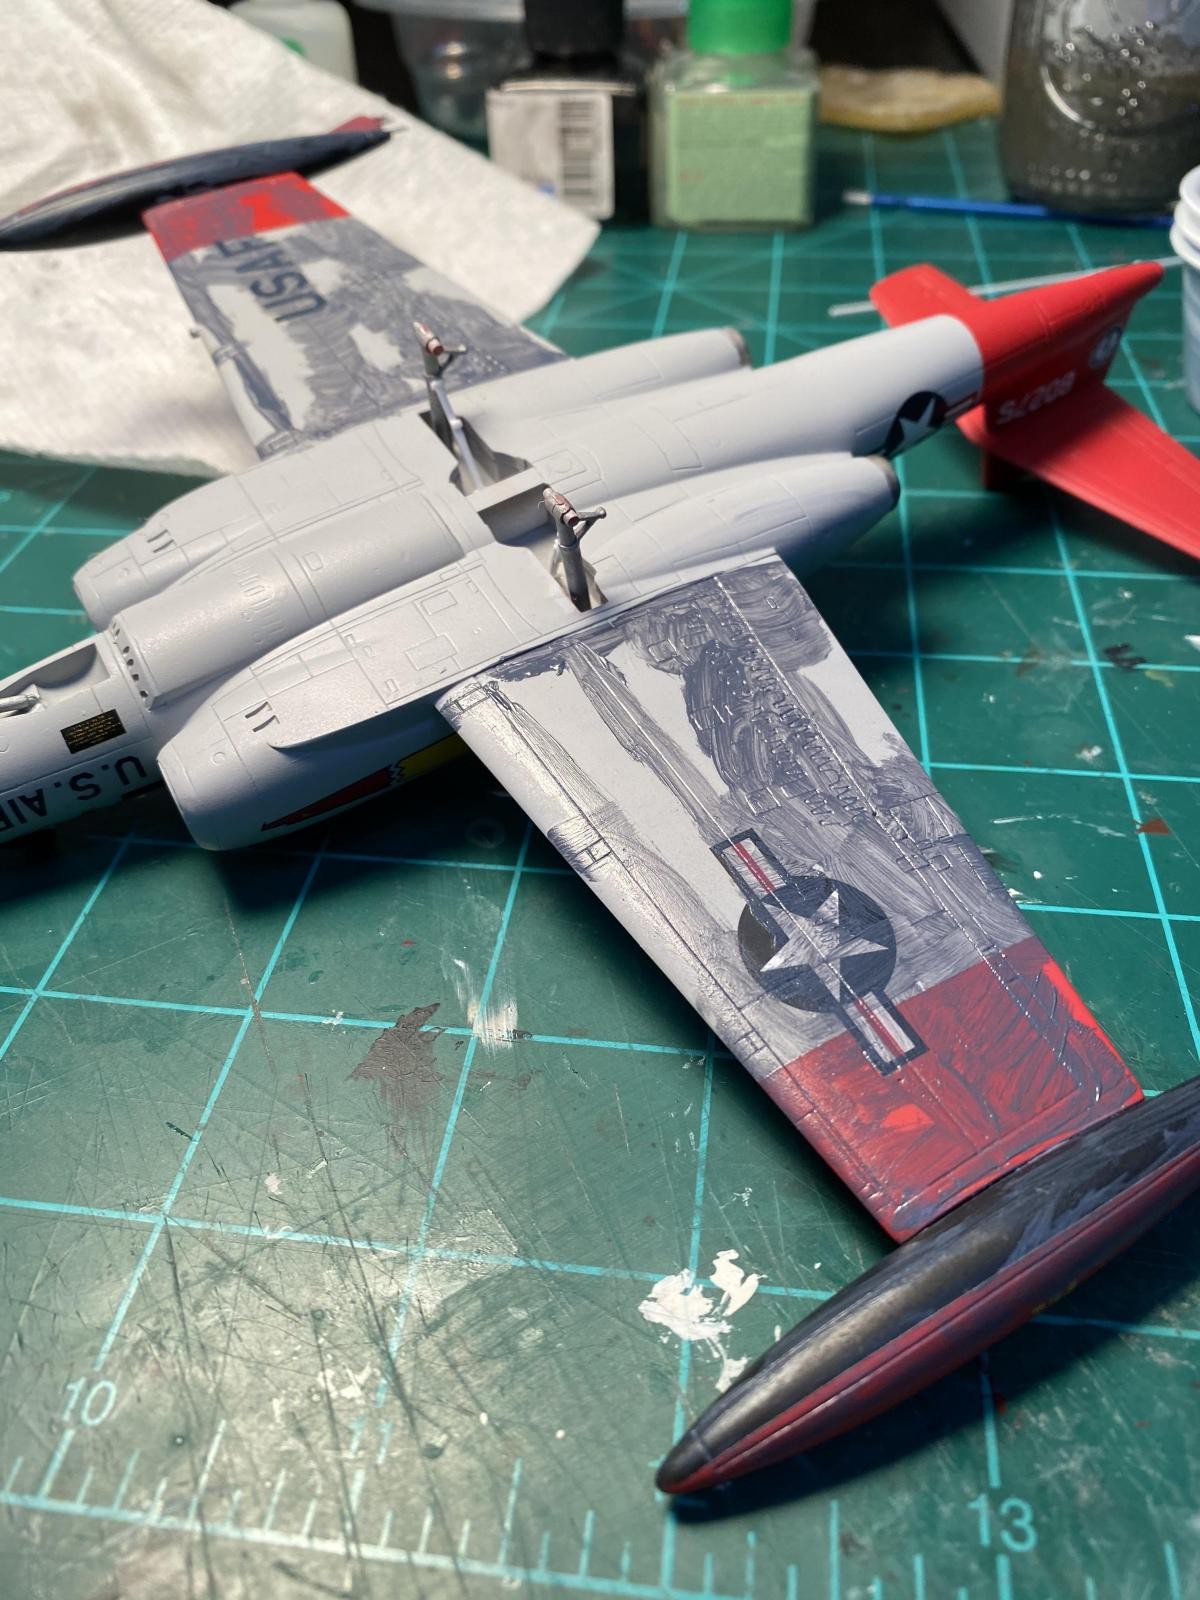
I have been reading about a technique that I wanted to try on the model. This is an old-school technique that has been around for a long time, but I have never used it on an entire plane. Basically, what you do is use artist oil colors to fill all of the panel lines. You don't have to be real neat about the initial application. The article I read said to let it dry for about 30 minutes, then remove it with a cloth that is damp with mineral spirits. Instead, I let mine dry for 10 minutes, and then used a dry paper towel to lightly wipe the oil paint. Once your start removing the paint, you always want to wipe in the direction of airflow. This initial part will lightly spread the paint over the surface of the model and act like a color filter, similar to the oil filter technique that armor modelers use on their kits. After this, I very lightly dampened a paper towel with mineral spirits and repeated the process. Keep repeating this process until you are happy with the results. Obviously you want to seal your paint with some type of clear that won't react with oils. Acrylics work just fine for this process. If you press too hard or use too much of the mineral spirits you will lift the paint out of the panel lines. It is easy to reapply the oil paint to fill in missing lines and repeat the wiping process. One of the things I like about this process is that you aren't limited to the colors you can buy in the hobby shop, since you can mix and use any color of oil paints that you wish. Remember that oil paint takes a long time to dry, so you might want to wait a day or two before you start handling your model. The good news is that you can rework the effect until the paint actually dries. I really like the way this process works and I think it will offer a lot of different effects for my builds. I used a similar process to add sun bleaching to my recent build for the Japanese WW2 Group.
-
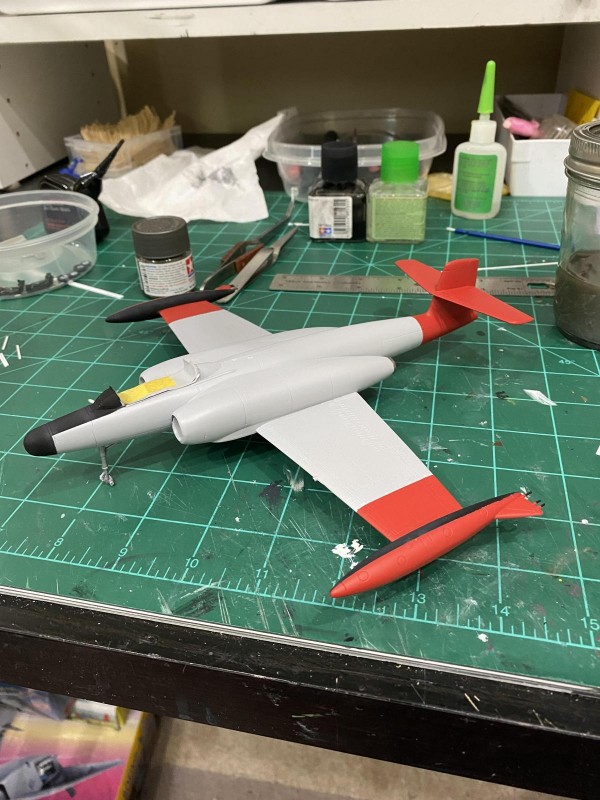
- 1. Before oil application

-

- 1. Initial application of dark gray oil paint
-

- 1. After light scrub with dry paper towel
-
- 1. After cleaning up with paper towel damp with mineral spirits

So, that's it. I kind of like the way it came out. It is now ready to join my other 1/72 planes. Now, on to the next model in line.

Nice! An imaginative build.
Creative idea that's well done George. Looks like it could be a real USAF bird.
Those are some great ideas, George @gblair!
An excellent result!
Have built the 1/48 version, NMF, but looks very plain.
Trying to come up with an idea to revisit it and improve its looks.
Great build! I just sold off my 1/72 CF-100 and CF-101 kits, deciding the Canadian schemes weren't ever going to attract me enough to pull these out of my stash, but had you built this earlier, I might have copied your idea and put the 100 in SEA scheme with US markings!
Thanks, everyone. Greg @gkittinger, you found out my secret. If I have a plane doesn't have an actual paint scheme I like, I "imagineer" one that suits. I almost got rid of my CF-100s, but this worked out well. Also, there is a company called Iroquois Models that is releasing resin detail parts and vacuform canopies for the CF-100s. Available from Hannants in London, and the price is pretty good. Jeff Garrity at Rareplane Detective had two CF-100s last week for just ten or fifteen bucks, but I just checked and they are all gone now. Maybe CF-100s are popular again?
Well - I figured at some point if I ever get to the bottom of my stash and needed something else, I could always look for another! By then (say around 2050) there is bound to be a nice Tamiya CF-100 with something more than famous HobbyCraft engineering!
Nice! Niagara Falls Canuck!
I wanted to pick some markings that would make the plane feel close to home.