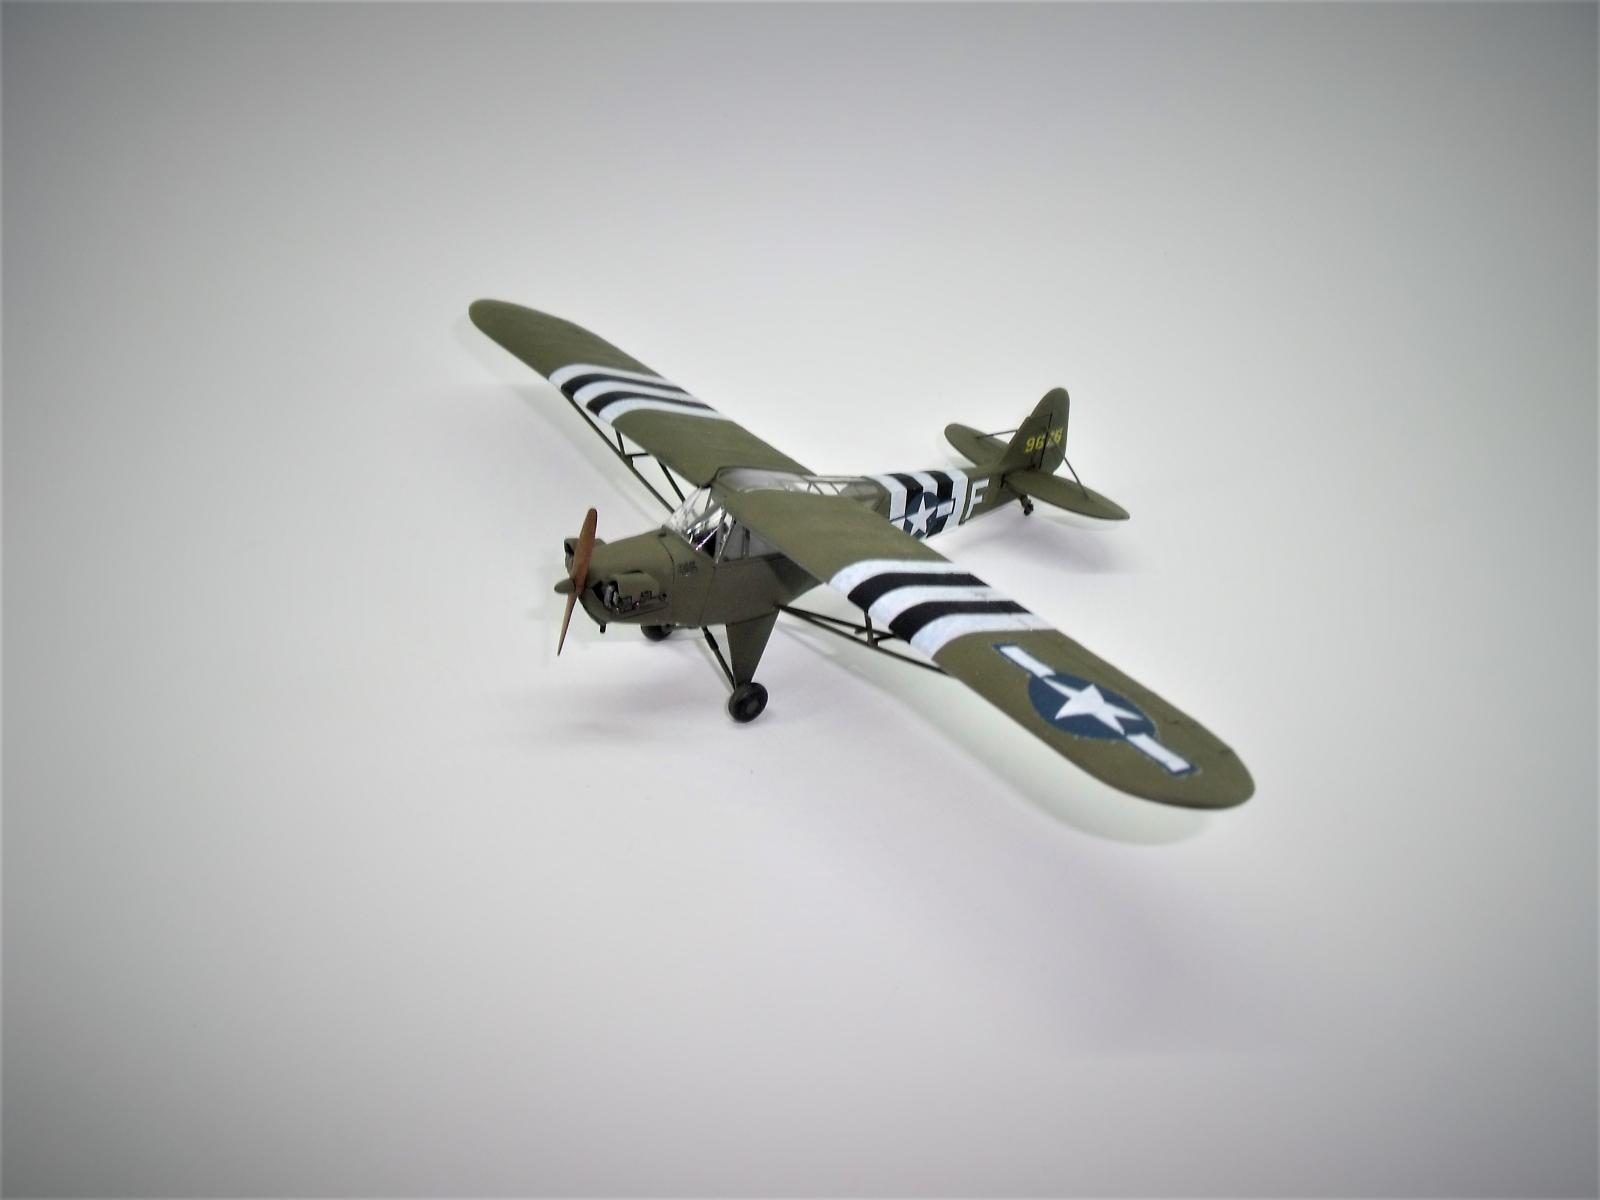
Piper L-4 Cub / Grasshopper – Směr 1/48

I bring you a recently completed model that took neither much time, nor much effort, but which has produced a cool little airplane.
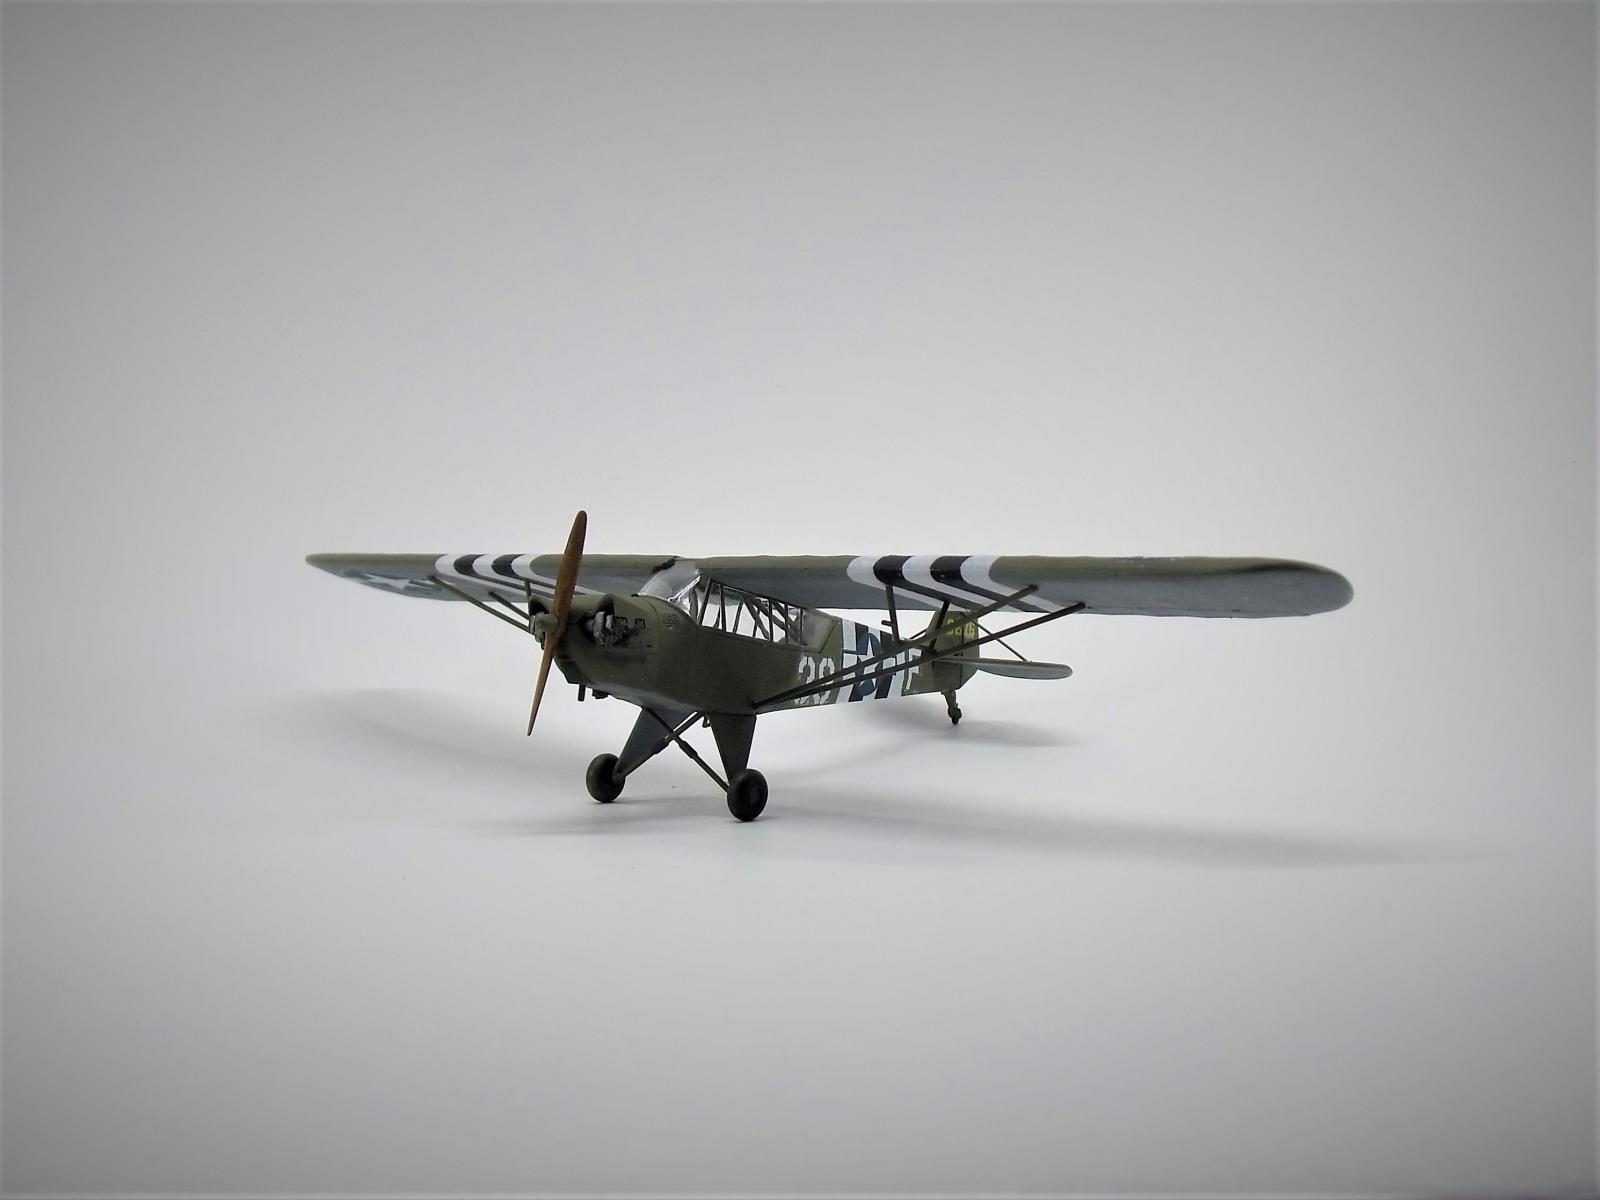
To begin, I bought this kit after seeing one in person at an airshow last month. The airshow (or fly-in) is held yearly at a small grass-stripe airport and museum, that is, the WACO Airfield and Museum. Its always exhilarating to see what will be loitering around the airspace. Anyhow, while nearing the locale, I looked up to find a little cub circling above me... the plane was painted up with OD/Grey, complete with invasion stripes... how cool, I thought! Fortunately, the plane stuck around the rest of the weekend and I was able to catch some shots of it on the ground. Another one was a Stearman, which made numerous low passe the following day.. The Stearman was much faster and sounded better than most planes flying that weekend... perhaps I will build up my Revell kit soon..
Anyhow, the Směr kit is not a new one, with original release marked from 1987. My boxing seems newer than that, so perhaps Směr has maintained production. The kit can readily be found for a very reasonably low price, still packed new.
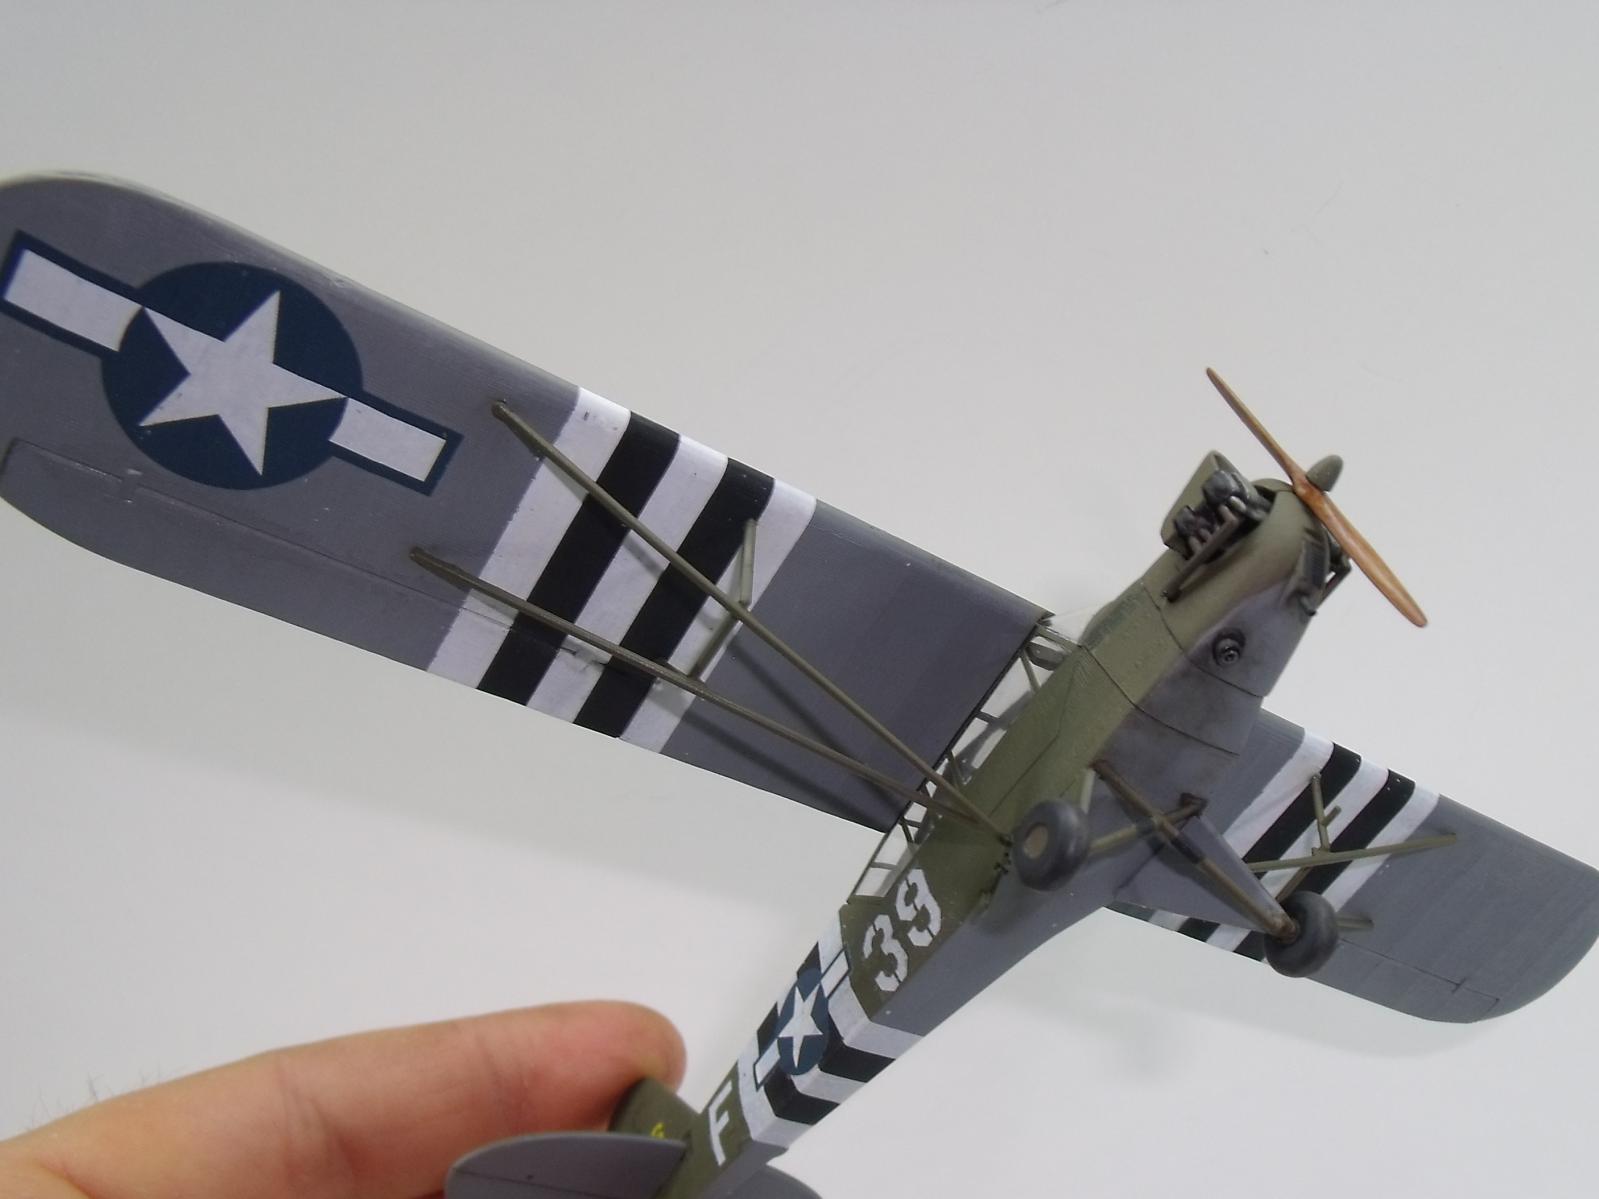
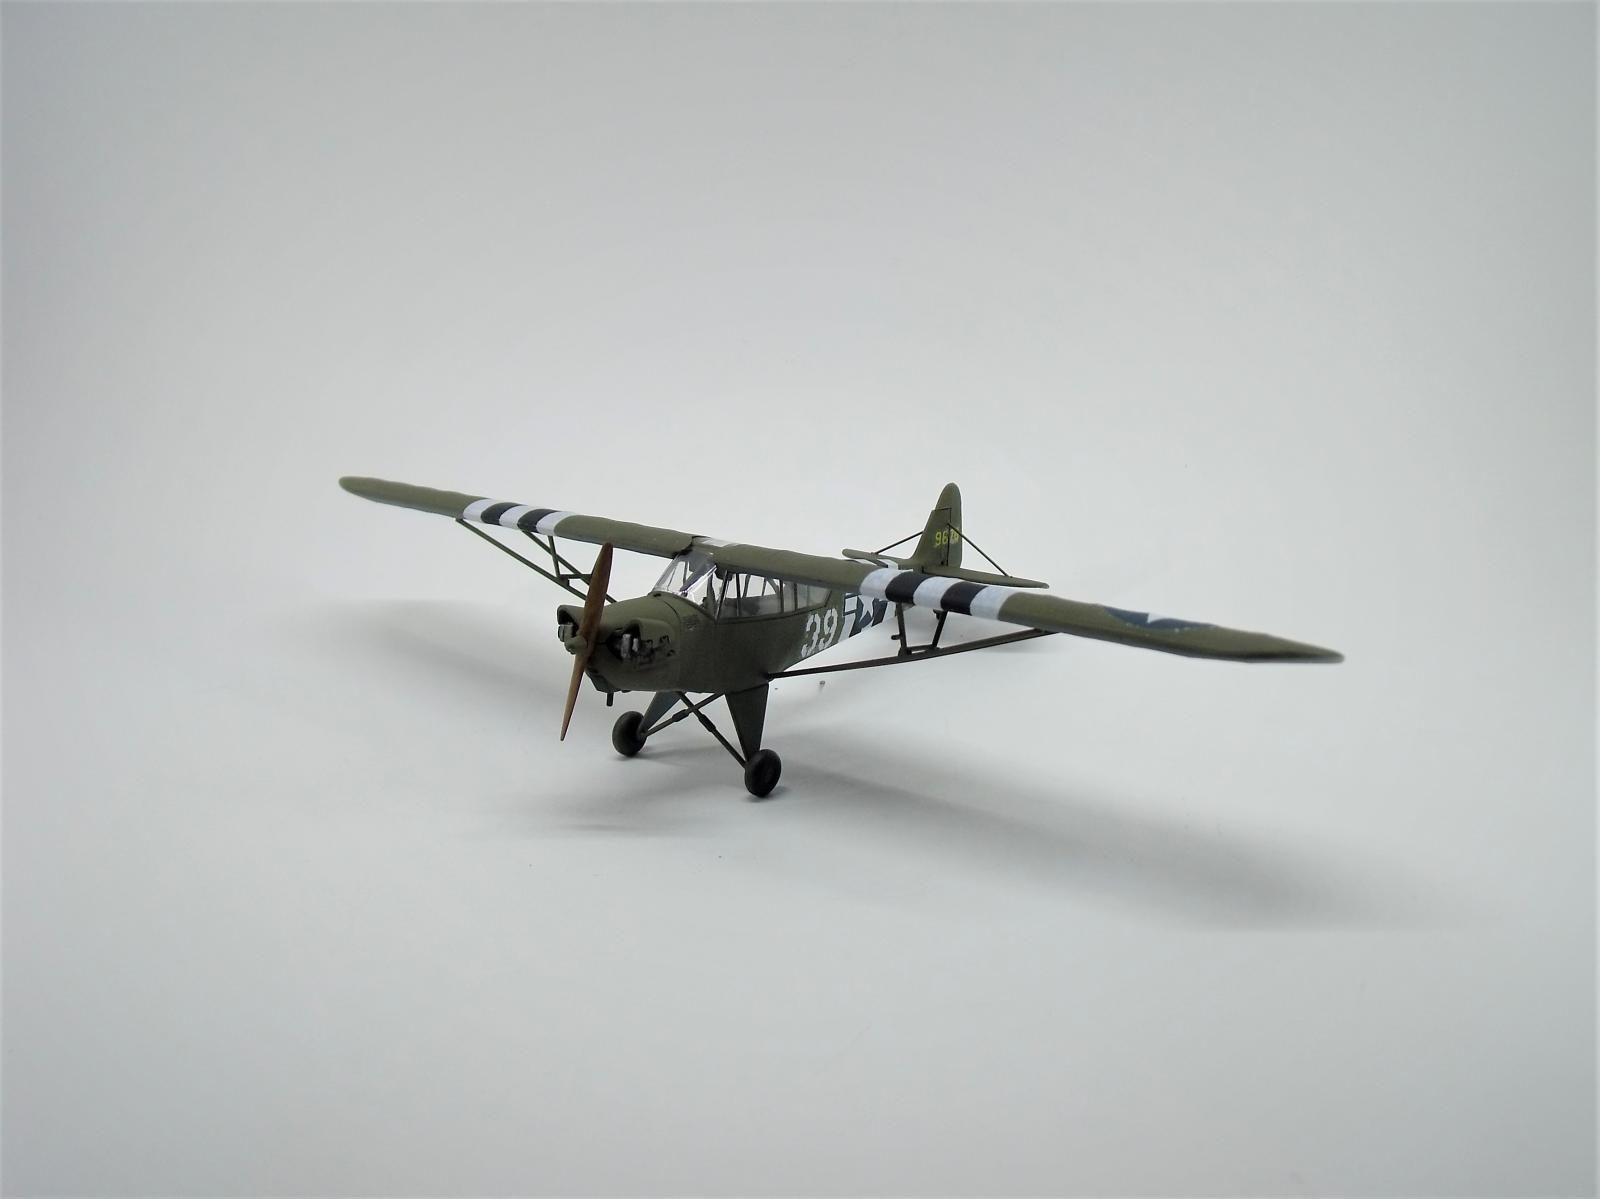
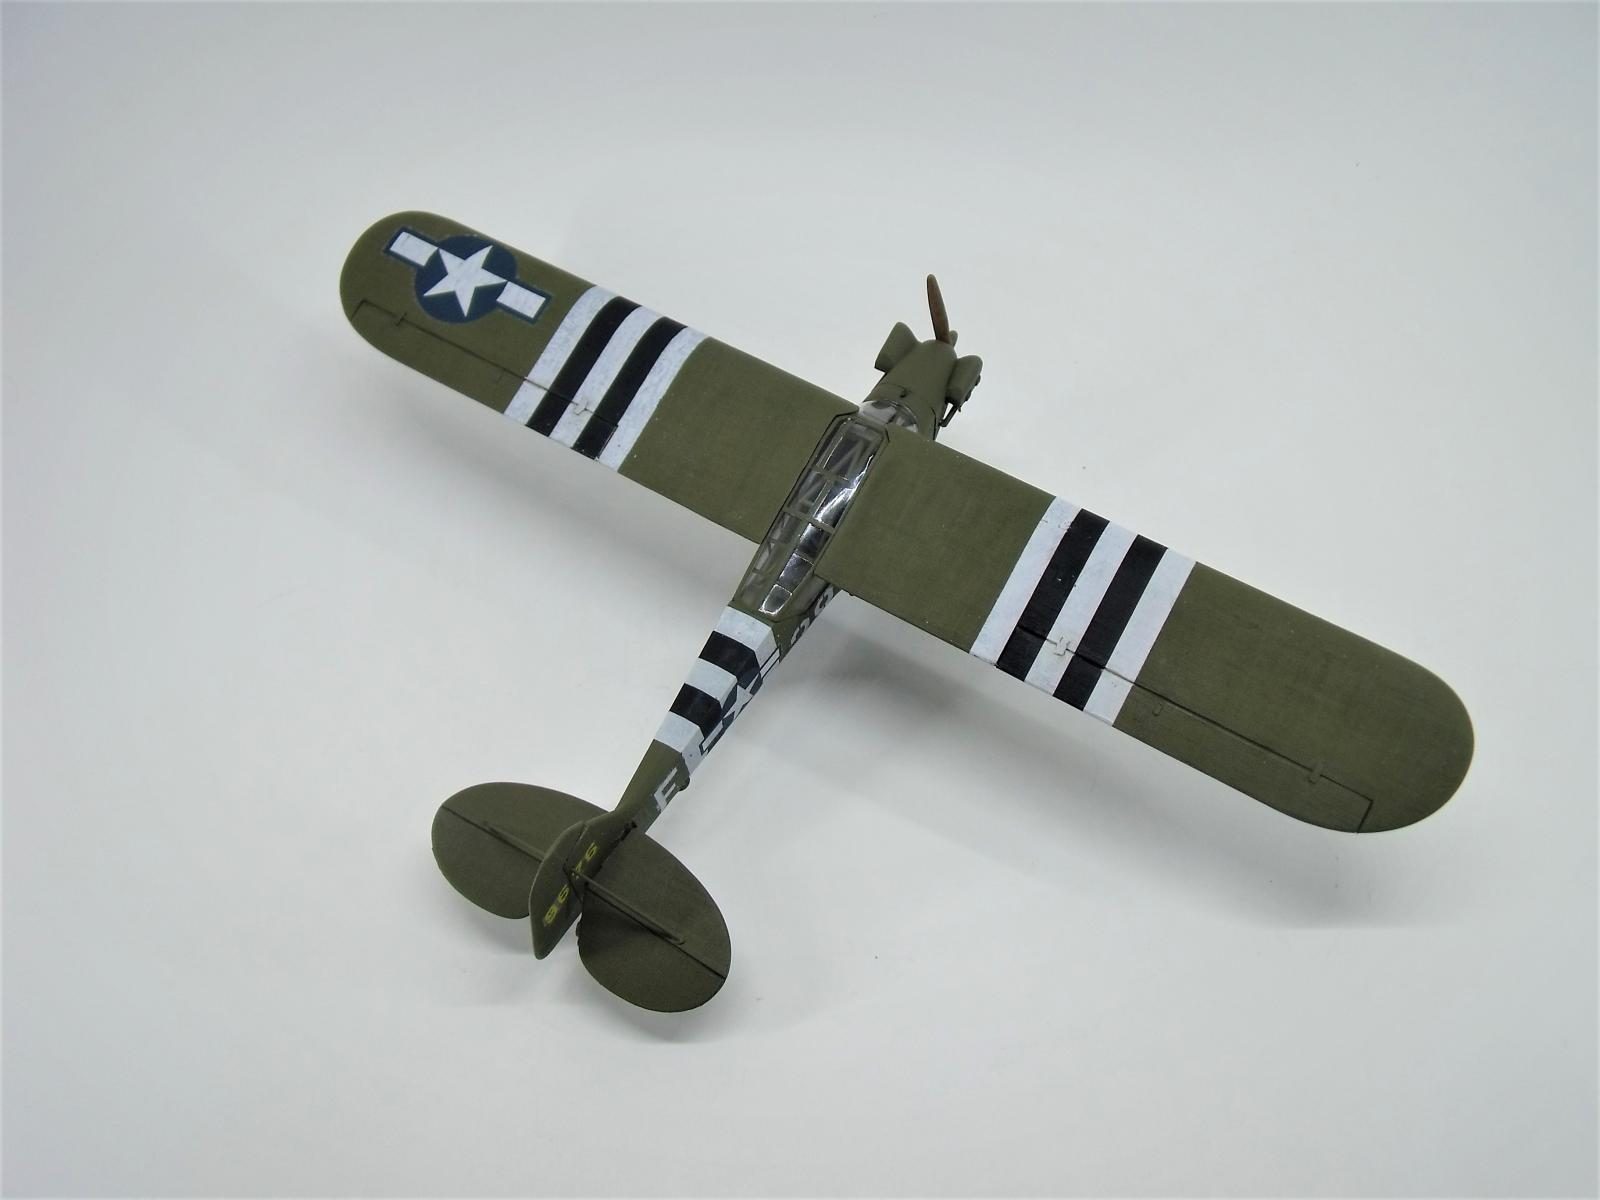
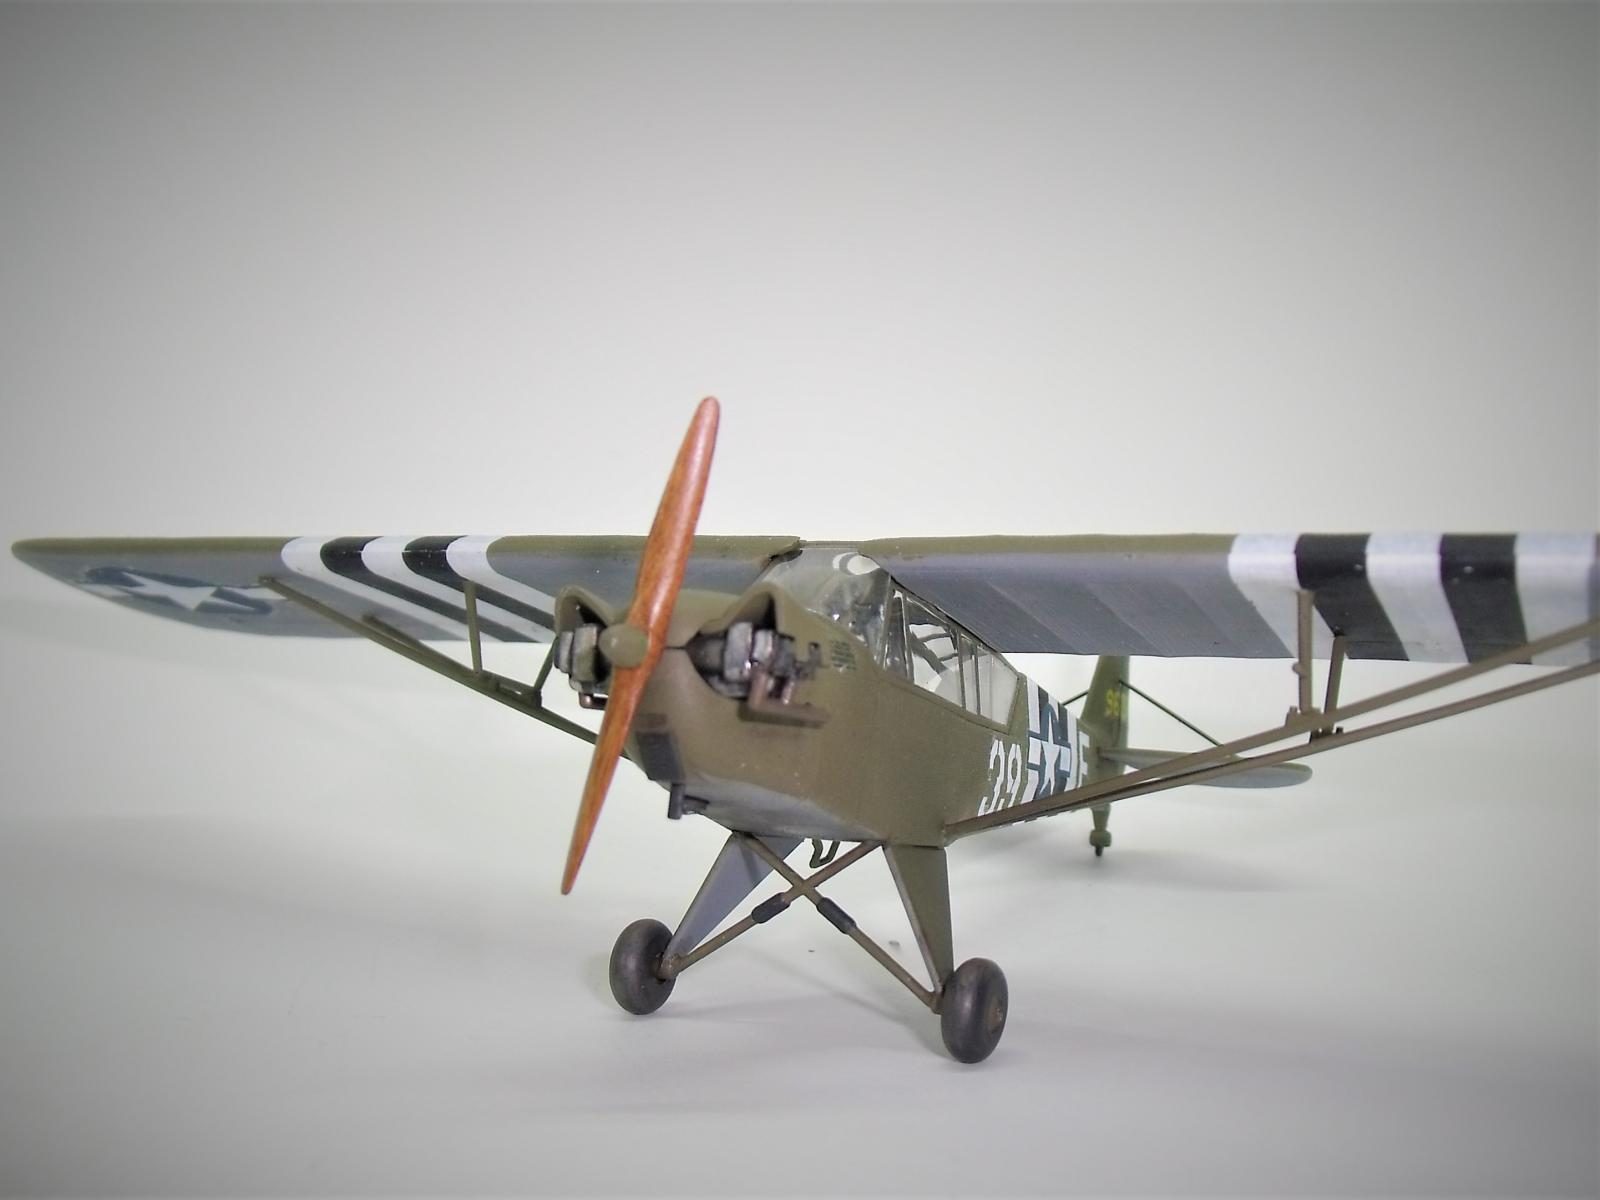
With that said, the price of the kit is low due to the simplicity of the airframe, and the fact that the kit engineering is not wholly modern standard (as you'd expect from a kit from the 1980's). Despite this, the kit offers an a fabric texture to most surfaces (fuselage top and bottom are smooth, likely due to mold release restrictions), and a nice representation of the expanded glass greenhouse found on the L4, which primarily sets it apart from its GA sister, the Piper J-3. Other kits on the market do not make this distinction, thus this was my kit of choice.
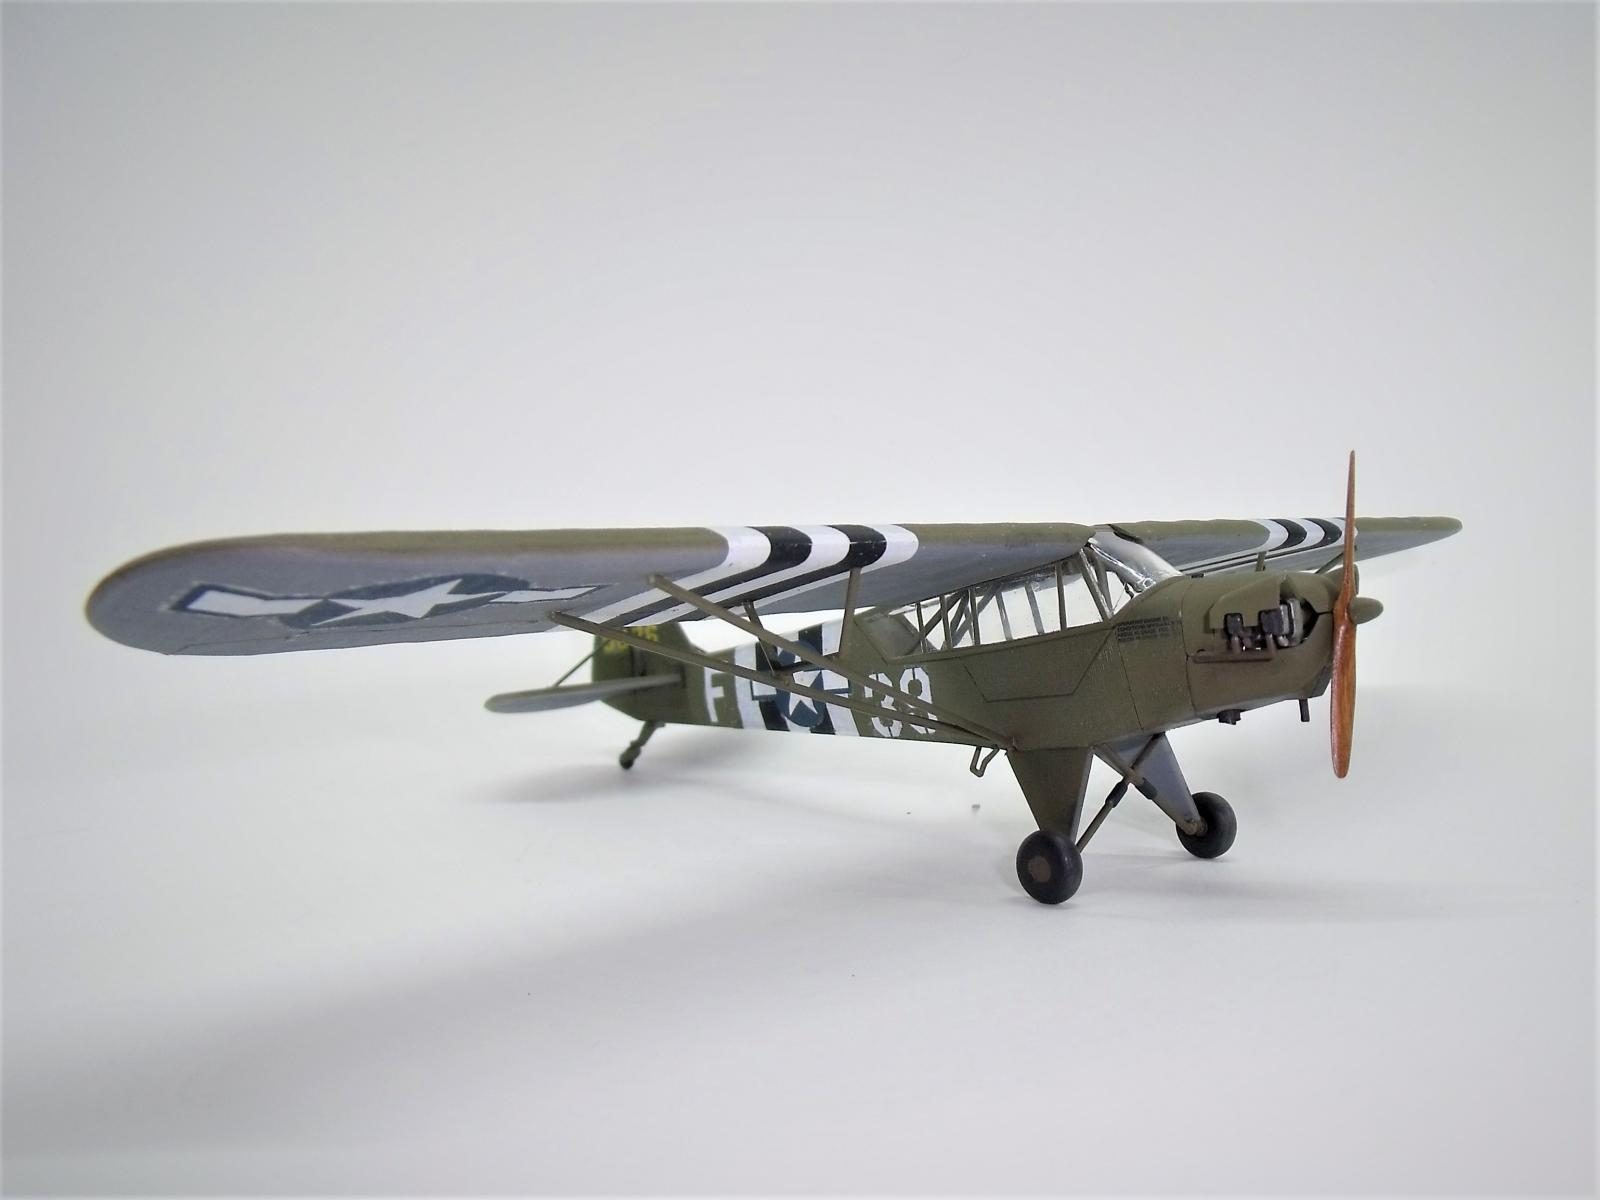
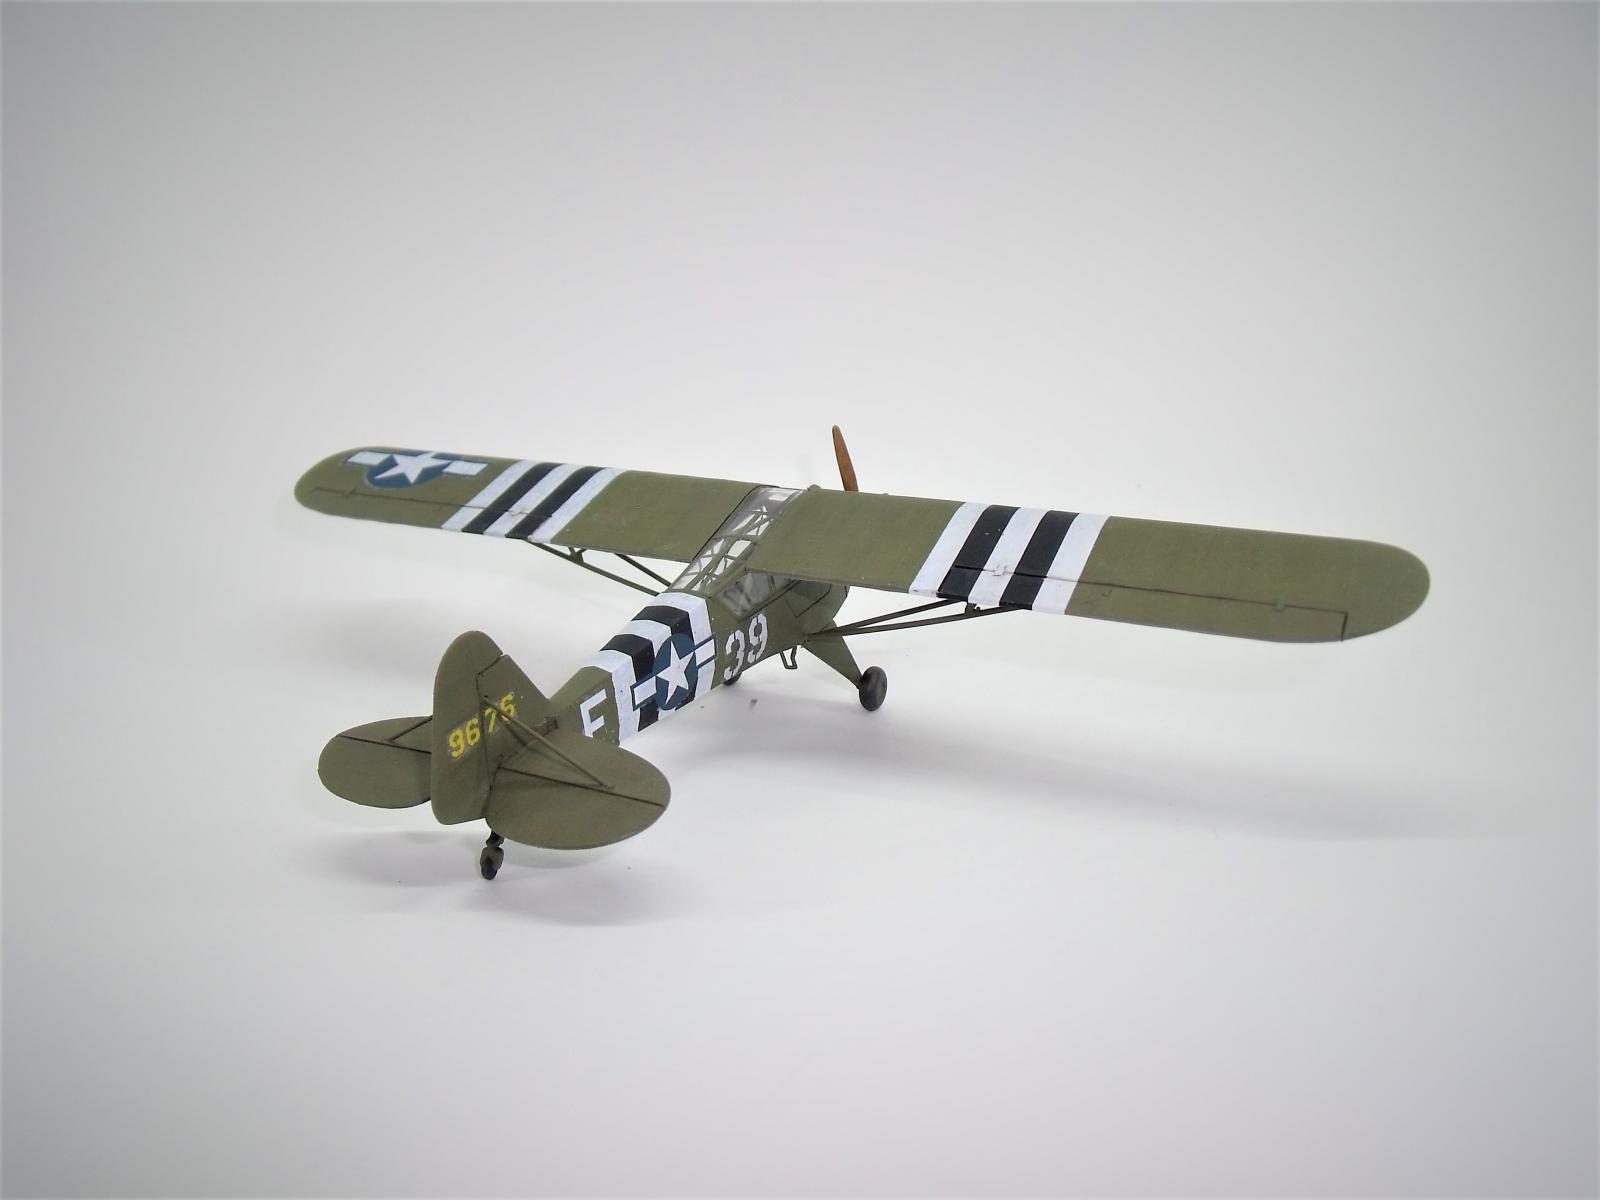
Overall, with a low part count, soft details, and usable decals, I decided to make this a quick Out of Box build, and not get too caught on the details. So far as detail is concerned, the window frames are blocky and out of scale, as are the support members for the wings, among other things. I decided however, to use them just as they were.
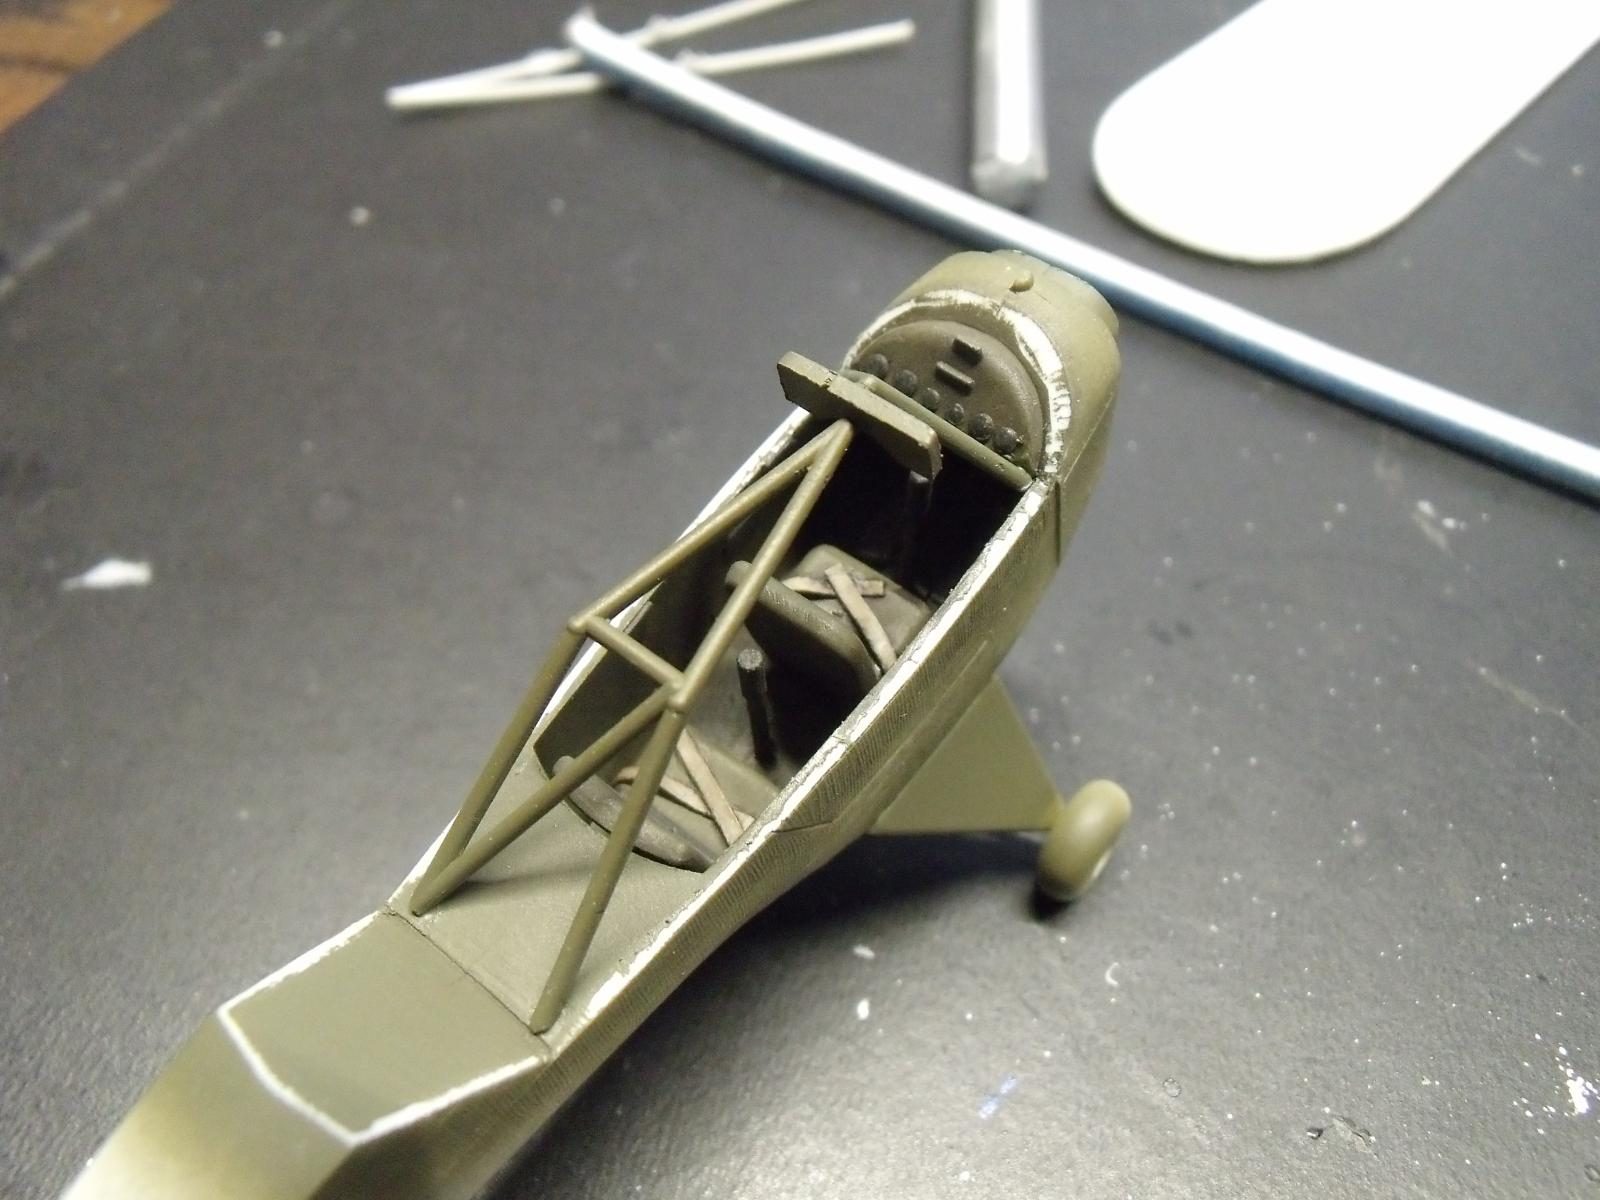
I did add some detail to the interior, reasoning that it would be highly visible. I limited this to added bosses for throttle and such to the side panels, foot boards, rudder pedals, and a few support structures that were visible at the front and backs of the cockpit. Lastly (and most prominently noticeable) I made belts from Tamiya tape.
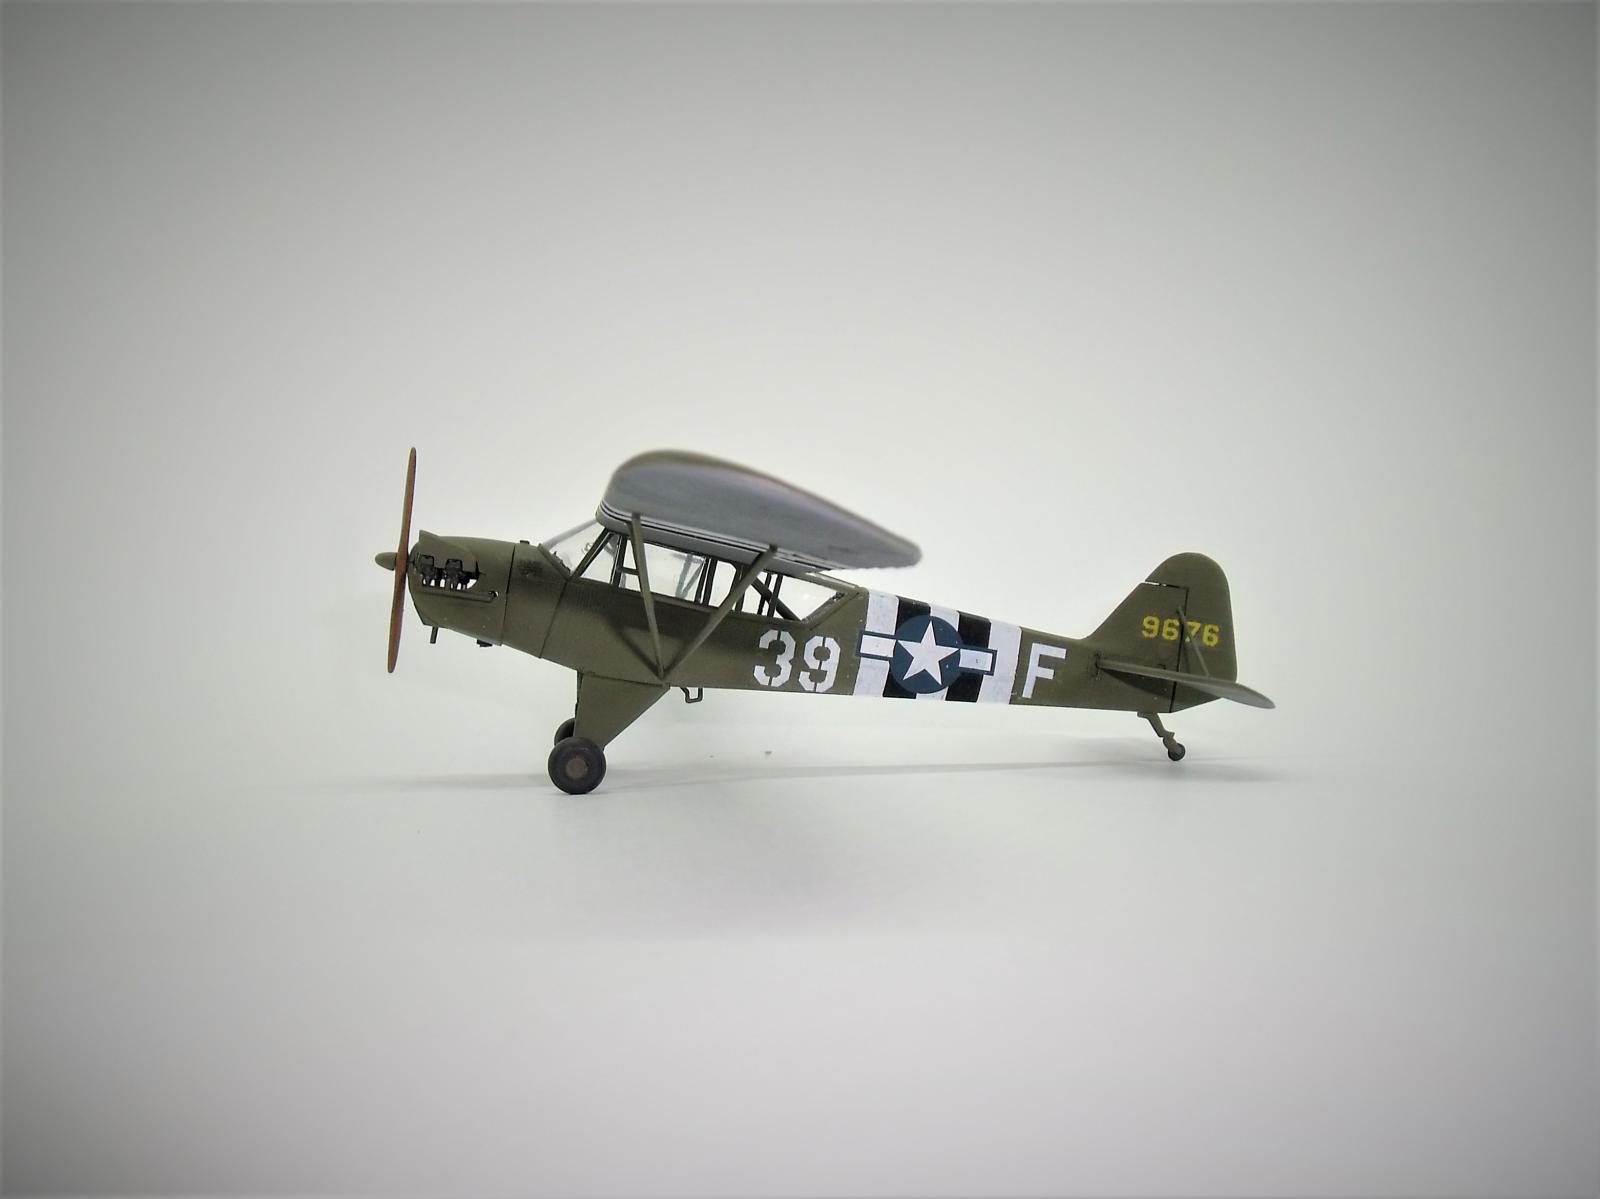
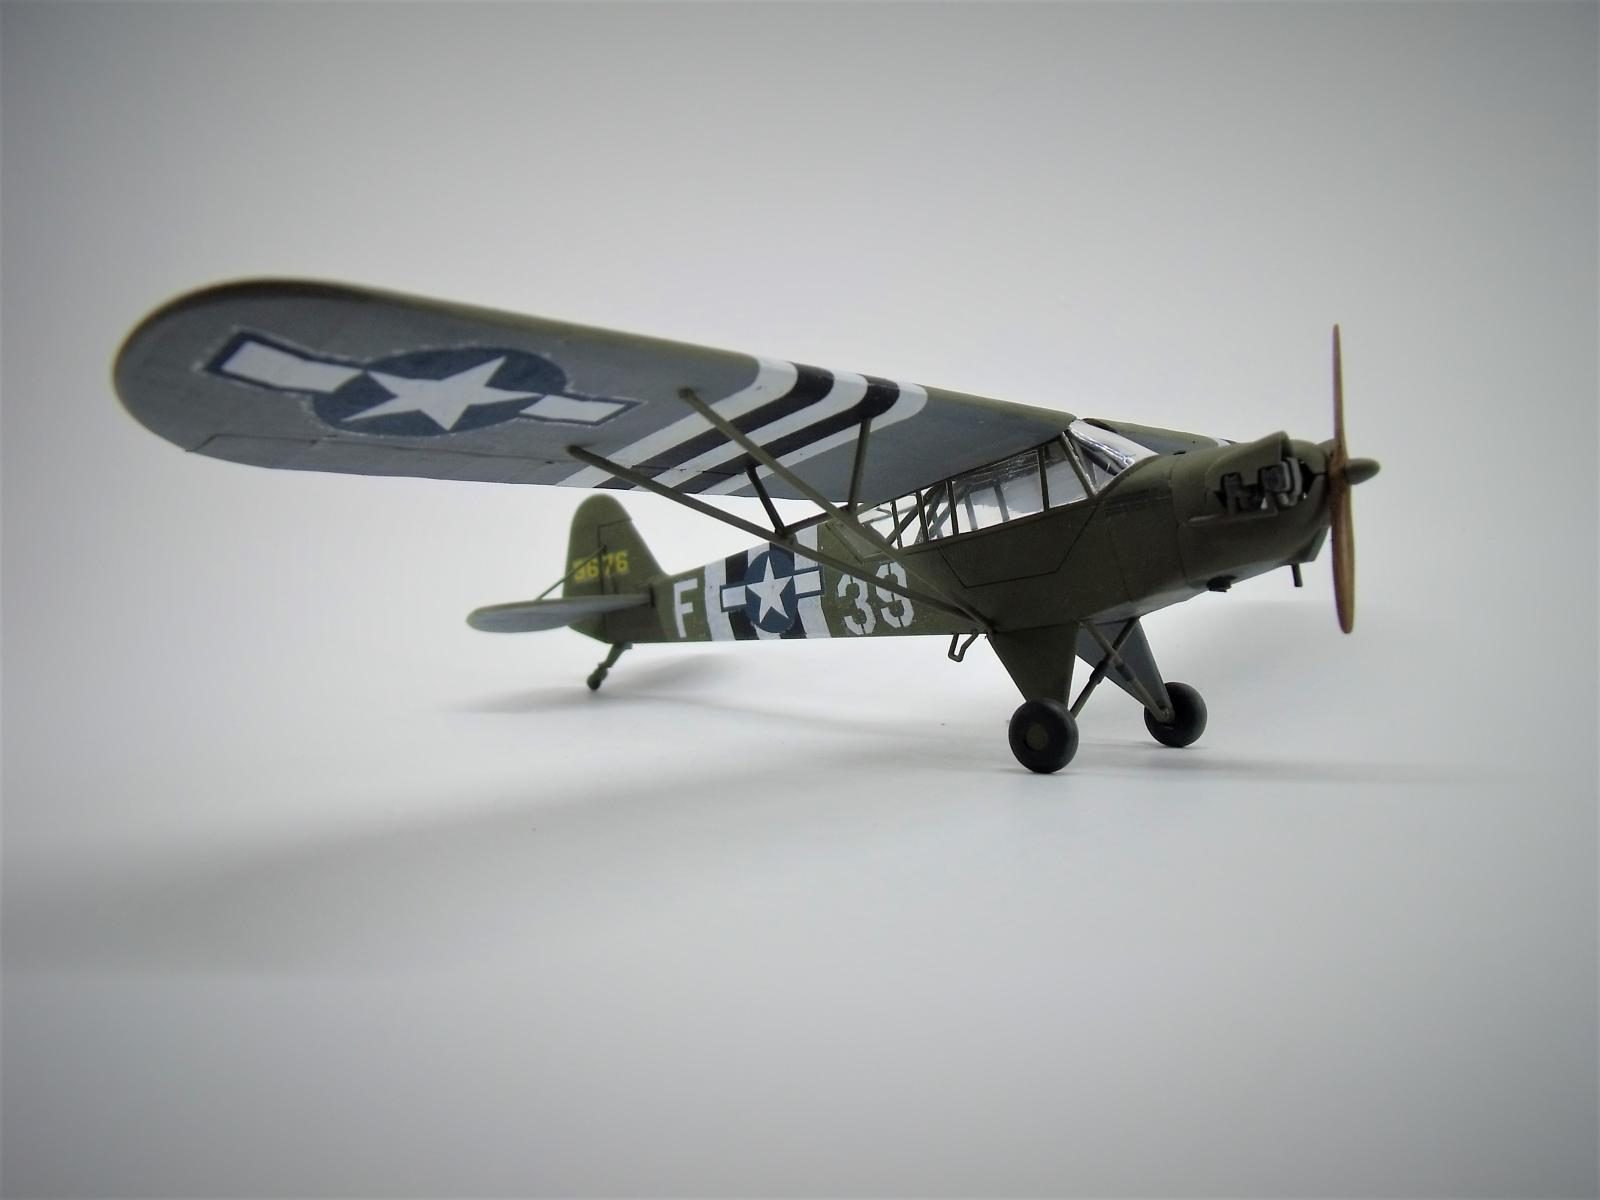
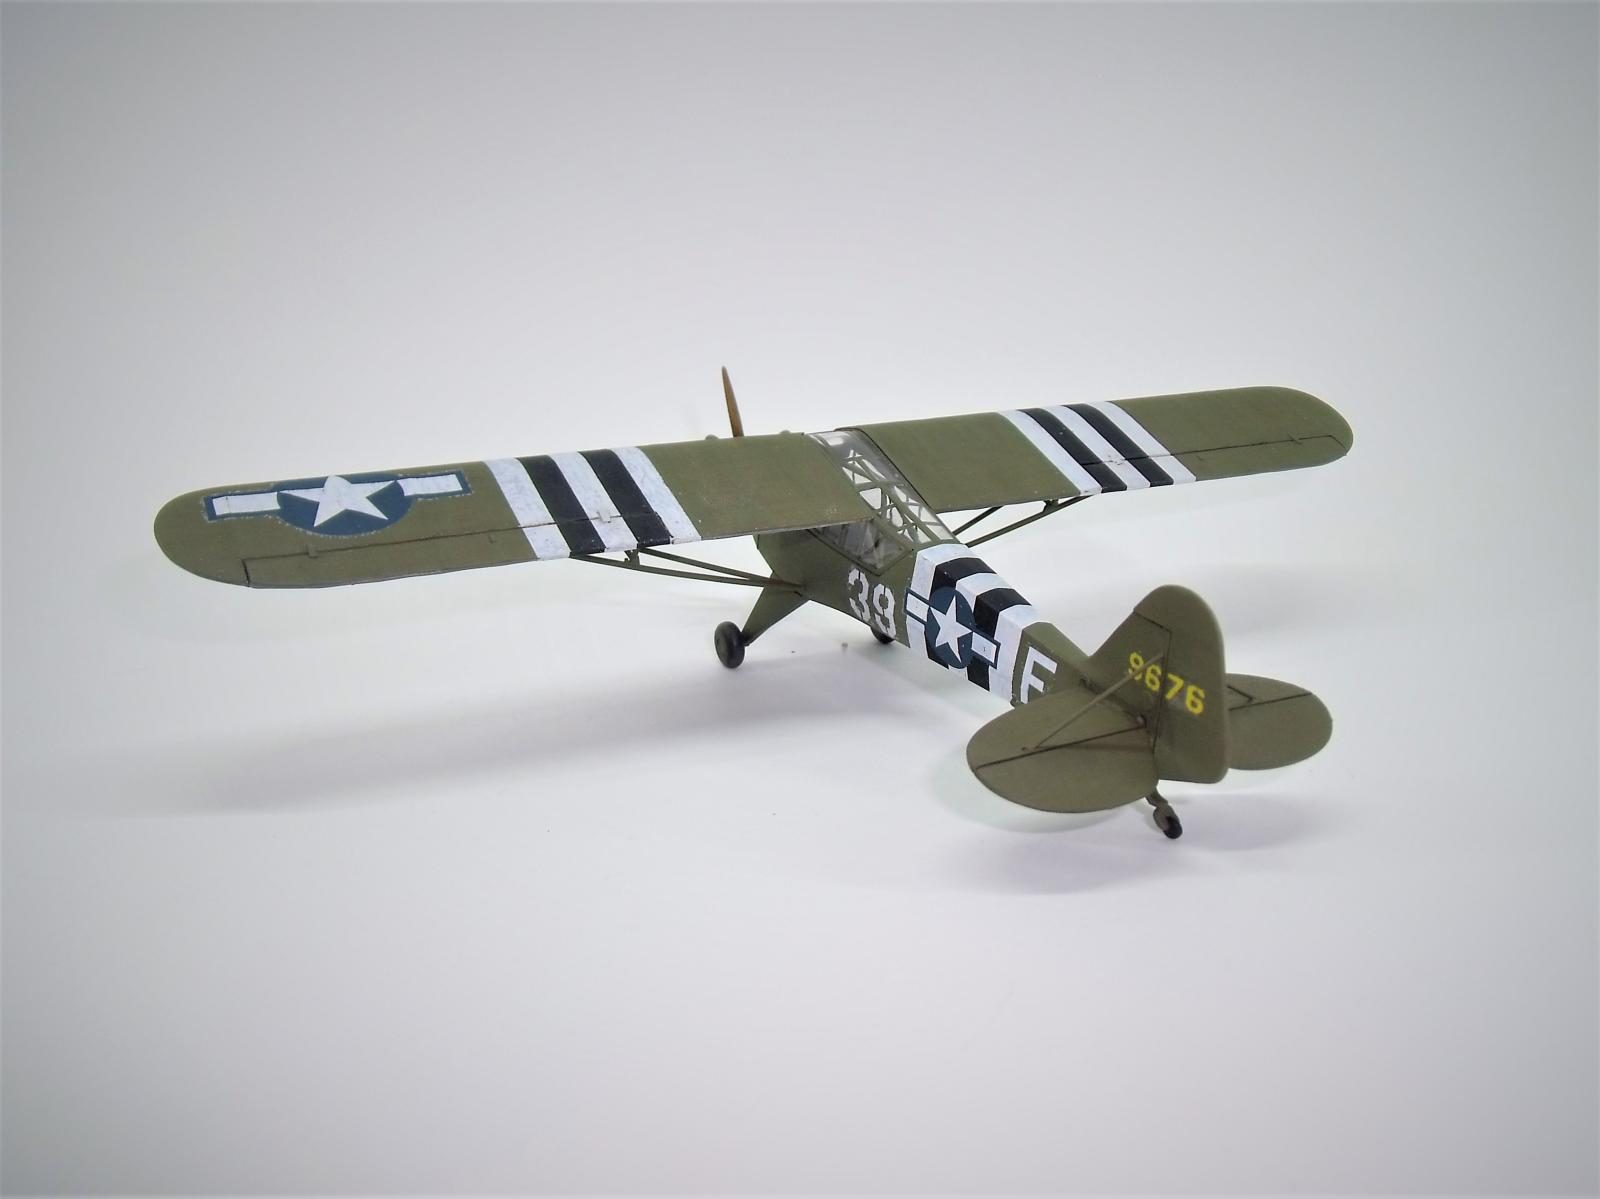
The kit decals were pretty thin, as you can still see on some of the white decals. There is some silvering mainly due to me not having gloss coated, and by air trapped in many of the crevices of the fabric texture. To try to forgo this issue, I used Vallejo Decal Fix thinned with water, applied under the decals. MicroSol was used to help decals conform.
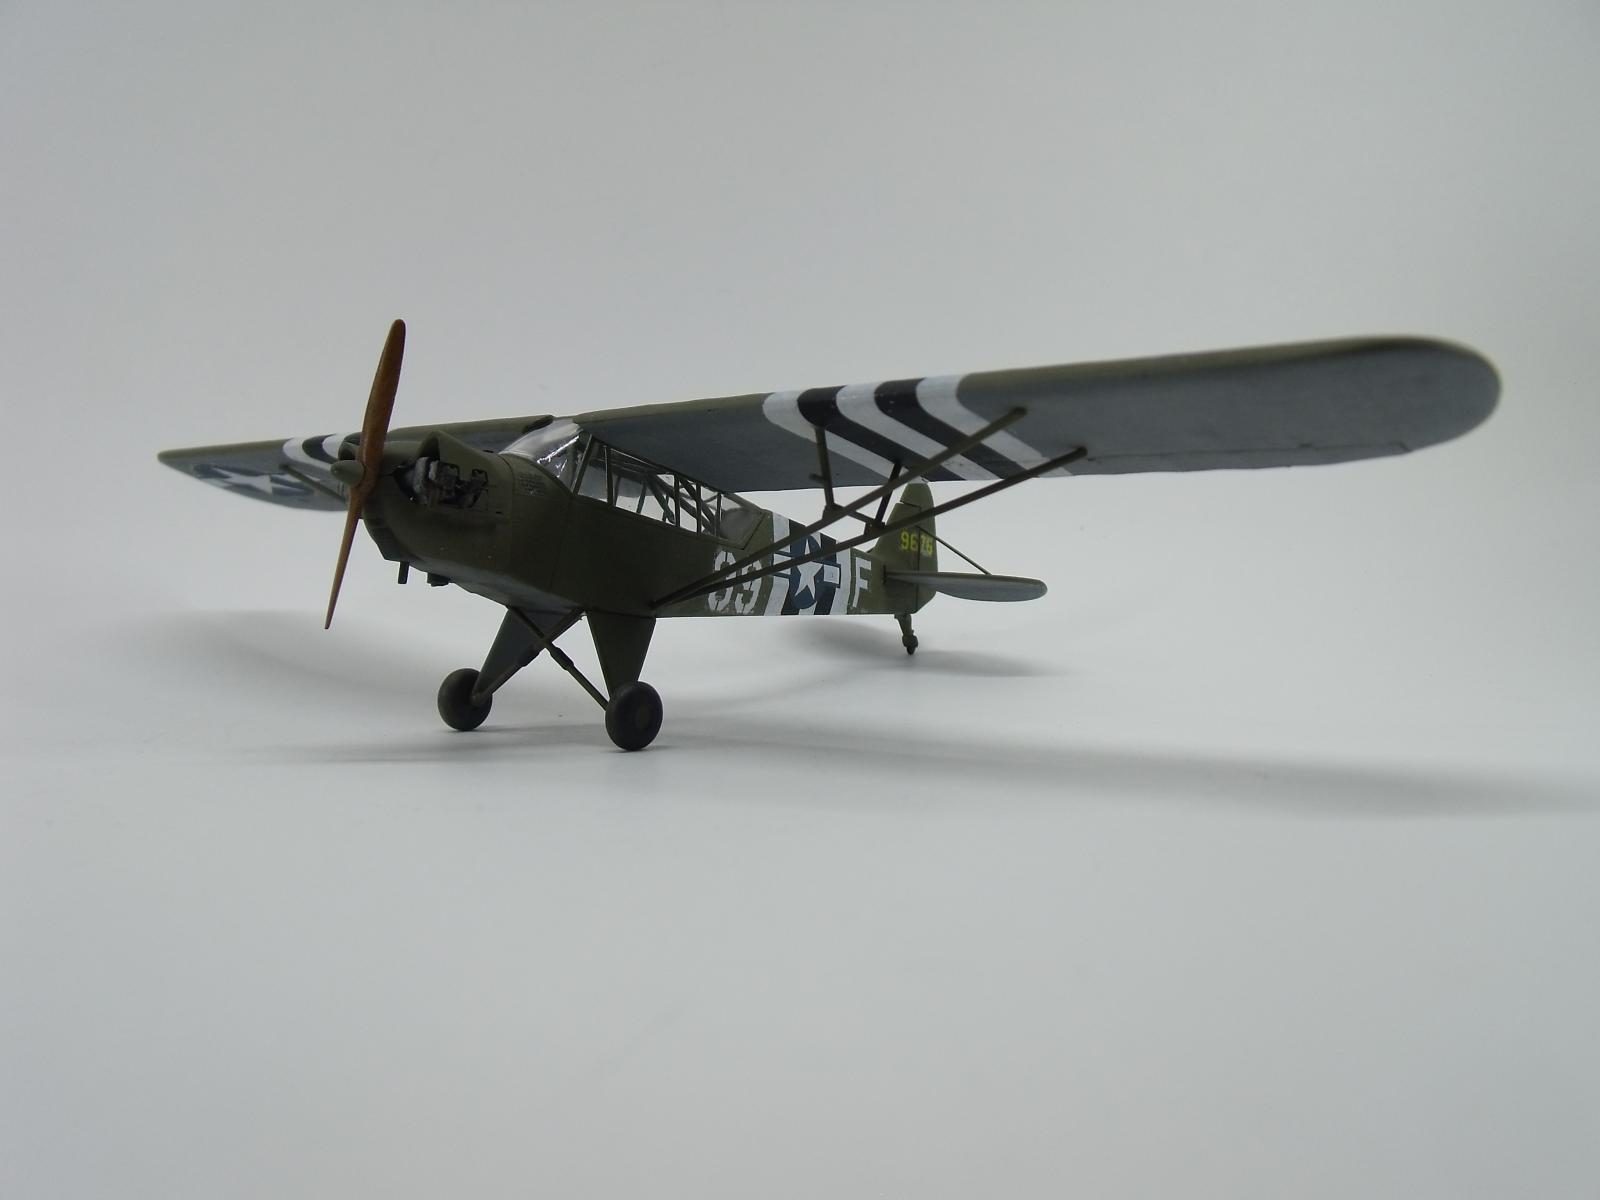
Lastly, the wooden prop was done using a MM Wood basecoat, then using one layer of thinned burnt umber oil, applied with a brush. This is my first such attempt, and I am blown away by how easy this method was, and the impact of the produced results.
I wanted to do a "Rosie the Rocketeer" plane, but justifying the decal $$ on a kit like this was hard to do.. That's all I'll say for now.. I hope you enjoy!
Bonus video: https://youtu.be/gl1oSed4n_0


This is a real beauty, Andrew.
The wooden propellor is indeed very nice.
Thanks John!
Nicely done Andrew, looks good from here.
That's good enough for me 🙂 thanks!
Lookin' good! Clean.
I love it Andrew! It's simply stunning to bring on such great results from "simple kits".
Painting is super!
Well done!
Thank you Spiros. Sometimes you've just got to inject some simplicity into your routine.
Looks like it was really fun to do. Good work.
Was fun indeed, quick and easy.
🙂 ... Greetings ... 🙂 :
Nice clean build Andrew. good work on the painting.
DE, thanks, glad you liked it.
Beautiful result on this. I have a soft spot in my heart for Cubs, having done my first 8 hours in a J-3 (a great introduction to the truth that the air is an ocean).
The kit is even older than you think, since it first appeared in the 70s when released by Heller. It got picked up by SMER in the 80s. Fortunately, they have been doing better decals in their more recent releases of their kits - in some cases where the kit is no good, it's worth purchasing for the decals (the SMER Bristol Bulldog being a great example, to use the decals on the Merit/Pyro/Lindberg kit, rather than wasting time on the ancient Artiplast kit in the box.
Thanks Tom @tcinla ... "kites with engines" as they were once called by a perspective aviator going through vetting in a Cub.
Oddly enough the kit has options for this (displayed on the box art) and a plane from Operation Torch.. though only the Torch option is in the instructions.
I had only suspected it was older, having seen it marked some places as 1/50th scale.. the same as the Heller kit. I resigned only to noting the history shown on the scalemates page.
Yeah, it is 1/50. Bronco made (makes?) a "Rocketeer" in 1/35. That's it for L-4s.
Nice work, looks great.
Thanks Rob!
Good result on this "simple" build, you've really captured the character of the real thing.
Glad you like George! It has some character, for sure.
Thanks, Andrew (@pb_legend), for building this kit. I have the same one in my stash, but I have never opened it. You have truly brought out the best in this kit. I probably need to move it into my build line now. I had a couple of flights in a Piper Cub in the 1980s, and it has been one of my favorites since.
No problem, George @gblair. It's a kit that doesn't require much attention or time. The fit was actually quite good. You just need to be careful with the greenhouse pieces. Also, I didn't note that I improved the collective exhaust on the lower cowling, since the kit piece was very soft on details and too long from the reference photos I had.
Very, very nice Andrew.
Thanks Eric!
Nice looking little grasshopper! Well done.