Decal Silvering
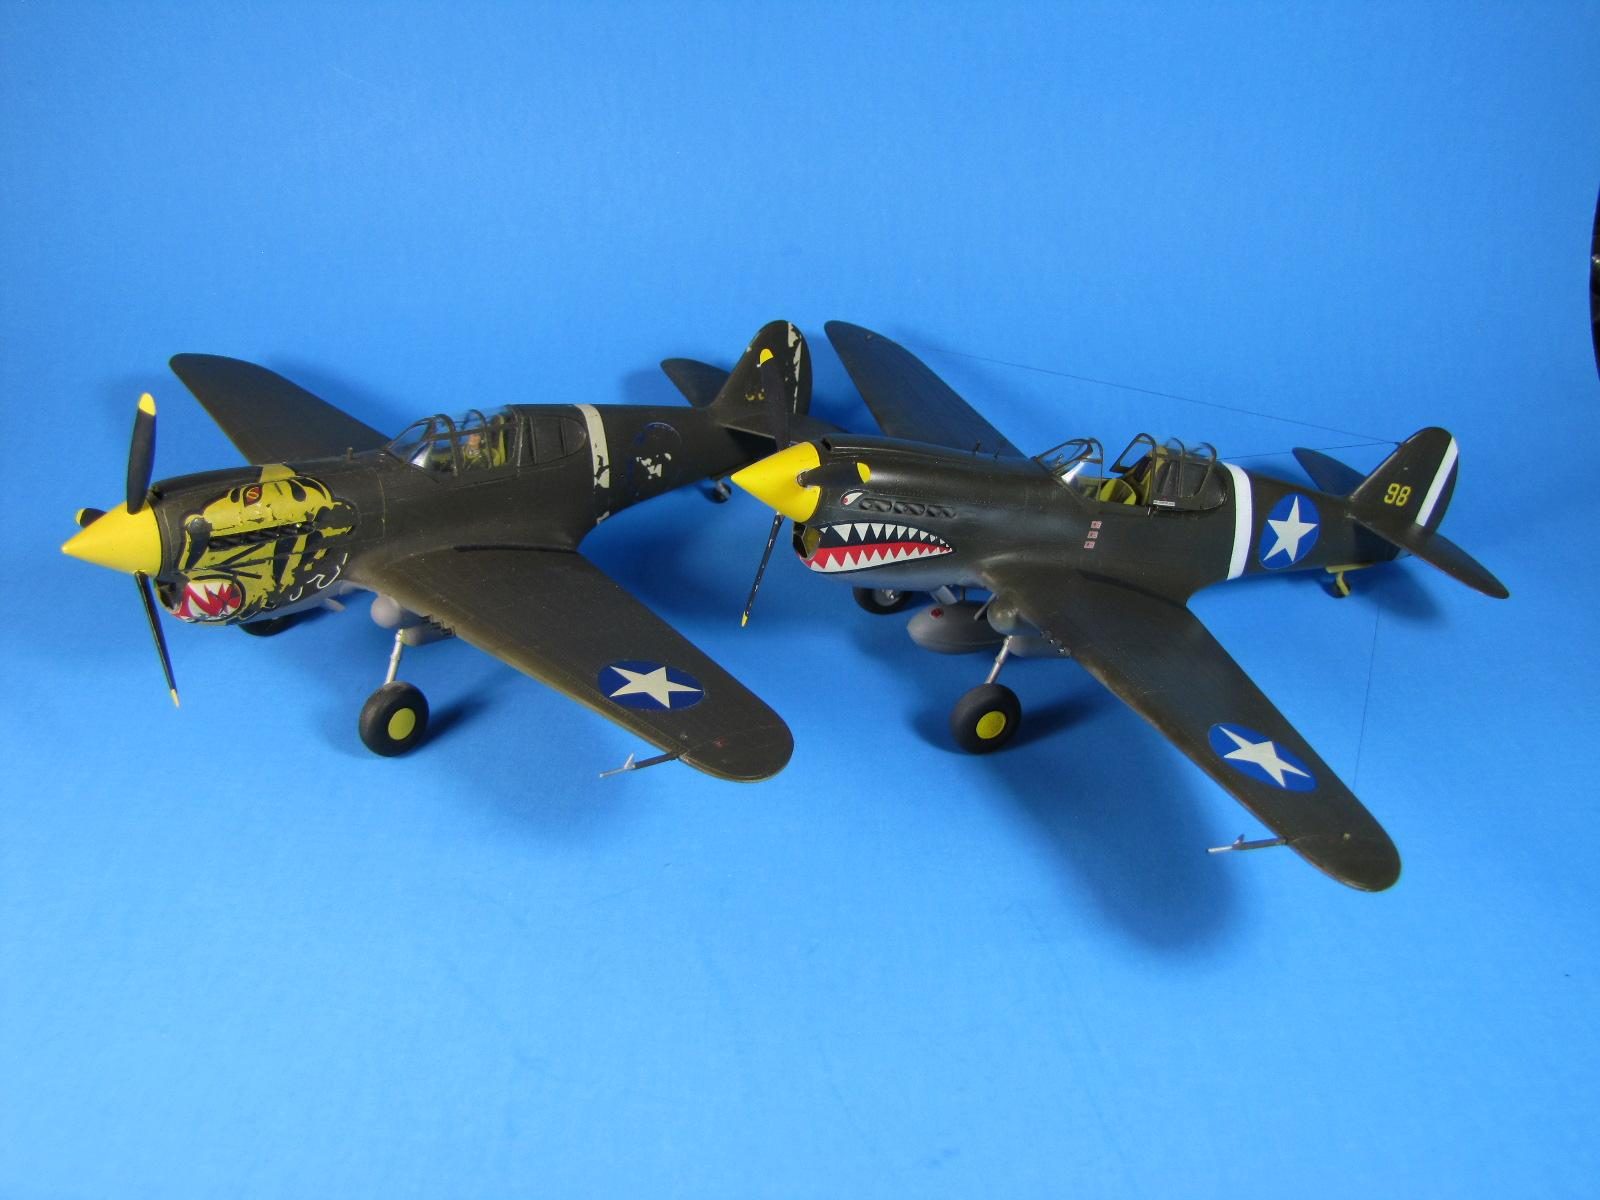
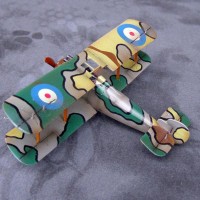
Back in the early 1980's I just cut out the decals and put them in water, then slid them onto the model. A decade or more later I started cutting around each number/letter, including the insides of the letter "O"/"P"/"A" etc. The first photo is my P-40 that I built in 1984. The 2nd one was put together a couple decades later and the 3rd photo is both models together.
You will note that parts of the "tiger mouth" decal came off the model. I did not know that you had to clear coat the model, then add the decal, then spray on more clear coat. The kit instructions give you nothing concerning how to treat the decals.

You should re-do that first one , give the old girl a new lease of life .
N
NO THANK YOU, MY HANDS SHAKE BACK AND FORTH ABOUT 2 INCHES IN ALL DIRECTIONS...OOPS...CAPS ON. I can no longer build and I need help taking a bath, putting my clothes on, eating, hearing, walking and several other things. Wait until you get 90 years old and then see what you are able to do...thanks for the comment...I ordered a new body 10 years ago, but Airfix quit making them.
NEIL: I managed to build over 20 models for clients and took in a bit over $120,000.00, then I have 284 finished models here at home with 301 model awards.
You can see my client models which are posted on LSP.
Thanks for sharing, Rodney.
Such a pitty that you're not able to provide new models anymore.
Your posts always show great quality builds.
I really like looking at your models.
Hope you can post some more of your models soon.
Thanks for this info, Rodney!
It is a big pleasure to read your articles here!
Ha ha! Great little piece Rodney. I'm so sorry to hear you're unable to build any more. Yep, it'll come to us all .
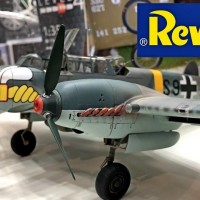
The one bit of silvering that really bugs me is this, the "Keep Off" crosses on Mosquitos! (see pic). Actually it looks better in the pic than in real life.
1 attached image. Click to enlarge.
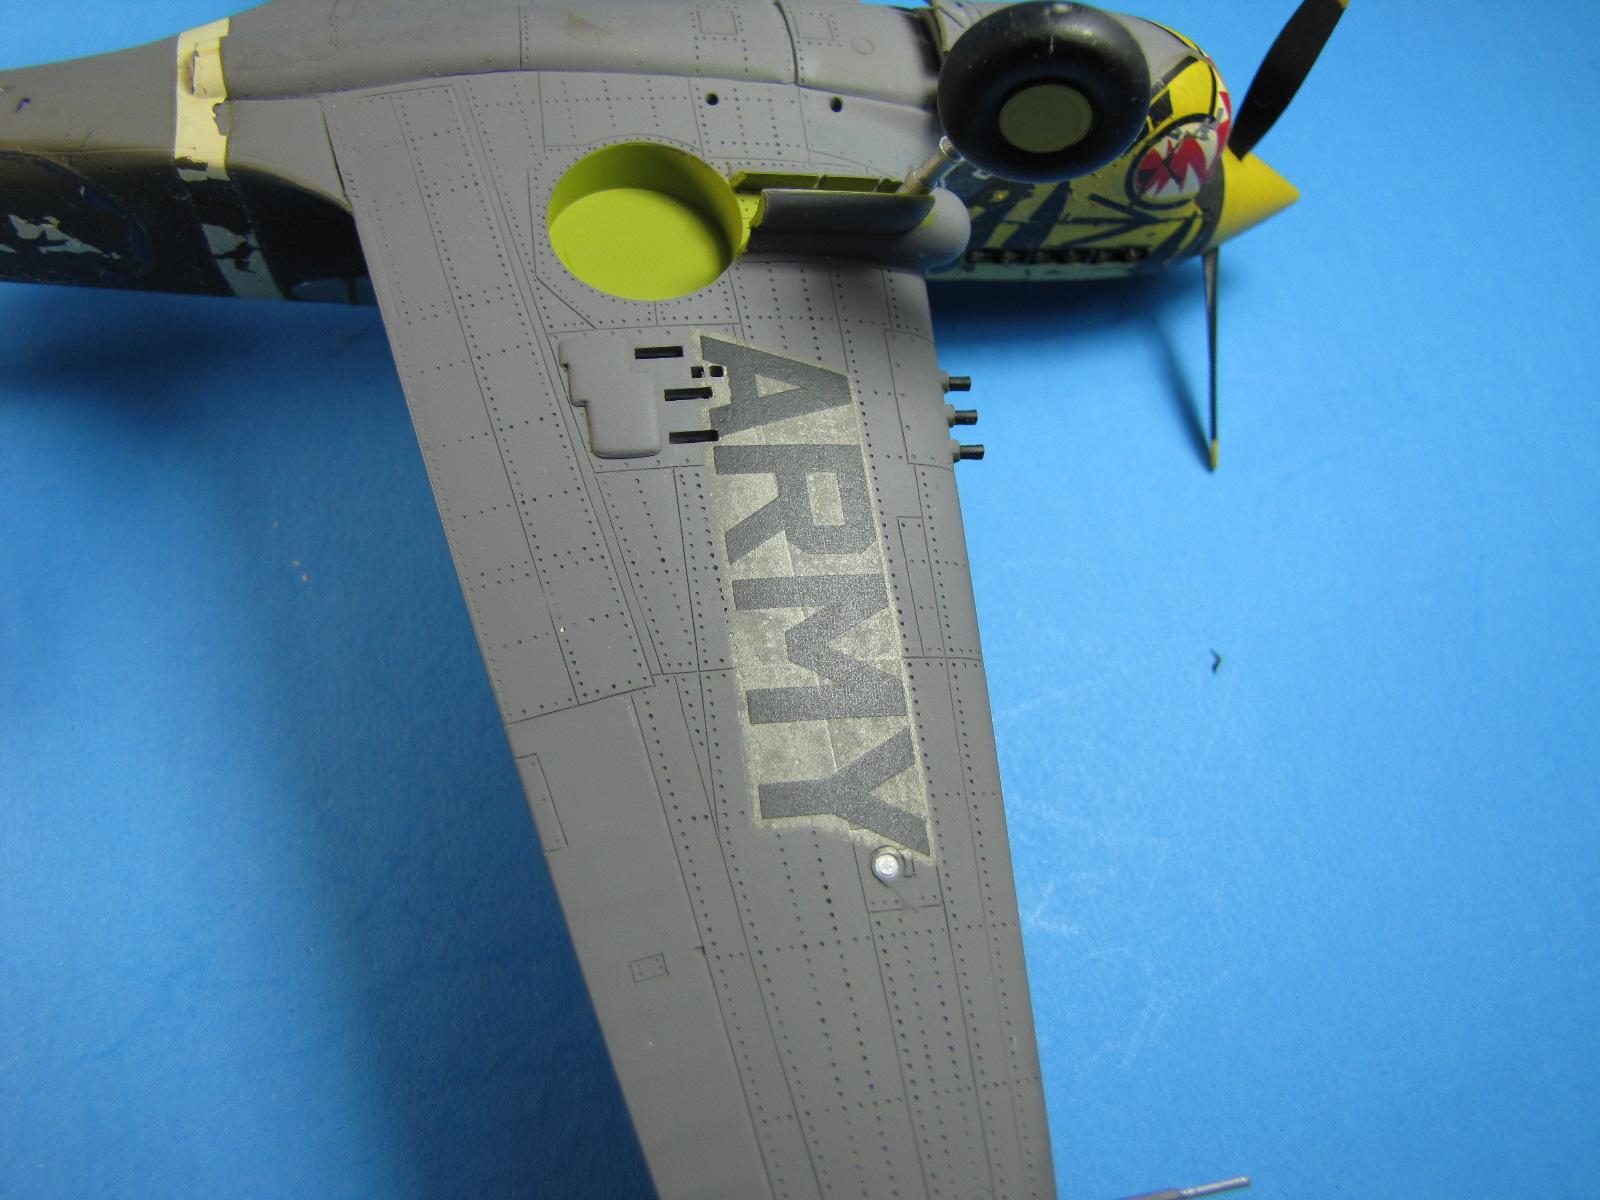
If you have not clear coated the decal, then soak it in water and remove it and put it on a flexible cutting board. Used a new #11 blade and cut all the excess decal film away.
The X in the center should be what I call "Free-Floating," and cut off one of the red strips, on both side of the other long strip which will give you three red pieces of decal. Use caution and replace all 3 pieces of red decal film.
I assume you use some sort of decal setting solution. I use MicroSet and MicroSol...remember...model building is "experimental" all the time.
Rodney, the experiences are what drives us I think, and the steep learningcurve you faced back then only made you a masterbuilder, and I for one love all the re-visits to your builds. Keep them coming with all the bits of wisdom thrown in.
Rodney:
Thanks for the decal silvering pix; that's an issue that has plagued all of us from time-to-time.
In spite of age-induced infirmaties, you are still active here on the boards, so keep at it, so we can all benefit from your experience and knowledge.
Arguably, one of the things that you are best at is making metal templates out of aluminum can stock, and brass sheet. For years, I have wondered how you were able to make these templates. Can you give us some insight into how you did this? You also made perfect metal landing gears for your Corsair series; any how-to pix?
Marvin:
Thanks for asking.
I have "in-progress" building photos of using aluminum and also photo of making the Corsair landing gears. It was easy the first time, so after that it was a "snap" to do it gain. I'll hunt up some photos one day soon and send them to this website.
I looked in some of my model folders and I can not fine the photos of making the aluminum scribing template and landing gear struts. I'll look again tomorrow.
Thanks, Rodney...I appreciate it.
Rodney - Very sorry to hear about your condition. Yep we're all going to get there. But I'm very grateful that you're out there posting tips like these, it's a great help to those of us that are getting back into the hobby and have "gaps" inbetween what we did then, and what could get a better result with the more detailed (and expensive) kits now.
Years ago someone told me about clear coating the model before putting decals down, but I avoided doing it, following the logic of another coat of paint = another chance to mess up the paint job. So I began trimming decals to a fine edge and using a LOT of solvaset. While it did eliminate a lot of the silvering...it also resulted in a lot of boogered up decals. Once I get everything set up to build again, will start clear coating and just focus on getting better working with the paints & airbrushing in general.
Thanks again for posting your experience. Really appreciate being able to click on a website and just learn.
Doug:
I was taught all these things by George Lee & John Alcorn who lived near my home town of San Jose, CA. They are both dead now & I'm next in line @ almost 90 yrs.
I have mentioned that I took lots of photos for their books long ago. The title of the first book was: "ScratchBuilt." which I got a signed copy from George. I have a copy of the 2nd book, but I have forgot the titled. Both books are signed by George & John.
I think this site is a learning tool for all of us to try out the "modeling tip's" that we have applied over the years and I think every modeler that post their model photos should write more about what/how they did something instead of just showing the pic's.
I honest think I became an excellent modeler by becoming a "local-regional and IPMS/USA National judge." (1984 to 2016). We had 3-man/lady judging teams here in the USA. We wrote down everything that was wrong with each model. We came up with three models that had the fewest mistakes, which became 1st; 2nd; 3rd place.
I was writing stories about my models so at one IPMS/USA National shows the word got back to me why my P-51D Mustang did not win. One of the judges said: Hey guys; "Rodney wrote a story and said that he has won over a 150 awards, and this '51 has already won couple of trophies, so let's give this award to a non winning modeler." My model did not get a trophy in that contest. The moral of the story is: "You can't win them all...!" I was upset, but I learned a good lesson which is. "Keep your mouth shut about how many awards you have won." Today I tell all, 'cause I quit entering models at contest and just post story's on the web with photos. My way now is: I hope they help other modelers become better modelers.
When I first got into modeling, the model came out-of-the-box Friday night and was finished and up on my shelf no later than Saturday night. However "building" progressed into days, weeks and months. It took 2,100 hours to build a model for a customer and I only got USD$2,000.00.
Did I ever raise my building price: I'LL NEVER TELL!
I got lots more models with lots more photos I can write/post for a long time to come. My problem today is that my right shoulder doesn't work hardly at all, so I do all my p.c. work with my left hand.
I think I mentioned this a few years ago.?!~?
A chemical engineer modeler that was in our San Jose, California model club told us to do this around 1987.
Take a full new bottle of "Micro-Set and mix it with a new full bottle of Micro-Sol in a new clean bottle. Shake it up and refill both of your empty bottles.
Cut around your decal, soak it in clean water, lay it down on a clean area of your work bench. Coat the decal with your new "Set/Sol", (S.S.) mix, and add the S.S. mix to the area on your model, then slide on the decal and push it in its' place. Wipe off excess liquid and let decal dry...you are done and you should never get any silvering...at least I never did in about 20 years.