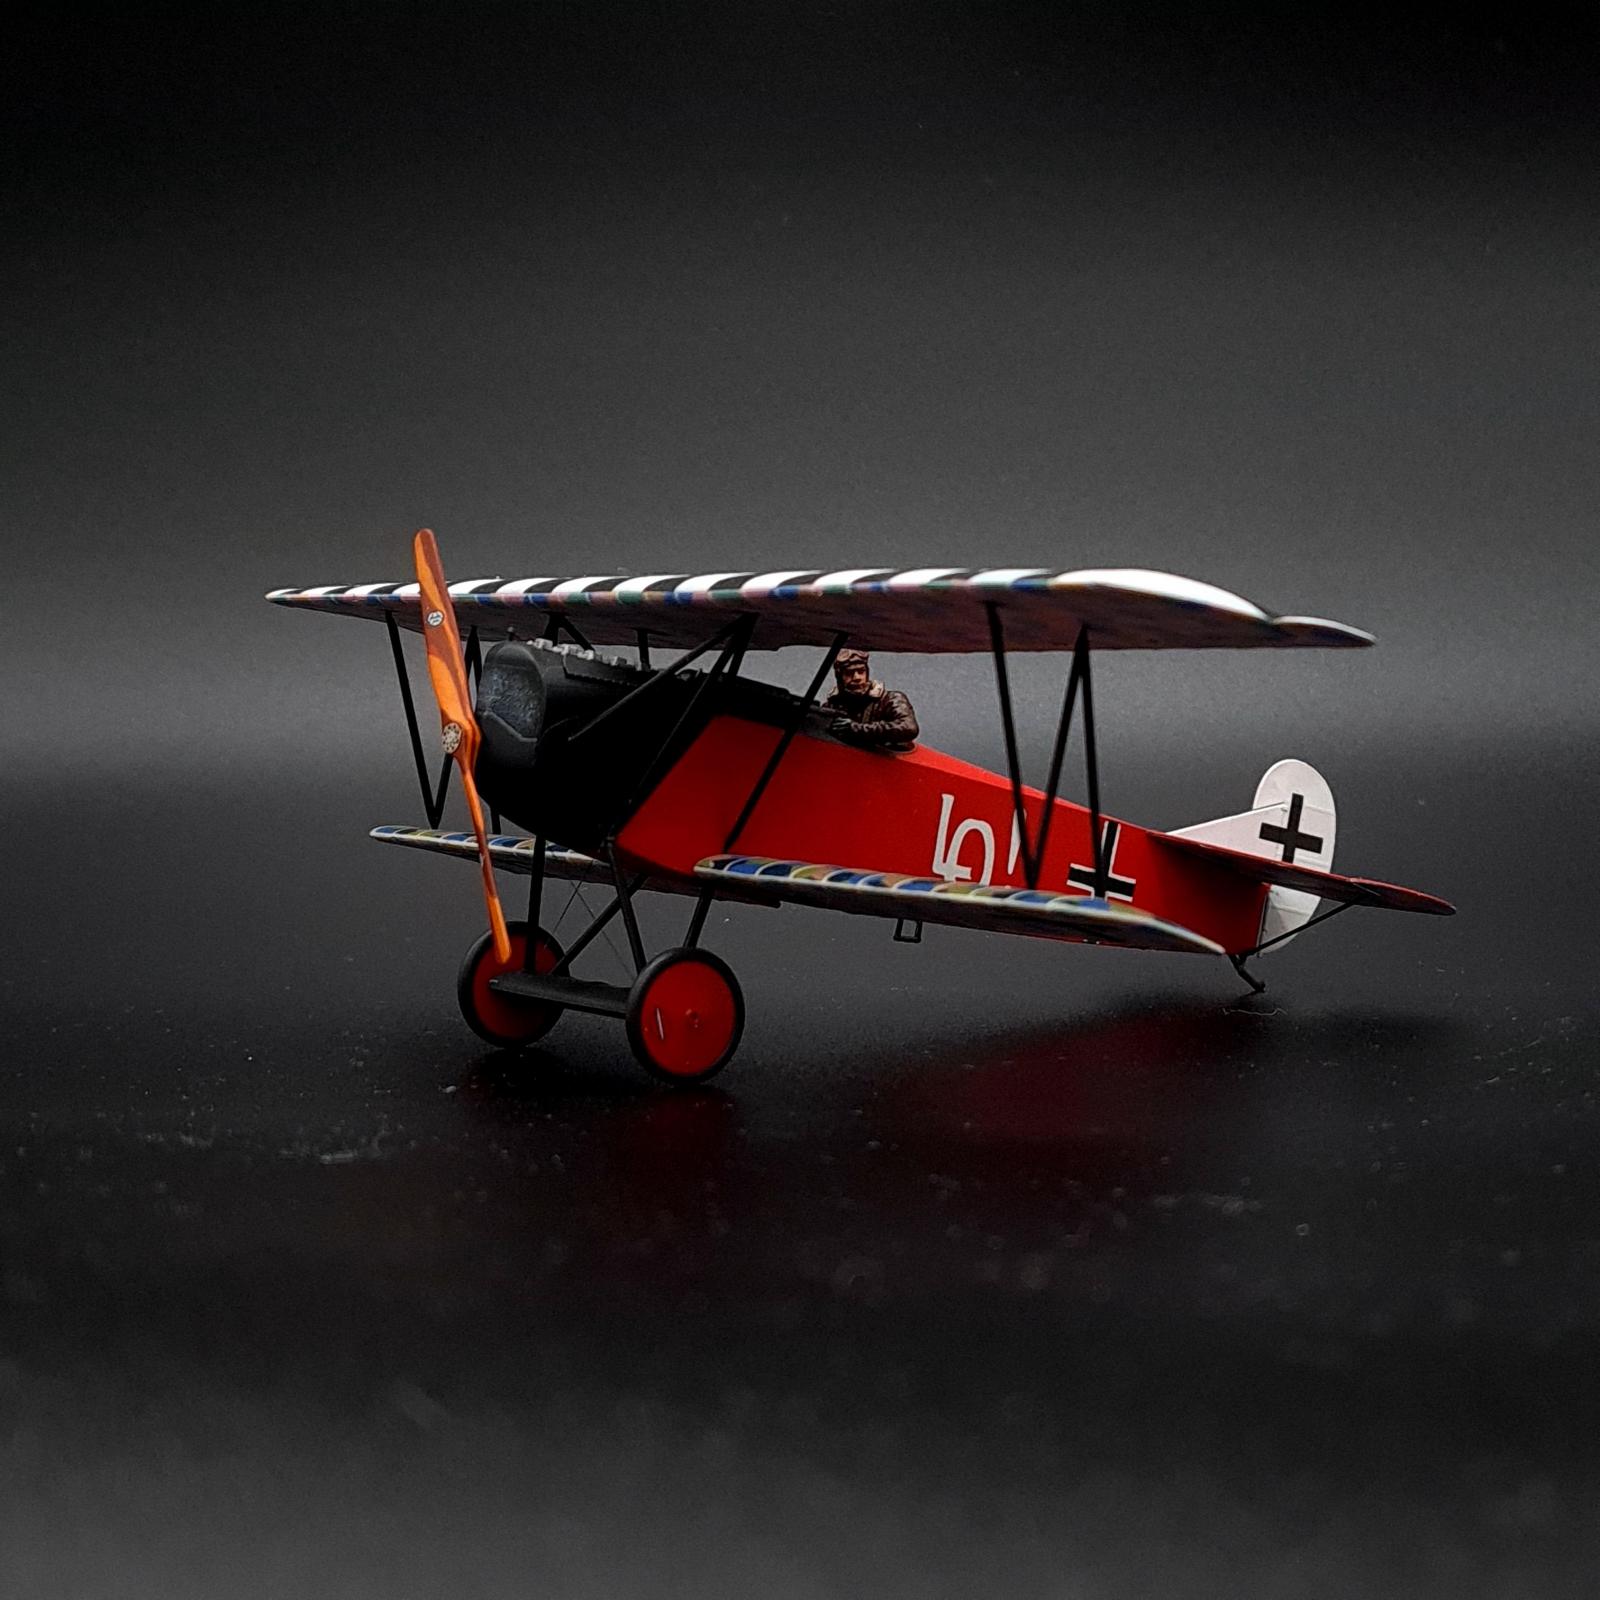
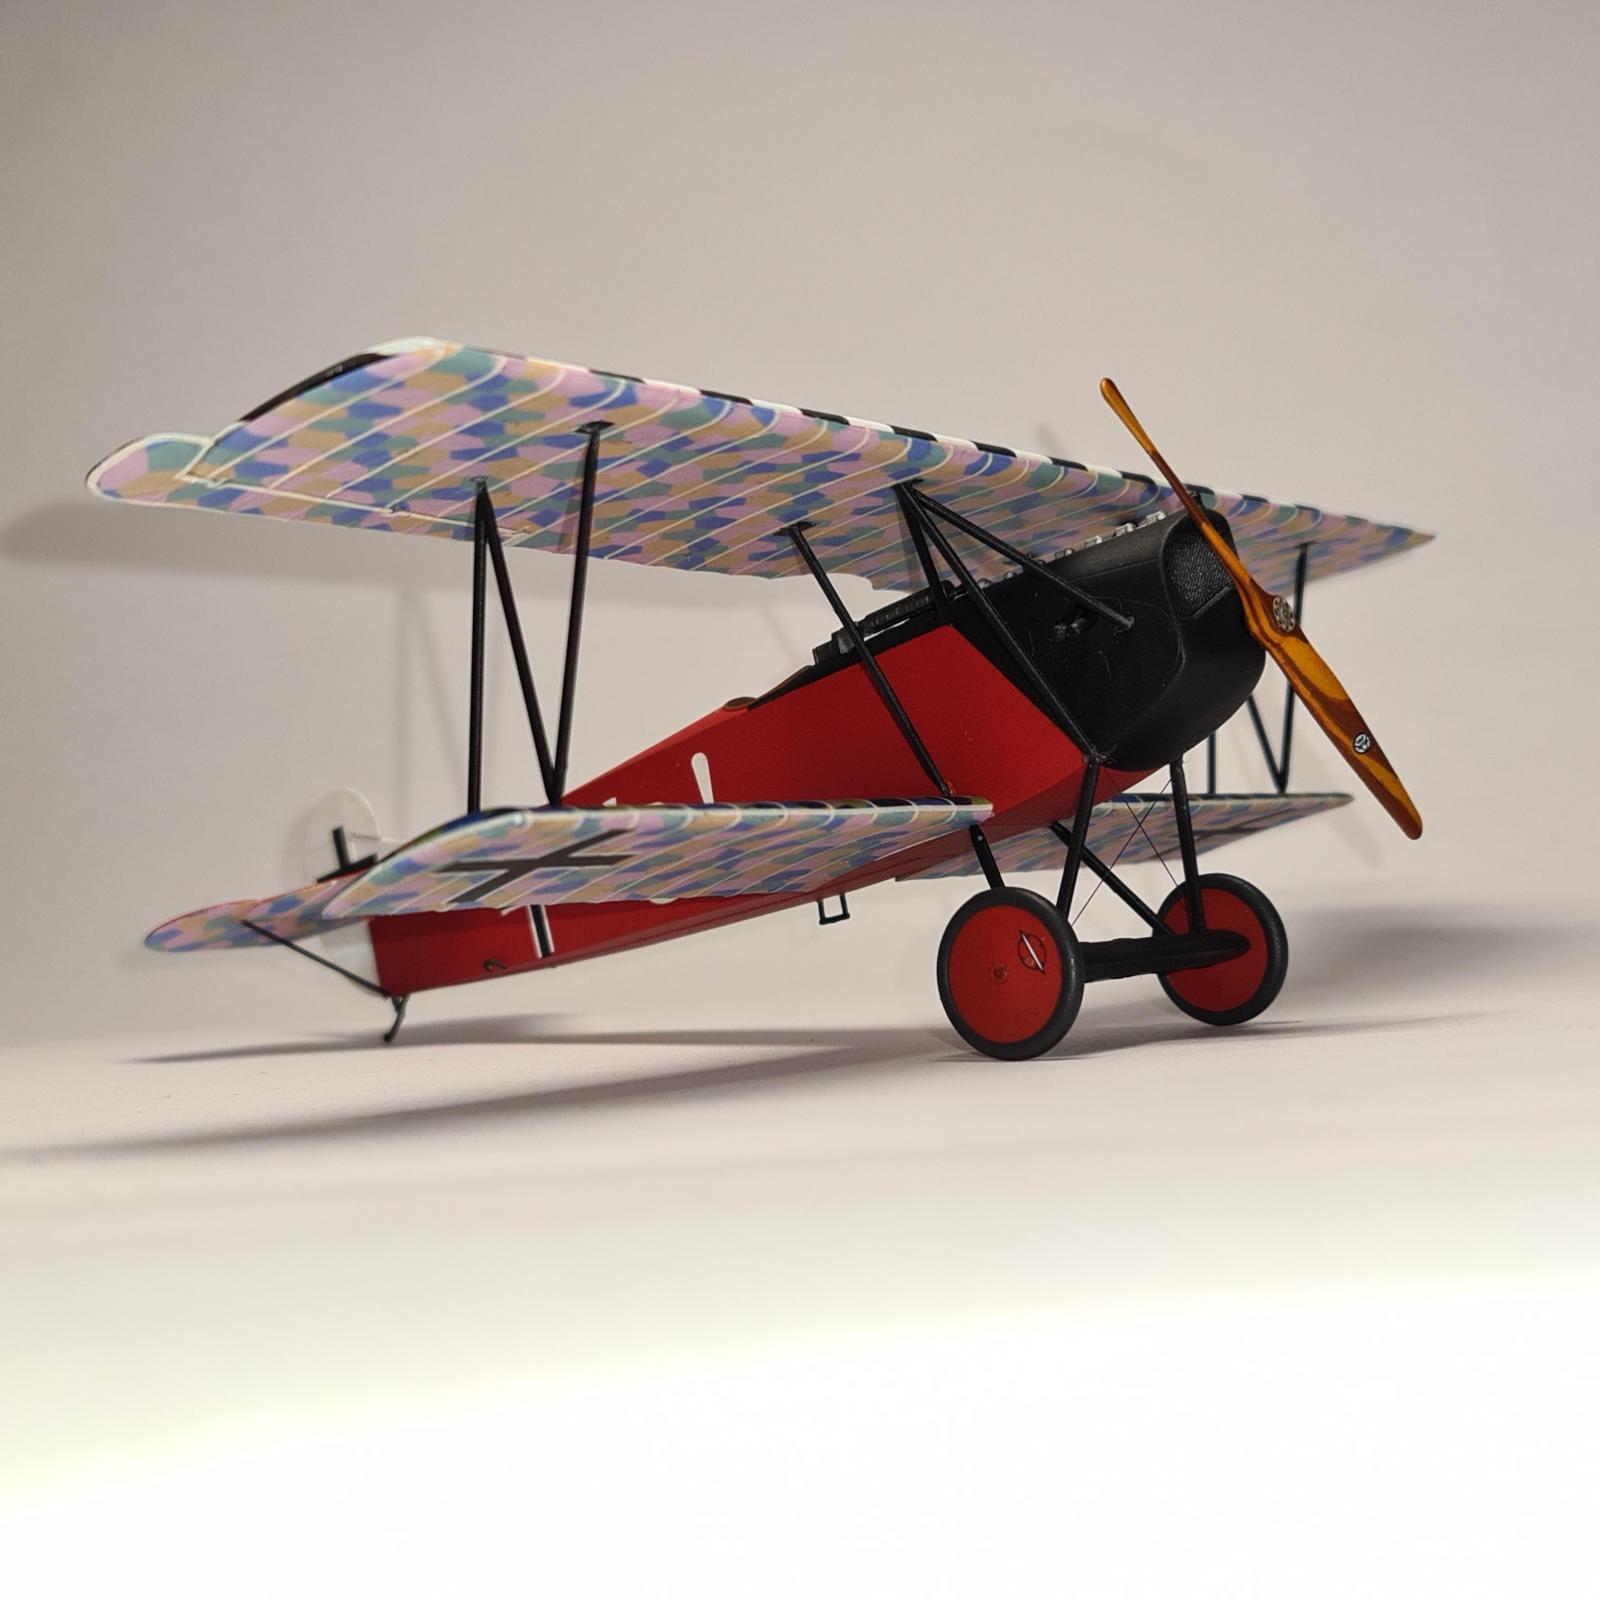
Eduard Fokker D.VII, 1/48. ‘Du Doch Nicht! ’
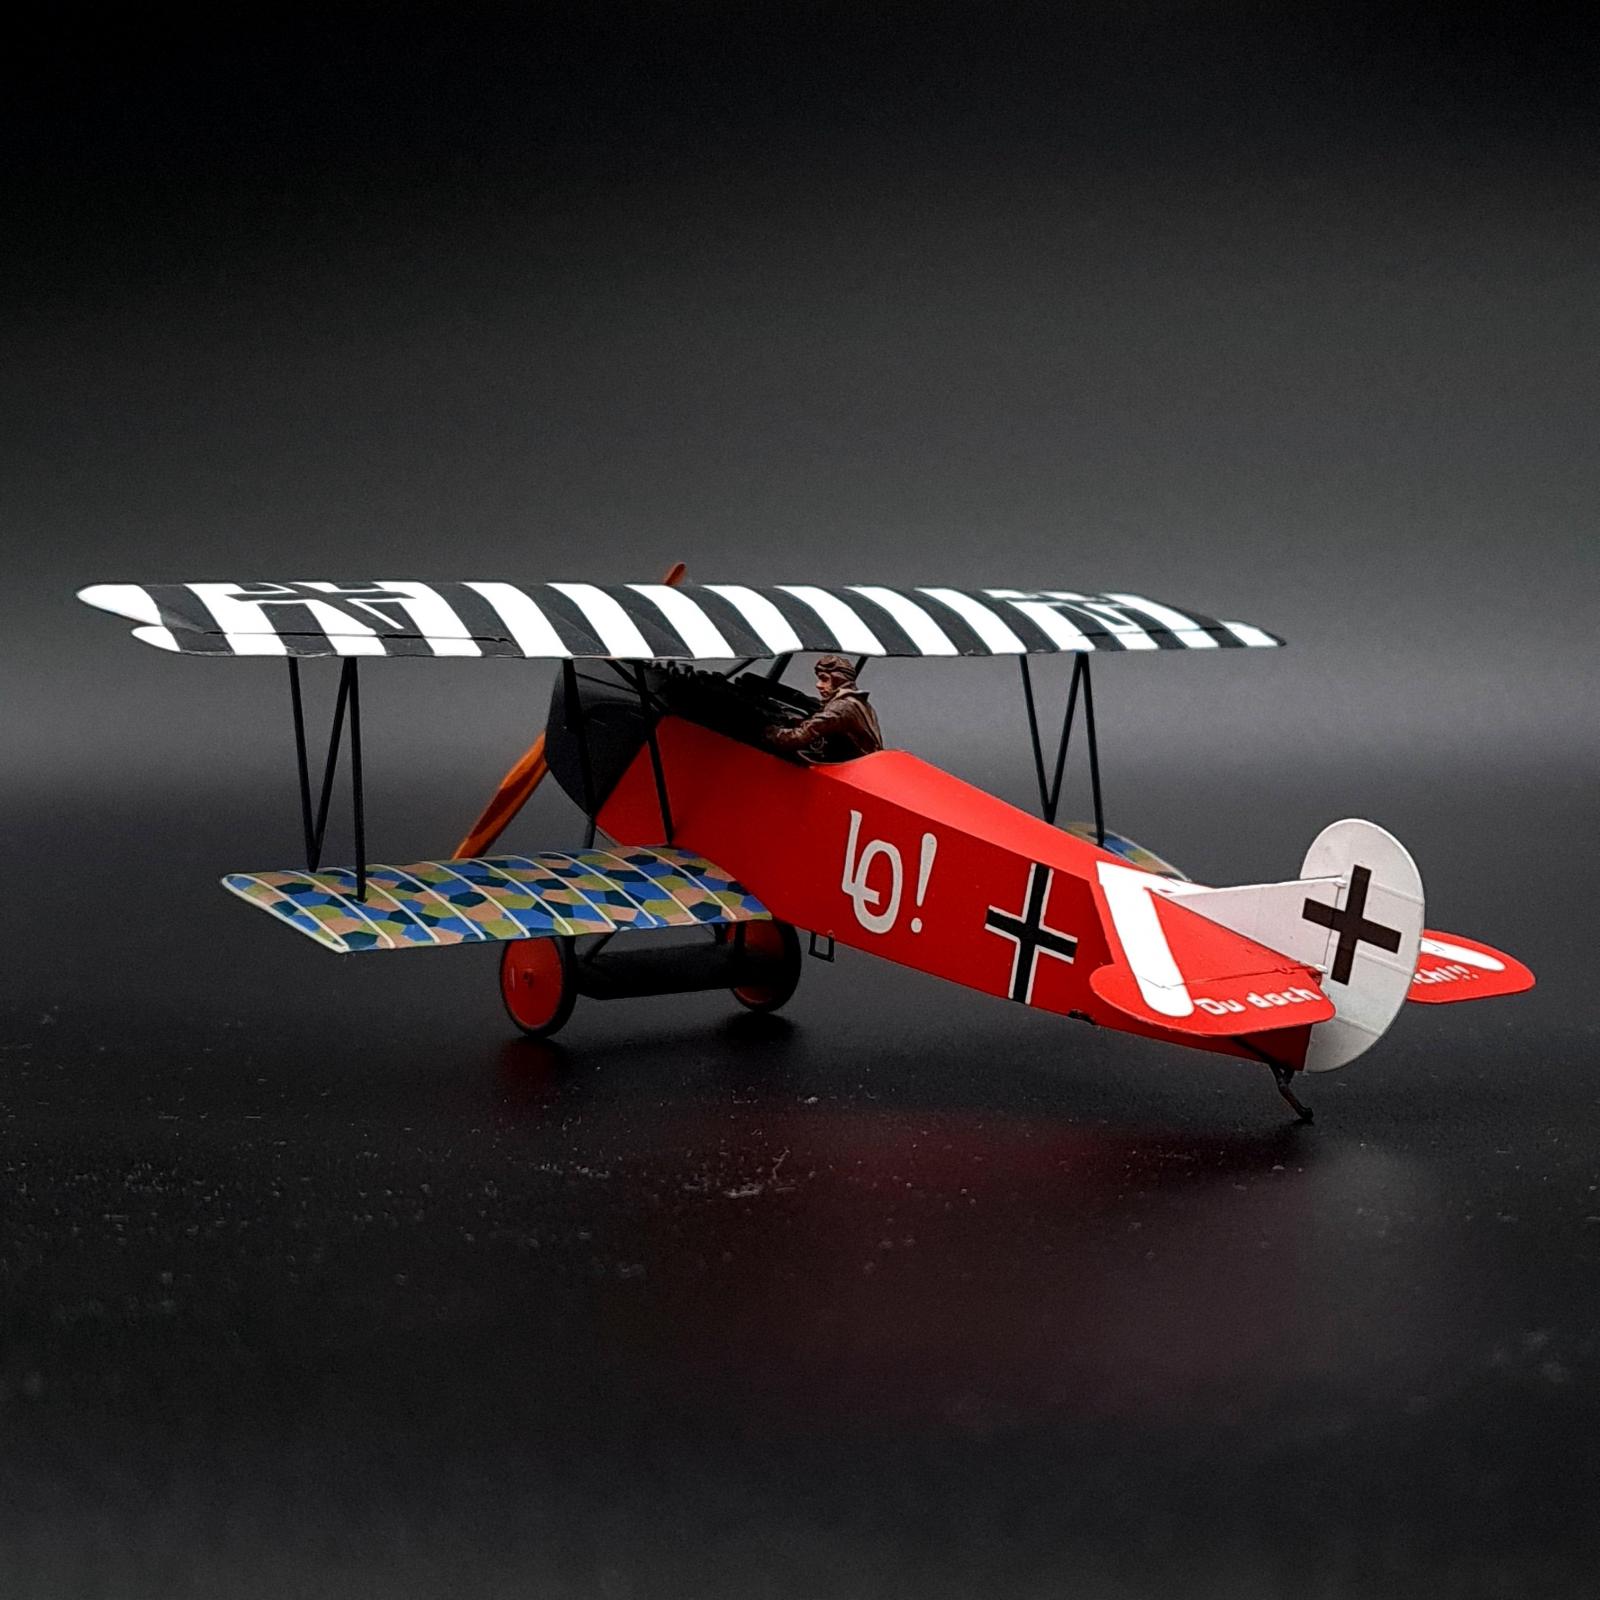
My first build of 2021 was this brightly coloured Fokker D.VII, this was also my first and so far only subject from the First World War. This particular one was based on Fantasy of Flight's D.VII and was a Christmas gift from my other half who must have seen me watching Kermit Week's video on this aircraft, as such I deviated slightly from Eduard instructions in order to give it the really nice black and white stripes rather than the red stripes show in the instructions.
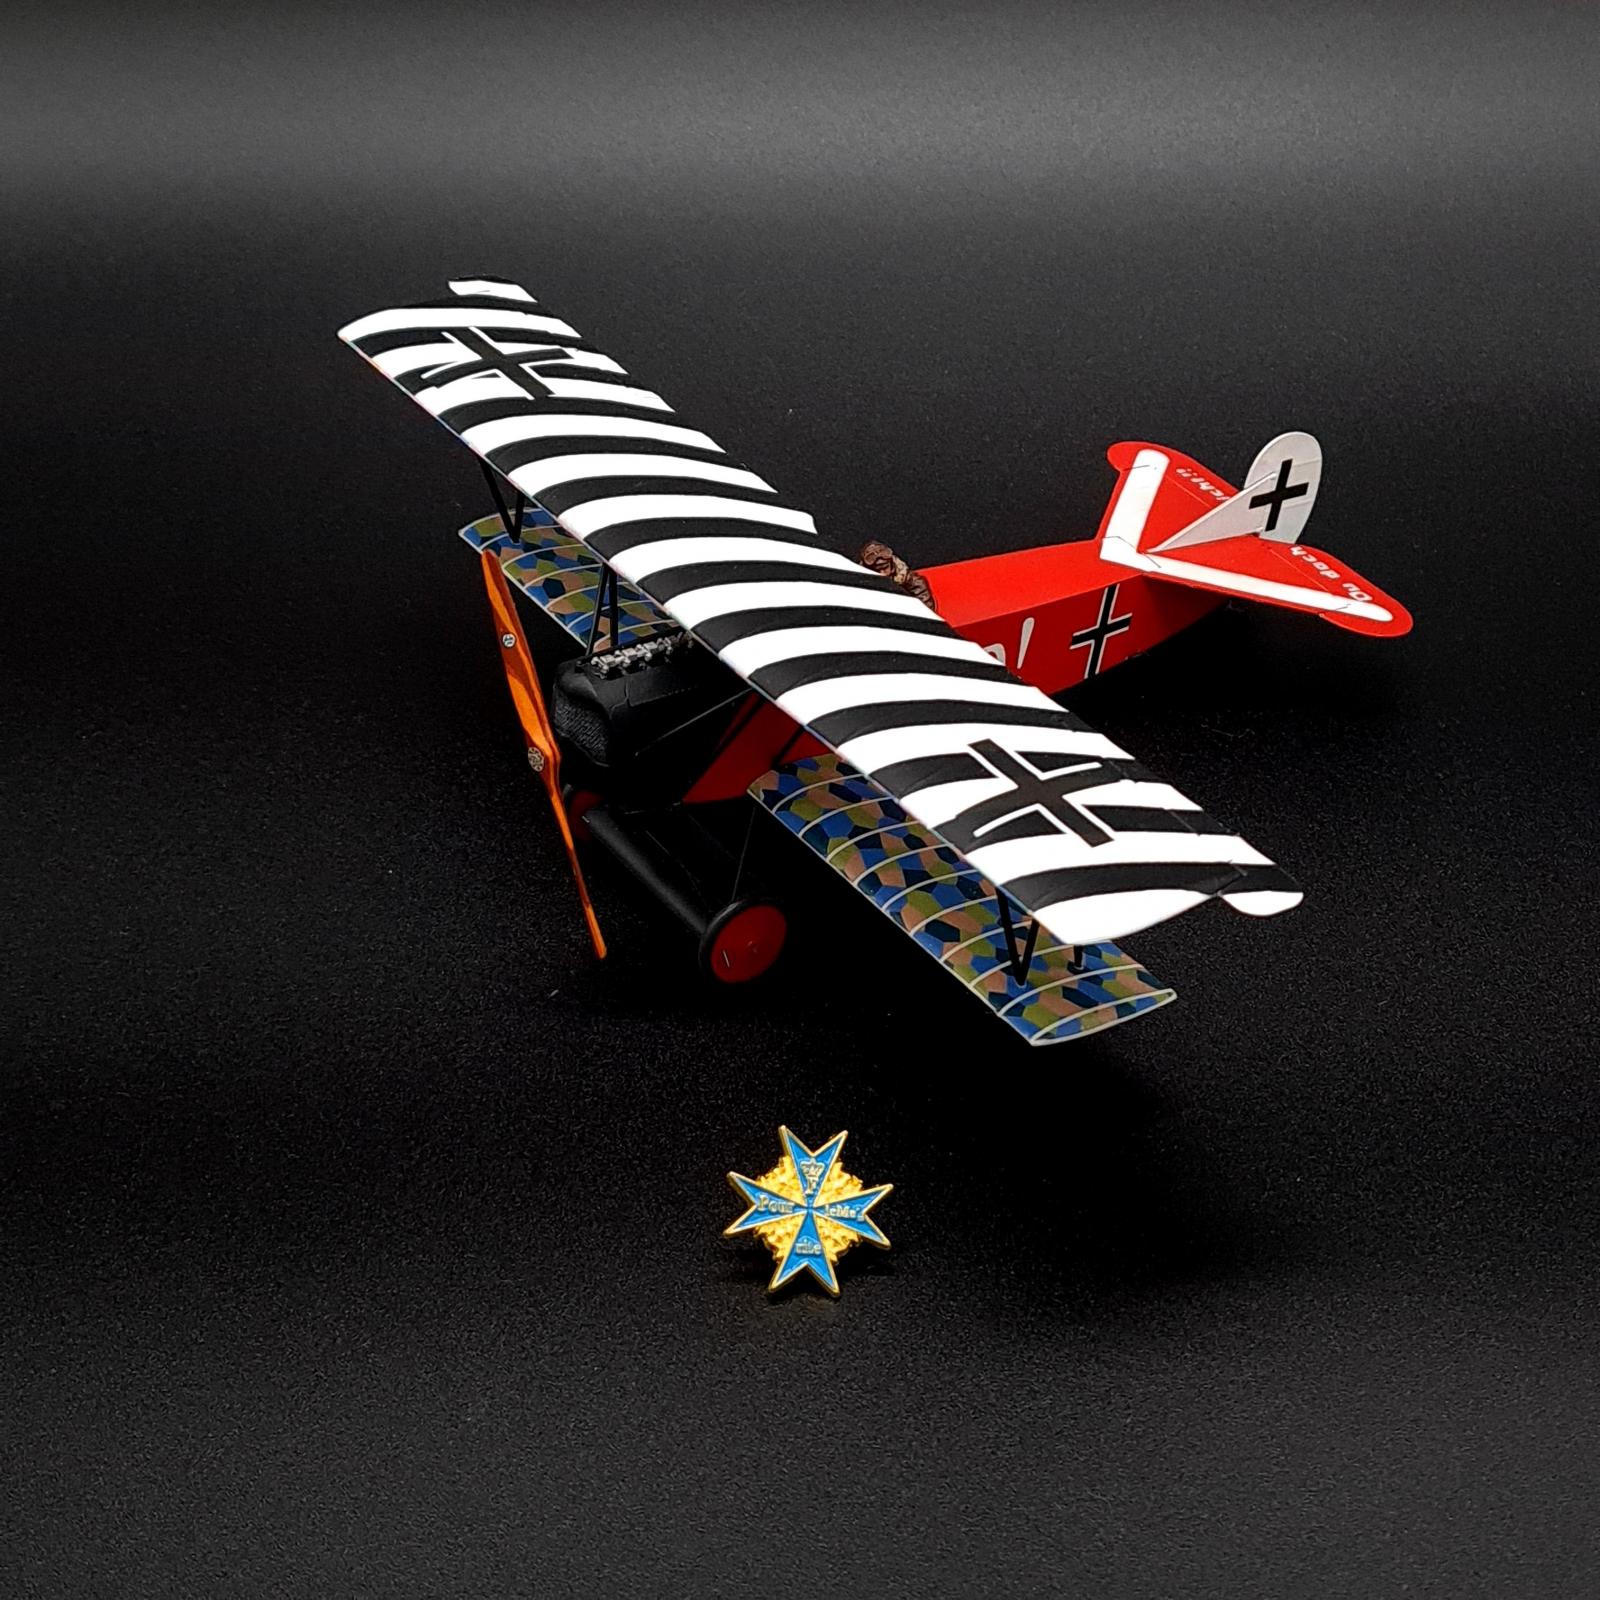
As always with my posts, let's talk about the build. This kit was part of 'Du Doch Nicht!', an Eduard box set of an Albatross D.V, Fokker Dr.1 and Fokker D.VII with 7 marking options (all featuring 'Lo!', the nickname for his girlfriend at the time) for aircraft used by ace Ernst Udet, with 62 kills he was the 2nd highest scoring German ace of the war and the 4th highest scoring of all of the Great War aces, as well as a General in the Second World War until his suicide in 1941. The kit also comes with a resin 'Ernst Udet' and a modified cockpit to fit him which is intended to be used in this plane. I'm not an expert, but Udet was 5ft 3 inches tall and this resin figure is for somereason bigger than most of the figures I use in my WW2 models! As such he is poking out a bit, not glued in, but I don't want to push him in further in case the plane splits at the seam..
-
- 1. Looking pretty big for a 5'3 man..

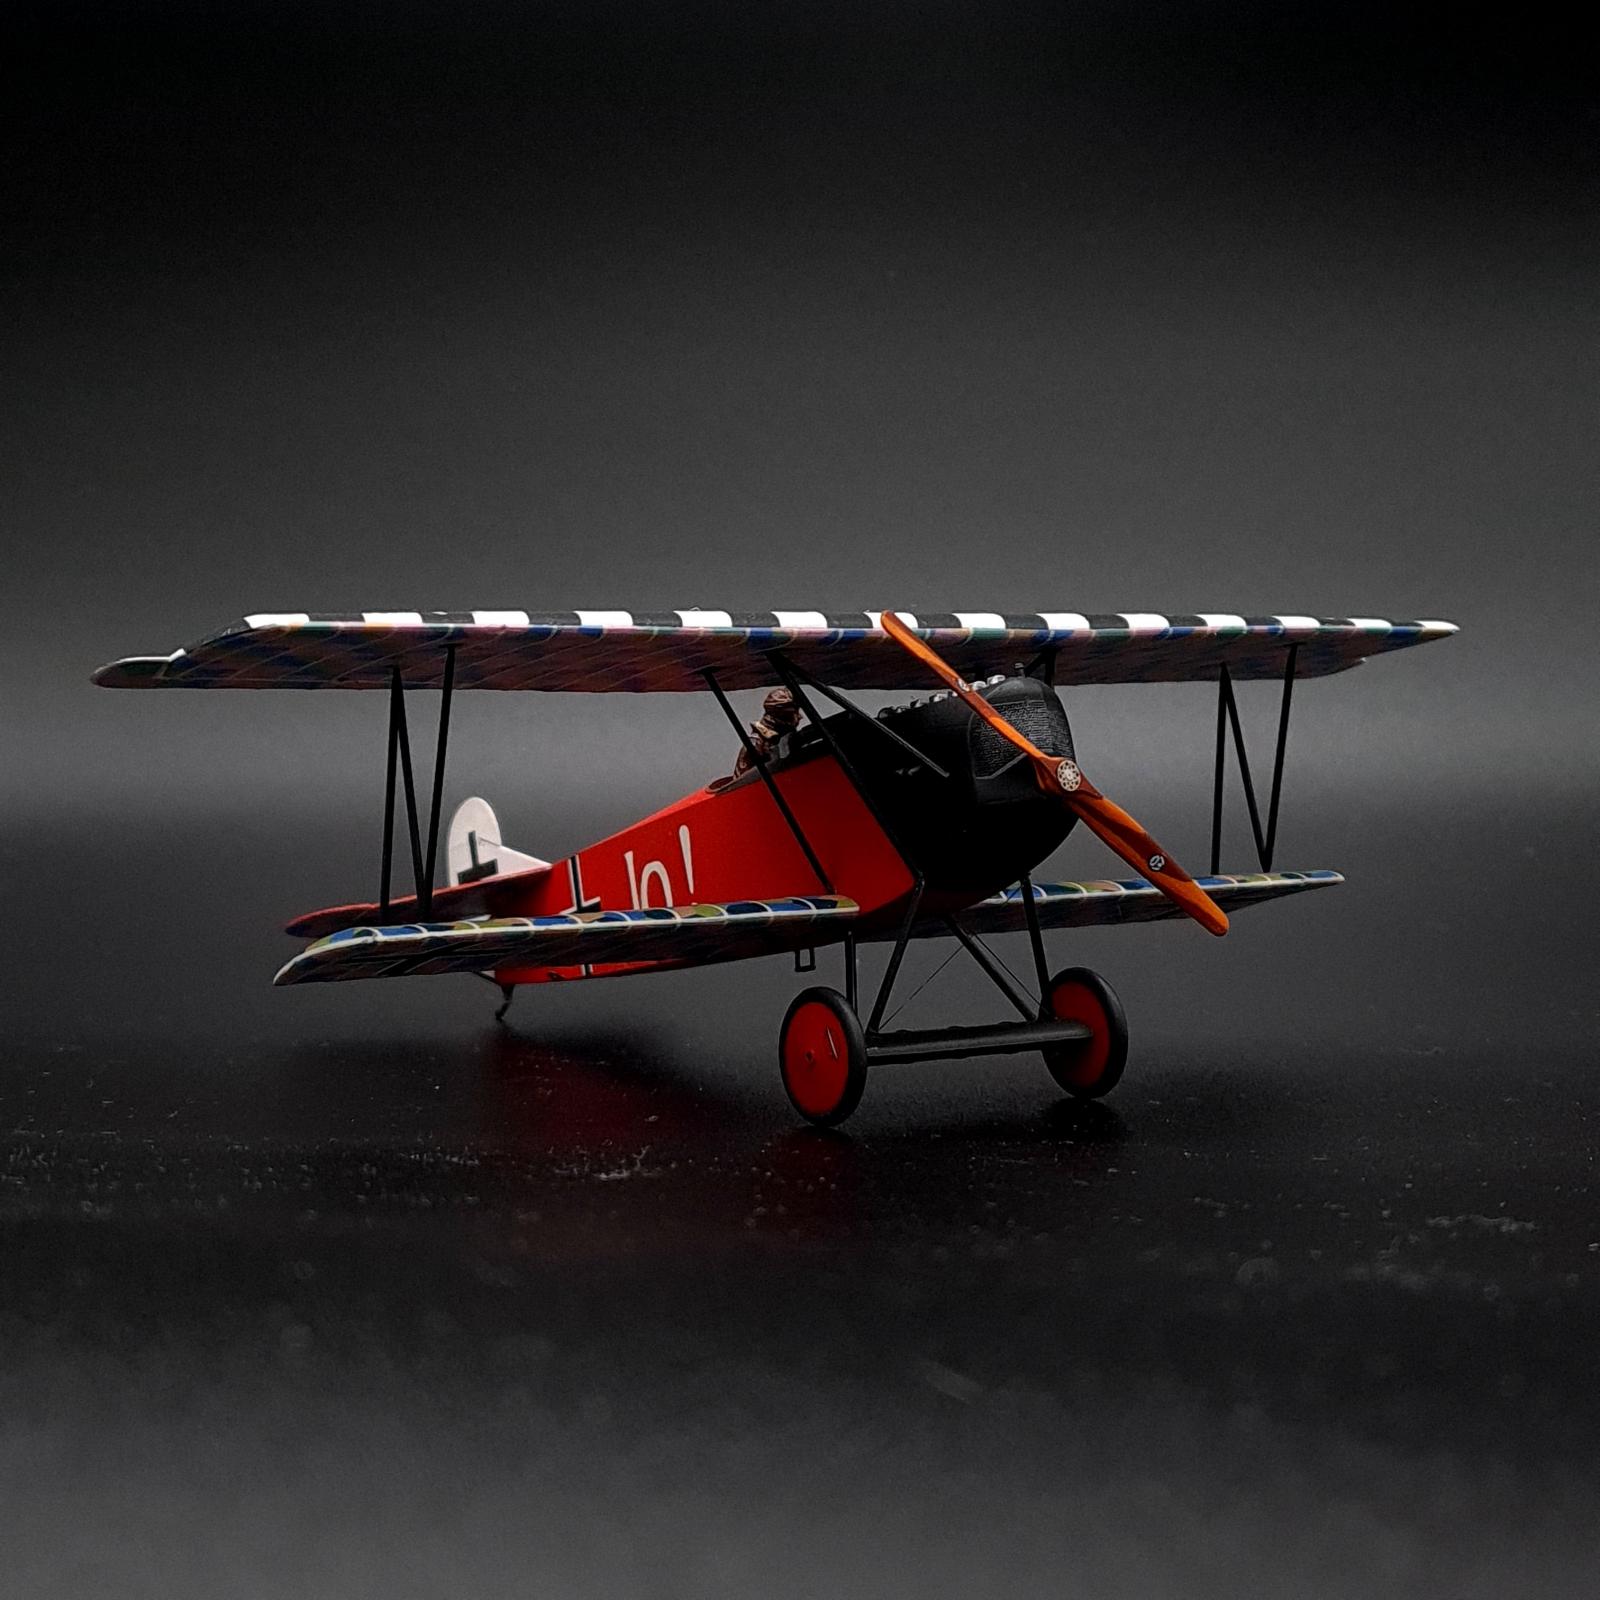
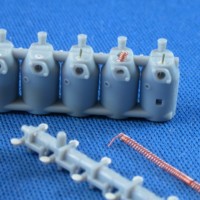
I started work on this Fokker straight away for two reasons, firstly the aforementioned Kermit Weeks videos I've watched a few times (go watch his channel if you haven't already), and the fact that the Fokker D.VII has almost no rigging! Construction was simple at first with a suprisingly nice engine which is largely due to some D.VIIs having panels removed, but Udet's ones didn't seem to have this done to this. The cockpit came with photoetch but due to the nature of a WWI German cockpit it is particularly sparse so it didn't take long to build it. Decals are used on the inside to replicate the Lozenge camouflage that wasn't painted onto the fabric but rather part of the fabric design itself, this intricate camouflage serves little use when the pilots would get out brushes and paint their planes bright colours though..
-
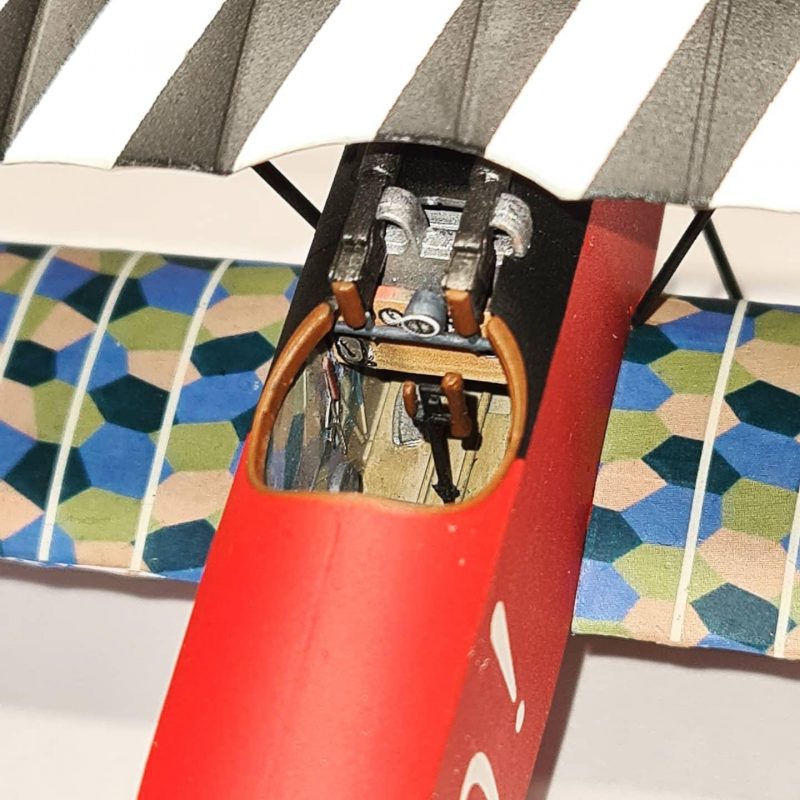
- 1. The interior of the D.VII shows how little instrumentation these aircraft had, the airspeed indicator would actually be on right wing strut but the carpet monster stole that one from me..

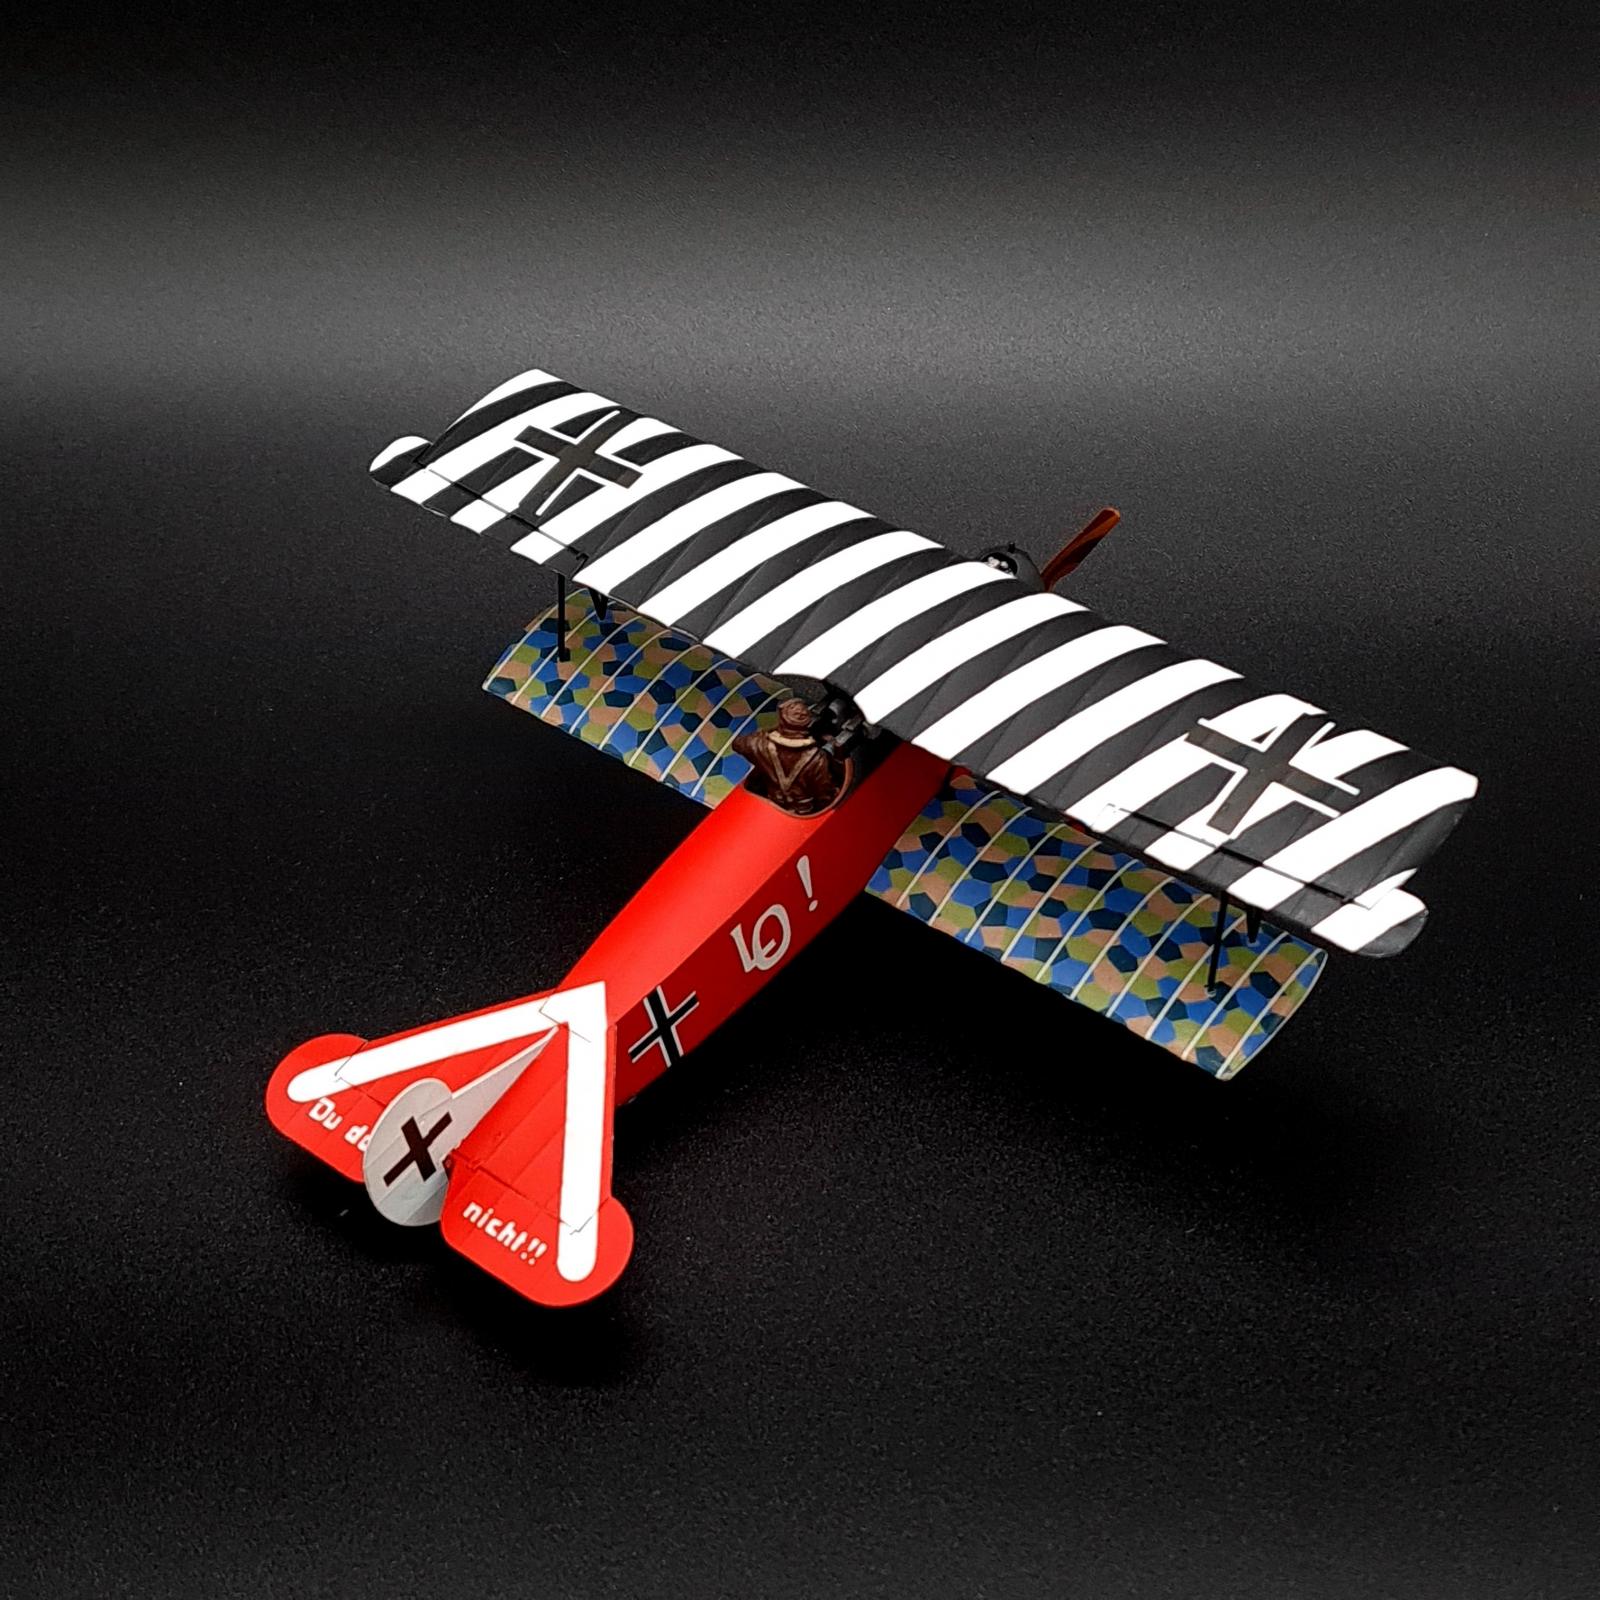
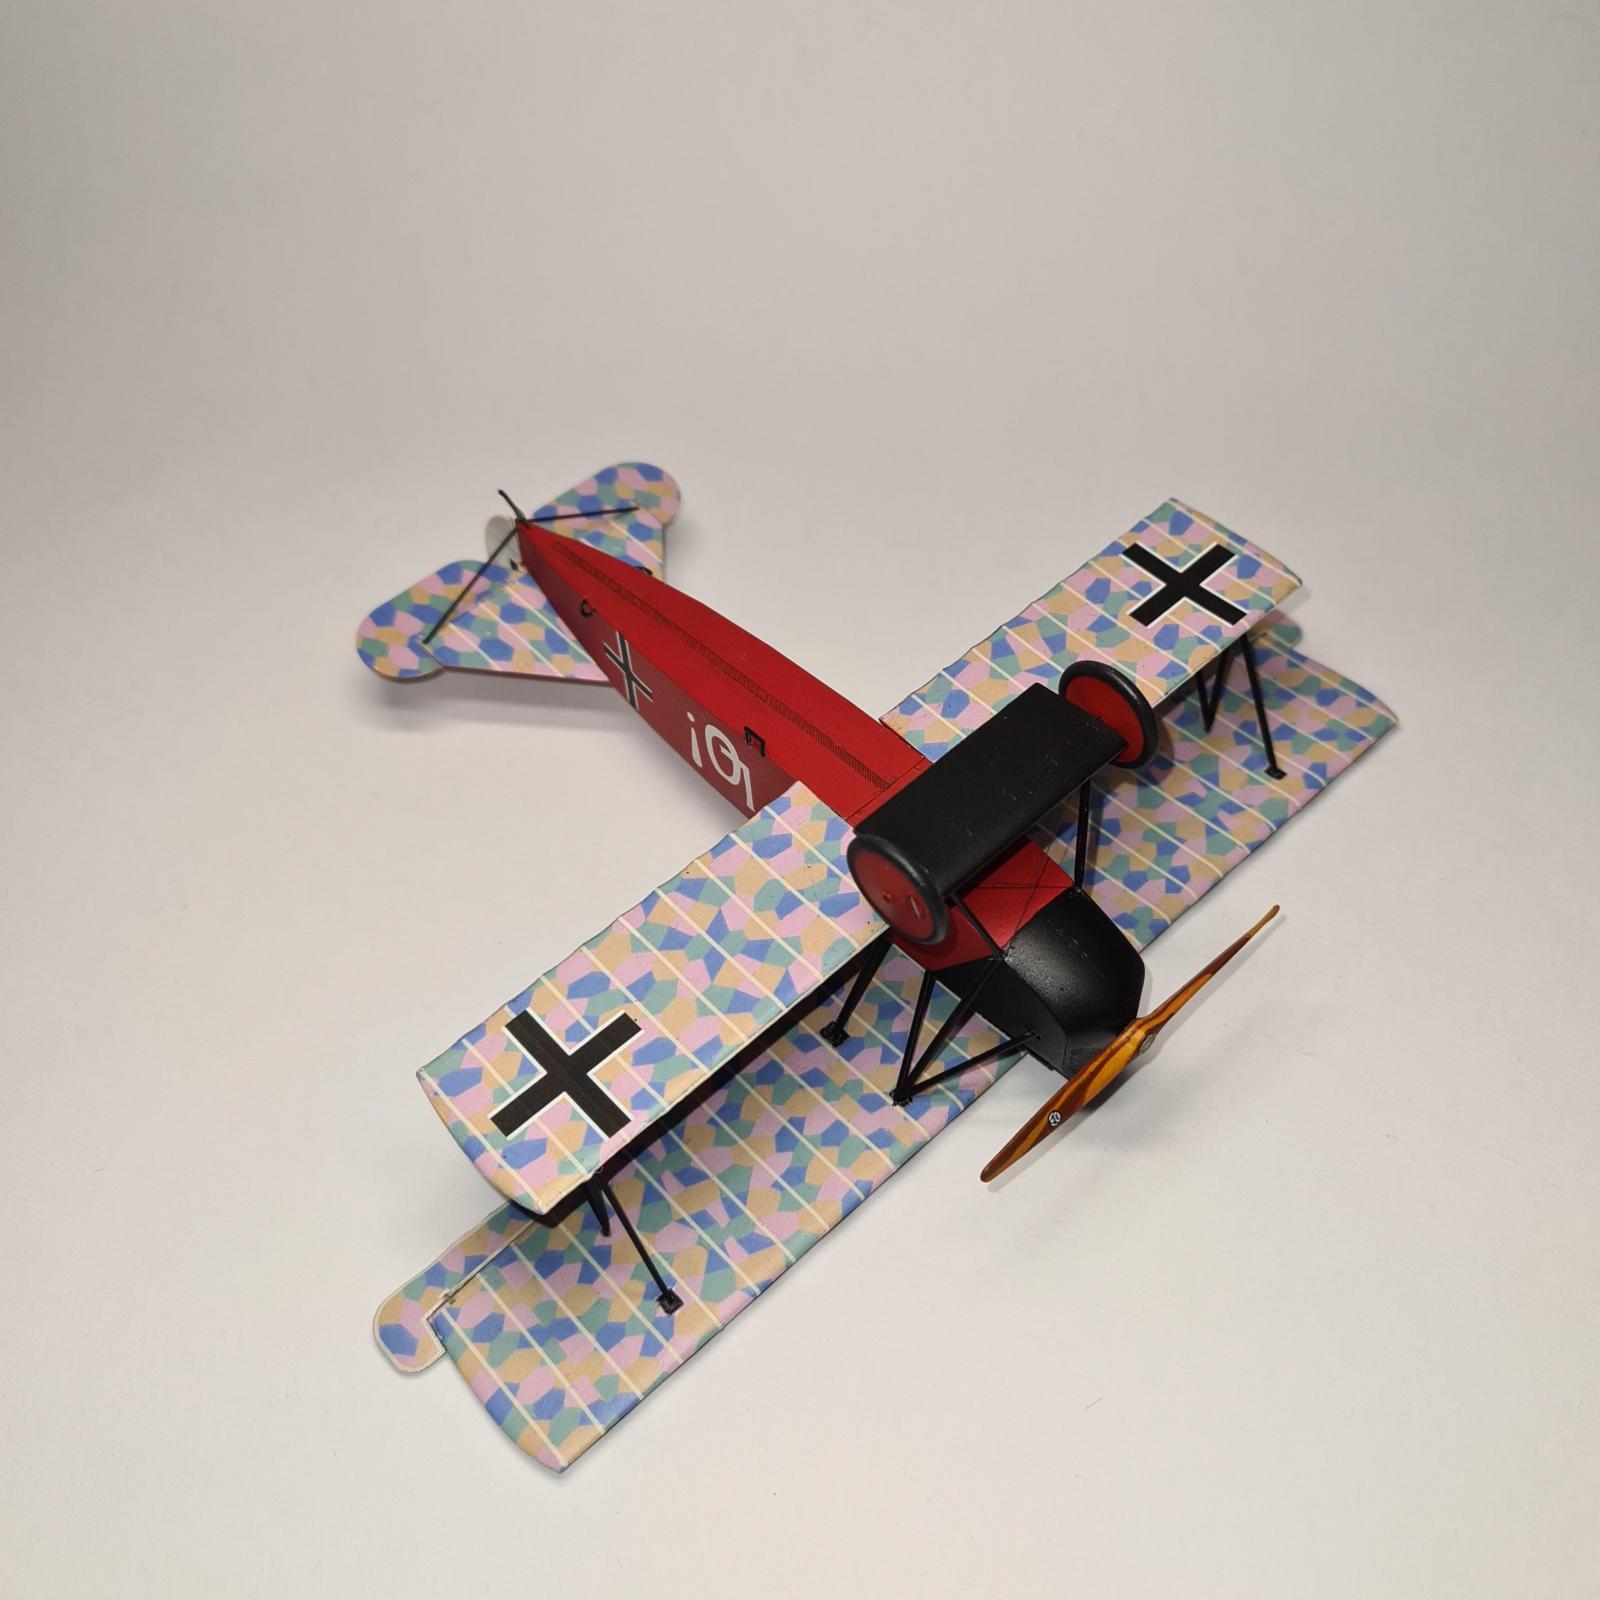
For the wings decals are used again to create the Lozenge, this is in the form of 2 decals on the lower wing, 3 decals for the upper wing which join together to form a Lozenge scheme. With very liberal application of decal solutions this set down, and particularly problematic areas received the 'nuke' option of using tamiya extra thin dabbed on it. As said, Lozenge came in rolls of fabric as such lines can be seen on the aircraft where one roll ends and another begins, I'd recommend cutting the decals up further into 5/6 parts wherever the line between rolls of fabric is, but overall the process was fairly easy.
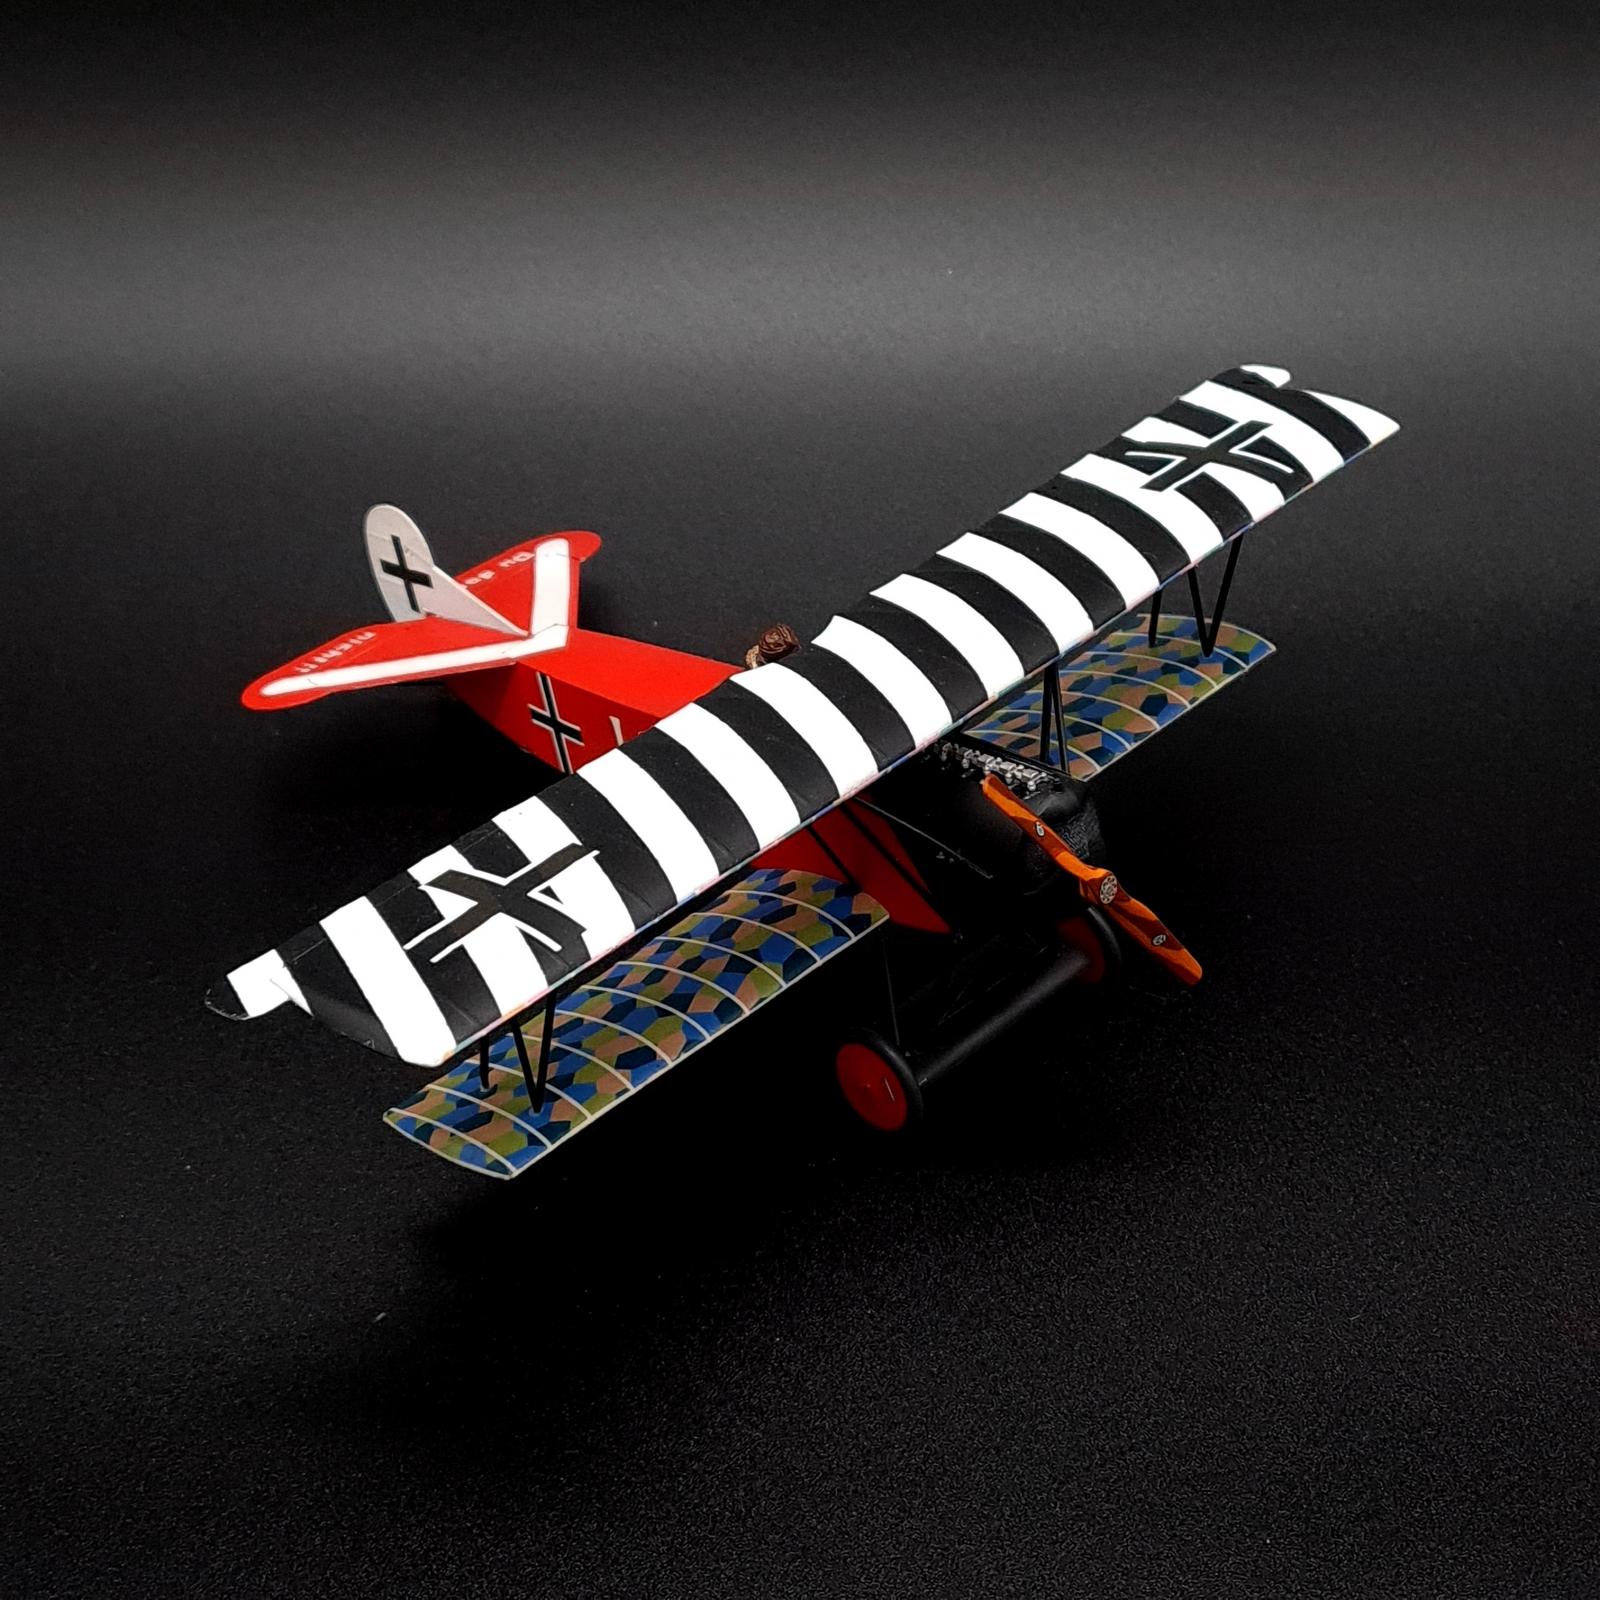
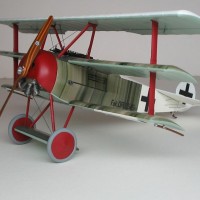
After this, more decals were used! This was in the form of the 'rib stripes' that go over every rib in the wings, interesting Eduard instructions show 8 per lower wing in the lozenge decal page, and give you 8, but the painting instructions and the plane itself require 10 per lower wing. This is annoying, but as I painted the top of the upper wing I had several to spare. Markings came in the form of a montex mask set for a roden kit, on the real subject these crosses weren't painted on by a spraying a stencil but rather painted on (accurately) by hand, as such I wanted a painted on approach to do this and overall it came out quite nicely! Definitely not perfect but if I wanted a perfect job I would have used the decals. The stripes on the wings were painted on using 6mm Tamiya tape, this is slightly inaccurate to the real thing which has white stripes slightly larger than the black, but overall 6mm tape provided the correct number of black stripes on the wing compared to the Fantasy of Flight's one.

Overall this kit is fiddly, but that's with the nature of all WWI Biplanes. I do highly recommend anyone here with a passing interesting in WWI aviation to go out and get an Eduard D.VII as its a real simple build, and the lack of rigging (except some on the undercarriage) make it a sort of 'biplane on training wheels', eliminating the most difficult part in my opinion of models from this era. I have had an S.E.5a and two SPAD XIIs in my stash for over a year before buying this and never got round to them largely due to the rigging worrying me. I'll likely get round to finishing these models in the future using some brass parts to aid in the rigging, but at the moment I'm back in the monoplane mood.
Eitherway, I highly recommend this kit for someone interested in the subject whether it's your first, or thirtieth WWI model. For me in occupies a spot in the cabinet next to a comparably giant Storch and brightens up the whole corner of the room with it's stripes and red fuselage.
-

- 1. All markings on the fuselage are painted on, the wing uses decals from a Fokker Dr.1 of the correct side which had a white border to make things easier.

Wowza that's a beaut. Some really nice pictures too.
The painted-on markings look real, I think!
Thank you! I always find a paint masks are the way to go, and natural imperfections add some realism.
My father once met Udet at the National Air Races and told me he was a "larger than life figure," so perhaps the figure is "spiritually correct"? 🙂
Trust me, as someone who did lozenge on models back in the early Jurassic when the decals came in strips that you applied as if you were doing the original airplane, you don't want to go back to that! Celebrate that decal printers are now good enough to do it this way, which doesn't drive a modeler nearly as nuts as the old way did.
I admittedly don't have much experience with old decals but I'm sure I wouldn't want to try it. To be honest if I was to do this again I'd like to try it with a pre-cut paint mask and see if the results are better than decals, but I feel like doing this kit without modern decals would be a pain in the backside the entire way!
Fantastic result, Harvey.
You have build a real gem.
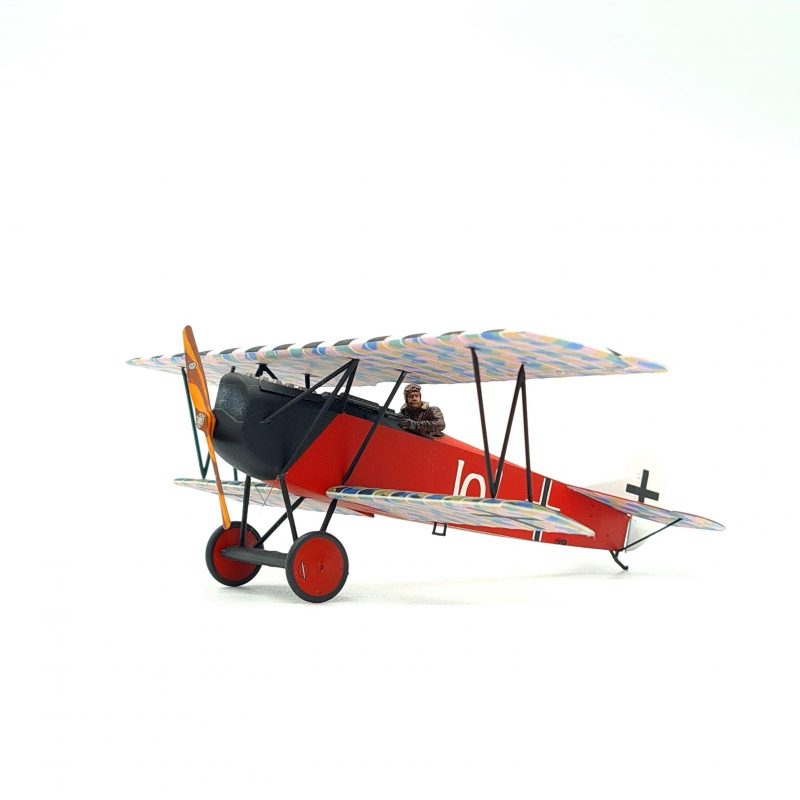
I do like the pictures with the dark background which makes the build stand out even more.
An excellent build , Harvey! Really enjoyed looking at it!
And what an ispiration! Tempting me to give my Revell 1/28 a try (yep, the one that has received some criticism, as being inaccurate at places...), which looks magnificent in the box, though!
As for the figure's "sittin' high" posture, could it be that LO! had given Ernst a "lucky" cushion to sit on that day? 🙂
I like this theory!
What a wonderfully bright and colourful aircraft you got there. I can fully understand if it shines a bit extra on the shelf, a real stand out. I remember hand painting all that lozenge pattern when being like 14 or so. Better eyes and a steadier hand than now. My original thought about the figure was him trying to get out of the cockpit. Why not chop his legs off and get him down properly? No one will notice, I promise...
Regarding the lozenge, I did publish an article on that topic some time ago https://imodeler.com/2016/01/german-camoflage-of-ww-1-at-deutsches-technikmuseum/
Interesting stuff! I've been to that museum and it's very good, I actually booked to go to Berlin in March last year but I'm sure you can imagine what happened to that booking!
Regarding the pilot, it's actually the seat (or his butt) which is the problem. Interestingly the resin seat and resin pilot Eduard provides doesn't seem to fit. It's especially weird when the instructions state to put him in as the final step of the model, but oh well.
Nice work, Harvey. Gotta love a brightly painted Fokker.
Thank you! Would definitely be interesting to have a Flying Circus of German WWI biplanes
That is a real looker! Well done.
...such fine, precise work...I'm envious...