Review: Dora Wings 1/48 Marcel Bloch MB.155.C-1
History:
The Bloch MB.155.C1 was the last of the MB.150 series of fighters to enter production and see operational service. Arriving in squadrons in the final weeks before the Armistice in June 1940, only some ten were completed before the fall of France. The airplane was continued in production following the Armistice to equip the Armee de l'Aire de l' Armistice, the Vichy Air Force, with the 25 on the production line completed and delivered that fall. Following the German occupation of Vichy France in November 1942, the surviving MB.155s were confiscated and used as fighter trainers by the Luftwaffe in EJG 26 at Cognac and later EJG 103 at Bad Aibling following the German retreat from France in 1944.
The MB.155 was the result of technical development of the MB.153 and 154 models to extending the range of the MB.152 by moving the cockpit aft to make room for a new fuel tank. Other modifications included a slightly broader wing and revised aerodynamics around a different cowling, with power provided by a Gnome-Rhône 14N-49 engine. Performance was slightly better than the MB.152.
Among the pilots who flew the limited number of MB 155s that saw operational service in the Battle of France was the commander of GC I/1, Cne Germain Coutaud, who scored 8 victories in Bloch fighters.
The Kit:
This is the second 1/48 kit of the MB.155, following the kit released by Classic Airframes in 2002. Outside of detail differences such as placement of the cockpit, the engine cowling, and the vertical fin and rudder, it is a similar kit to the MB.152 released earlier by Dora Wings. Decals are provided for four aircraft.
Construction:
Since the kits are so similar, I will post the construction information from the MB.152. I took my own advice here when building this model, and had no difficulties at all.
Dora Wings kits are high-end limited-run. While the result can be quite “high end,” the fact it is “limited-run” must be borne in mind throughout the project if that end result is to be achieved. Because the kit is produced with a low-pressure injection molding machine, it is more complex in terms of total parts that would be the case with a mainstream injection-molded kit.
Each fuselage half is composed of three parts: the main fuselage, the lower foward section including the wing roots, and the vertical fin. If you exercise care in cleaning up the parts (there is quite a bit of flash) and care in attaching parts, you will only need to use filler for the joint between the main fuselage and lower forward fuselage, because a major area of the joint is not on a panel line.
When attaching the cockpit, be sure to scrape down the cockpit floor, because if you do not, it is slightly wide and since it fits just above the join of the main and lower forward fuselage pieces, that joint can pop when the fuselage halves are brought together. I discovered this the hard way, and had to apply putty to the right fuselage half and sand it back smooth; if you make the smart move and scrape down the cockpit floor, this won't happen to you.
The wing is in five parts - two upper parts, with the lower in three sections. The internal main spar that forms the rear of the wheel well is crucial to getting the lower wing assembled in good order. Let the lower wing assembly set up fully before attaching the upper parts. Additionally, the lower wing inserts into the upper wing along the trailing edge. Be sure to sand down the lower part to get it thin, and things will fit well. If you carefully check the fit of the lower outer wing parts to the center section and sand the joint so they meet at the proper dihedral angle, you will only need some joint filler in the area of the flaps on the lower wing.
The wing sub-assembly and fuselage sub assembly require you to attach them carefully. I glued the rear area of the lower wing-to-fuselage and got that tight, then glued the forward area and got that tight, then glued each upper wing joint, holding them to set up. That way I only needed a bit of filler on the upper and rear lower joints. Once sanded smooth, I rescribed the petite panel lines.
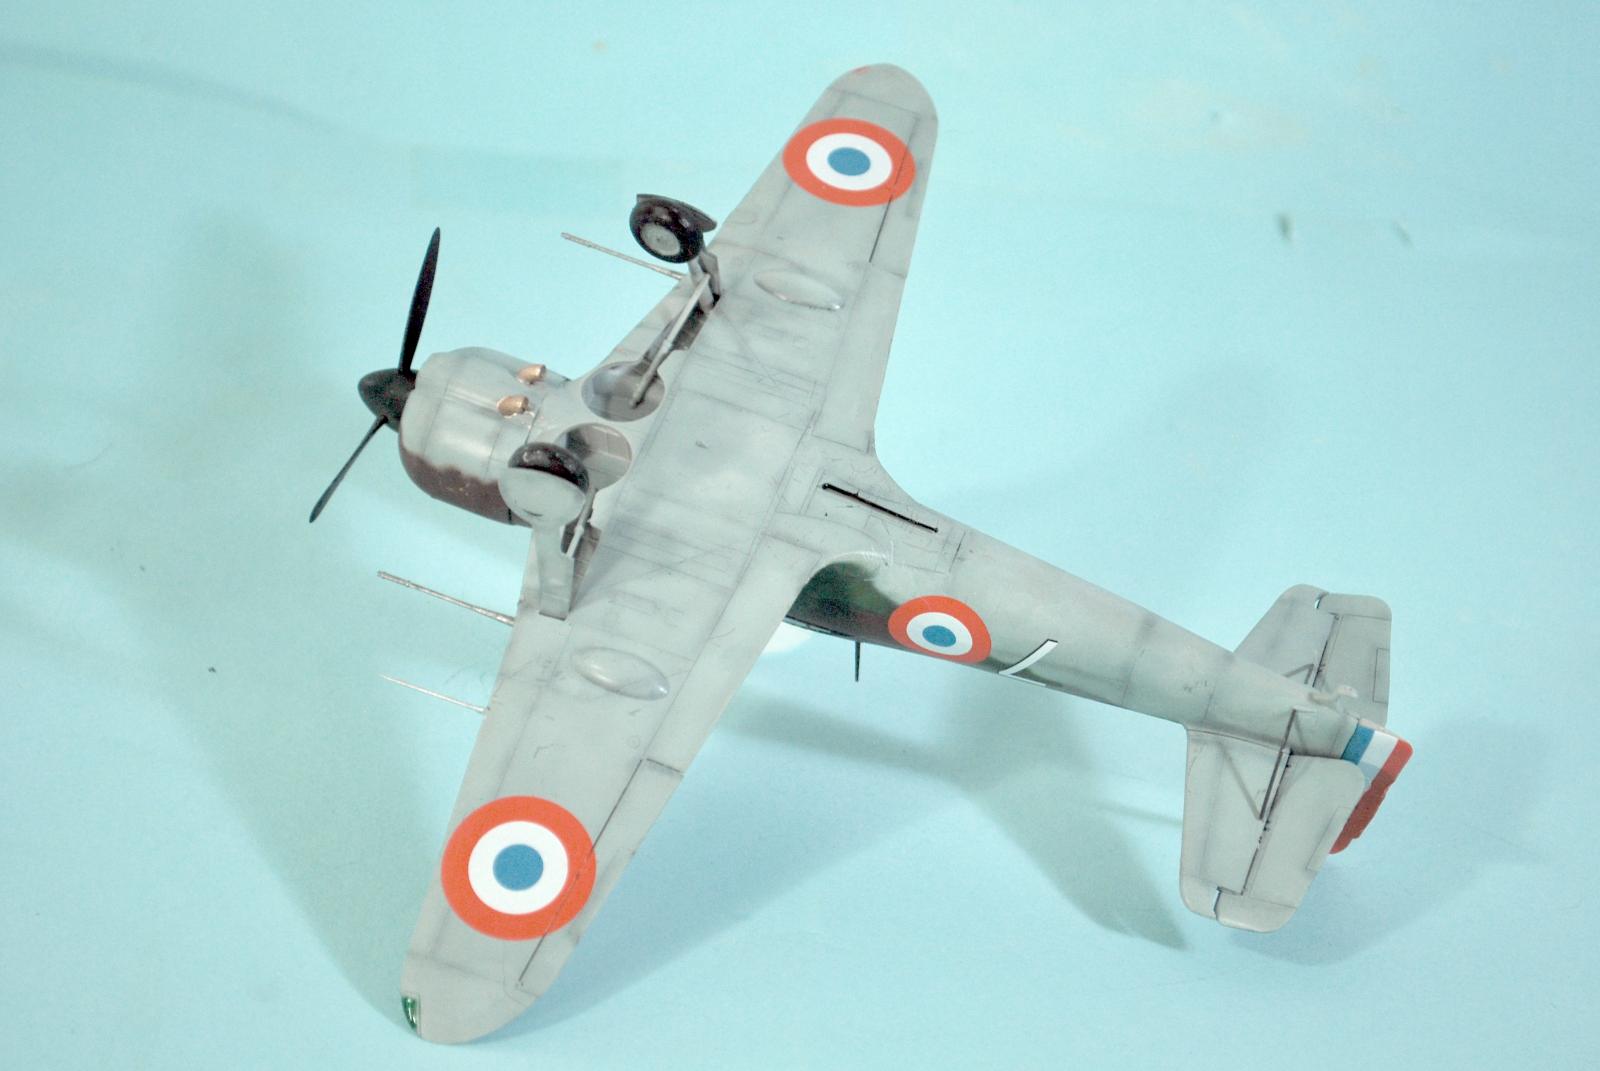
Interestingly, neither Classic Airframes with their 1/48 kit or Special Hobby with their 1/32 kit caught the fact that the engine is offset to the left. Dora Wings, however, did catch this. The three-part cowling should be assembled around the completed engine to get proper placement inside the cowling. If you are careful in cleaning up the parts and then rubber-band the cowling after it is assembled, you will not need any filler.
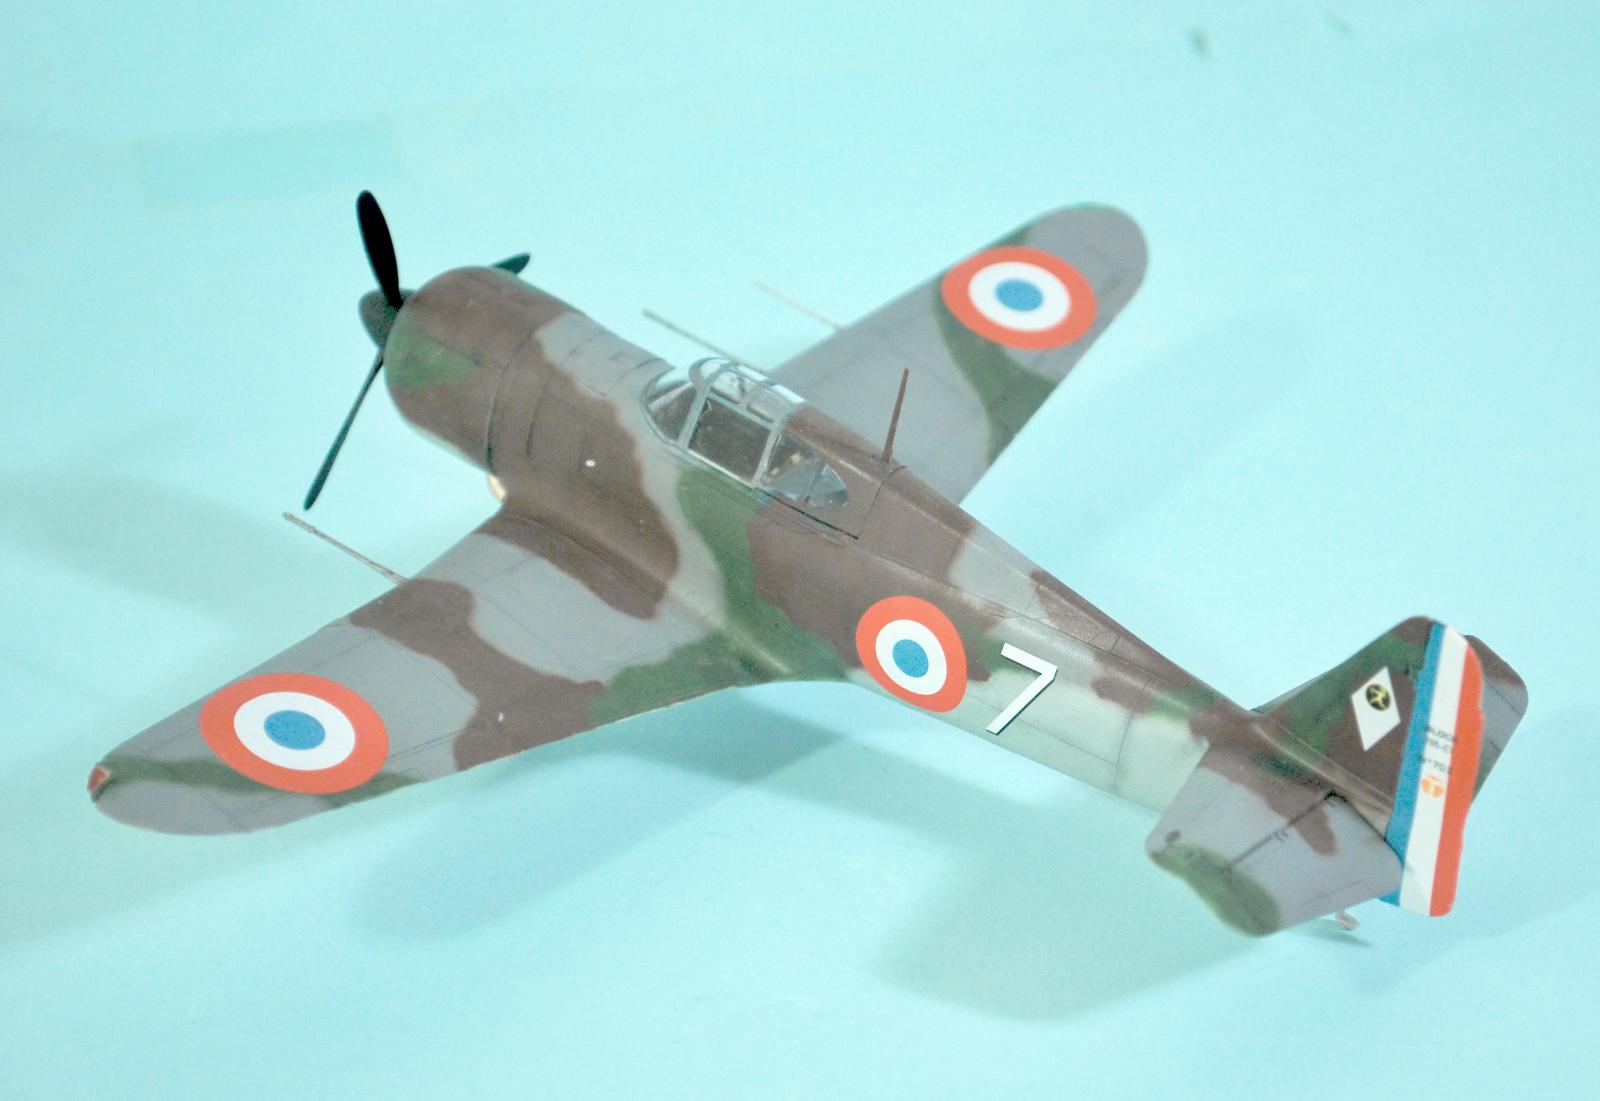
I attached the horizontal stabilizers and then attached the elevators drooped. I attached the ailerons and rudder in the neutral position.
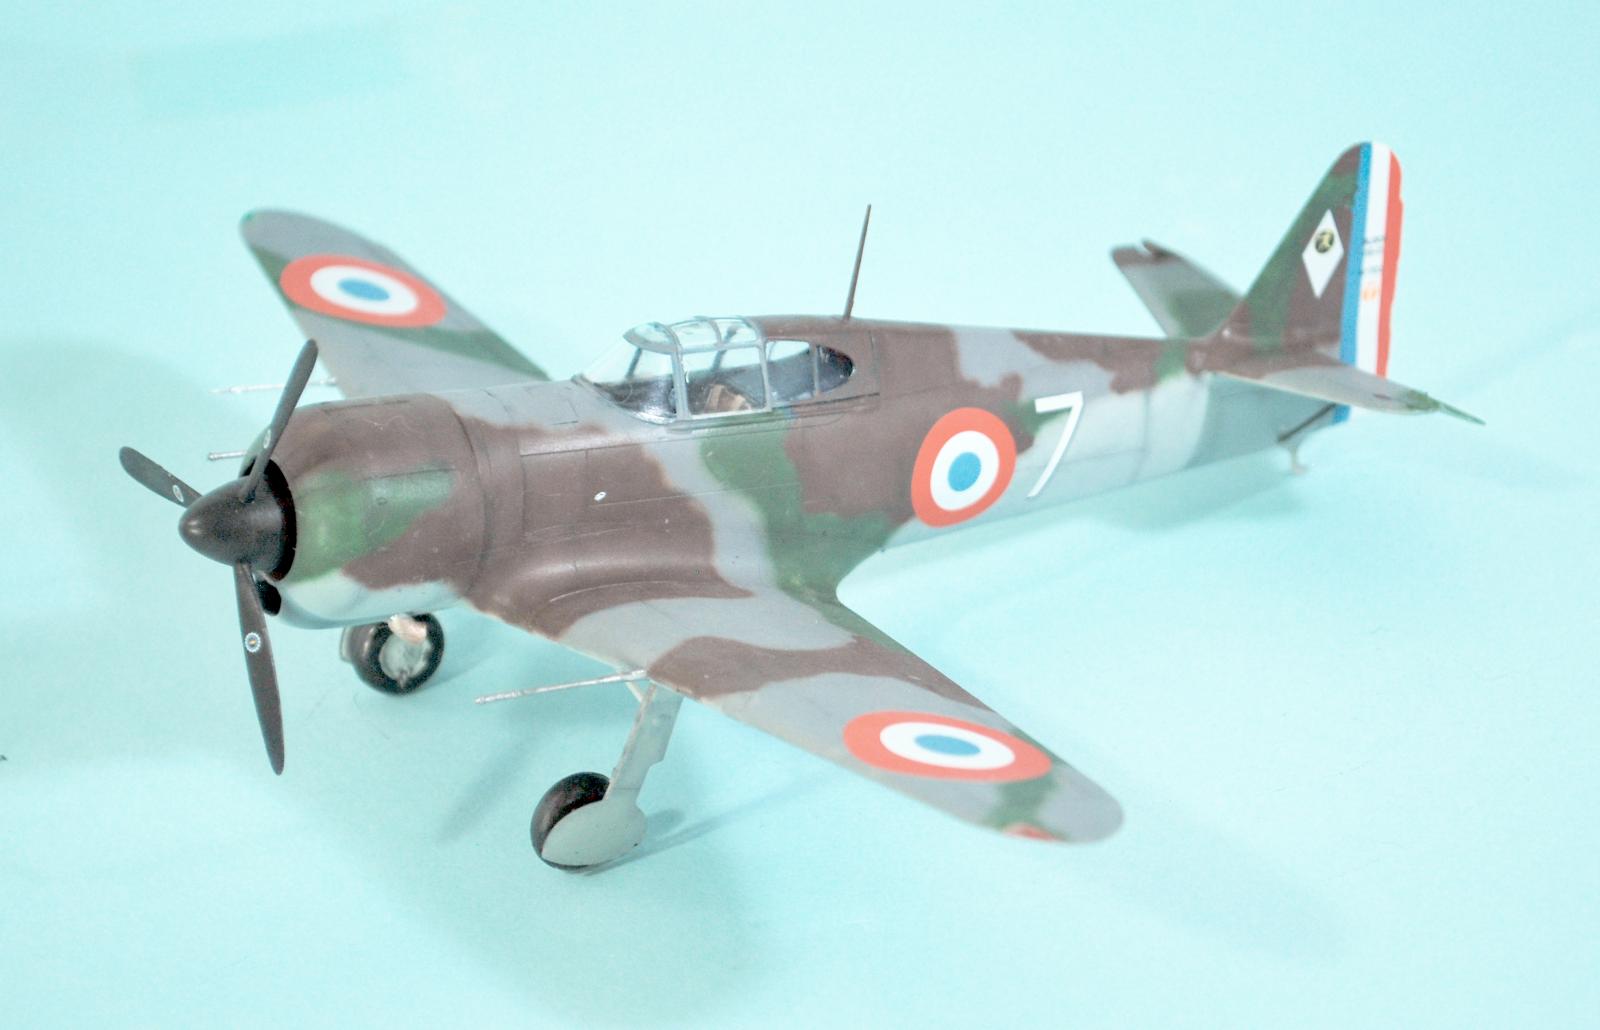
Colors and Markings:
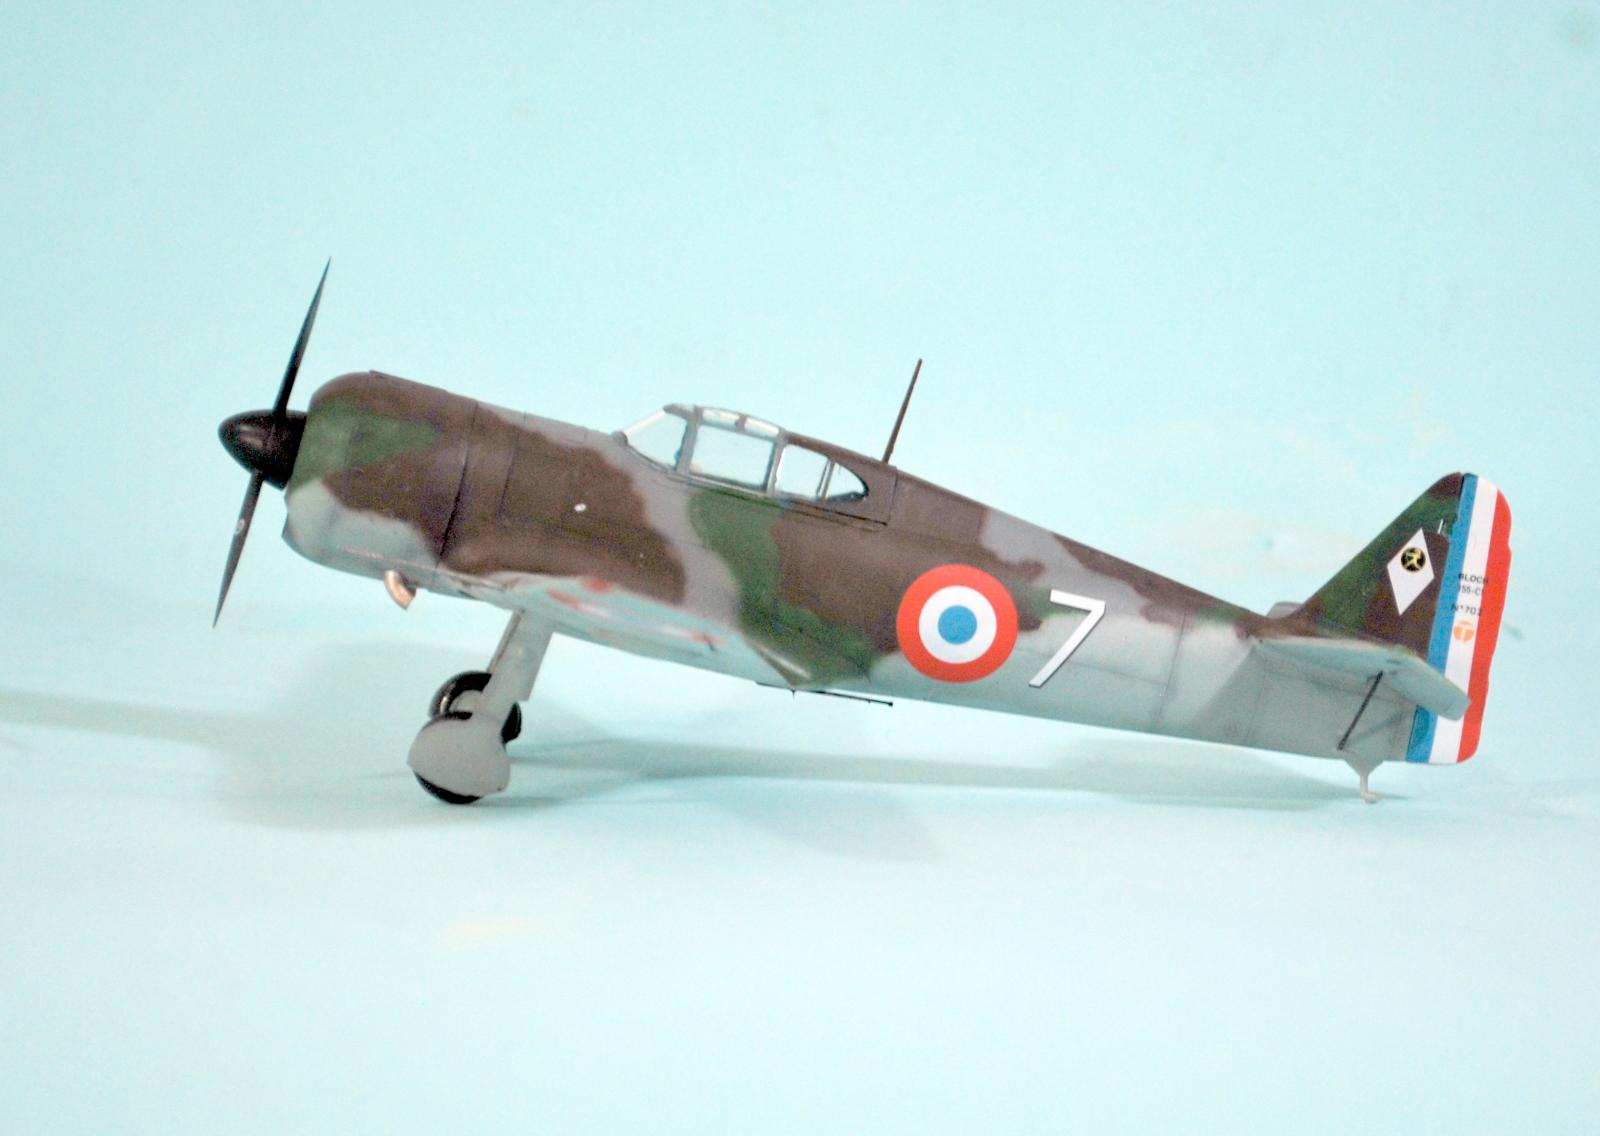
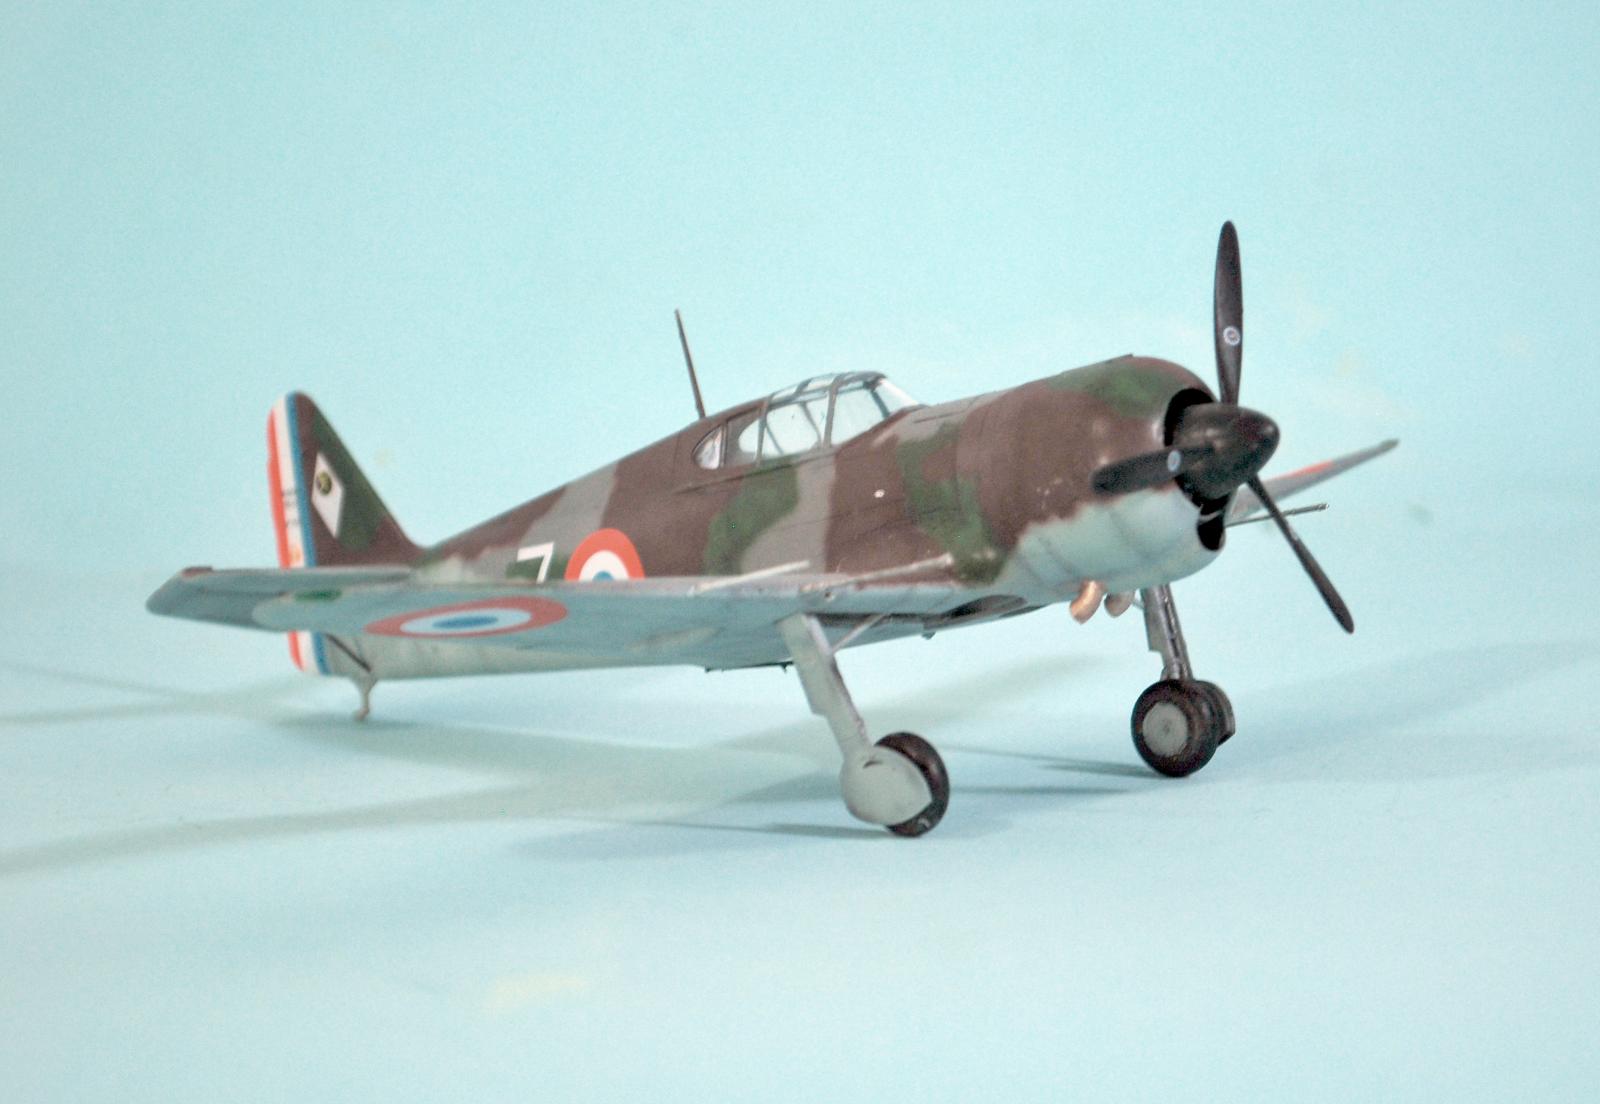
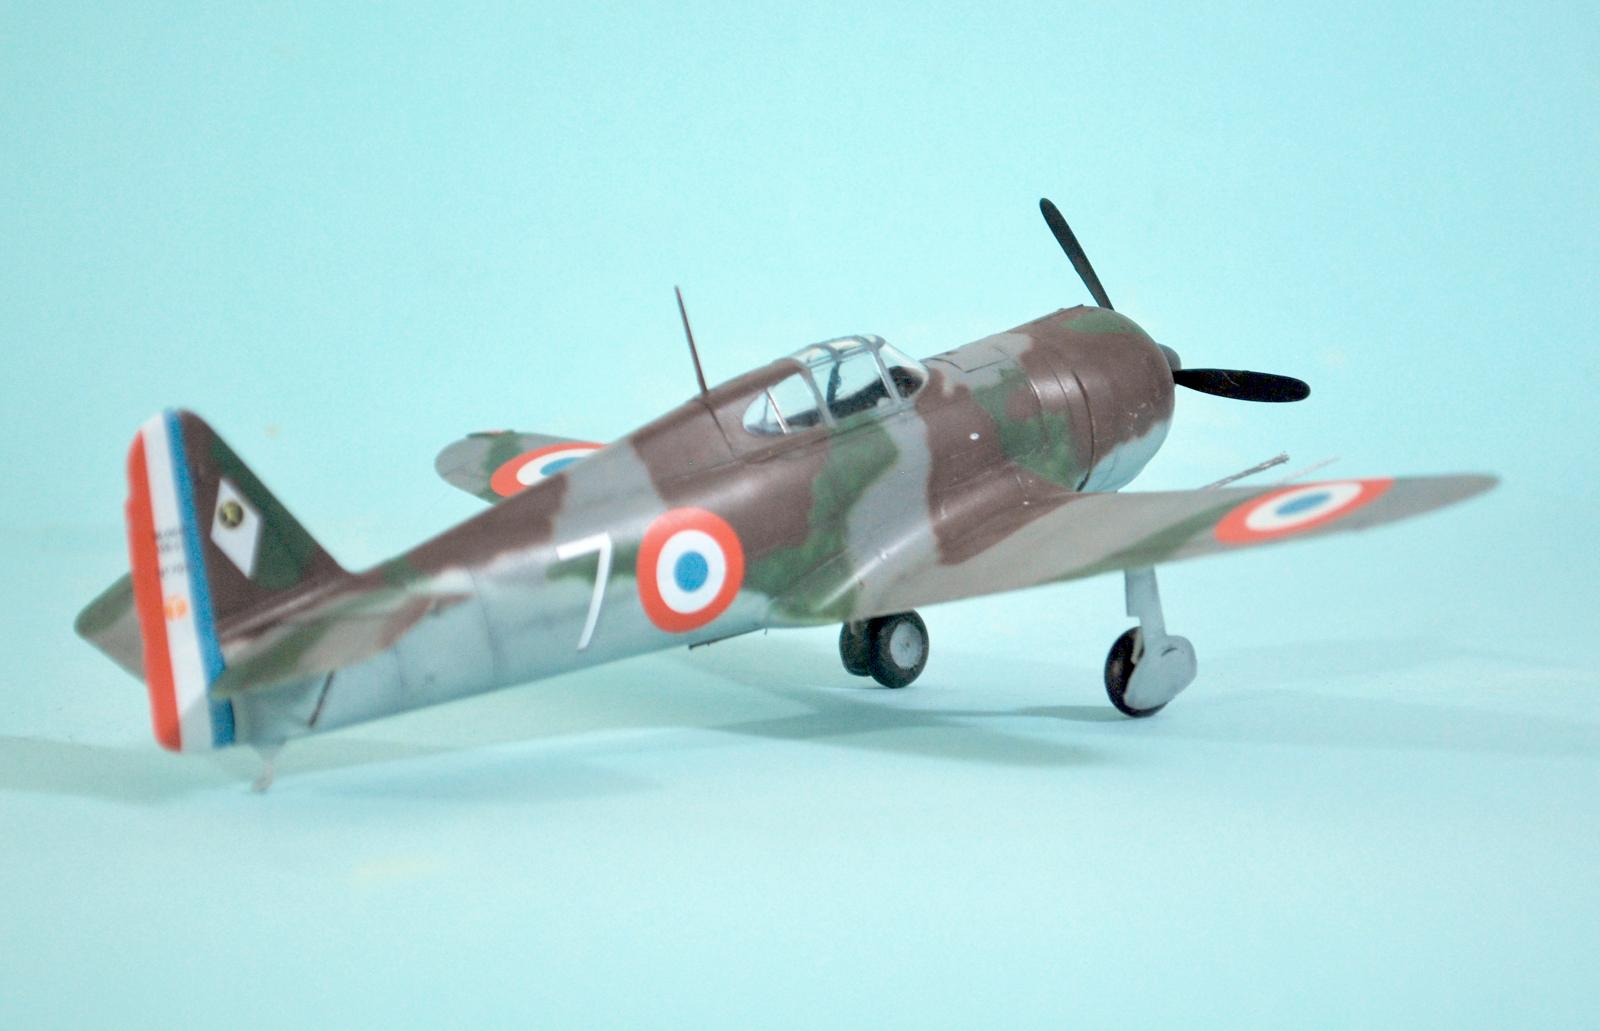
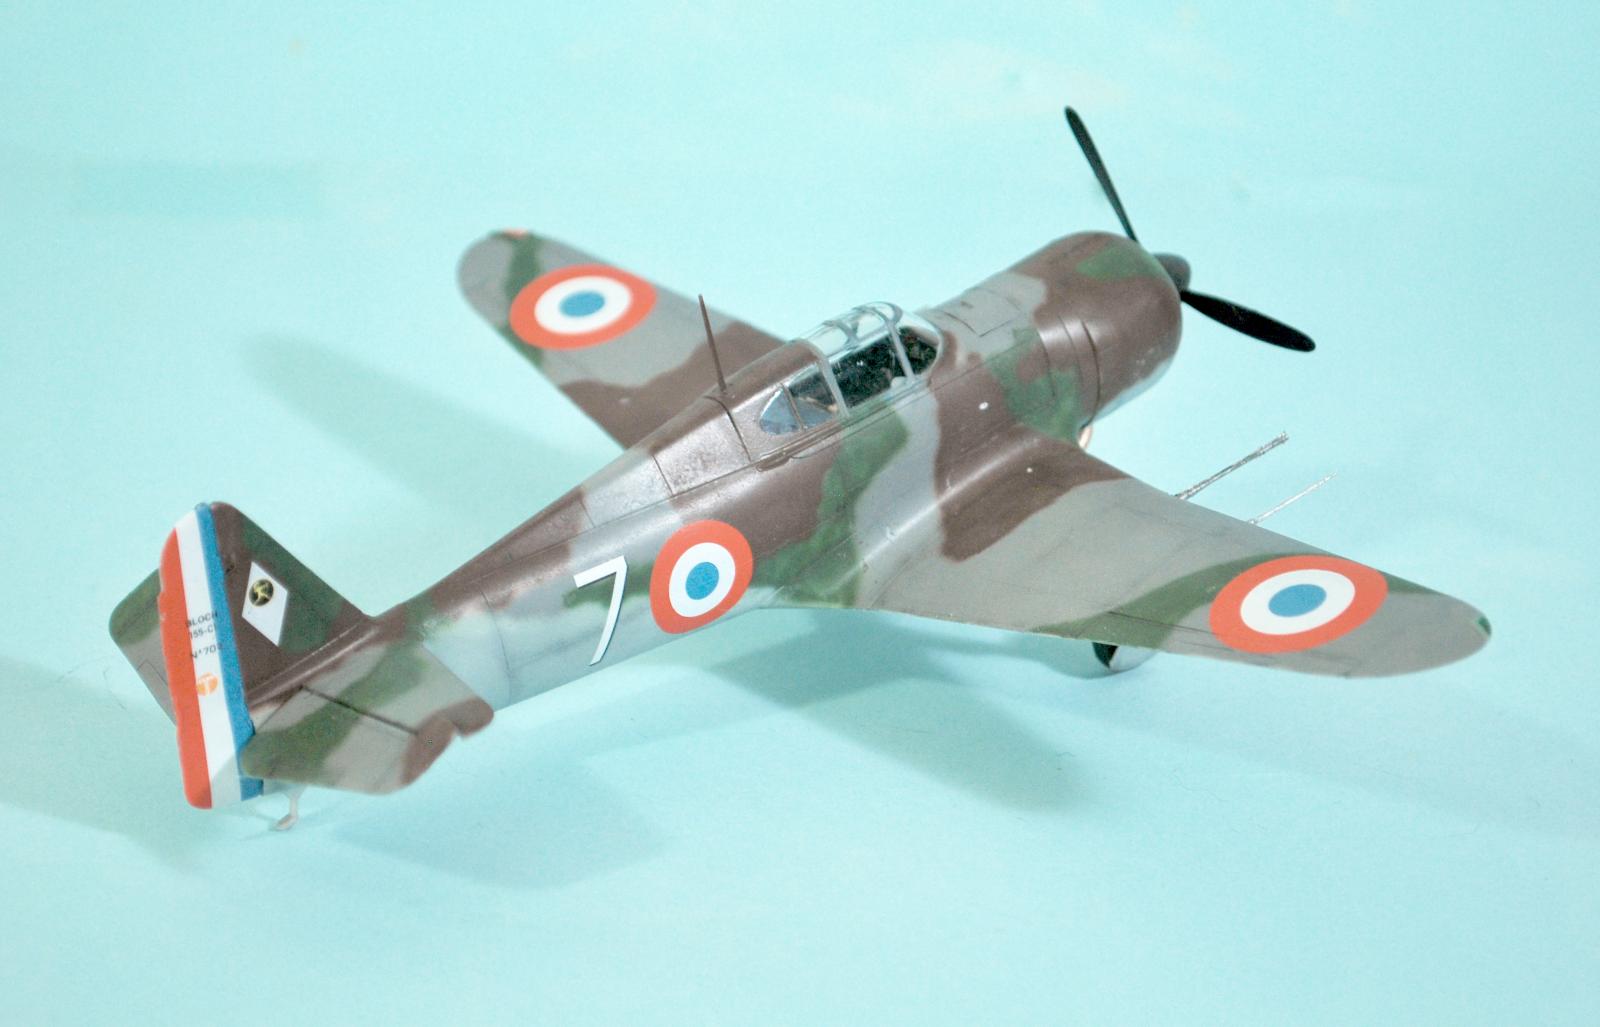
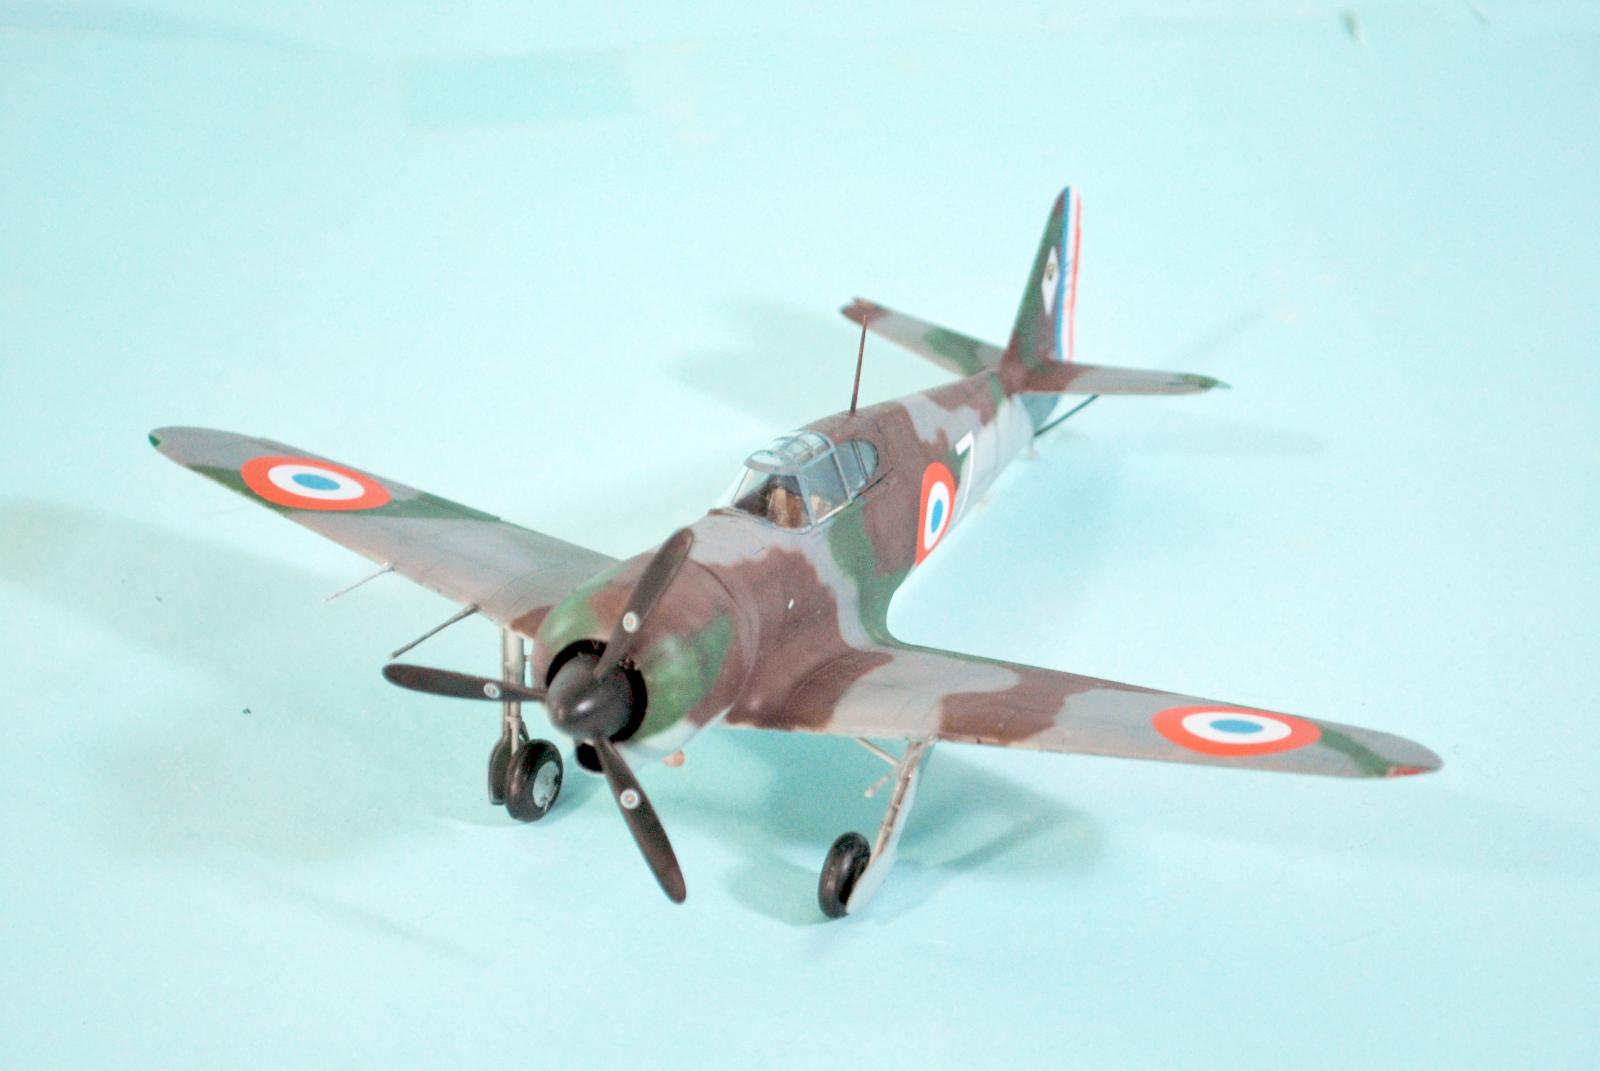
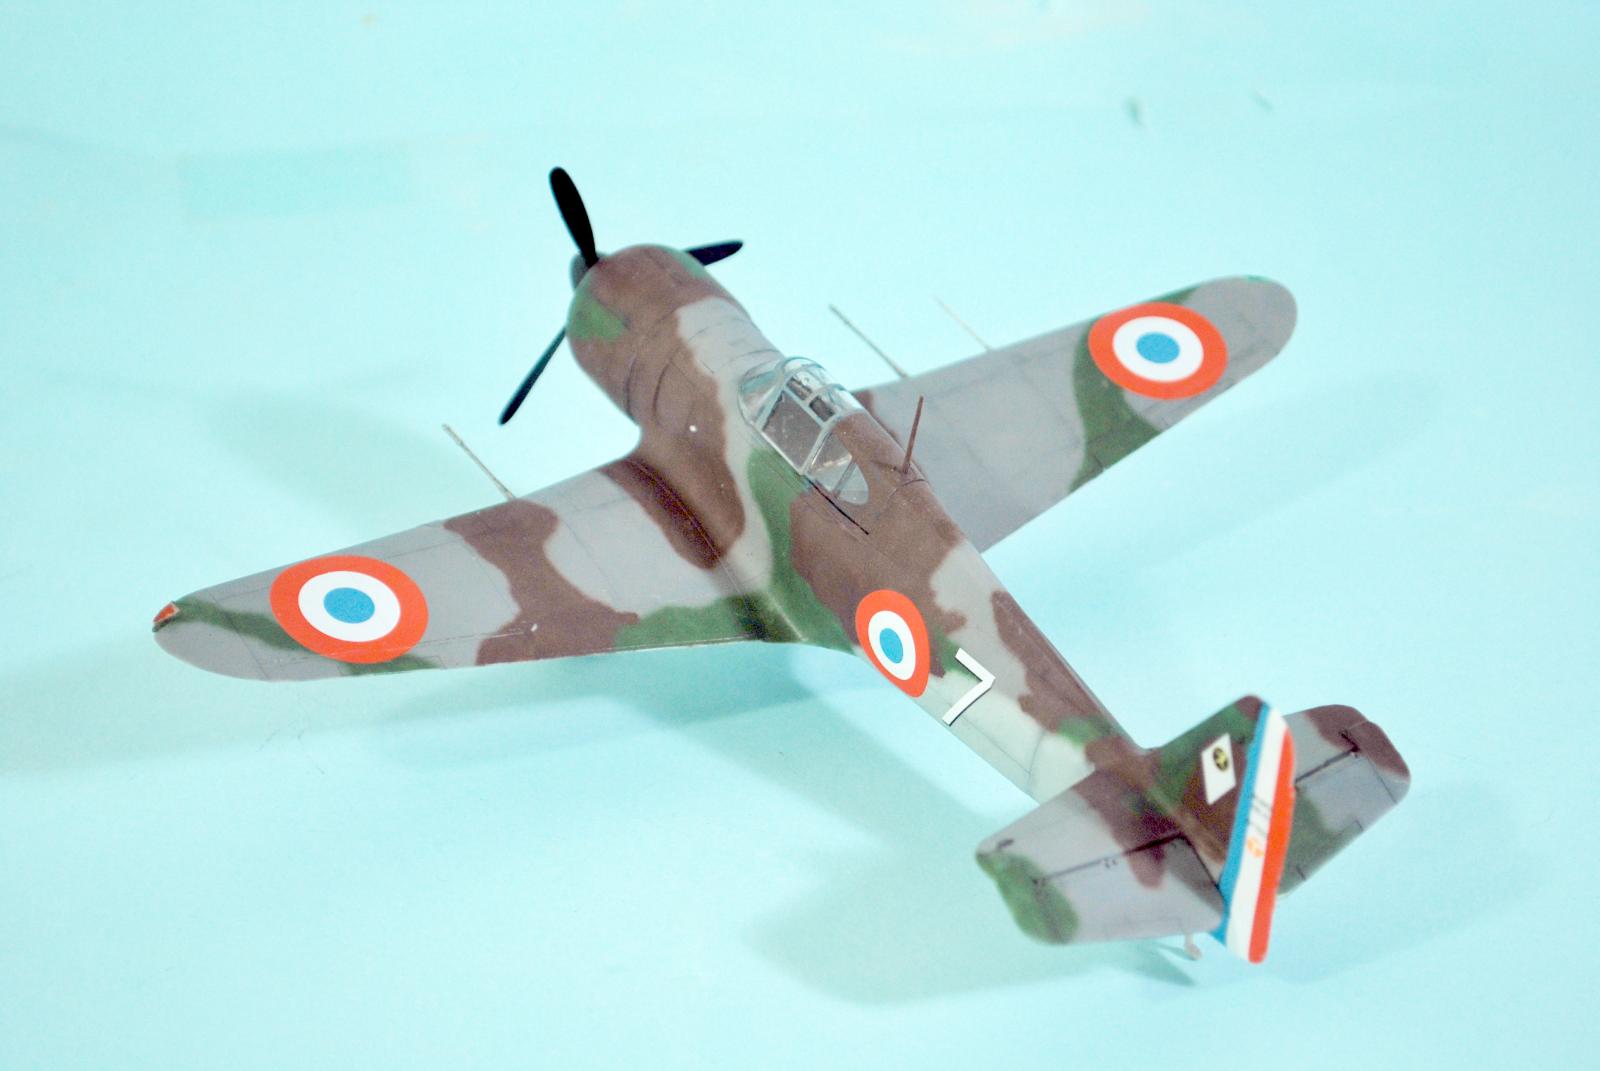
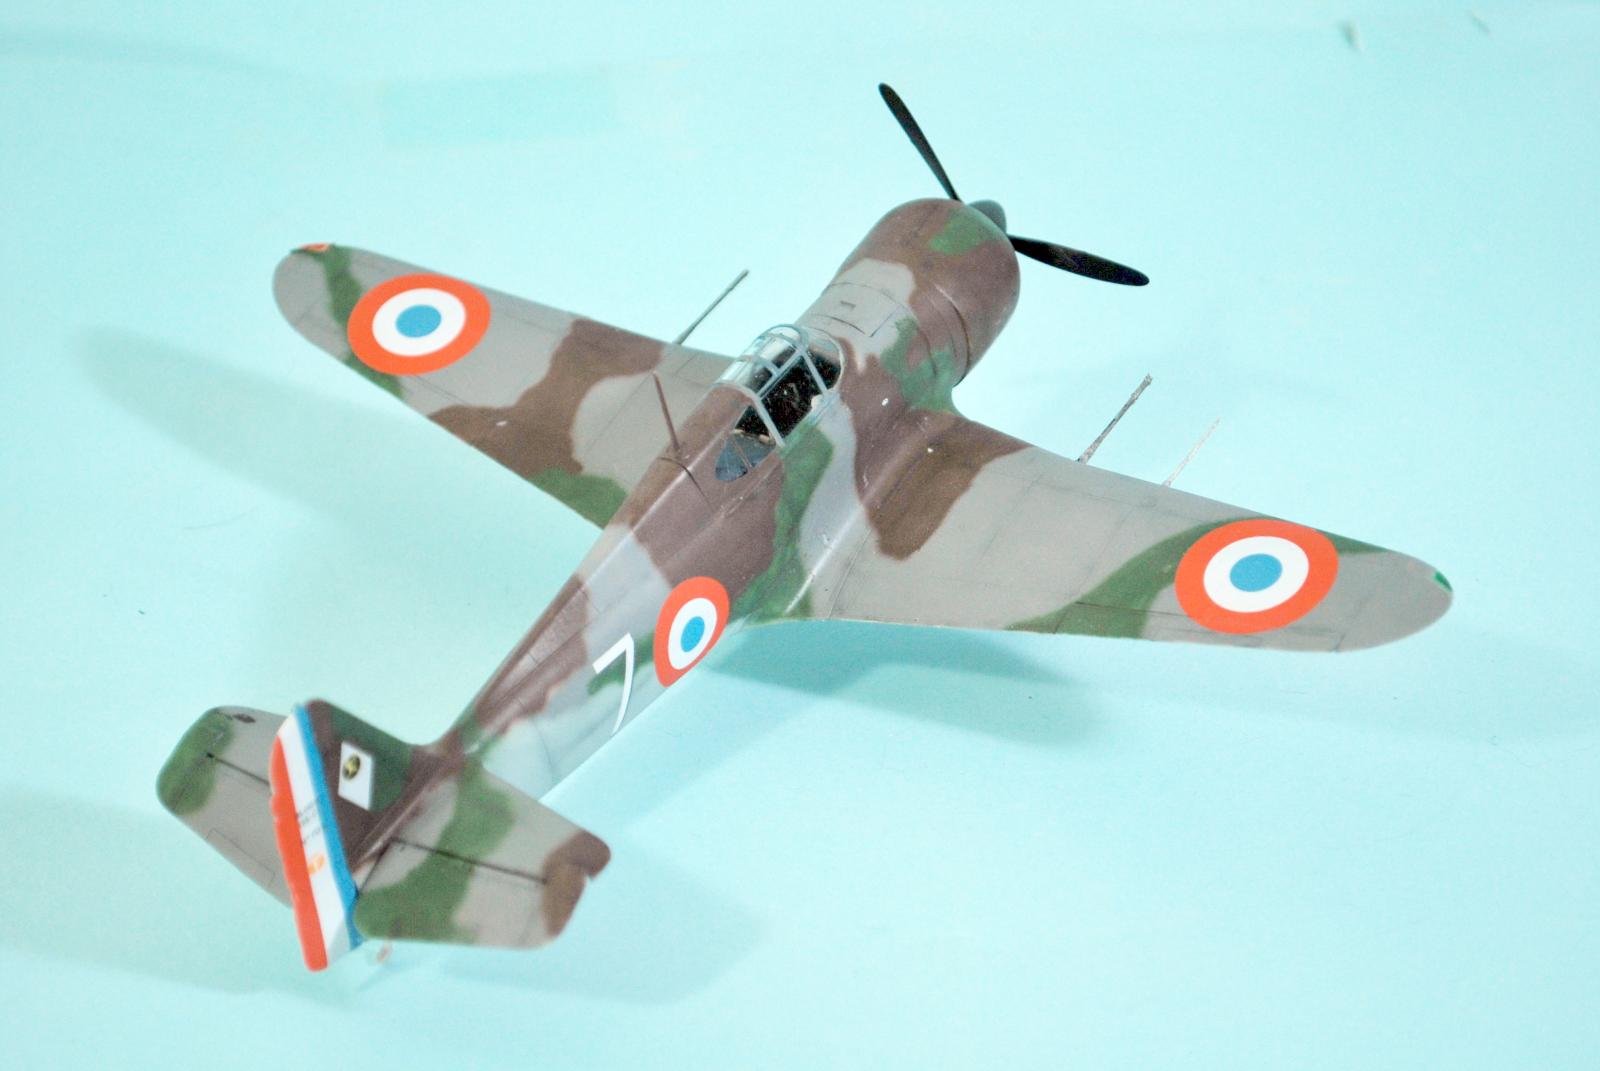
I freehanded the four-color French camouflage to do the airplane flown by Germain Coutaud. I used Tamiya Dark Sea Grey, Deep Green, Hull Red, and my mixture for RLM 76 blue-grey.
Dora Wings decals are excellent, with good opacity and they settle down into the petite surface detail with a couple of applications of Solvaset.
I attached the main gear and prop, and unmasked the canopy. I finished by attaching the cannon barrels and pitot tube.
Conclusions:
Dora Wings kits make up into excellent models if you pay attention to the instructions, clean up the parts, and test fit everything before committing to gluing things together. As stated before, if you remember that they're limited-run kits and treat them appropriately, your result will be high-end. Recommended for modelers with experience in assembling limited-run kits.


Nice build review as usual Tom. This MB family from Dora Wings really deserve some love from the modeling community
An awesome looking MB155, Tom.
Like most of the French aircraft, they have a special sort of attraction.
Your build clearly shows that.
Another great rendition of an unusual plane, Tom. Liked.
Great job on a little-seen plane, Tom (tcinla). Unusual camo looks great.
Awesome posts on your three recent MB builds ( and others also), Tom.
Those Dora Wing kits look and sound excellent.
I've always liked the French Camo schemes, thanks for posting and reviewing.
Excellent model, Tom, and thanks for all the construction notes/tips in your thorough article (I am already trying to figure out a way to offset the engine at my CA kit...I had been assuming they had gotten it right...).
It's really nice that nowadays modelers have all those options with new kits.
Thats very attractive.
I love the colours on these French fighters they make plain looking planes pretty. 🙂
I have had my eye on one of these Dora kits for a while now. The reviews are mostly positive and lets face it is a relatively simple looking aircraft. Always kicked myself for not picking up one of the FM kits when they were still available though apparently there were some accuracy issues with the nose.
I like it Tom. Good looking camo scheme!
Lookin' good! I'm a fan of rarely seen subjects...
Excellent build Tom and I always enjoy your aircraft history, Thumbs Up...