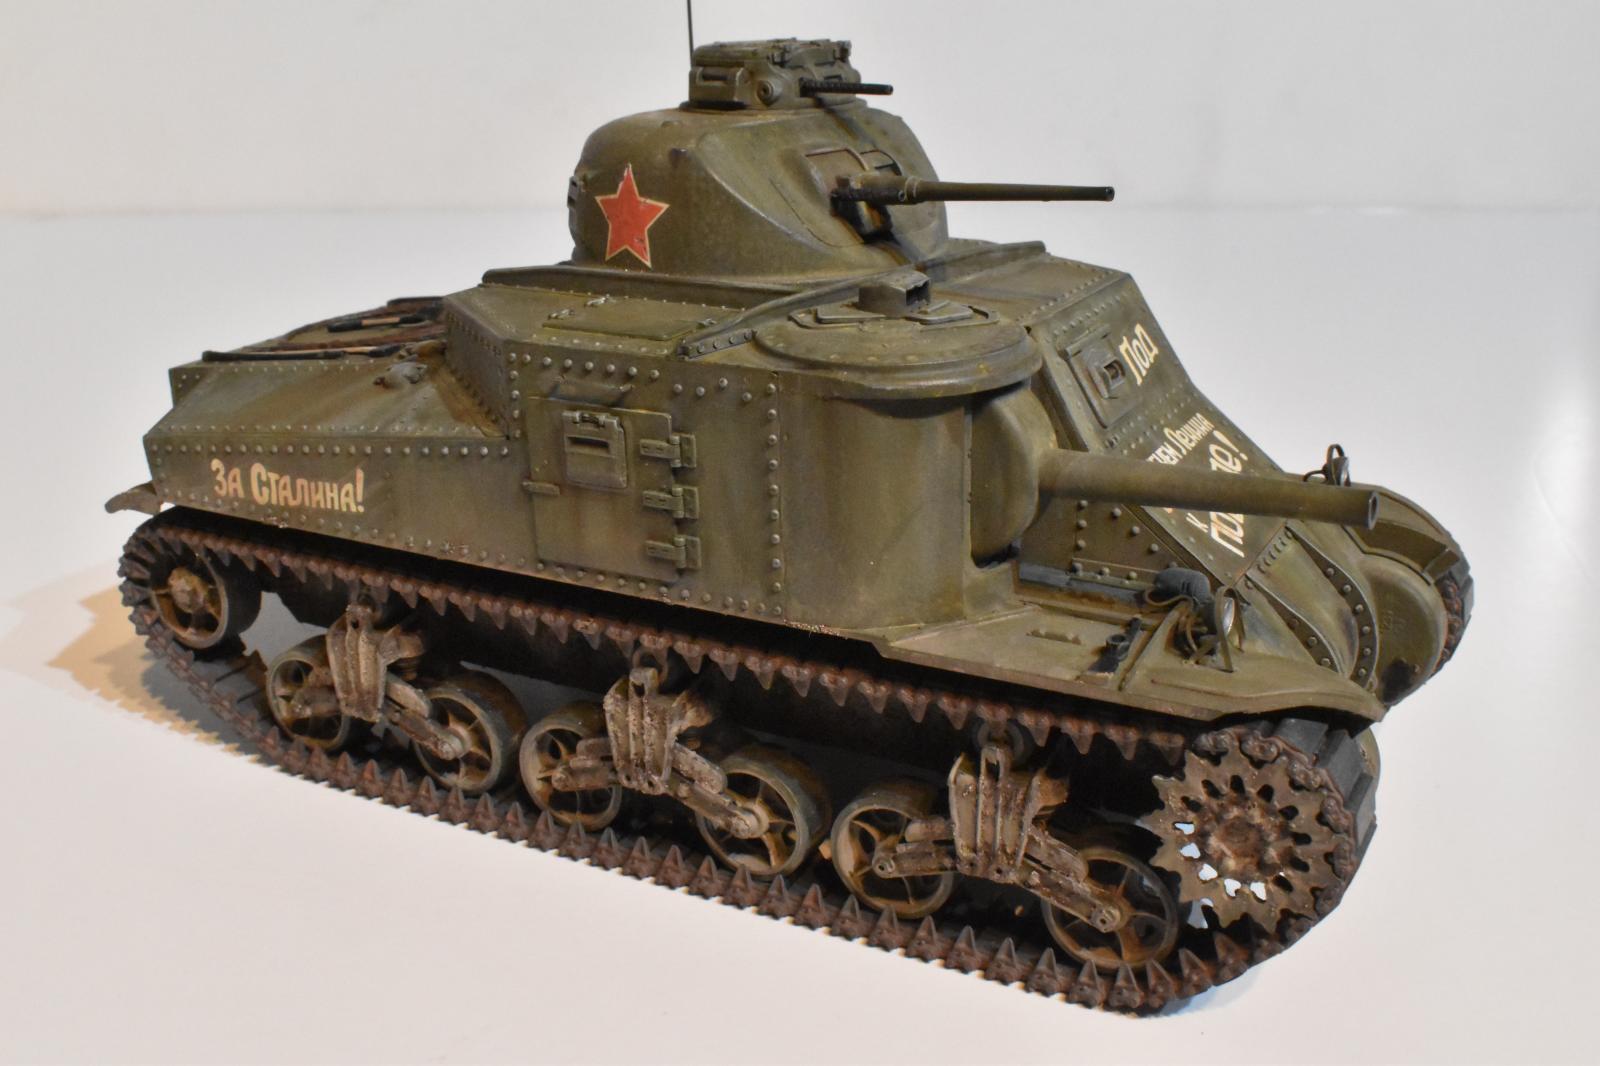
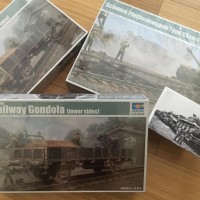
M3 Medium, General Lee goes to Russia. 1/35 Takom
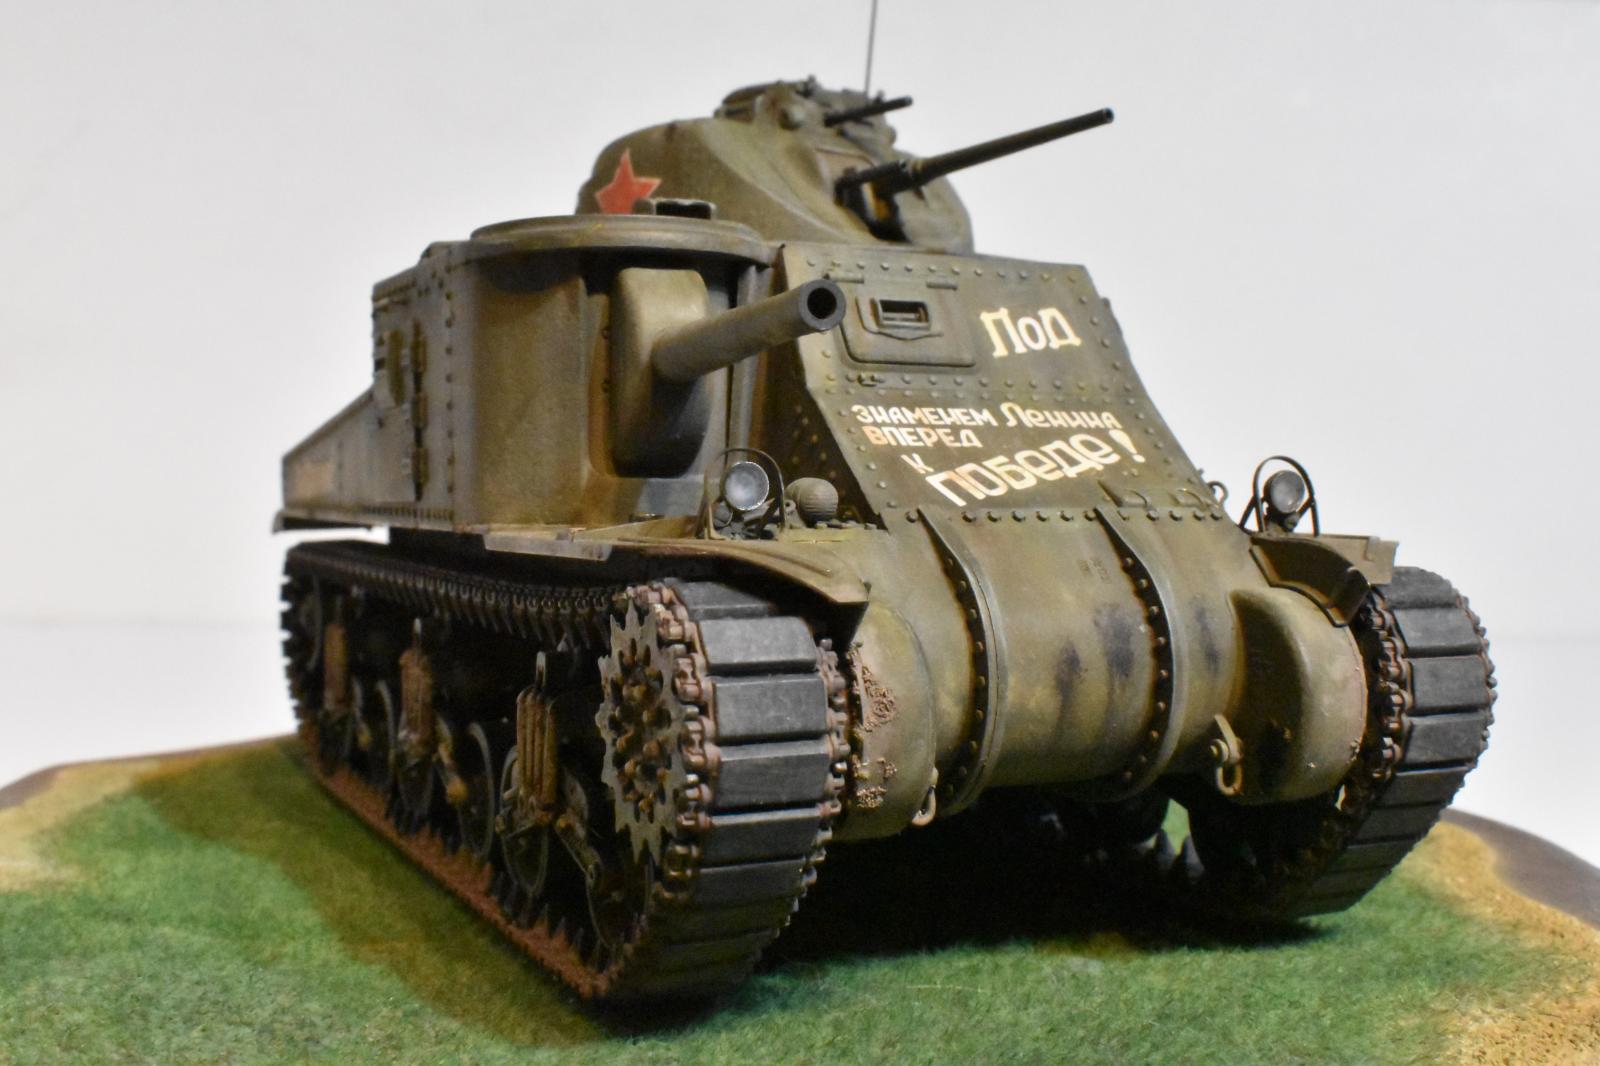
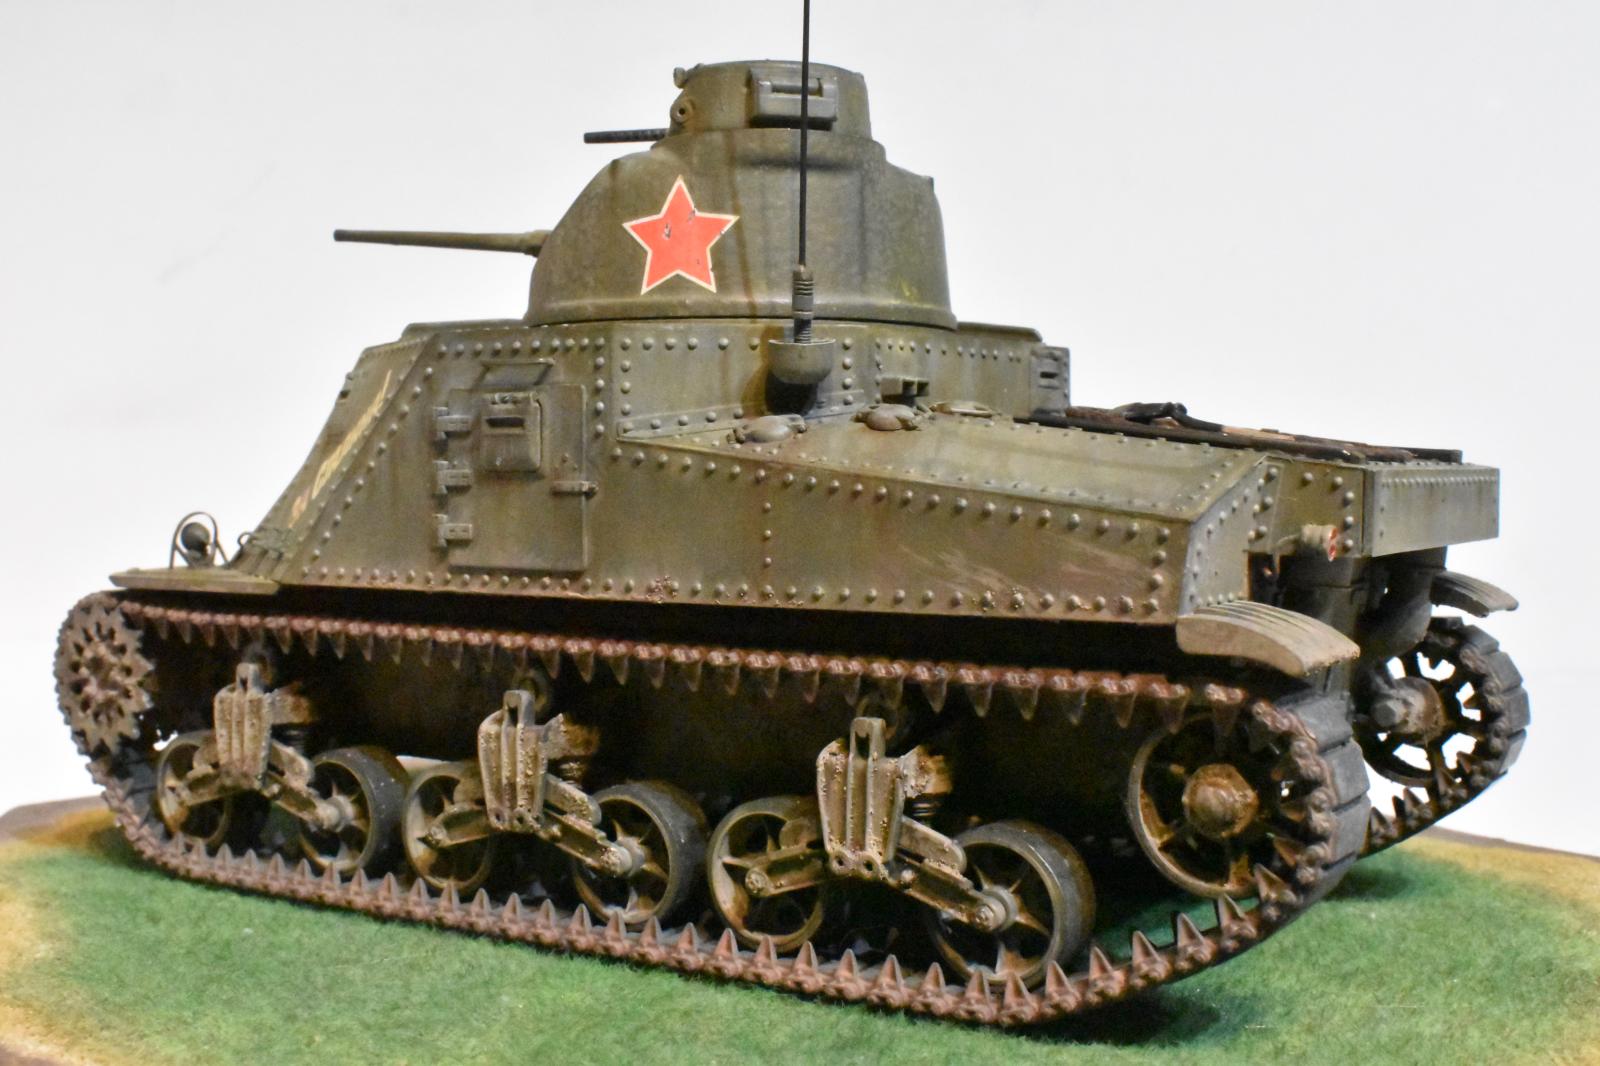
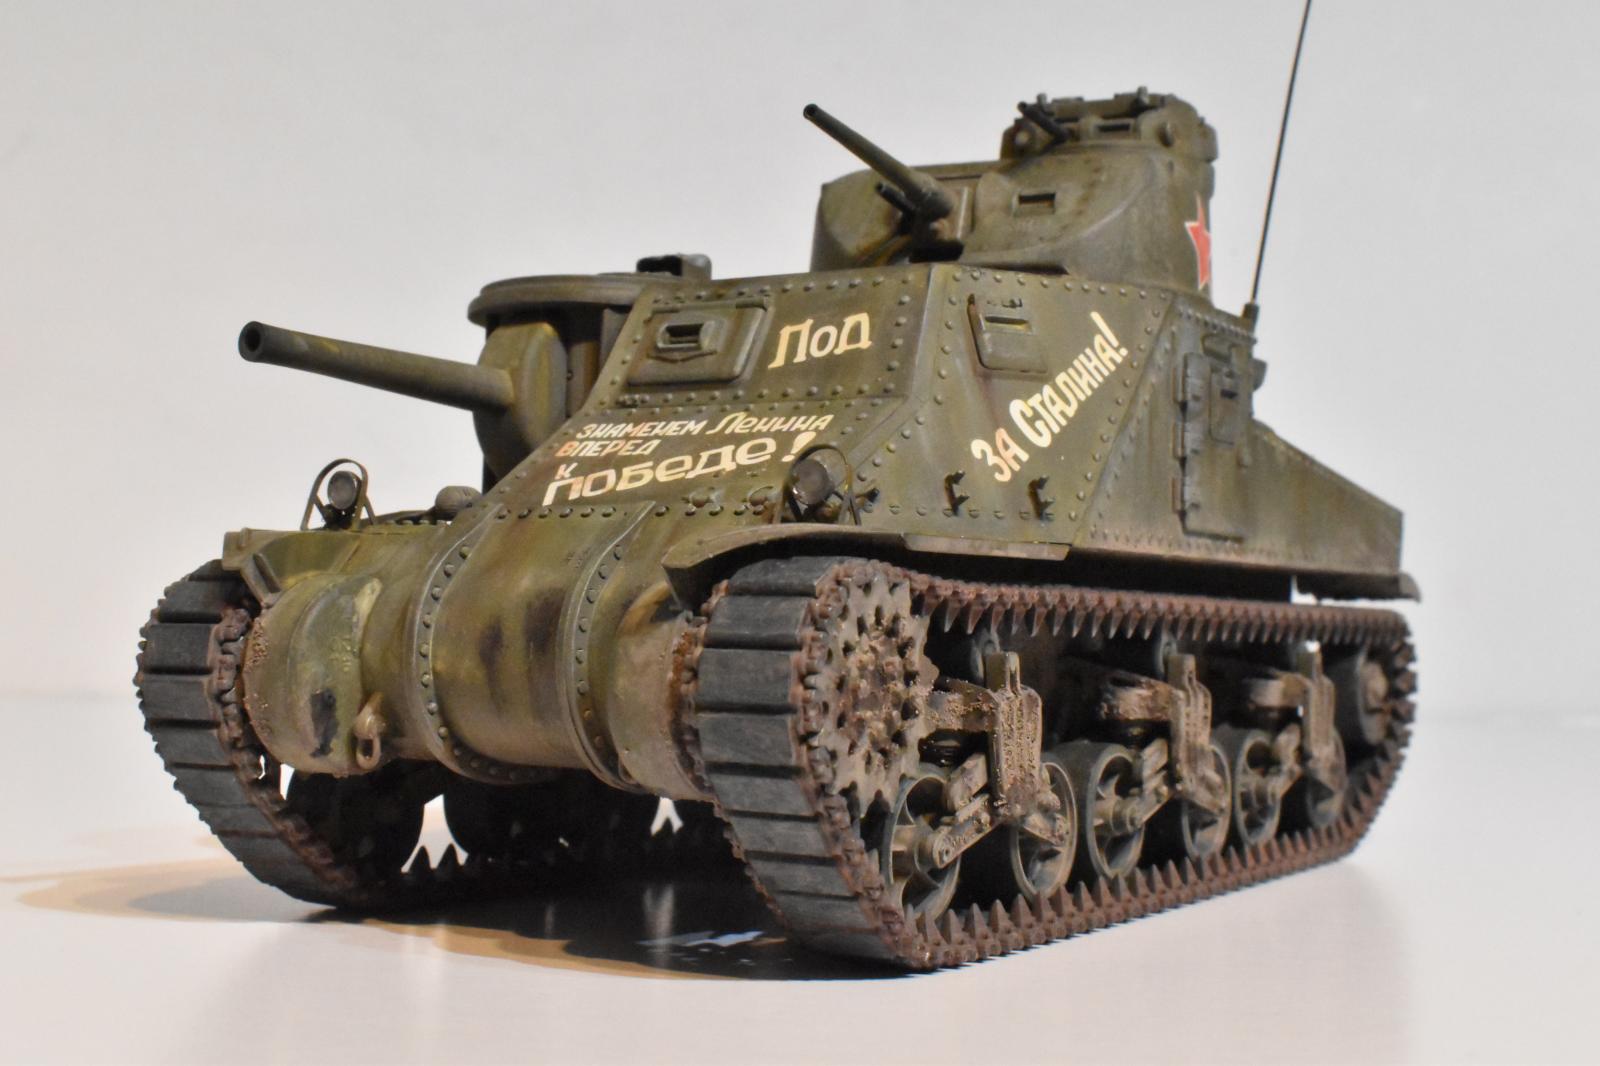
When the United States was dragged into the Big one, everybody started to yell for help from the giant U.S. manufacturing colossus. Problem was, the colossus was not quite geared up yet with sufficient weaponry to send. We did send what was available though, and one of these was the stop-gap M3 Medium tank. the technology to mount a 75mm gun in a turret was still in development, so this vehicle had the big gun in a limited movement hull mount (a la the French Char B) with a bonus weapon in a rotating turret. It was a useable tank for it's time to plug the gap until the M4 Sherman came along. About 900 survived the U-boat blockade to get to the Soviets, where most served in the Southern zones, although some were apparently used in the Kursk battle. The Reds found them not so survivable against the German weaponry, but liked the reliability and the radios, which actually worked.
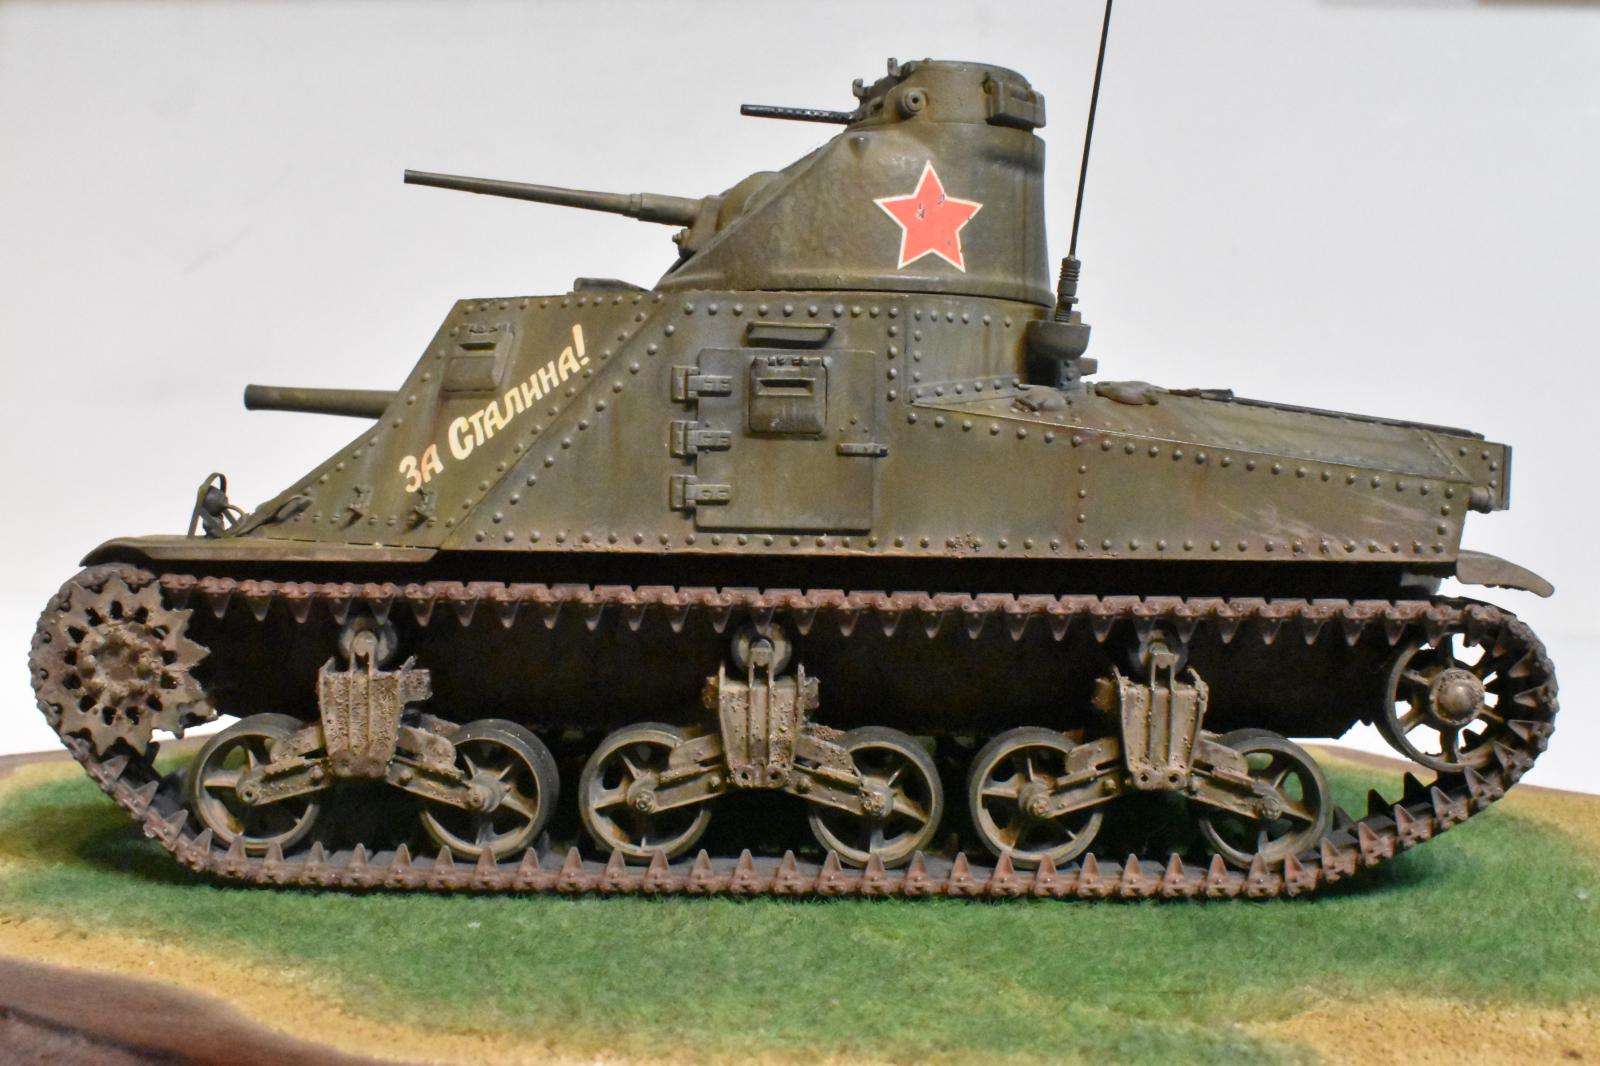
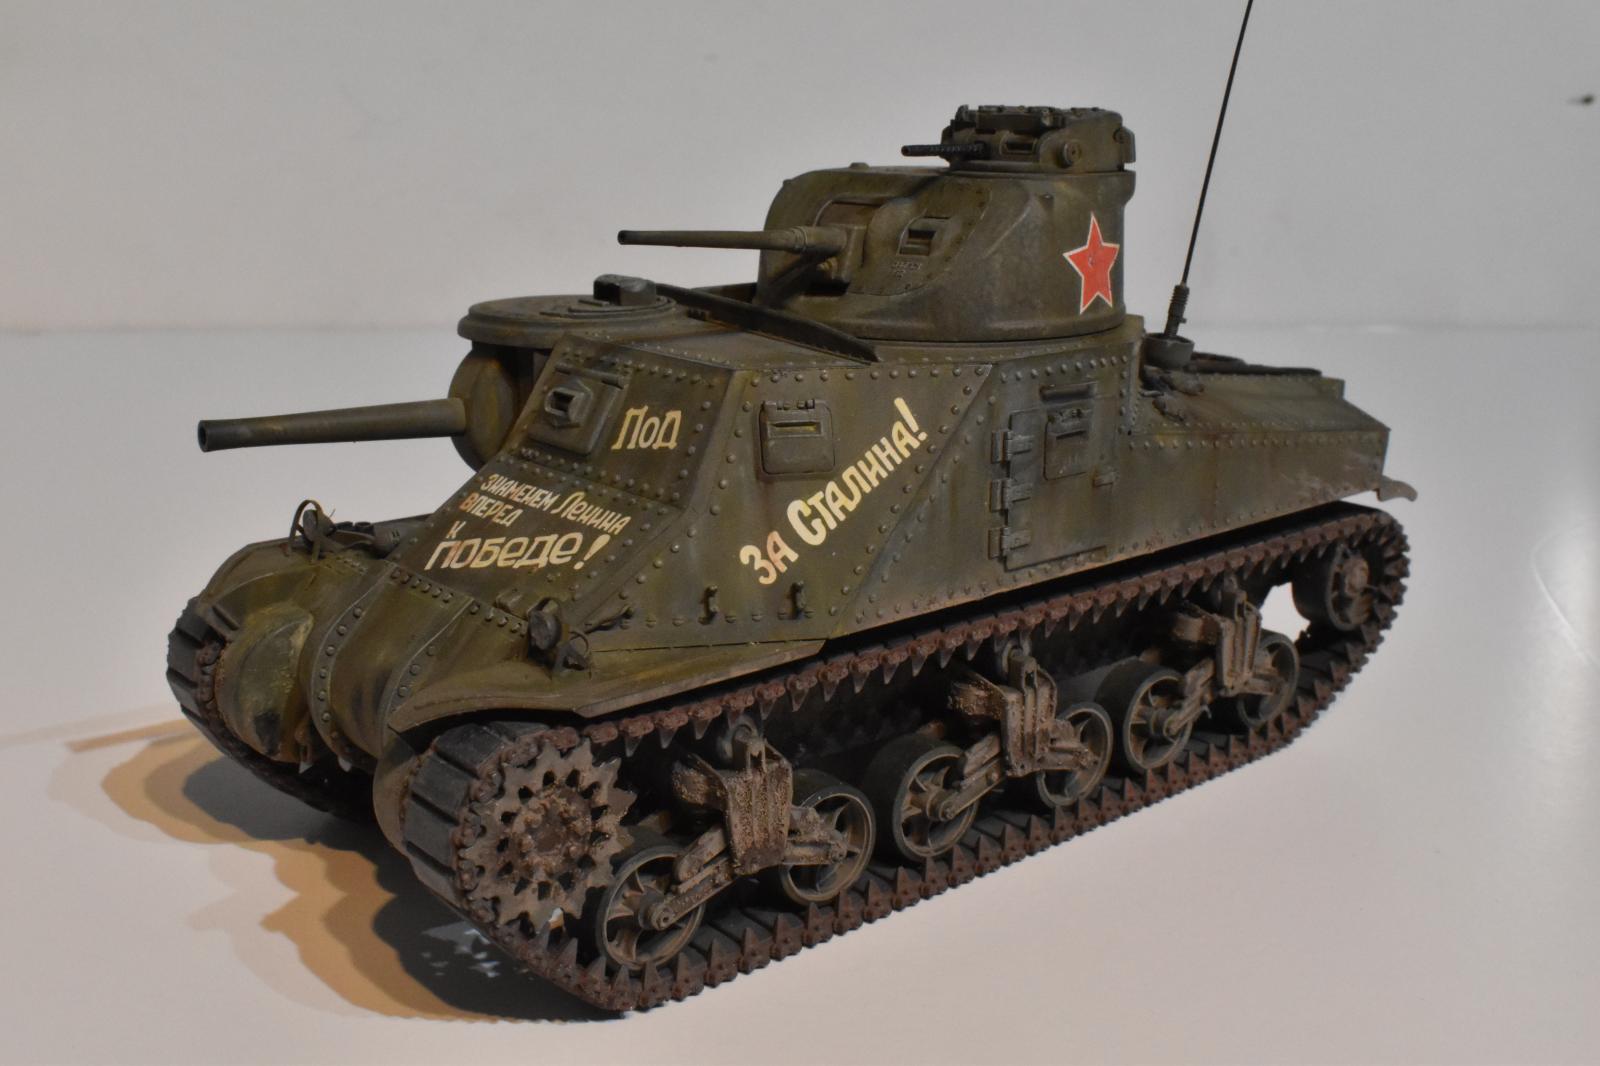
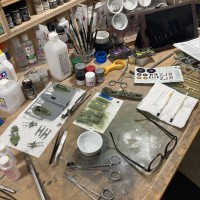
I like the Soviet armor, with their slogans scribbled all over them, this Takom model includes one which was quite the billboard. I do not know what most of it is saying, if anyone can translate for me, I'd be much obliged. The model went together easily enough, just a bit of fiddling to get some of the larger armor slabs together with no gaps. The link-length tracks work nicely, and it's on to the paint.
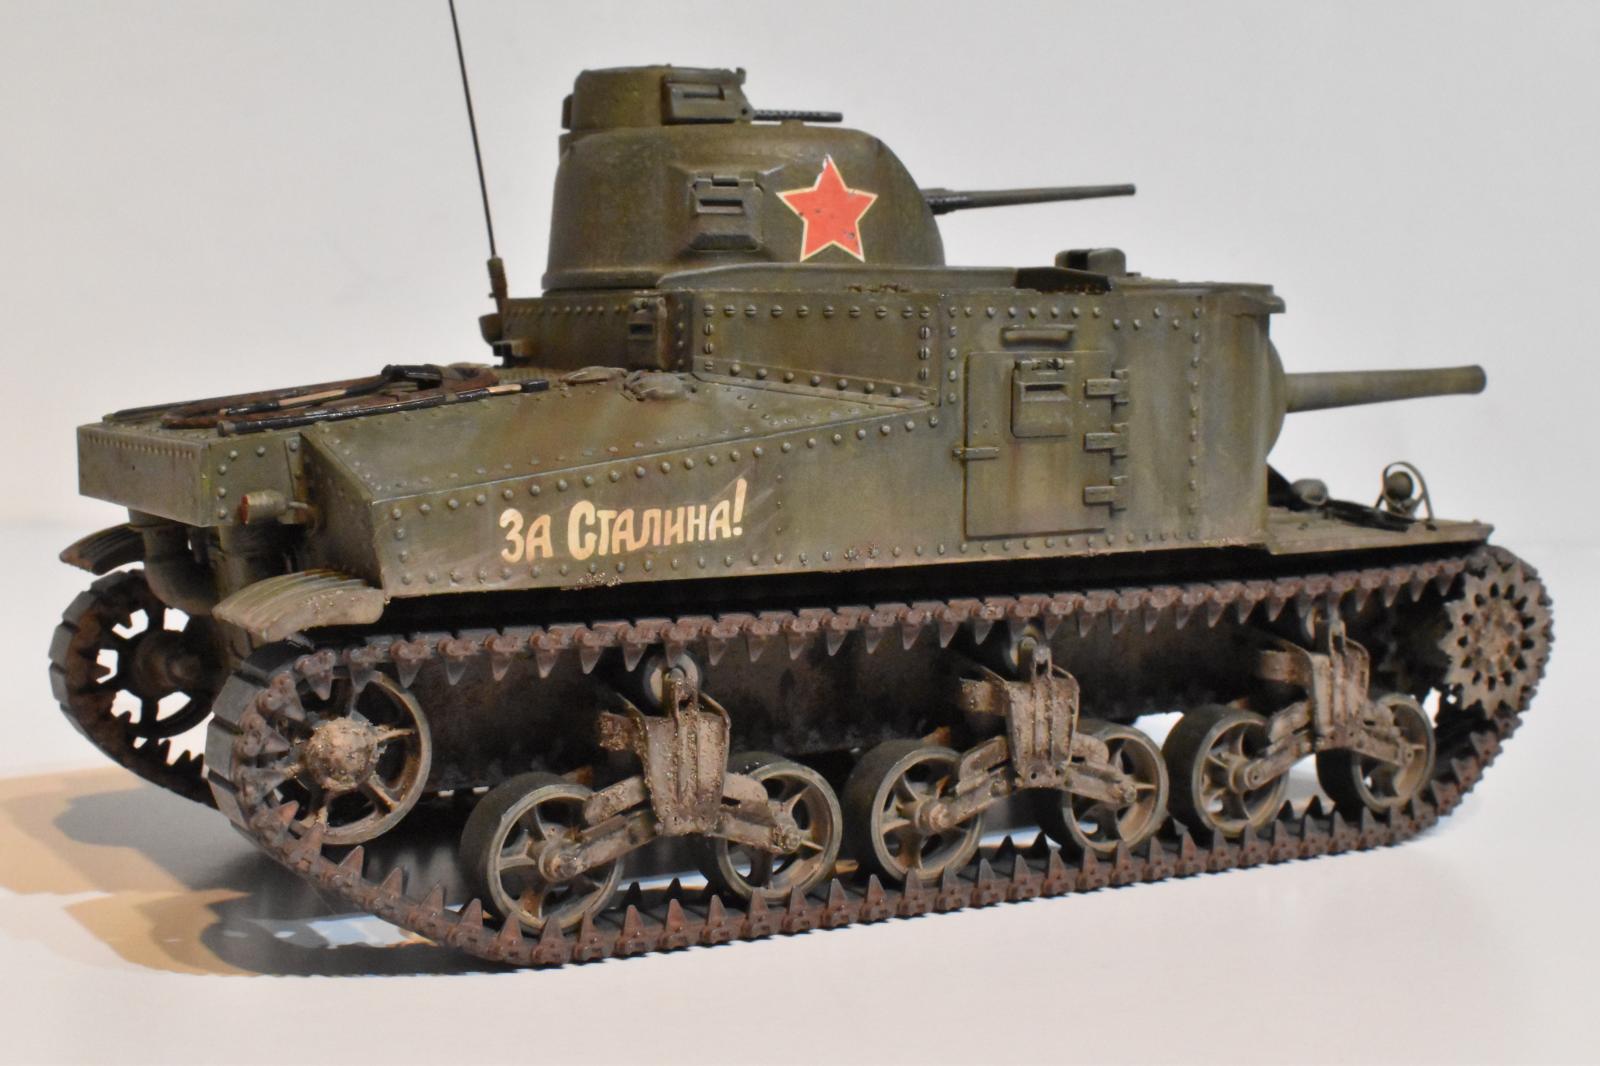
Now I decided I must try some of these new-fangled techniques all these artistes on the You Tube were using. First up was the black and white undercoat. This is basically a pre-shading thing the aircraft guys know. I mixed it up with a bit of "marbling" to get some varied shades. This was covered by a coat of Acrylic U.S.Olive Drab and sealed in with an lacquer clear coat. Now , I actually went out and bought a can of the proper hairspray, "TRESemme extra hold", the same stuff the guy on the You Tube was using, and put 2 coats of this on the model. Then a lightened coat of the Olive Drab was oversprayed. Now what is supposed to happen is you use a flat brush with some water, rub here and there and the light coat wears of beautifully to leave a scuffed and worn paint effect. Um, no. The top layer came off in large irregular patches giving nothing like the look I was after. Screw it, I went back and fixed it up with some more paint overspray. On to the dots.
My next attempt at modern armor finishing was the "dot" thing. I purchased at Hobby Lobby a set of oil paints, a set of small tubes for about 20 bucks. The individual tubes of good stuff like Windsor and Newton were 7-8 bucks a tube! Art is expensive. Anyways what you do is put little dots of color on with a fine brush. I used white, ochre, yellow and sienna. Then you pull them down the sides with a brush dampened with odorless thinners, this spreads them out and gives a hint of the color on the surface. Again color variation is the goal. On the flat horizontal surfaces they spread out again varying the surface colors. Hard to describe, there are plenty of You Tube armor artists out there that can show you better than I can. At any rate, this one actually worked I think. The White streaks are a bit too light and gave a blueish tint, but is not so bad. It actually looks a bit over worn, as I don't think Soviet tanks lasted long enough to get that faded out. Oh well it is for art.
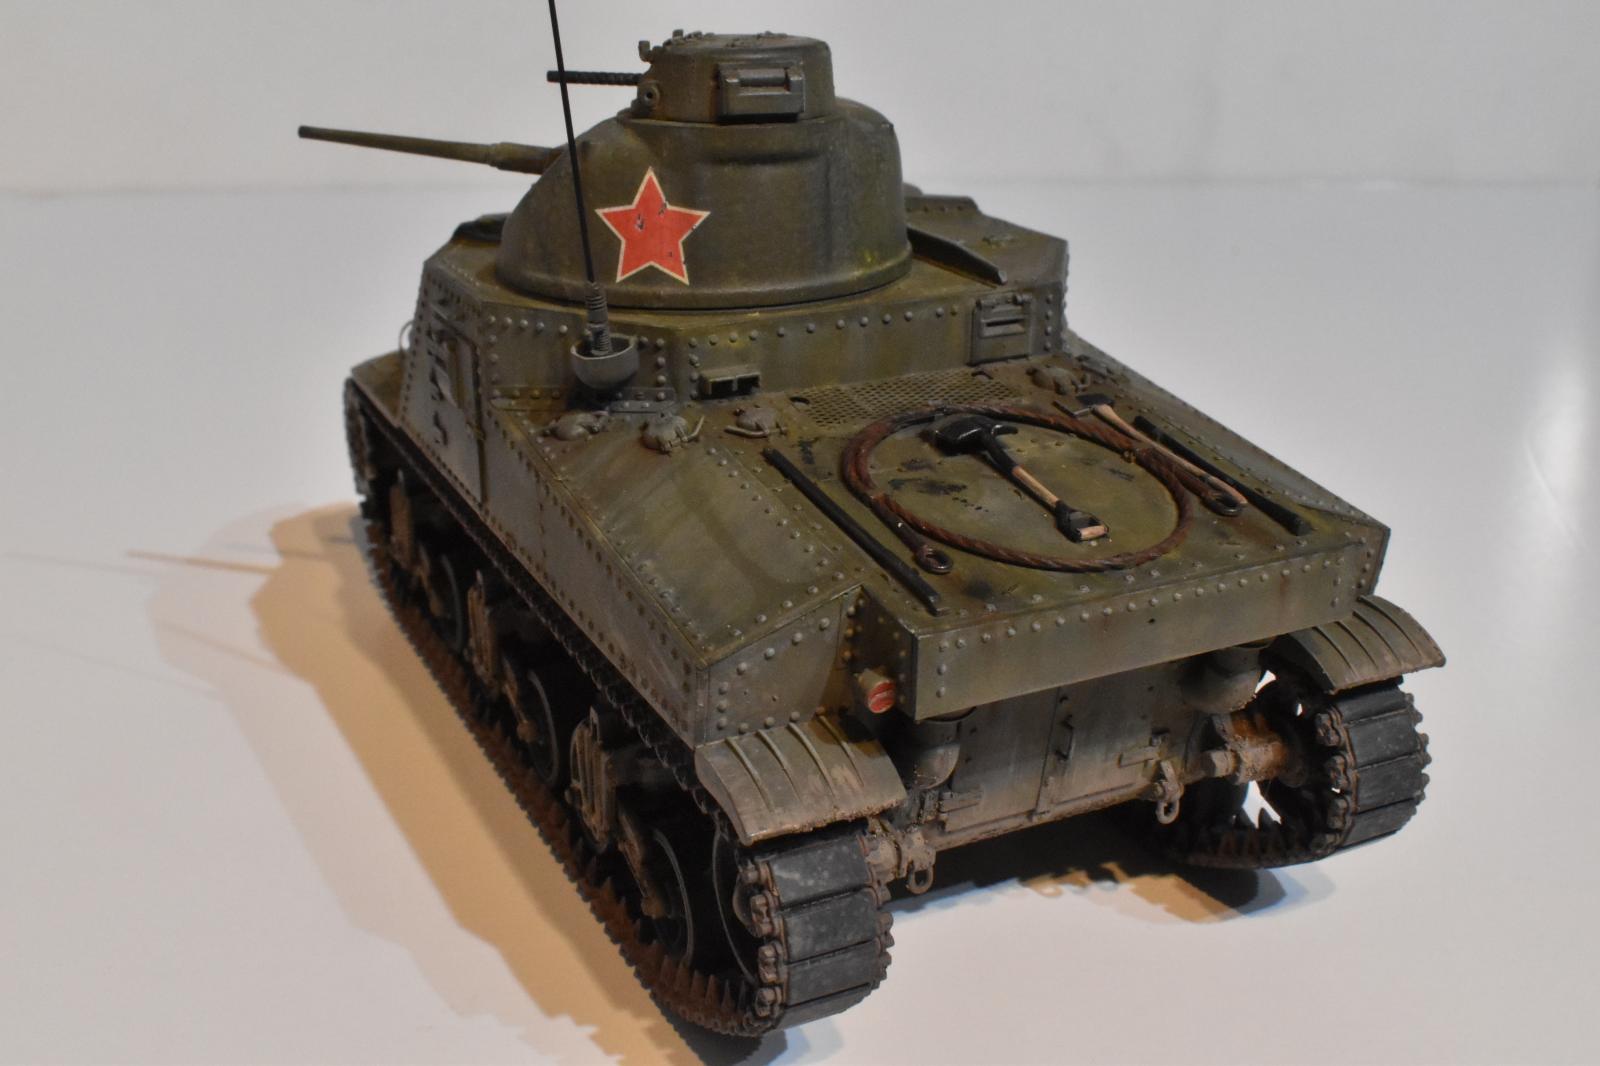
Now I put on a "pin wash", basically the same as the acrylic "sludge wash" I use on aircraft, but using oils this time. Every rivet got it's own bit of wash. Later on turns out it can hardly be seen. Finally, I tried putting on "highlights", adding a light color to each rivet and high spot with a fine brush. This looked too garish to me, so I just used some old school dry brushing. Oh, also put on decals over flat paint for the first time on this one. One of the You Tube gurus said it can be done, and SOB it can.
I finished off with my usual Tamiya Muds on the lower end, and that's that. I looked at all the pics of these early M3's, and did not see any stowage or piled on stuff on them, so I left it travelling light. Later versions had stowage boxes of several types on them. Overall, I'm happy with the way it turned out. It may be over-weathered some, but we'll say this was a survivor. I have this great big can of hairspray here, planning on doing a winter T-34 to try to use it again.


Great work on your M3 Lee, Bill @billkoppos. The painting and decaling are both really good and the slogan decals blend in seamlessly. I really enjoyed your account of the weathering process. I like the way it turned out and follow your logic of how quickly Soviet armor could end up destroyed in the field - hence not going overboard on the mud and rust. I am no armor expert, but I have done a few tanks and have gone through a lot of the same trial and error weathering process as you have with each new kit.
The newest and most expensive armor techniques seem to be Mig and AK Interactive "filters". These costly pigments certainly give painterly effects and artistic flourish to a finish but IMO don't look all that much like real machines seen in photos, either period or modern vehicles (apologies to the enthusiasts and contest judges who think otherwise 🙂 ).
The dot technique with oils you mentioned is probably the process I mostly follow, as outlined by Michael Rinaldi. I also use EZ Mud form Korea (probably like Tamiya mud) for more textured and color varied weathering effects. I tend to slather on the oils in the earth tones more and dab them off like a sludge wash in different stages (which makes them like "filters" in a way _ if I understand the term correctly). For me. powdered CMK pigments and pastels give good dust effects and you can seal these in with a matt coat or a series of coats.
I think all of the above techniques we share give restrained effects that look "right" to me and have a result like you had on the M3 Lee. Here is an example with a comparable OD finish:
I have never tried "hairspray technique" and I am glad you described how disappointing it can be. It can take me several days to do weathering of one model as I may also have to do overpainting to correct excess weathering. I also like to wait for full daylight as well as varied artificial light to view new layering effects at each stage. All in all, I really appreciate your sense of humor in sharing how drawn-out and tricky weathering can be, including correcting setbacks.
Anyway, as always, I really like the final results with your model. I have the same kit in my stash and intend to finish it as a US version some day. I think we may have quite similar tastes in armor as well as aircraft models. Thanks for posting this and providing inspiration to us closet armor enthusiasts.
Hello, Colin. Yes you have excellent taste in models.:) Your Pershing looks great from here. Yeah some of these builds on the Tube are really works of art, but do tanks really look like this? Maybe after 3-4 years of combat they might, but a couple of months max? The "chipping" craze is the worst to me. I just don't see such wear in photos. In the pics I'm looking at these things are mostly covered in dust and mud. They really chew up the ground they run on, and it protests back. Thanks for the comments, take care.
Really love this build of the M3, Bill @billkoppos
Weathering and painting is very realistic.
You can clearly see the shapes of the successor, M4 Sherman
Excellent work, Bill. These M3s are great modeling subjects.
Another excellent build, Bill!
Love the painting and weathering, your exquisite techniques really paid off!
Great looking Lee!
Looks good, pops. Still waiting on that field of sunflowers base.
Oi BK! Great looking target. You now earn the title of Farbmeister in addition to Mudmeister! Und schone auch Schreiben! You've always been very good at that.
Classy job on this one Bill. It's the tank made famous by Humphrey Bogart in the movie Sahara.