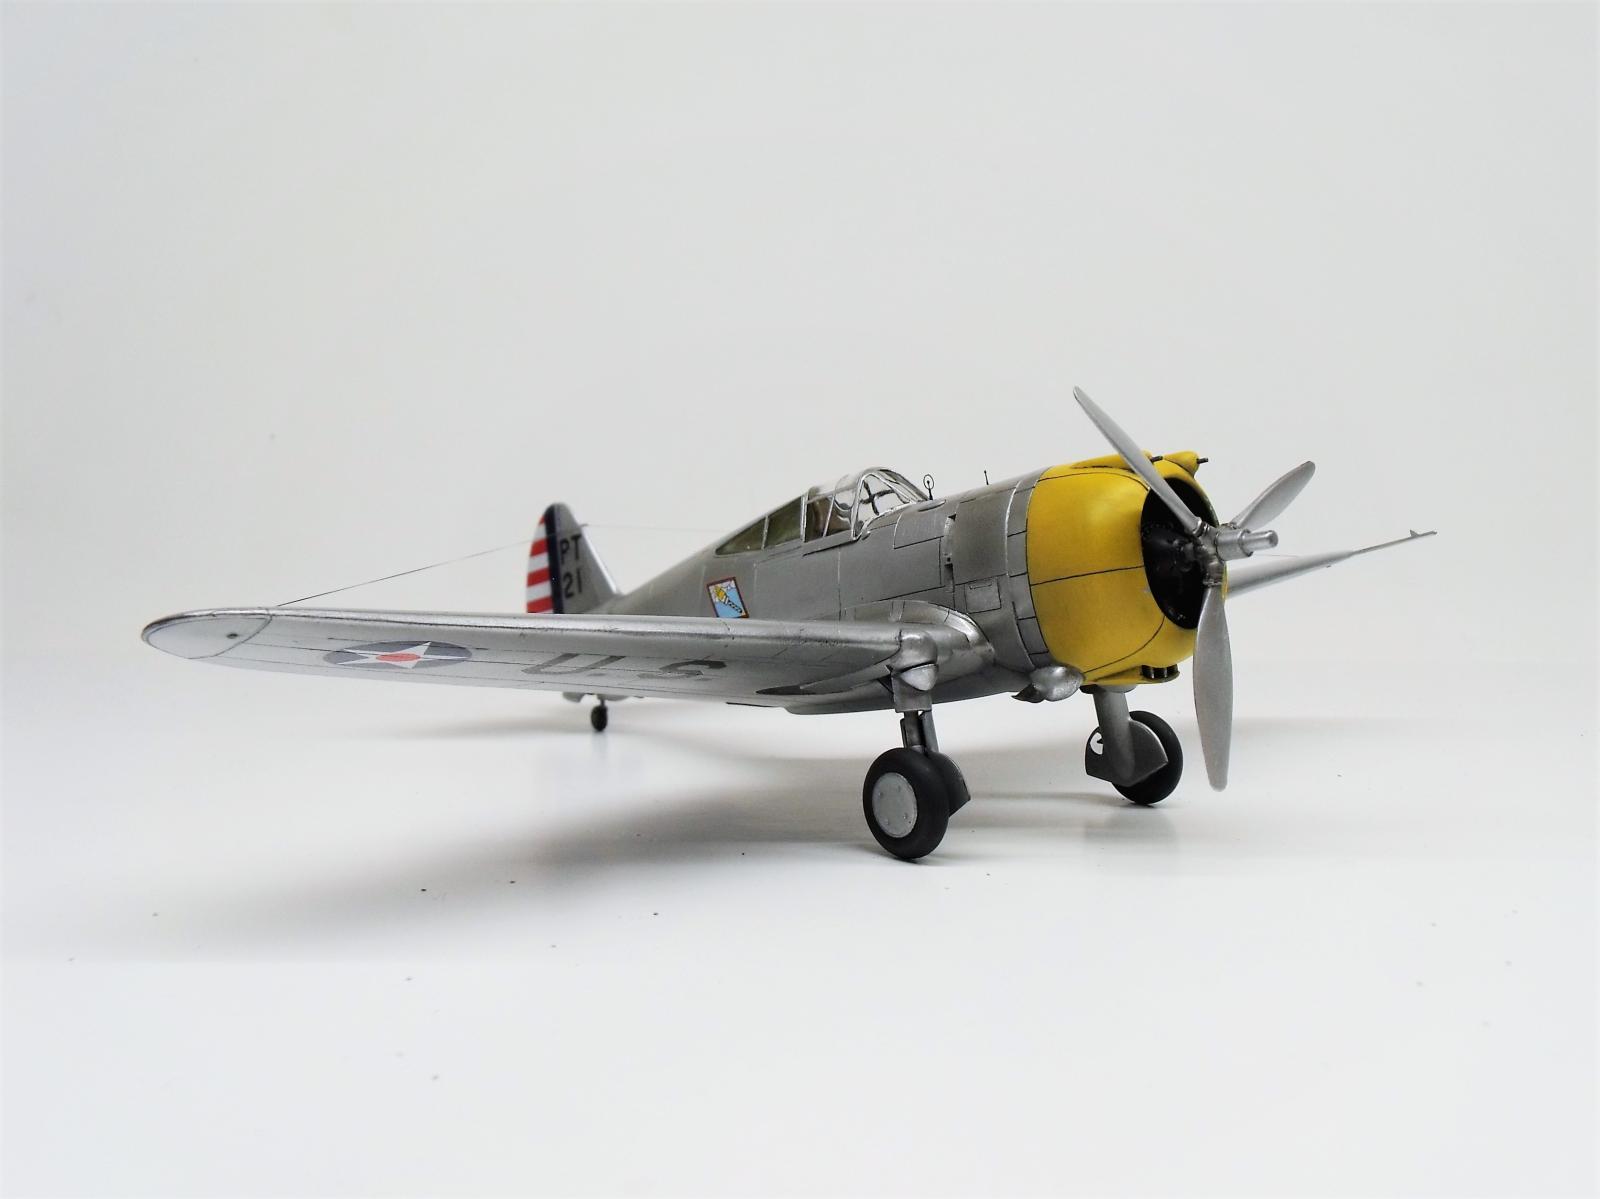
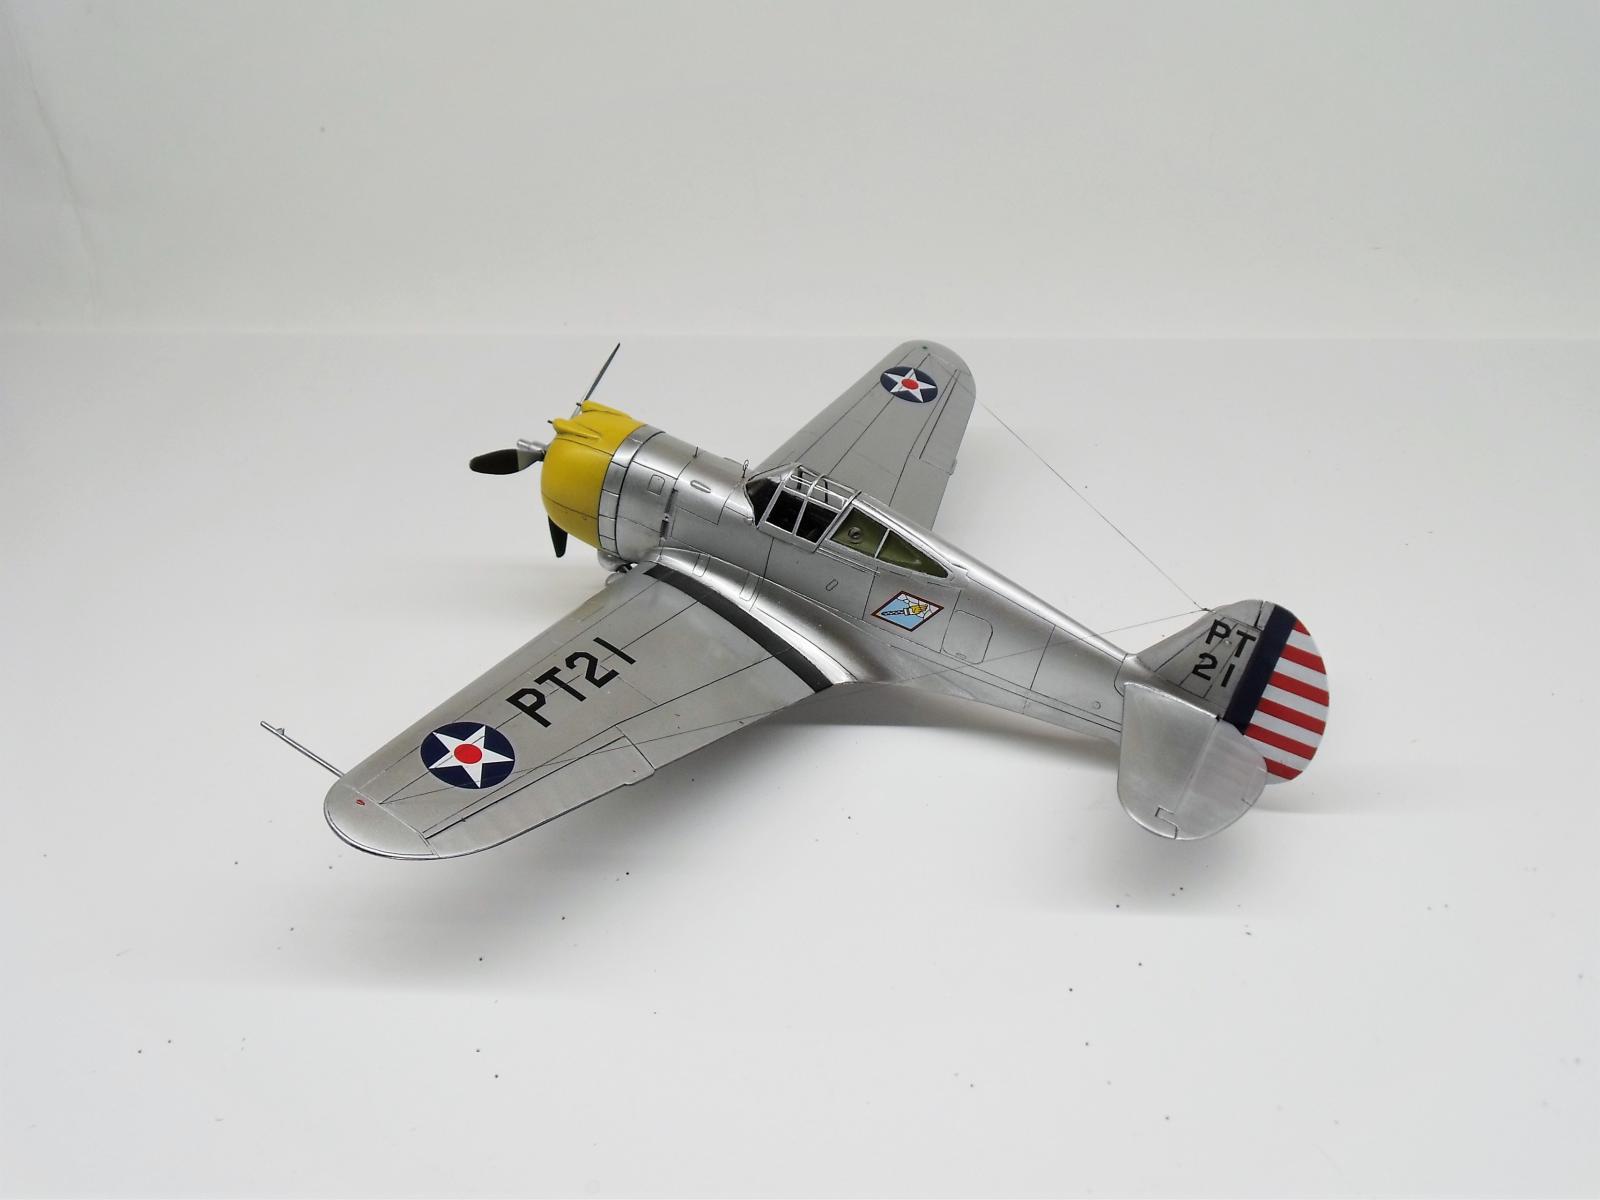
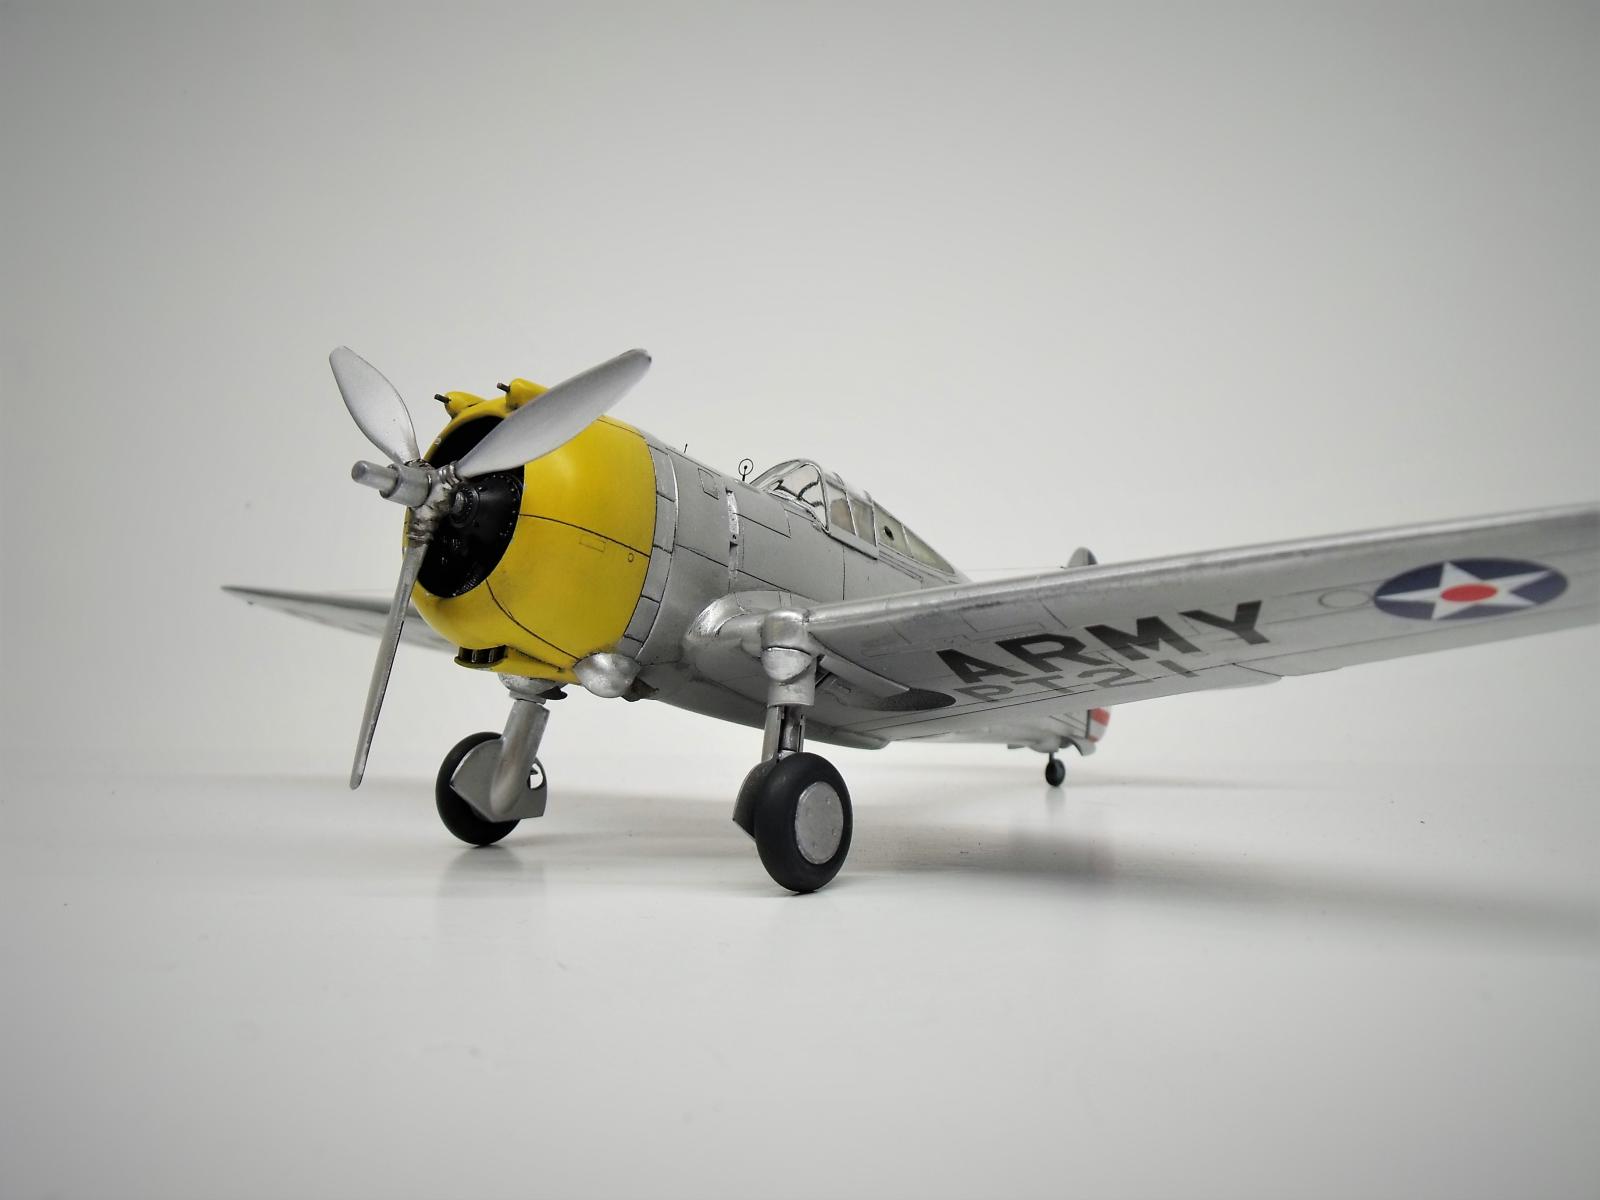
Curtiss P-36A Hawk – 1/48 Hobbycraft

Good day, and welcome.. Today I've simultaneously completed two builds. The first, this P-36A, has been built using what is one of the few P-36 kits available in 1/48 scale (for now), that is Hobbycraft's boxing from the 1990's. The kit can be found still new, though from the Academy brand. With some time and patience, this kit can still produce "reasonable" results. No doubt this kit will be obsolete to anyone wanting a more accurate P-36/Hawk-75, once ClearProp! fully releases their line of Curtiss 'Hawk aircraft. Which brings me to this build...
I purchased this kit many years ago, second-hand for ~1/8 of what a new ClearProp! kit will likely cost. For that cost of admission I got: a moldy box, still packaged sprues, ruined decals, and an instruction sheet that was fused into a single unusable sheet. I politely asked the clerk to keep the box, the decals and the useless instructions and walked out with a bag of sprues. 🙂 No worries though, as Scalemates would have the instructions I'd need, and a replacement decal sheet was soon secured, by way of an AeroMaster "USAAC 1938-1941" sheet, which includes options for P-35's, P-36's, and of course a Wheeler Field P-40B.
The kit was started right away, by way of building up the spartan Hobbycraft cockpit (canopy closed on this one, thank you!), gluing the fuselage halves together, assembling the cowl, and affixing the wing and horizontal stabs. With careful mind to dihedral and wing root gaps, there was very little need for putty on the upper wing roots. However, the way the lower wing fit into the fuselage left much to be desired, requiring multiple rounds with some Tamiya Putty. In this state, with nothing painted but the interior, the kit sat, sat... and sat.
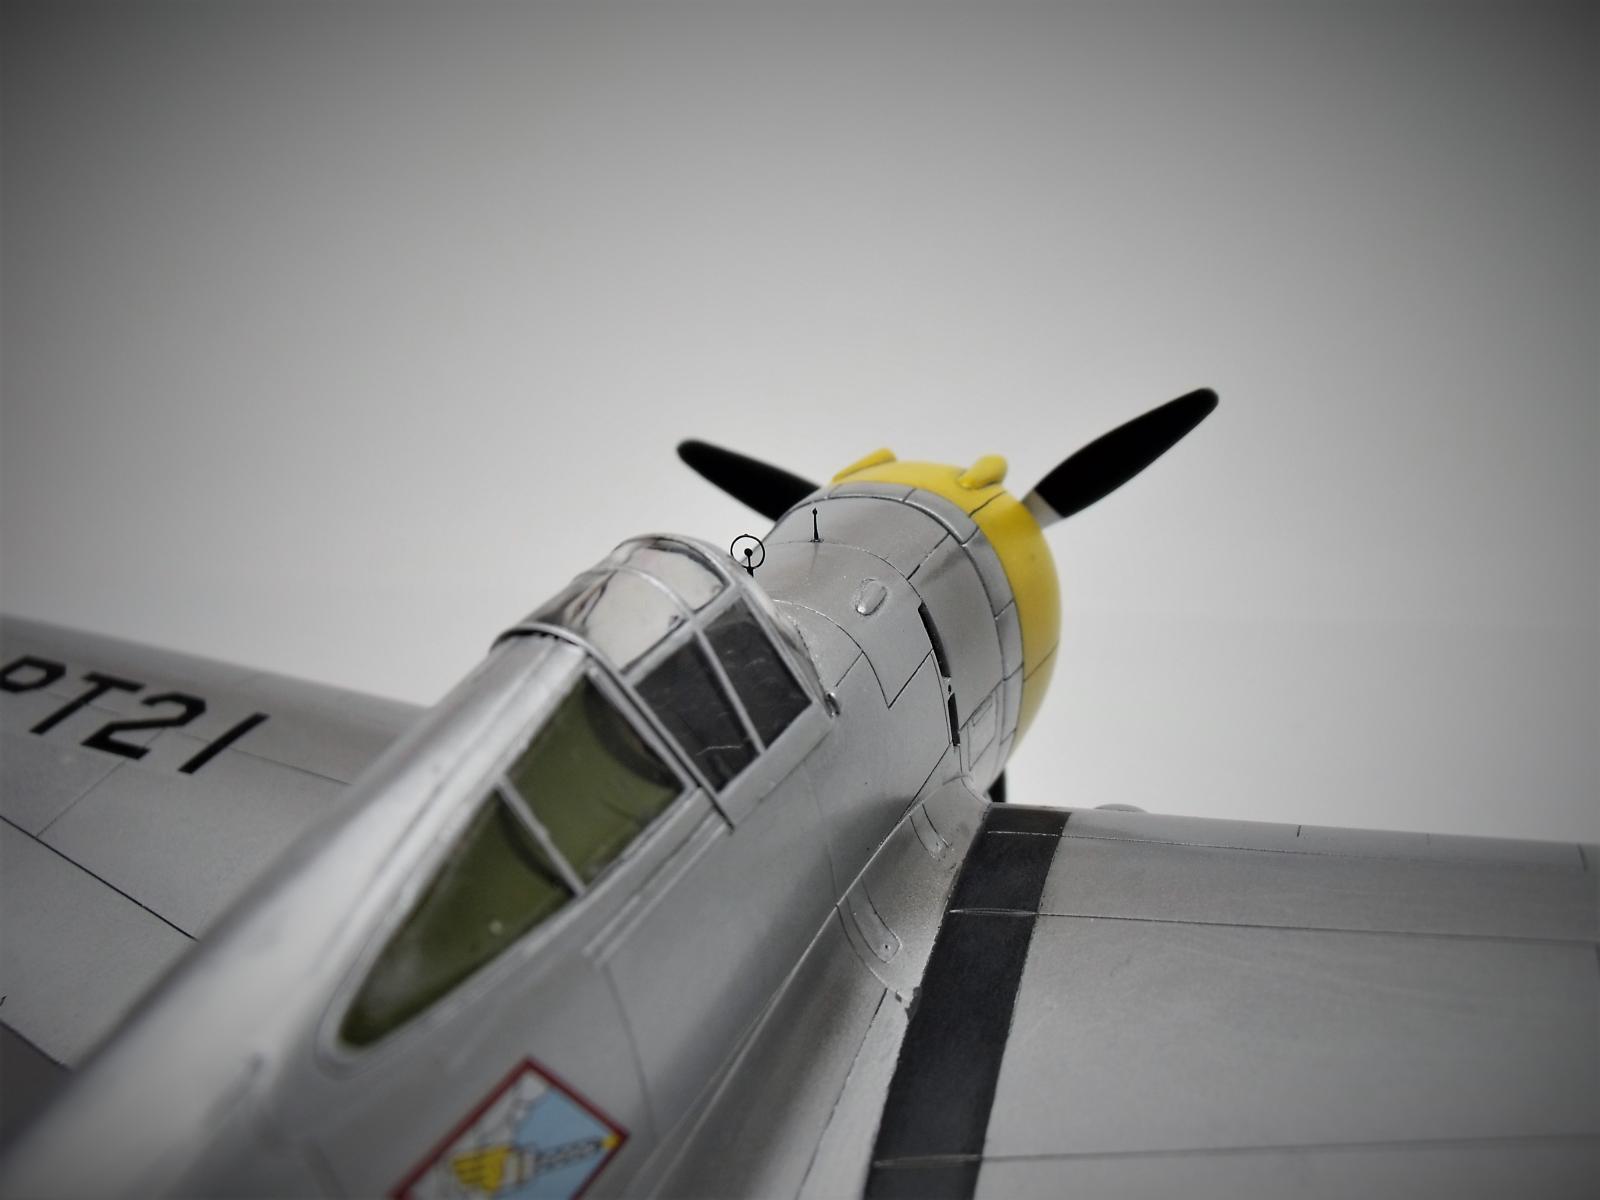
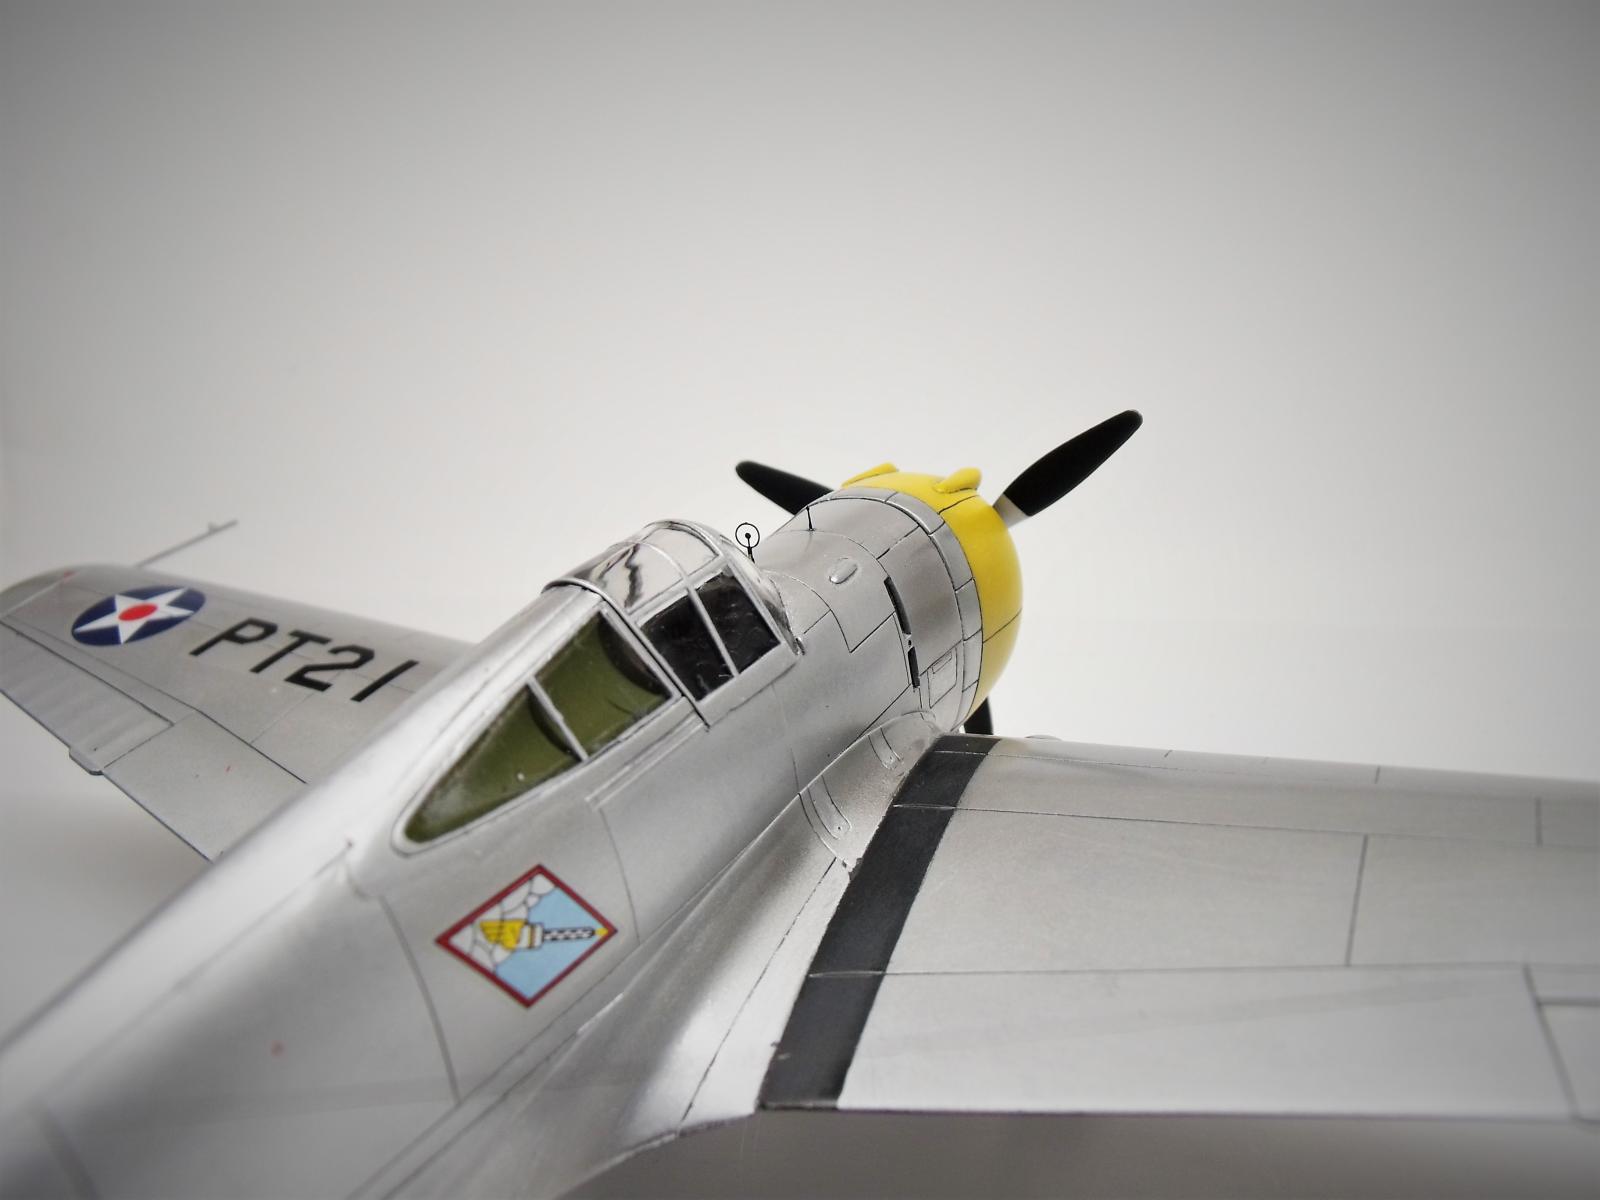
Fast forward to the past few weeks.. I've been trying to finish up a bunch of old, half-finished builds, while not driving myself crazy by working on kits that are particularly stress-inducing. This kit (and another I'll post in the next day or so) fit the bill with it's approachable level of detail and my utter disregard to offer it any "super-detailing". All it needed was canopy masking, paint, decals, and some minimal final touch-up work. Easy Peesy! ...so easy, in-fact, that I glued the quarter windows and canopy on, masked them up and got the whole aircraft painted silver before realizing the exposed fuselage behind the quarter window was not supposed to be green, but aluminum... No stress though, please forgive me! Now, don't look back, it is what it is. 🙂
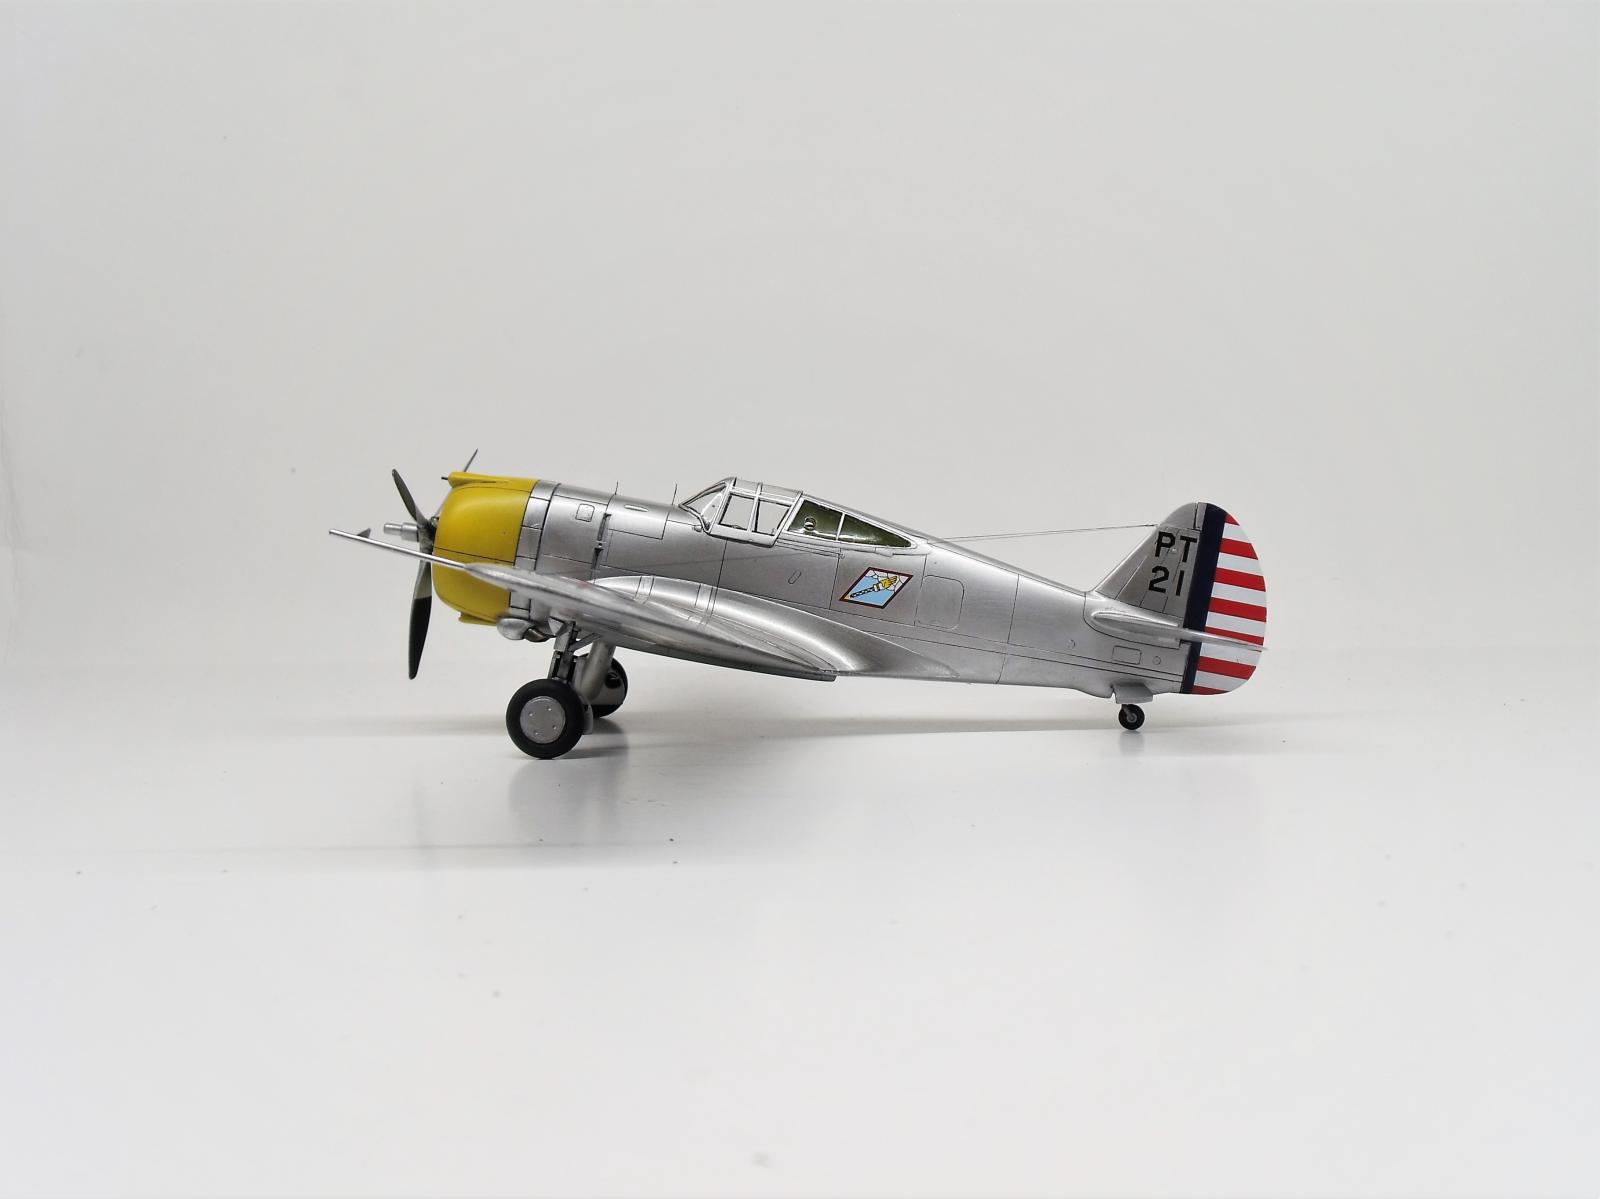
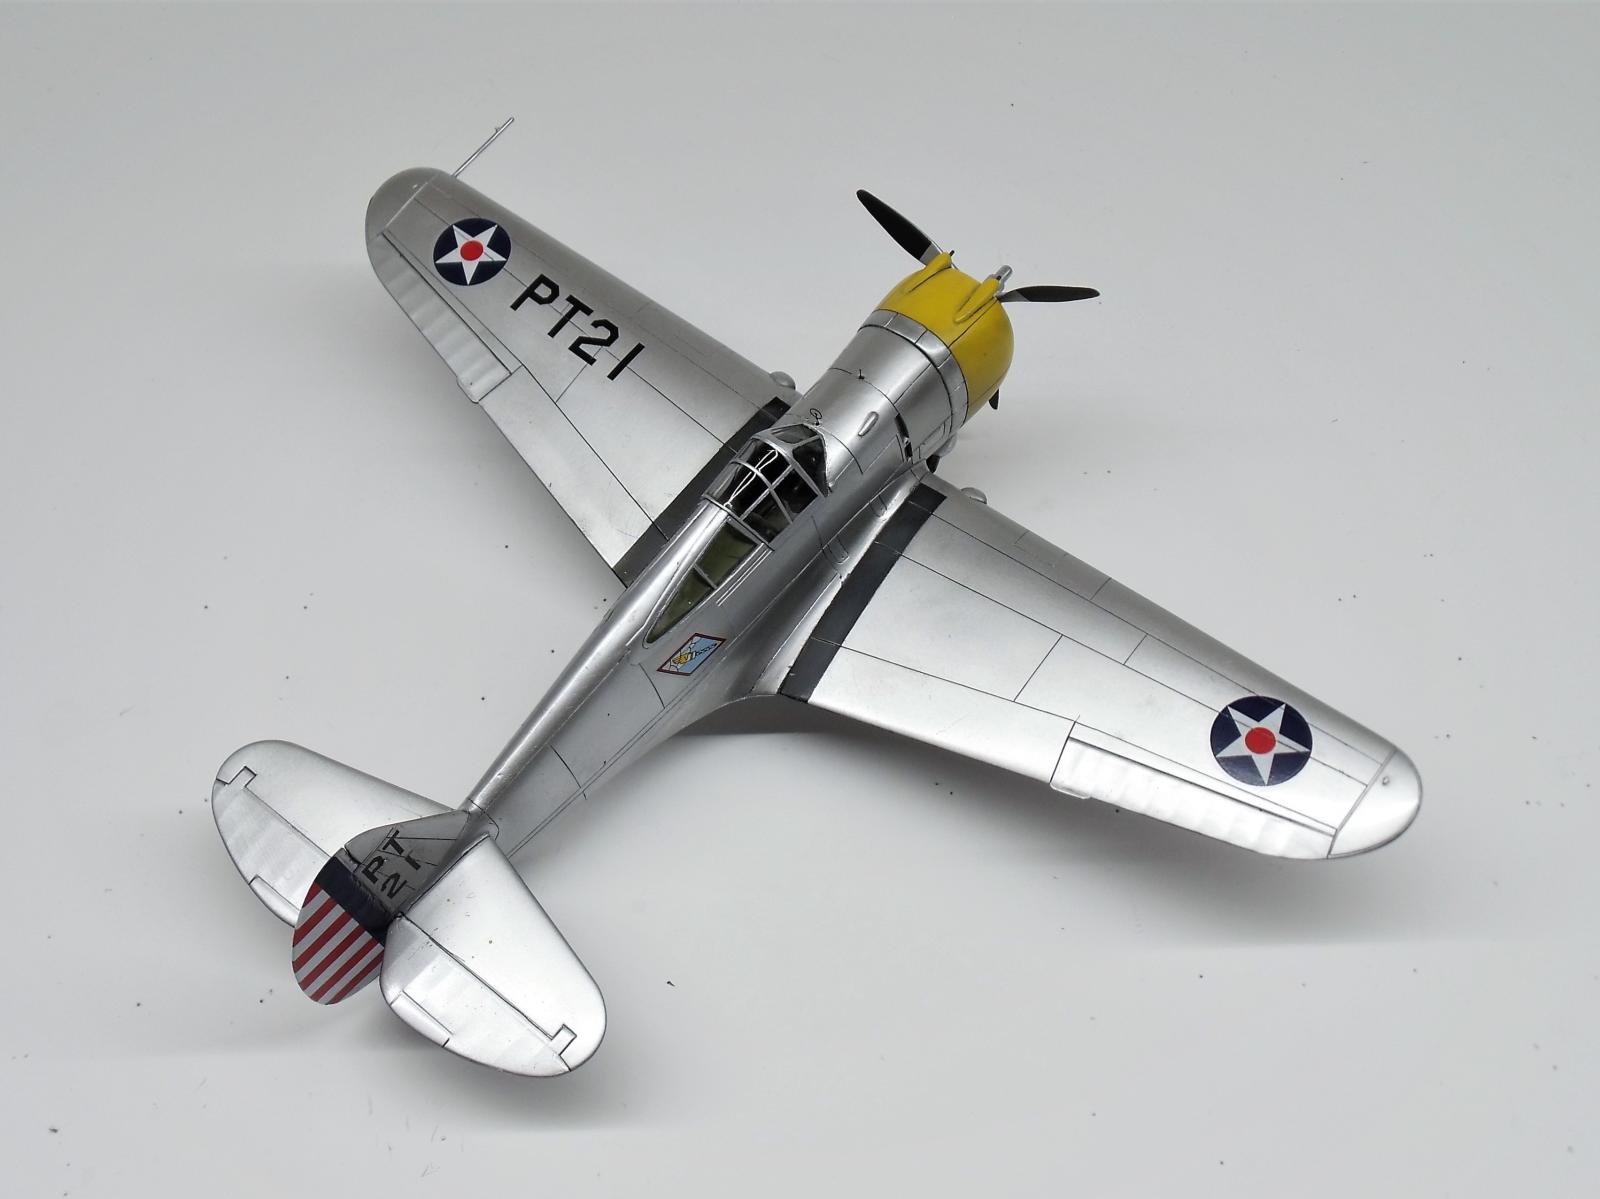
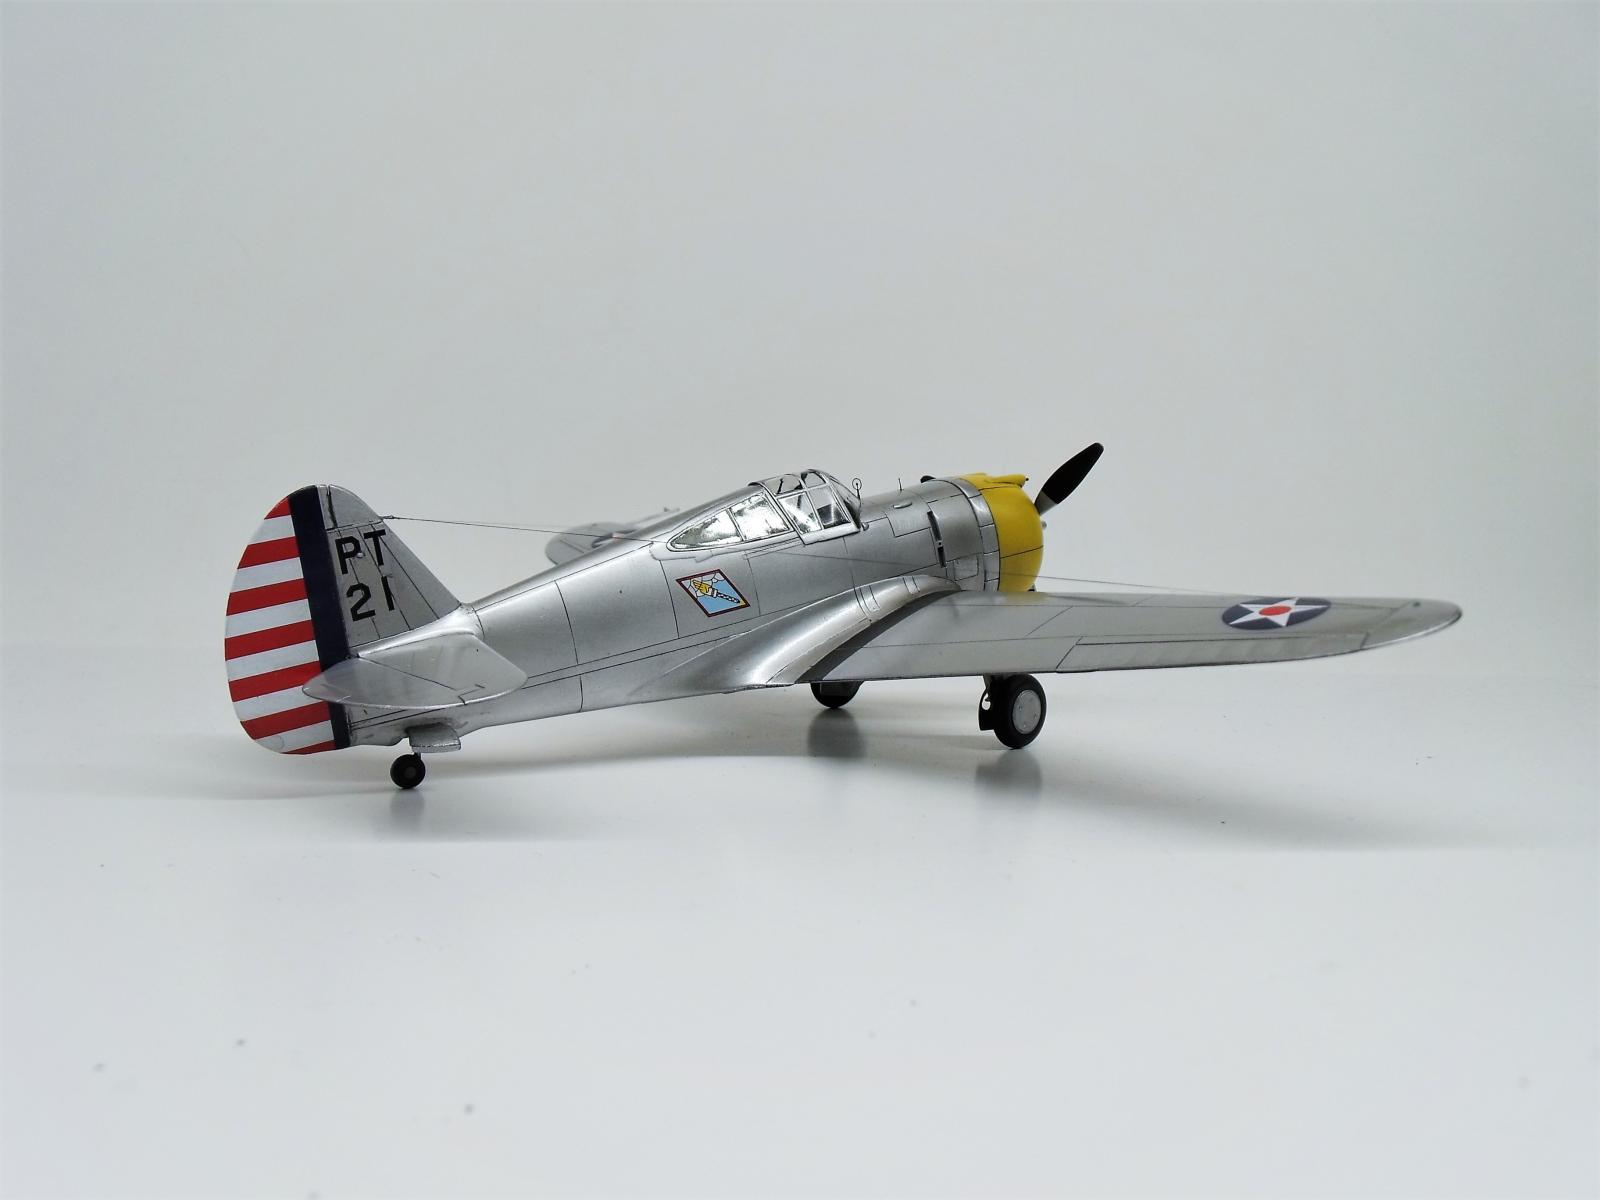
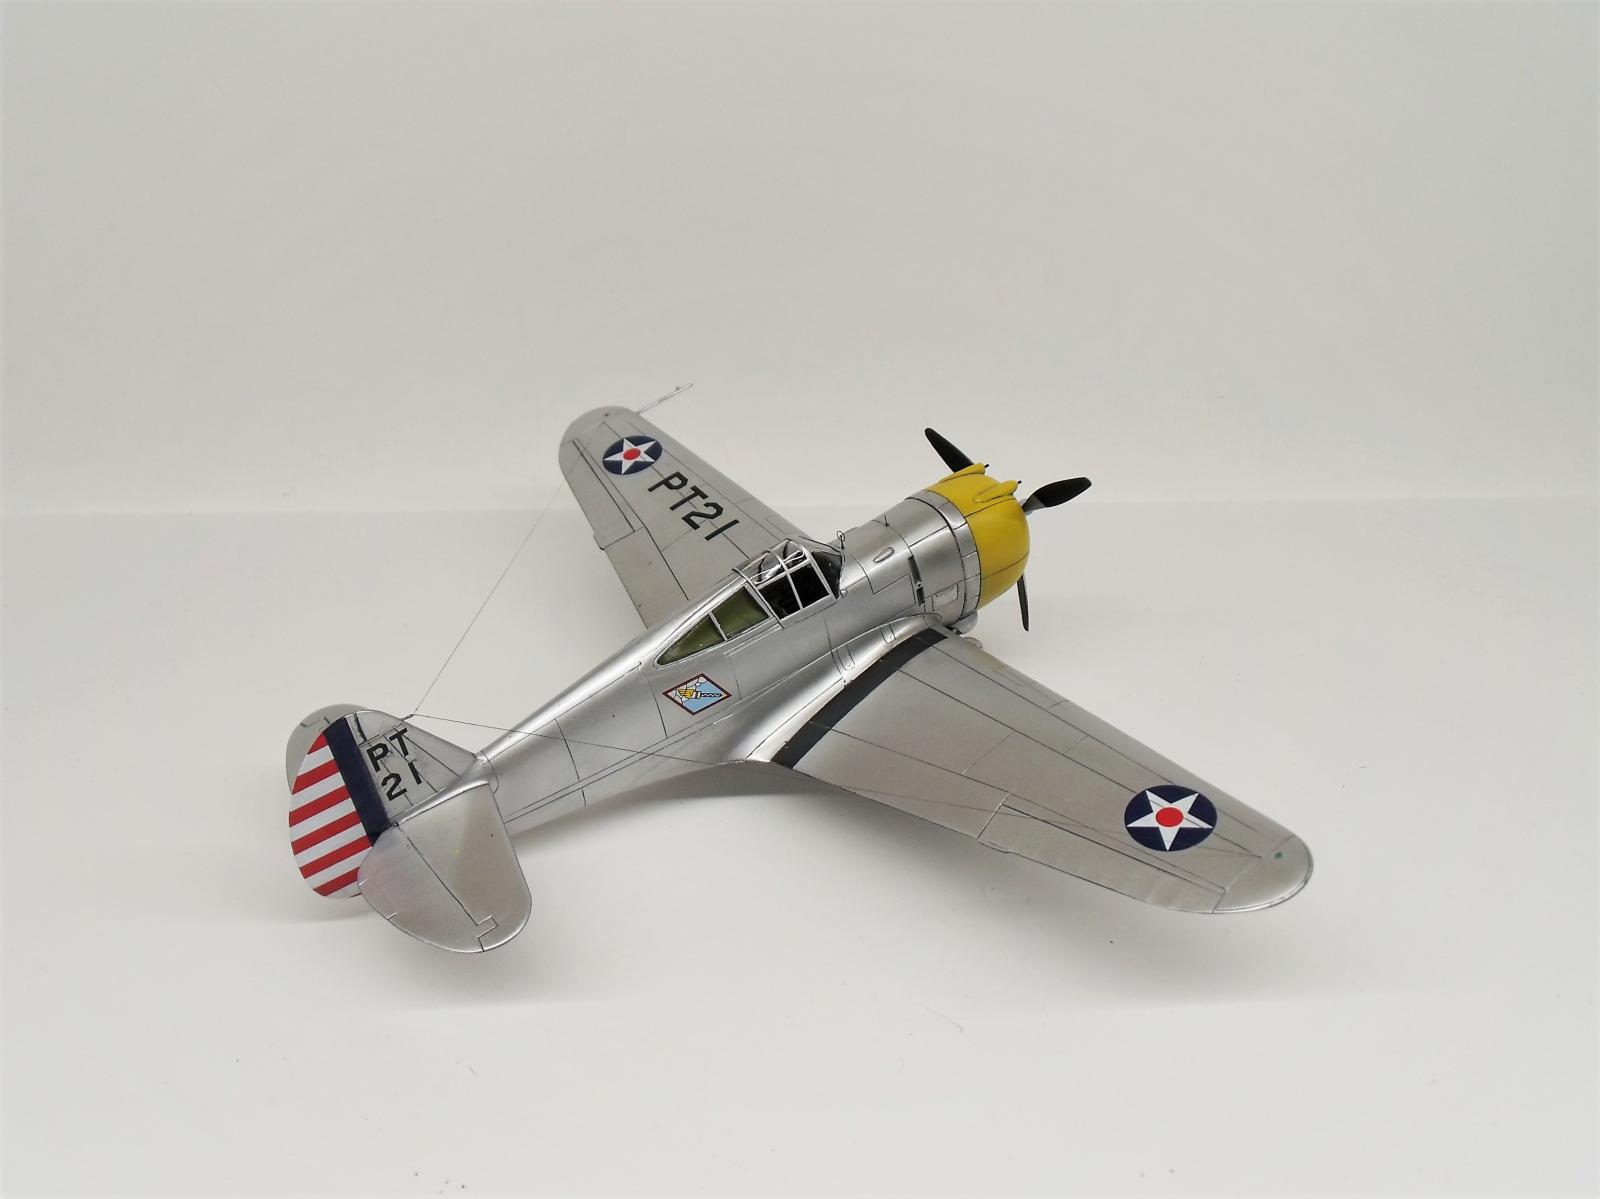
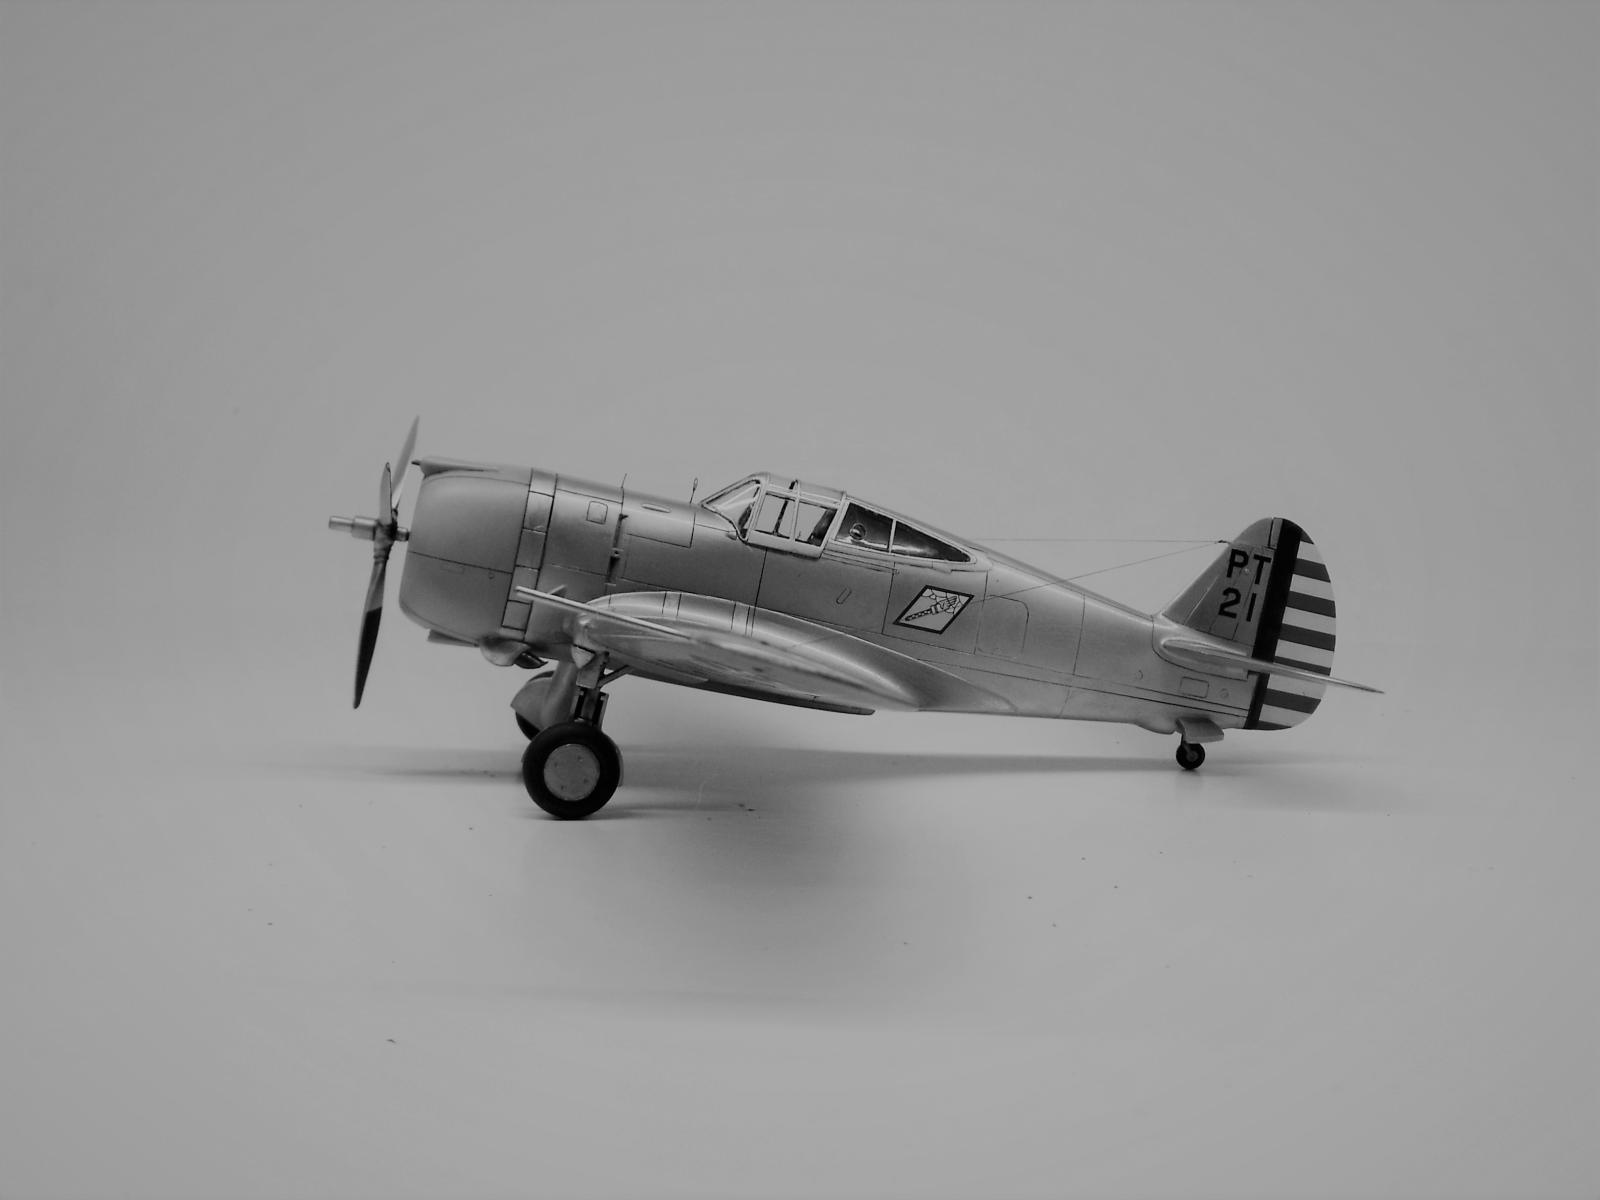
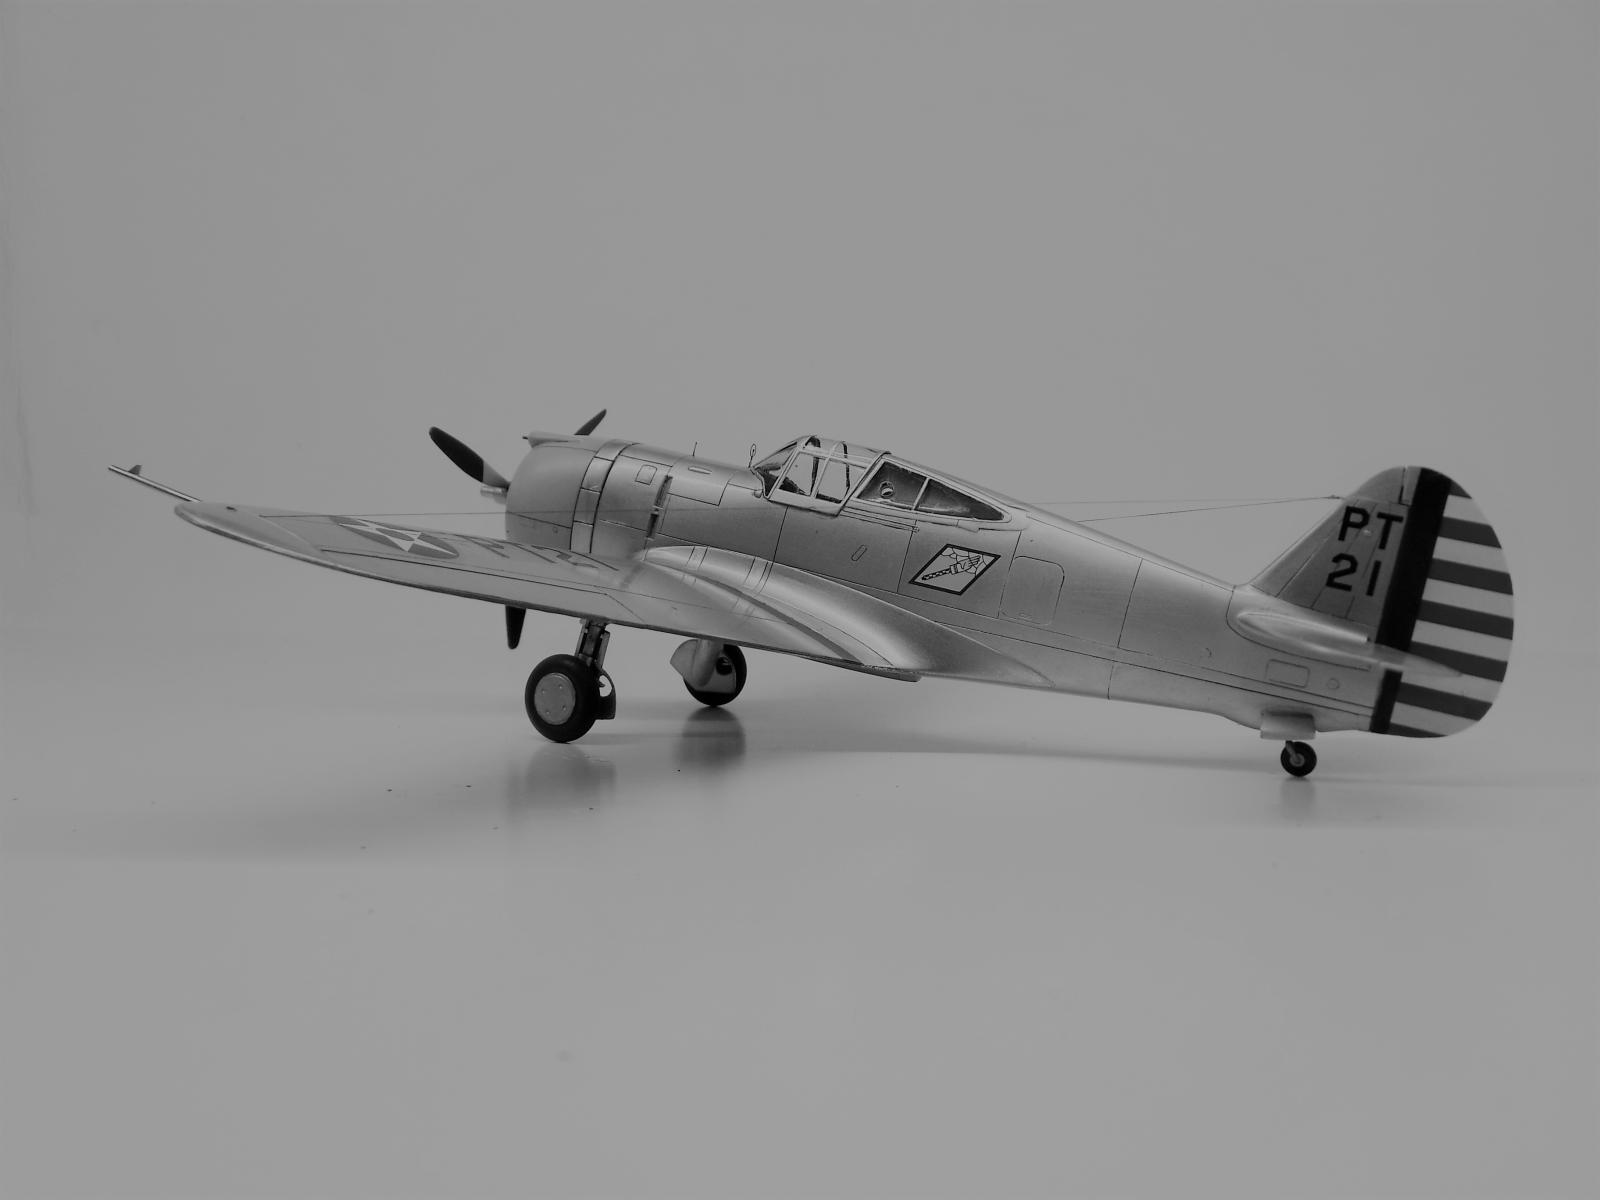
The fuselage was primed with MR1500 black, which was then smoothed and painted over using Vallejo Acrylic Metal Color (my go-to). I primarily used Chrome, Aluminum, White Aluminum, and light accenting with some Duraluminum. I didn't do any really fancy shading or post shading with the aluminum on this kit, but I think that it suits the aircraft and era well. After a few days of letting the Vallejo paint really take to the primer, it was sealed as usual using X-22.
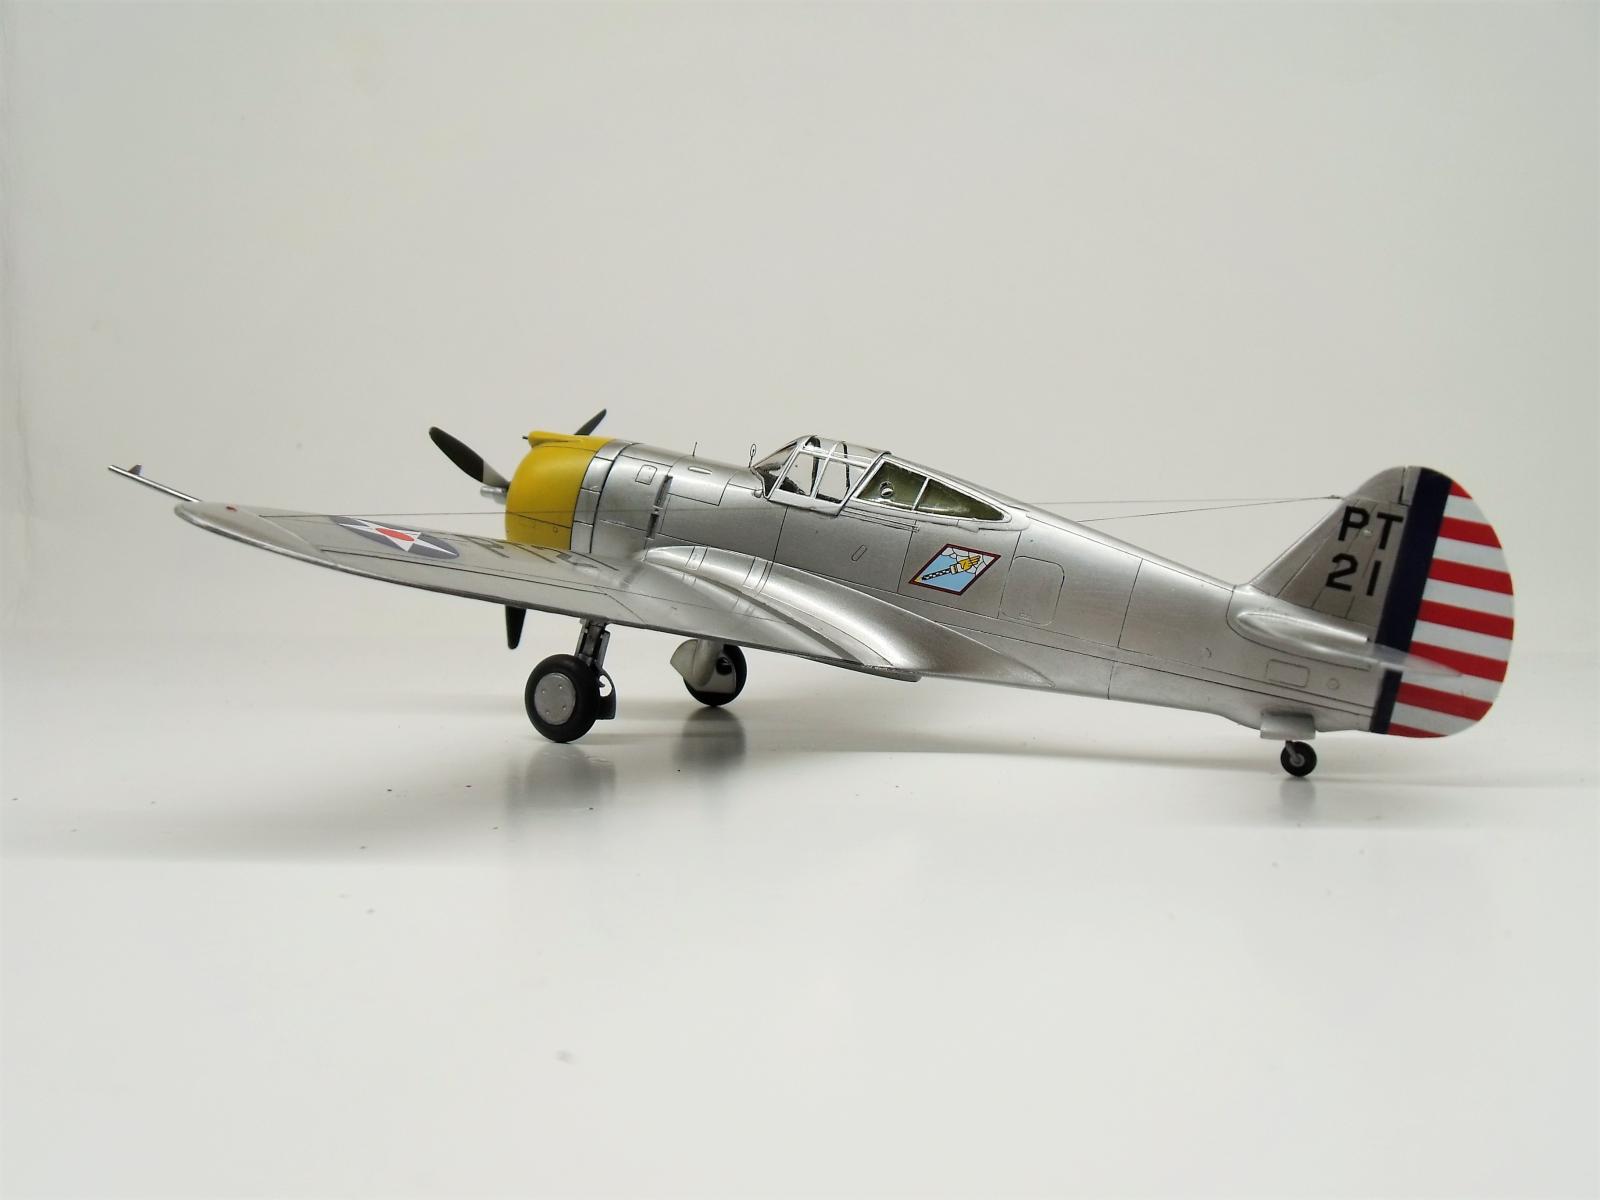
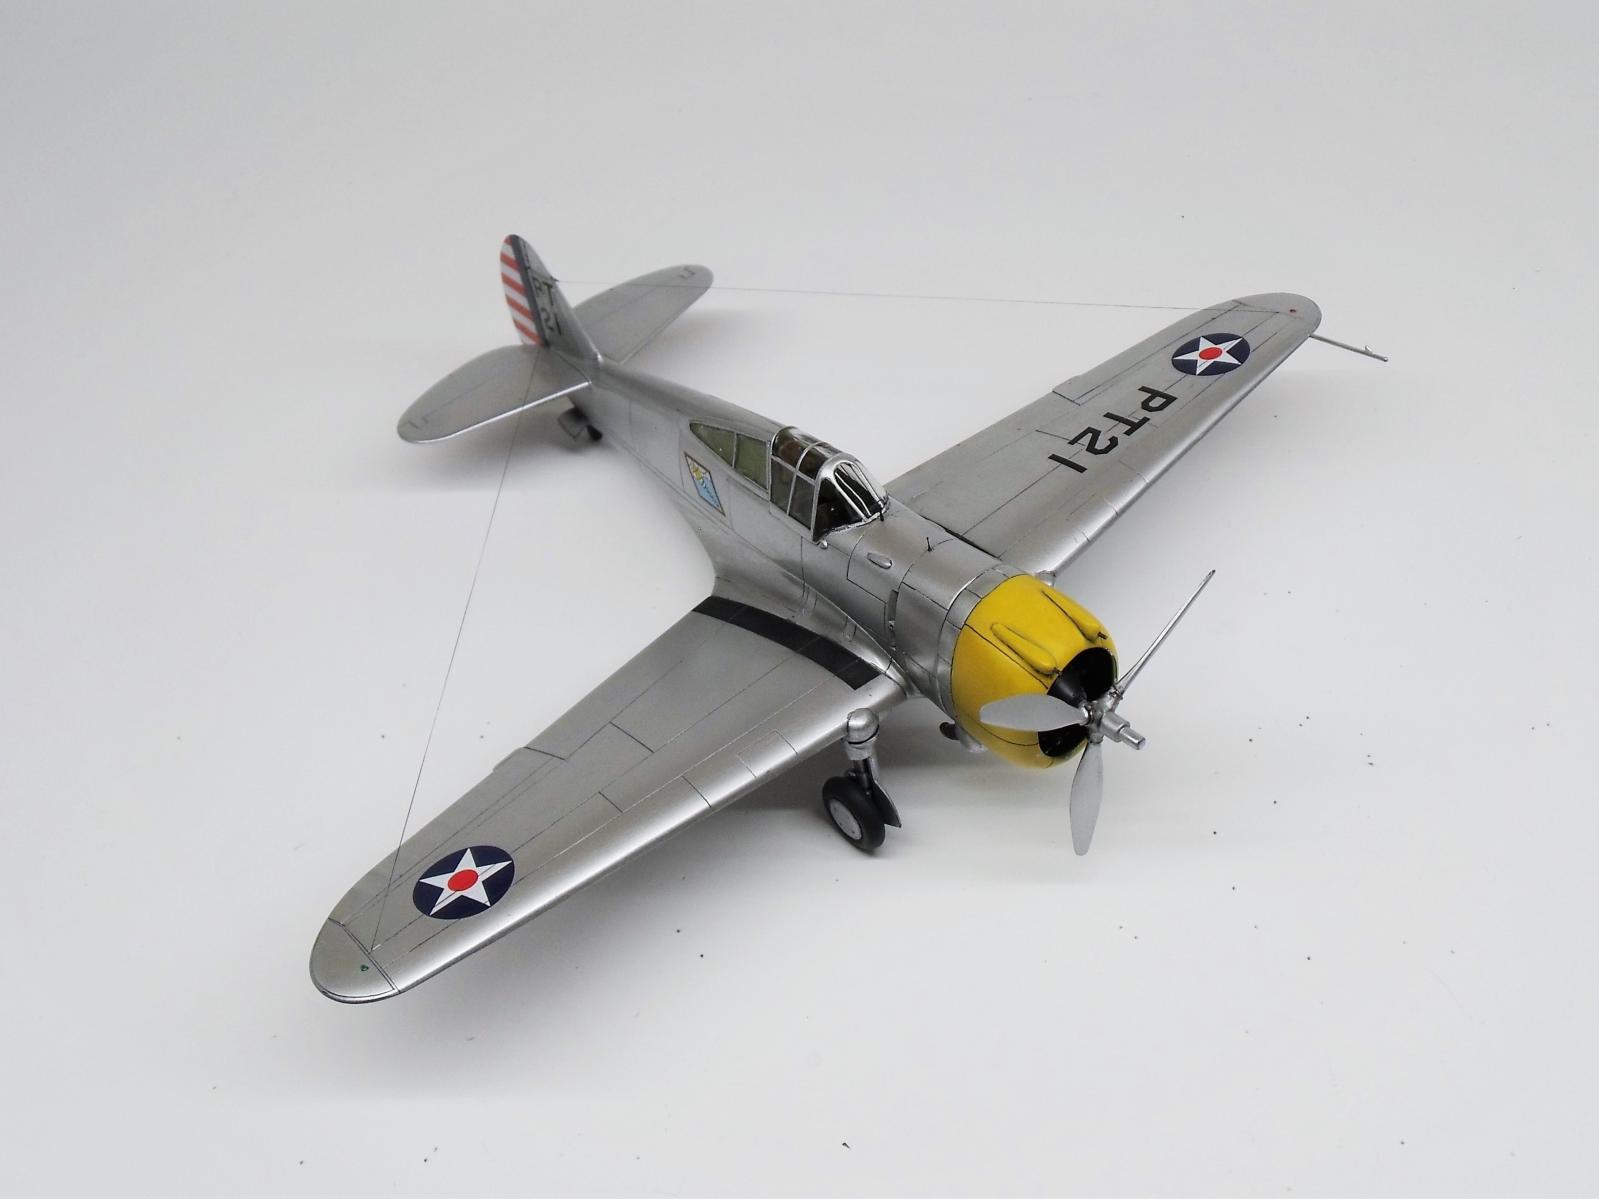
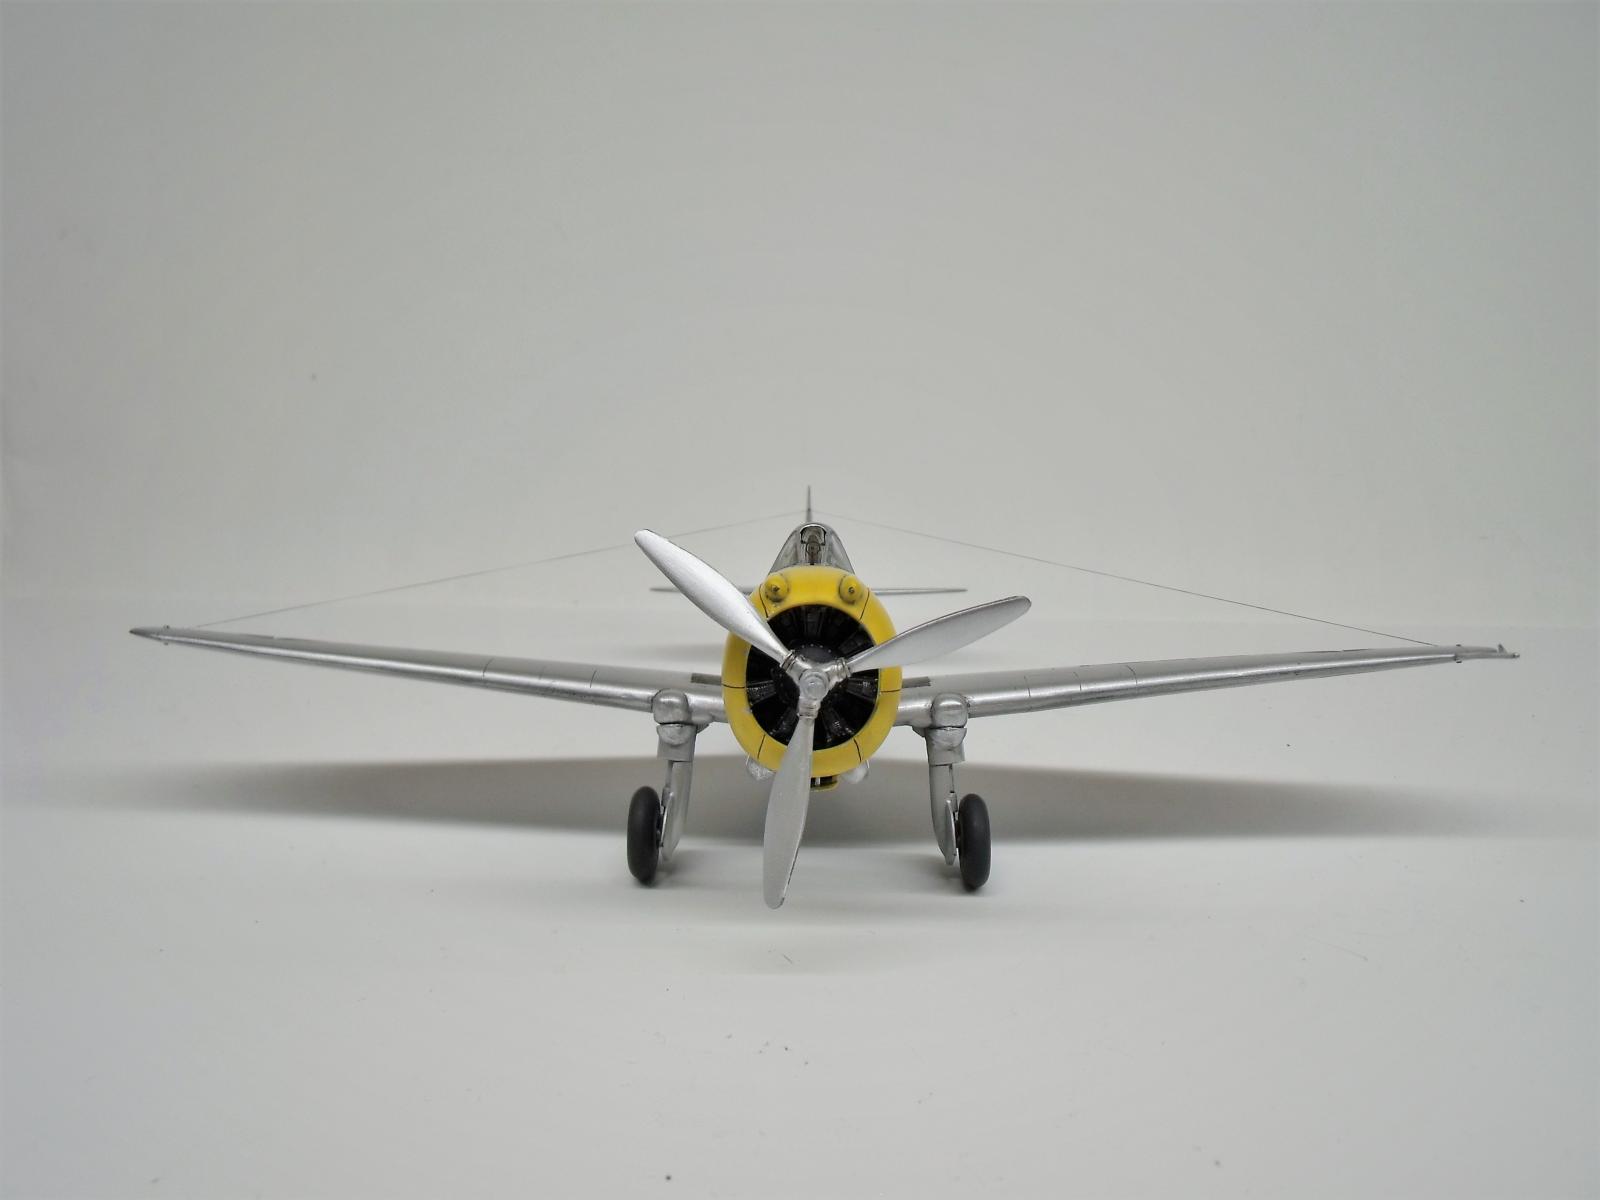
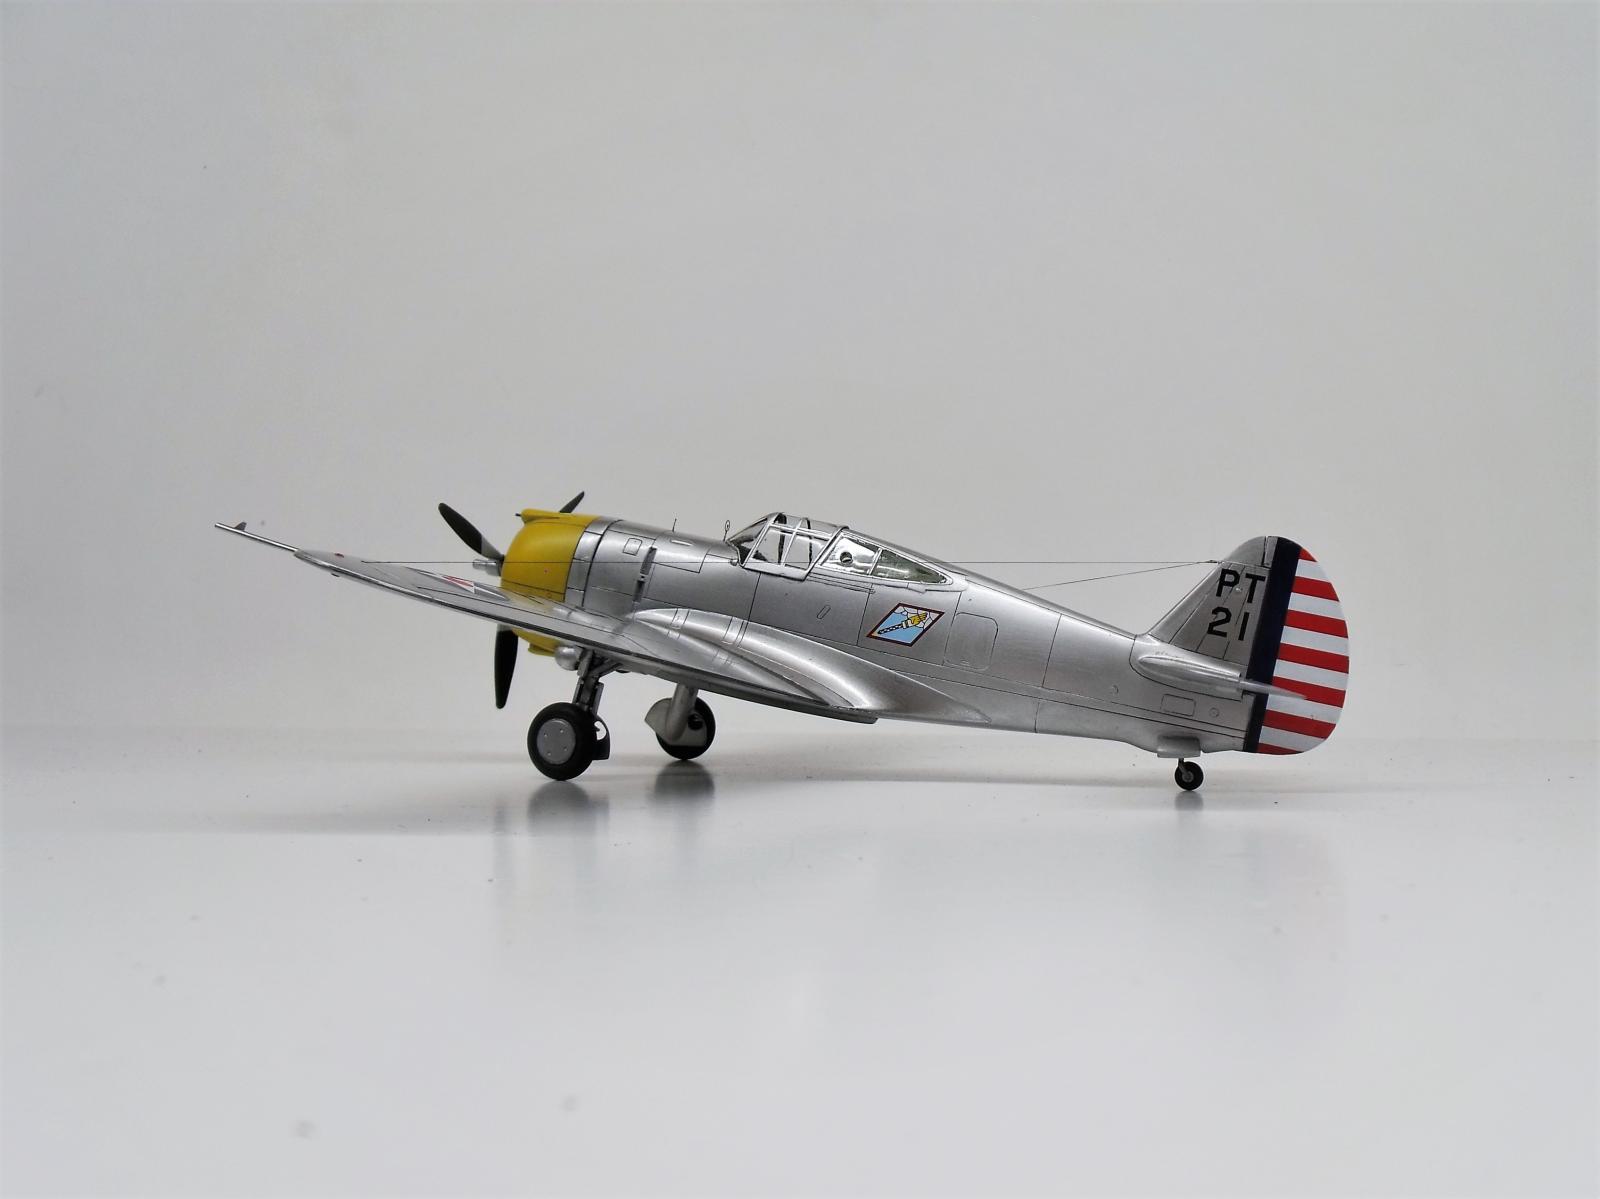
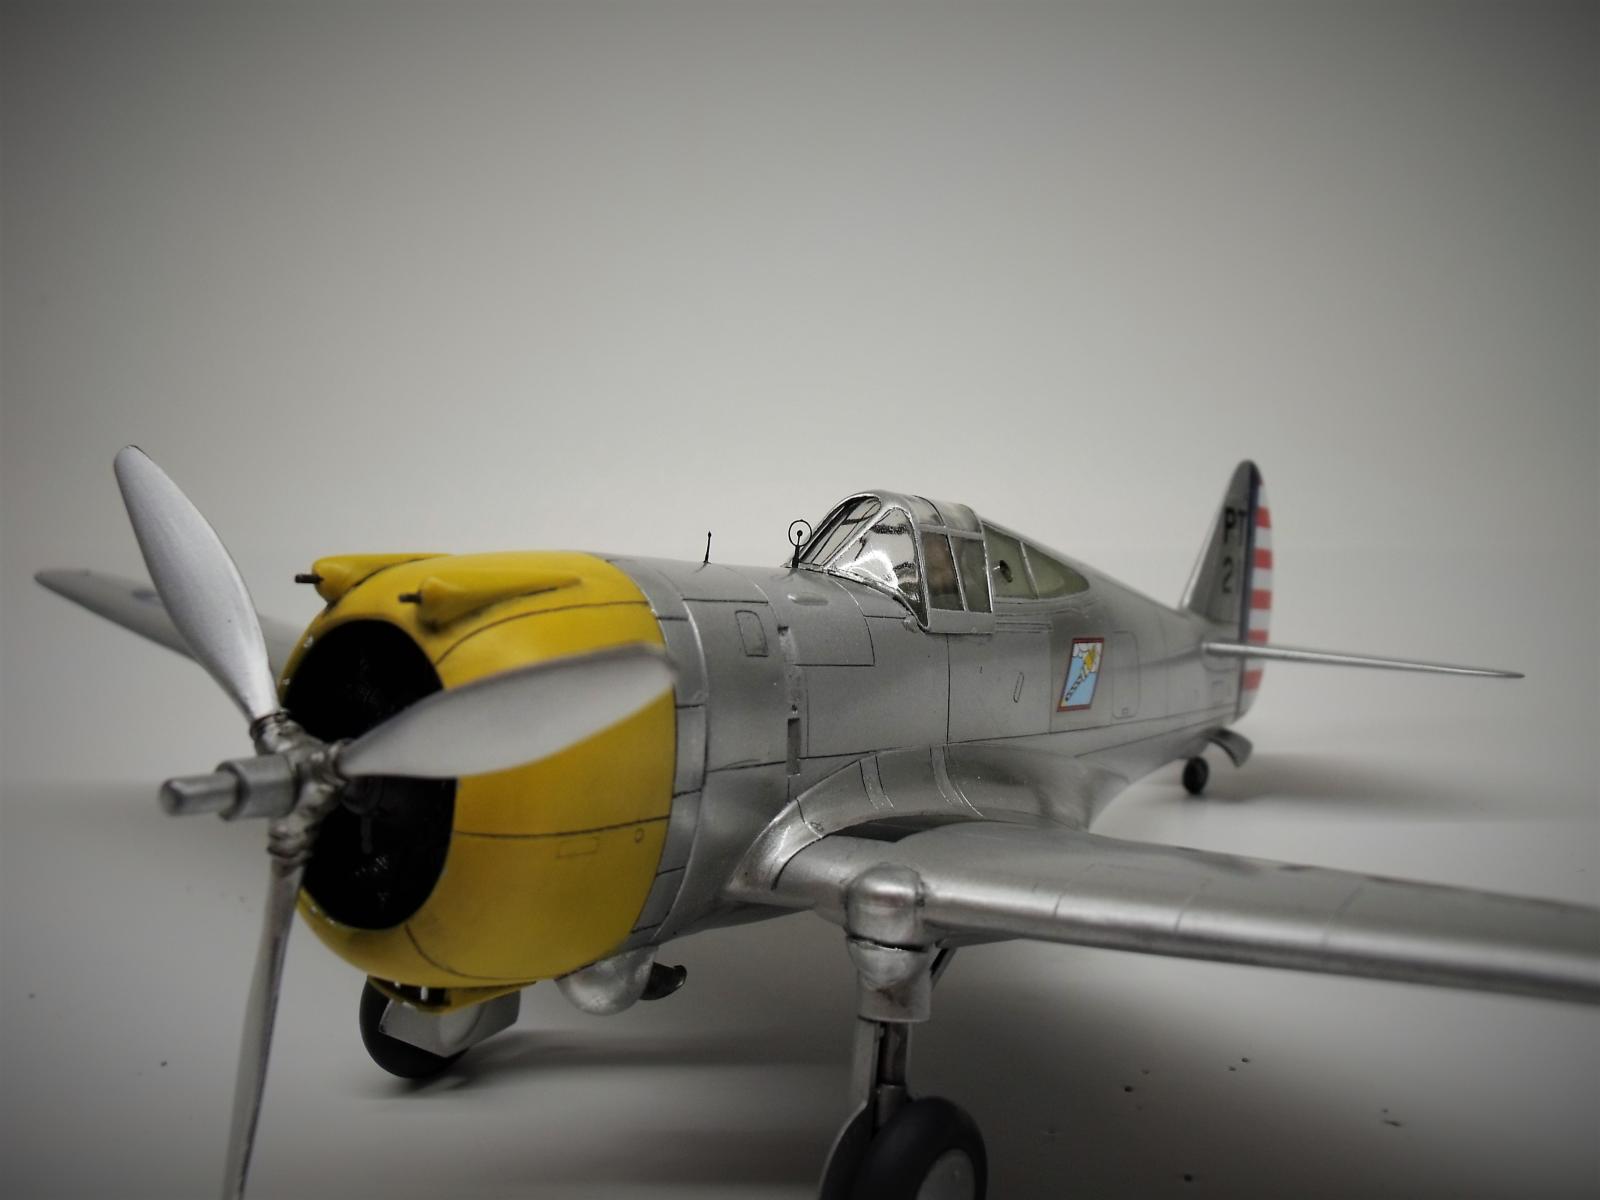
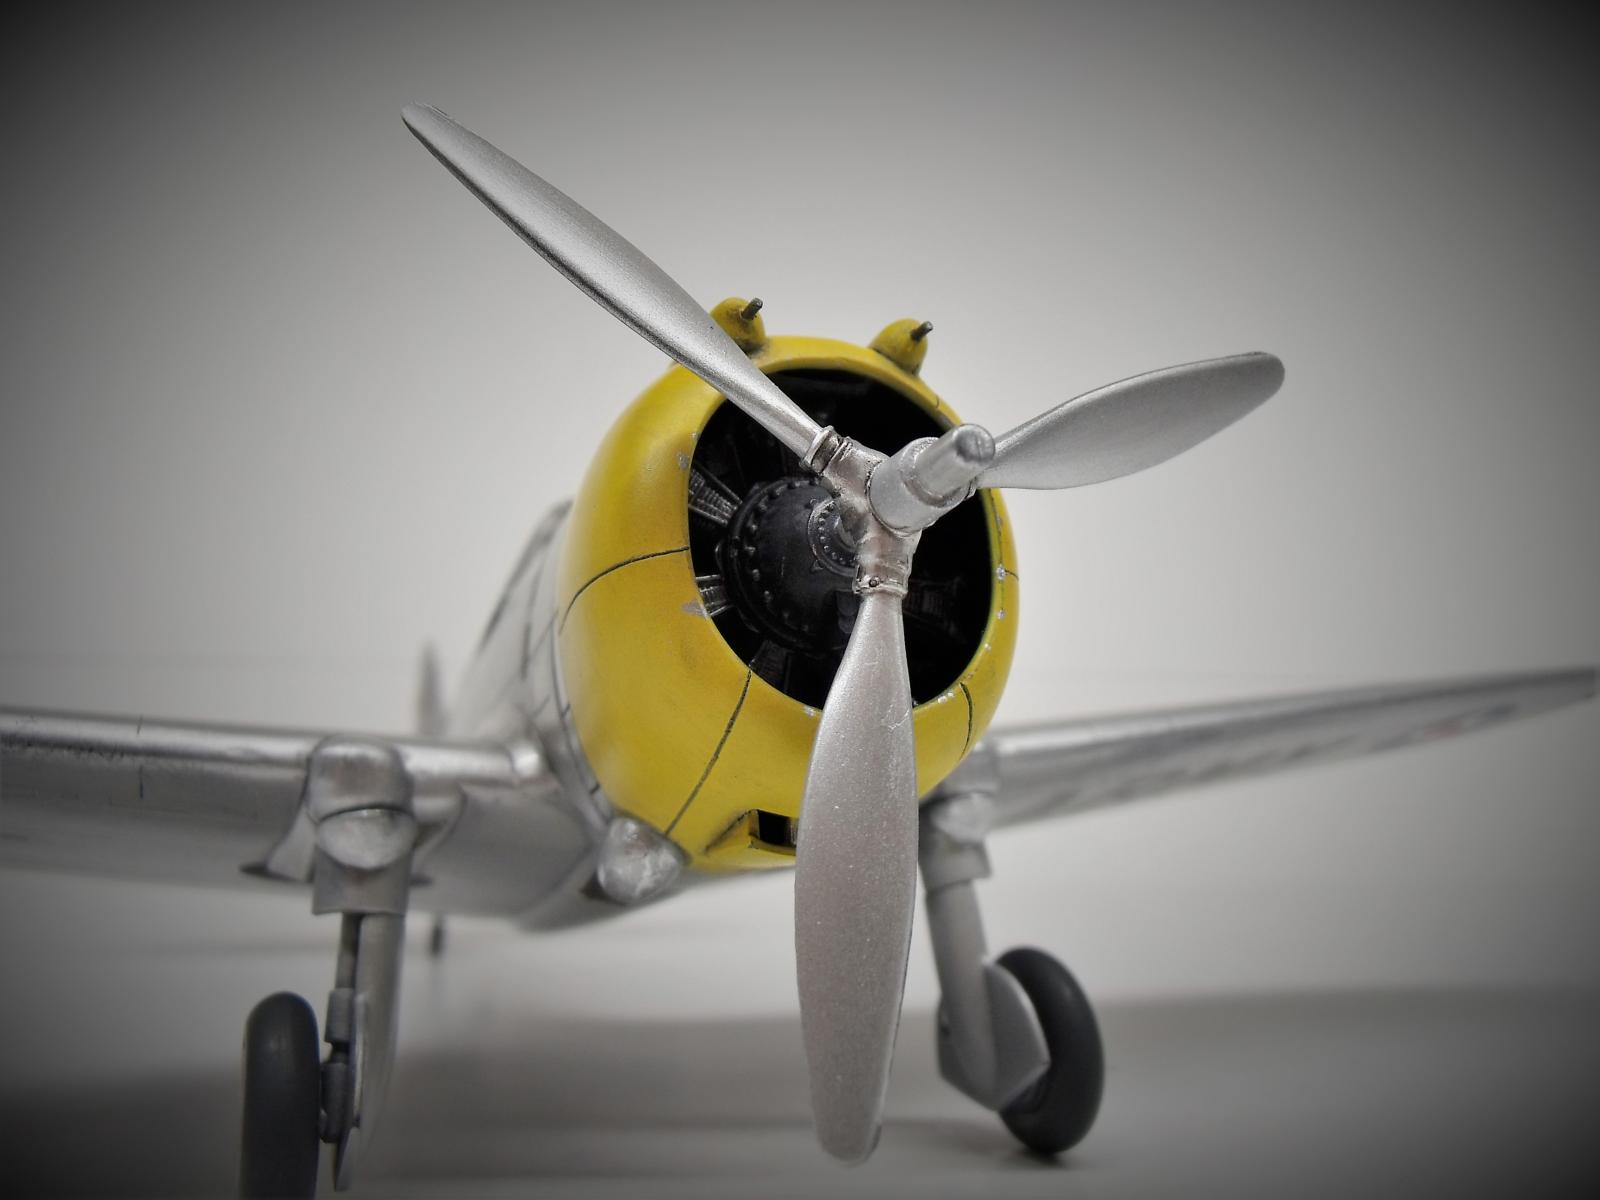
Next, the decals were applied. I had no issues with the AeroMaster sheet, except for some areas on the tail stripes that had to be touched up with some brushed on paint. After setting the decals, the cowl was masked off and sprayed Insignia Yellow, then some Dark grey panel line wash was applied to all the panel lines. A mix of X-22 and X-35 was applied to complete the finish. Final touches included lycra antennae wires, and PE gunsights from an Eduard P-51 fret, which are a world of improvement over what the kit actually tries to pass off.
Overall I am very happy with the end product, and even more happy to have one less kit on the Shelf of Doom.
Per the decal sheet, this aircraft depicts that of a plane from the 79th Pursuit Squadron, 20th Pursuit Group, stationed at Moffett Field in California, 1939.
Enjoy!


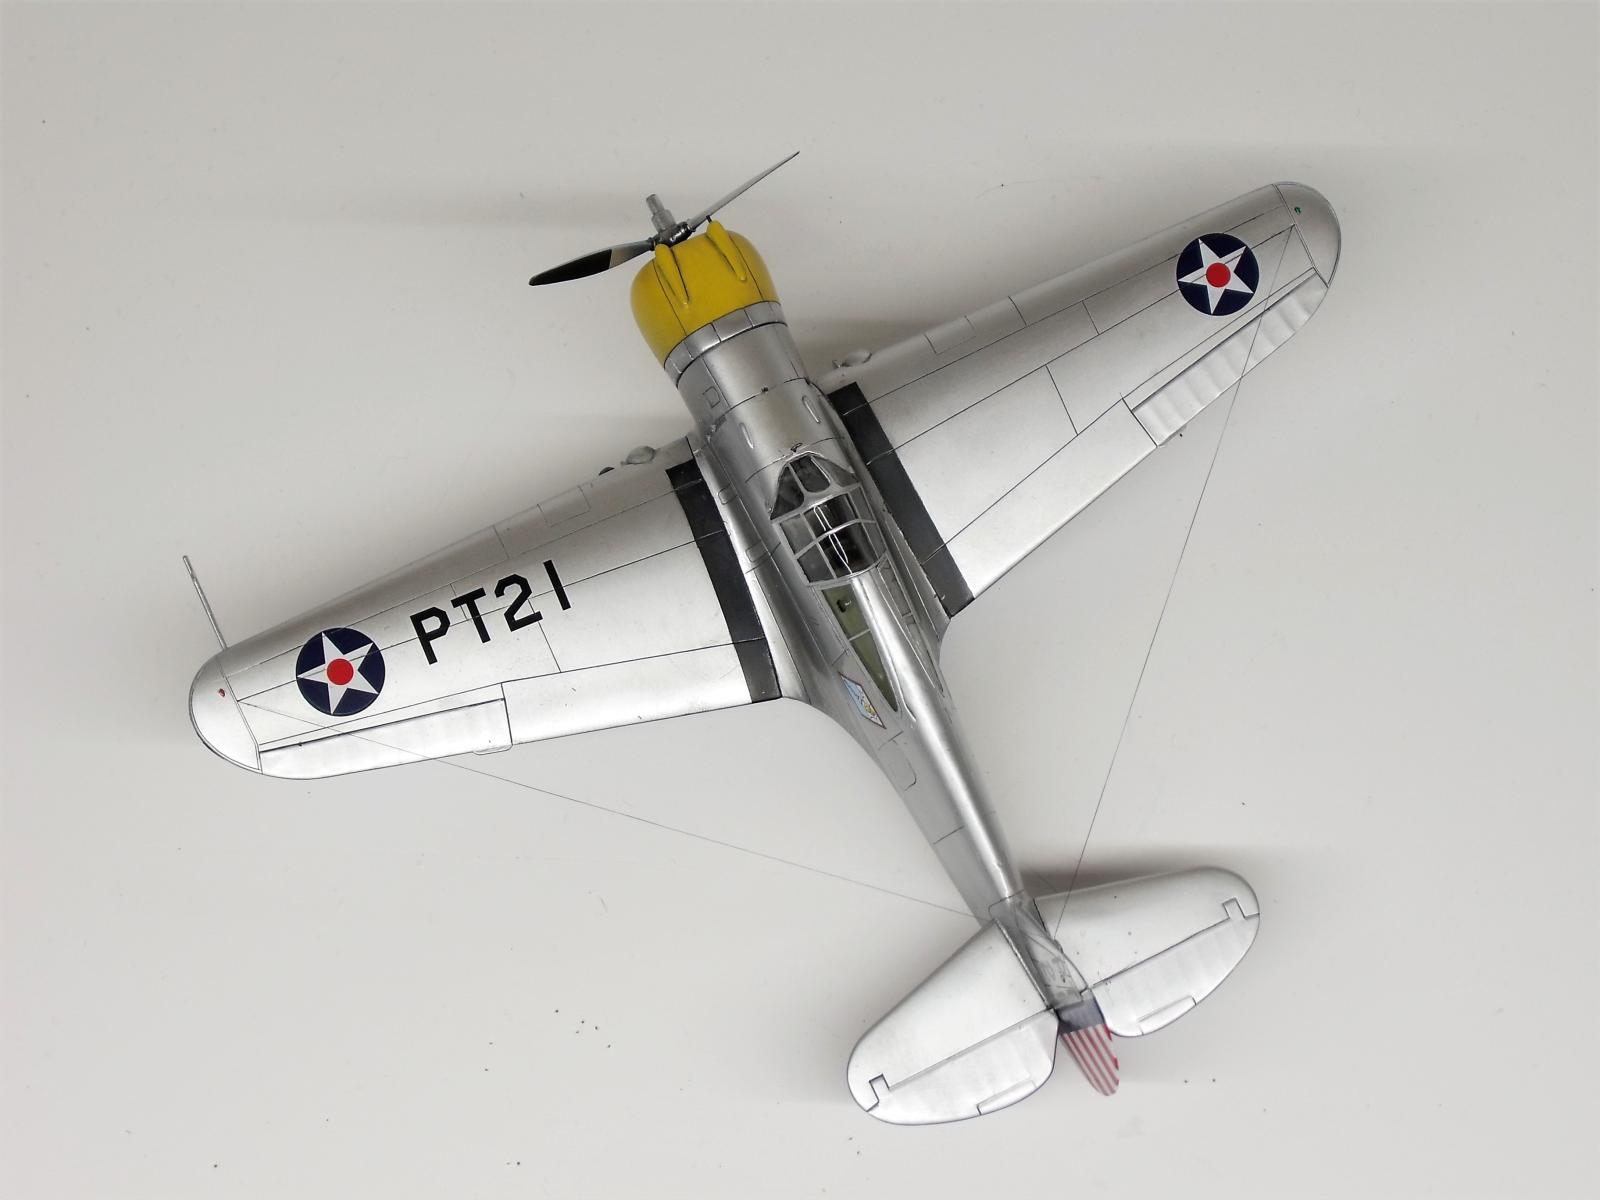


You're OK - P-36s and H-75s did indeed have interior green under the aft glass scallops.
Very nice result - you made it better than it should have been.
Thanks for the word on that decal sheet, since I have a Dora Wings P-35A inbound. Just went and snagged one on eBay for probably twice what you paid for it. 🙂
Thanks Tom @tcinla, I had seen both ways, but it seemed that prior to the 40's (at least) all the pictures I was finding were showing this to be aluminum. Thanks for the reassurance, though.
I don't know if you were able to see the details for the decal sheet, but there is one option for a P-35A, a 17thPS bird (much like your recent build). The other P-35 is an earlier variant 27PS bird from 1938.
I've got a Hobbycraft P-35A half painted that may very well stay forever on the SoD, in favor of a Dora Wings kit. It wouldn't take much more to get it finished now, but I still have to correct the front canopy which is a HC blunder.
Nice work, Andrew. The Hobbycraft kit was not bad for its day, and as you have shown, a little effort produces a beautiful build, even if every detail is not correctly molded or even there. Congratulations on a job very well done!
Christopher, not a bad kit at all. No worse than some people's favorite Monogram kits, when you really get to the point. It was enjoyable, thanks!
That is very nice work on the old Hobbycraft kit Andrew! The finish looks great! And those gunsights! ? You've proved that an excellent model can be made from that kit. ?
Many thanks as always, @garybrantley! The gunsights really help offset some of the kits soft details, in my eyes... just don't try to use them to aim anything, or you may be hitting a bit high! 😉
Nice work! I still like that kit.
@j-healy, It's got quirks that I didn't mention (aside from the "have patience" comment), but it is very buildable. I see why you like it! 🙂 Thanks
I remember the geometry of the cockpit being kind of weird with the seat too close to the IP, but you don’t notice it with the canopy closed. The engine is also a bit too far back in the cowl, easy fix. This is one of those models that’s good enough that I’d buy and build another from a vendor rather then spend big bucks on the latest and greatest. Now the HC Cyclone powered Hawks are a different story. Not good. I’d like to do a nice Dutch East Indies Hawk and will wait for Clearprop to get around to it.
Beautiful work, Andrew @pb_legend
Great paintwork and finish.
Andrew, I never would have guessed that was an acrylic NMF. It looks superb. Great work!
Very good model of an adequate kit. I think it is one of HC's better kits. I found the engine mount is too short thus you need to reposition it so that the prop goes in the right position.
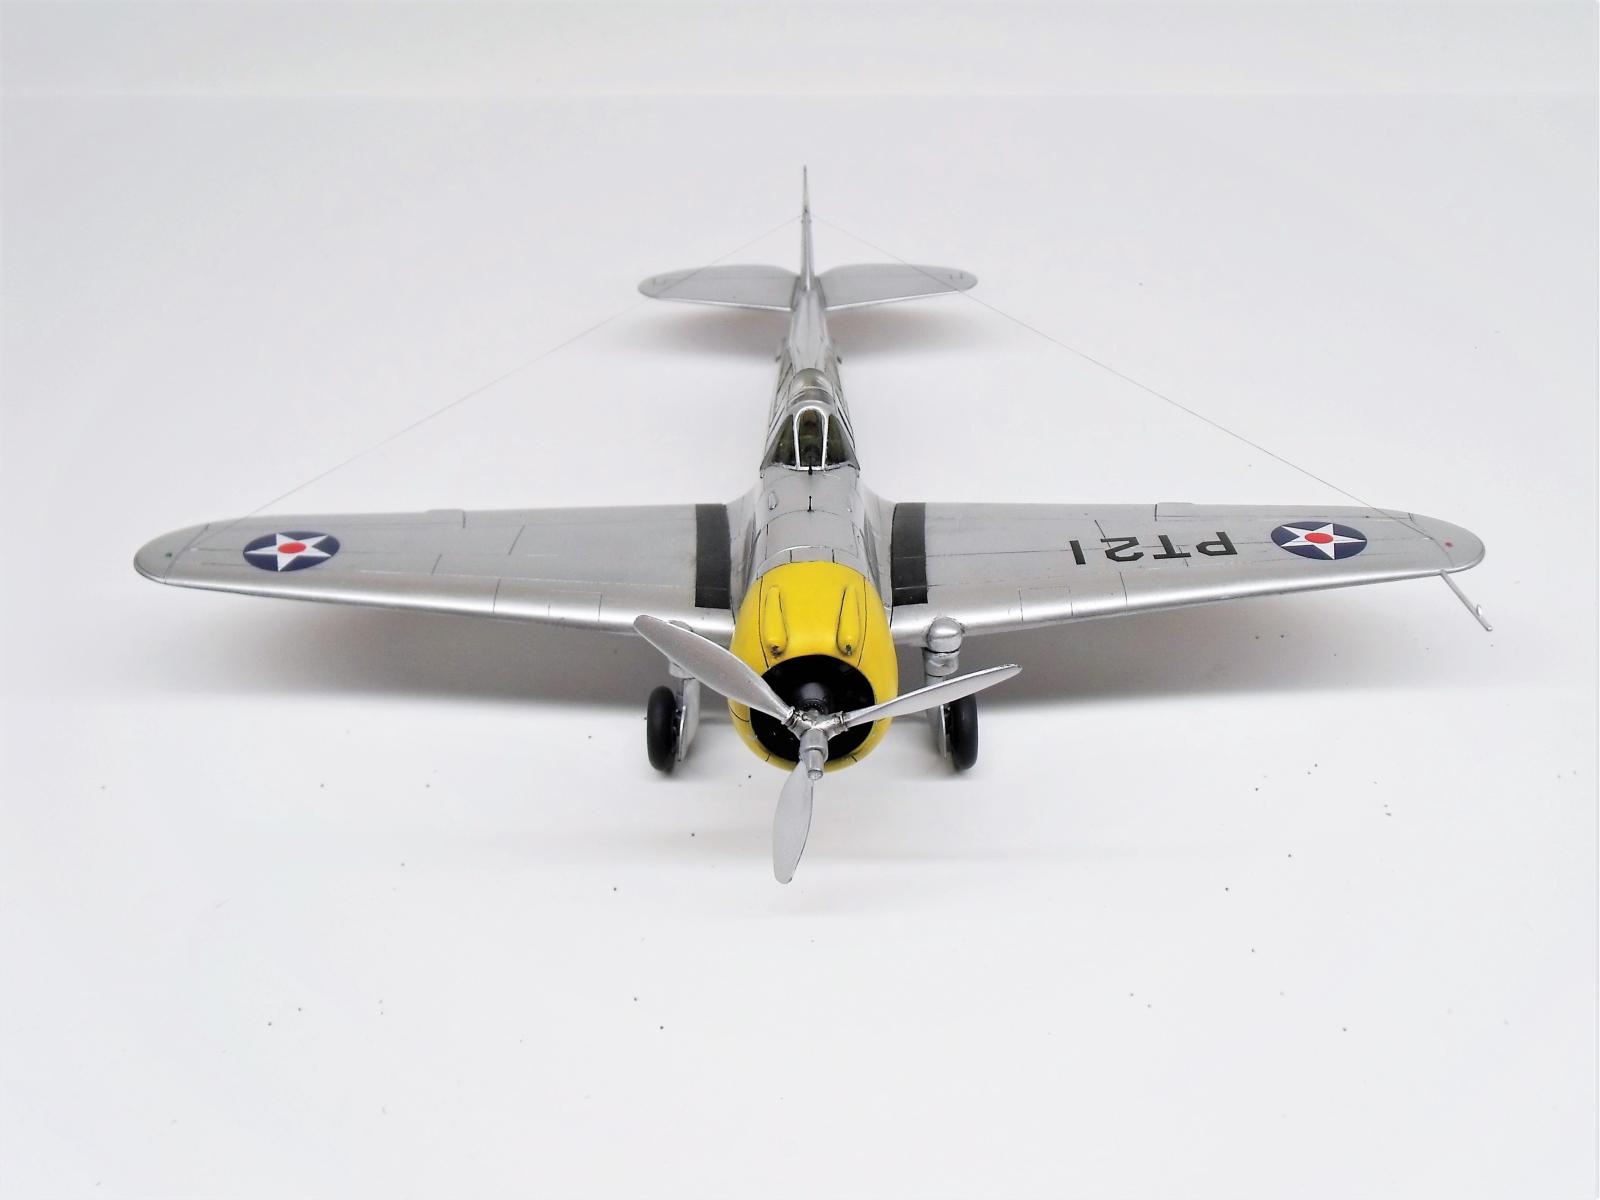
Dan, I overcame this by lengthening the prop shaft between the motor and the spinner hub. I also forgot to mention that I replaced the guns on the cowl with smaller diameter styrene rod, so I was very careful to make sure the prop would "chop" them off.
Great result out of the adequate Hobbycraft kit, Andrew!
This kit might have its limitations but it is definitely buildable. A modeler with great skills can come up with an excellent model, as is the case here!
Congratulations!
Nice job, Andrew. I love the clean NMF look.
fantastic model, and fantastic theme to modelling!
Nice looking P-36 Andrew. Built two under the Academy boxing and both gave me trouble with the fit of the engine/cowl. It's obvious you have conquered that issue. Nice job and presentation.
Looks great!
Looks great - well done!
Beautiful looking P-36, Andrew.
Love the NMF, looks amazing - be careful when you take that puppy outside!
Great looking P-35, great job on the build and finish.
Nothing like a good looking NMF Hawk and you did a terrific job Andrew. Regardless of what’s wrong with this old HC kit, I think it builds into a decent model and I sure enjoyed mine but Clear Prop will no doubt blow it away.
Great looking P-36! Really liked the close-up shot from the right side aft, showing the work put into the gunsight.
Very nice finish on this, Andrew.