Painting Advice Sherman Tank
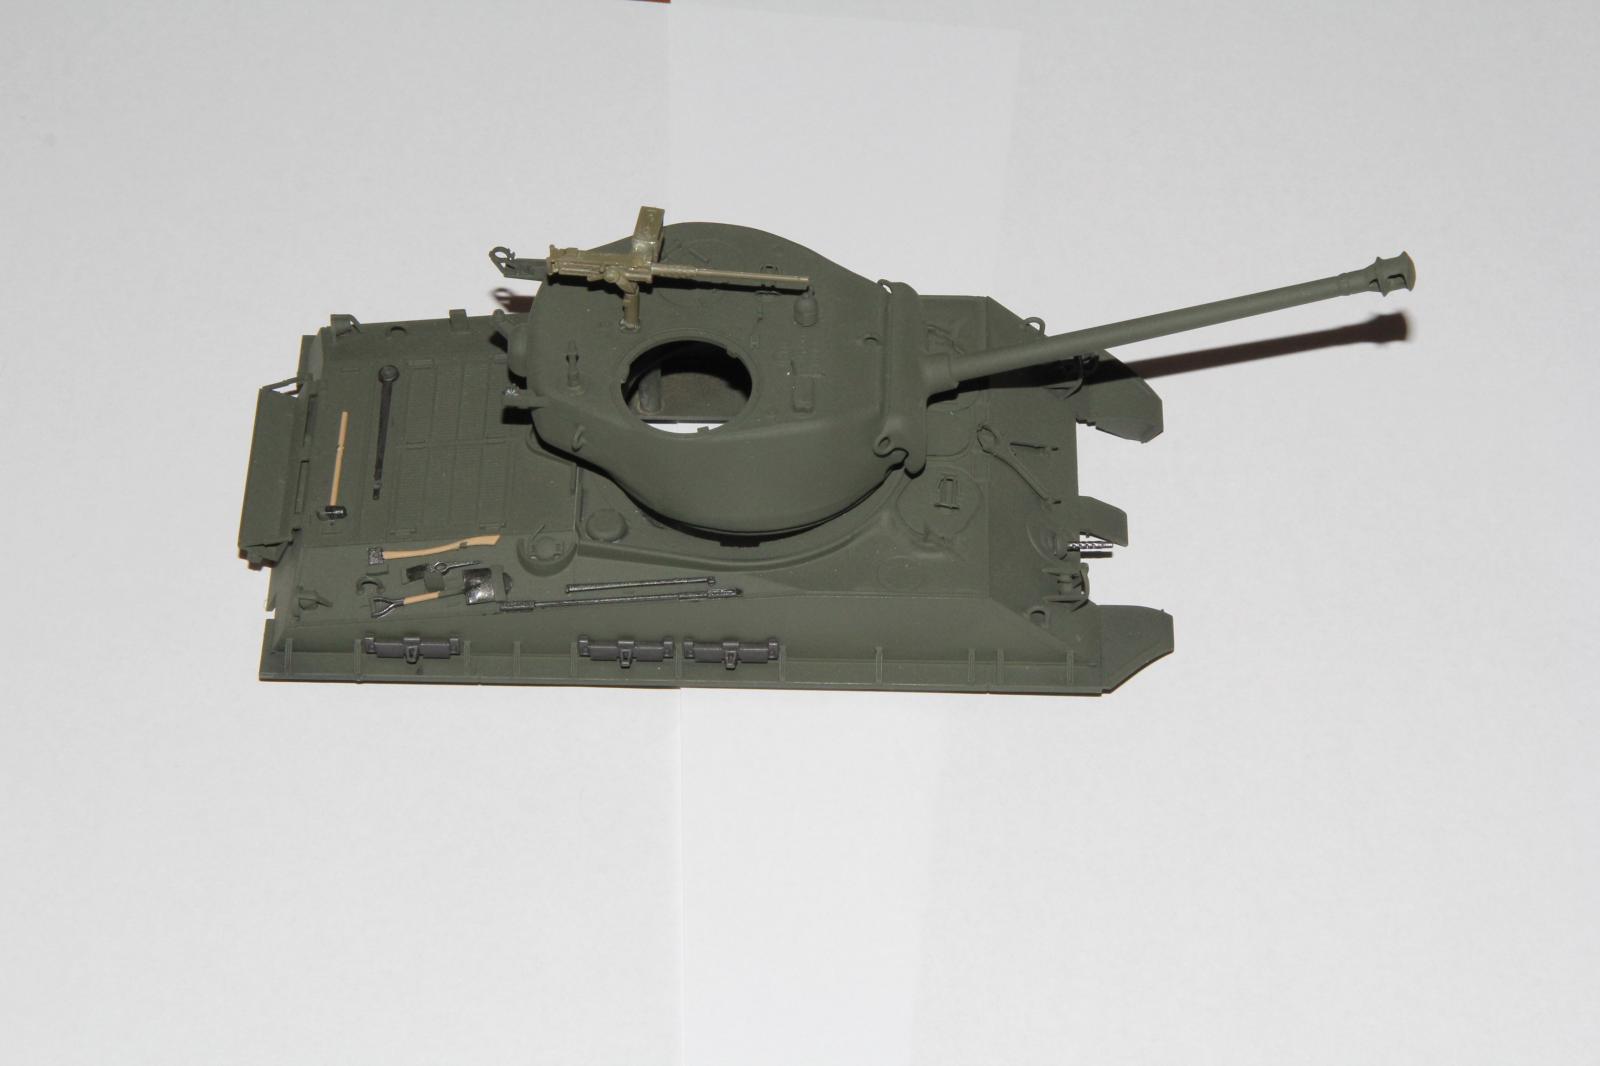
I am a relative newbie at this, so I am turning to the group for advice here. I have a 1/35 Sherman. I painted it in Tamiya XF-62, olive drab. In my opinion it is too dark. Hopefully it will make a nice base coat. Here is the question: what would you do from here? I was thinking of lightening some XF62 with dark yellow, thinning it and spraying on.
I would appreciate opinions, would this work? How much thinner, I have read some articles that say thin it to the point that it is almost a wash. paint the whole thing again, or just the flat vertical sections that would be faded?
Thank you.
I'd use a mix of plain yellow and white in the basecoat color for a fading coat. Test your mix on a small unseen place or something you can paint with the basecoat color so you can evaluate and adjust it.
Yes, the fading coat should be thinner than your basecoat and airbrushed in thin, translucent coats until you're happy with the results. More on the upward facing surfaces, less on the sides so you can give it an overall shading illusion.
You can also drybrush areas that would recieve heavy foot traffic and use a #2 pencil to simulate areas worn down to metal. Be careful to not overdo this.
After this my usual order of operations is to seal the whole thing with an acrylic gloss that's durable such as Pledge gloss or whatever they're calling Future these days. Model Masters acrylic clear gloss is great if you can find it. Apply decals when dry, then a pinwash when decals are dry. Some guys use filters at this stage which are nothing more than an 80-20 or so mixture of thinner to paint, I'll do this sometimes to reduce harsh contrast and blend everything together. Apply these with a brush and do not flood the surface. Once all that's dry, then a clear flatcoat to kill the gloss after which it's dirt and dust time. Depending on the subject sometimes I'll use a semi gloss for the final sealing coat.
Be sure to let everything completely dry between layers.
I usually use acrylics these days for most things but you'll want to use enamels or oils for pinwash and filters to avoid the surface tension and swift drying properties that acrylis have, neither of which will be your friends during these procedures since you'll want some working time then.
Chipping seems to be all the rage these days. Mostly I don't do it especially with WW II armor since the average life of an AFV at the time was six weeks and the did not have time to get old looking before they were blown up. This does not mean you can't do it and be realistic of course, it's your model and should be finished as you see fit.
Seems complicated but it's really not; it is however a learnig curve...one you'll get better at with practice.
I agree with Mark said as according to Steve Zaloga Tamiya XF-62 is a good match for US WWII OD. In his articles he lightens it with Dark Yellow. Over the years I have done may US WWII armor and I also take ODs from other companies such as Gunze and make a thin mixture and spray that randomly. Once done with all that I use washes and have found that Raw Umber works very well on OD. That helps to blend all the different OD shades together. You can make washes from other collors to make streaking. Another thing I do is take a toothpick and put random dots of different colors of oil paints such as brown, tan, Naples Yellow, etc. and blend it in with a soft brush. On the sides I move the brush downward for to make streaking. Also, usally I dampen the surface first with mineral spirits. I always drybrush the model to highlight different areas as it helps bring a monochrome scheme to life. For this I use oils and find that Buff works best as lighter colors make too stark of a contrast.
For chipping and wear and tear and take a small brush and make random scratches from the XF-63 or another OD and use black as well. For the areas where there is a lot of wear and tear use some steel or ground pencil lead. The last thing I do is thin out various light colors to simulate dust and dirt. I start out with a darker color and go lighter. You could start with Dark Yellow and I use Buff, Deck Tan, etc. Just be careful as it is easy to overdo it.
One other tip I can offer is my method of painting the roadwheels. First I clean them up and give the a coat of XF-62 lightened with Dark Yellow. Then I take a Sharpie Magic Marker and use that for the rubber part of the roadwheels. It is not a pure black and is very durable. Then I make a thin wash of Sepia and use that to provide a sharp division between the rubber and metal parts of the roadwheels. My budget is limited so I do not have the funds to spend on single use items such as masks for them. It does not take that long and I also use it on aircraft PE intruments panels.
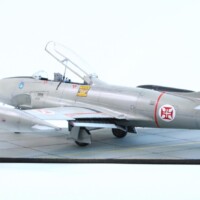
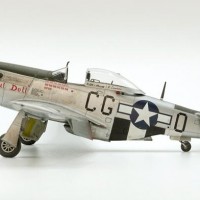
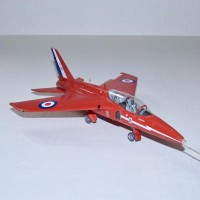
Hopefully this helps you and I attached some pics of some of them models I built using these methods. I am not a braggart, but the DUKW and M-8 have done well in contests. Feel free to ask me any other questions and there are many other modelers who I am sure have other good suggestions and whose work is superior to mine.
3 attached images. Click to enlarge.
Hey Battboy nice shot of my Vickers in the background of the M-8. Was that Mosquitocon?
Hi Willie, Yes that was at Mossiecon this past year. Looking forward to Replicon this year. Will Freddie be coming up from FLA for it? Take care and early happy birthday.
Mr. Morgan, what those guys said and there are a plethora of "tutorial" type vids on You tube that show some good methods for finishing OD vehicles. As has been said, I believe some are overdone for a tank in service for under a couple of weeks, but you can use any combo of techniques you want to get your idea of right. The best thing to do IMHO is look at as many pics as possible especially (admittedly hard to find) color shots. You do have a better chance with U.S. armor for color pics. This fella here seems to have it the way I like it, not too crazy but still "used" looking. I haven't been too successful with the hairspray idea but maybe you will.