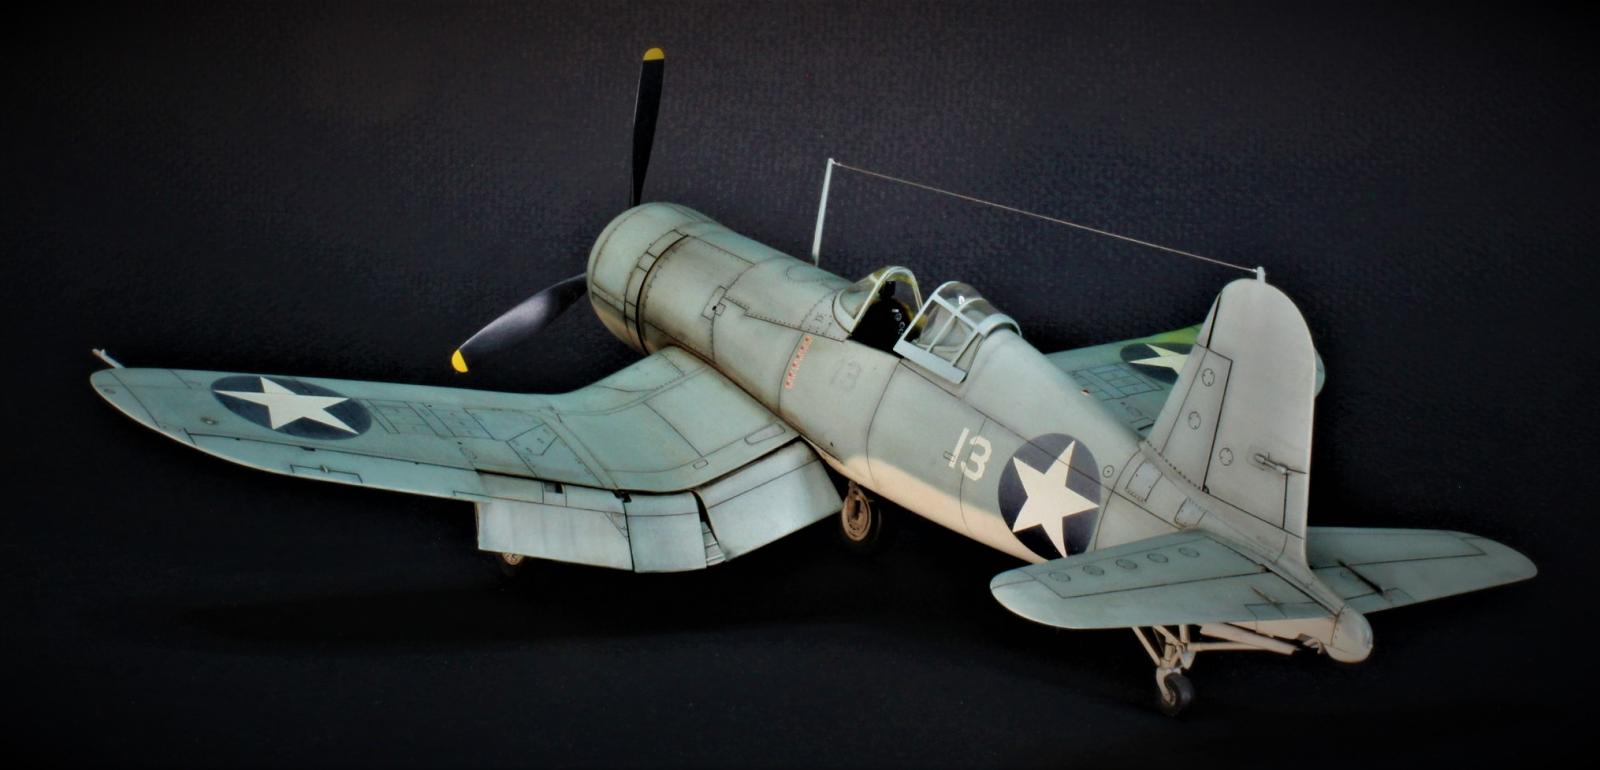
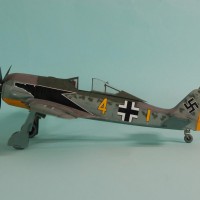
Tamiya 1/48 F4U-1 Birdcage Corsair - Ken Walsh
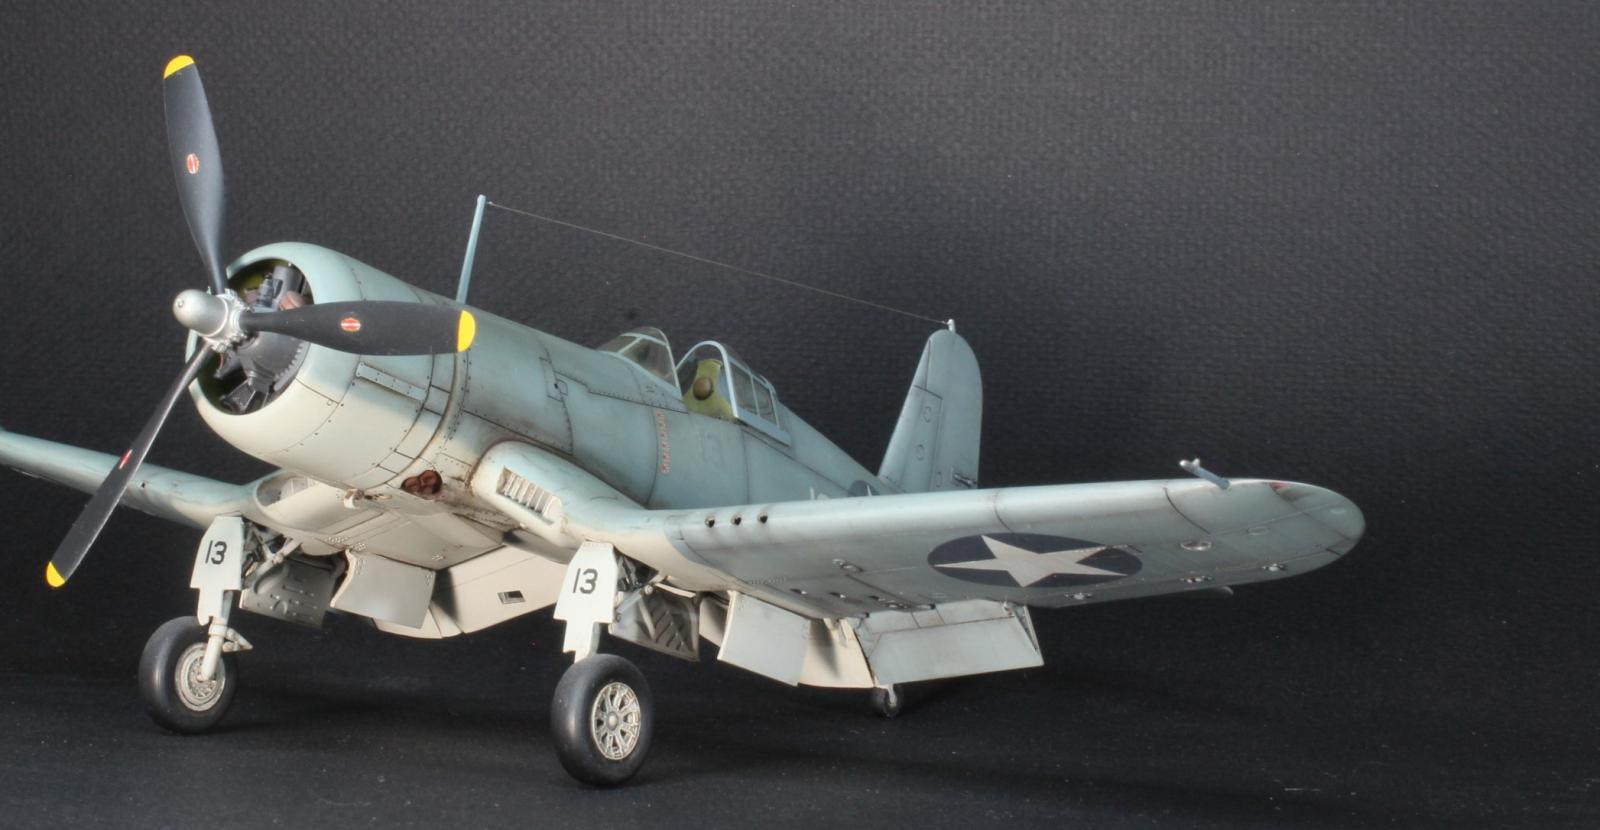
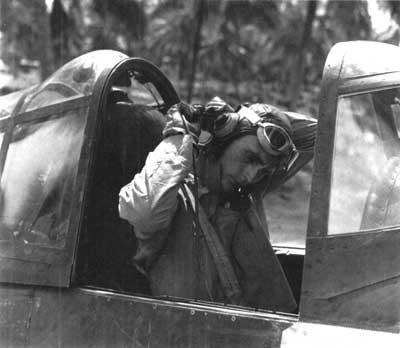
Ken Walsh was the first Corsair Ace while serving with VMF-124 arriving on Guadalcanal in February 1943. Walsh claimed his first three Japanese planes on 1 April 1943 and two more in his next combat action, 13 May 1943. Walsh brought his score to 20 victories by the end of August 1943, including two combat actions over the Solomon Islands which earned him the Medal of Honor. Walsh scored his last kill while serving with VMF-222 at Okinawa on 22 June 1945 finishing the war with 21 Victories.
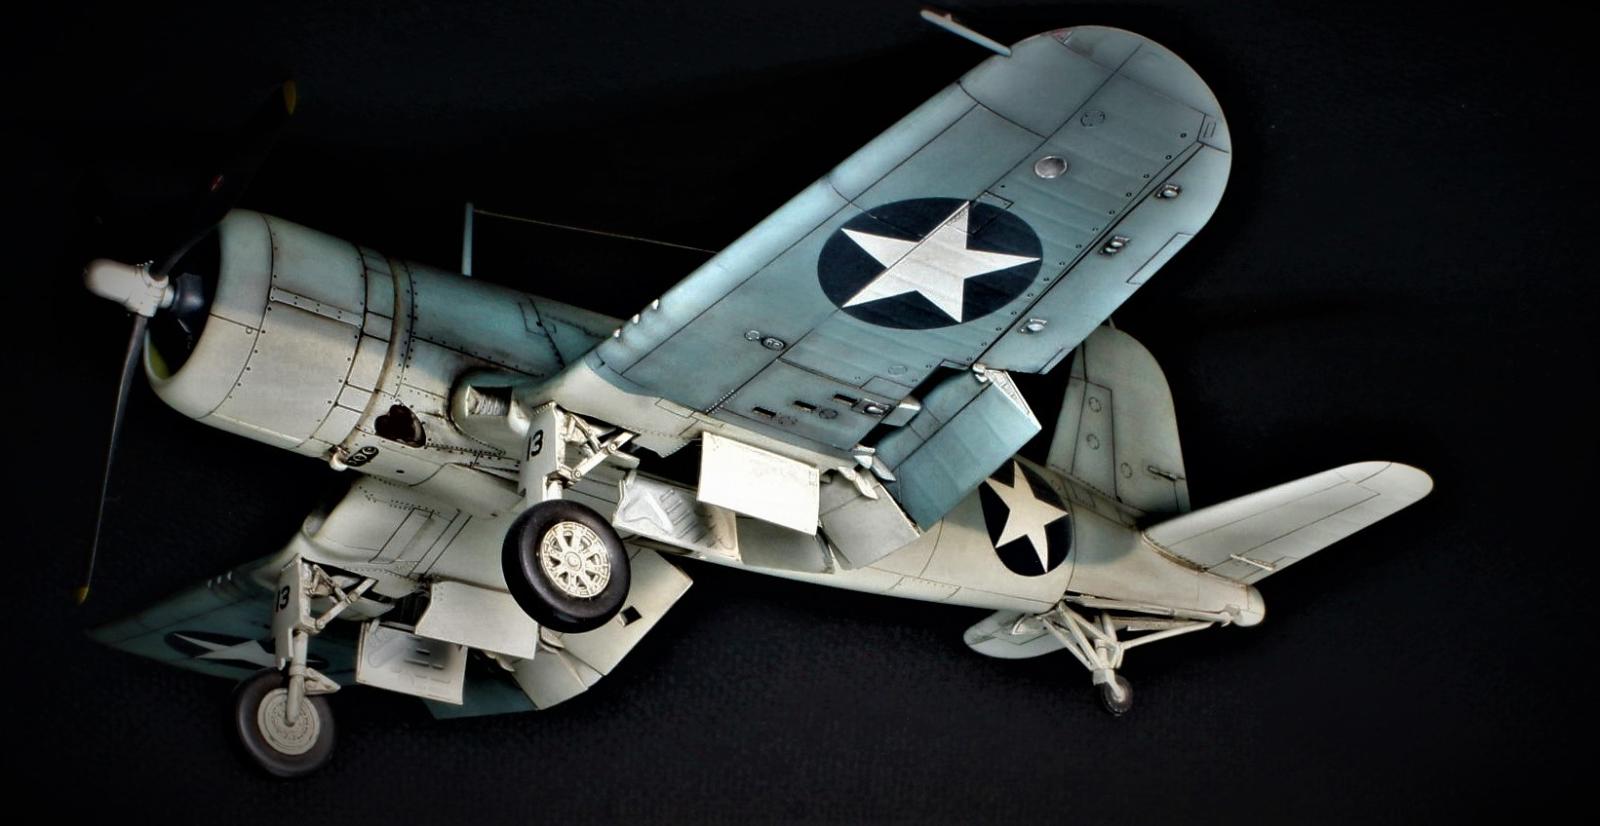
This is Tamiya's venerable F4U Corsair built straight from the box. Nothing much to add that hasn't already been written about this great little kit.

A great little kit indeed, built with your excellent standards, Joe!
Congratulations!
This is a real beauty - love the paint work on this.
Absolutely lovely
Beautiful paint work and a great result.
That is a really beautiful build. I favor the early Birdcage Corsairs over the later ones, and yours really looks great! Excellent paint work on an excellently built kit.
Great result, Joe @mercenarymodels
Excellent paint result and weathering.
Great job, what did you use along the panel lines? Oils or something else?
Thank you, see description to comment below regarding weathering.
Very nice, Joe! I would love to know more about the excellent paint job you did.
Thank you! This is generally how I painted and finished the model:
All paints were custom mixes using Tamiya paints I don't recall the exact ratios sorry.
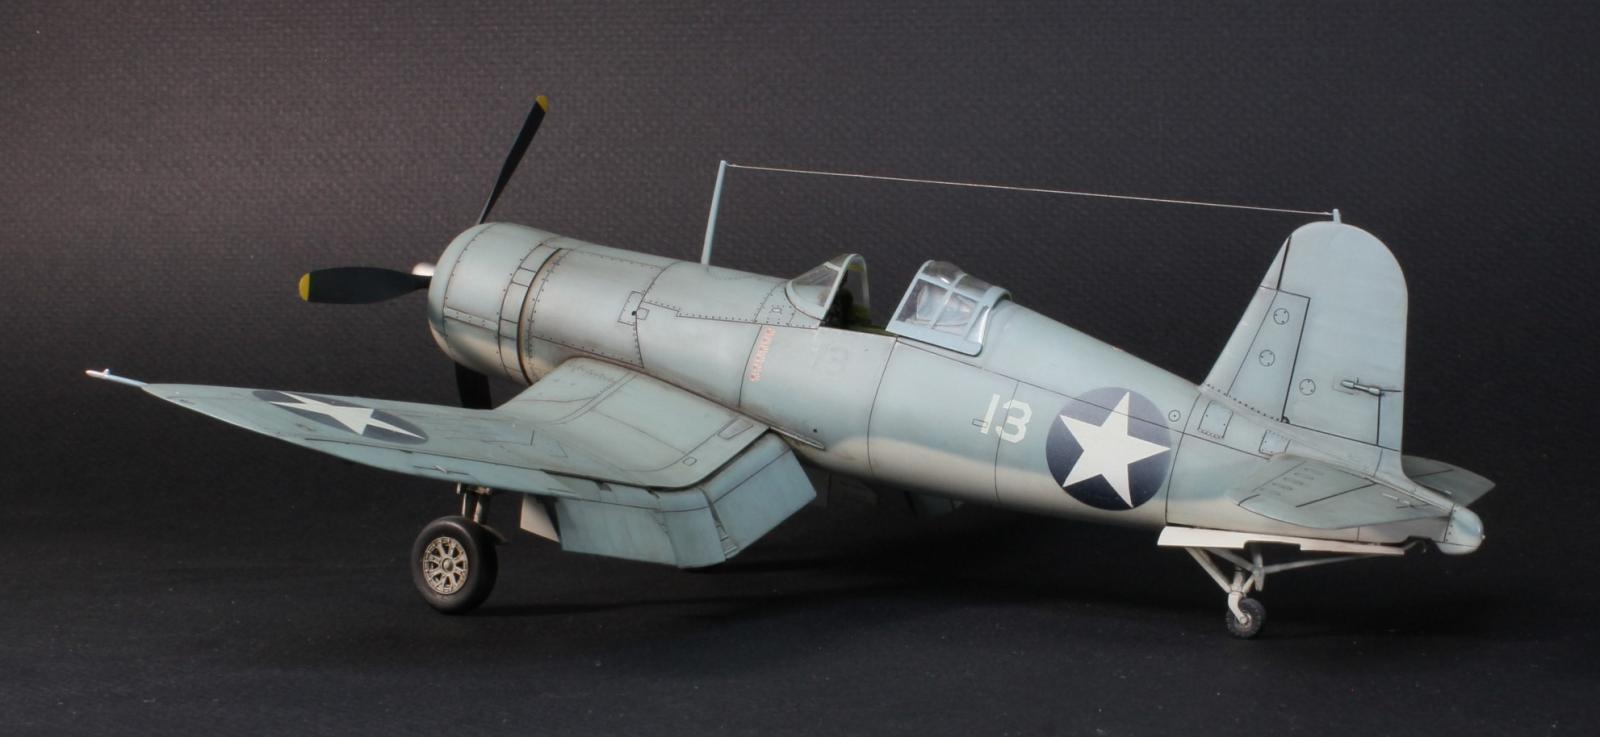
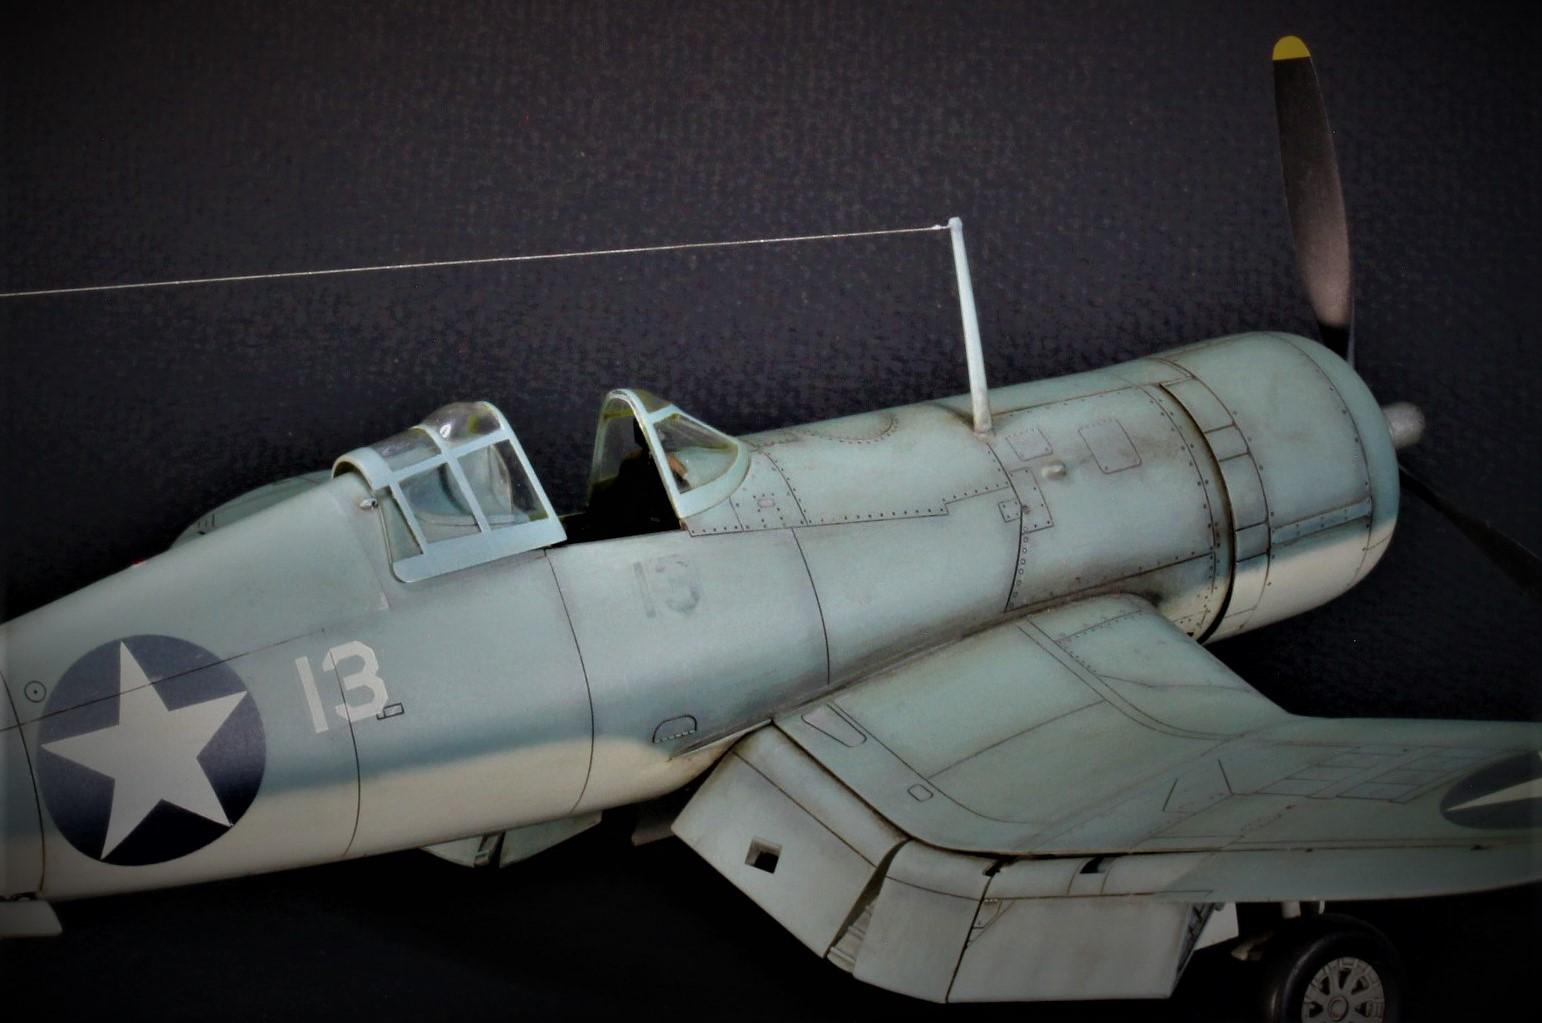
I first painted the entire model Light Gray acrylic lightened approximately 25% Flat White. I then painted the upper surfaces (and under-surface of outer-wing) with Blue-Gray lightened approximately 25% with the same Light Gray used on the underside. Next I over-sprayed all the upper surface and lower outer-wing panel lines with Blue-Gray un-lightened. I finally airbrushed a final, thinned Blue-Gray lightened another 25% over the upper surfaces so that the darker panels were barely visible. I use this technique instead of "pre-shading" which I never really understood.
The fabric covered control surfaces were given an additional over-spray of the lightened Blue-Gray. Any panel lines lost while sanding were redrawn in pencil using a styrene strip as a flexible straightedge with the entire panel is masked off and painted a slightly “off-shade” of the base color. This particularly evident at cockpit bulkhead behind headrest.
Even with the heavily weathered aircraft of the South Pacific, in my opinion, it's easy to get carried away and over do it. I like to remind myself that, at 1/48 scale, 1” = 4’. Even if you get your nose up to the model, you are still about 16 to 20 scale feet away. I feel too aggressive an approach can look amateurish and not realistic.
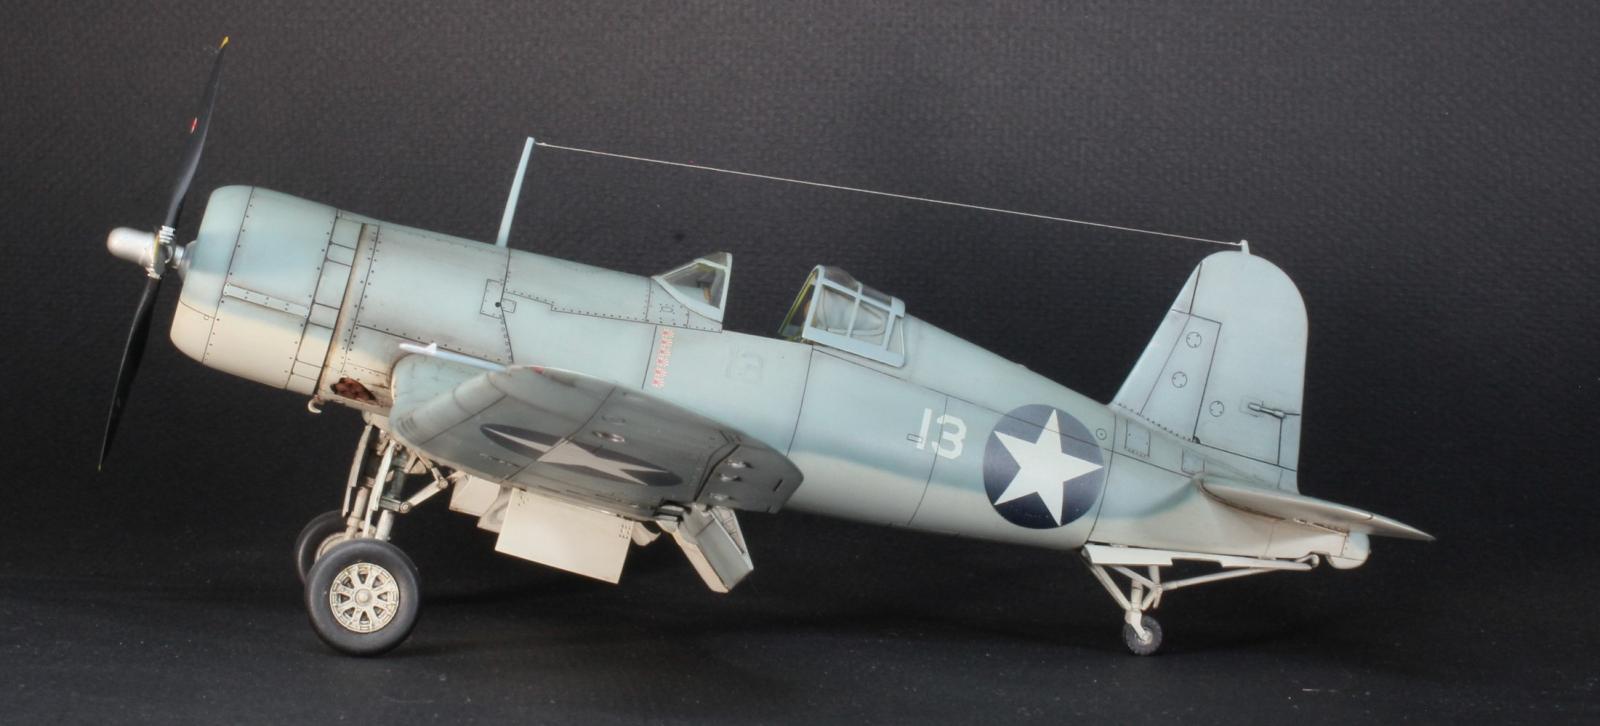
I first over-spray the model with clear flat lacquer. This is done to give the finish some "bite.” Exhaust streaks are next airbrushed with a very thinned blackish-brown oily mixture. Starting close to the model, spray from the exhaust ports back in the direction of travel pulling the airbrush away as you spray. This is an extremely light transparent spray, a foundation to build on with watercolors and chalks.
I applied black and burnt umber watercolor washes, working them in over the entire model. In general, heavier around the engine area and less the farther you work away. I will wipe away excess with a clean, damp rag or my moistened fingertip. I varied the technique to get the appropriate results. Once satisfied I seal with a light coat of flat lacquer.
The final weathering touches were Metallic silver Prisma-Color pencil to simulate chipped paint. I also lightly applied with a soft brush some pastel chalk to highlight streaks. Exhaust and gun barrels get special attention here. Again these techniques are foolproof; any mistakes can be wiped off with a damp fingertip or washed away with soapy water.
Nice work, Joe. I never tire of Corsairs.
Beautiful paint / weathering .
Impressive. Love the weathering on this bird.
Very awesome work! Thanks for describing your painting process.
Just beautifully built and finished! Bravo @mercenarymodels!
All of the above, great job!
Great looking Birdcage Corsair, the paint with the weathering finish just awesome!
Very nicely done Joe, my compliments to you.
Thanks Jim @bentwing? I have two of your Squadron/Signal publications on the Corsair. One goes back to when I was a wee lad!
I can't say anything other than things that have already been said! marvelous