(Black)birdcage with a bit of a twist

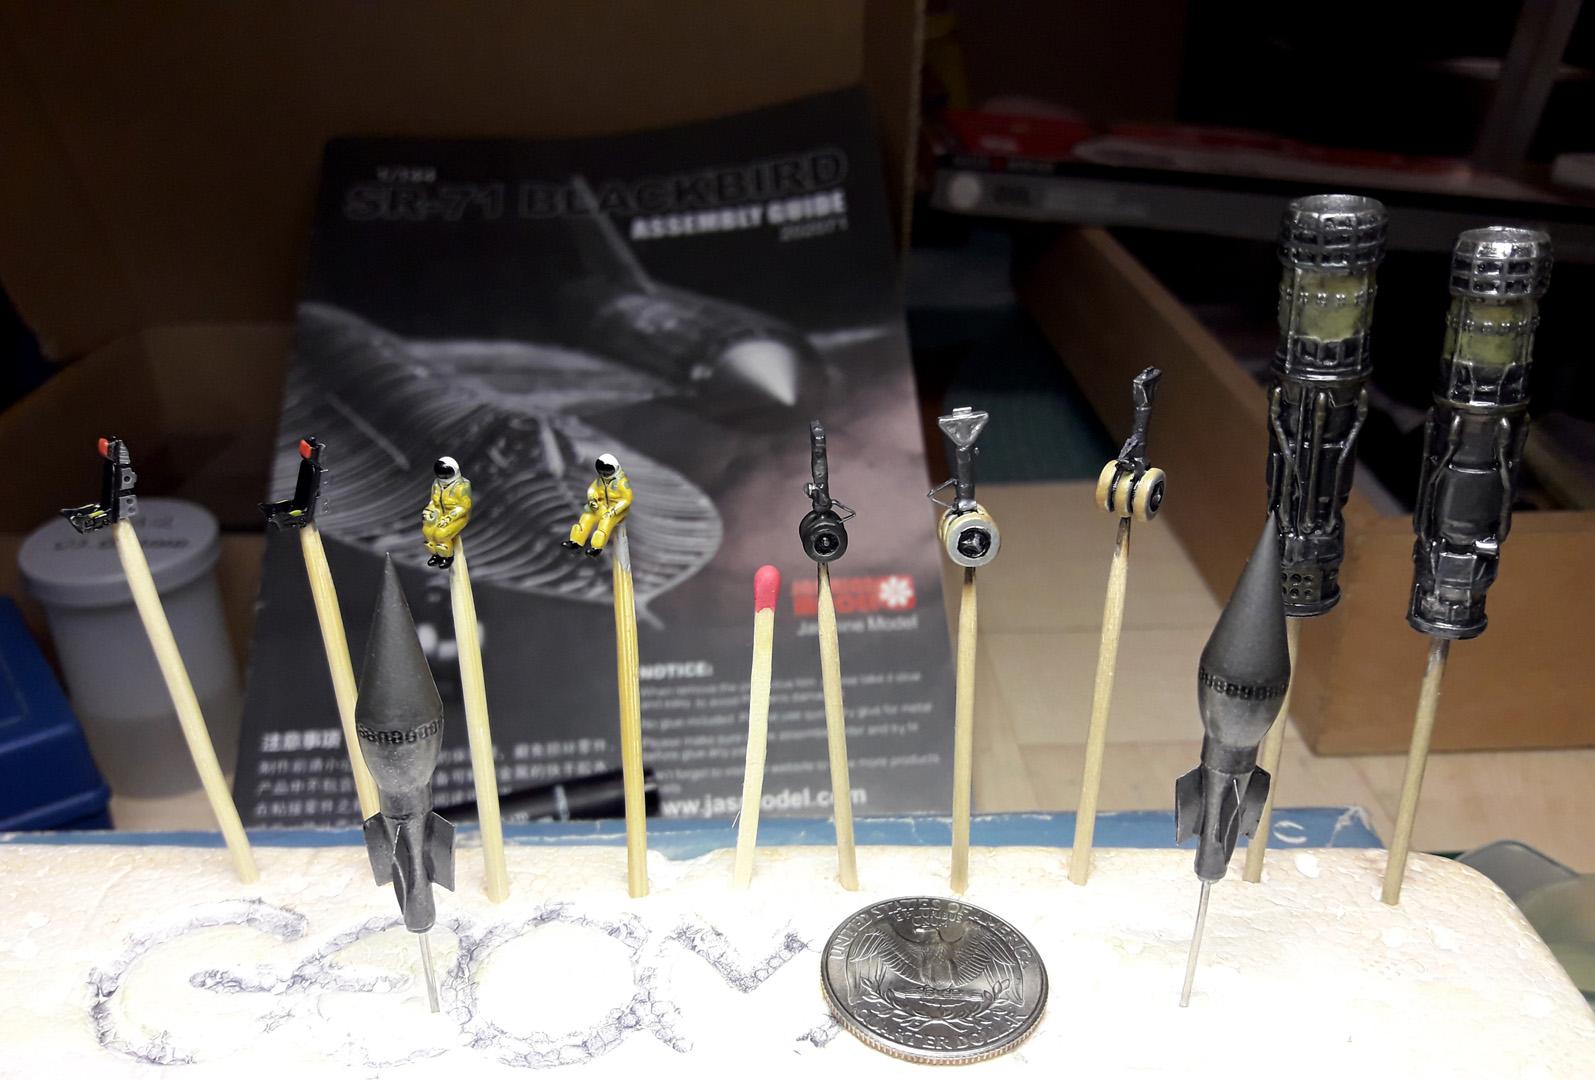
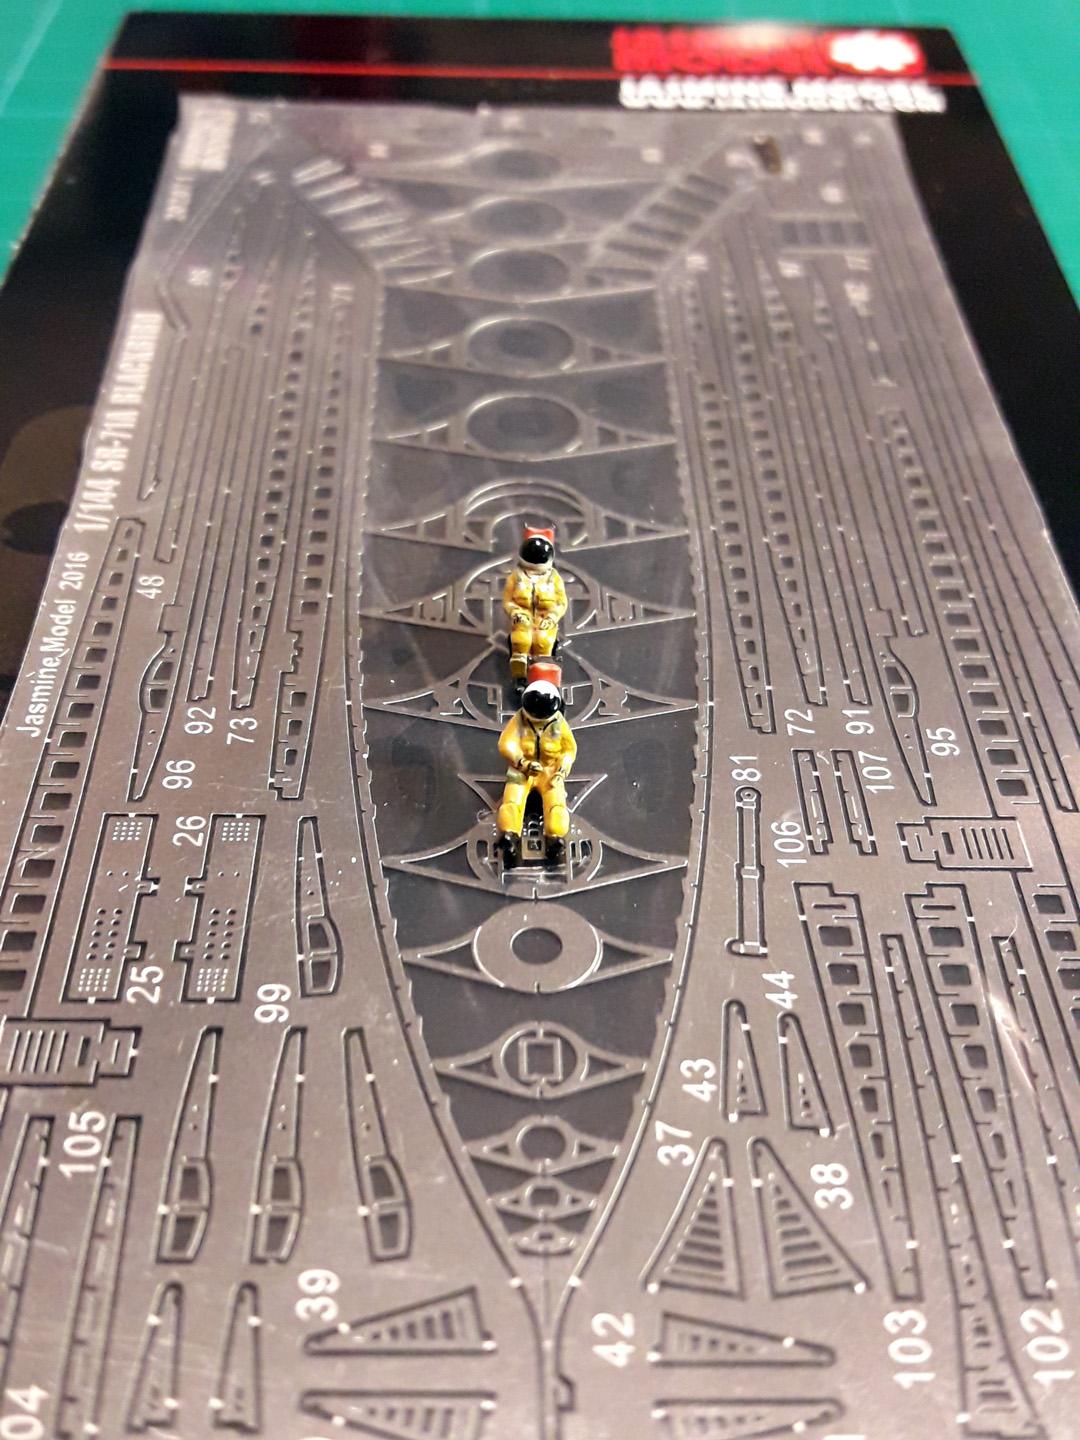
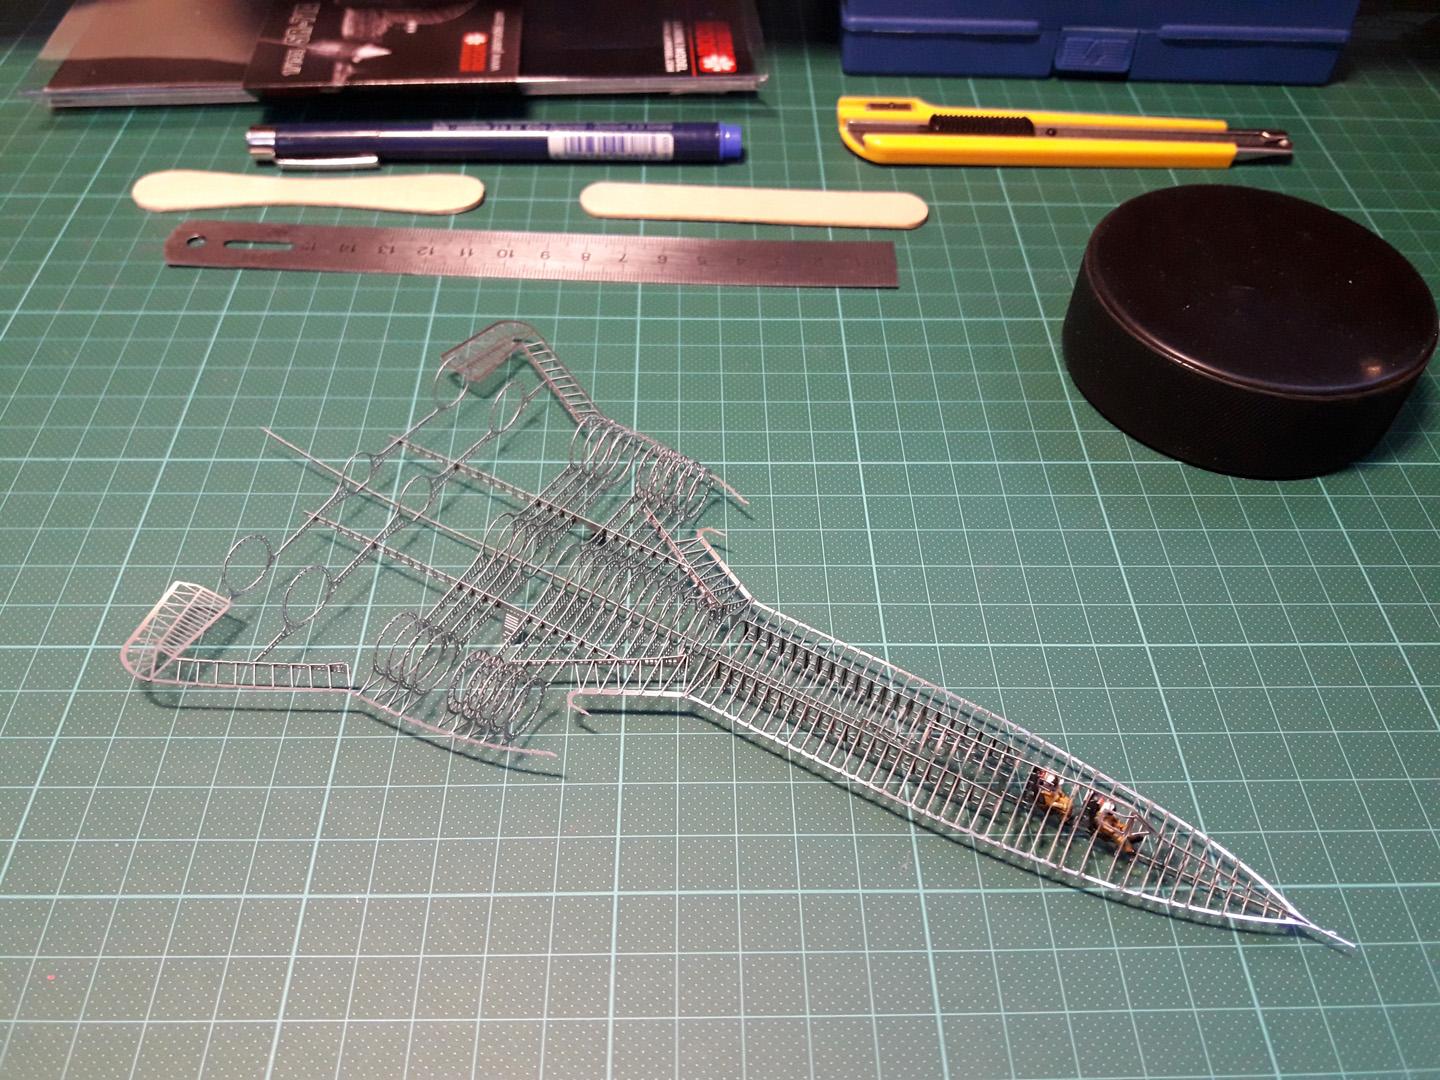
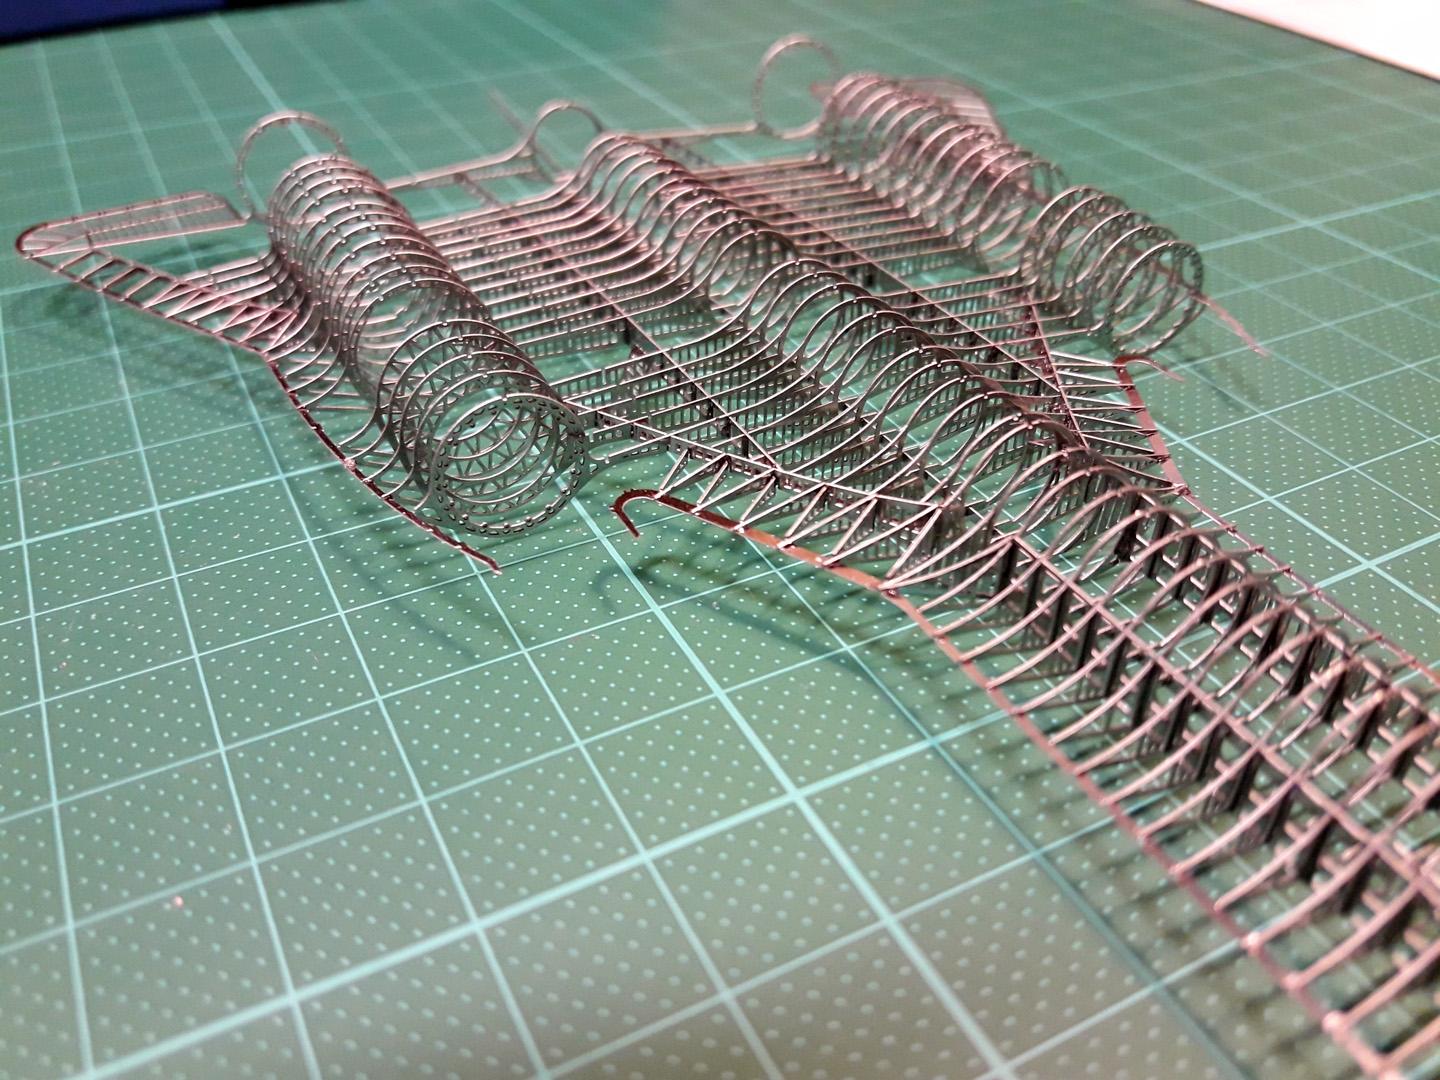
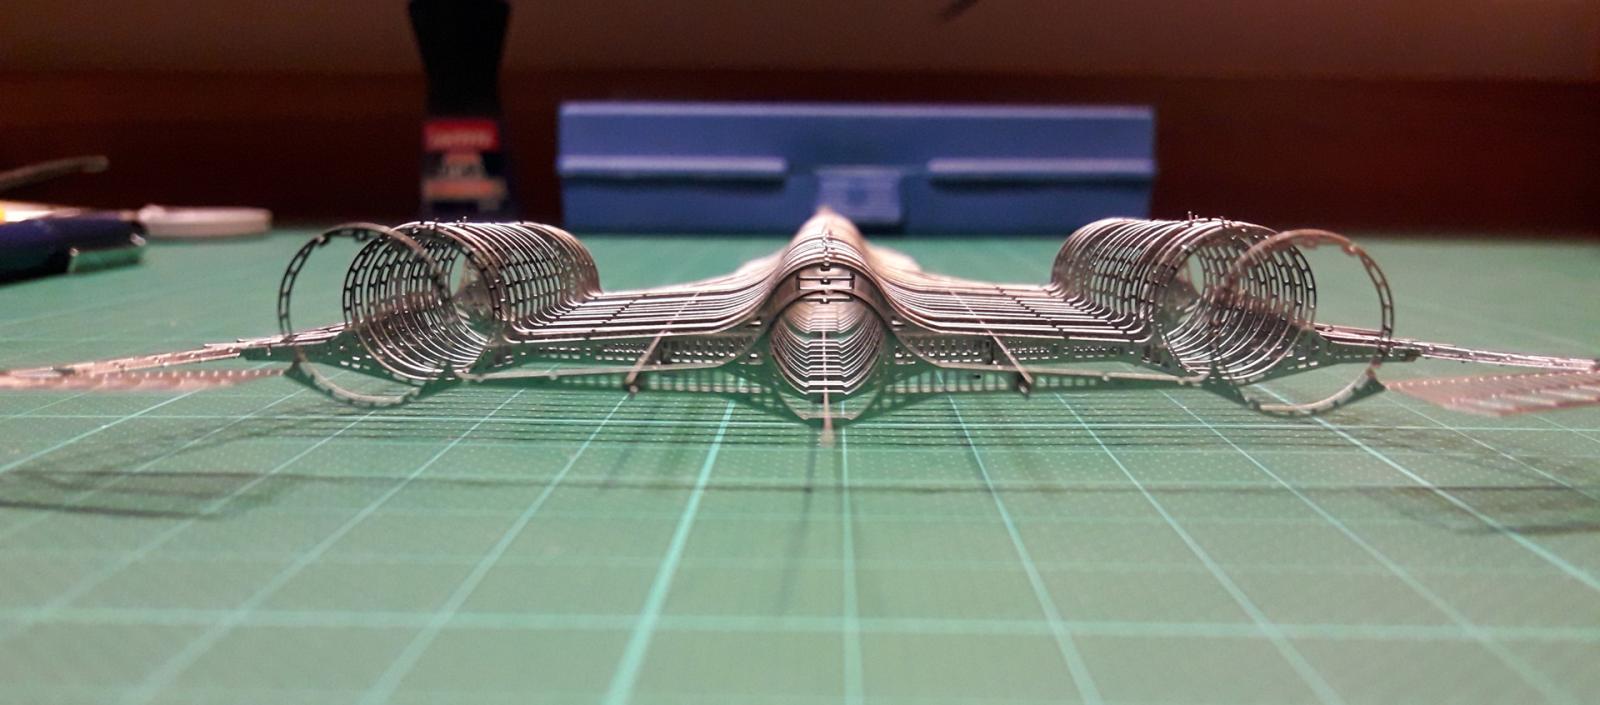
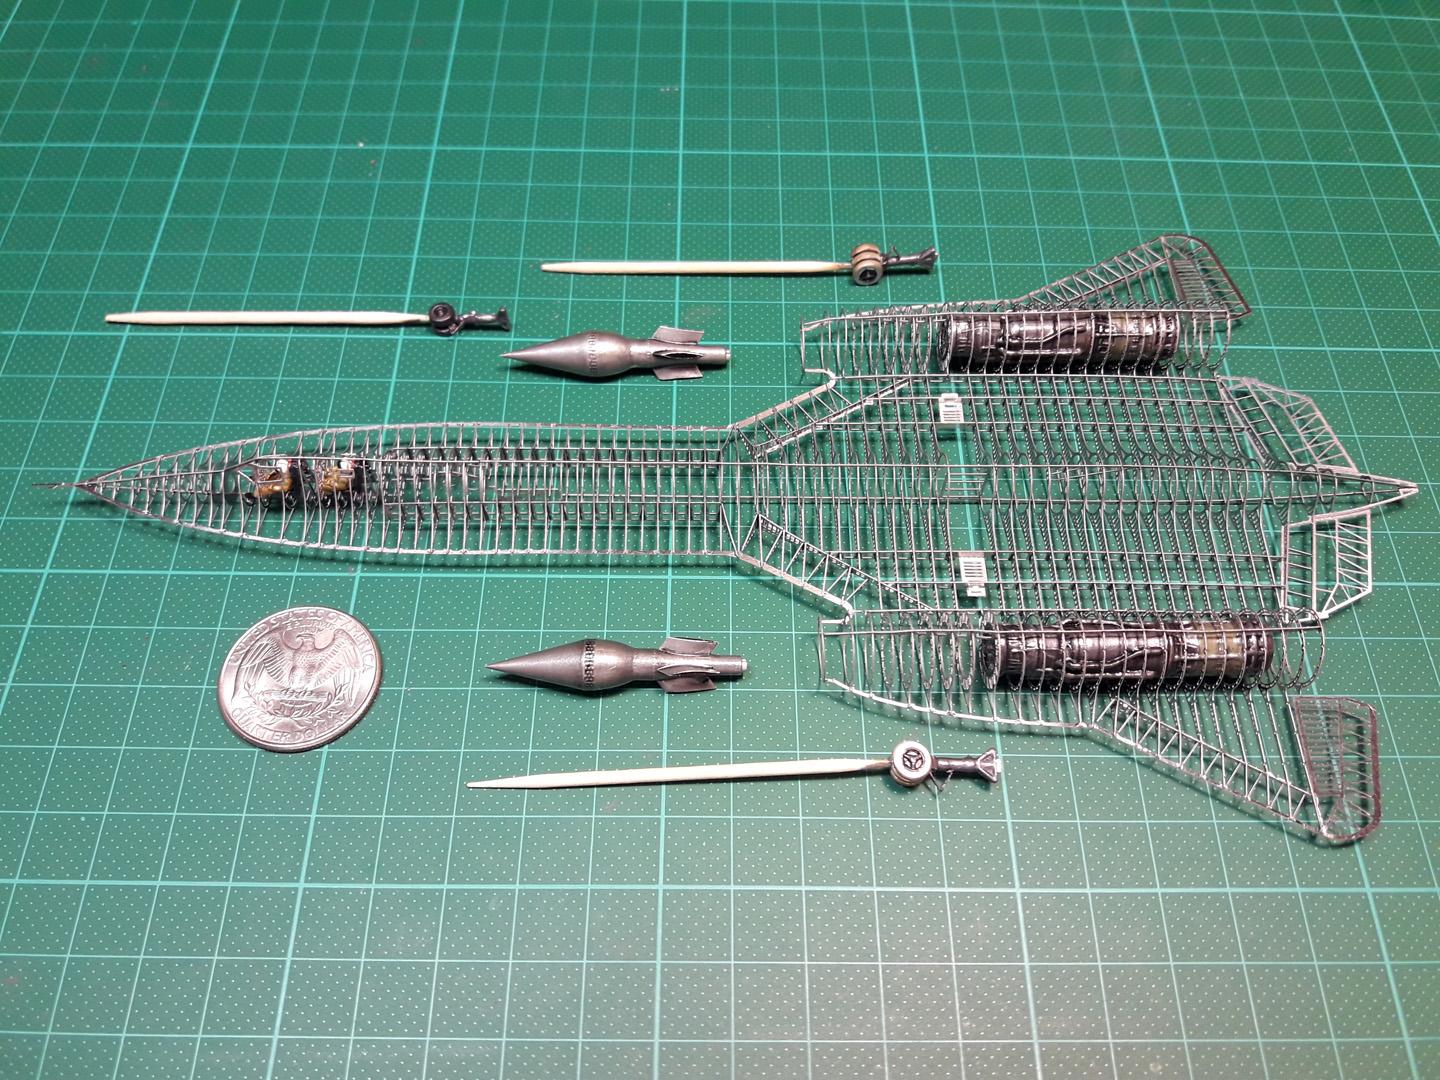
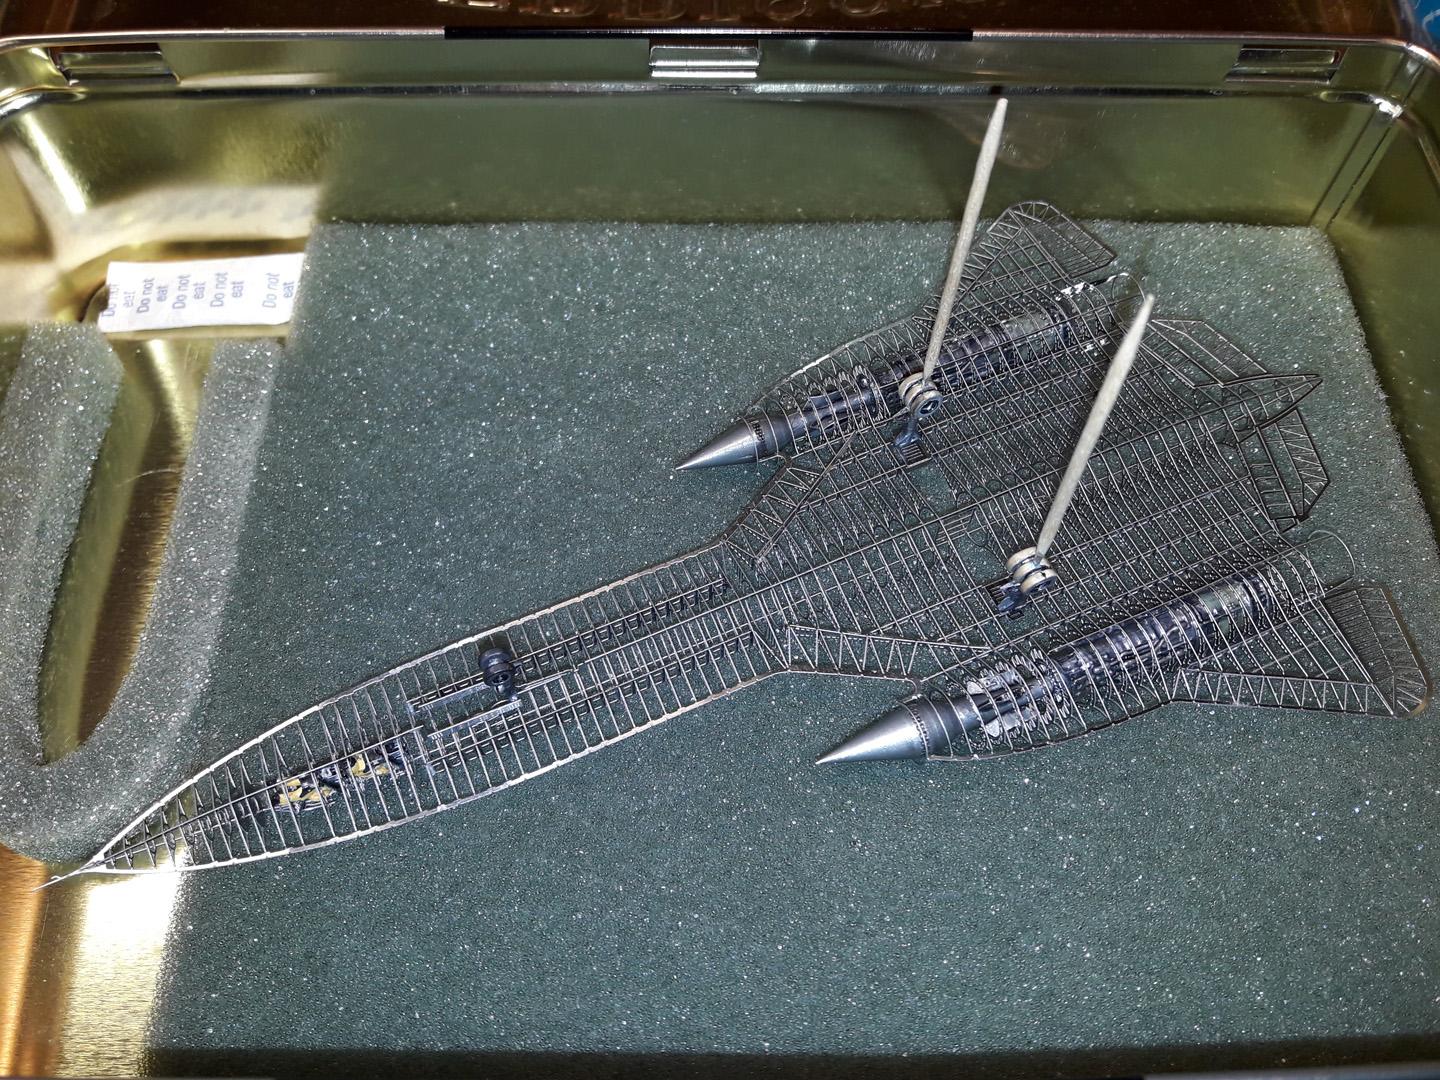
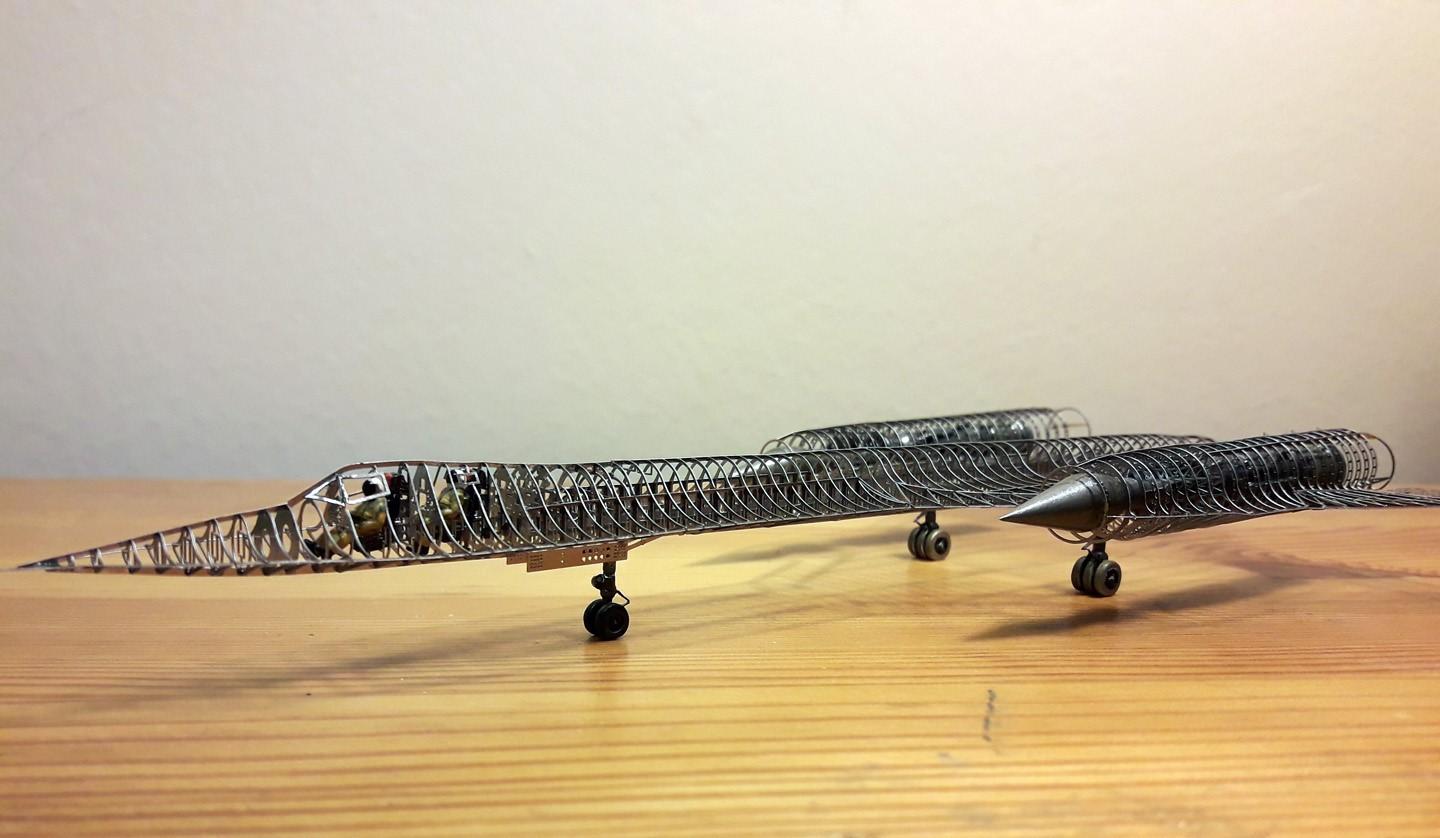
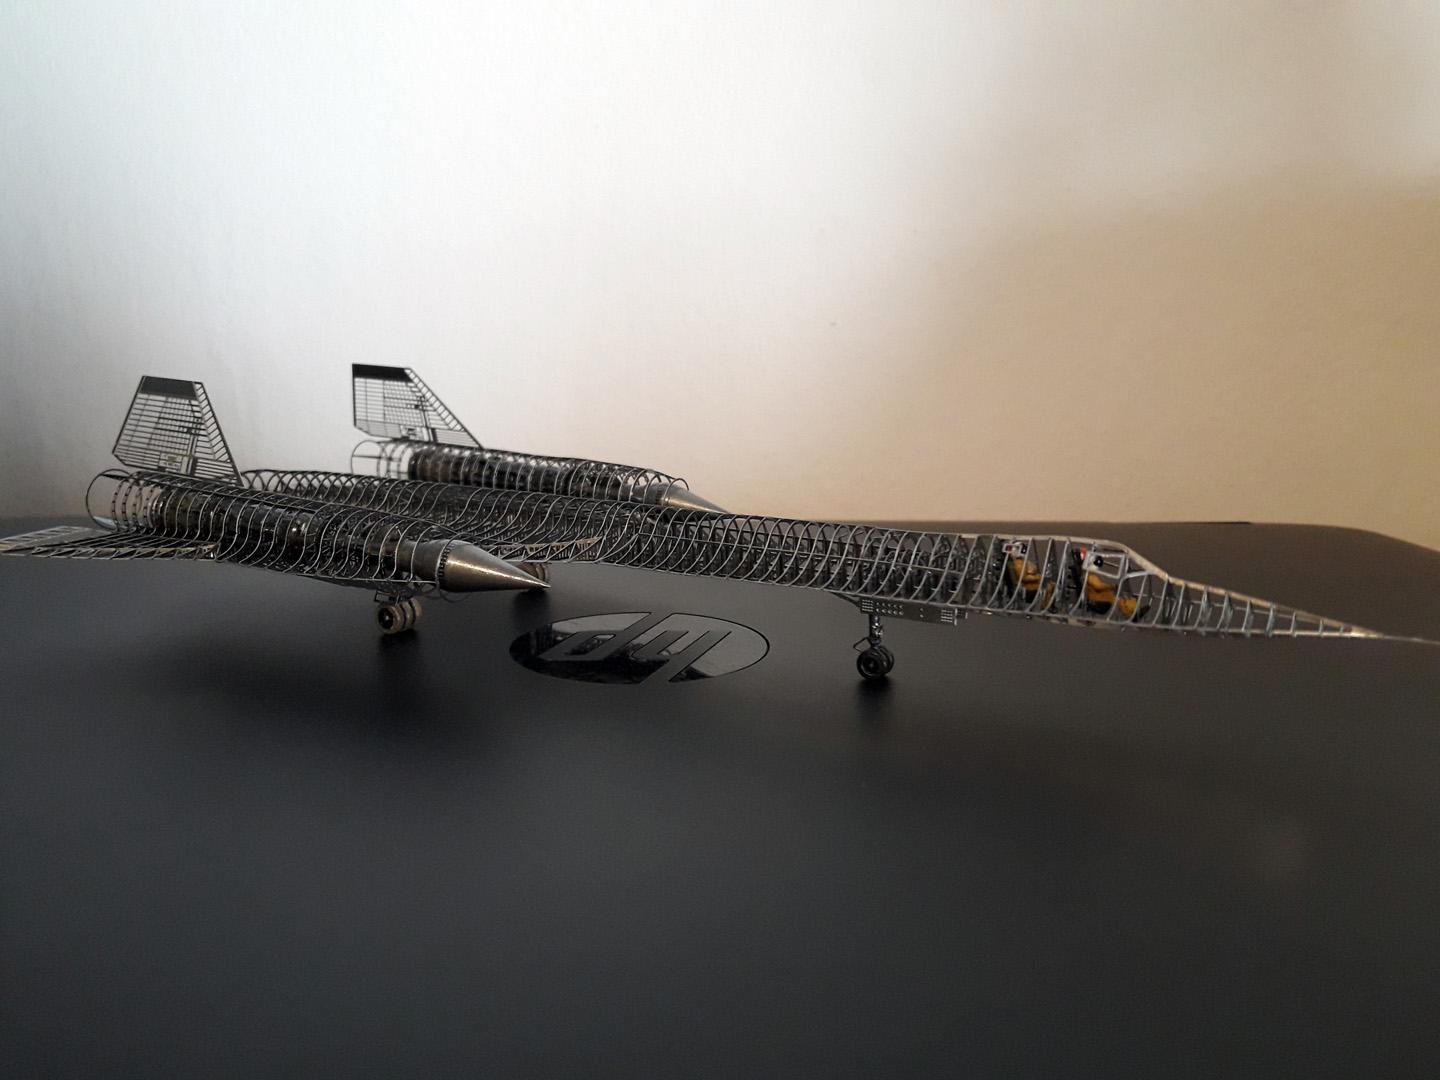
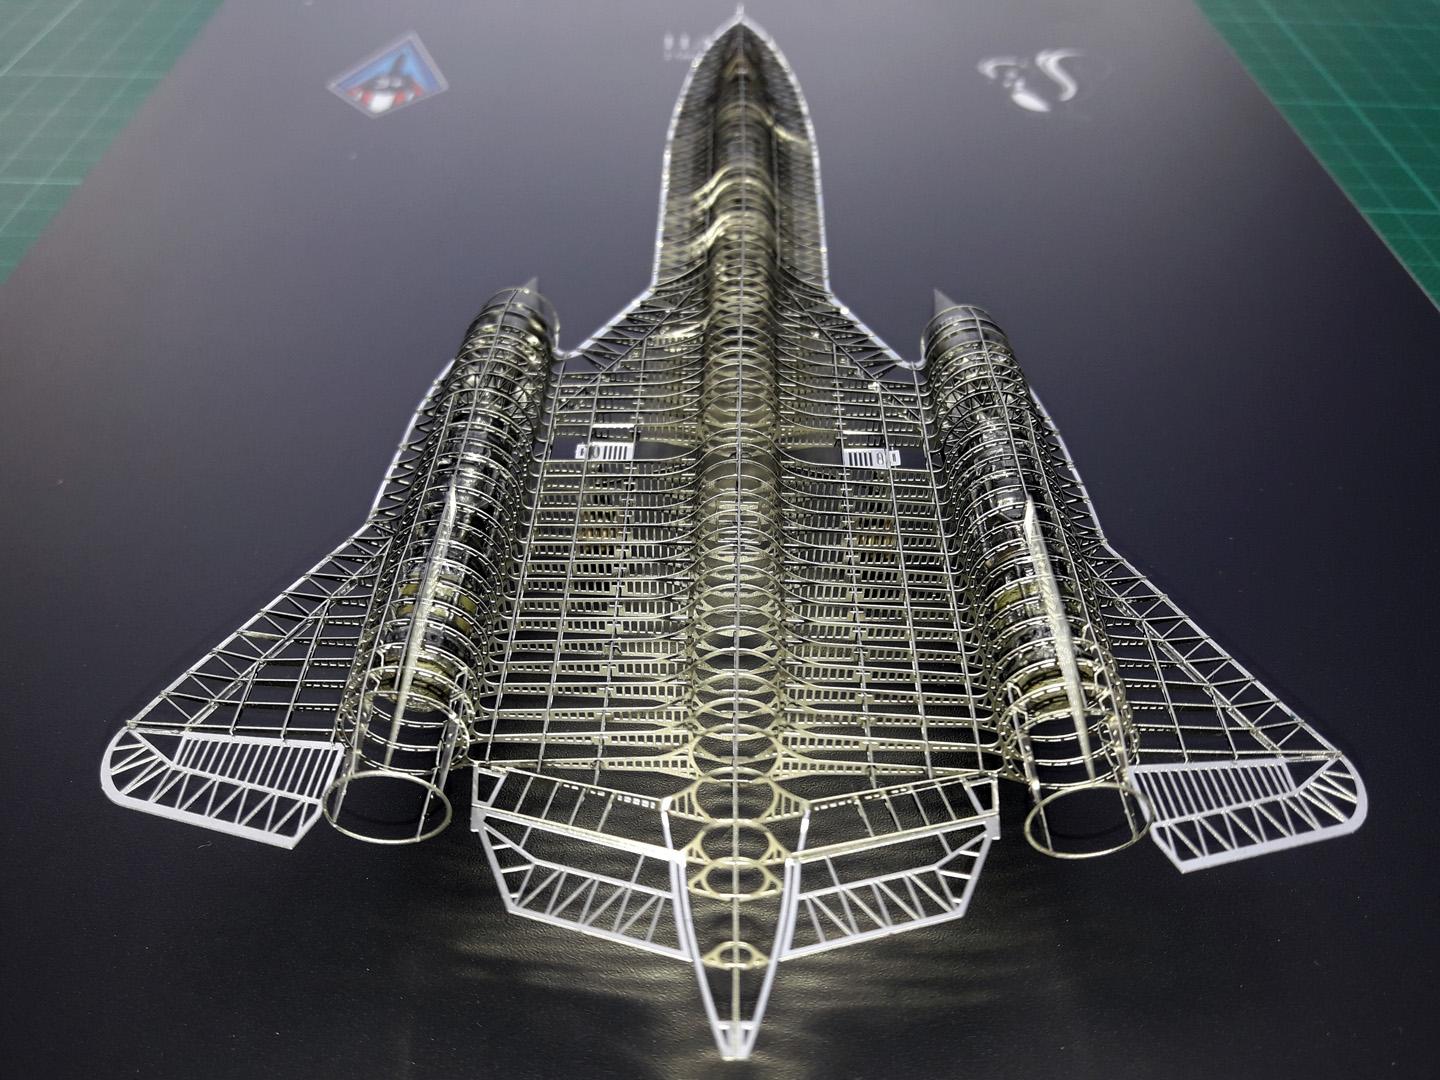
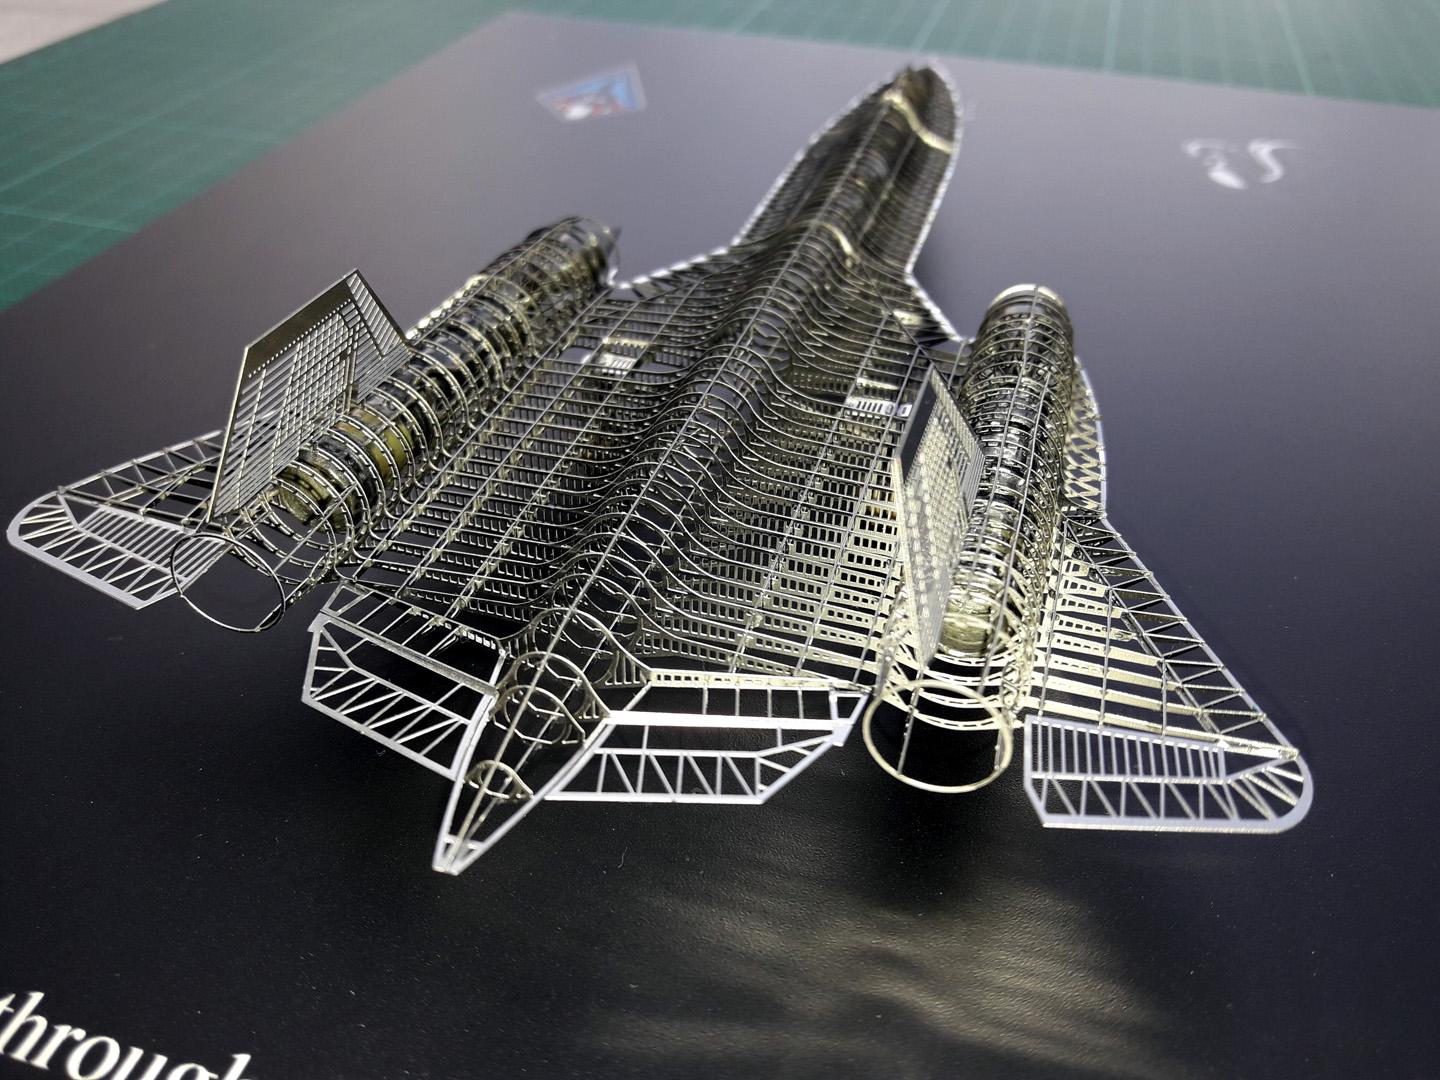
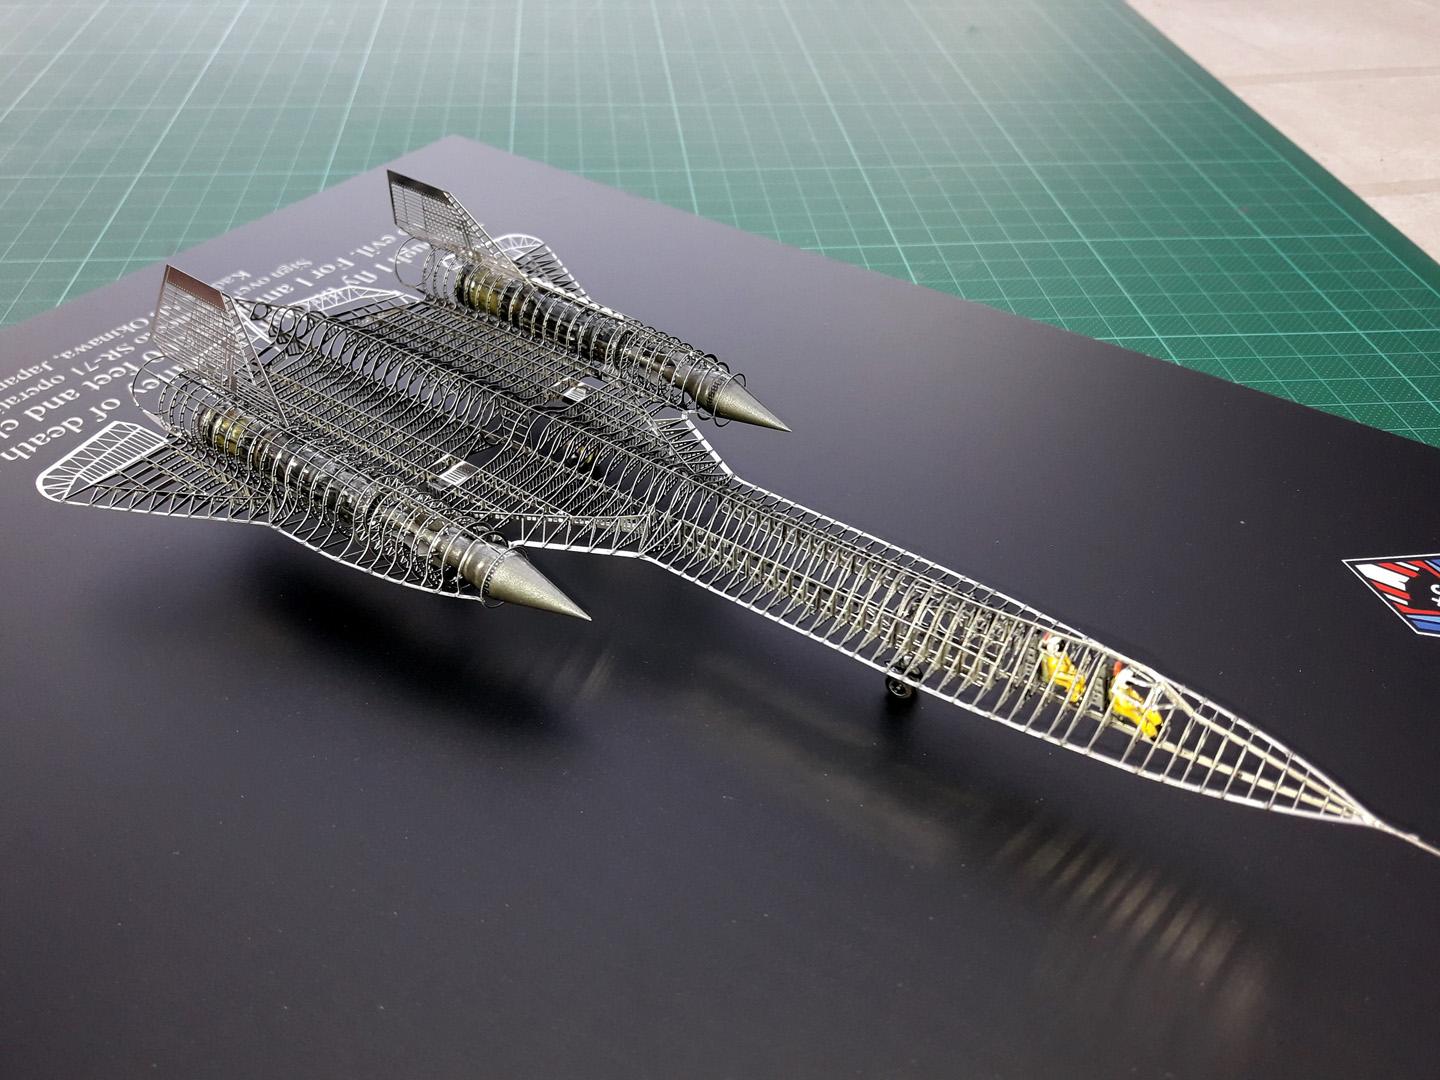
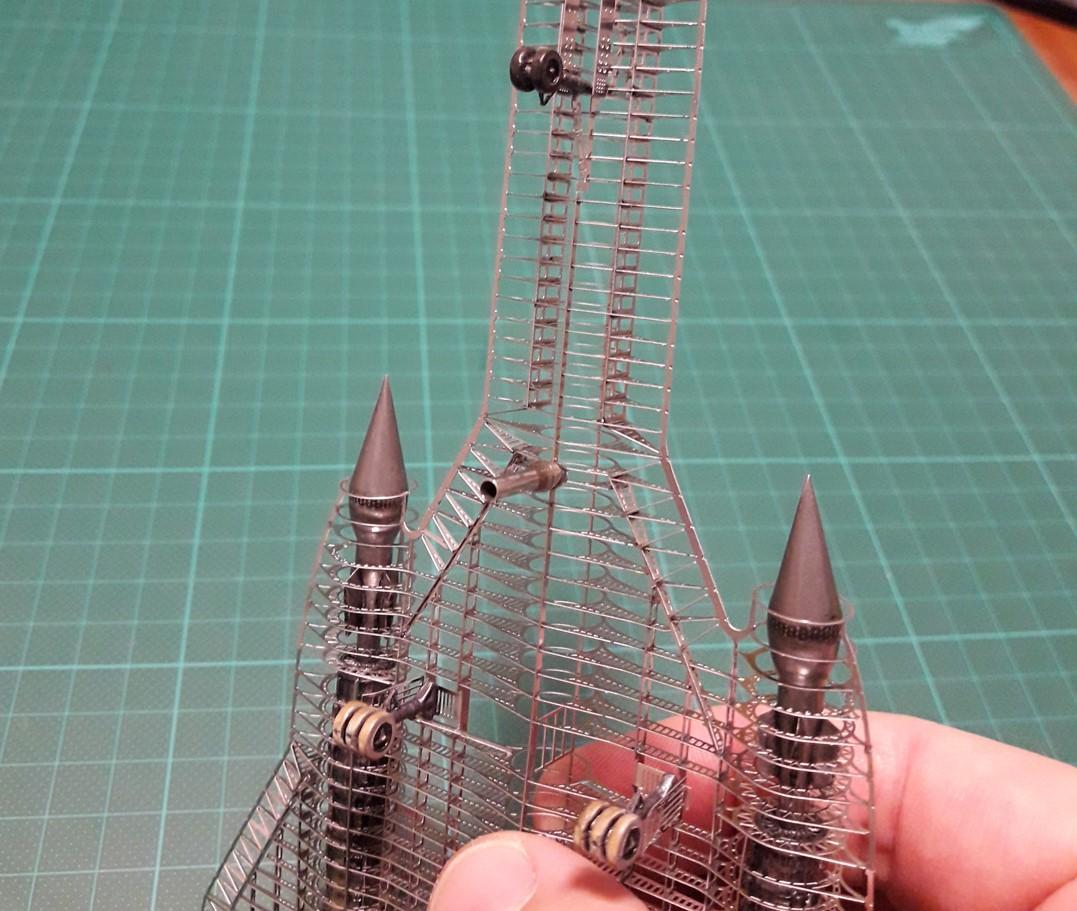
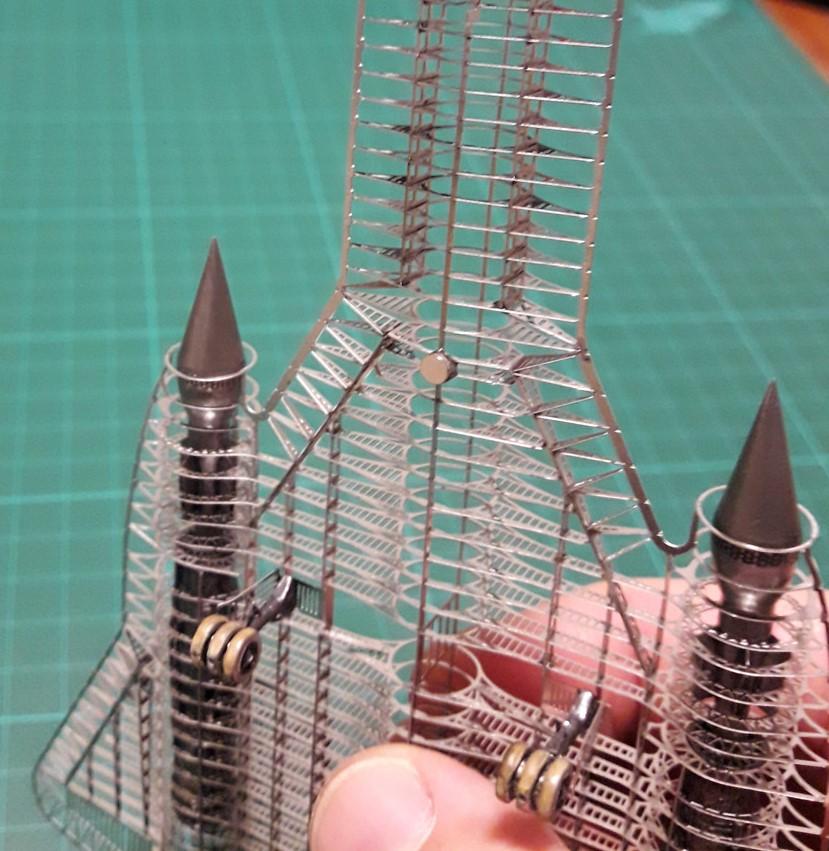
My article focuses on the unique skeletal model of the SR-71A Blackbird at 1/144 scale, produced by Jasmine Model in China. It contains 120 photo-etched parts and a few pieces of aluminum painted resin bits. The kit is well engineered with an excellent overall fit.
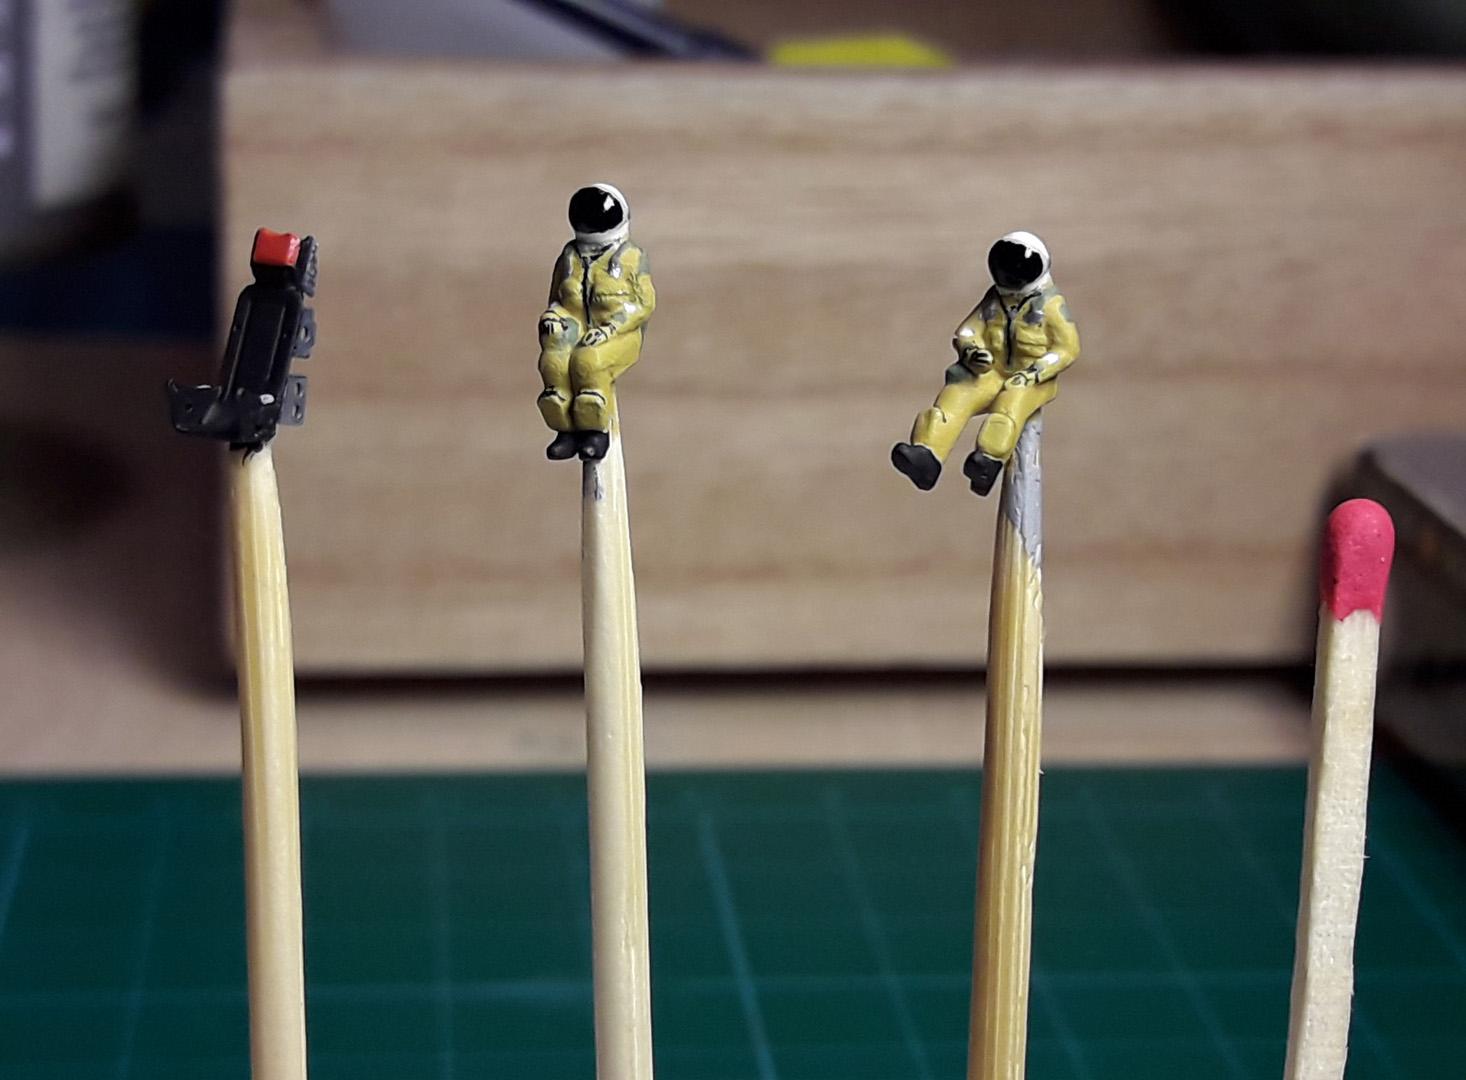
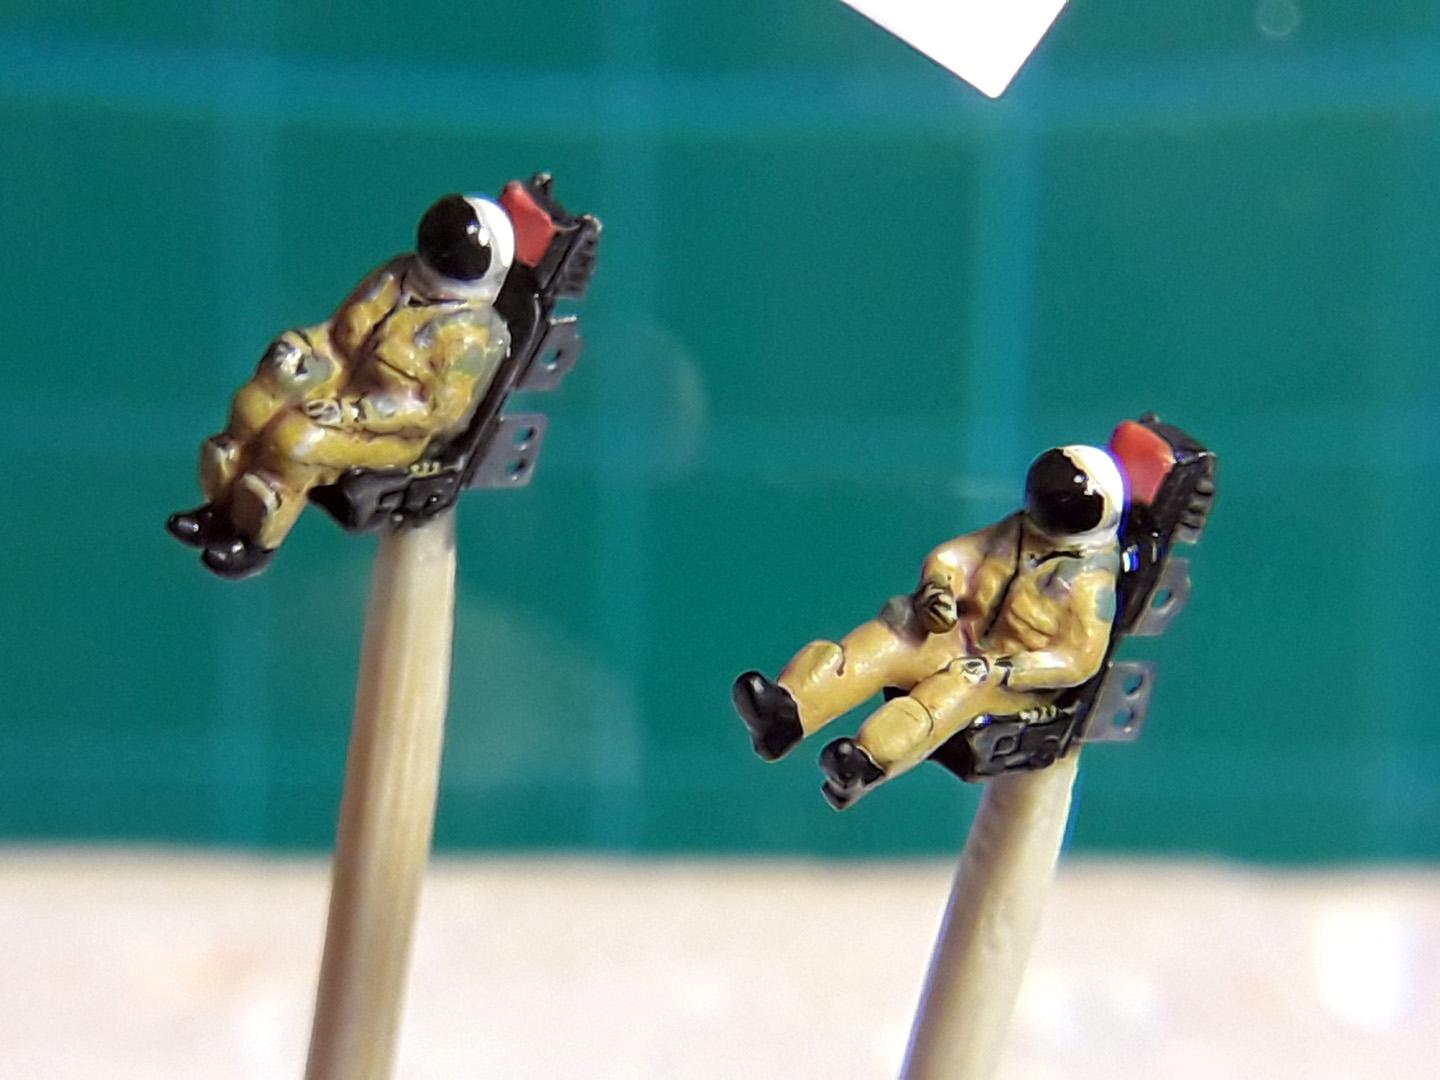
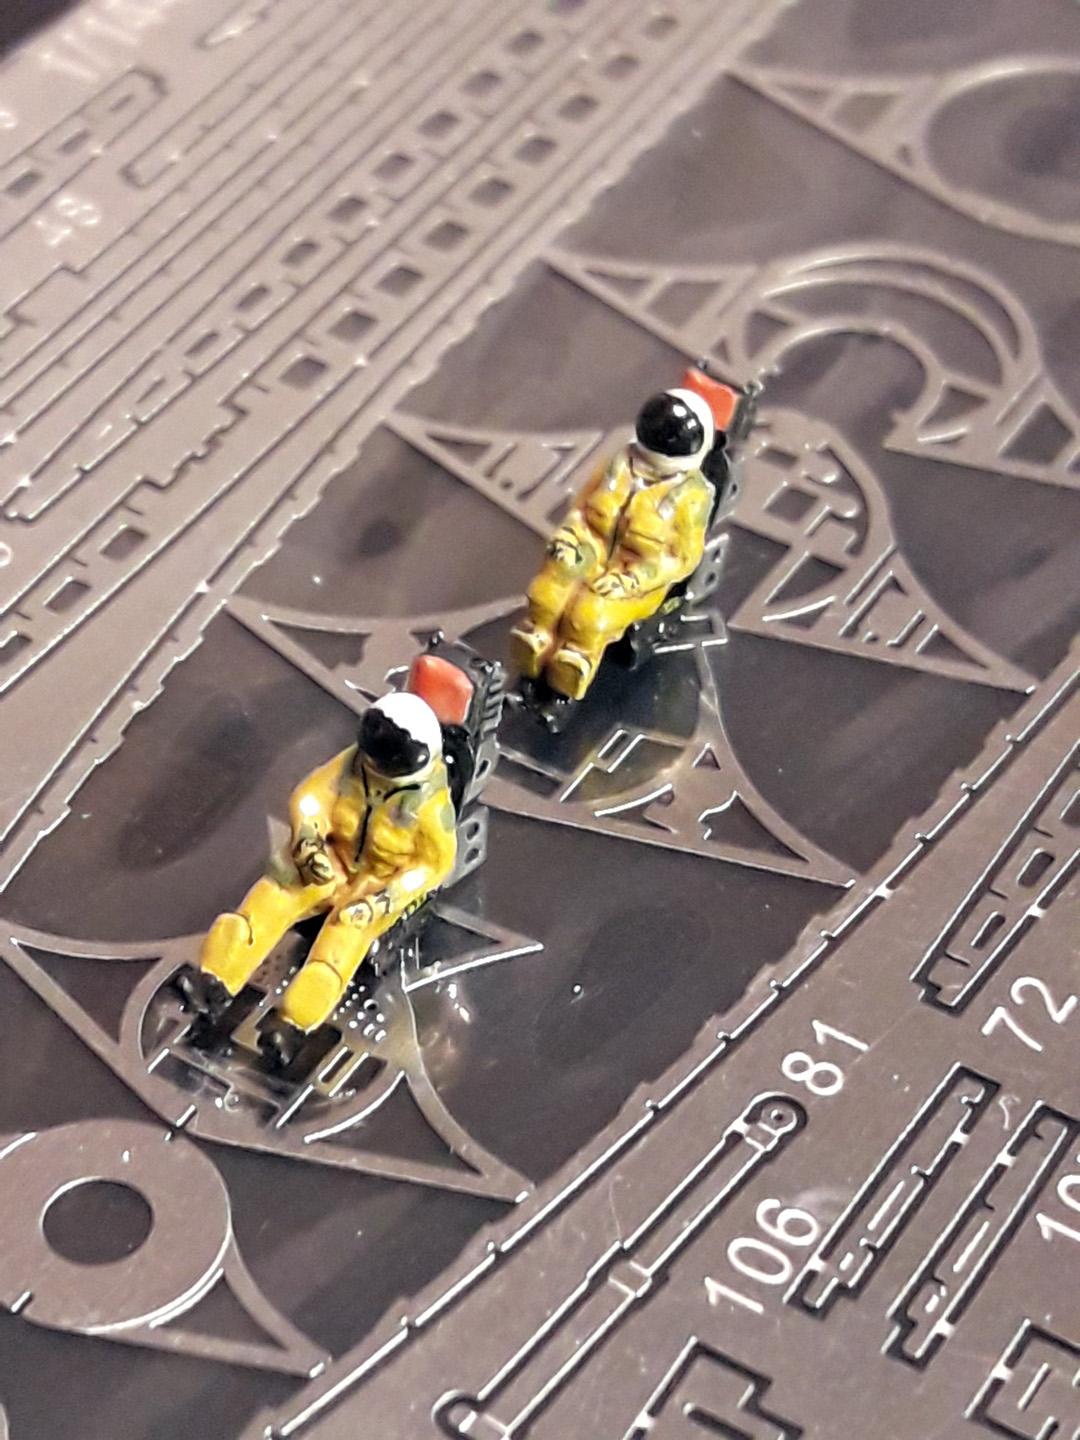
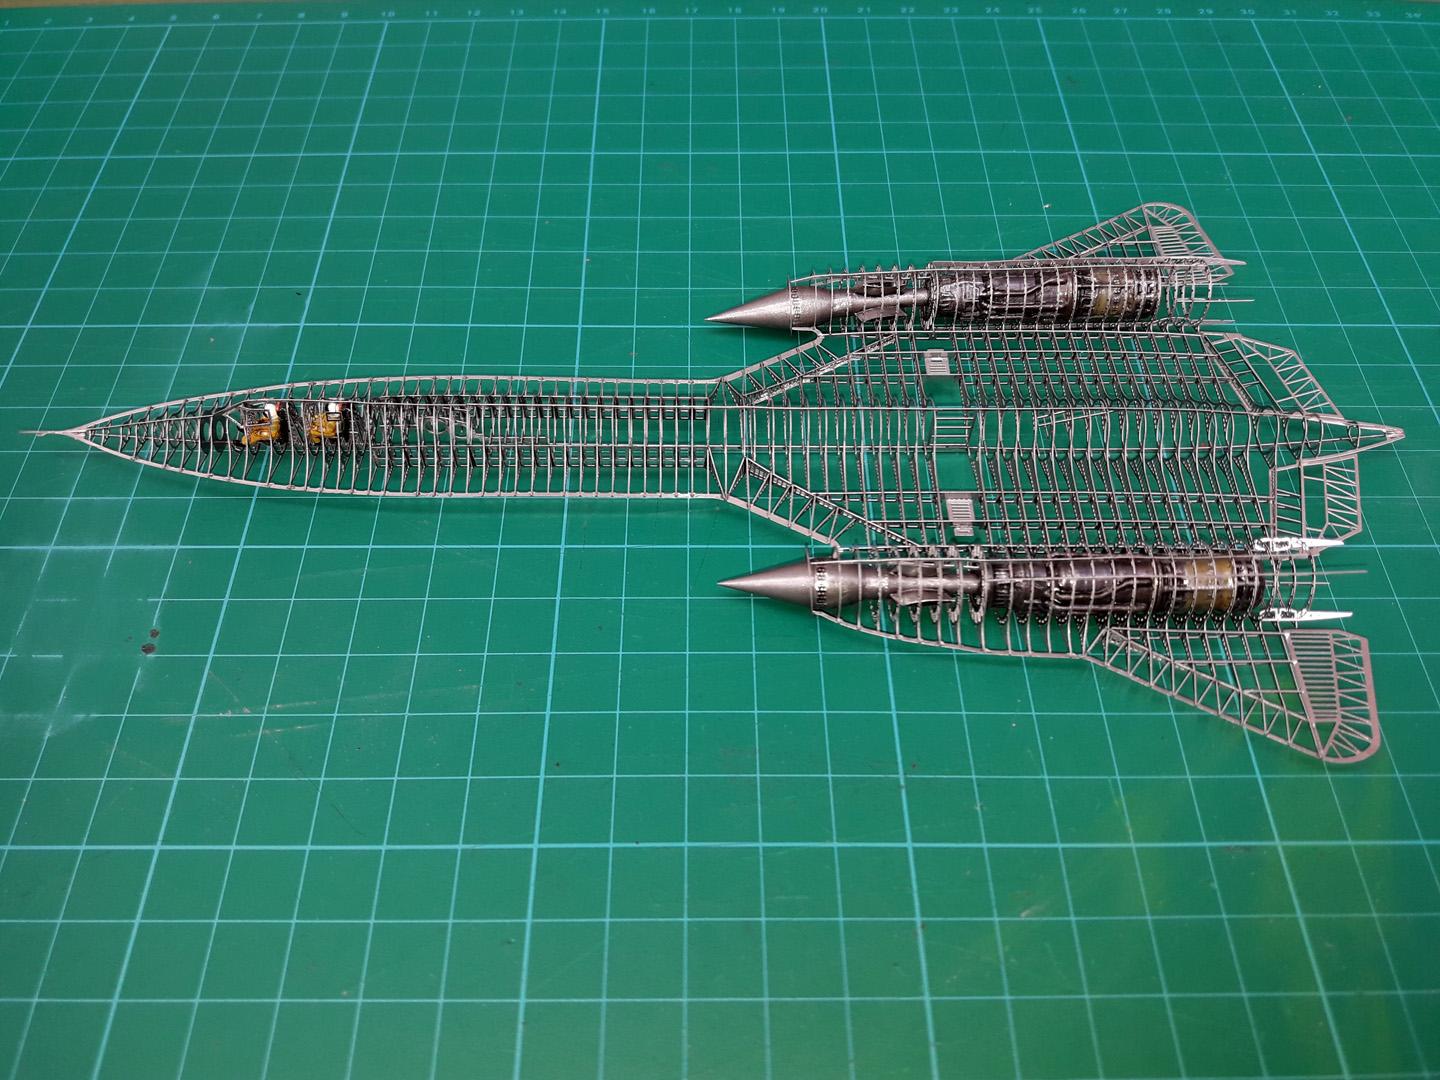
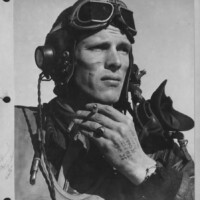
There is only one minor mistake in the manual: on the real ship, the oleo scissors on the main undercarriage legs are facing forward, whereas the manual suggests otherwise. To add some extra realism, the inlet spikes, the undercarriage, and the J-58 engines can be painted. Although the cockpits are complex enough for the scale, they contain simplified instrument panels and SR-1 seats, I felt some crew should be added as well. Finding “the right stuff” gave me quite a bit of a headache. I found a 3D-printed space-shuttle crew set created by a Swiss gentleman Max Grueter. From a modeling point of view, the pressure suits worn by late Habu and Dragon Lady pilots were quite similar to those used by the space-shuttle crew (both were manufactured by David Clark Co.), so only minor modifications were necessary. Completion of detail painting was followed by the assembly of the airframe. The instruction manual recommends the usage of superglue, which I found inappropriate, so early on, I switched to UV glue.
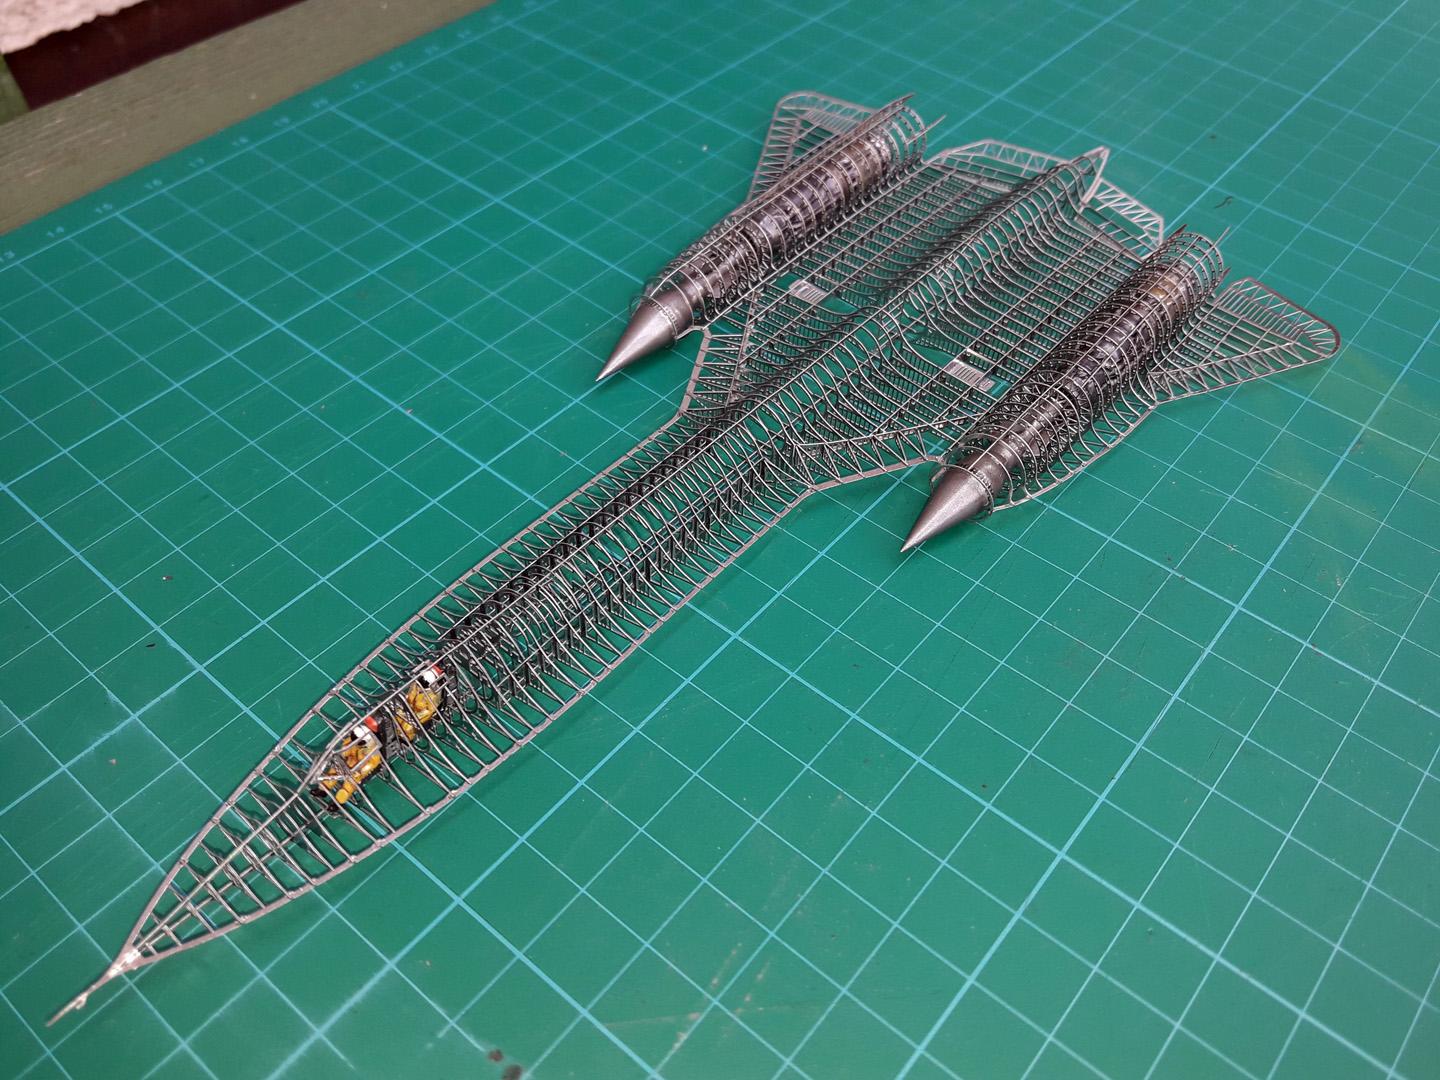
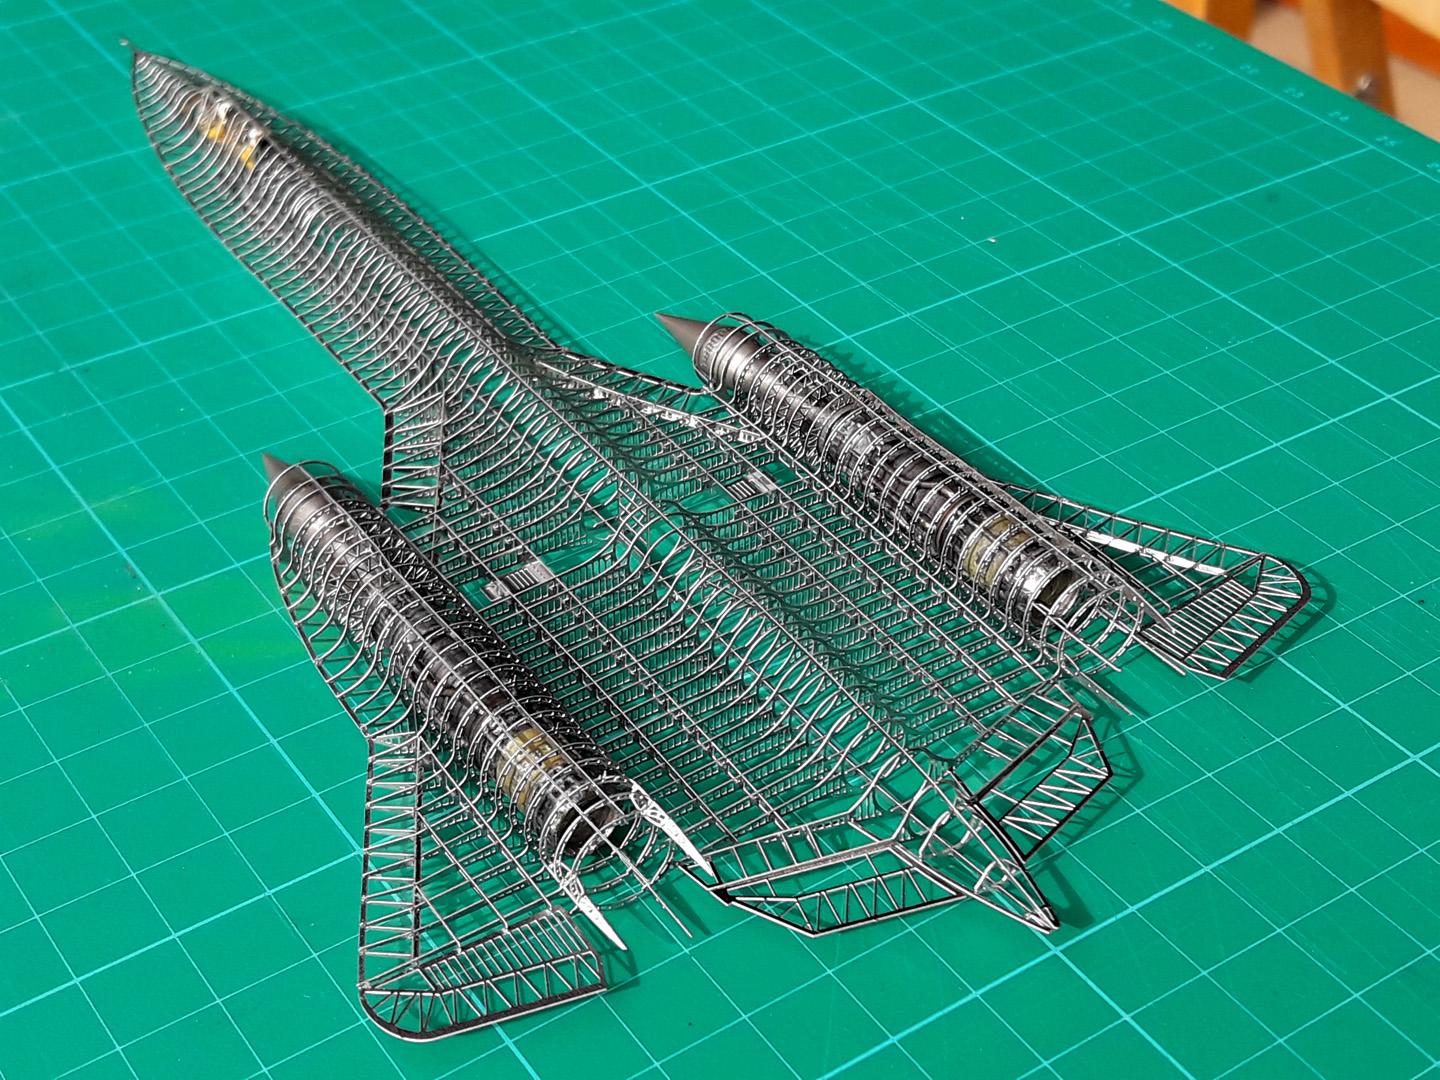
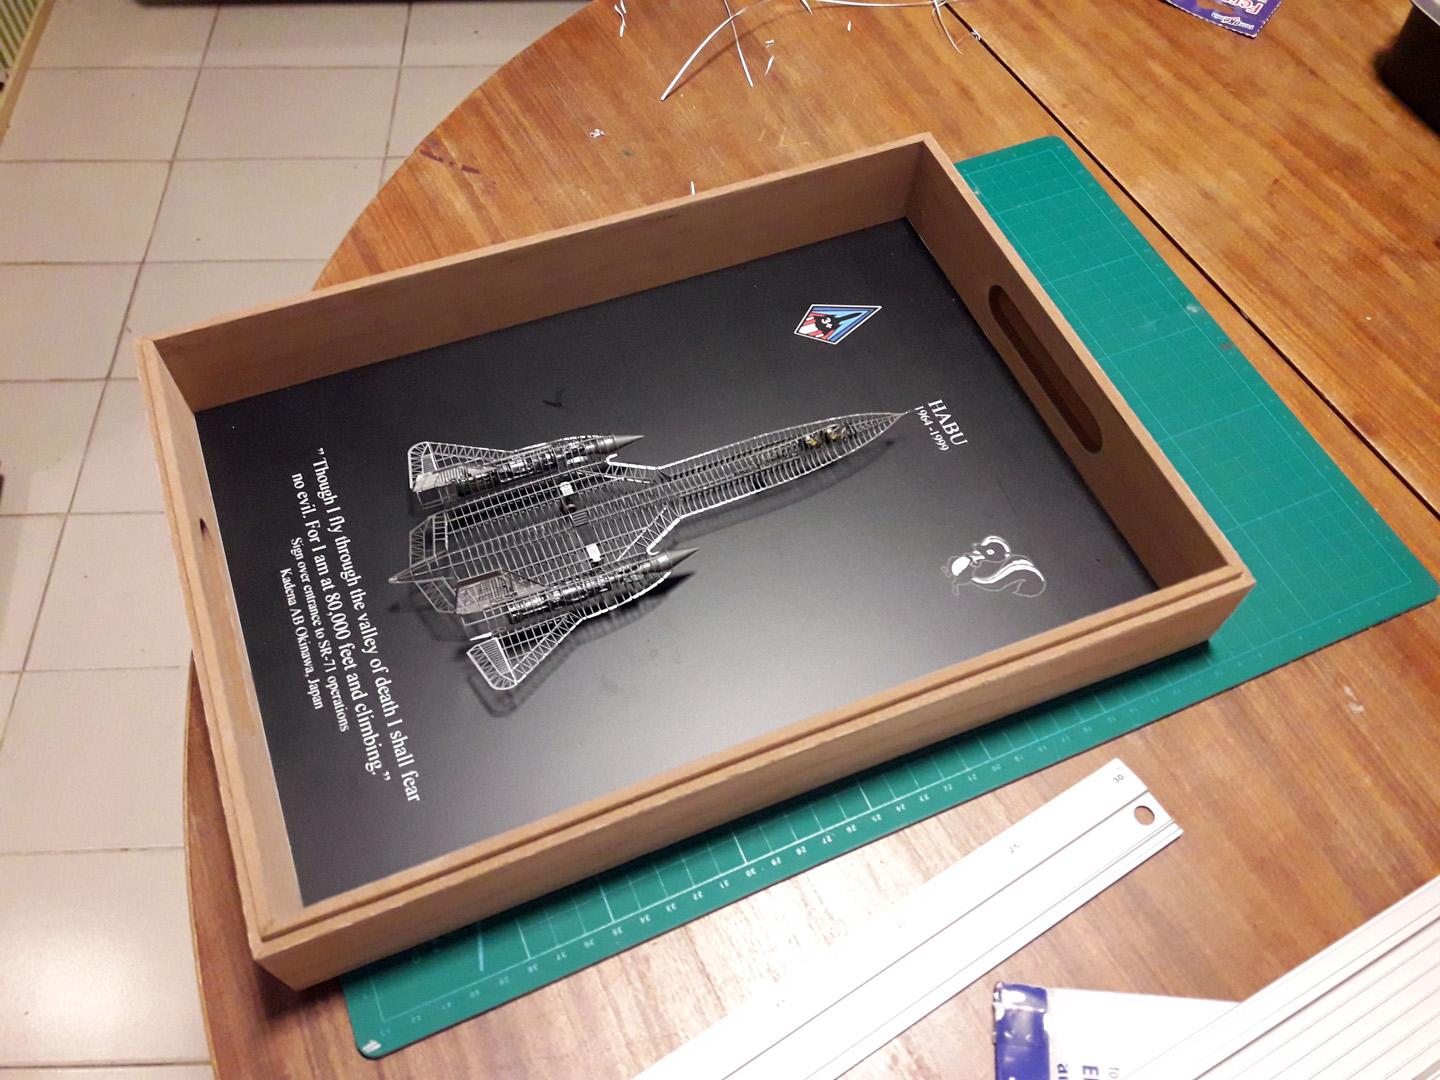
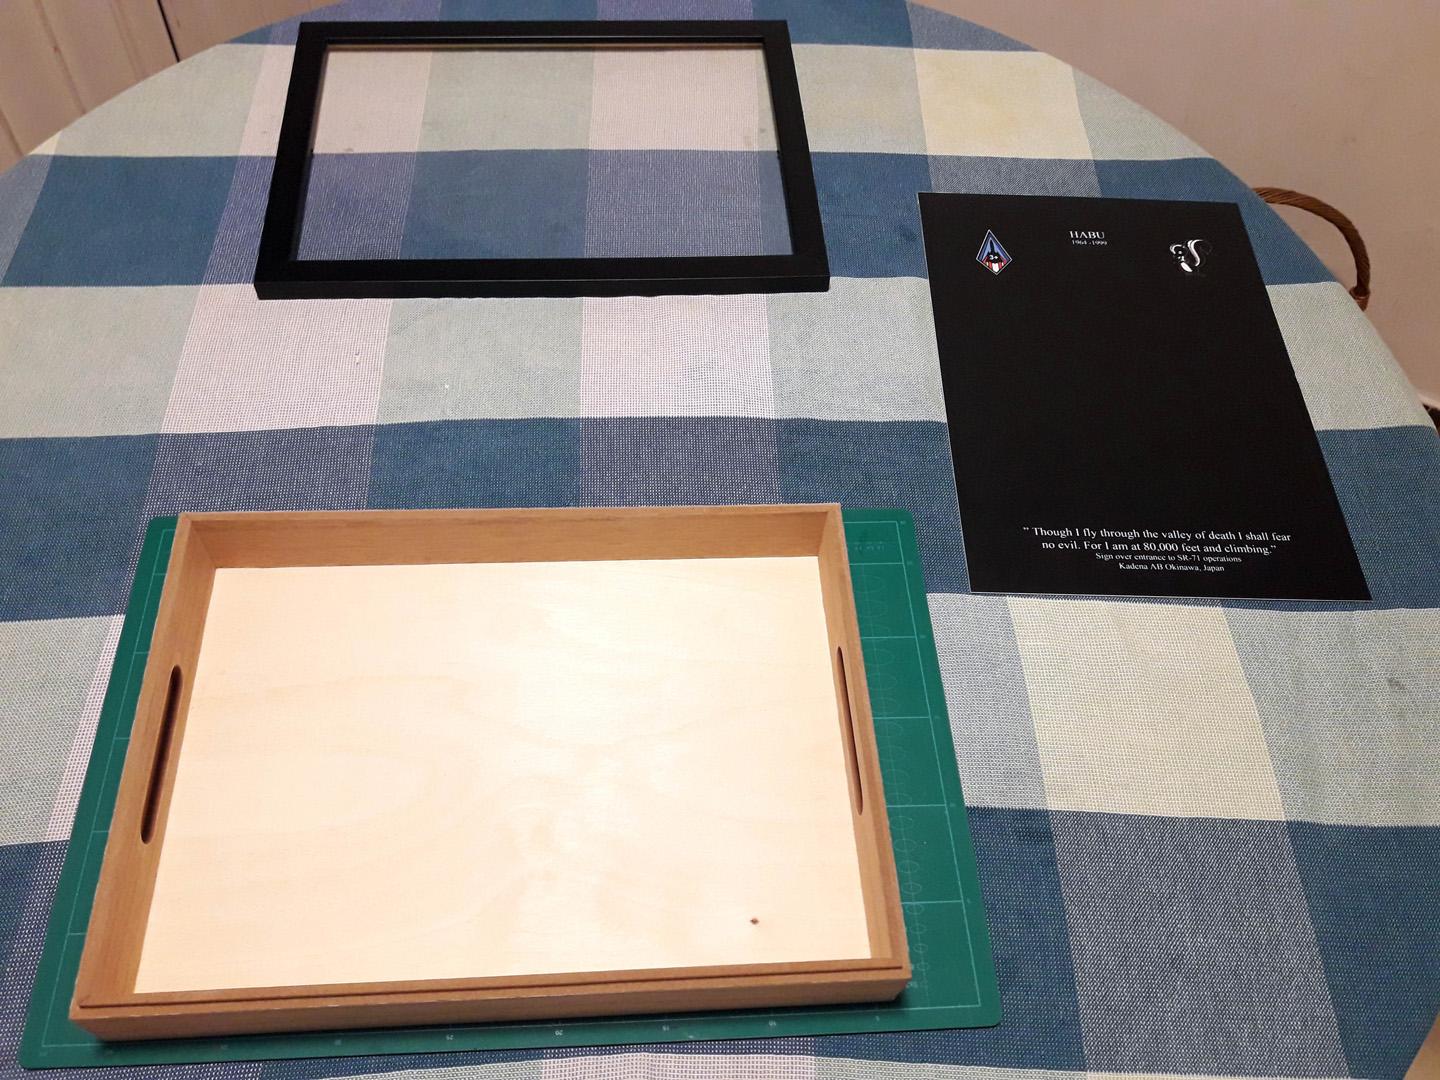
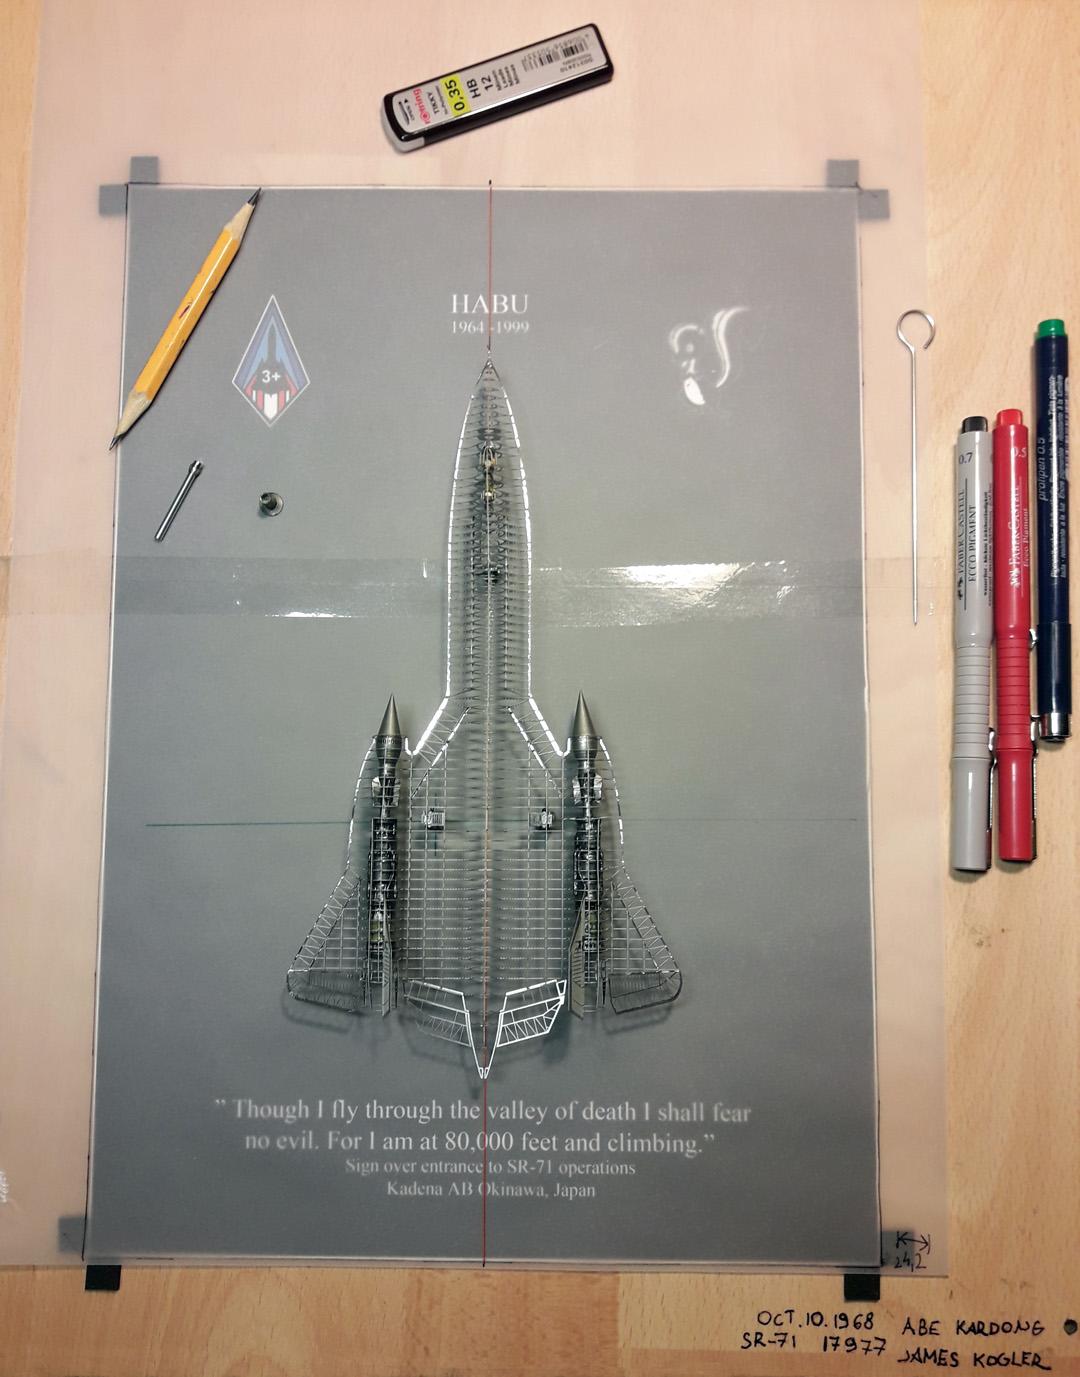
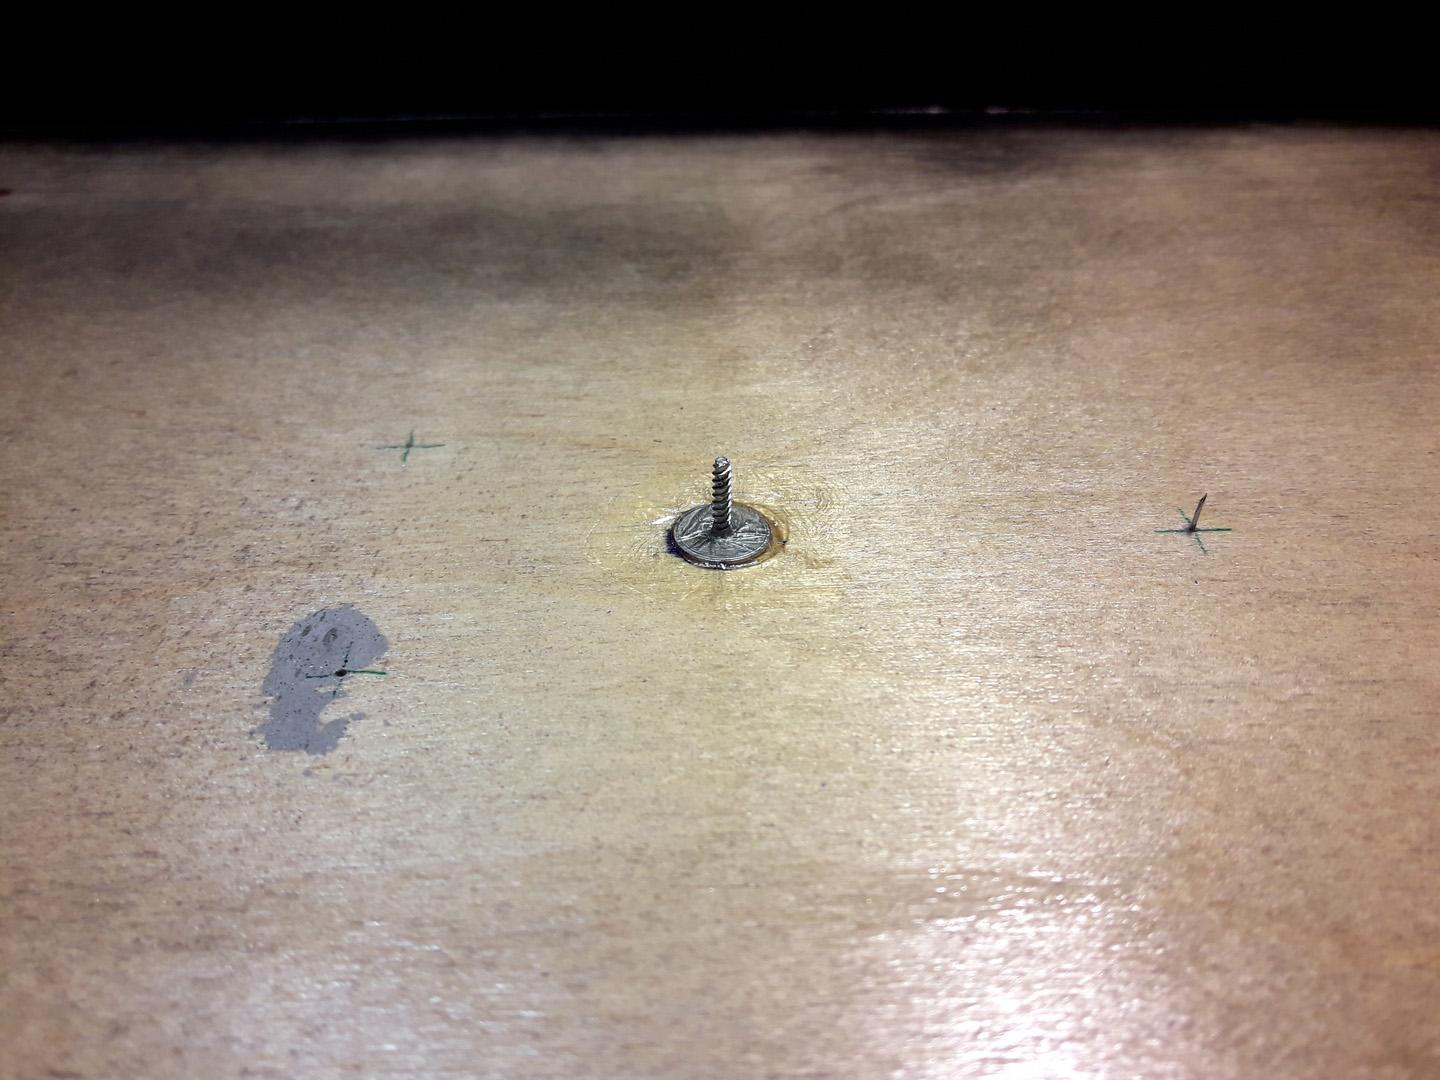
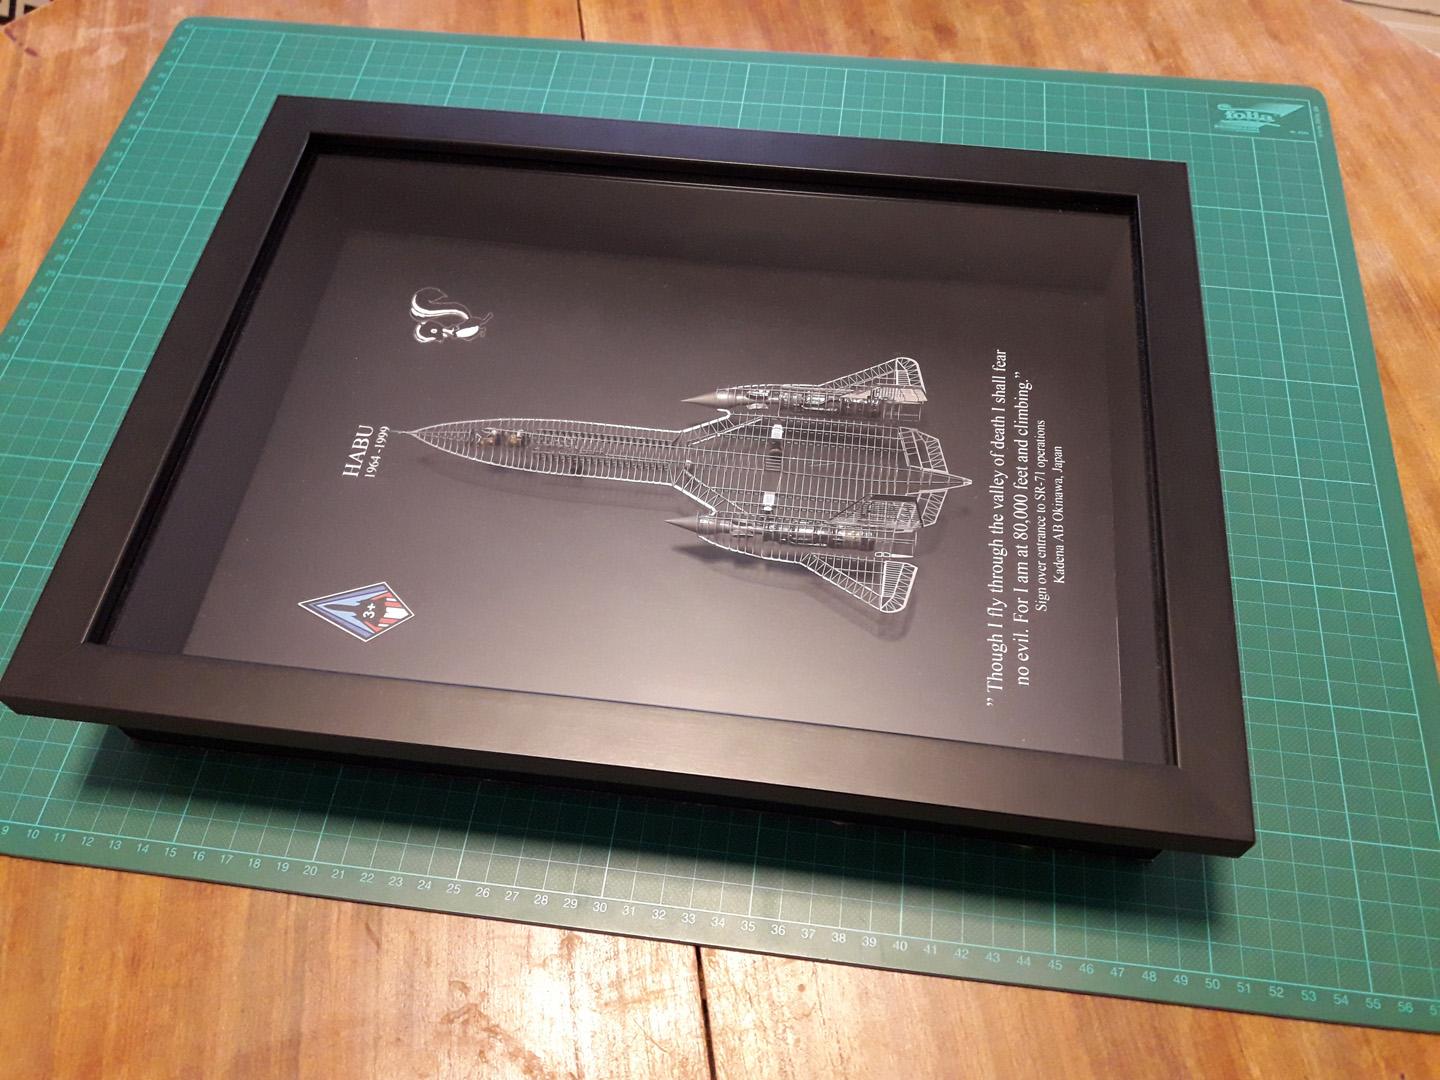
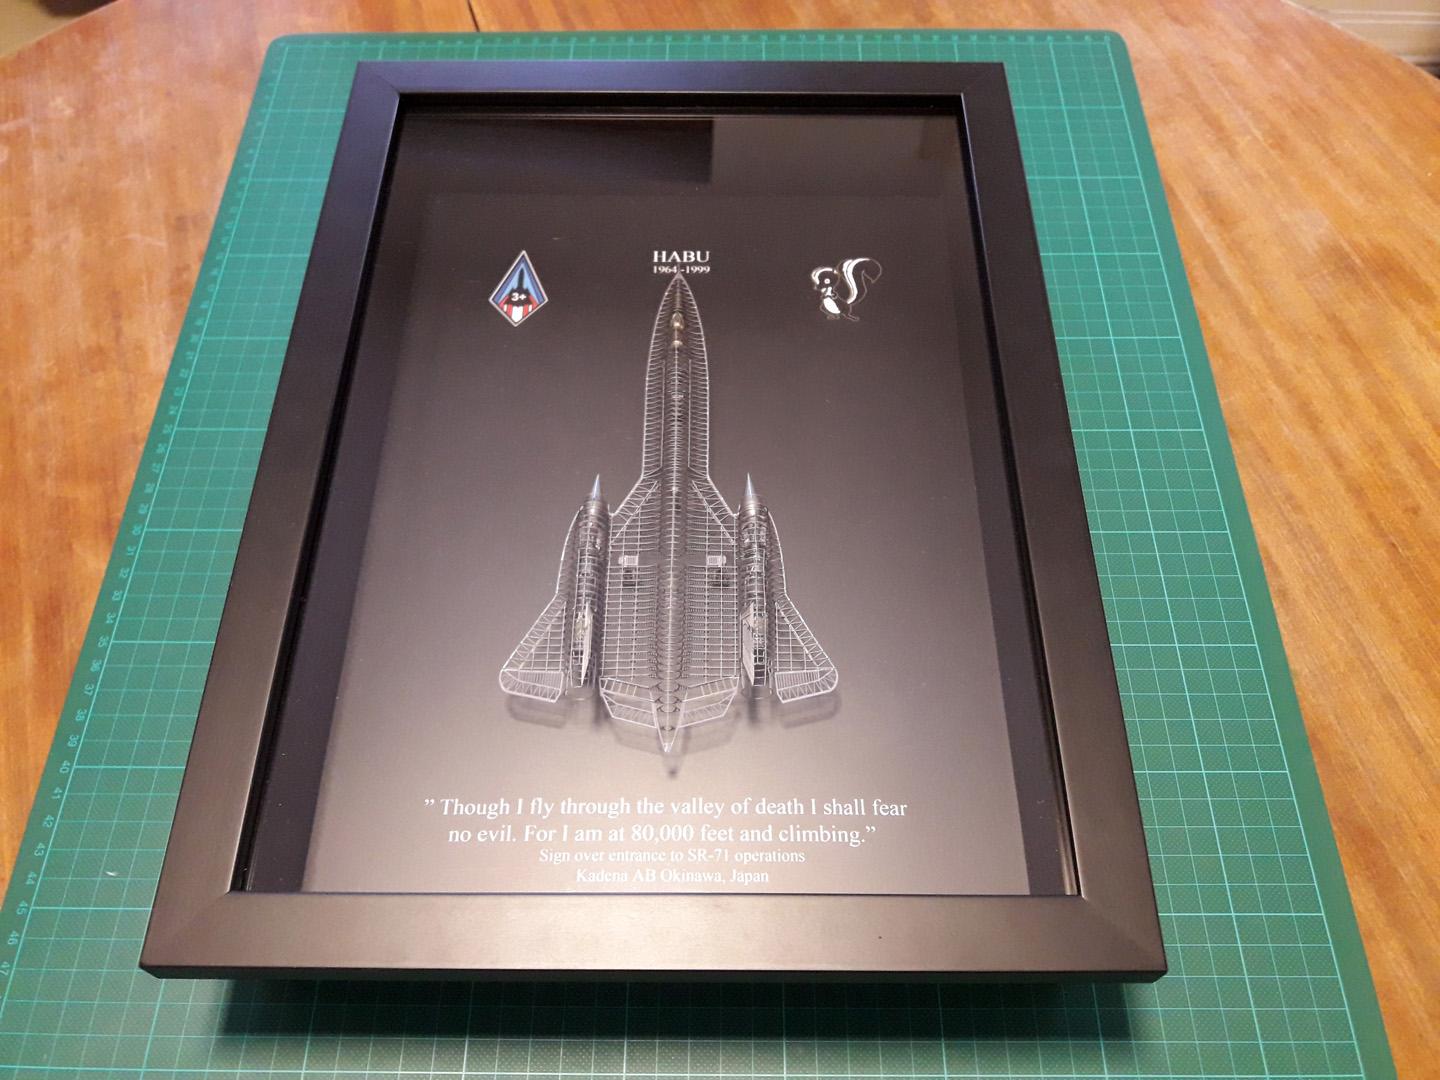
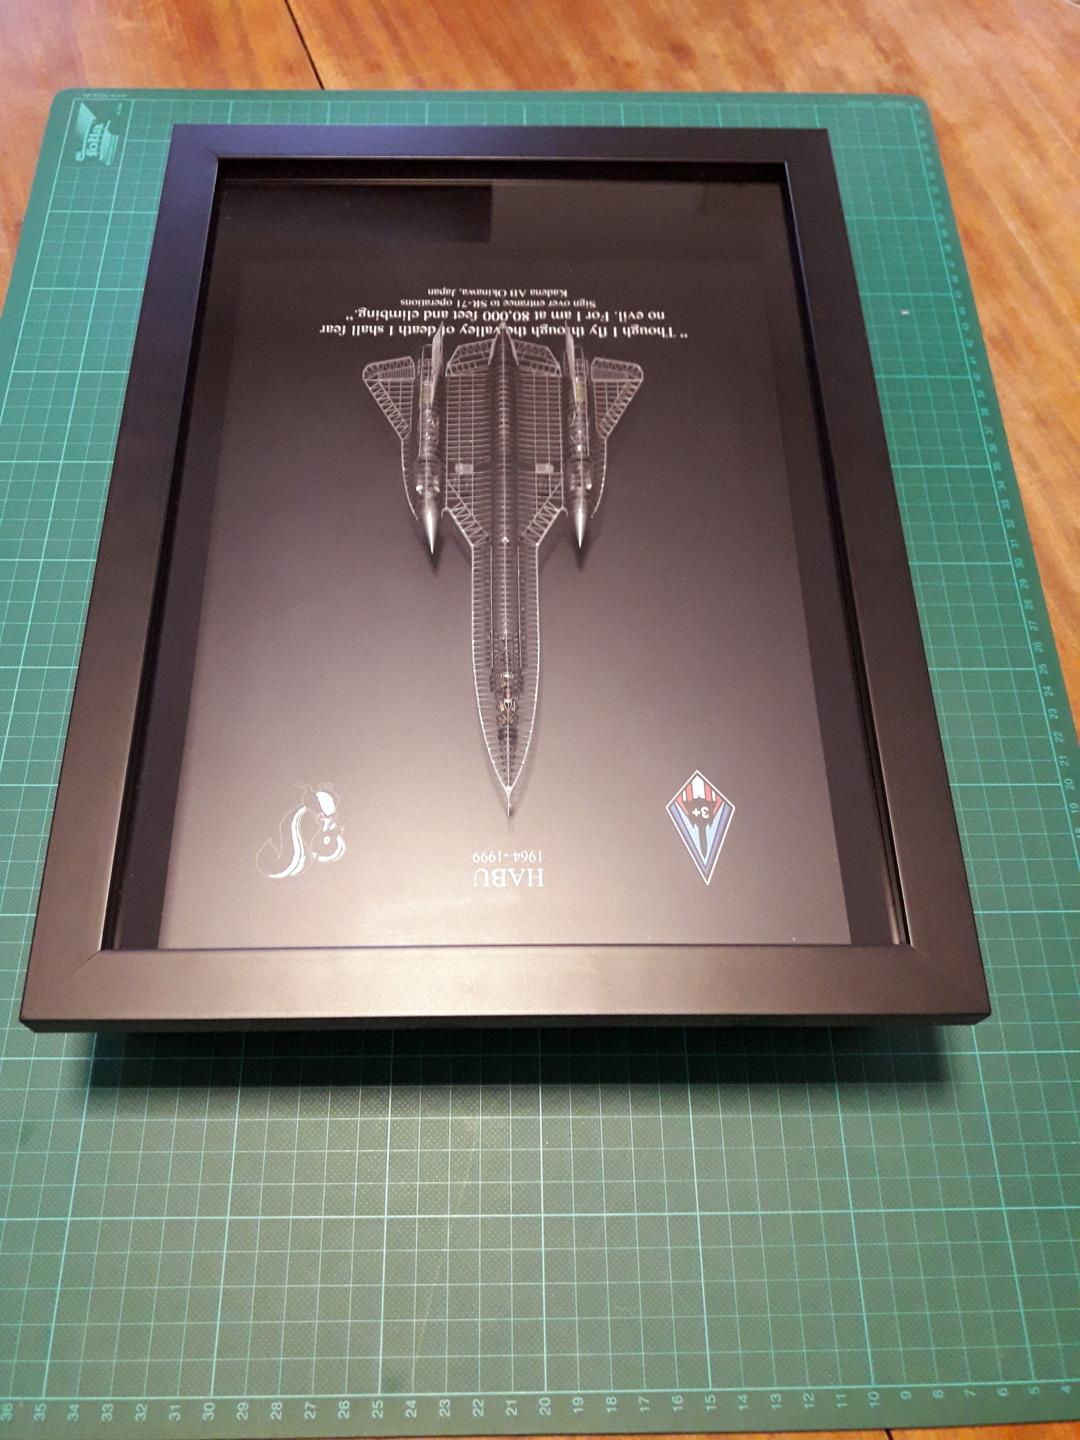
The assembled aircraft was looking good, but it kept bugging me that something as mighty as the SR-71 deserves a more special presentation. I then had a light-bulb moment: how about hanging it like a painting! So, the second stage of the build began. The box frame was made of a wooden tray. The base/background of the plane was created in Photoshop, then printed on vinyl foil, which was then stuck on a 2 mm thick PVC board. At the front, there is a regular picture frame with glass, which in order to be opened, is attached to the top of the box frame with two tiny metal hinges. At the bottom, a pair of rare earth magnets keep the box closed. The aircraft is removable, and it attaches to the base at two points. Under her belly, at the approximate center of gravity, there is a tiny neodymium magnet pair, the upper part being glued to the fuselage, whereas the bottom part to a steel tube that is fixed to the base. To secure the position, a second anchor point was also necessary, which was created under the nose undercarriage using a hypodermic needle. The bottom of this needle is also glued to the base, the needle slides into the bottom of the nose wheel strut.
This project kept me busy for a year of which the assembly of the bird was 3 months, and designing and completing the presentation box was another 9 months. I must admit that I enjoyed every second of it.
I hope you will enjoy it too!


Wow! this is a fantastic model and an equally fantastic presentation, Ed!
Something you don't see every day for sure!
Welcome aboard!
I'll throw a second WOW! in there
This is really amazing, Ed @elmo
Totally different and true craftsmanship.
Welcome to this great community.
I've seen those kits around, but never one completed. Excellent and unique.
Very cool and very nice! Love display. Well done and welcome aboard.
Add another WOW. Great patience with this build. Very nice base too. Nice photography of something so detailed (and small) if I tried this it would have been a round ball of metal. Great job
My first thought was WOW! Seems I wasn't the first to think it... that is awesome, particularly the display and the added displayed details. Thank you for sharing and great first article!
People who do models like this are completely crazy. What a great result!
Thank you for the comments, gentlemen!
Great looking model !
Probably the coolest and most unique thing I have seen for a while here on the forum. Well done!
Wow. What an incredible piece of work! I'll echo David Butler's words above-I couldn't say it better! Your patience, precision and dedication is on full display here @elmo! ?
One word...AMAZING!
That is a very unique project - amazing from me too!
Wow that is crazy. Welcome to imodeler Ed
Hi Ed,
This just stunning! The presentation brings it to another level. Can you tell us how you use the UV glue and what type? Most of the UV glue that I have seen seems to be too thick for this type of work. I look forward to seeing what you do next.
Scott
Hi Scott,
I was using two brands of UV glue: Revell Fix-Kit was the first one I tried, it was a bit on the thick side though (probably from some old batch). The other one is called Lazer Bond USA (what a silly name), it has a perfect consistency.
I was using the glue as per the manual. In the case of the "Sled", there were no overlapping connection points and the stainless steel structure was reflecting the UV light, so there was no problem with curing at all.
Truly creative build. A joy to take it in!
Reminds me of when I'd get to the point of covering a stick and tissue model. You don't really want to cover up your work. With yours, you don't have to! I want one but I'd like it 1/48 to set next to my regular model.
Hi Josh,
I see your point, my original plan was to place it next to a Dragon-made "regular" model. Unfortunately, I was not able to trace one.
Excellent - such a cool interesting build and I love the way you've framed it. Brilliant.