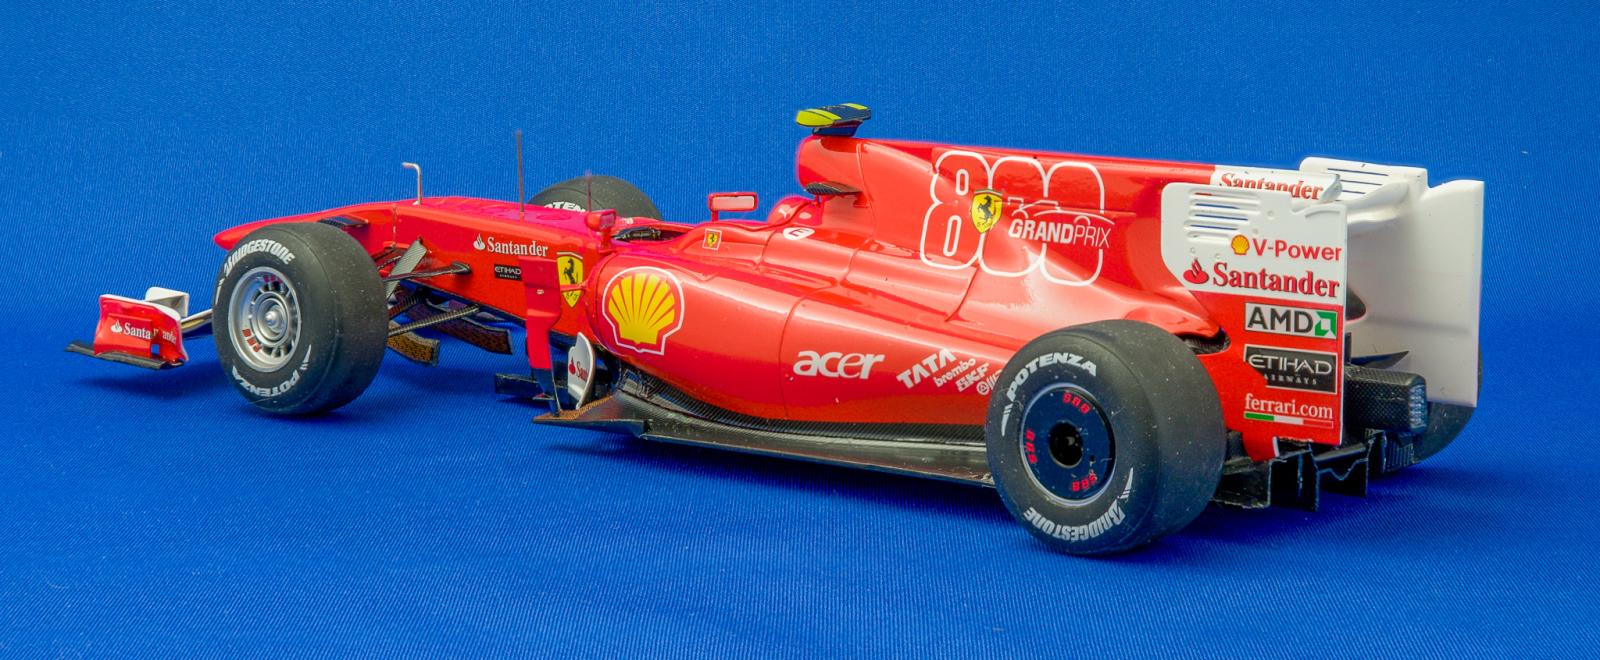
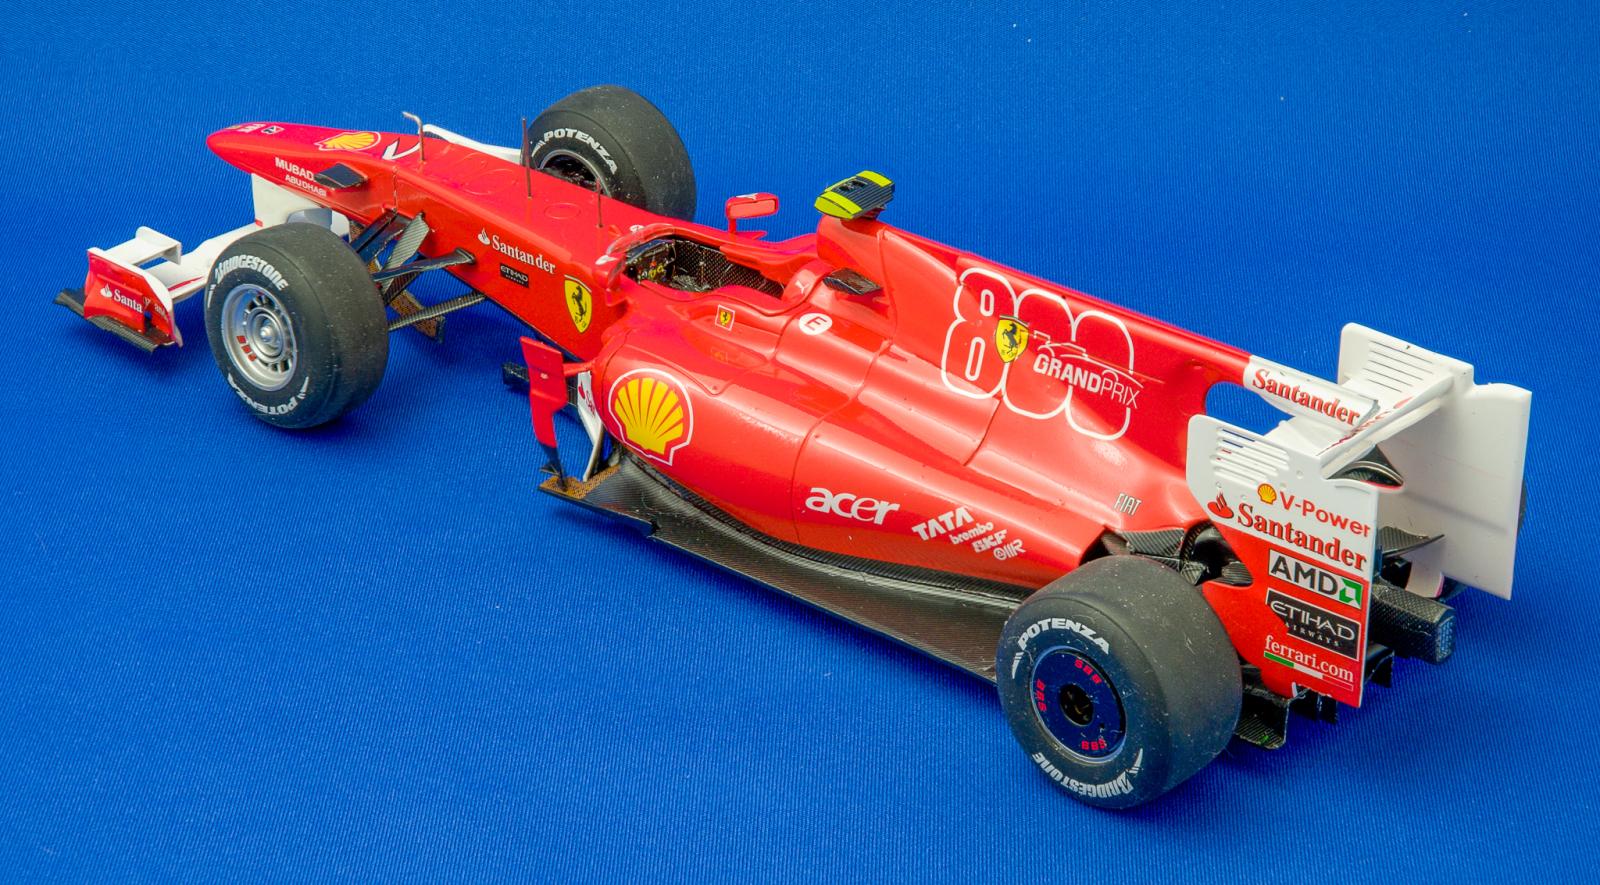
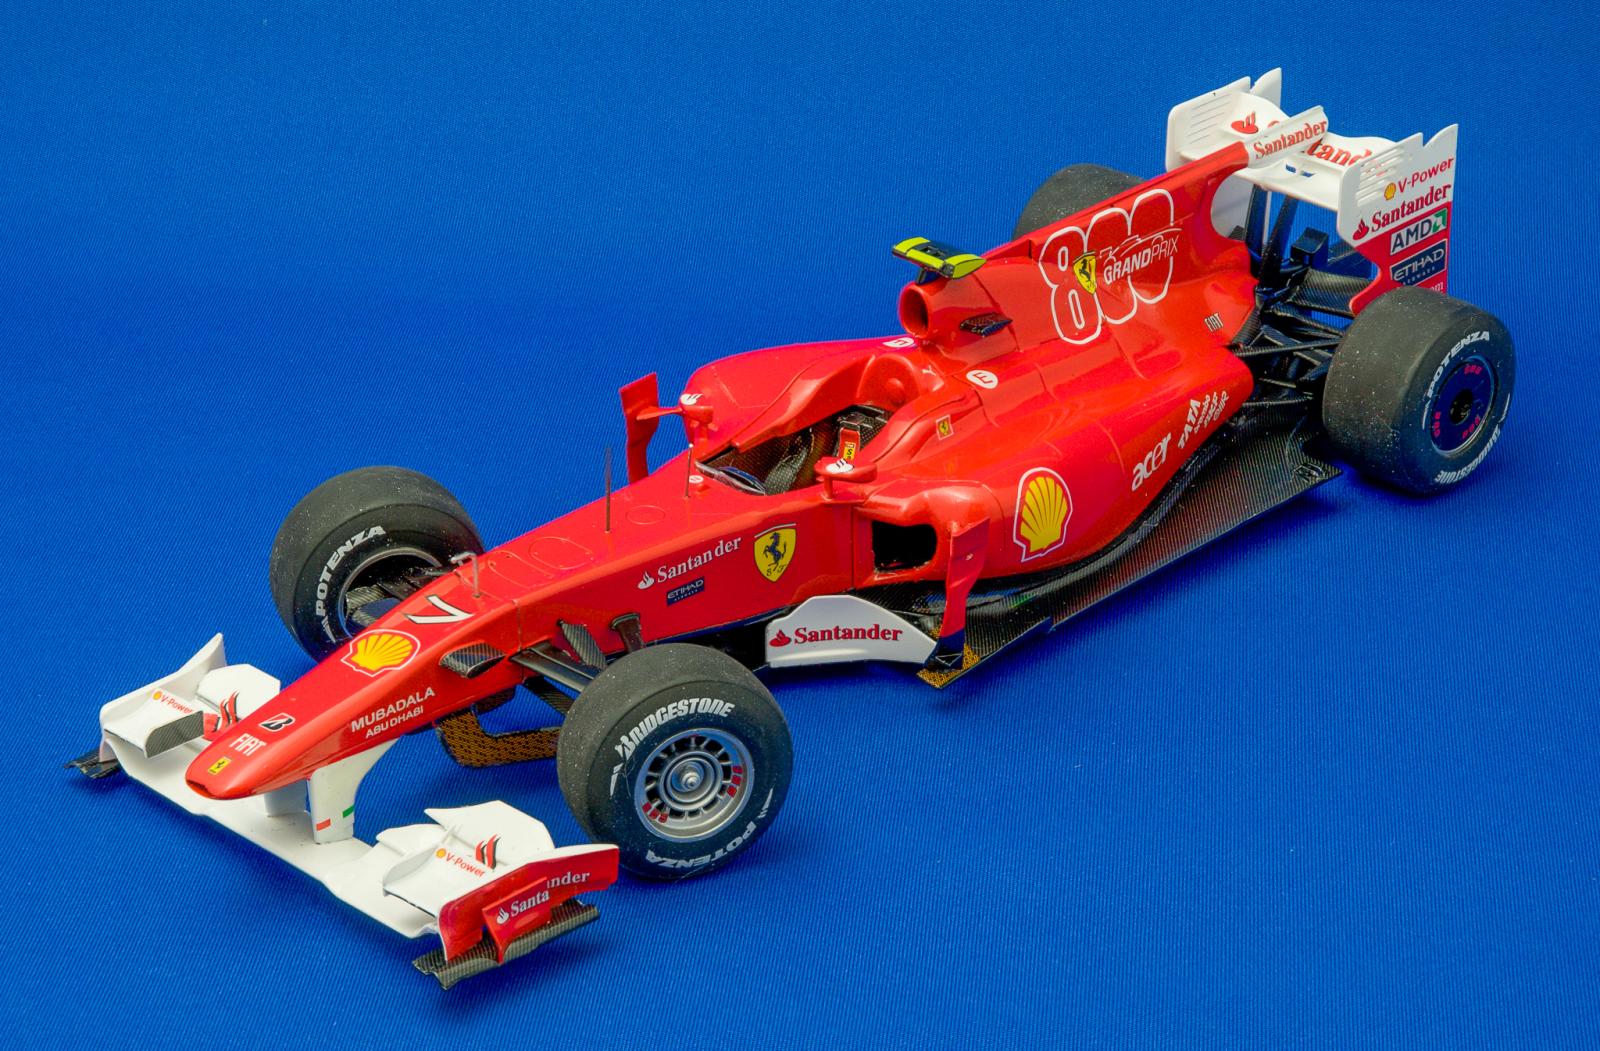
Fujimi 1/20 Ferrari F10 – Fernando Alonso
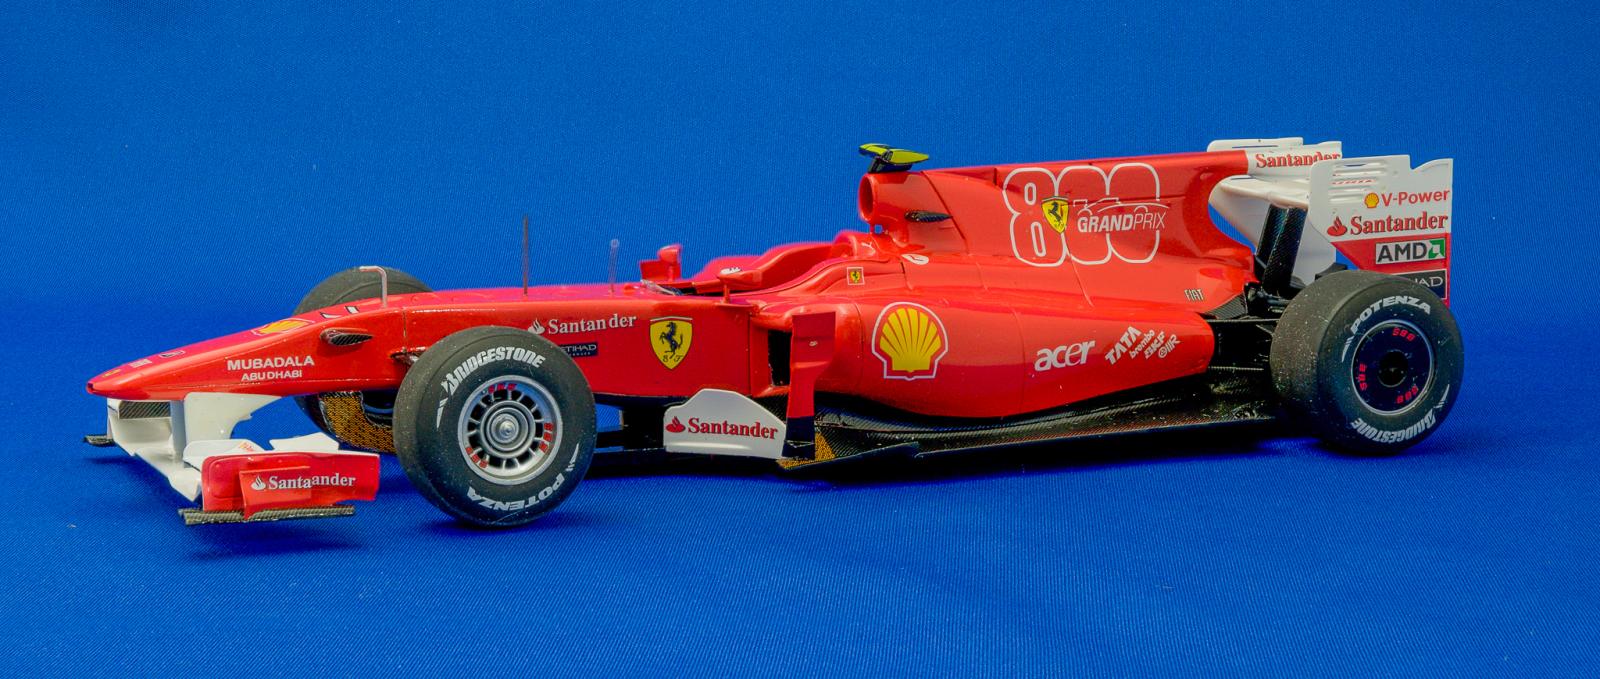
Fuji 1/20 Ferrari F10, 2010, Fernando Alonso. This was a competitive car for Ferrari but it fell short of the championship as Red Bull won their first of 4 consecutive constructors' and drivers' championships in 2010.
See all my models at: https://www.flickr.com/photos/98961263@N00/albums/72157603606379755
Decals - Taboo 800th Grand Prix (CD20005) and Studio 27 Carbon (ST27-CD24038)
Paint: Zero Rosso F10 (ZP-1007) and Zero 2K Clear
Photograpy: Nikon D300; Focus Stacking using Helicon Focus; Editing using LightRoom
This is a nice kit from Fujimi. The fit is excellent all around but there is a bit of flash to clean up. The fit between the floor and the body was the best I've ever seen on an F1 kit - no glue needed on the outer perimeter which is nice because its really easy to mess up an F1 car at this stage of assembly. I like a semi-gloss finish on the carbon floor and a gloss finish on the body panels so not having to use any glue was a bonus.
The kit decals and the Taboo decals performed well and look great. The tyre markings are a different kind of decal which requires a different technique. Tamiya also uses this system but their approach is a bit better. In both cases, one cuts out the decal (which is printed in reverse) and places on the dry tyre in the desired place. Then water is applied to the paper backing to loosen the decal so it can stick to the tyre. The thing that is better with the Tamiya system is that it includes a thin tracing paper like layer through which the decal can be seen - this makes placement easier. With the Fujimi system, one cannot see the decal to place it easily. The Tamiya system is also better in that the decal releases faster so there is less of a chance of trying to removing the backing too soon and ruining the decal. I find the Tamiya decals stick better too. Both look great once applied since there is no carrier film and the markings really look painted on. What makes this a bit nerve racking on this kit is that there are no commercially available Bridgestone decals available any more so if you mess one up, you'll be short. There are painting templates available but I find them really difficult to use and the results are not consistent. If anyone out there has perfected the use of these templates, I'd love to hear how you do it.
The Studio 27 carbon decals were very challenging to work with as I find with all their sets. They are brittle, don't stick well and don't conform easily even with the strongest setting solution. I used about half a bottle of Solvaset getting them to lay down. I've also taken to soaking smaller decals in setting solution prior to applying to give them a head start. I also dip them in a solution of white glue and water before applying to improve adhesion. Mountains of patience is needed when using Studio 27 decals, however the quality of the printing is fantastic and seemingly well researched. This is the forth project in a row for which I used Studio 27 decals and I need a break so my next project may be an older F1 car with no carbon. Stay tuned.
Comments welcome…


Real nice !
A wonderful result, Richard!
Great that you provided all these build details!
Not the best looking Ferrari but you’ve made a great this job of it, including those Studio 27 decals. About the tyre markings, I usually put the outside transfers on first so if I mess one up I’ll only be short of an inside one, which isn’t quite so noticeable. It’s surprising how far back you have to go not to have carbon fibre, looking forward to your next build.
Very nice result, Richard @rbungay
Cool! And Ferrari red! Great race car model Richard @rbungay! ?
Great build Richard, It looks really really nice. Good work on the carbon fibre floor.