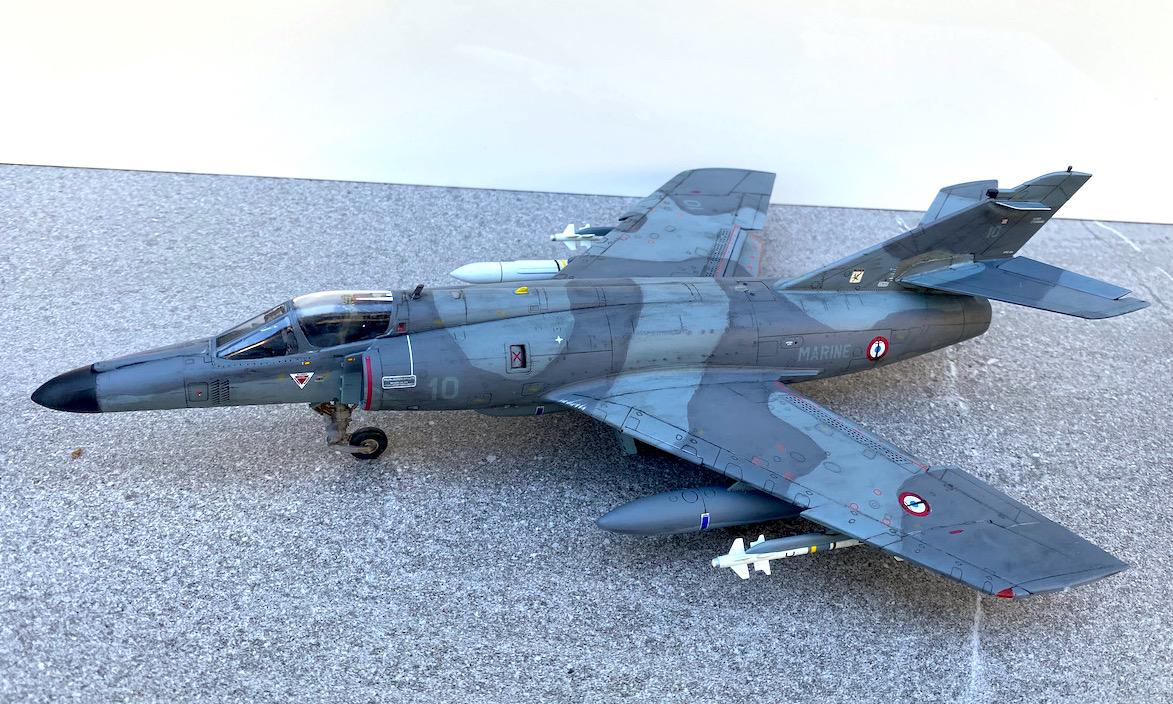
Super Étendard Modernisé, Kinetic 1/48

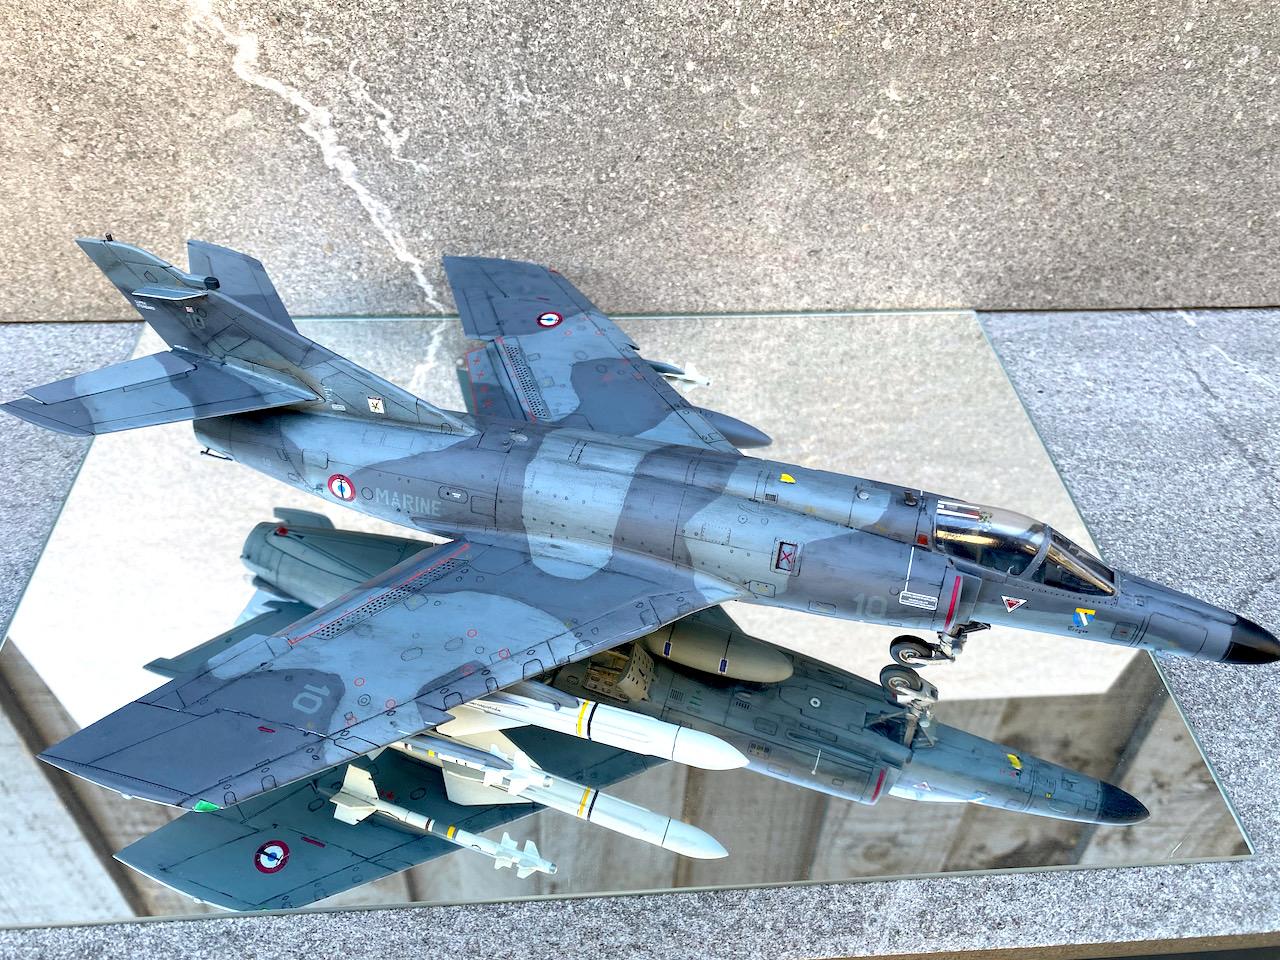
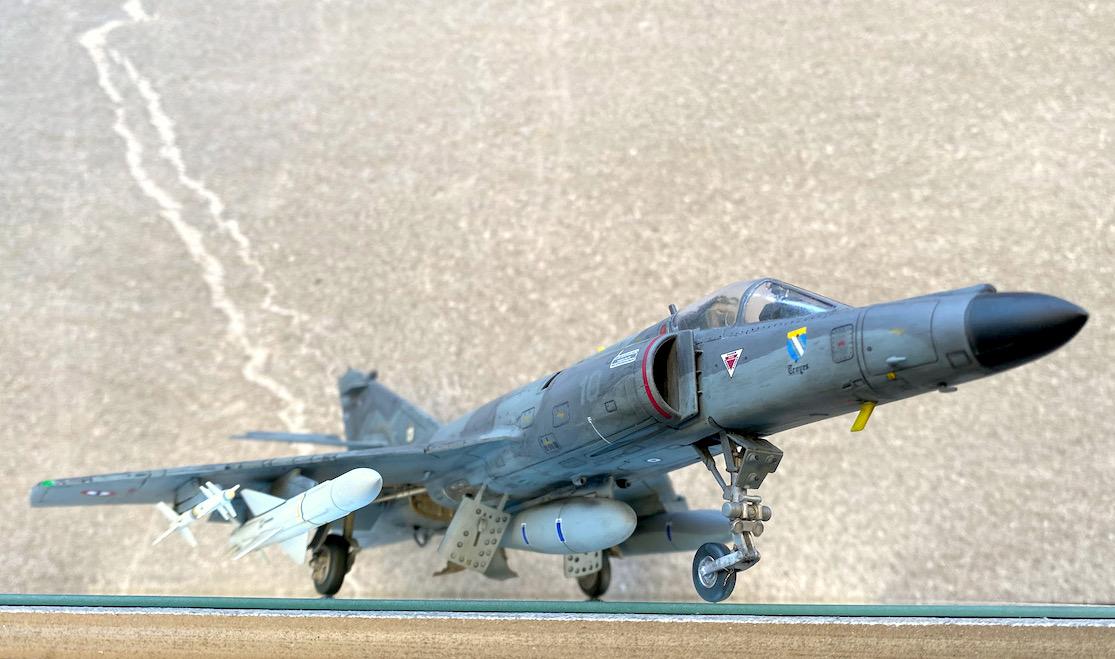
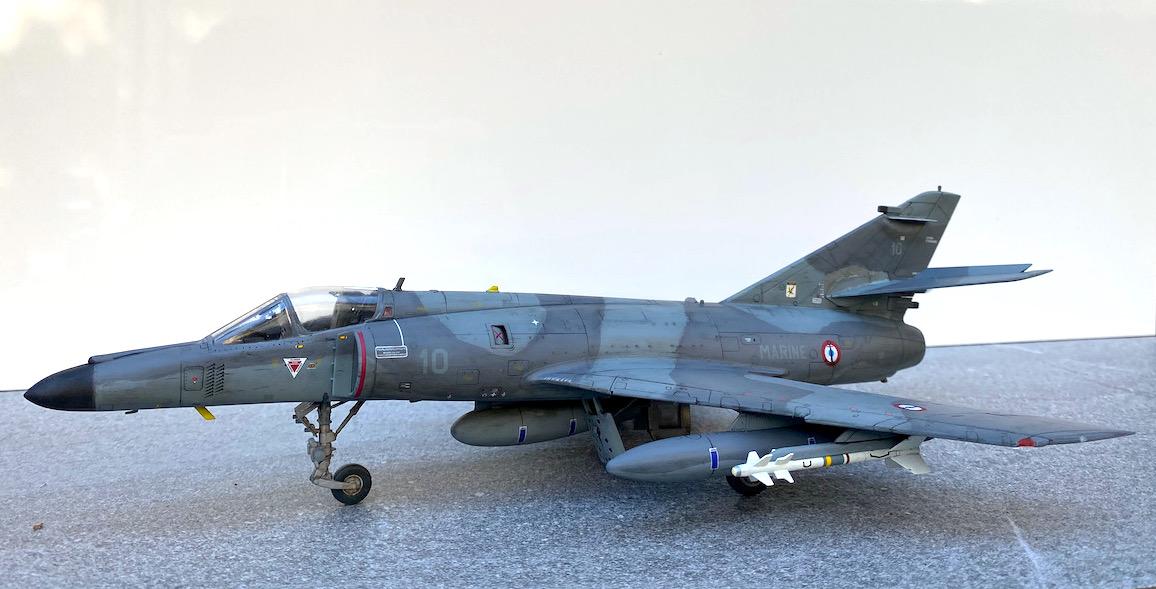
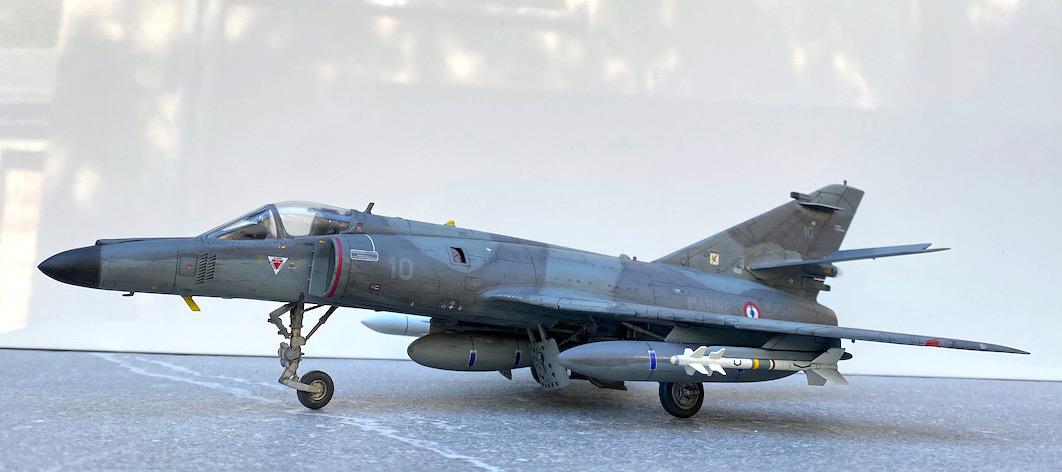
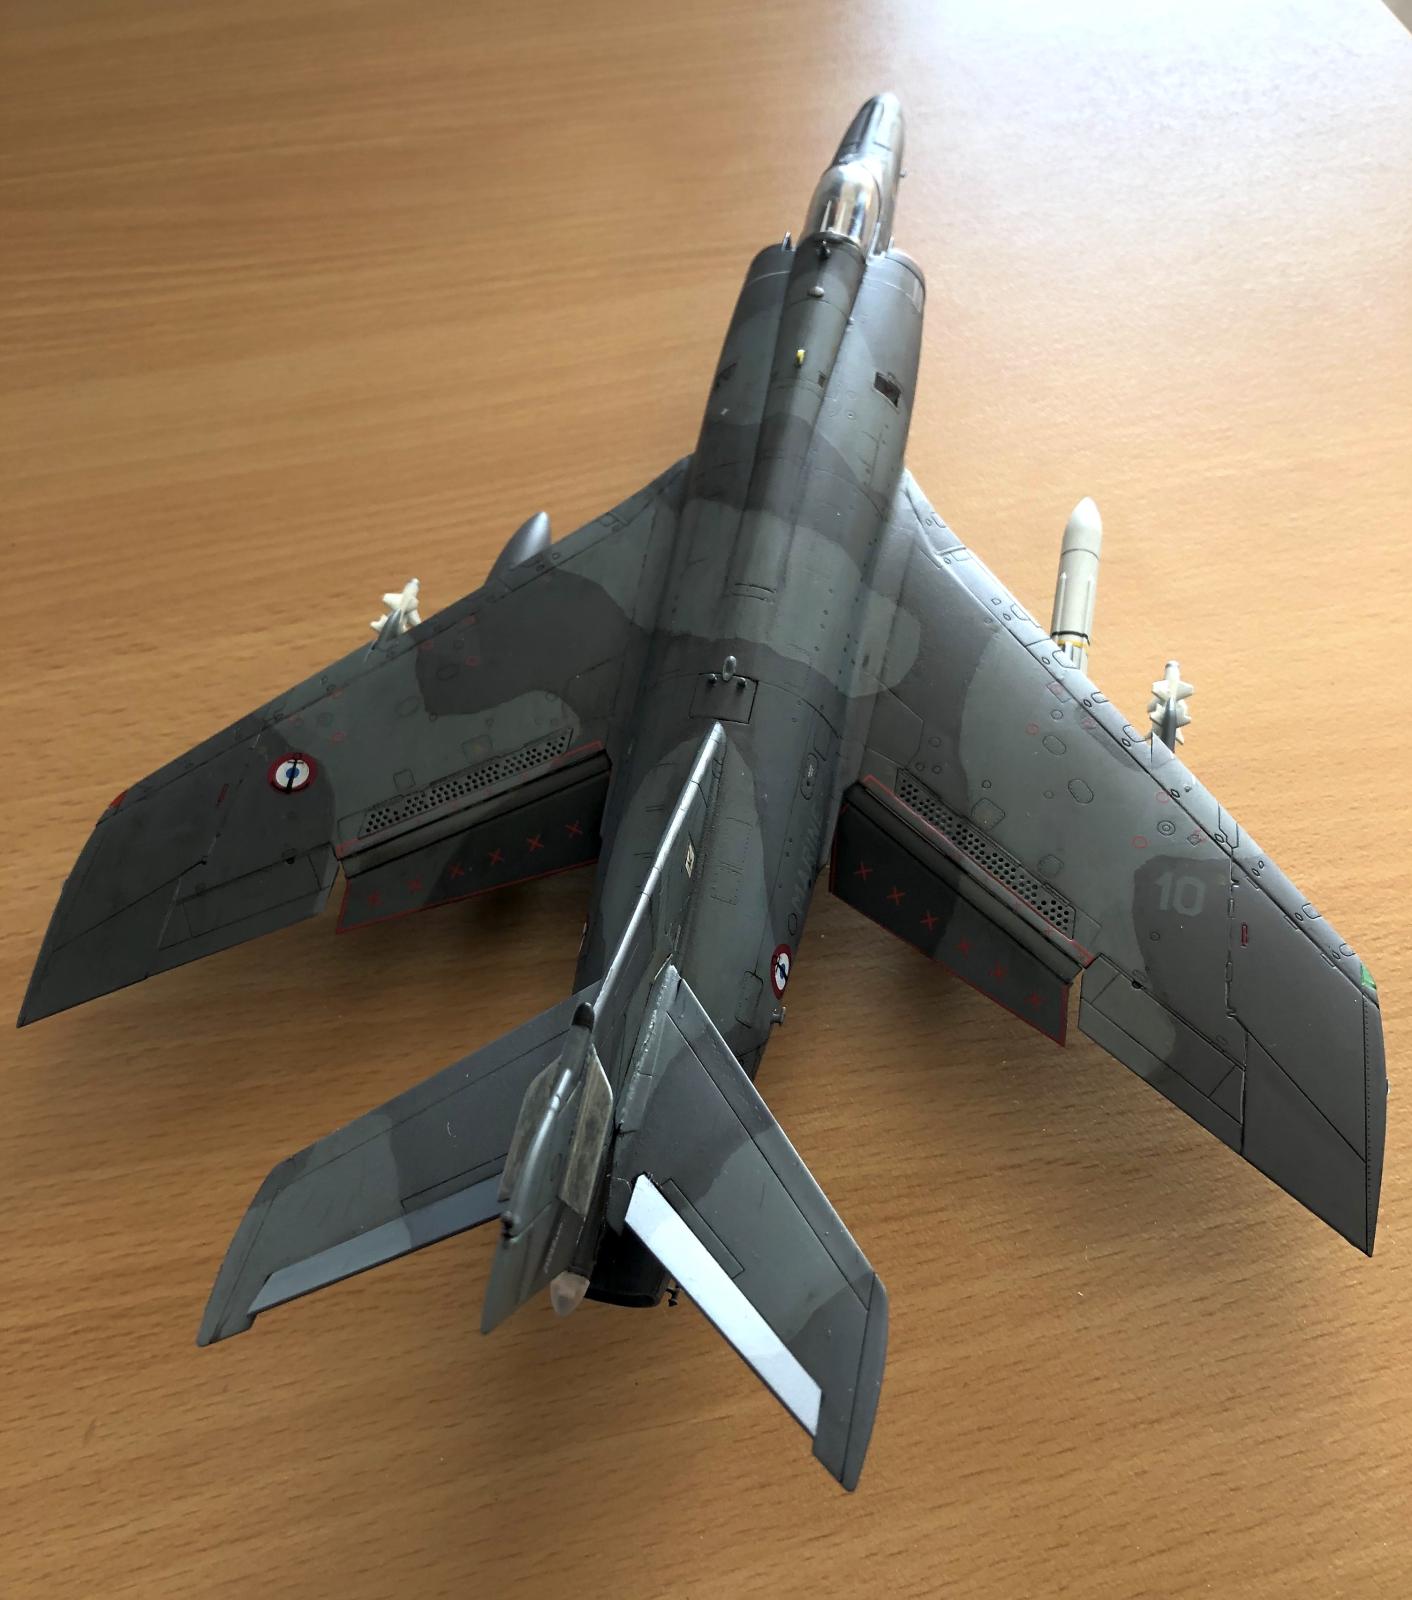
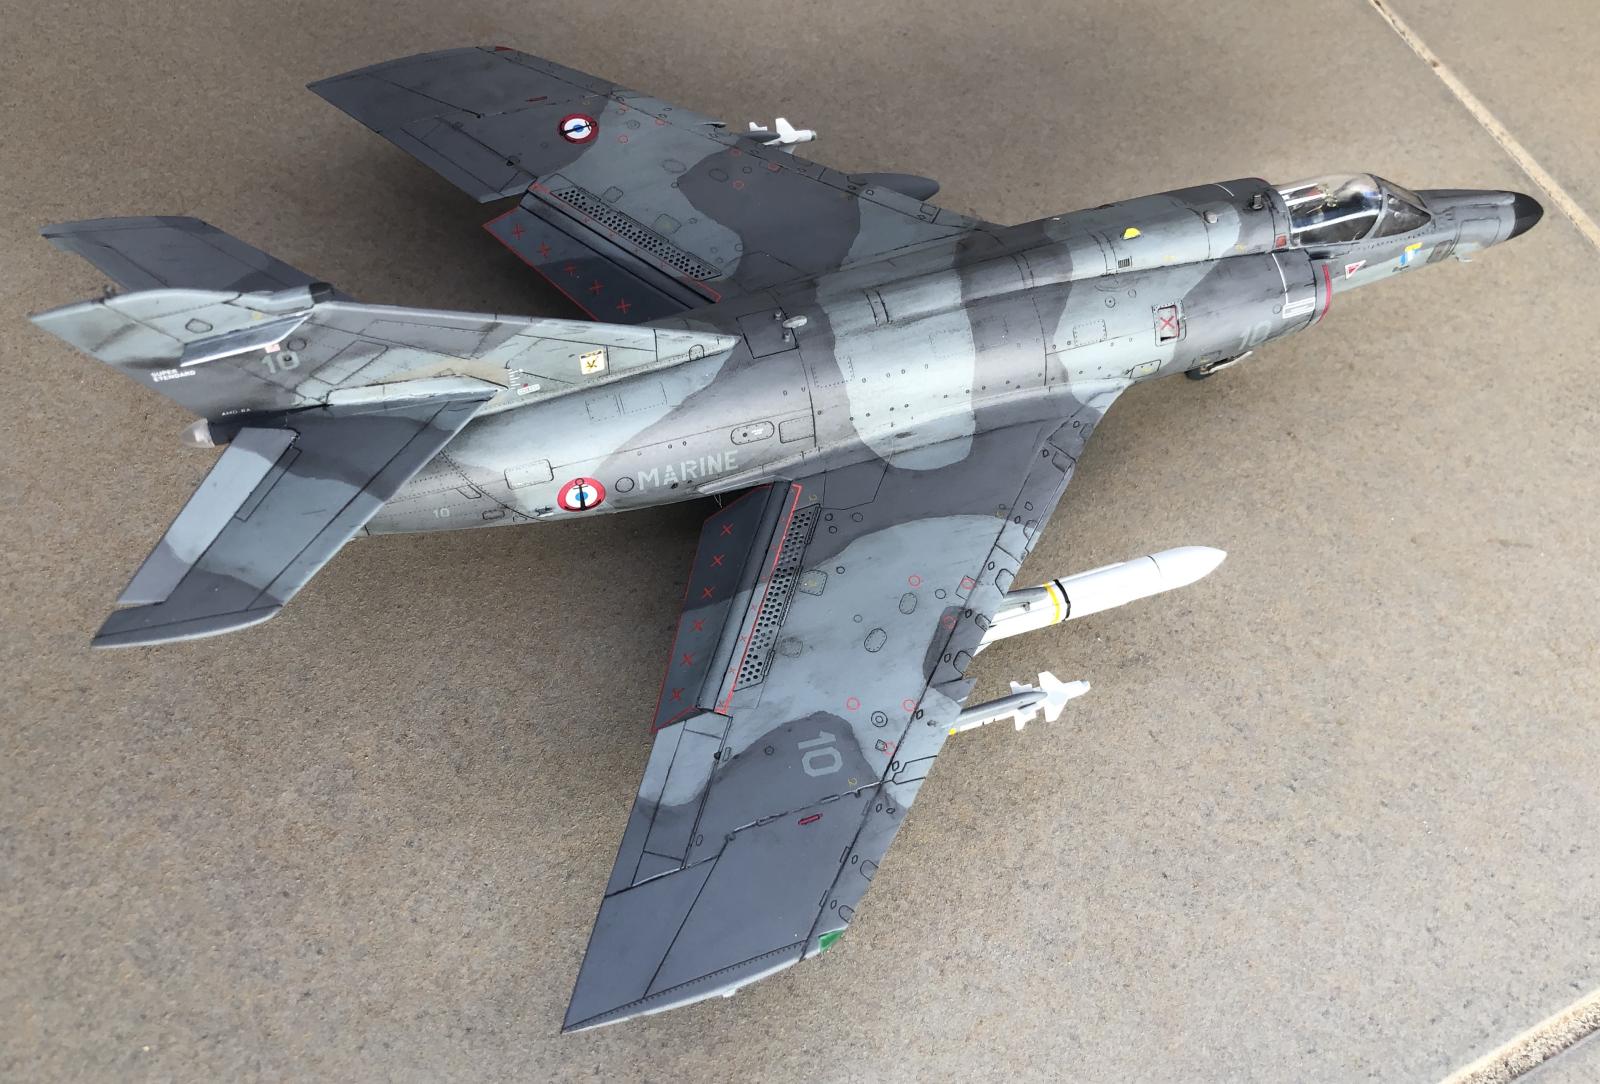
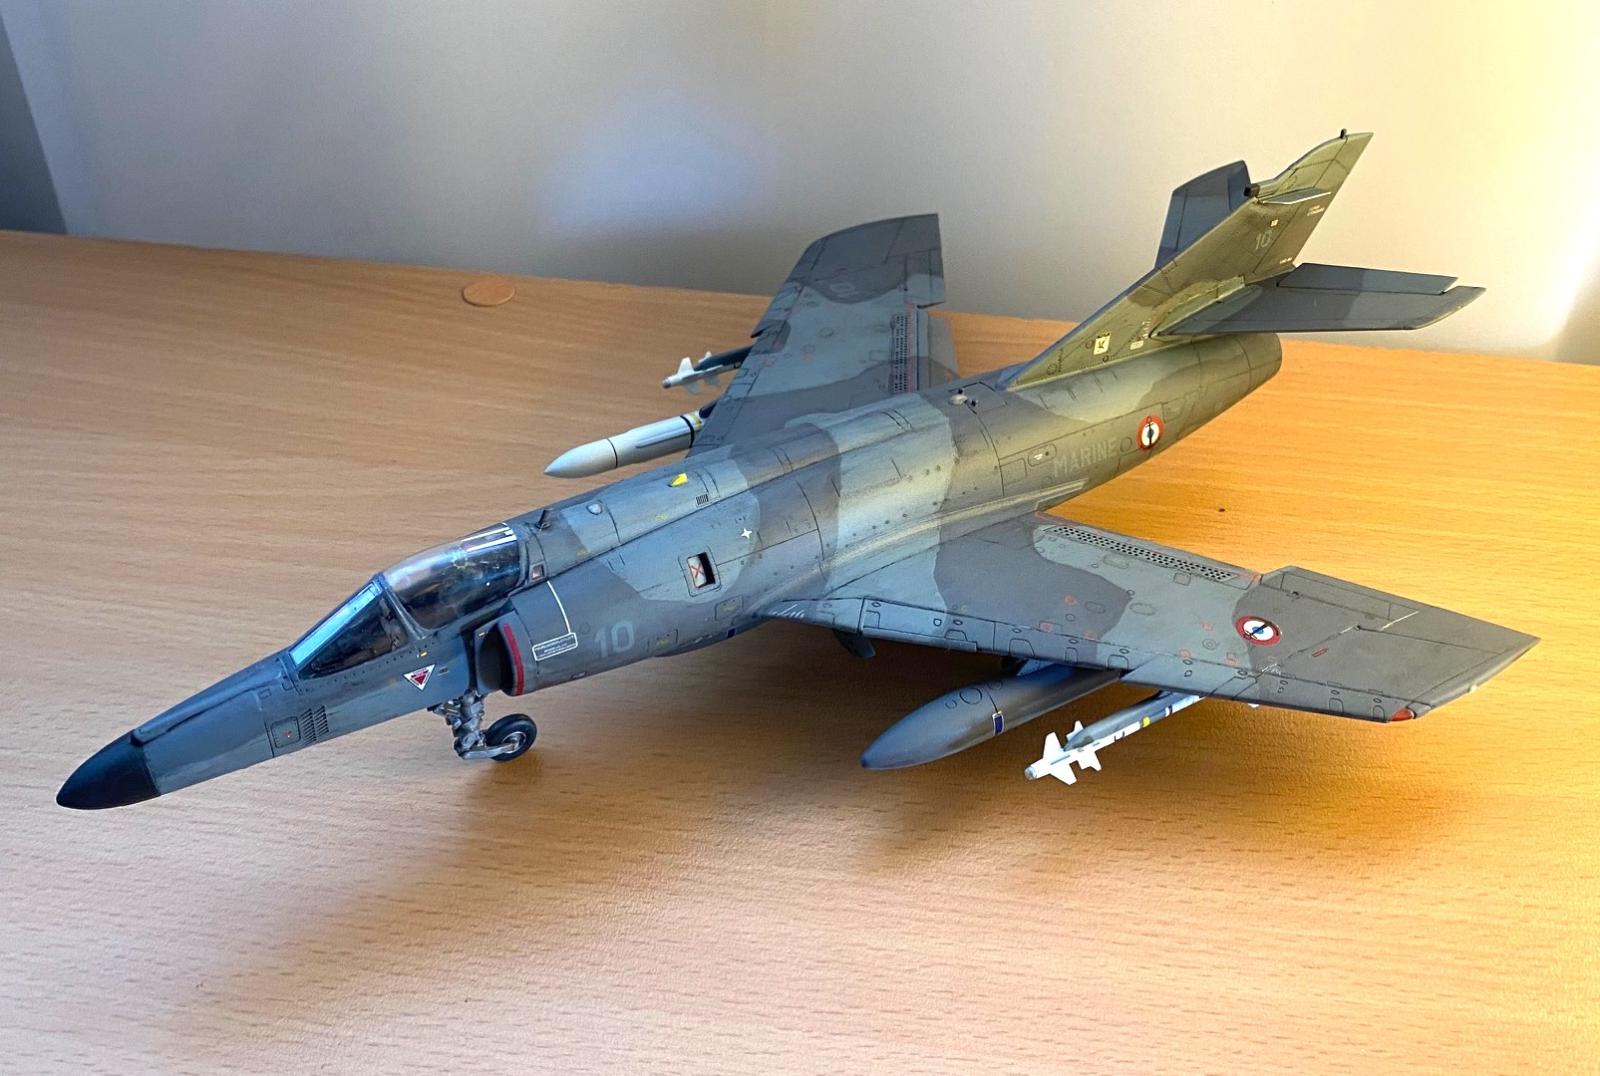
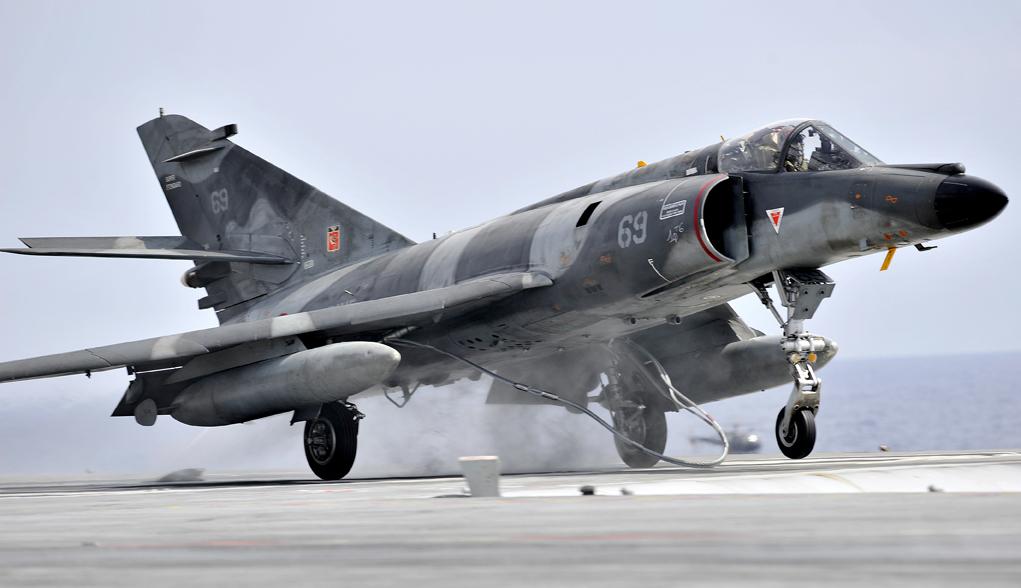
Here is one of the first aircraft models I built after rediscovering the hobby, a few years ago. Built out of the box. The plane represented here flew from the Charles de Gaulle in the missions against Libya, in 2011. I tried to reproduce the dirty look the SEMs had during this deployment (a picture of a well worn SEM is included in the gallery, for reference).
I always had a soft spot for the Super Étendard variants, which I find especially beautiful planes, so I was very enthusiastic about building one. In retrospect, this kit should have waited until I gained a little bit more experience, as it has some tricky bits, with special mention to the canopy and horizontal stabiliser.
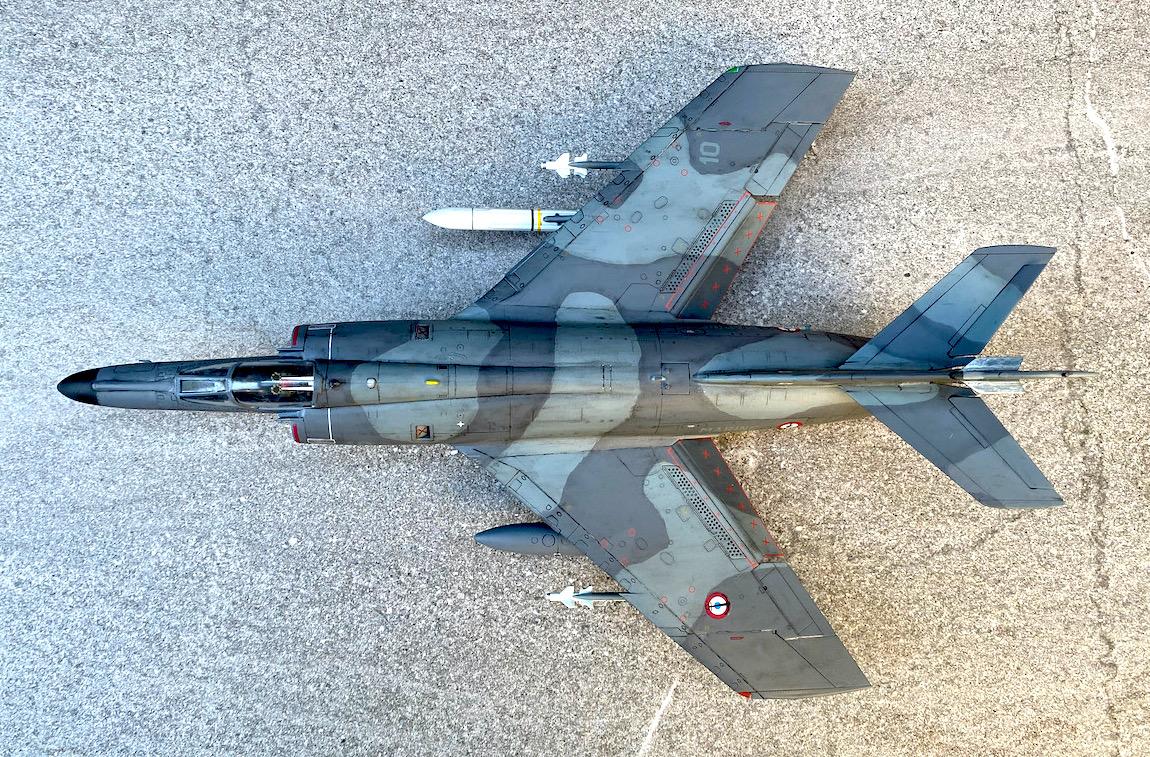
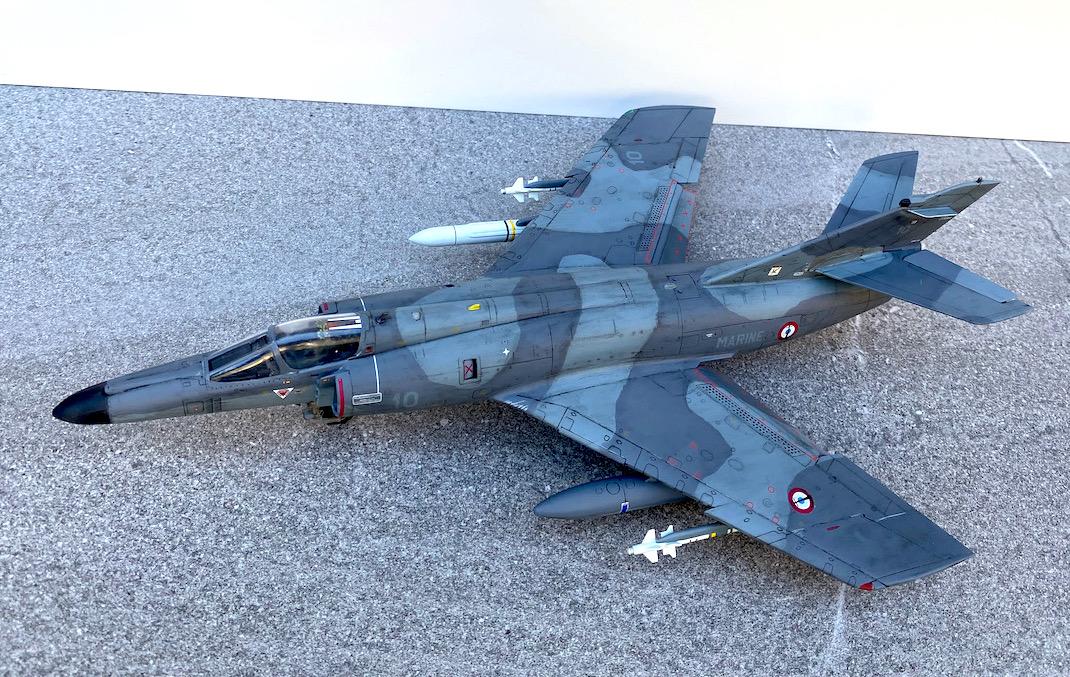
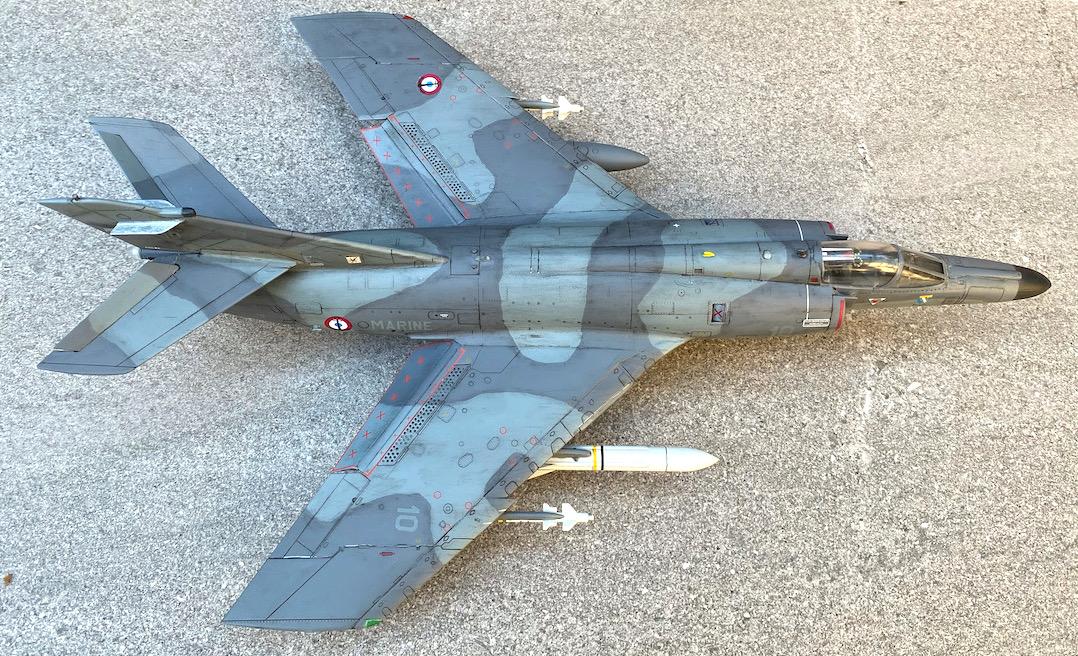
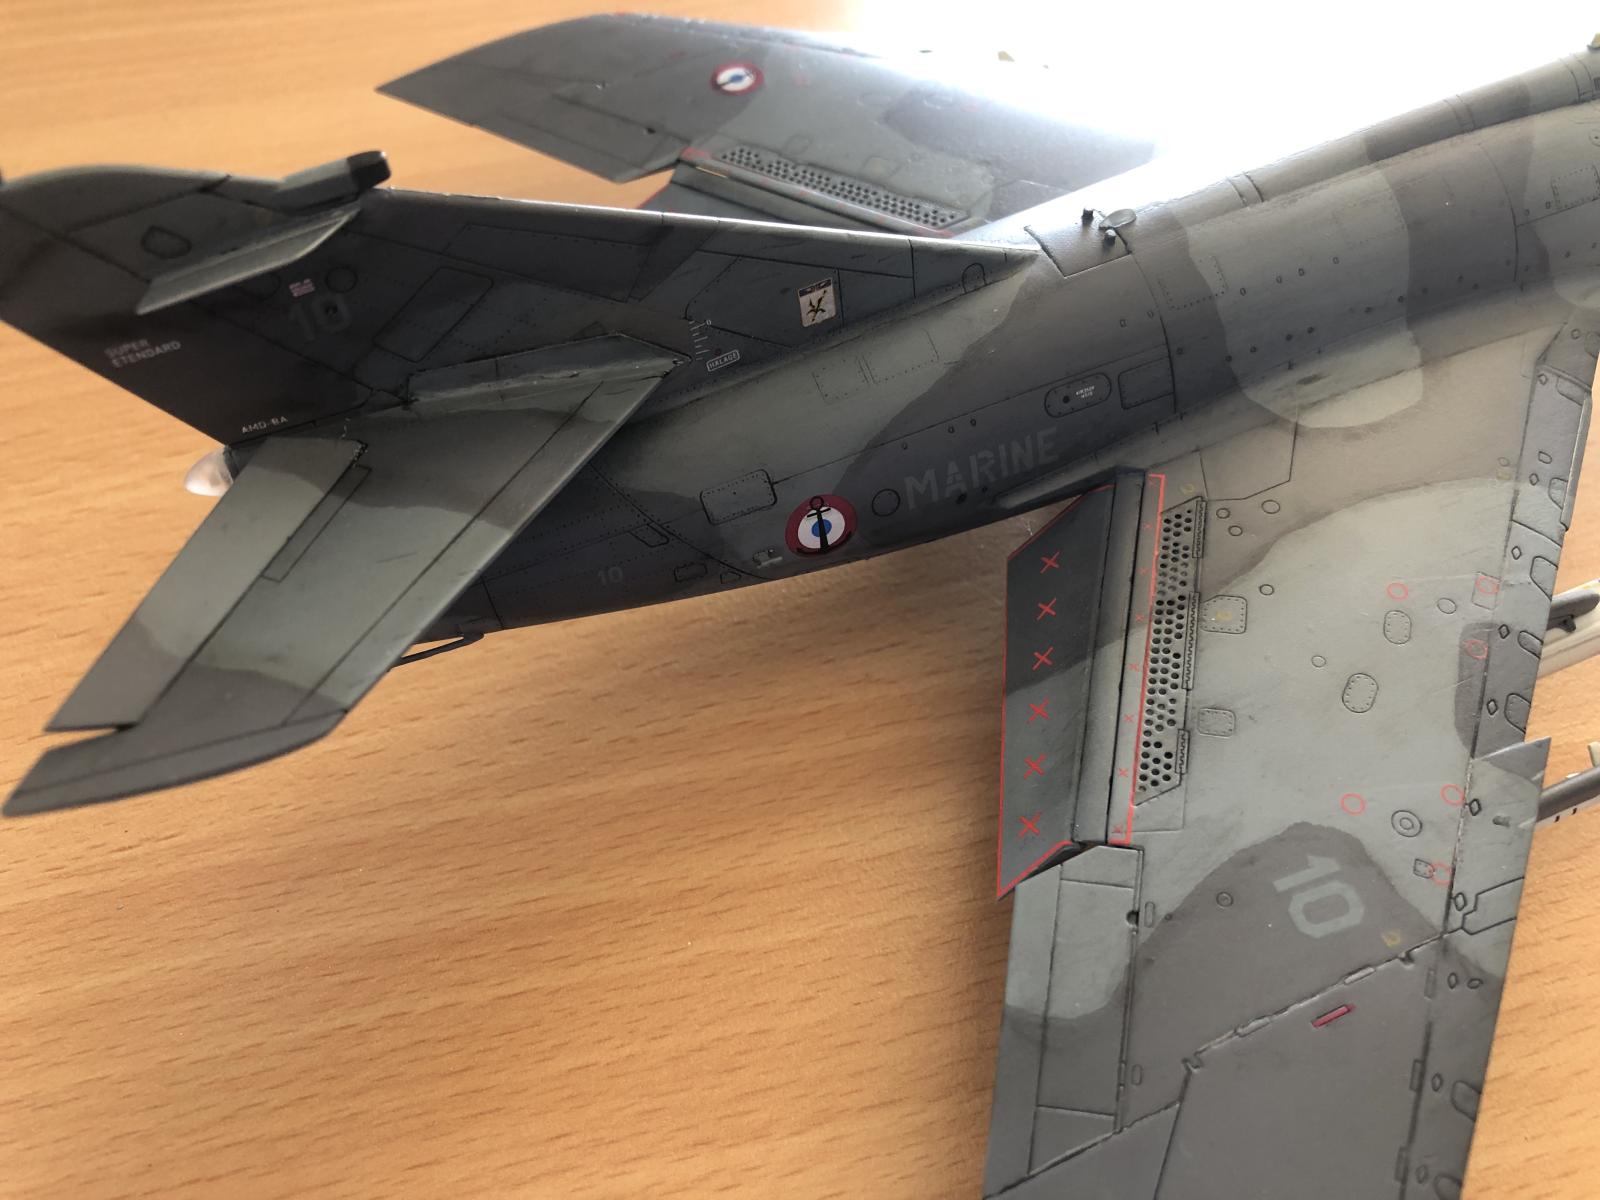
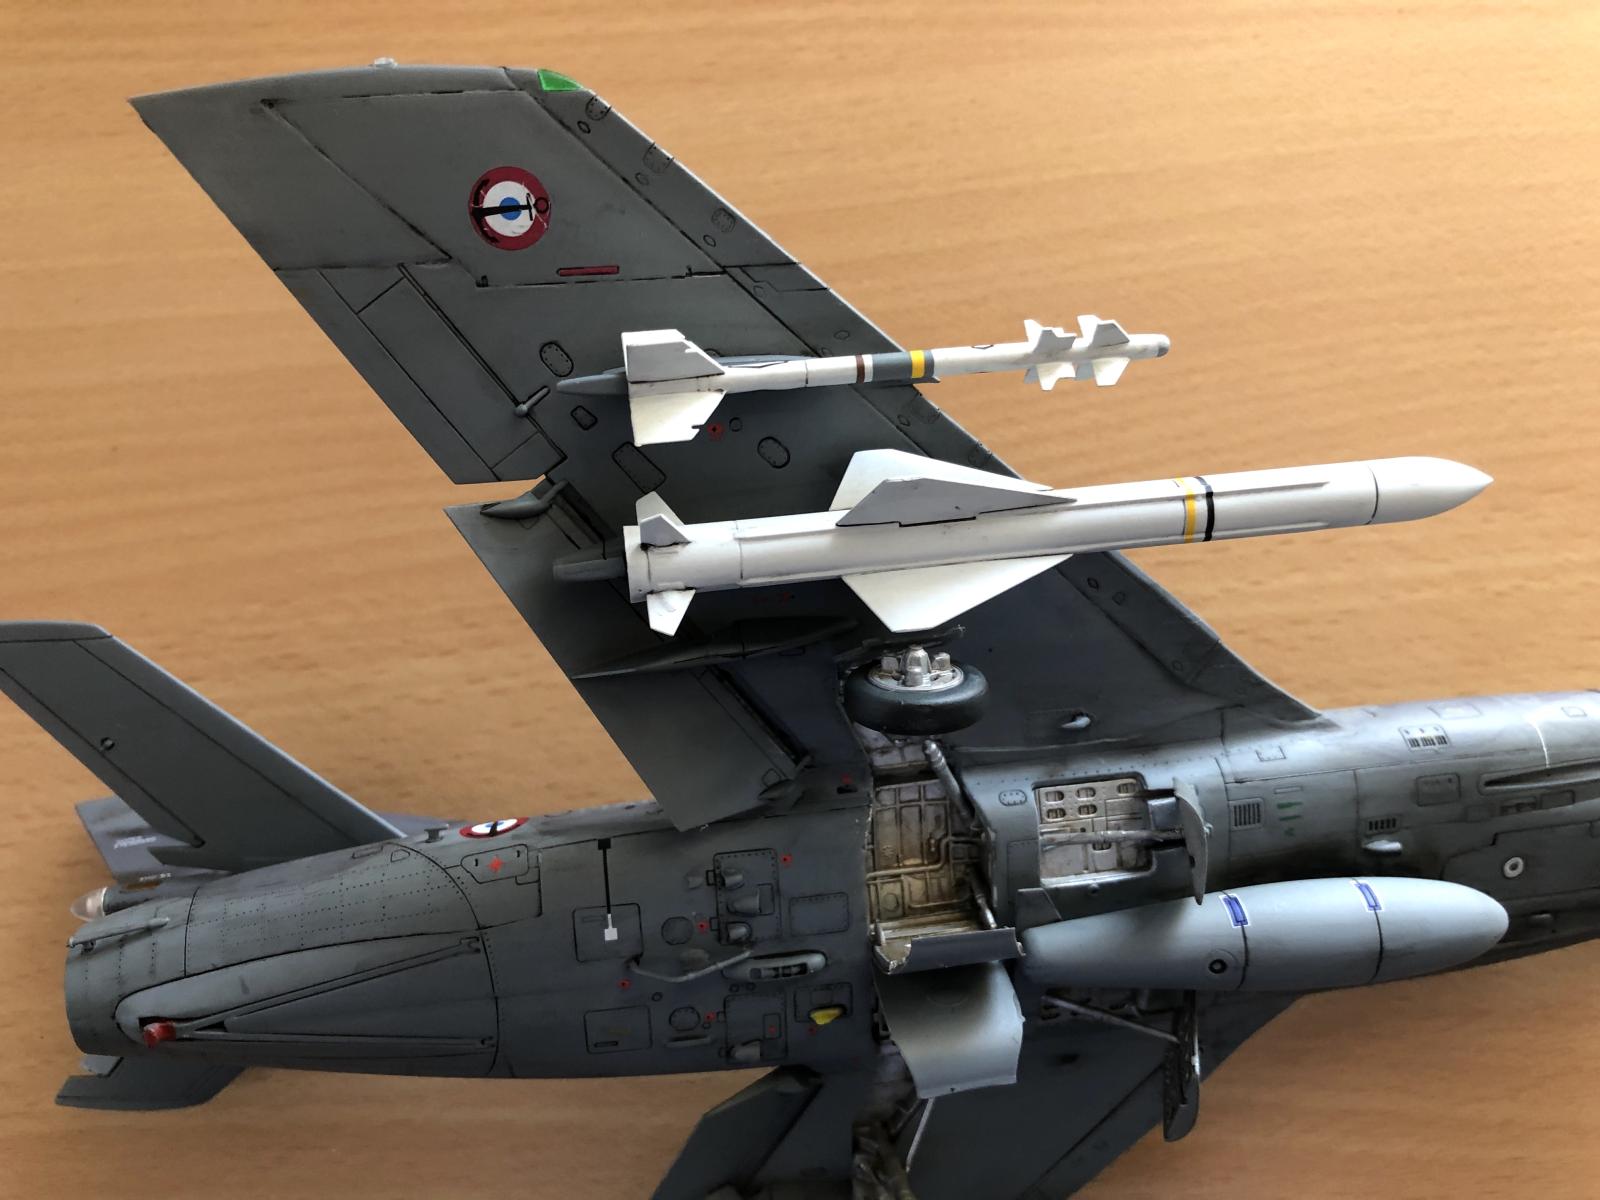
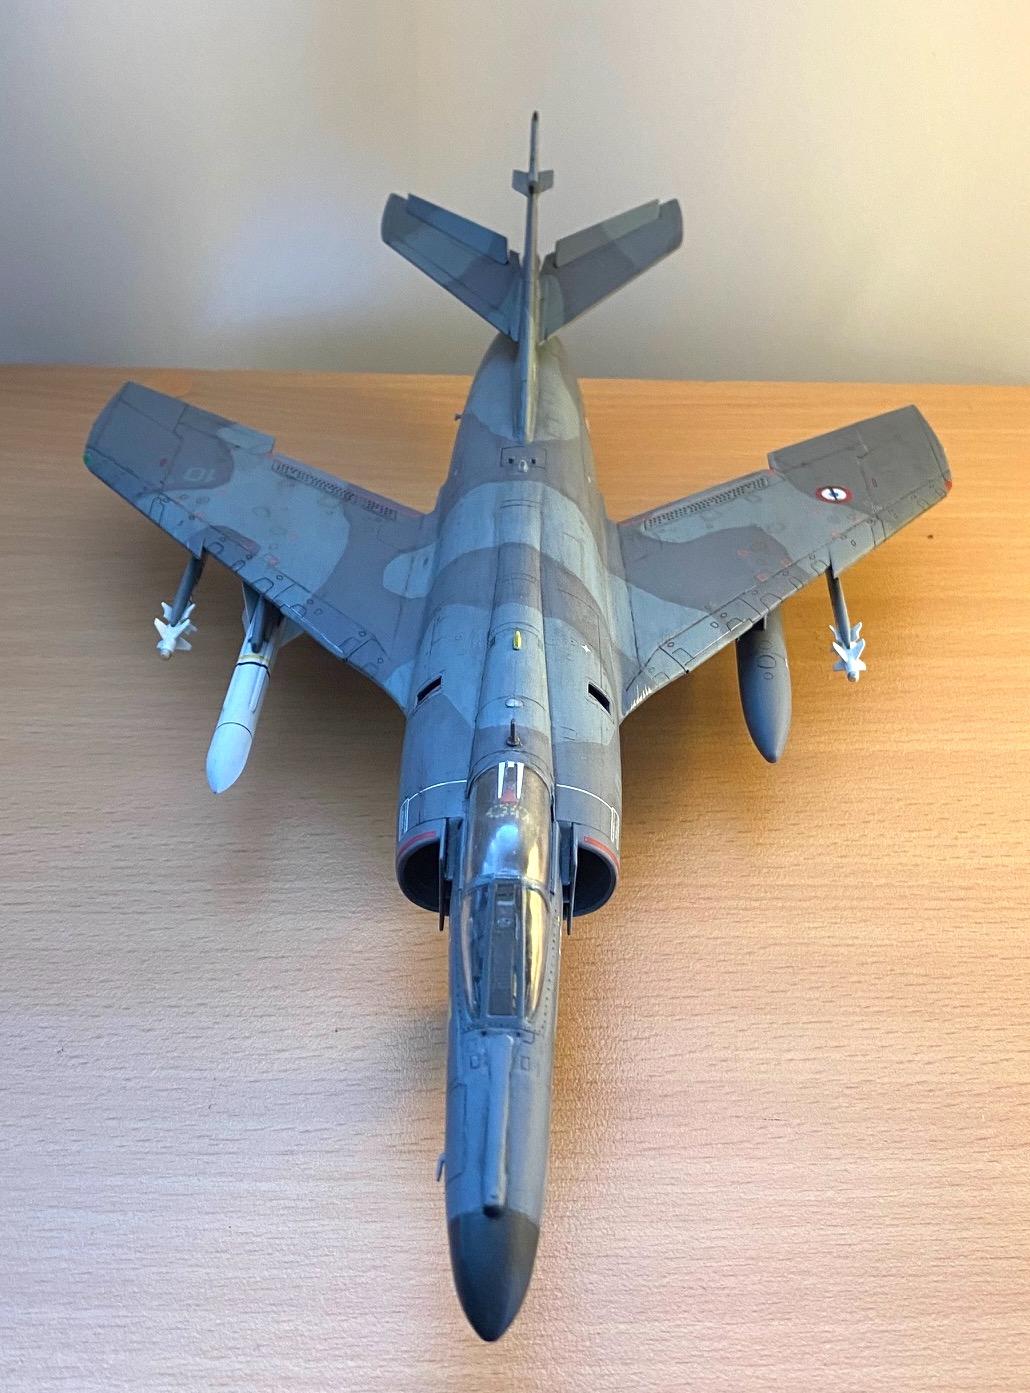
The clear part with the canopy extends to include not only the frame, but also a bit of the fuselage around it. This should in theory allow for seamless integration, but in reality the fit is not good, so I ended up needing several cycles of filling and sanding, which erased the riveting of the frame and some of the surrounding detail. Not having a riveting tool (I still don't), this meant applying individual tiny holes with a needle, with variable results. All this work, combined with my inexperience, resulted in a less than transparent canopy. Also, the instructions don't alert you about the need to apply a decal inside the canopy before you cement it in place. This decal looks like a pair of pointy triangles, or sharp white lines, in my pictures, best seen in the views from above.
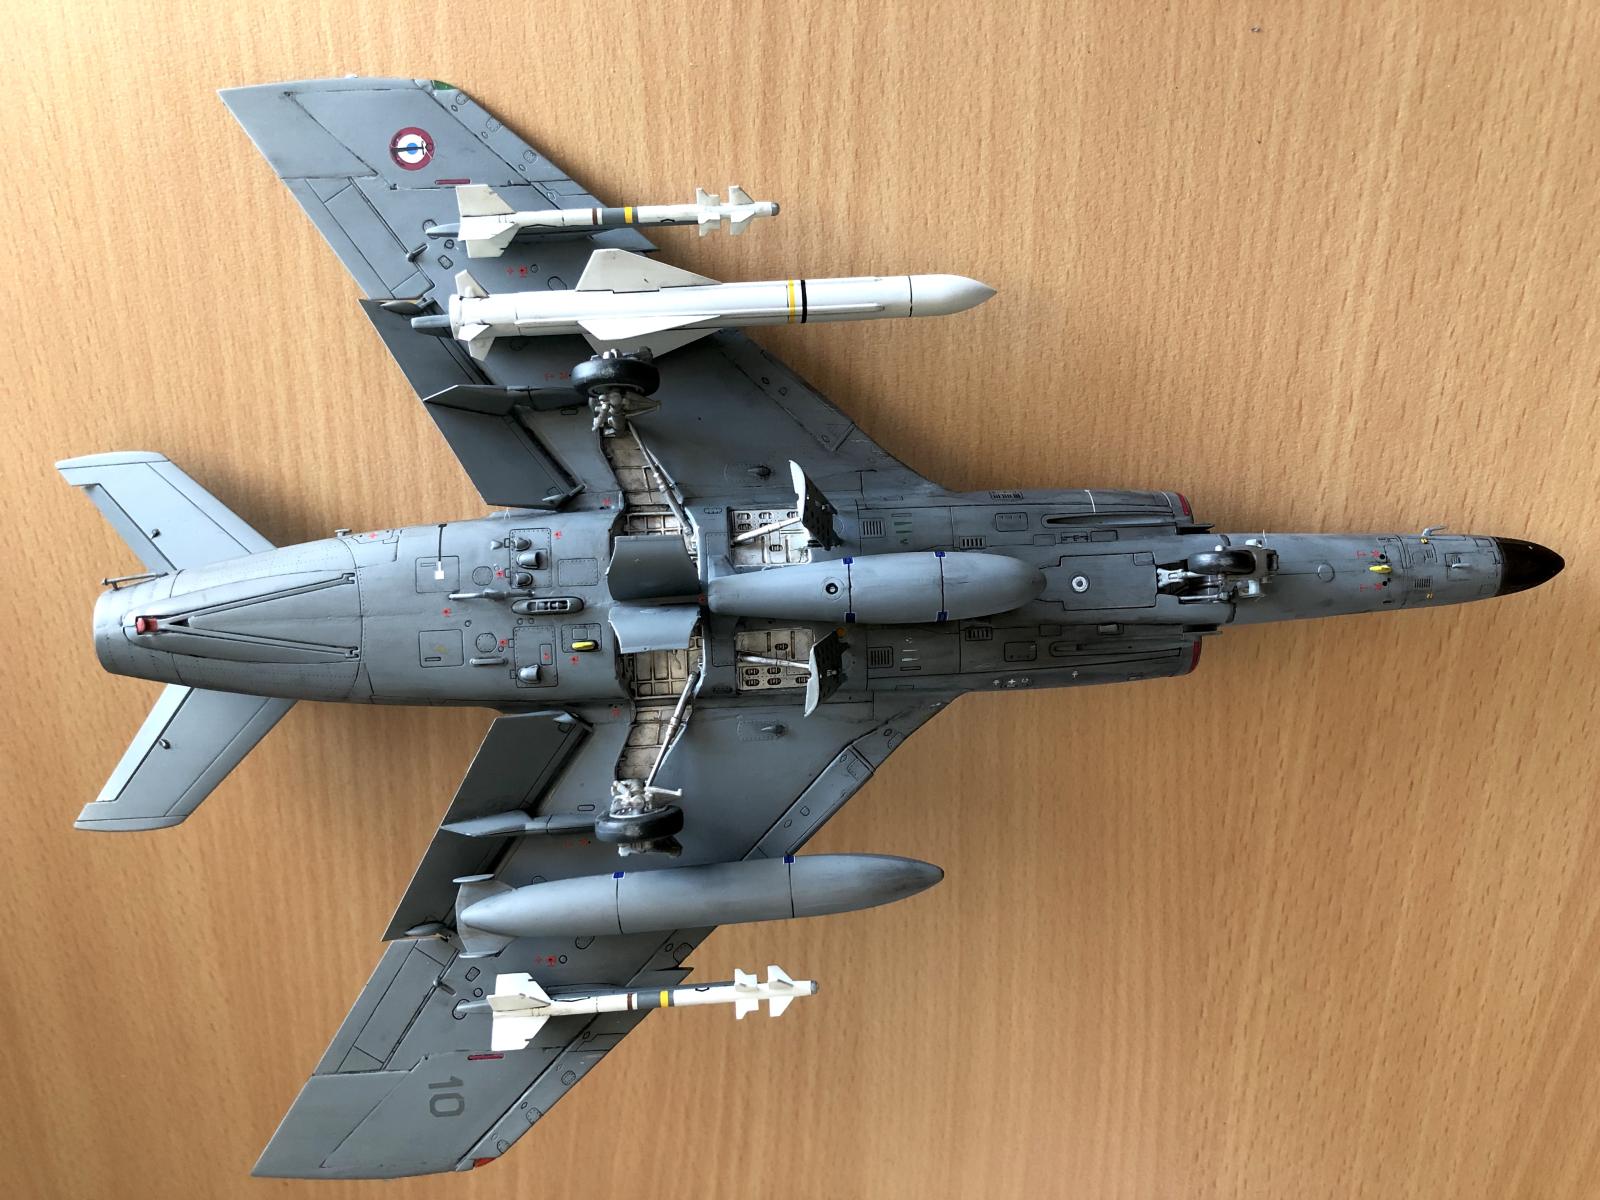
The horizontal stabiliser can be posed in various ways, and I chose to have it "up" as in preparation for takeoff. But this resulted in a hole that required a lot of Vallejo putty. There is also a decal that has to be applied before you affix the horizontal stabilisers (including a photo etch part near their junction with the vertical stabiliser). This is not mentioned in the instructions, which required me to cut that into pieces, and manoeuvre them into location bit by bit.
In summary, I gained a model of a beautiful plane, and a lot of experience.
For additional photos and tips check my web site (https://www.marcellorosa.com/1-48-super-etendard-modernise) or drop me a message any time.


A fantastic result, Marcello! The weathering suits this plane at the particular operating conditions a lot!
I have the Airfix (reboxed Heller) to build some day, difficult to choose between an Aeronavale and an Armada scheme!
The Argentinian scheme would have saved me a lot of work. But here I have to praise kinetic because the paint calls in the instructions were spot-on, meaning that the decals for the low-vis numbers and text merged seamlessly.
Superb result, Marcello @marcellorosa1
The scheme and how you applied it looks fantastic.
Also the weathering is very nice.
Any time you can say "I gained a lot of experience" you have had a successful project. Nobody learns anything from success (other than they like it).
This is quite nice-looking and I wouldn't have noticed any of the boo-boo's had you not mentioned them.
very nice build
Very nice rendition, Marcello. Bravo!
Very pretty model of a beautiful aircraft.
Really nice work. Though the French may have some, um, bizarre ideas when it comes to designing cars, they do have a knack for designing beautiful jets. It comes through in your work on this.
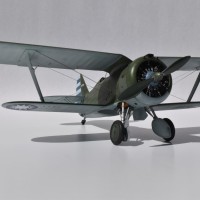
I agree with you fully. I have in my stash a Mirage III, which I also consider another beautiful French. I am planning to do that one with Brazilian Air Force markings, in full shiny metal finish.
That is just beautiful Marcello! ? It really makes me want one of those Etendards! Great job sir! ?
I echo all comments above, the Etandart looks magnificent, great camo and weathering.
As a side note…there’s no such thing as a perfect model for the one builds it
Nice work, Marcello. Thanks for the heads up about the windscreen.
I still don't know what would be the solution for that one. What it would really need is for the part to be "opened" manually a bit, by about 1 mm, so it would fit in the matching fuselage slot. Maybe you can do this with hot water, but clear parts are tricky in that respect. If anyone has a suggestion, I'd like to know...
Excellent result despite whatever glitches you mention.
I've found every model to be a learning experience.
A great-looking model! I would have to say that every model I build counts as a learning experience!
I also think the Super Etendard is a very pleasing airplane to look at and you've certainly made a model that captures it's essence. Well done. I suspect you "learned a lot of lessons" even before you started this model. Thank you for the photos.
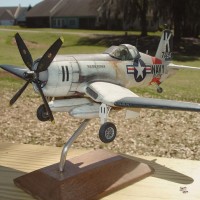
Thank you Thomas. Now that I have added a few more to my collection, the other thing that strikes me about the Super Etendard is how small it is in comparison with my other naval aviation models. It is about the same size as the Skyhawk, but lies closer to the deck given the shorter wheels.
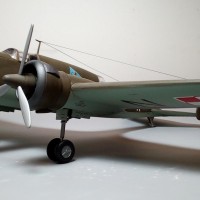
Close to the Phantom, it looks tiny. Sorry if the picture below does not make this totally clear, given the perspective...
1 attached image. Click to enlarge.