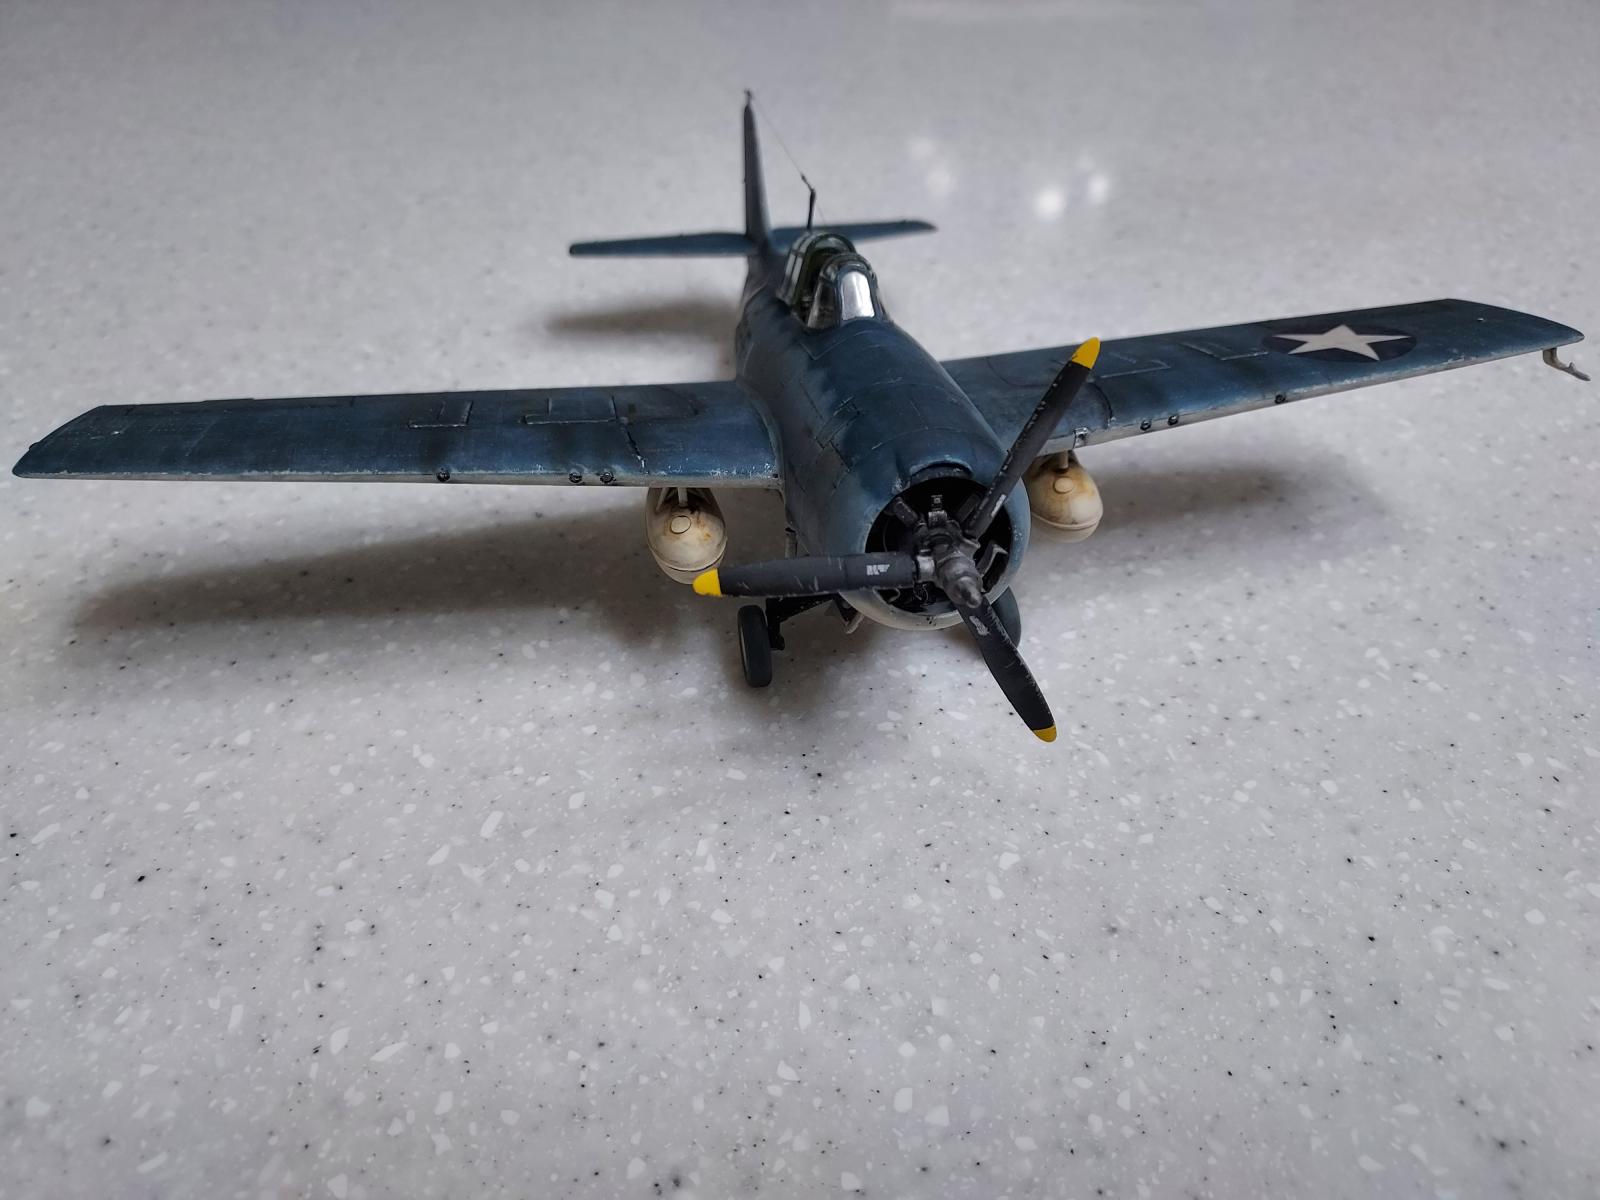
Tamiya 1/48 F4F-4 Wildcat
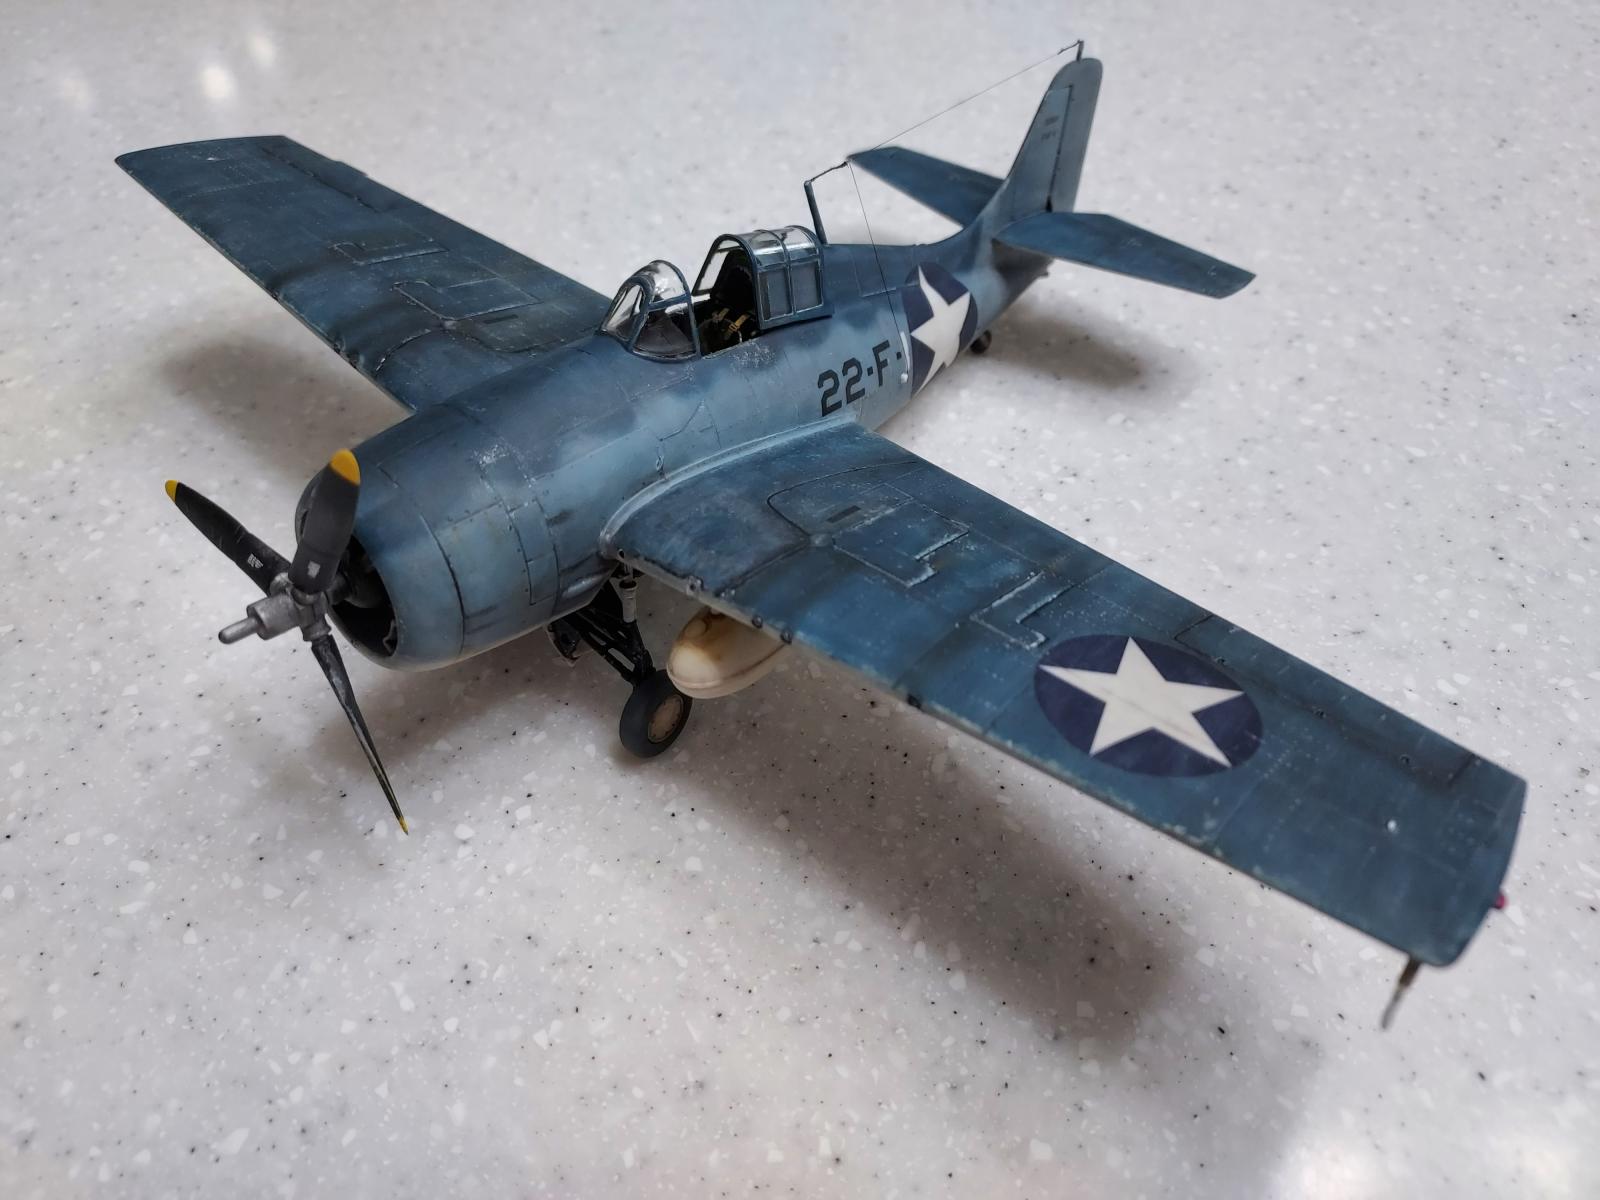
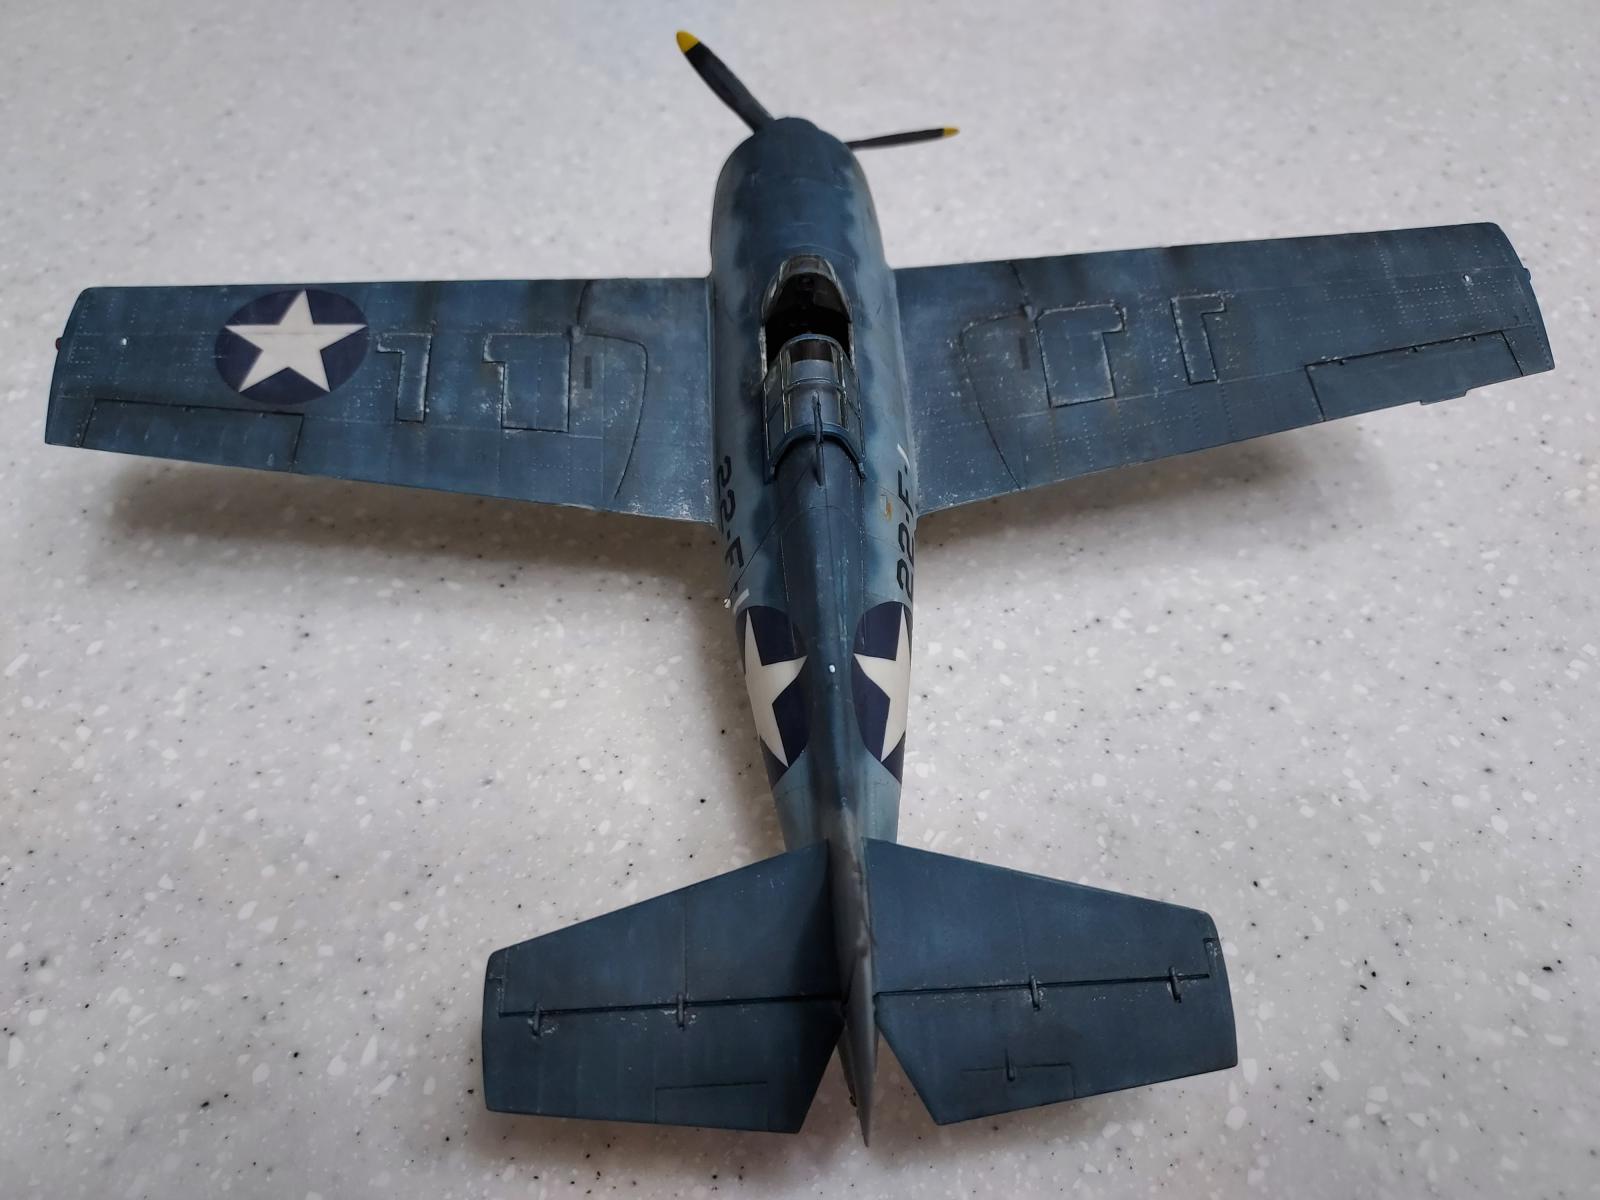
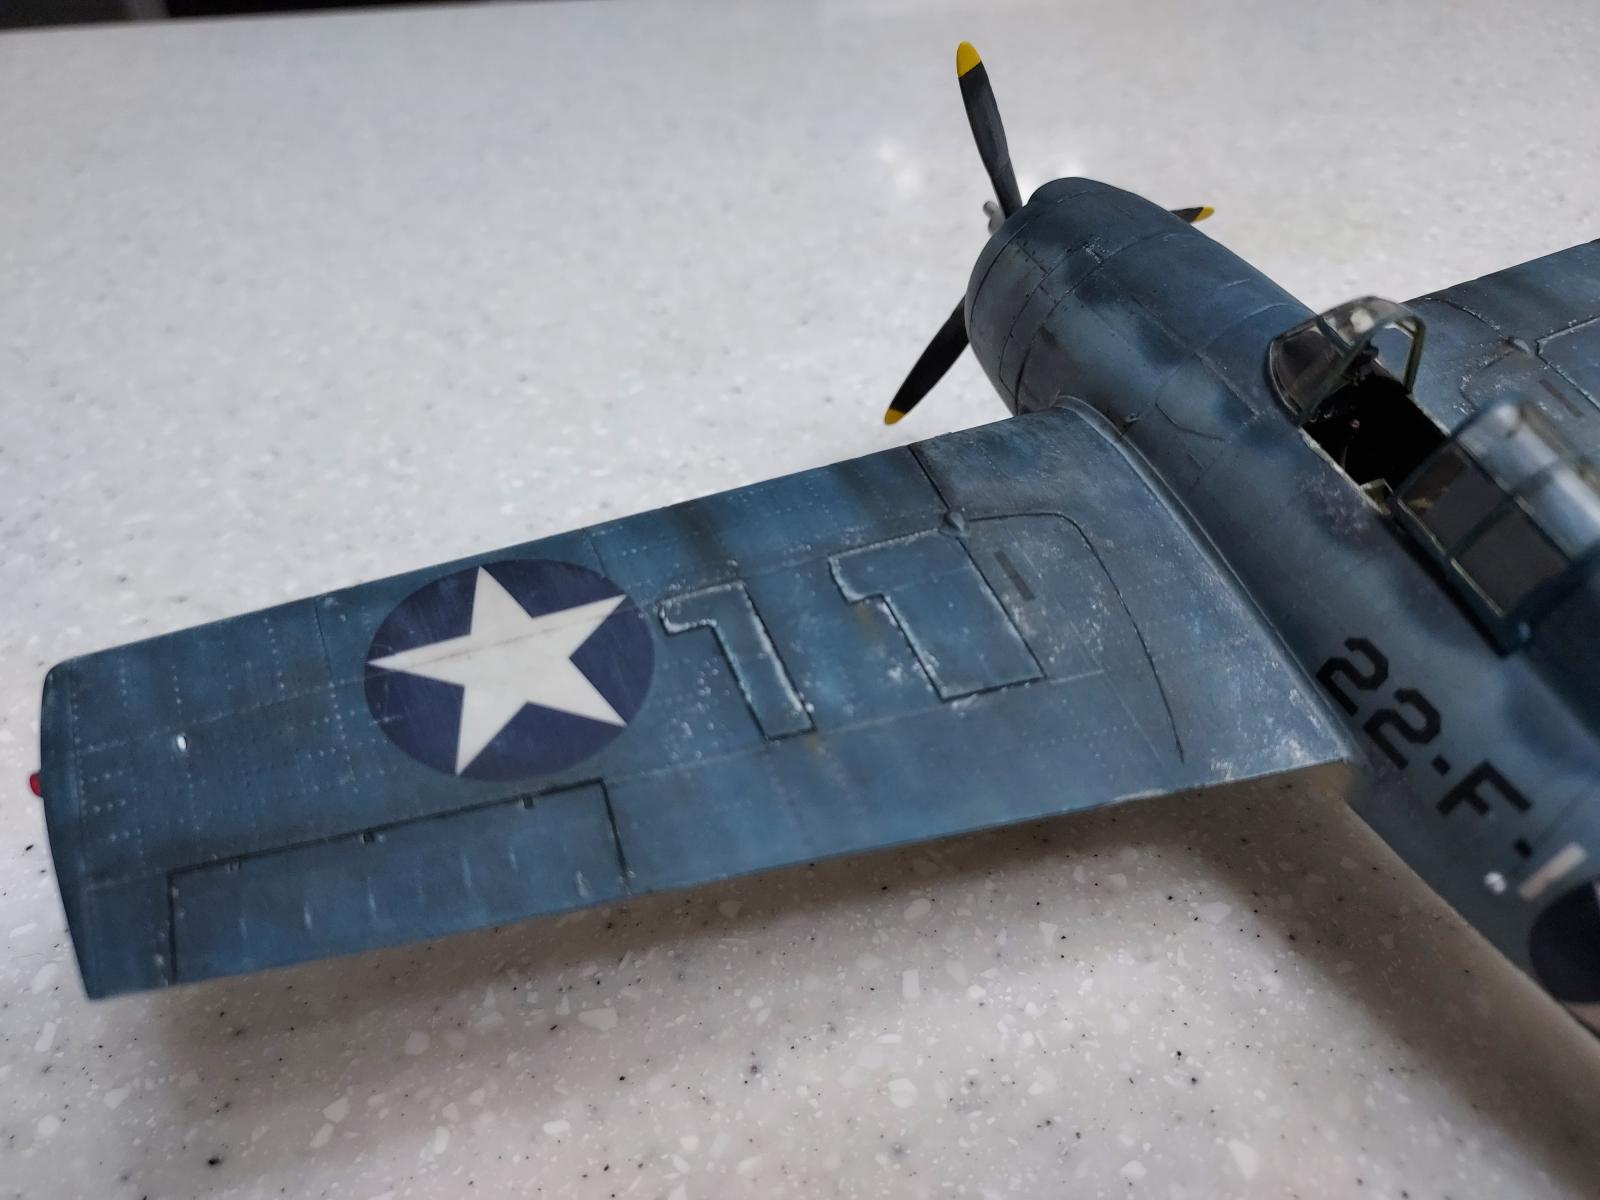
This is the 4th model in my model-building career so my learning curve is still nearly vertical. I could only find one grainy photo of a plane from VF-22 (USS Independence) so this is my interpretation of the plane's paint scheme from that single photo. Most everyone has built this iconic model already so there isn't much more that I can add. This kit was easy to build and all parts fit together perfectly. I saw a lot of online complaints about the canopy not fitting in the open position but I didn't have that issue at all with my kit so not sure if Tamiya retooled the canopy or I just got lucky. I definitely want to build this kit again in other paint schemes (North Atlantic, USMC at Guadalcanal).
I do have a few questions I'd like support on to help me with my model-building education.
- This is my first Tamiya kit and I was very surprised at how thick the decals are. Do you usually use the Tamiya decals even though they are very thick or do you usually buy after-market decals for Tamiya kits?
- This kit has raised rivets. I sanded off some of these rivets while doing bodywork. How do you make raised rivets to replace ones that have been sanded off?
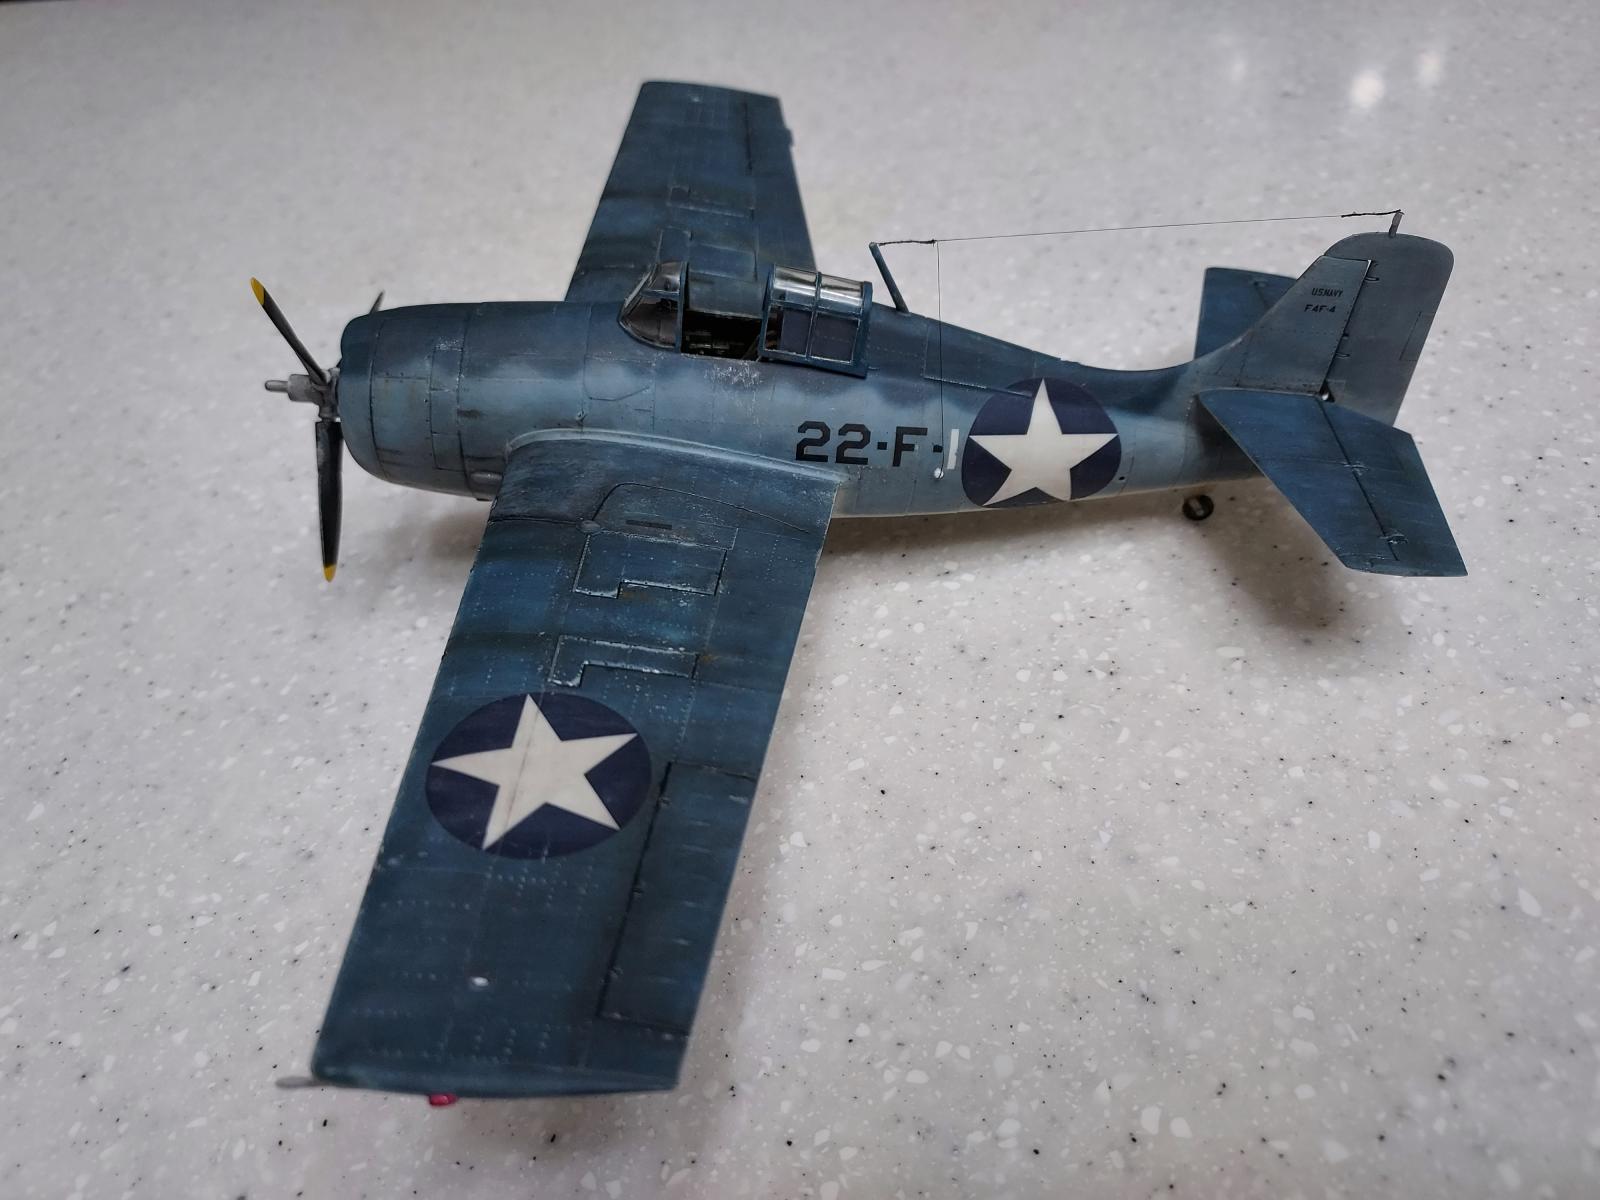
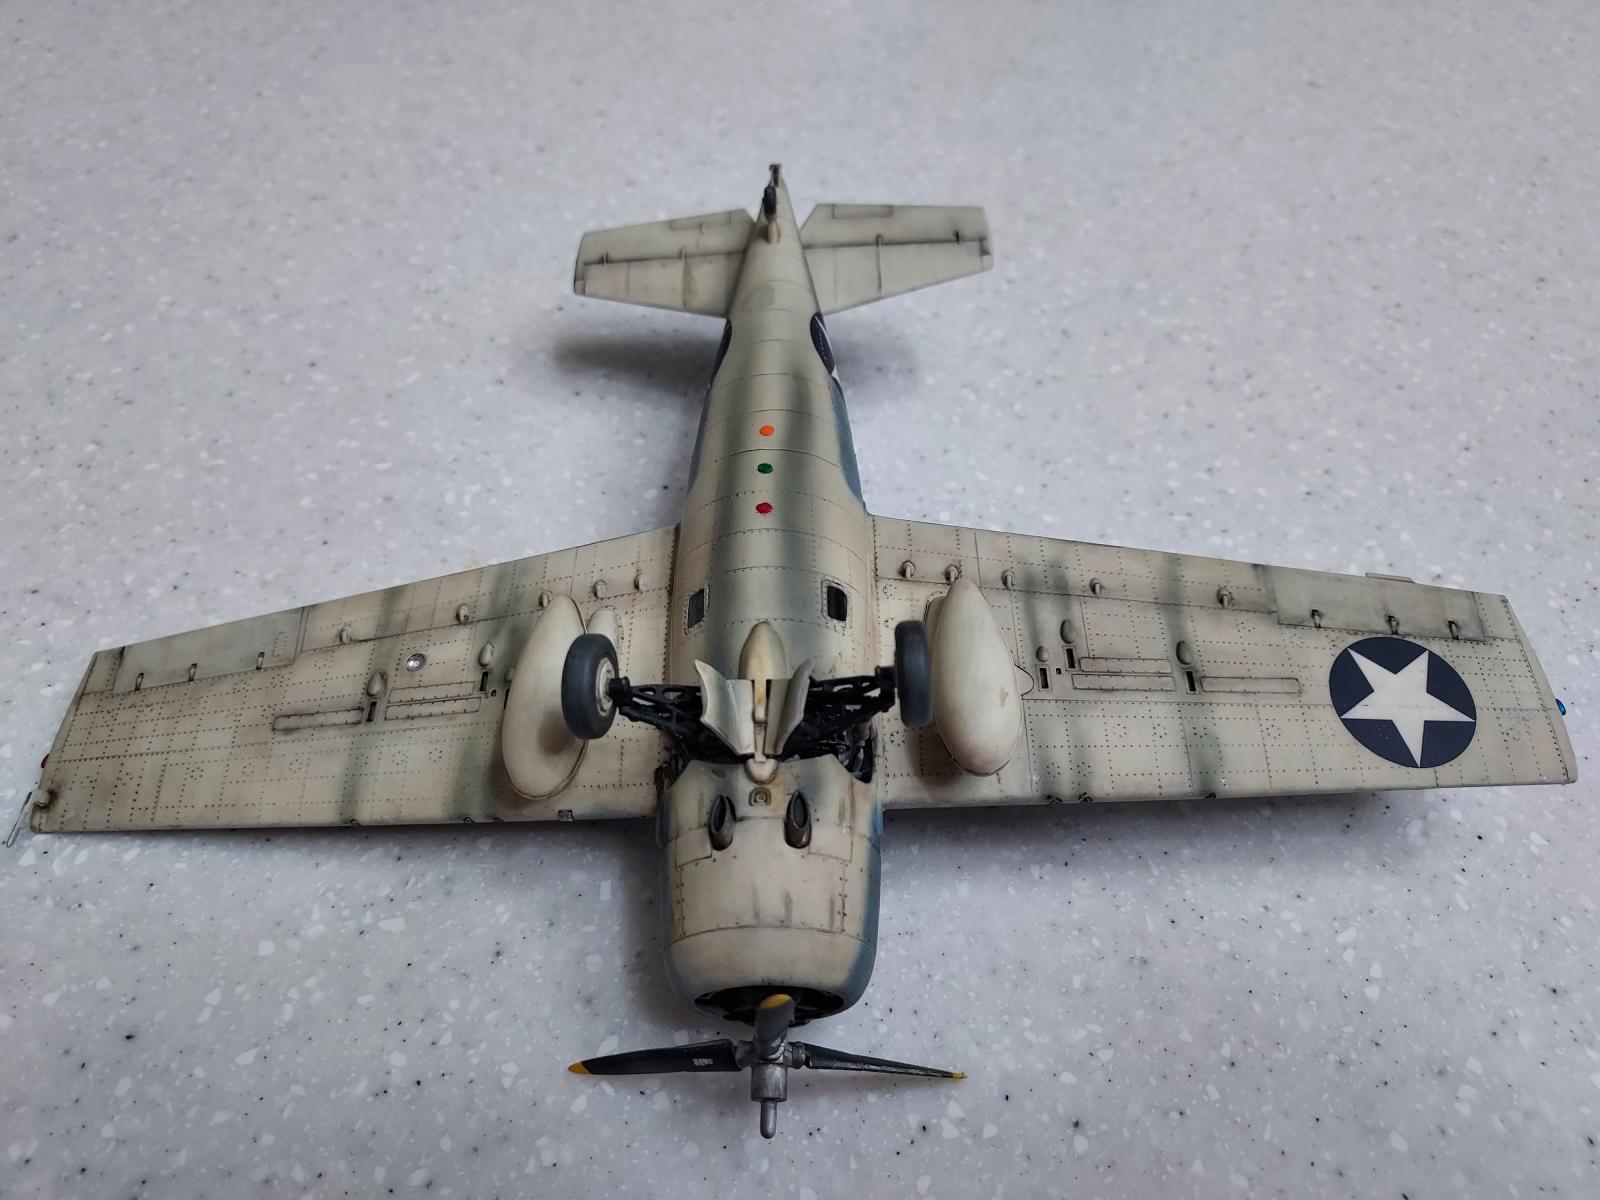
- I couldn't find any photos of the underside of a heavily weathered Wildcat showing the staining from the gun barrels, ejector ports, and exhausts so I didn't have a reference to use when weathering the bottom of this model. Does anyone have pics of the bottom of a heavily weathered F4F-F? I've found plenty of pics of the FM-2 with the relocated exhaust location and F4F-4 from above but none from beneath.


Very nice. Early Tamiya decals were almost bullet proof. Raised rivets are almost always oversized. Can't help with the underside at the moment
Does that mean that Tamiya decals in newer kits are more user-friendly?
To be honest, I don't know. All my Tamiya kits are old and I used after-market decals as most of my builds are of captured aircraft or have oddball schemes. I haven't heard of anyone any complain of the newer Tamiya decals
Looking very good, Derek @mrocs2000
How to create raised rivets, I would not know.
You do have rivetting wheels to create recessed ones which do look better than raised ones to my opinion.
Nice work. The Tamiya F4F is a classic that still delivers.
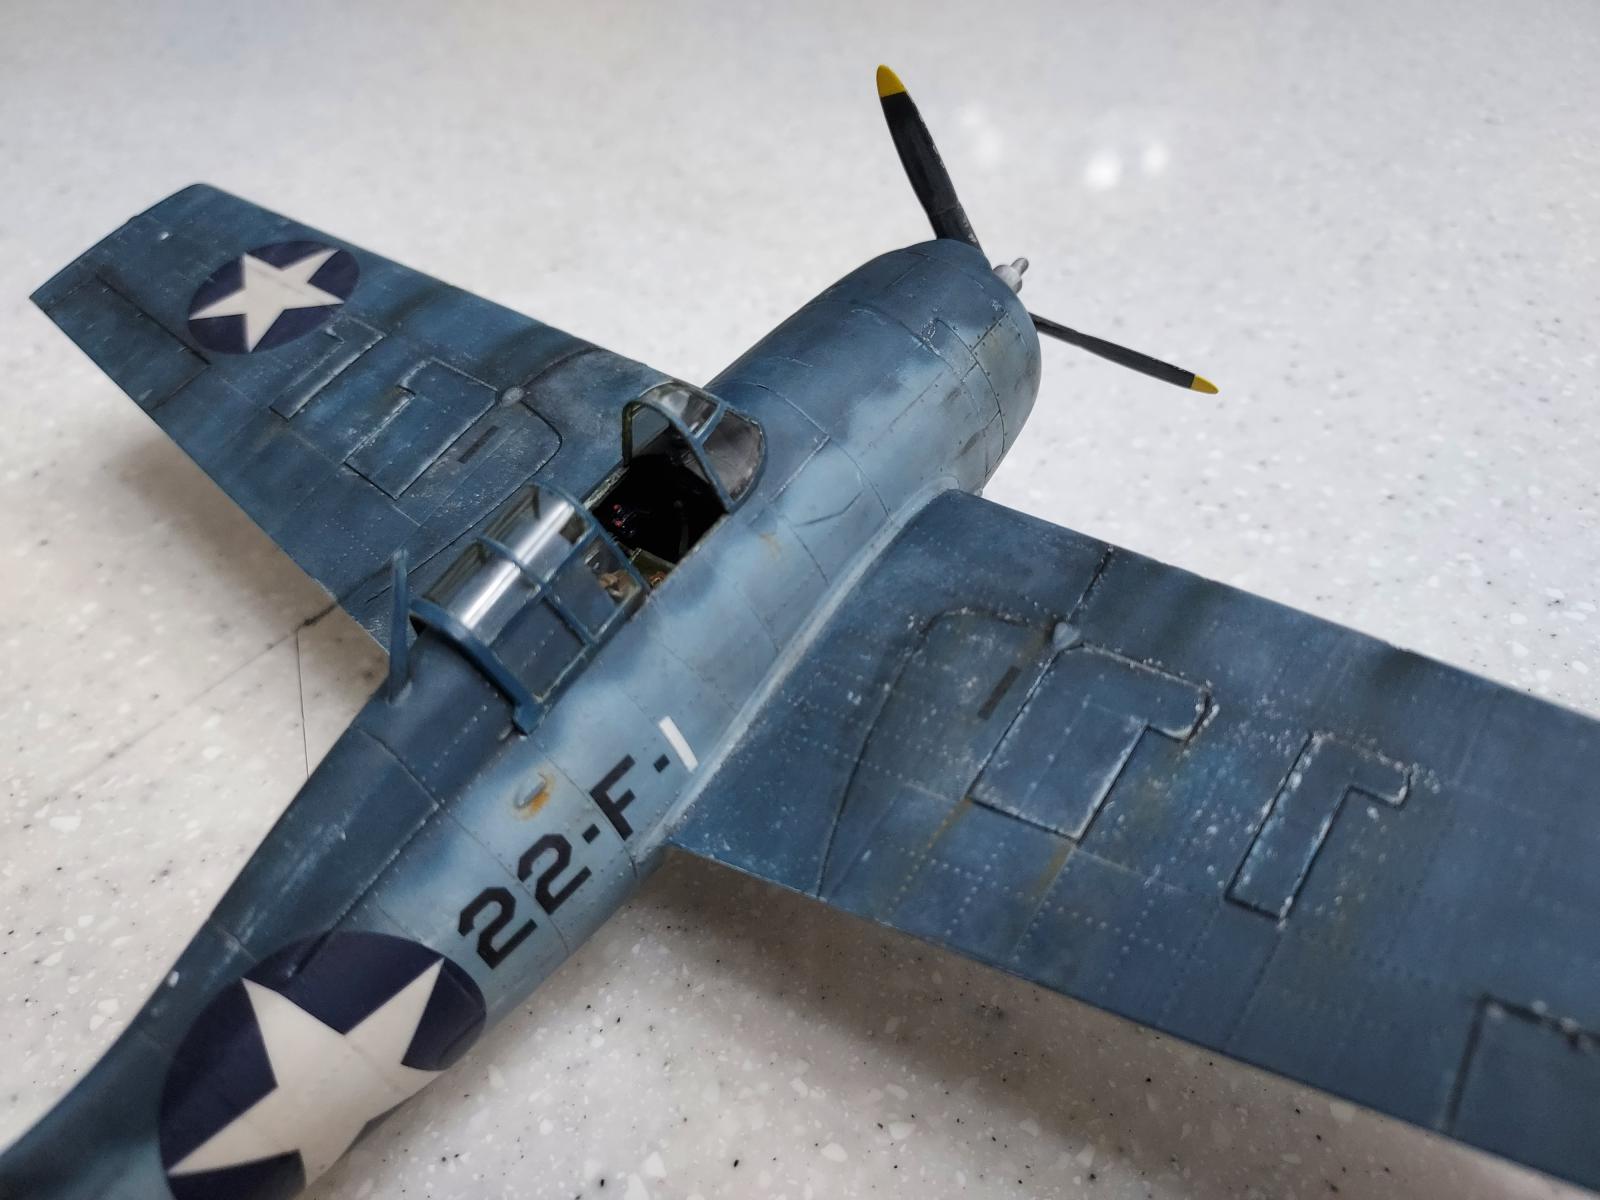
You did have the problems people complain about with the canopy, A "correct" fit would have the lower edge of the canopy sliding along the fuselage, rather than being up in the air like that. It's due to the thickness of the canopy. If you want to get a proper fit, Squadron now has the Squadron canopies line back and available (I just ordered some, they were shipped within 12 hours of the order - New Squadron is getting its act together) and you can get the Wildcat canopy and use that, which will fit as it should.
I see what you mean now after looking at some pics. I glued the canopy to the rails on the fuselage instead of having the canopy frame resting on top of the fuselage. Are the canopy rails molded higher on the fuselage than they should be?
Superb job, Derek!
Regarding your questions:
Tamiya decals are indeed on the thick side (not all of them, I have also seen Tamiya kits with thinner decals, like for example the 1/48 Mig-15, whic featured decals made by Scalemaster), but they are good quality ones in general. If I recall well, they usually react well to decal softening solutions, so they might succumb to surface details.
If you sand off raised rivets, they are gone forever. What many modelers do is sanding off all raised rivets and "replace" them with "engraved" ones (there are some modeling tools for this). I usually leave everything "as is" 🙂
Here are some pics that might be helpful:
https://commons.wikimedia.org/wiki/File:F4F-4_Wildcat_with_running_engine_on_Guadalcanal_c1942.jpg
https://www.asisbiz.com/il2/Wildcat/VF11/pages/Grumman-F4F-Wildcat-VF-11-Sundowners-White-F5-at-Guadalcanal-01.html
https://commons.wikimedia.org/wiki/File:F4F-4_Wildcat_of_VGF-27_at_Guadalcanal_1943.jpg
Spiros,
Thanks for sending those pics. I actually already had those ones already. I was specifically looking for heavily weathered Wildcats that showed staining from the engine cowls, exhausts, gun tubes, ejector ports, etc. and I can't find any. All the pics I've seen show only very minimal stains and no fluid leaks or rust. I'm assuming that condition existed because it surely existed on all other aircraft. I just haven't found any clear pics that demonstrate it.
Here is another quite detailed one:
https://www.historynet.com/wildcats-battle-hawks-casablanca/
Very good weathering!
Very nice wheathering and I like paint scheme a lot! Nice!
Thanks Andreas. I wanted to pick something that few others paint. Seems like everyone paints the two-tone gray Wildcats for some reason.
Looks great Derek! With every article you post your work continues to evolve and grow. This is a great model that you should be very proud of.
Looks good - I think you're climbing the curve pretty successfully! My only comment might be that the length of the stains coming from the gun barrels and ejector ports are probably a tad longer than need be.
I agree but unfortunately I sprayed clear coat over it before I realized that. That's why I made the comment on my post about not being able to find any good photos of the underside of a heavily weathered Wildcat. I've seen pics of Spitfires where oil stains from the engine cowling are almost the entire length of the bottom of the fuselage.
Very well done, Derek, @mrocs2000. I am sure many here with many more builds under their belt wishing they could do what you are in your fourth (I would be one of those). I really like the work you did in the upper blues, it looks great. I would agree with Greg on the gun and ejection shoot staining. Generally those stains are much more subtle. You can have fun with some of the exhaust staining depending on the the bird you are building. Radial engines are notoriously dirty with oil staining under the plane. I worked for a gentleman with a Stearman and Beaver, and they had to be wiped down after every flight due to a layer of oil. These were not old beat up tired engines either. These were well maintained, restored, climate controlled hanger planes.
Anyways back to your build...I think it is very nice indeed.
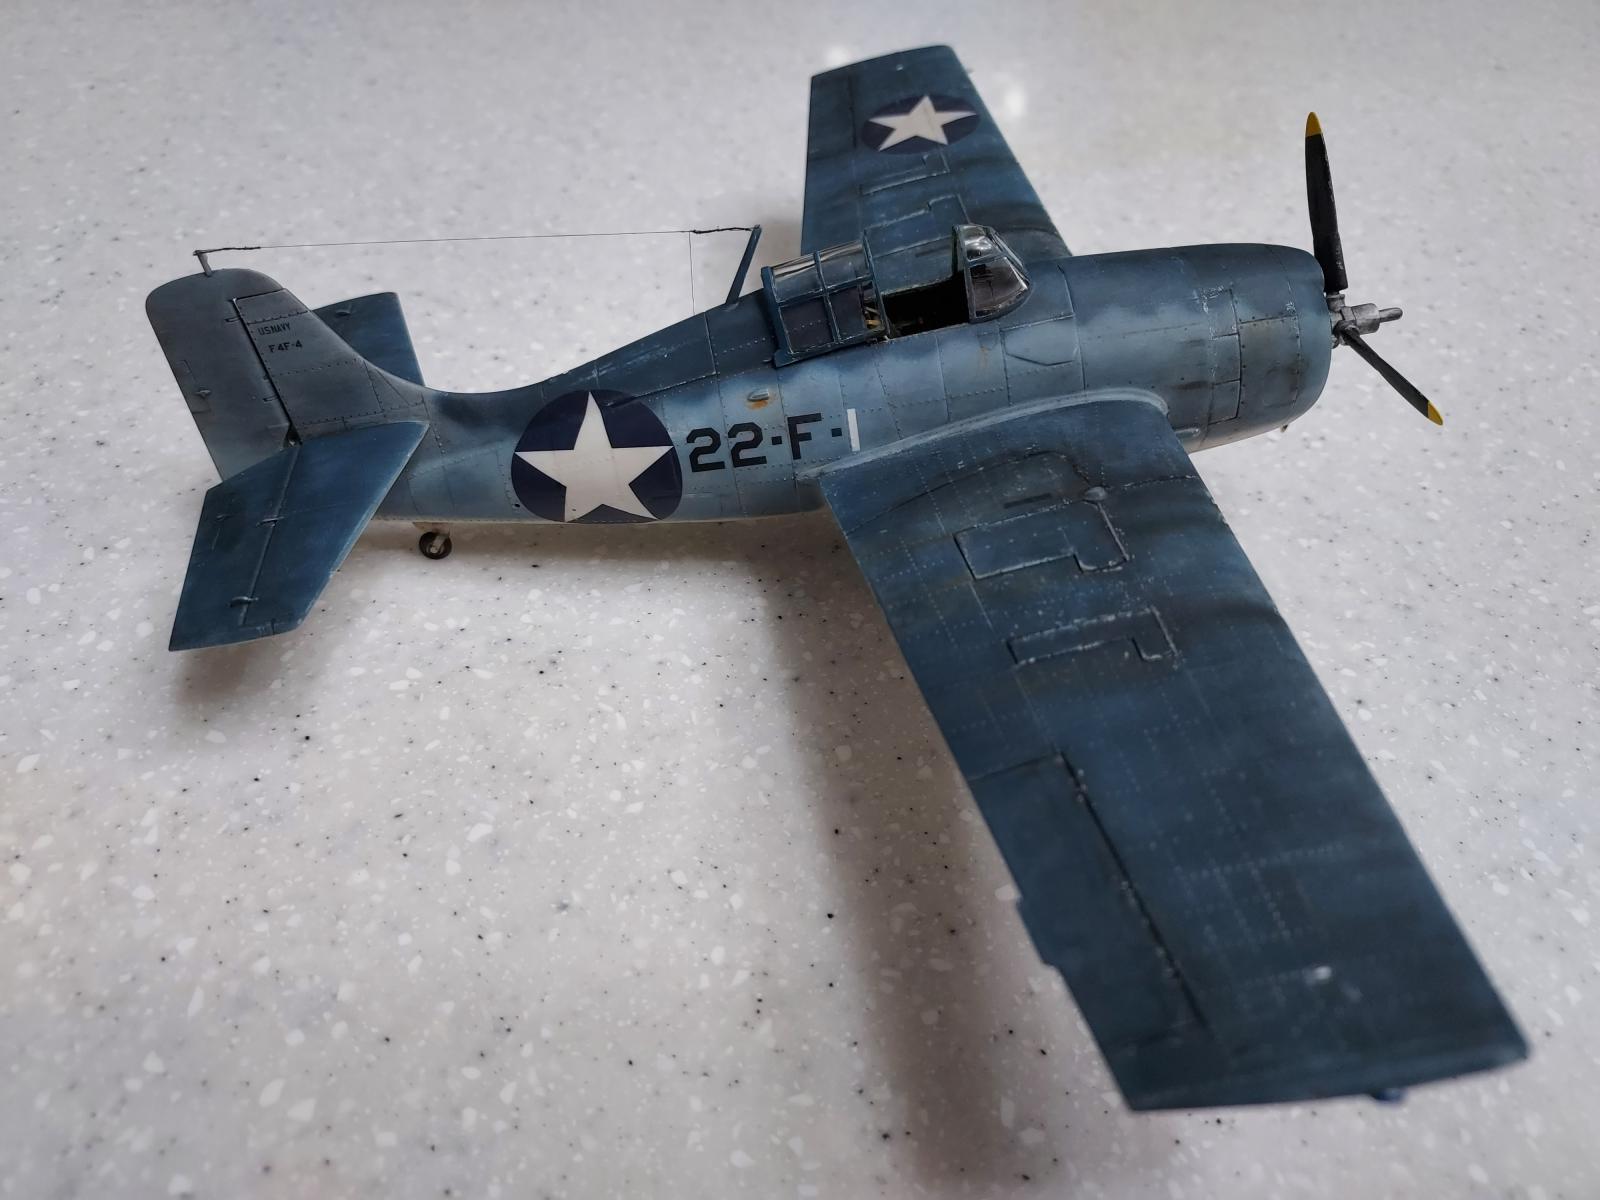
I didn't recognize how extreme the streaking on the bottom looked until after I clear coated the bottom. I now know to wait a day to review my work before making it permanent. I'm very happy with the weathering on the 2-tone blue upper surface. I still haven't figured out how to do paint chipping well using the paint brush & silver paint technique. I wanted to do a lot more staining around the engine cowling but I couldn't find a single photo that showed noticeable leaks or stains around the cowl so I didn't have an example to use showing the trouble spots for Wildcats.
Very nice build. Every new kit is part of the learning curve even for someone who has been building for almost 20 years like me.
As for the rivets, you can sand them off or replace them with engraved ones. What I usually do is get some thick masking tape (3M blue) to cover up the detail in the affected areas best I can before I (carefully) sand down the area to minimize detail loss. It's no guarantee that the detail will be there, but it helps reduce the amount of details that need to be replaced/lost.
Nicely done!
Lovely Wildcat. I always had a soft spot for this plane, even though it lacks the sleek looks of other contemporary fighters, it looks more like a brute.
I noticed that you had a matt finish, which matches most models I see of early WW2 Navy planes. This made me wonder, at what point in time did US Navy planes stop being painted with non-reflective paint? I know by Korea the dark ocean blue finish in most planes was quite glossy. Does anyone in this forum know the answer to that?
I have the exact same question and can't find the answer. All aircraft at museums and airshows have a gloss coat. Is that just to protect them or is that how they were actually painted? From the pics I've seen online regarding the Wildcat, it looks like the FM-2 variants painted in dark blue (top and bottom) were gloss coated but all previous ones were not. That's only a guess though as I'm still looking for the answer.
As a modeler who stepped away from it for more 25 years and got back into it, my advice for you is build something you like and are proud of. Learn about the pilots, learn about the aircraft and then do your best. This is a great looking build. I’d be proud to have on my shelf.
The thing I like like the best is you didn’t distress it too much. Navy planes would get eaten up by salt water if the left the aluminum skin exposed. This looks like a well used & maintained Wildcat.
Keep building!