A quick Triebflügel
I don't normally build “Luftwaffe 1946” aircraft but I saw this kit in my local hobby shop on sale and couldn't resist. I thought it would make an amusing subject – so the brand is well named.
I have long been aware of the Triebflügel (Thrust-wing) from the venerable “German aircraft of the Second World War” by Smith and Kay (Putnam, 1972). According to the instruction sheet, the design progressed to a wind tunnel model, so at least it was more that just a paper plane.
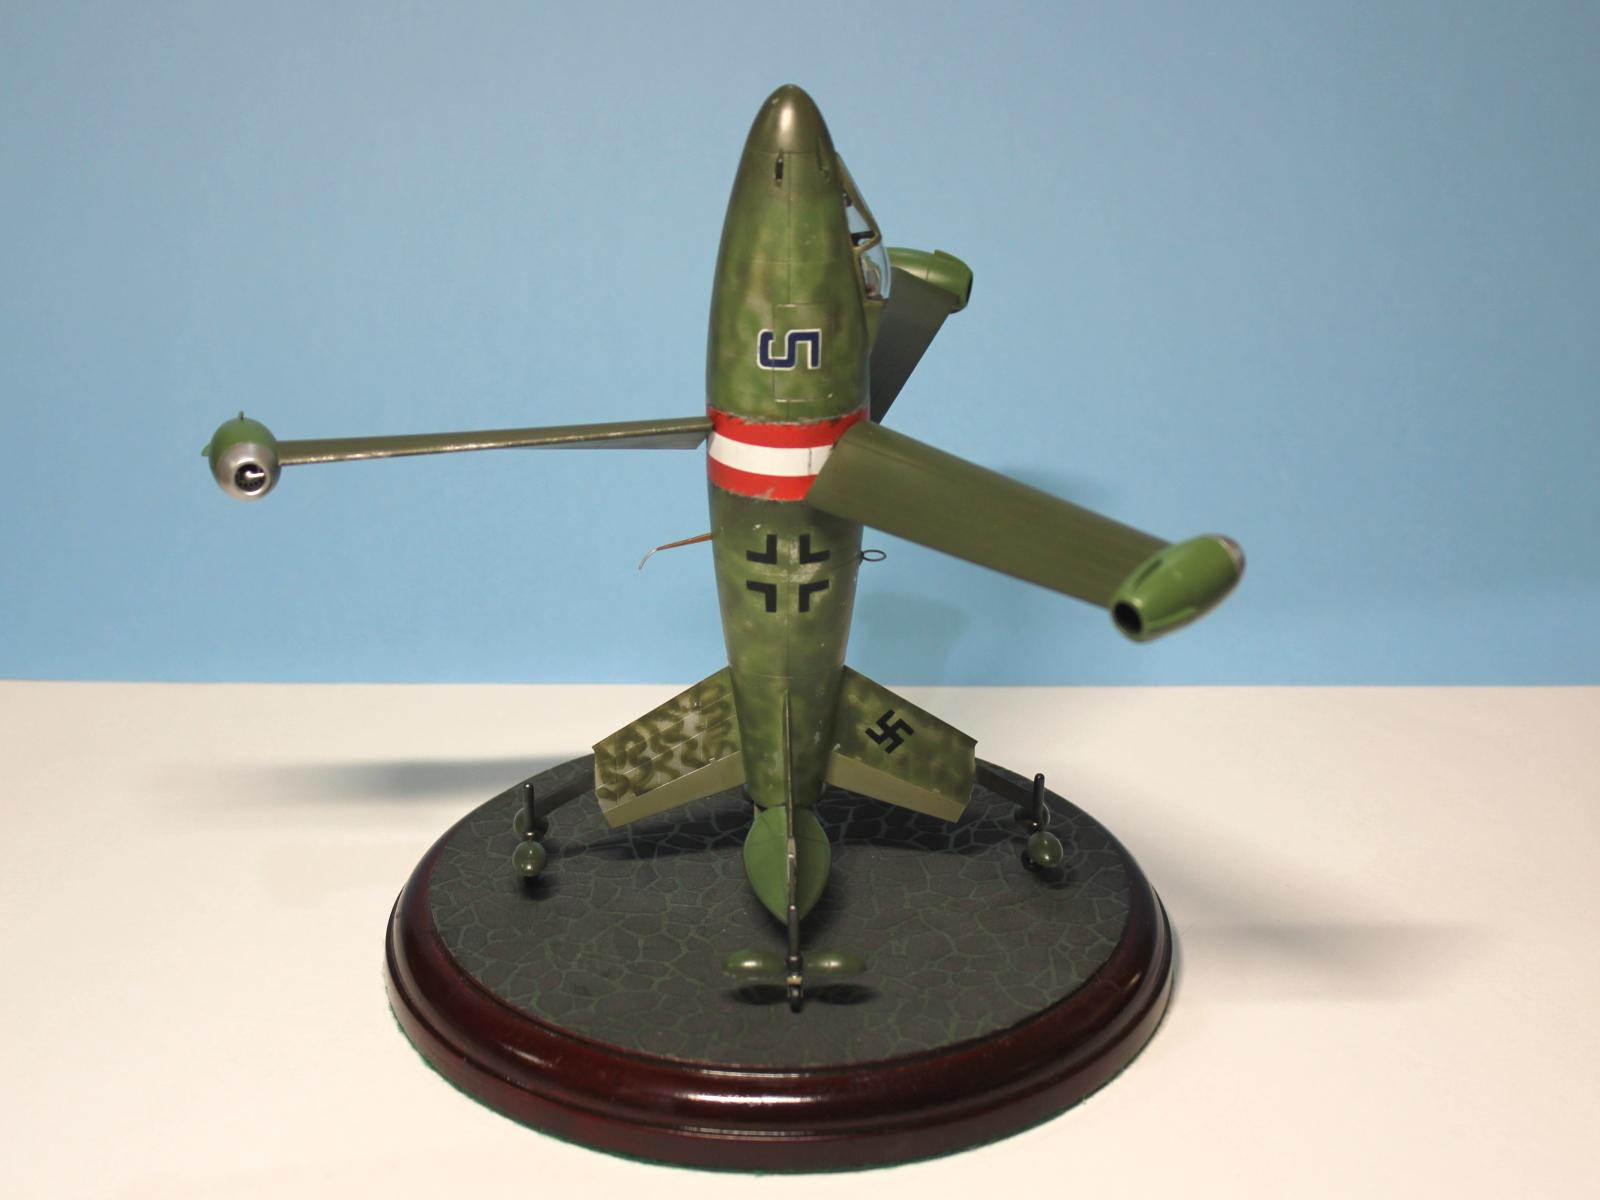
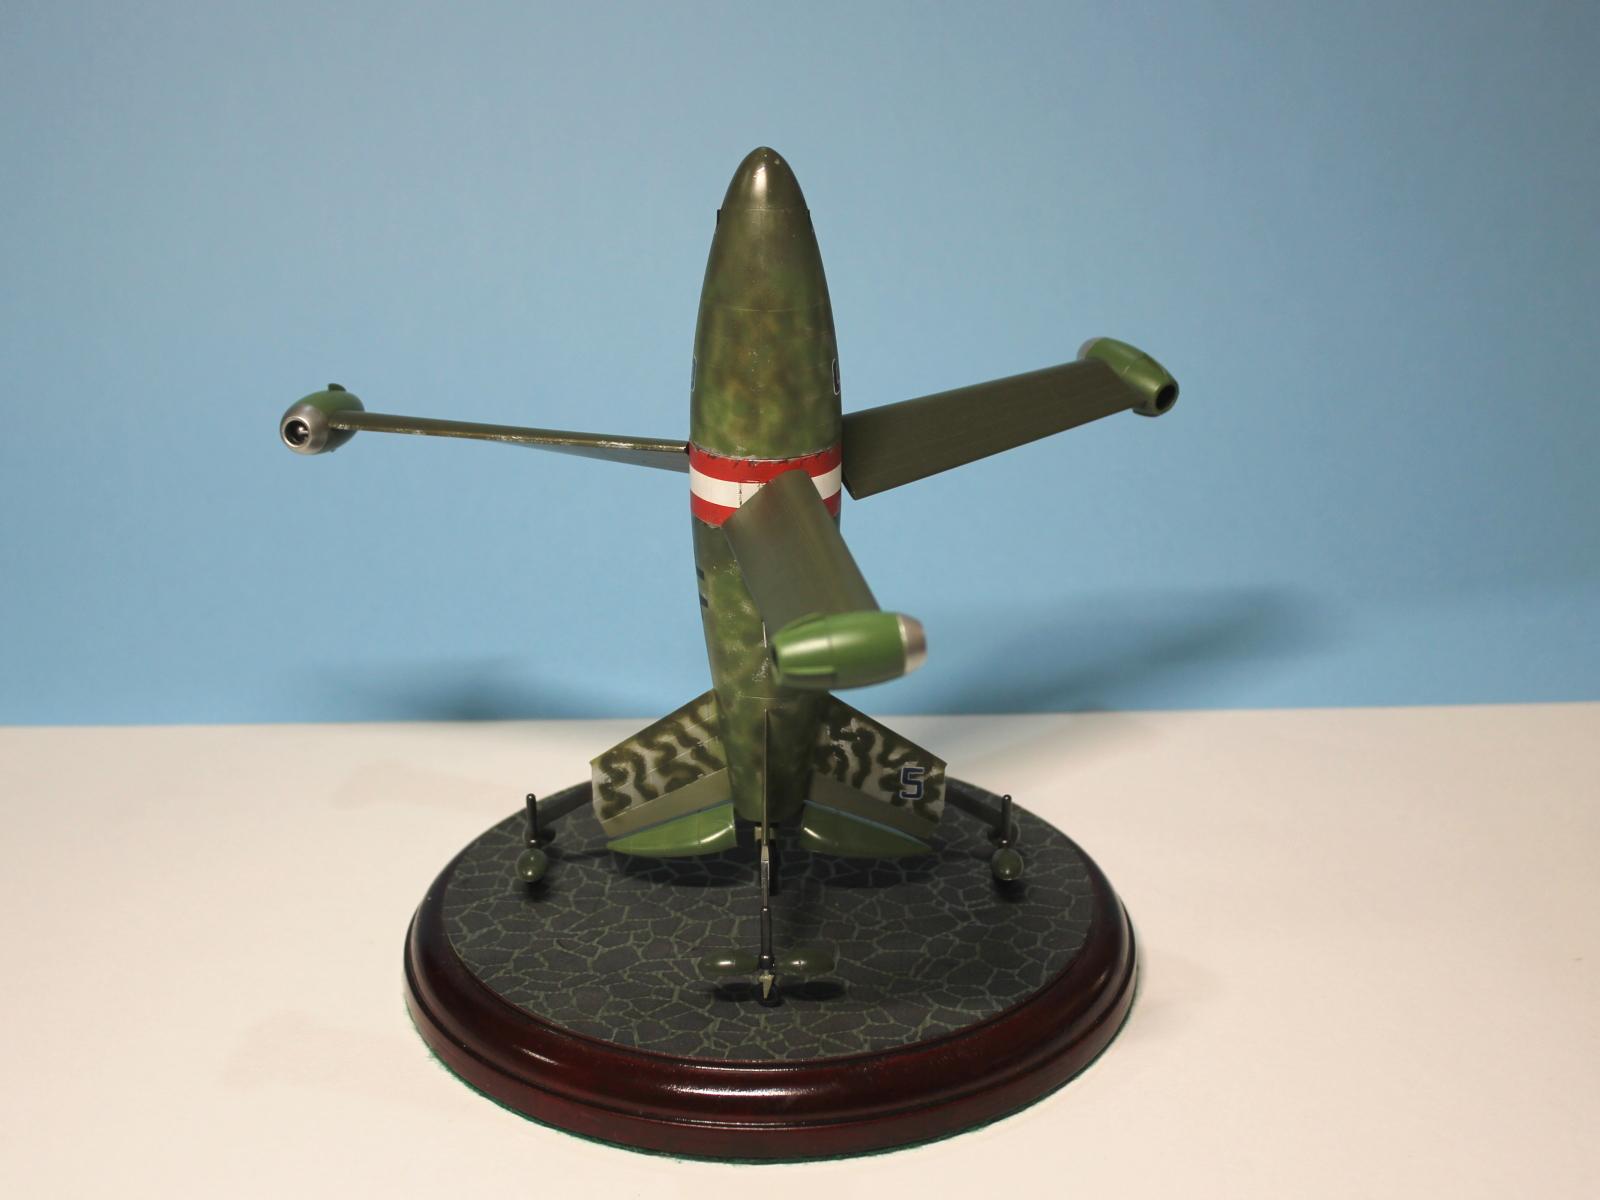
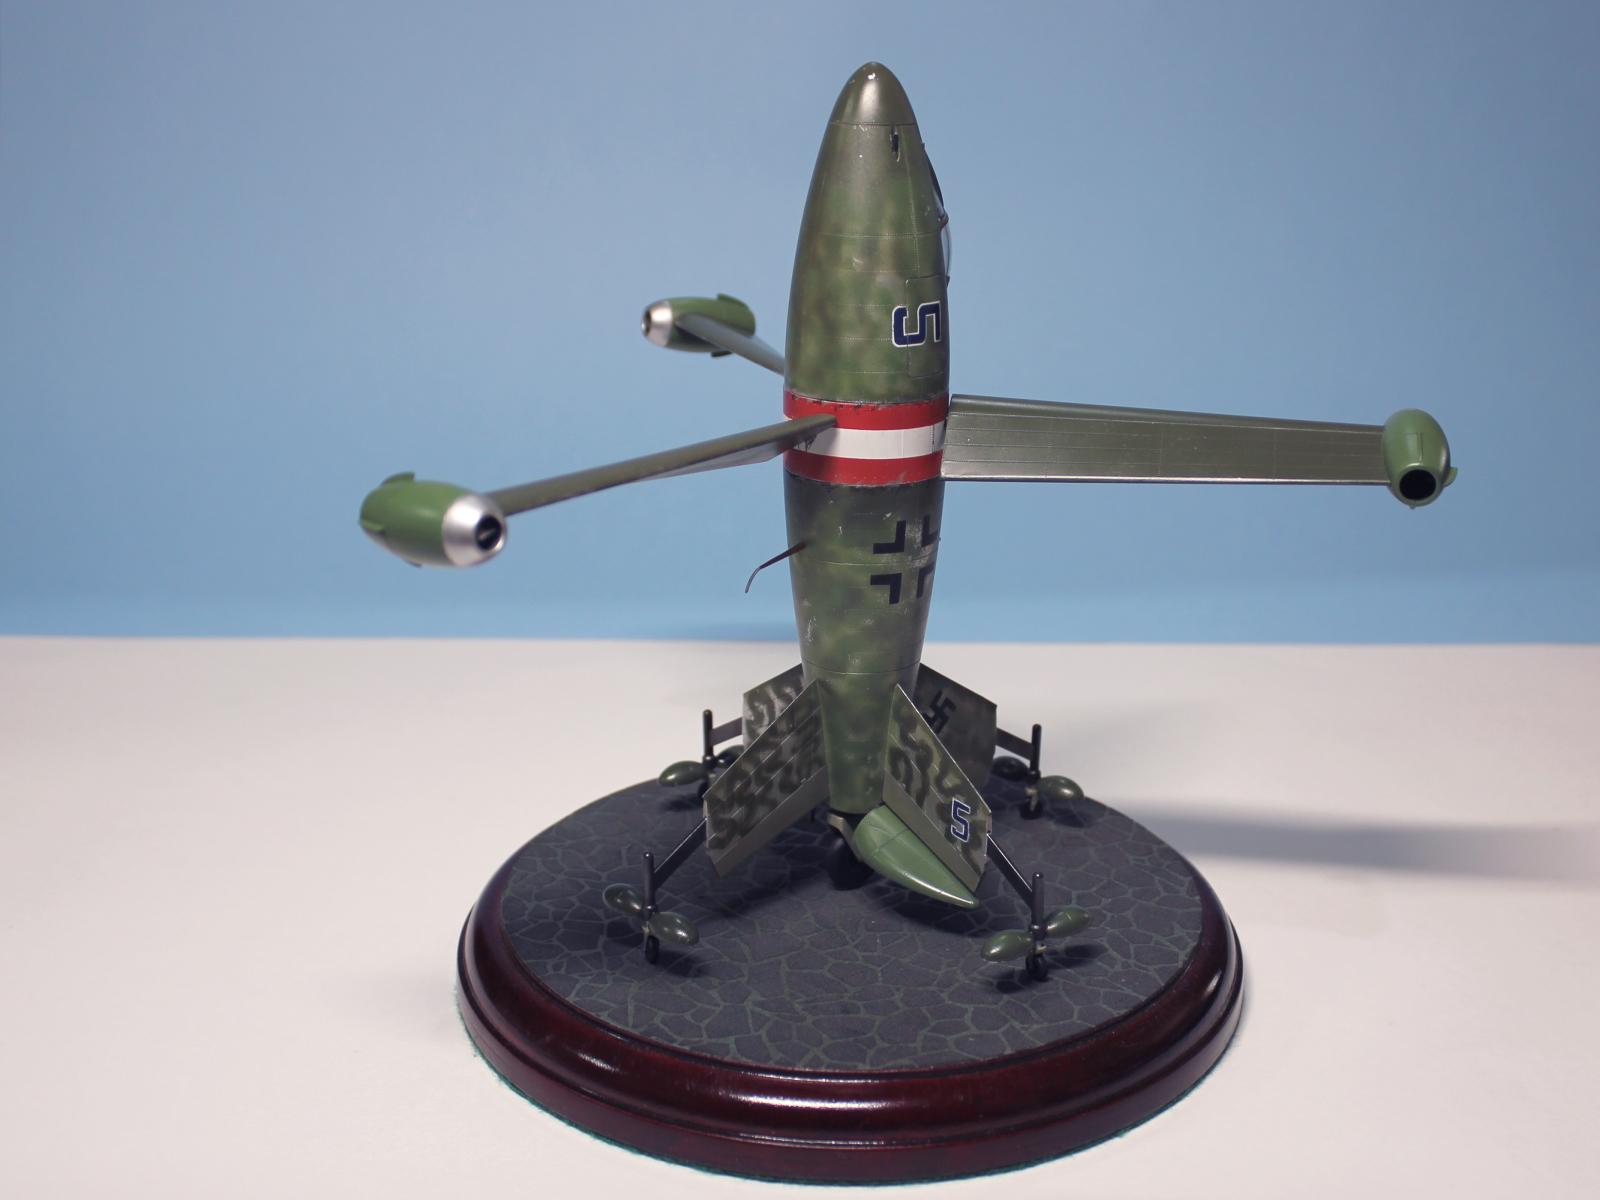
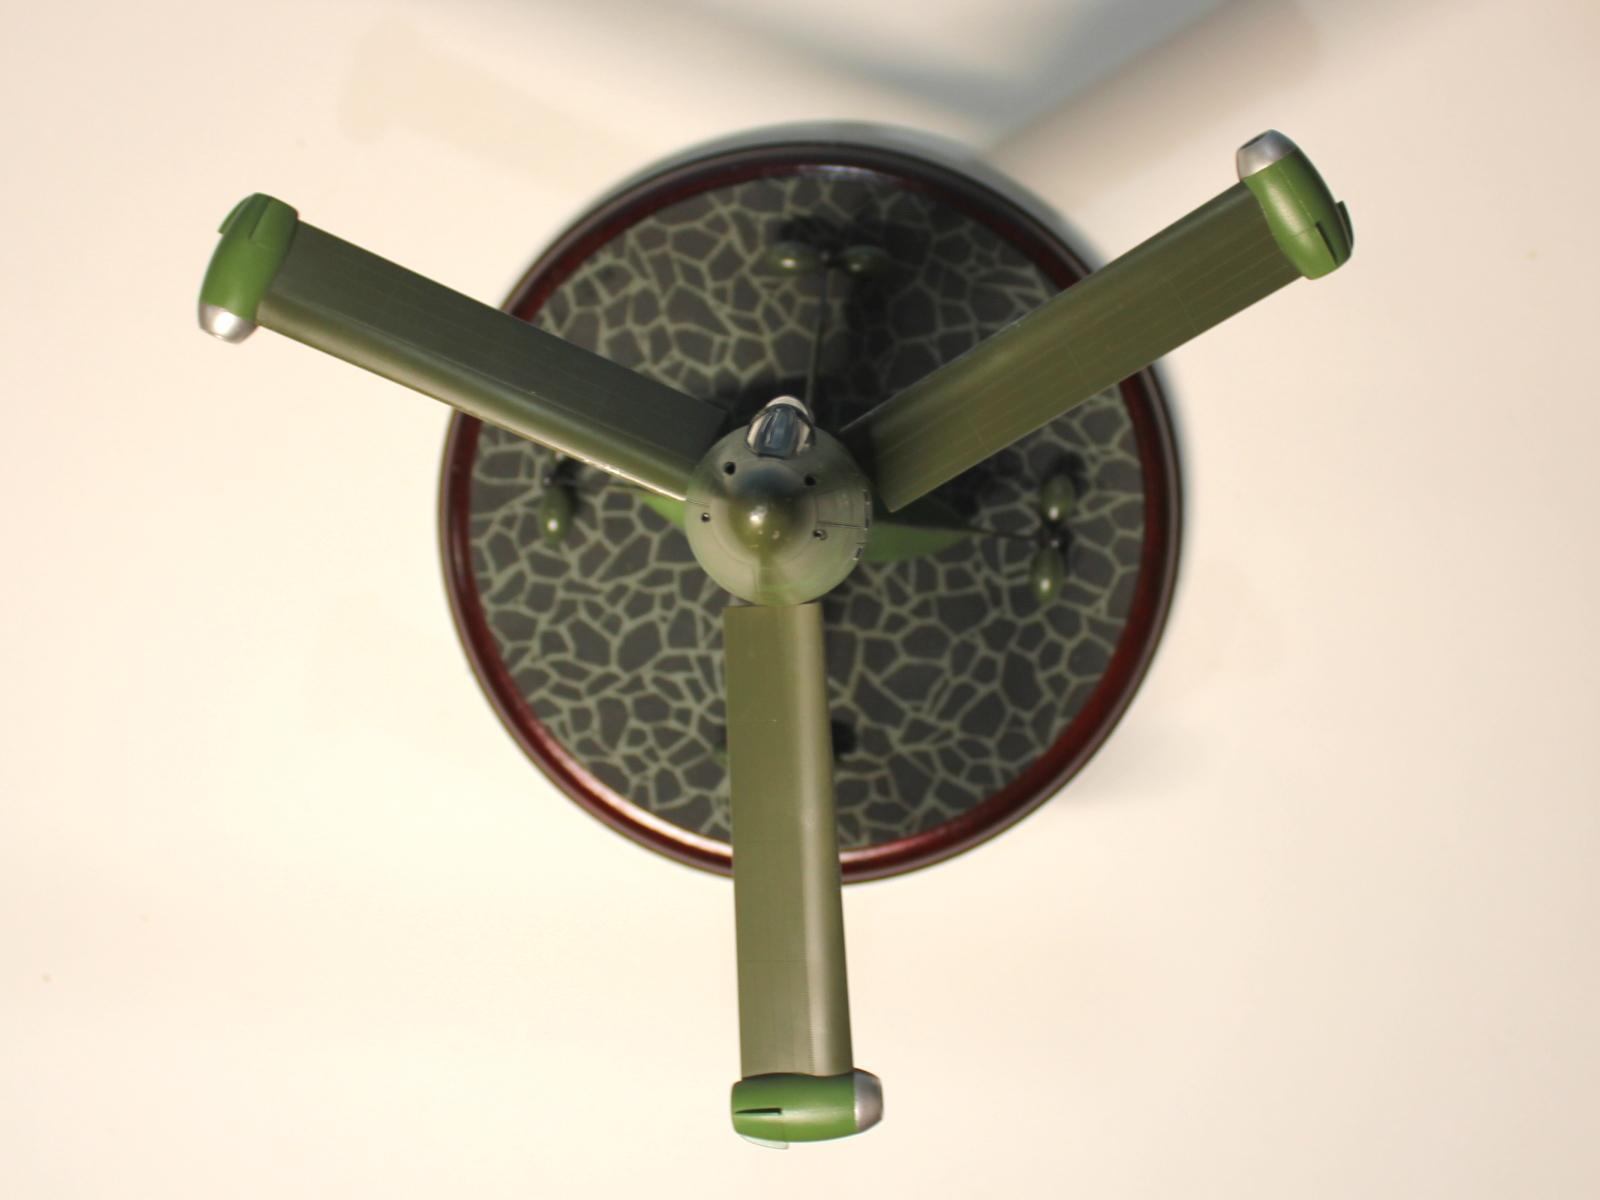
The aircraft was to be powered by three wing-tip mounted ramjets and the wings would rotate about the fuselage on near frictionless bearings. The tail surfaces would counter the otherwise inevitable fuselage rotation as well as provide manoeuvre control. The ramjets were successfully tested and developed by Focke-Wulf and on this aircraft would be brought up to ignition speed by three wing-tip rockets.
Although the idea of a tail-sitting vertical take-off and landing (VTOL) aircraft seems fanciful, the idea was explored post war in America by the contra-rotating turboprop powered Lockheed XFV and Convair XFY Pogo. Neither of these aircraft proved practical, with perhaps the principal problem being landing the aircraft vertically onto its tail.
Amusing Hobby are best known for their armour kits and this is the first aircraft in their catalogue (No. 48A001).
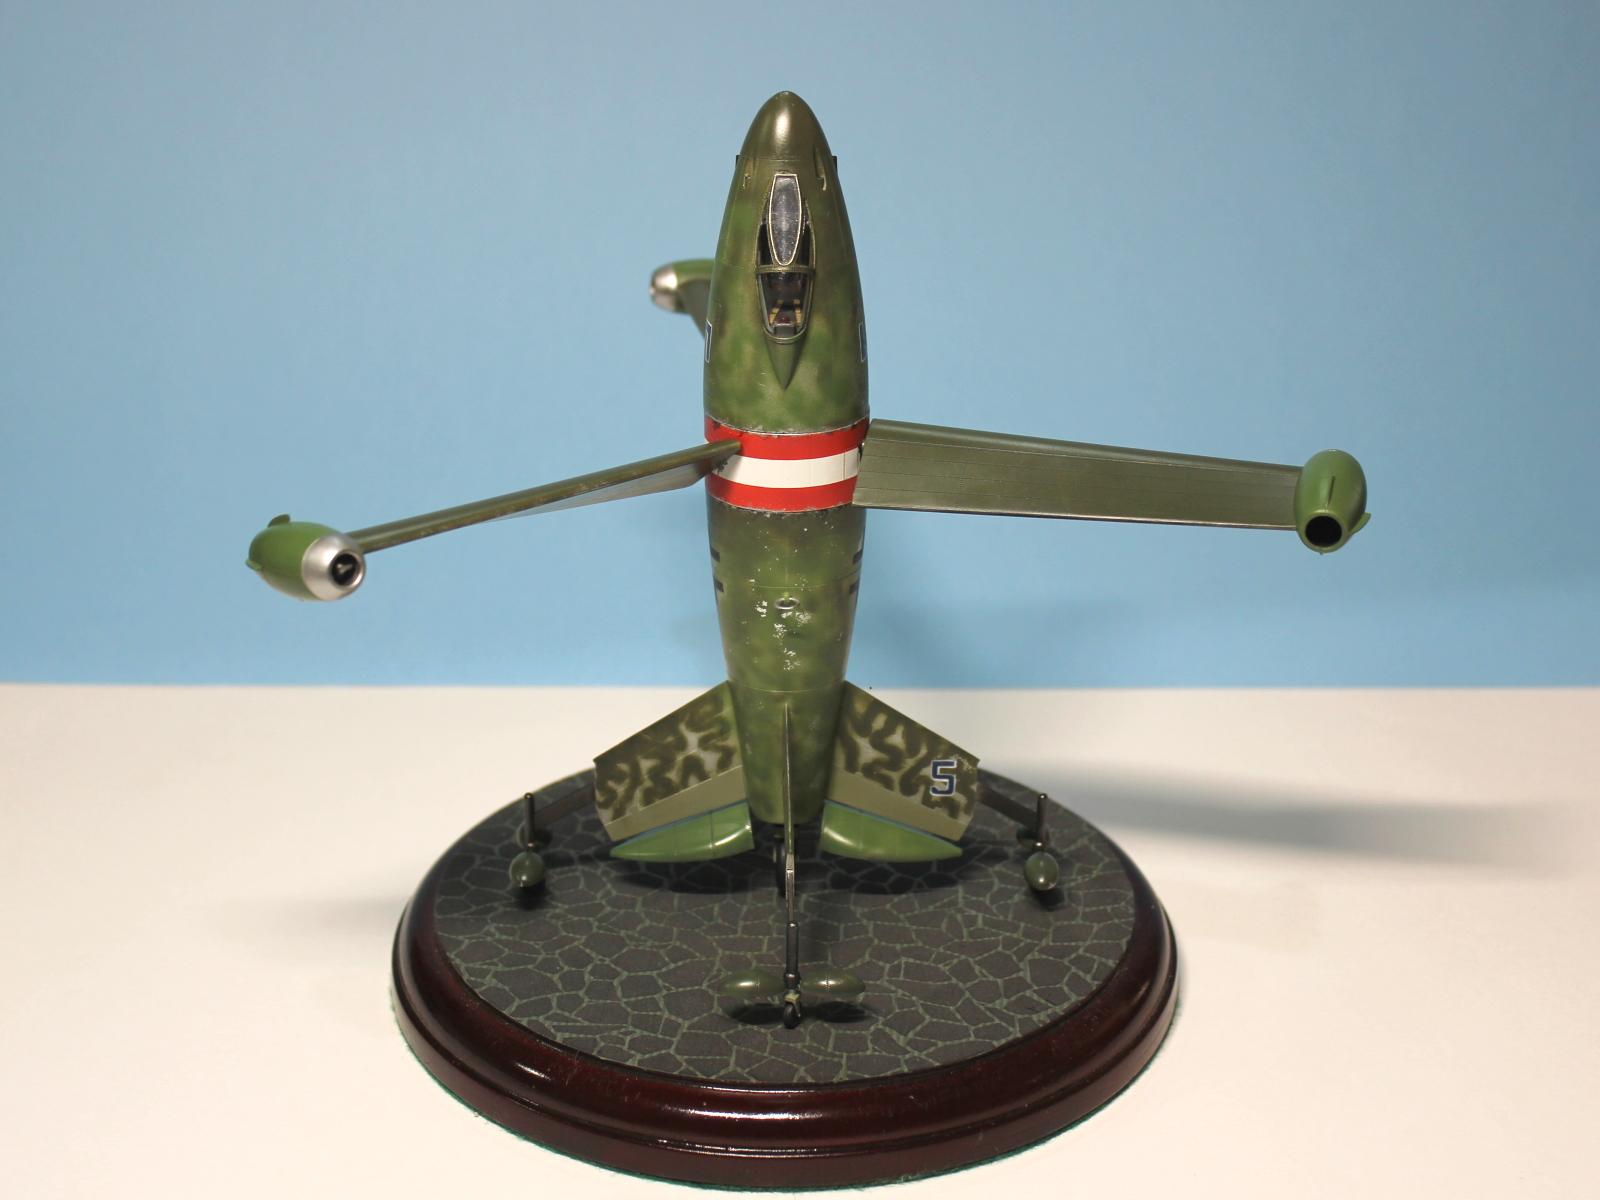
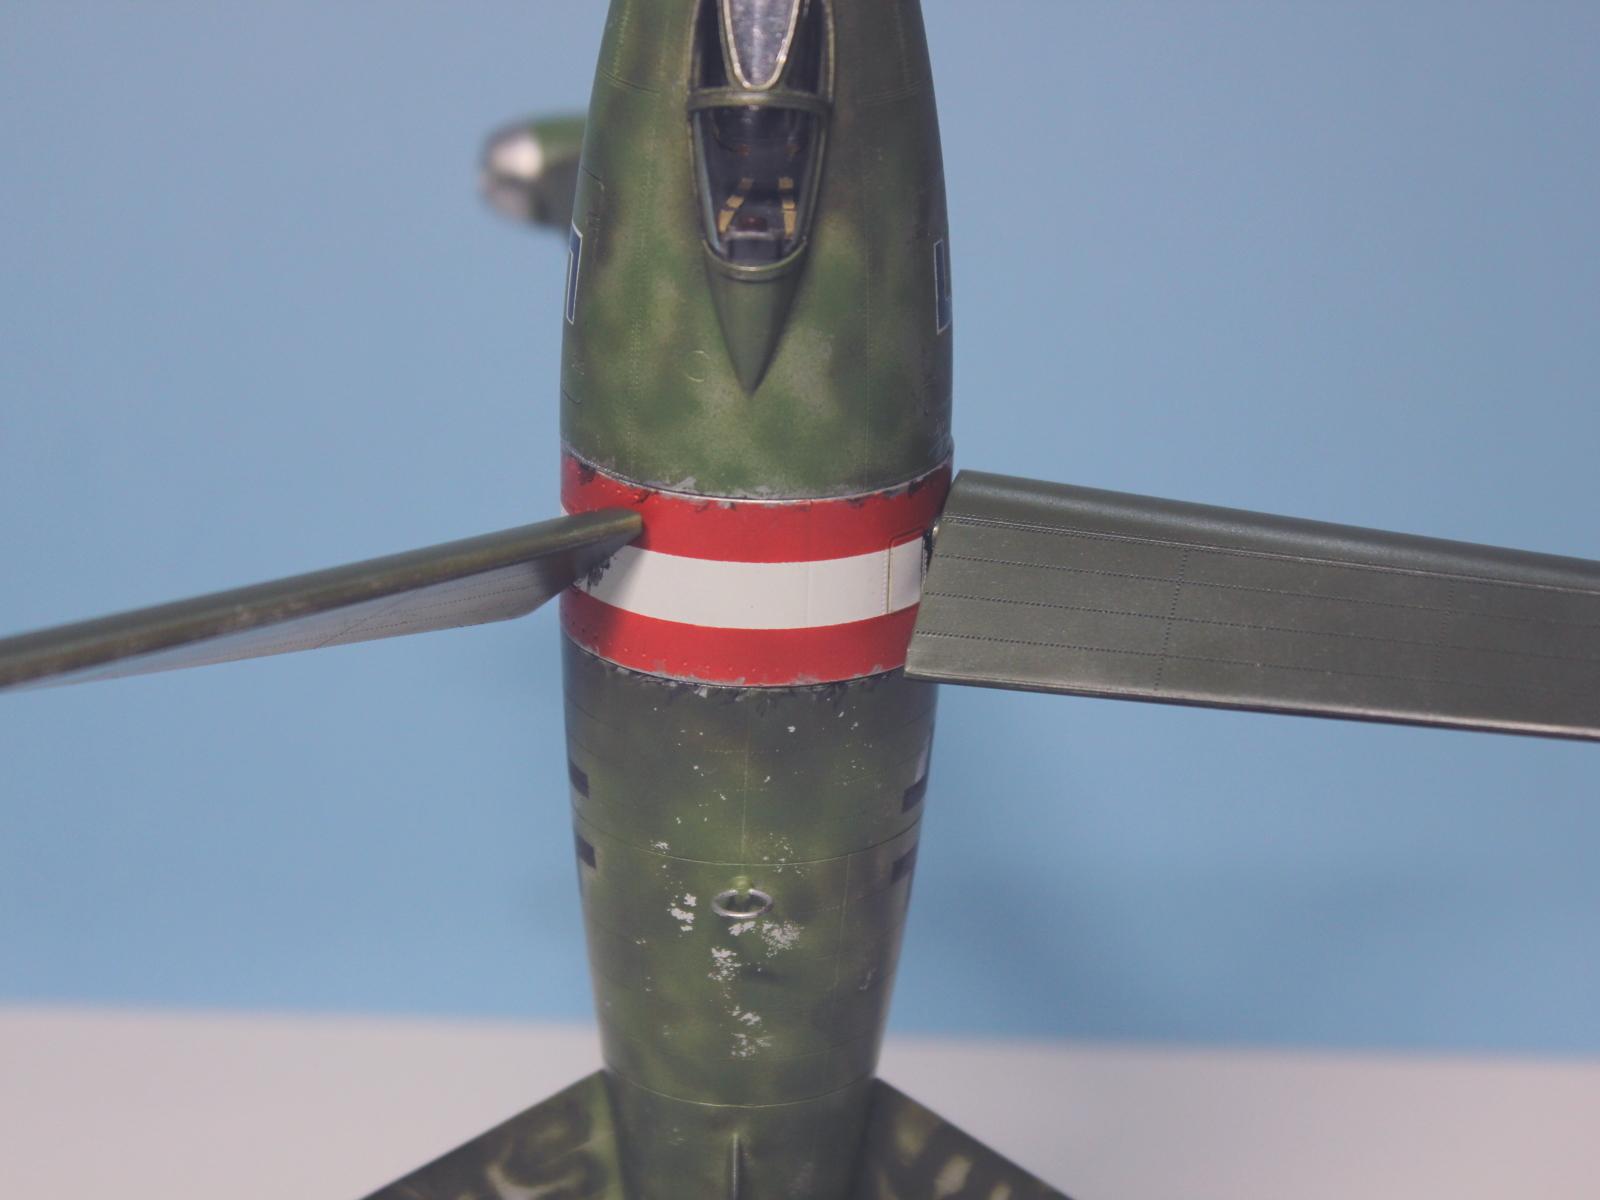
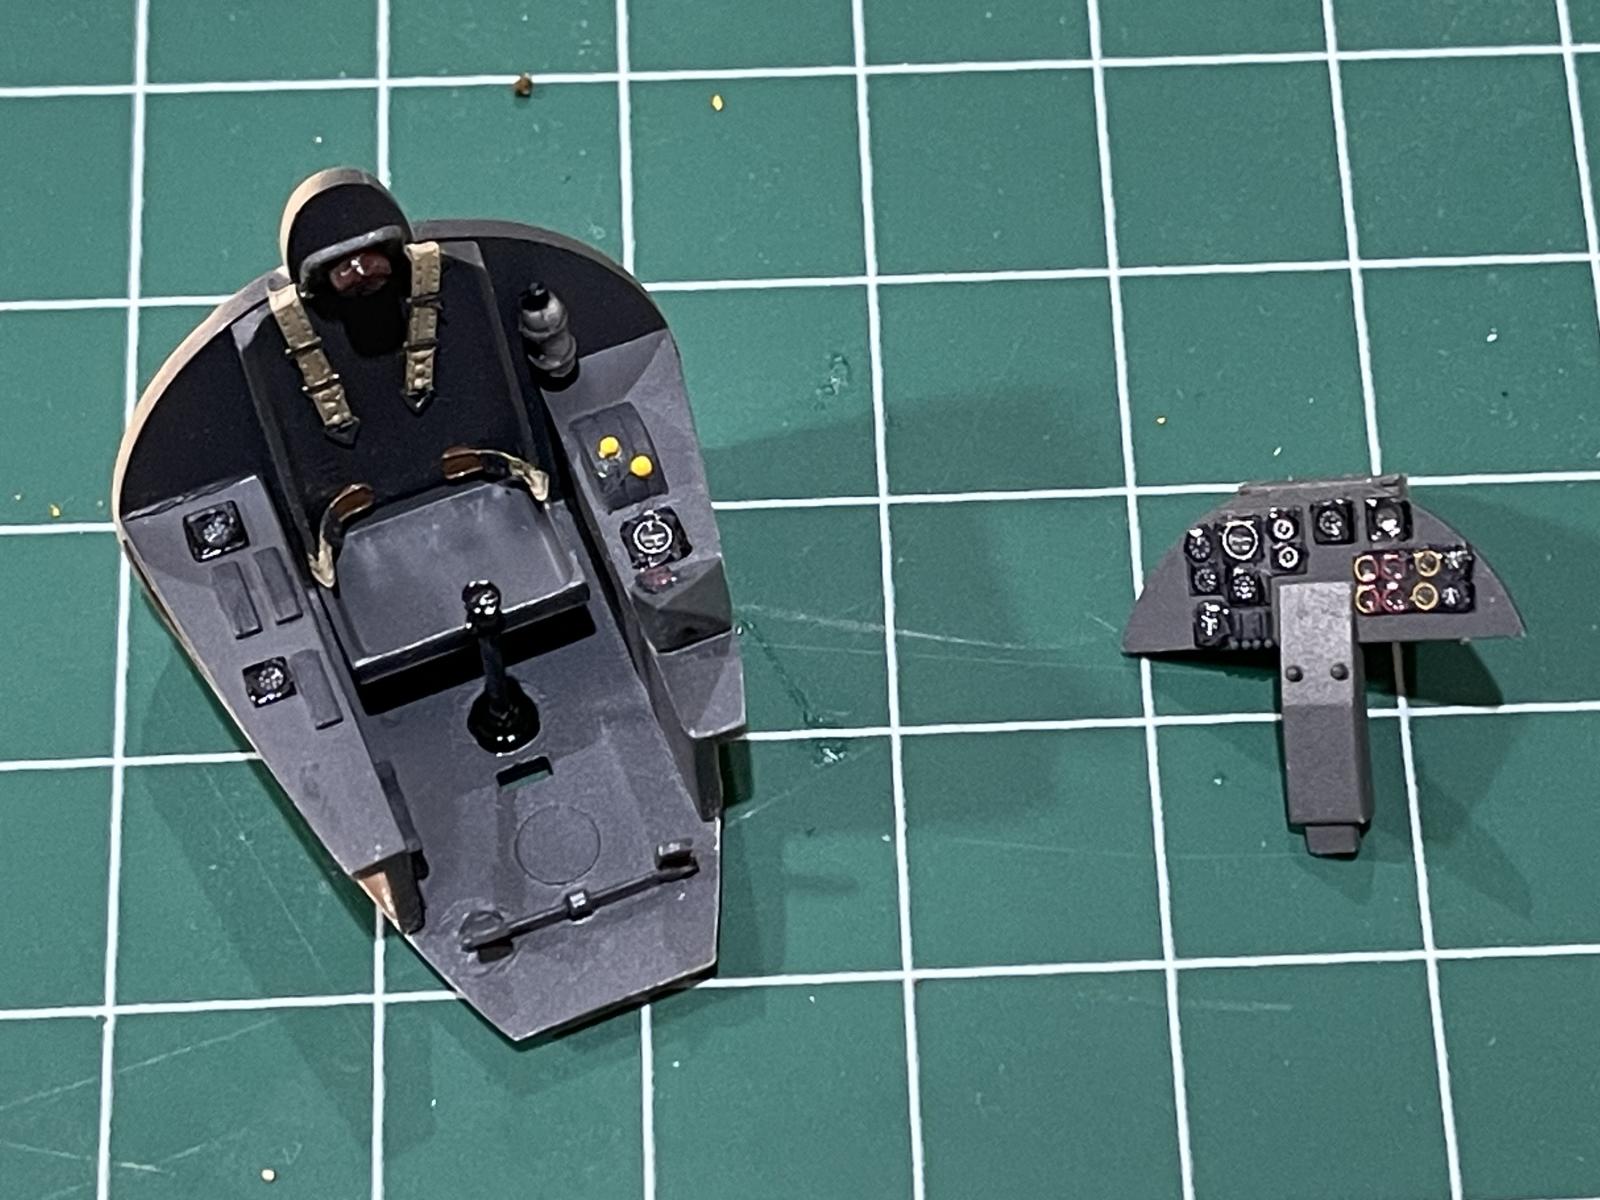
Their kit is quite simple, with minimal parts, and is a good representation of the design. Given this was a design concept, there is obviously a lot of room for interpretation. The only particular quibble is that the cockpit has been designed to fill the space available with no consideration of the space required by the armament that would have been either side. The canopy is also very narrow and the pilot would have had great difficulty boarding the aircraft through that opening, even had the aircraft been horizontal.
Still, it looks like a Triebflügel and I was happy with that.
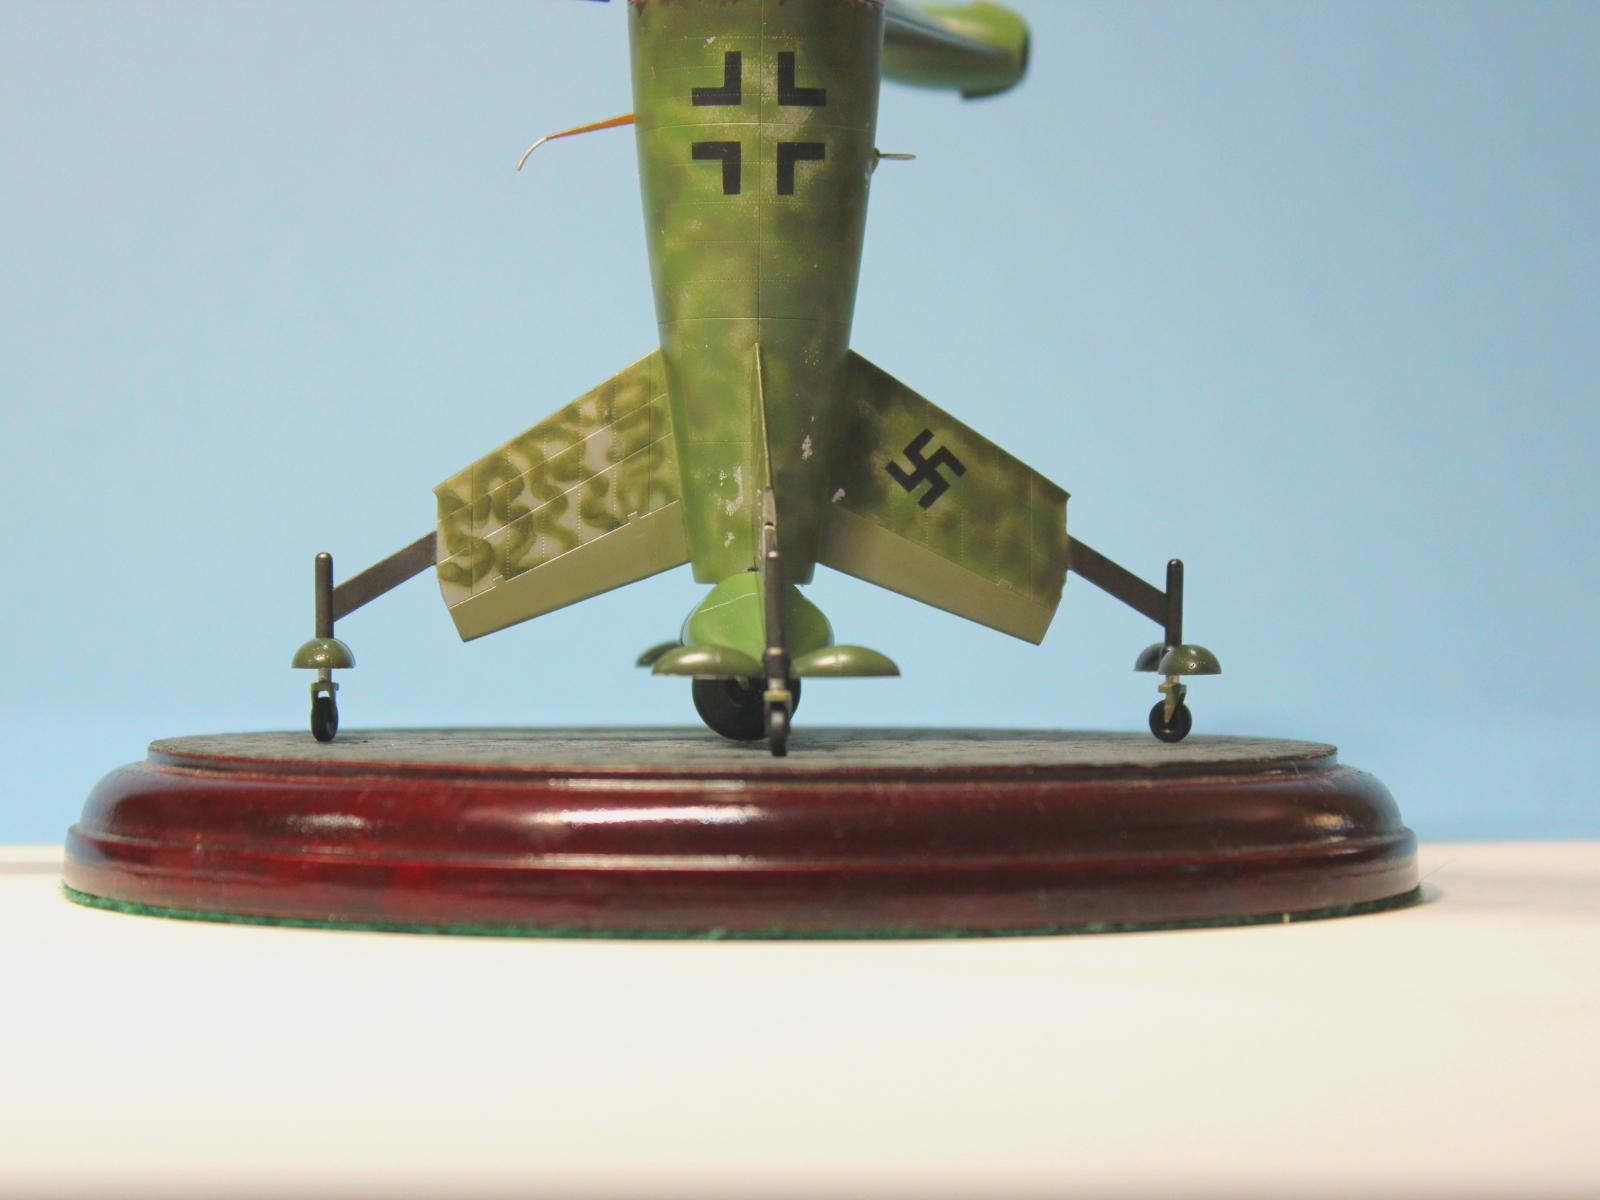
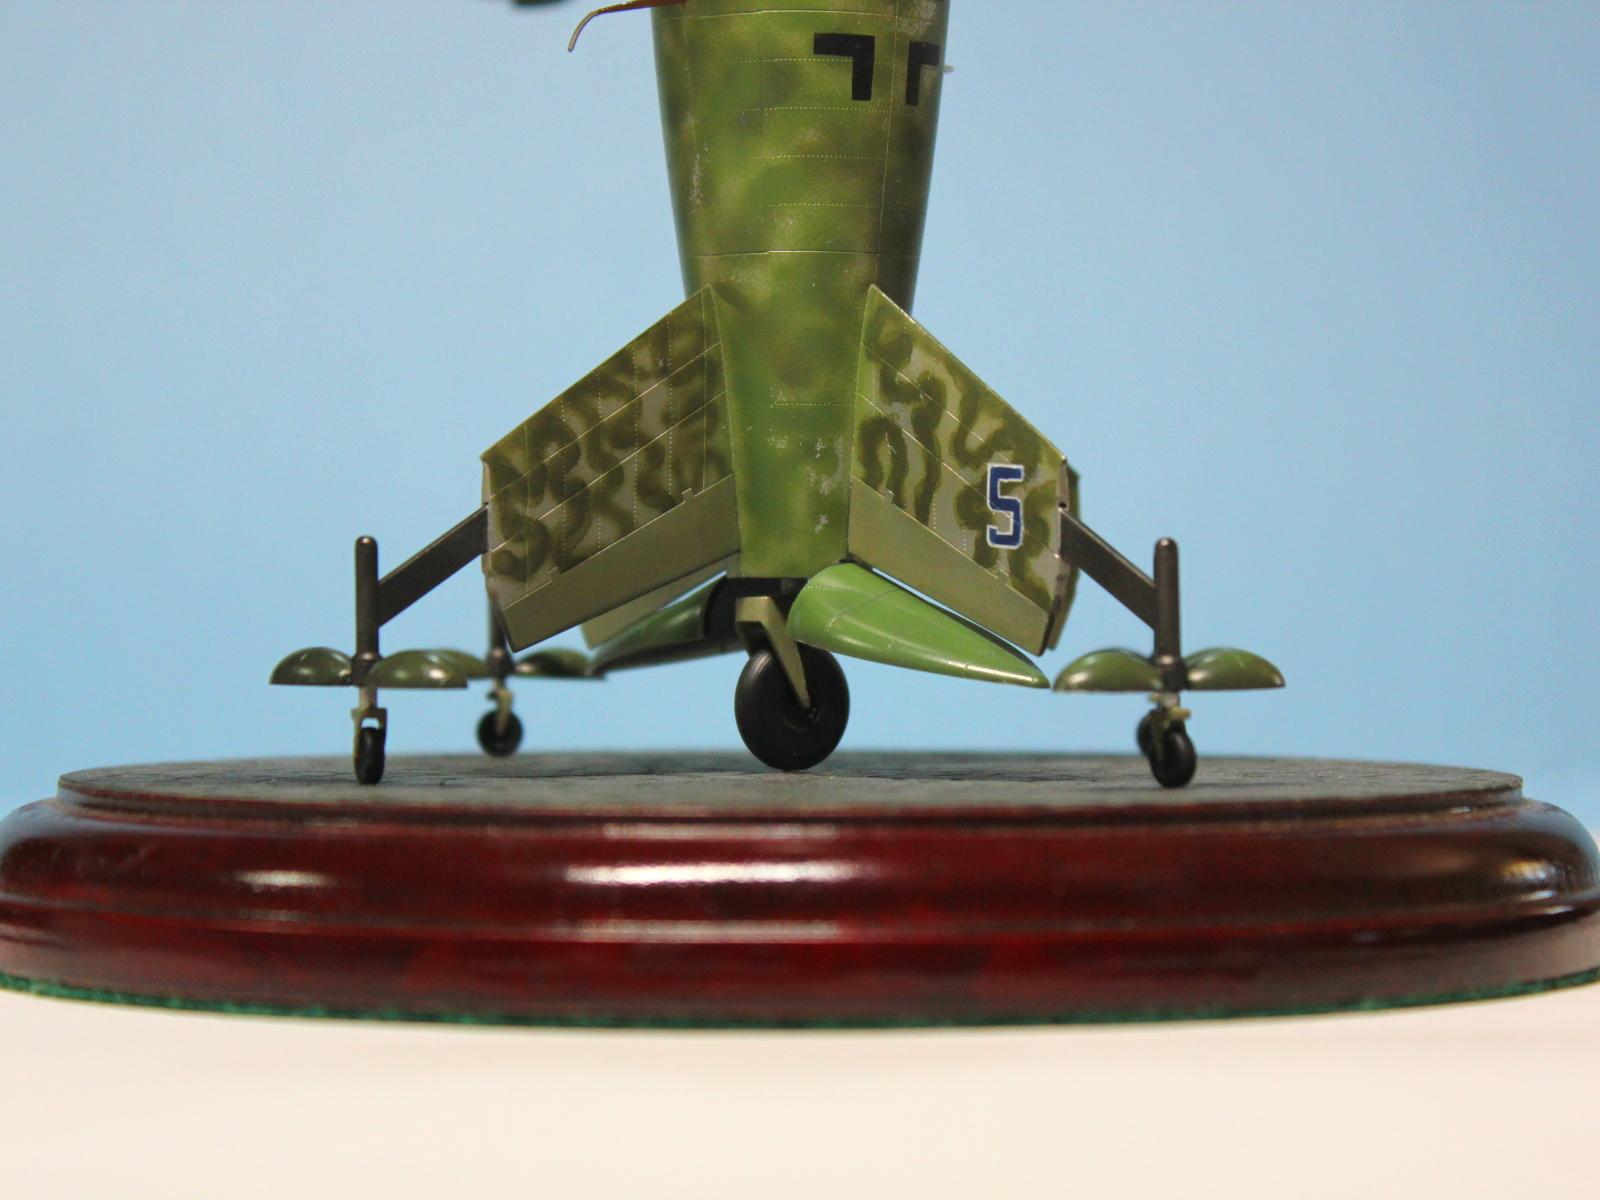
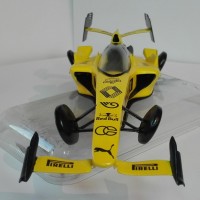
The kit went together well apart from the design of the undercarriage. The main wheel fork is a very un-aircraft like blocky design that was too fragile to attach the main wheel and, even if it hadn't broken, certainly wouldn't support the weight of the model. The outrigger wheels were a similar design. So, my solution was to drill a hole vertically through the tyre through which I passed some aluminium rod. I then drilled a slightly larger hole through the fork and replaced the main gear leg with two brass tubes of different diameter, the outer diameter of the larger one matching the gear leg and fitting neatly into the fuselage slot. So, I ended up with three nested rods taking the weight of the kit and saving the undercarriage.
Also, the wheels are provided with two-part clamshell covers but the attachment points for these are too small for the slots provided, so a large dose of super glue is the go here.
One thing not provided were the wingtip rockets, perhaps because there is no evidence where these would have been exactly. I considered adding rocket tubes to the centre of the ramjet outlet using brass rod but decided to keep this build out of the box.
Several schemes are provided on the instructions with further, unreferenced aircraft numbers on the decal sheet. The quality of the decals is average with some of the colours a bit suspect and some a little pixelated.
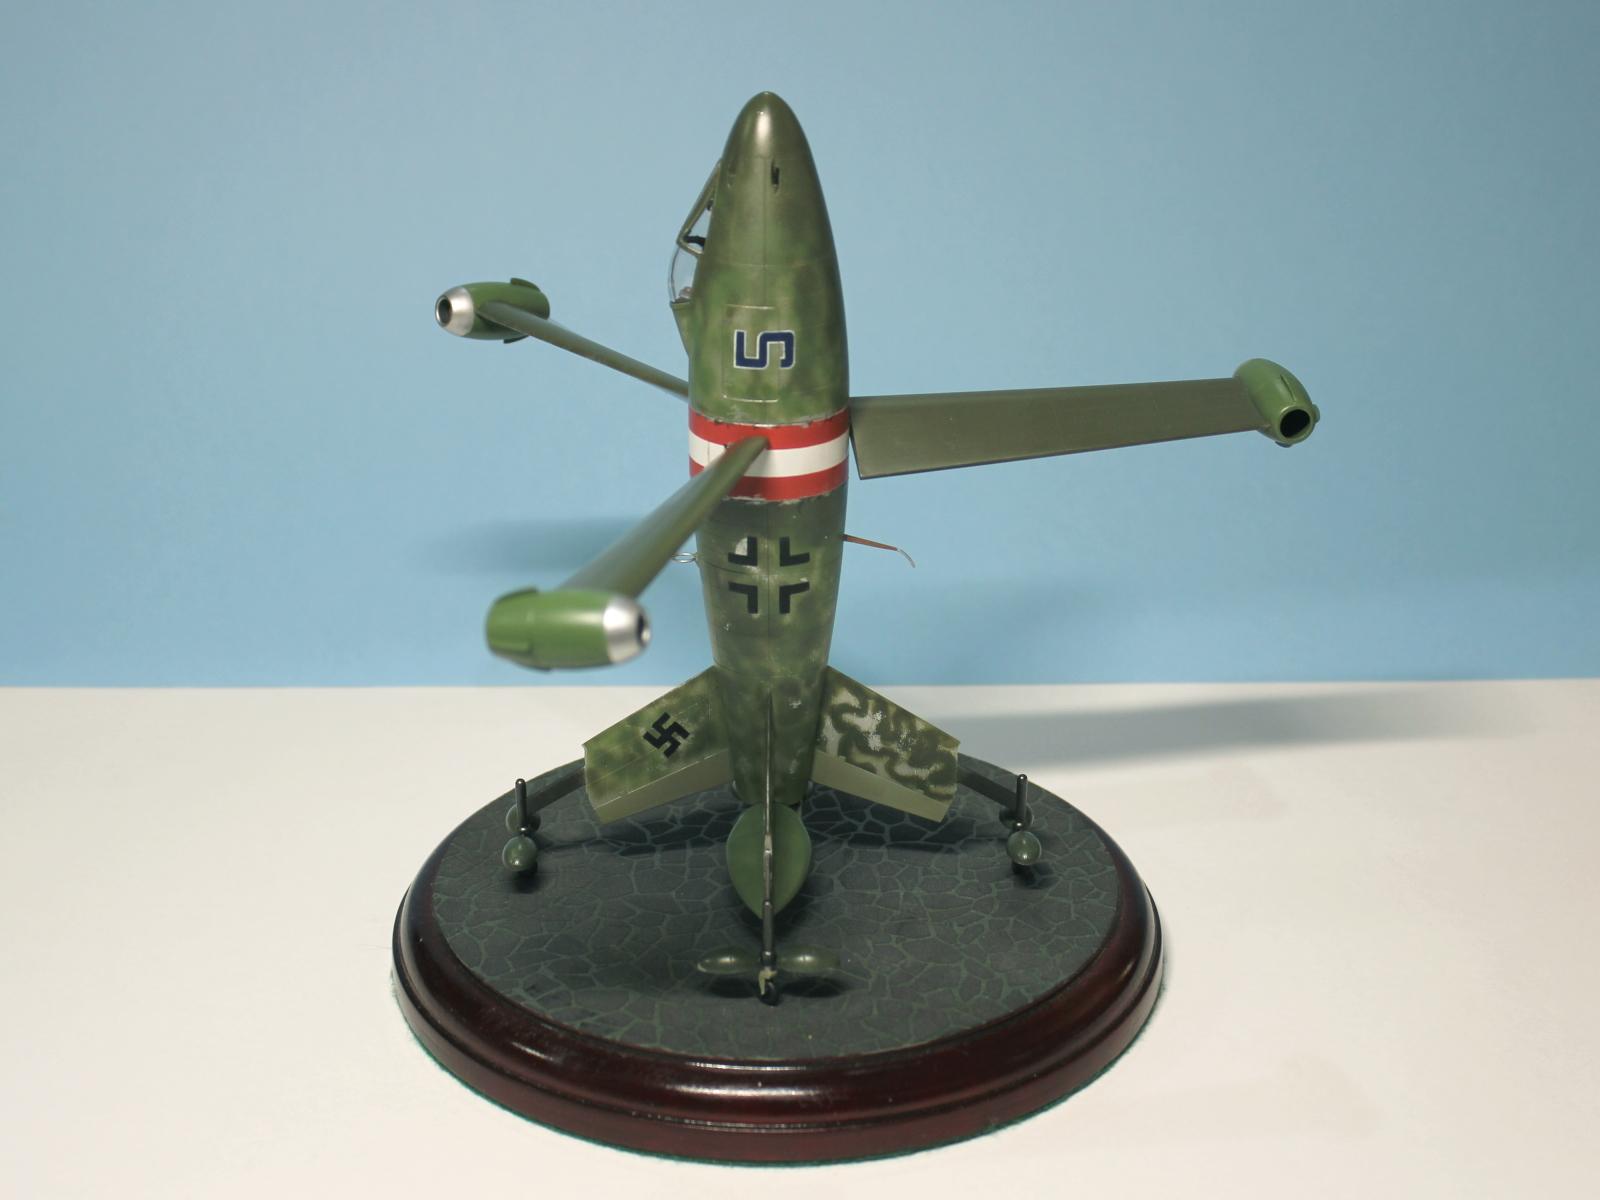
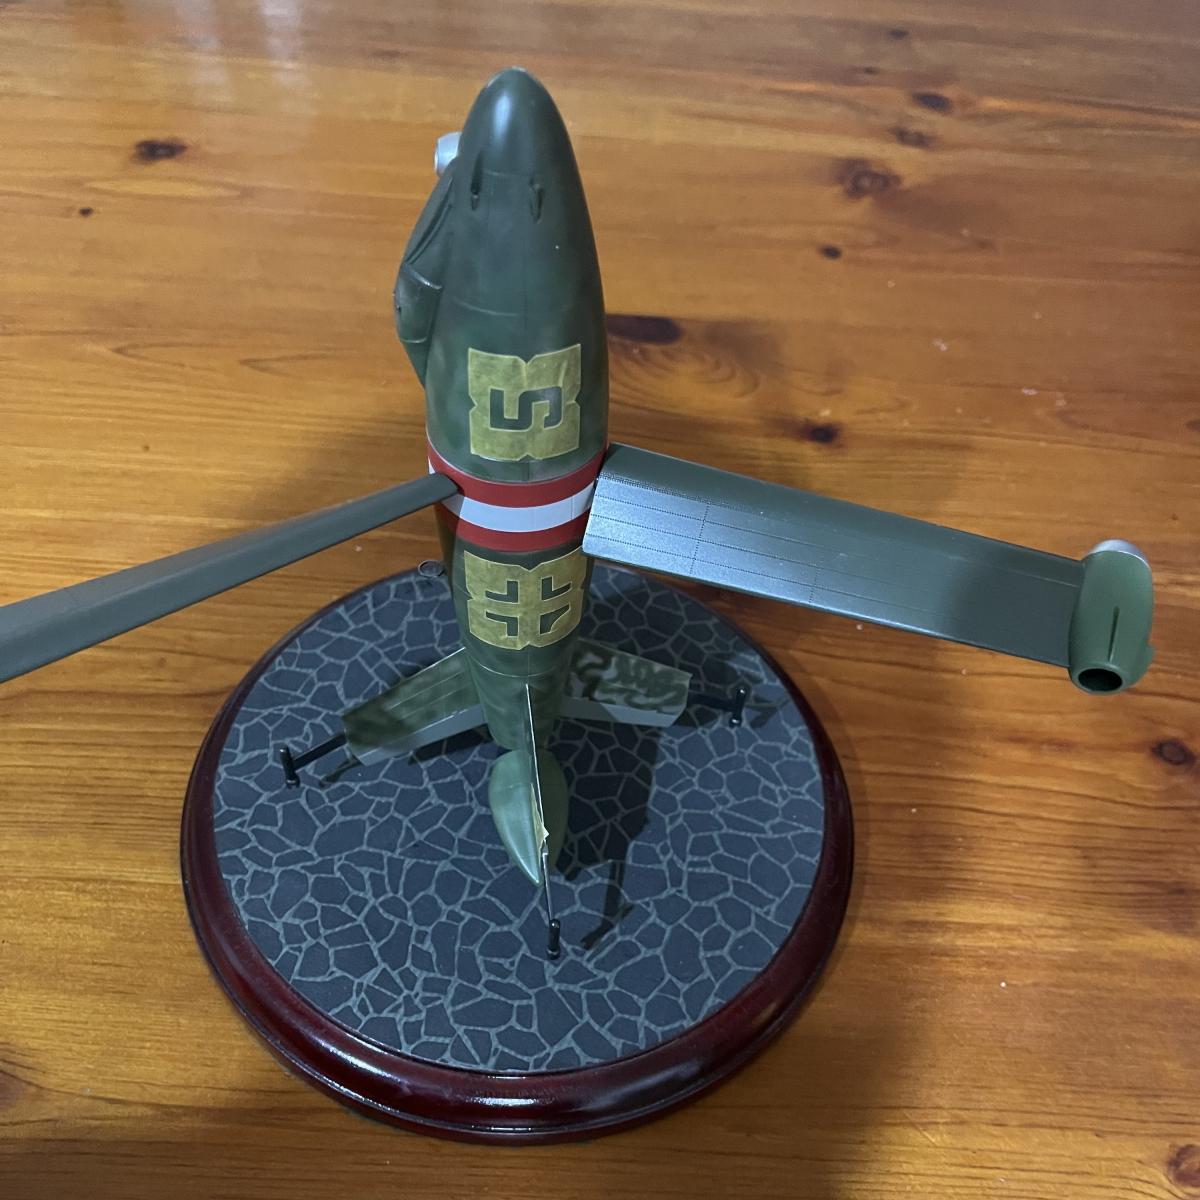
I decided to create my own scheme of a JG 6 machine to add some colour with the red-white-red Reich Defence band. The profiles placed these bands around the aft fuselage, but I decided that the ideal placement was around the wing bearing ring.
Rather than use decals, I decided that this was the perfect opportunity to try out my wife's new Cricut cutting machine. After much trial and error, I managed to get an acceptable set of masks using kabuki sheet, including double masks to paint the aircraft numbers. I first masked and sprayed the white and then overlaid narrower masks to spray the blue. You might be able to tell that the alignment was slightly off with one of the numbers. Still, not bad for a first attempt.
Overall, this was a refreshing, relatively quick (for me) build and a break from my usual research-intensive builds.

Really well done build, of an interesting design concept. I really like your camo scheme, very nicely done. As radical is it may be, it is amazing how many of the Luft46 design cues can be found in both the US and USSR post war jet designs. Maybe not with this example though 🙂
Ditto with Walt's comments, Michael!
A superb result!
Another excellent MichaelT Model! Very nice work and a really good result.
This thing and the Natter strike me as flying machines for which the pilot would have had to flunk the sanity test in order to qualify to get in the cockpit.
Superb looking build, Michael @michaelt
The camouflage scheme is indeed very nice and perfectly applied.
Nicely done. I can't imagine what it would have been like to have to bail out of one of these things.
Well done, Michael (@michaelt). Camo and paint came out well, as did the homegrown markings. I have been dabbling with my wife's Scan and Cut machine, which is similar to the Cricut. They are fun to play with.
Nice project and conversation piece .Your paint scheme give it the “ real “look.
Great stuff I love luft46 stuff.