Two Old 1/72 Model Kits of the Grumman Wildcats (Revell and Frog)
A couple of months ago I started work on these two kits, Revell's and Frog's F4F-4 Wildcats. I wanted to build them together like the way I did with my Bearcats back in March and enjoy the whole process. My original game plan was to build them straight out of the box but I did end up doing some tweaks here and there.
This was an eBay buy that actually contained 5 kits in one MPC Profile box of their F4F (FM-2) Wildcat. One Frog, One Revell and three MPC wildcats and the price was right, the price of one cheap old kit.
The Revell kit probably came from the 1982 boxing, this kit was first released in 1961. The Frog kit is the bagged release kit from 1972.
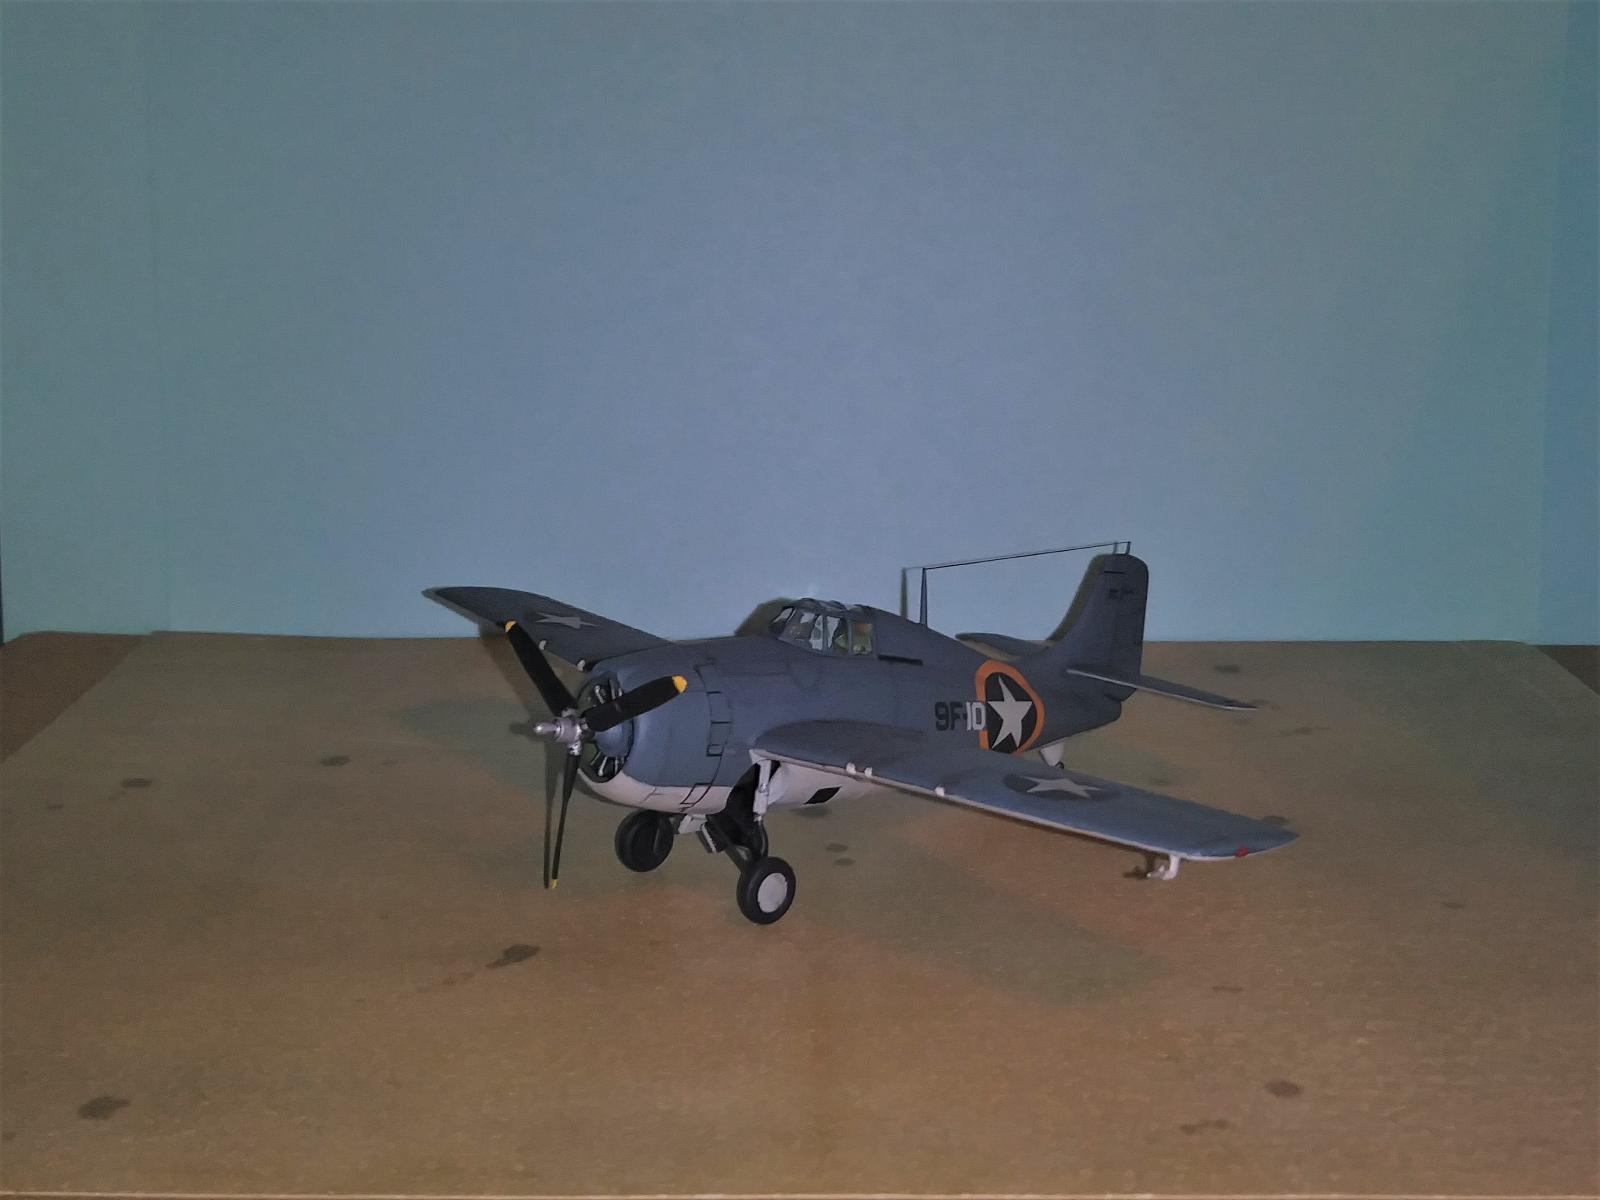
On the Revell kit, I did file down the big hump from the spine of the fuselage to flatten it out a bit, and the leading edge of the vertical stabilizer was a bit too curvy and I filed it a little to straighten. Since the top of the engine cowling was meant to be removed to see the engine I instead glue it on to the bottom cowling and blended them together, and added a small piece of cut styrene strip to make the upper scoop look more legit. There was no cockpit and left it alone, I also decided to leave most of the small rivets alone. I usually remove them but in this case it looked really nice so they stayed. I did use an S.D.S Models resin propeller to replace the original. I think it did improve the front look a lot.
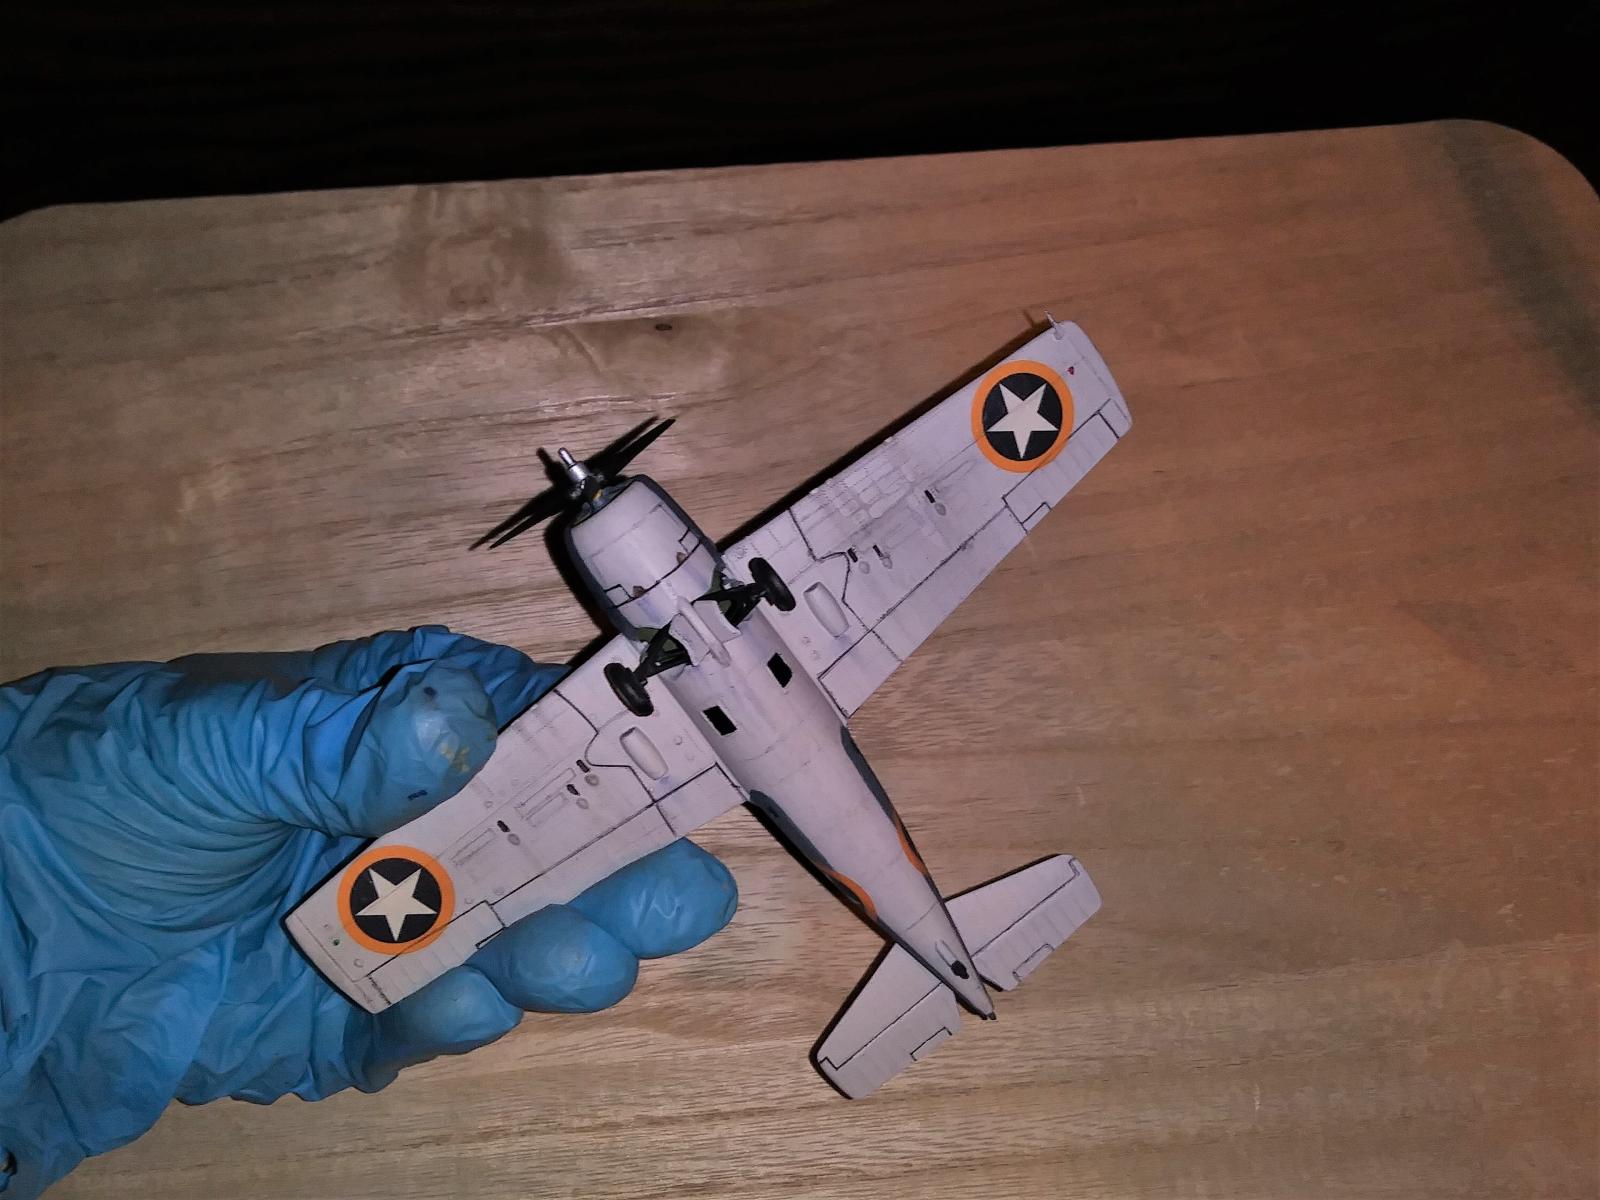
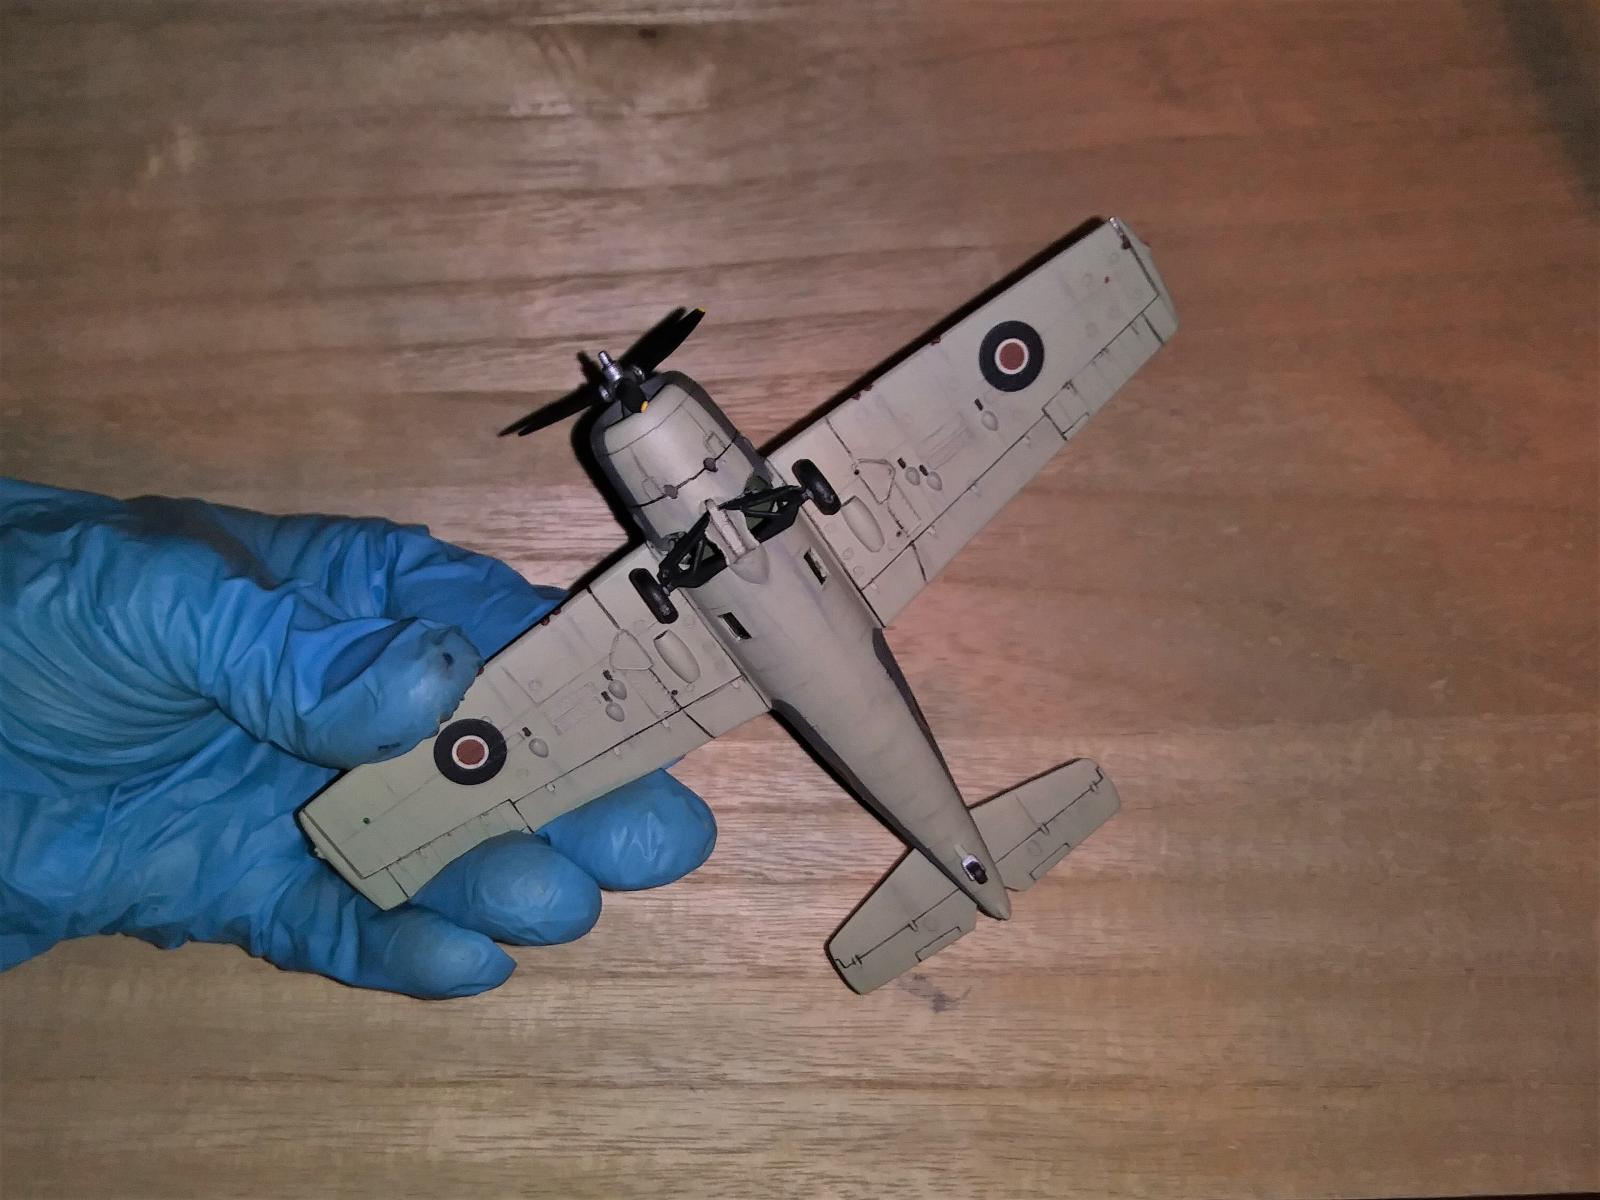
The Frog build was probably the least worked done to the build but I had to deal with a fuselage that was warped. I used hot water and patience to see if it kept its shape after gluing the halves together in which it. I also made the main wheels a little thicker since they were both too skinny. A piece a cut styrene sheet did the job. My other problem was a weird one, the plastic was delaminating around the engine cowling and wings upper surfaces. I dealt with that by brushing on the liquid cement and that stopped it. But this made me not go to crazy on sanding the surfaces too much or blending in the seams fearing I made the other areas start to delaminate.
To be honest the Revell kit was actually the easier build and I loved it, With the Frog build, its little challenges took some of the fun away but not enough to kill the build. At the end I have myself two builds from the past, the Revell I have built twice in 1970 and in 1973 which made this build very enjoyable. On the Frog build I never had the chance to build it so for me I was happy to have one made.
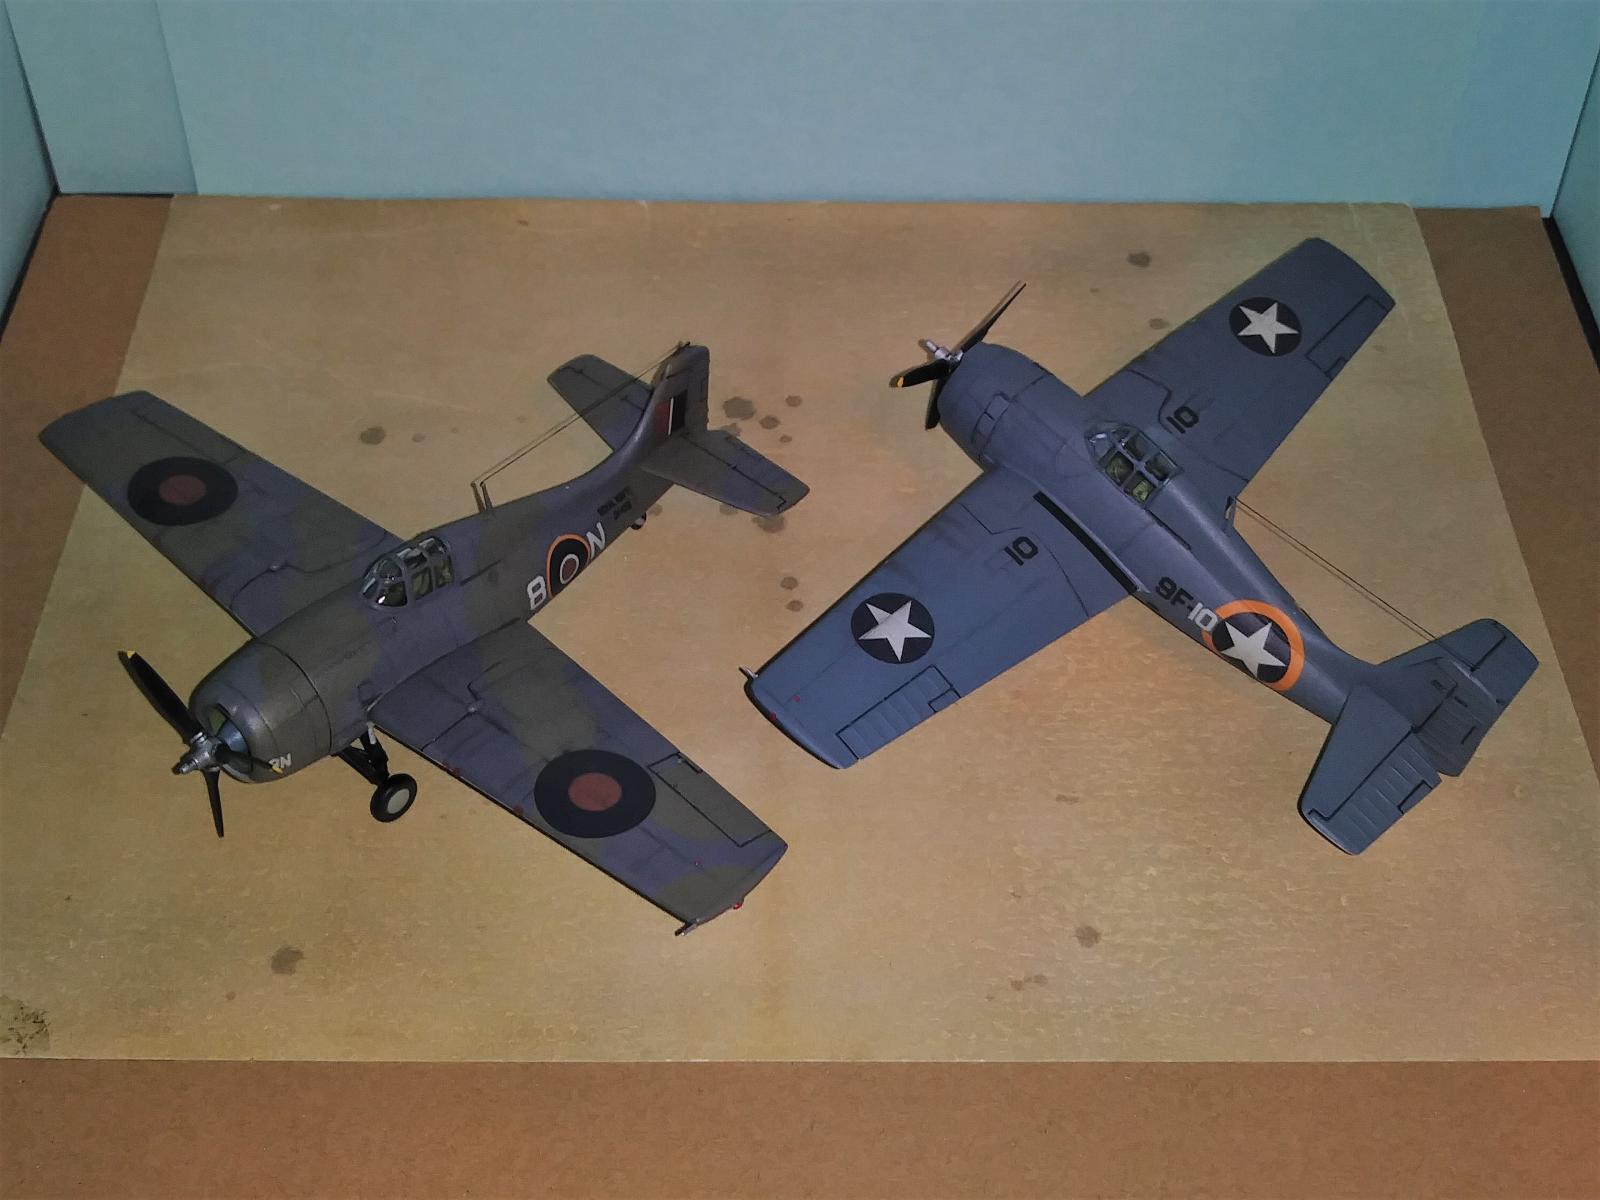
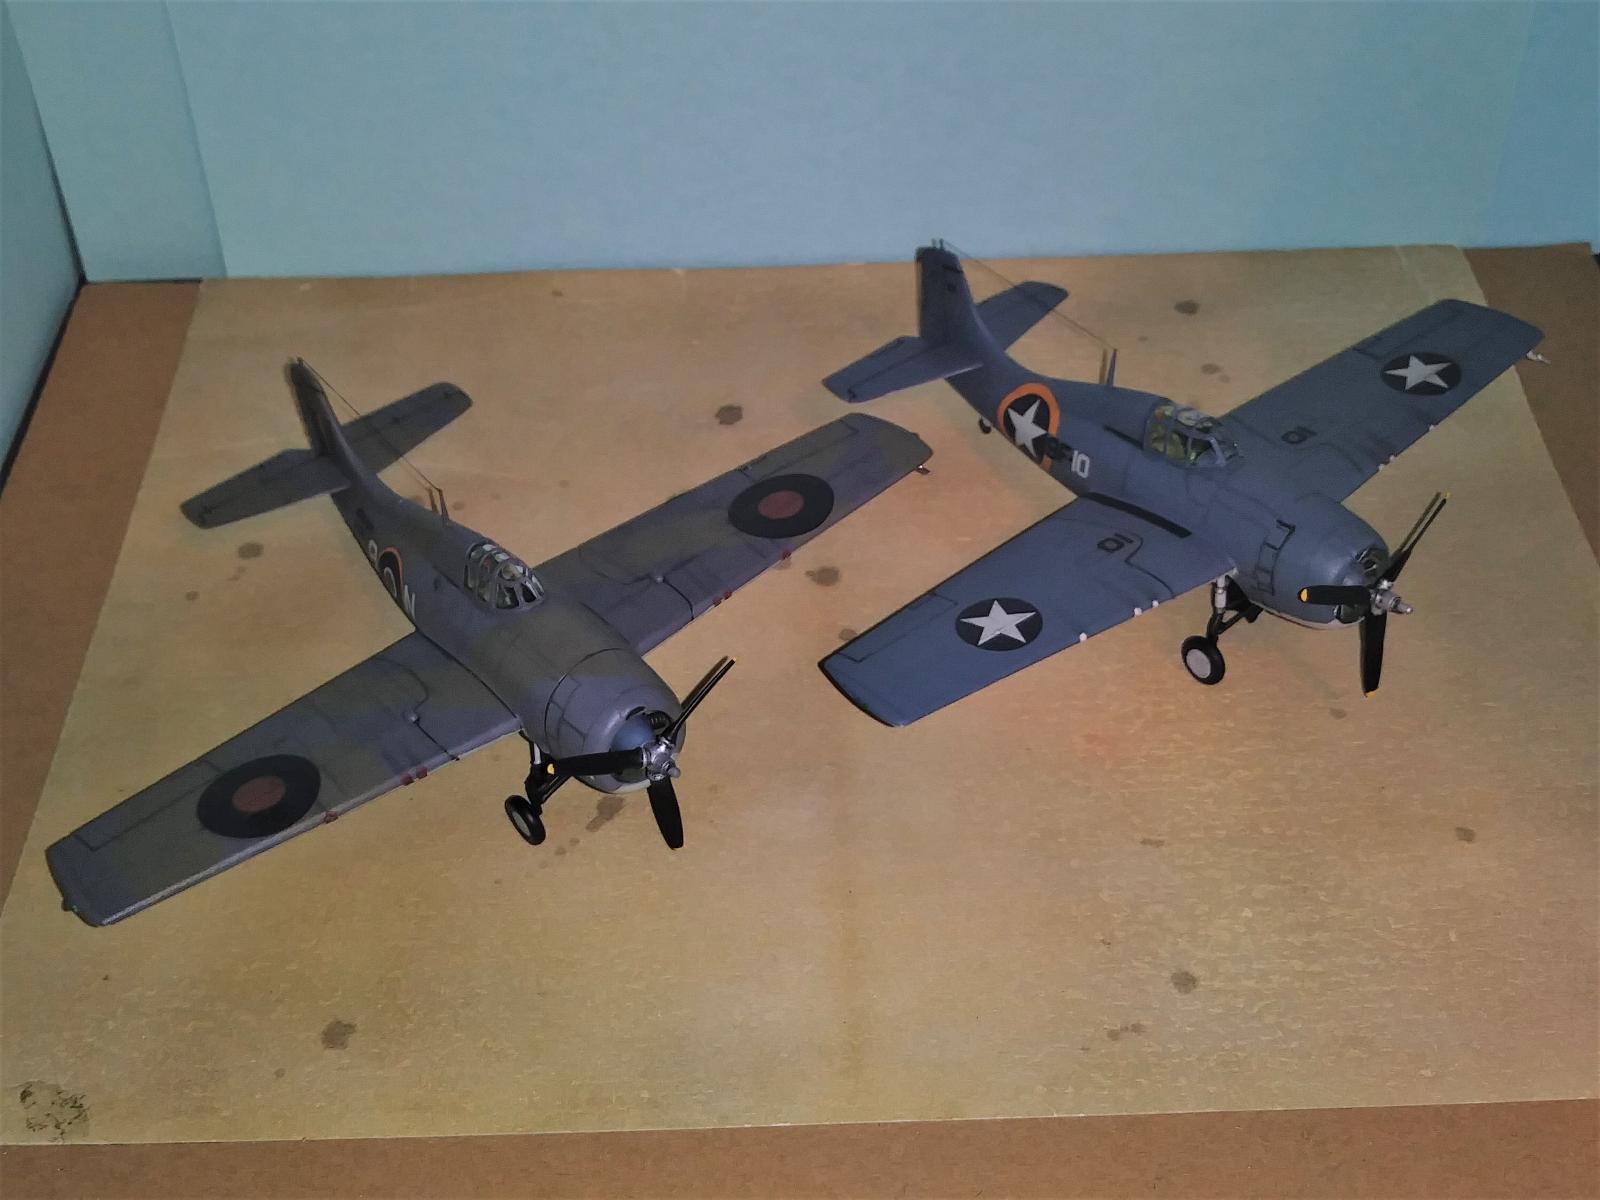
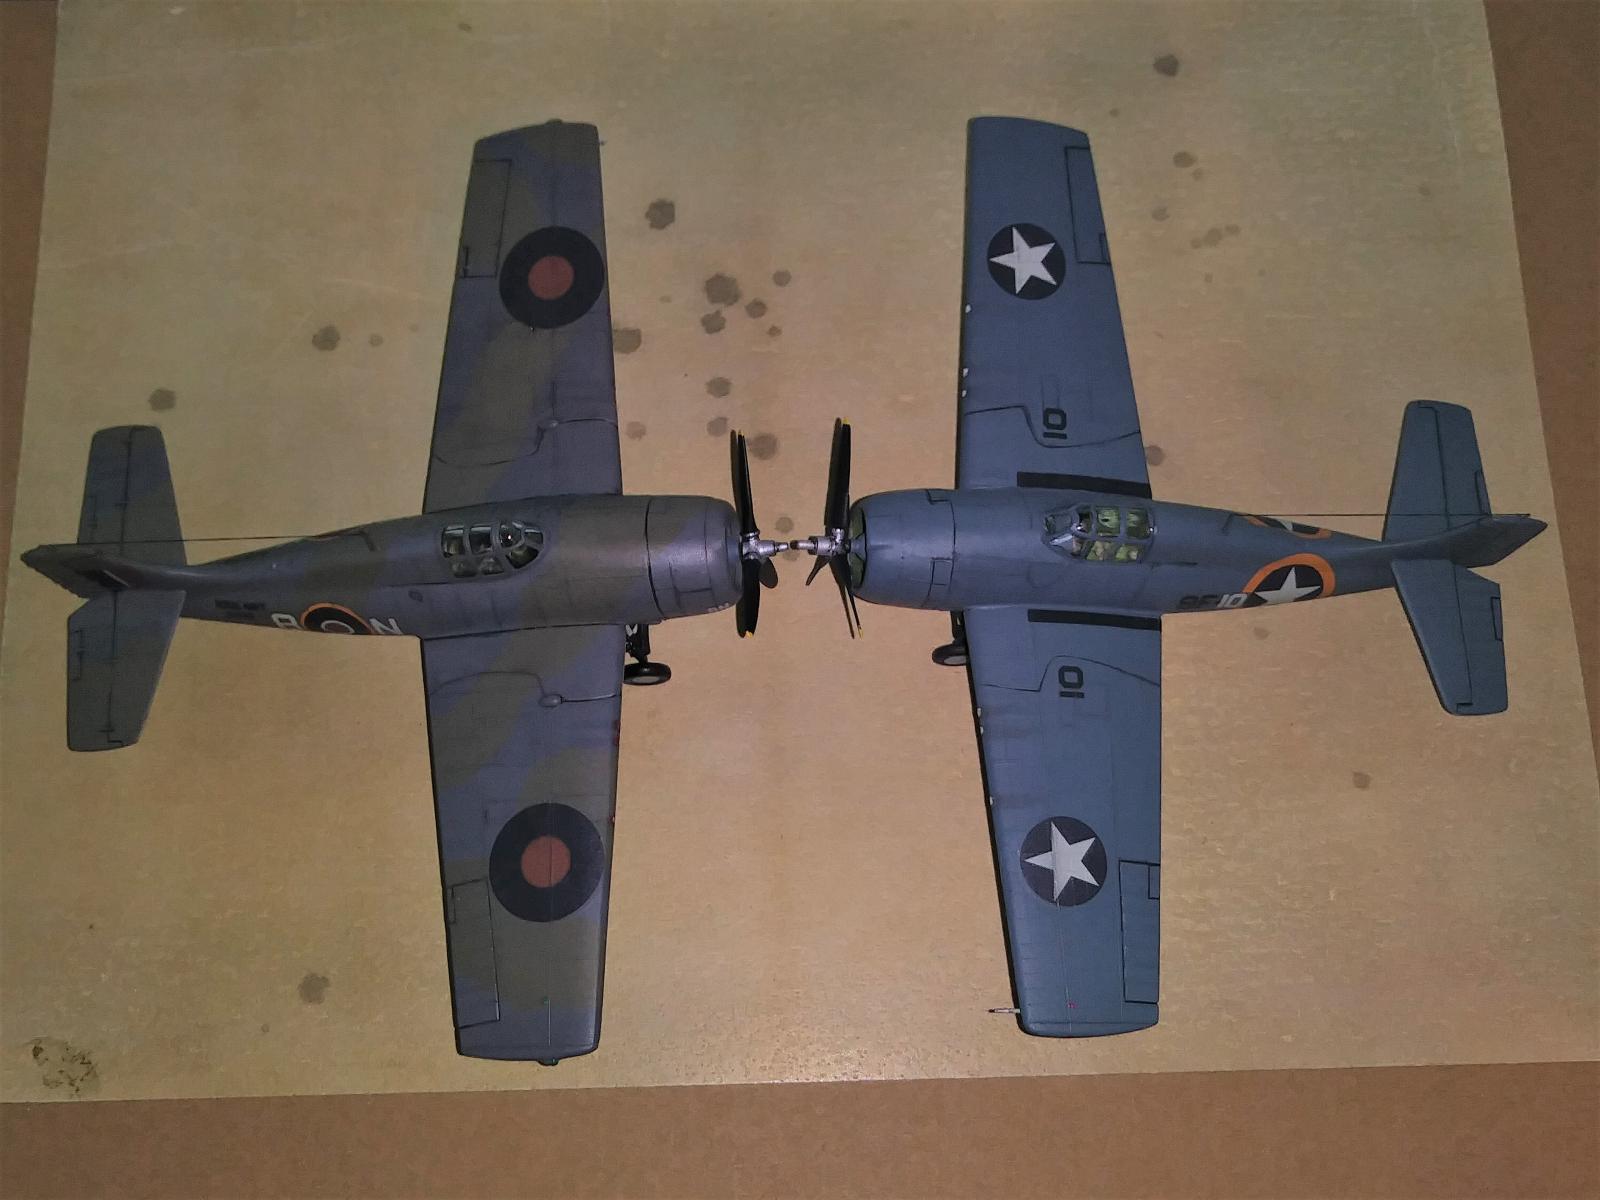
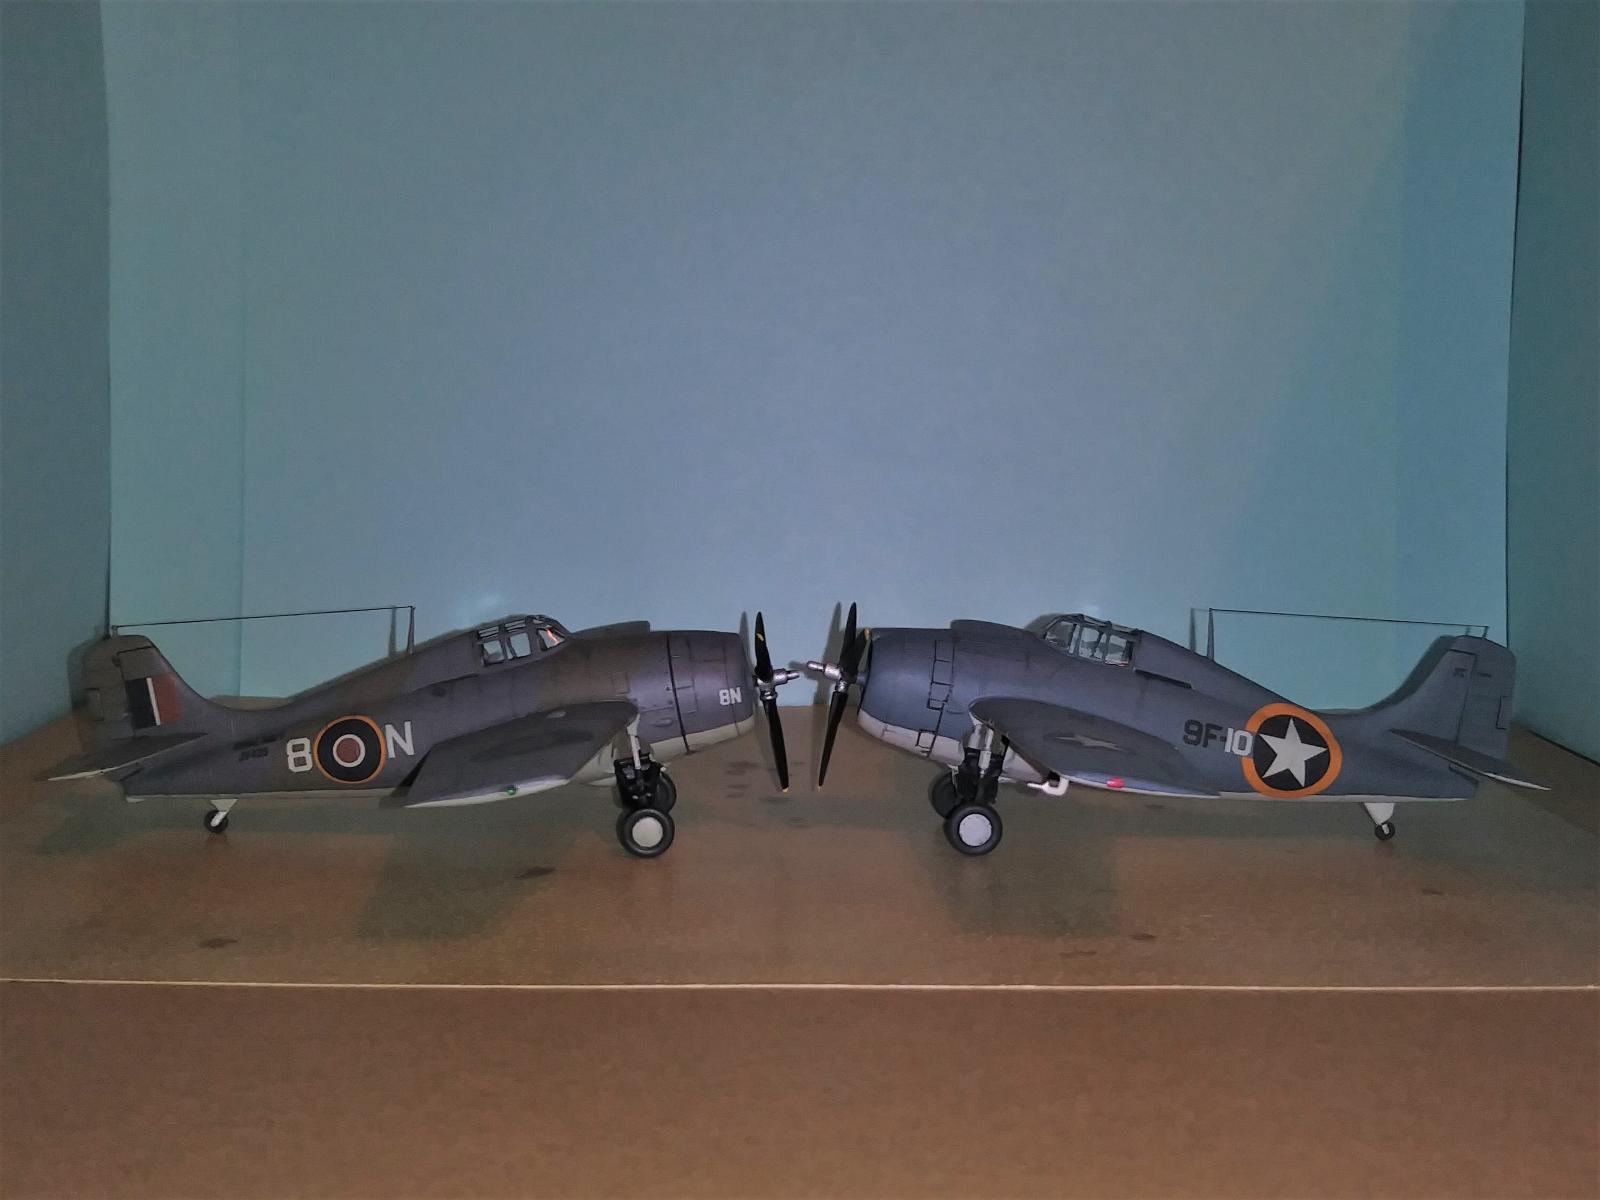
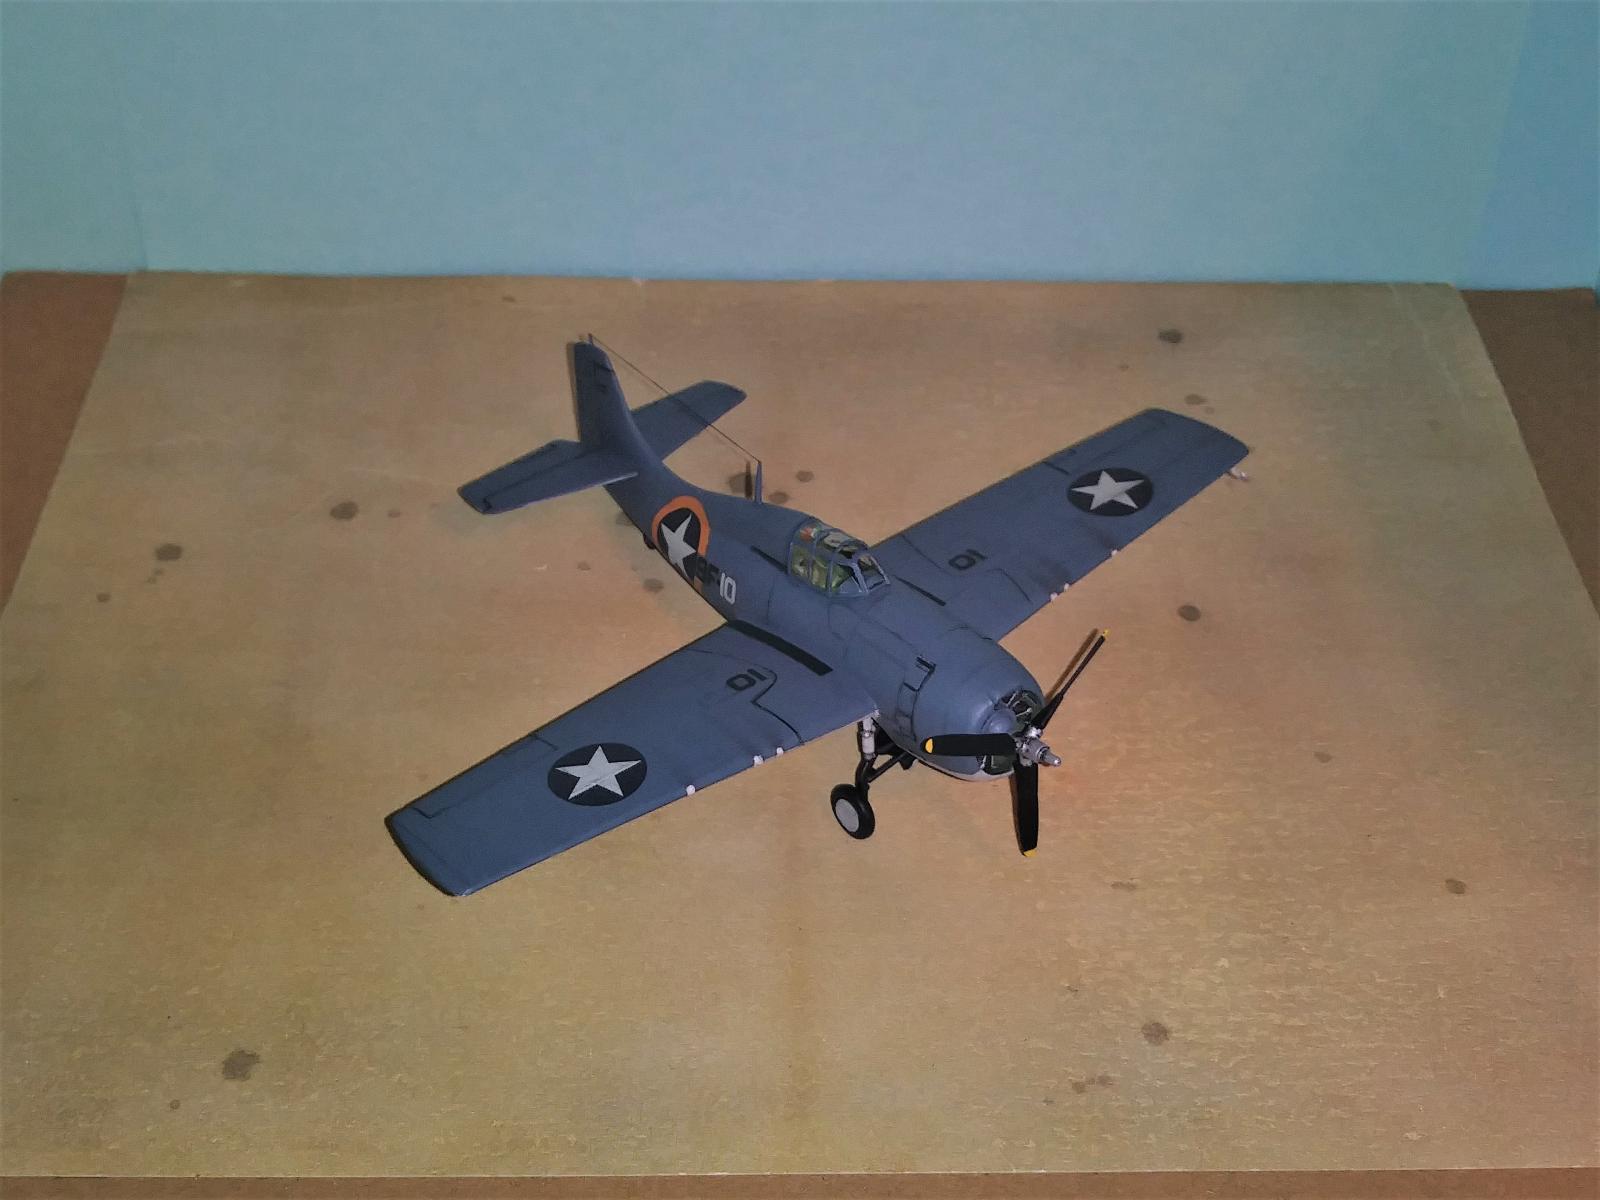
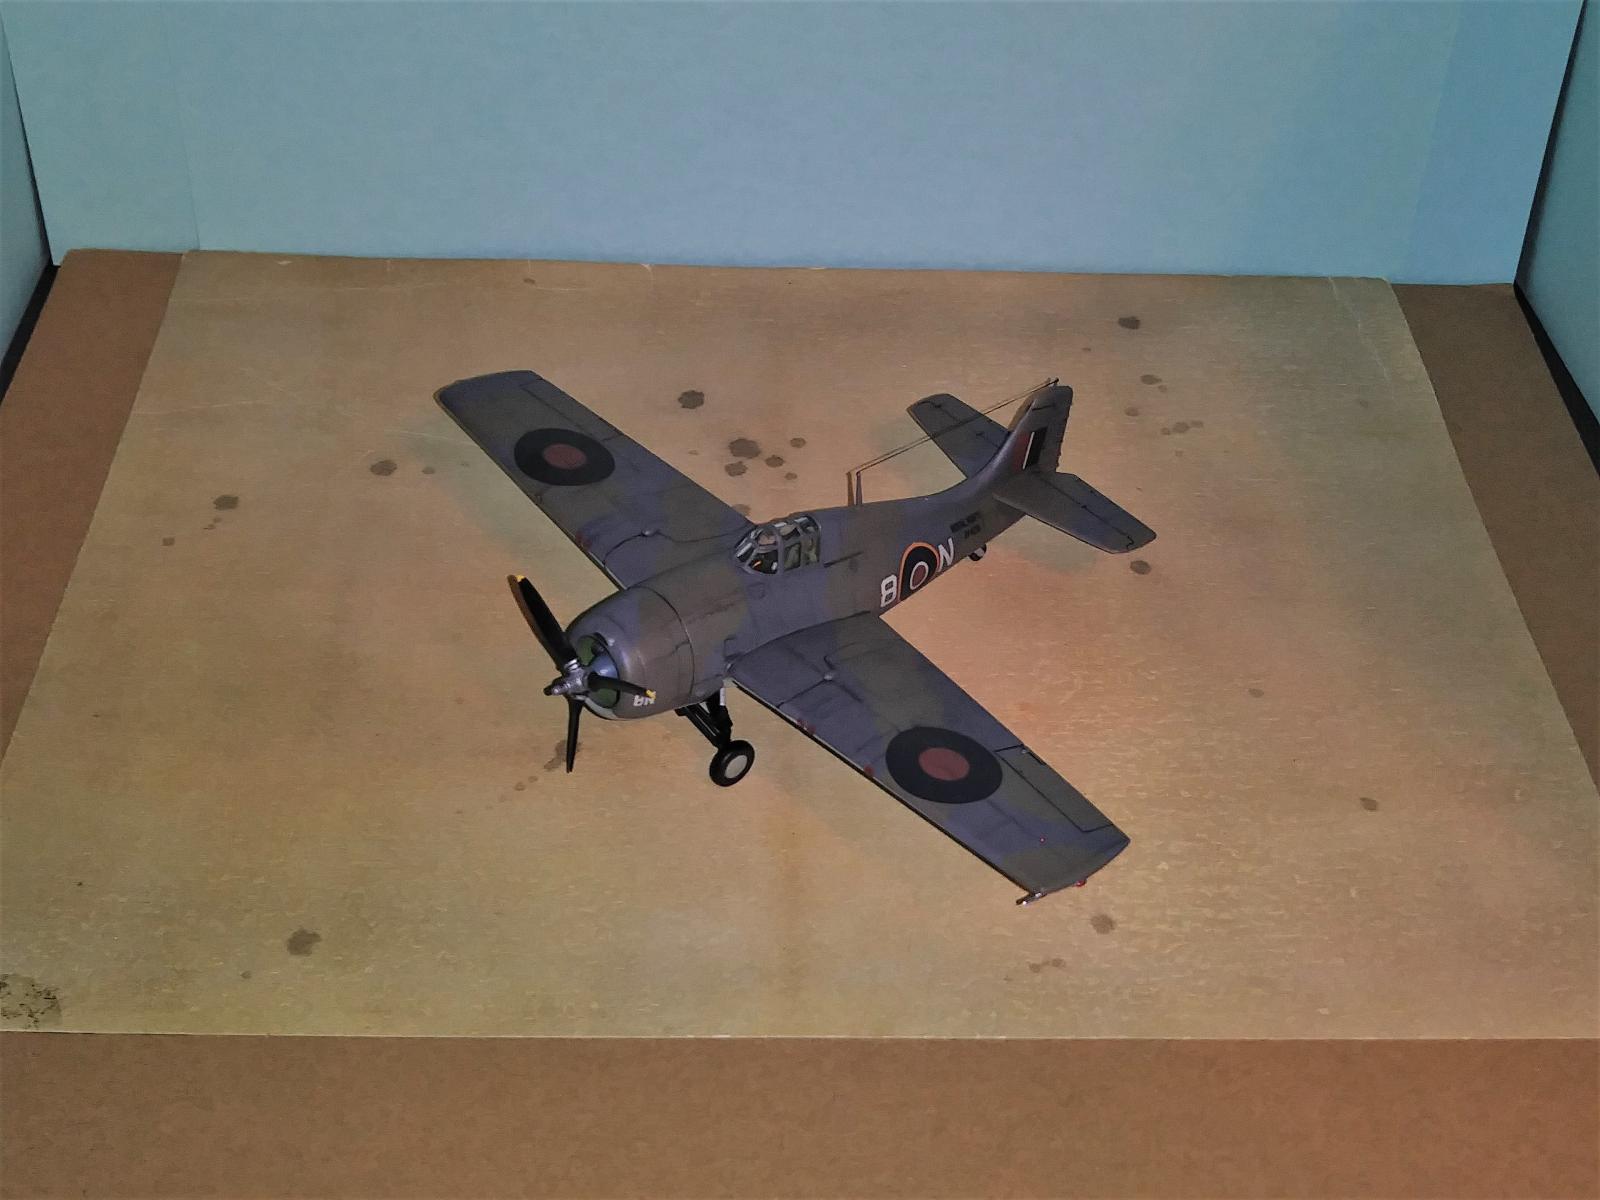
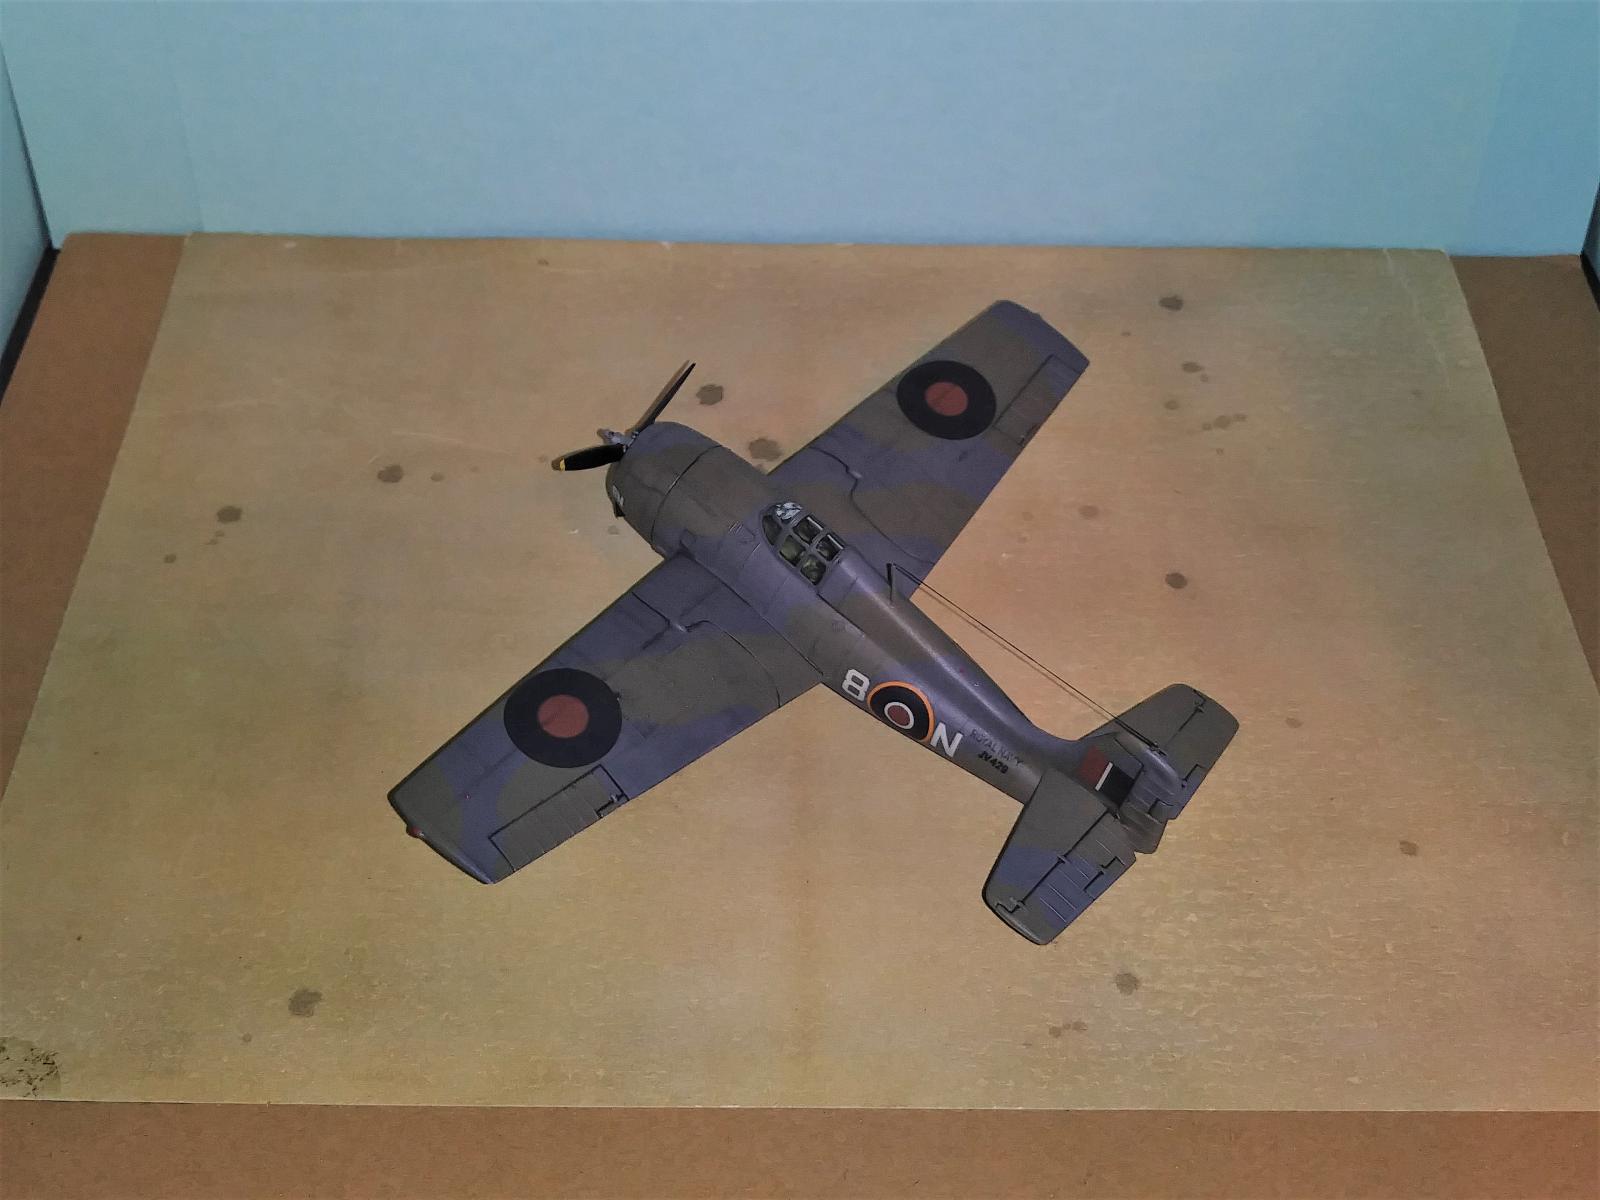
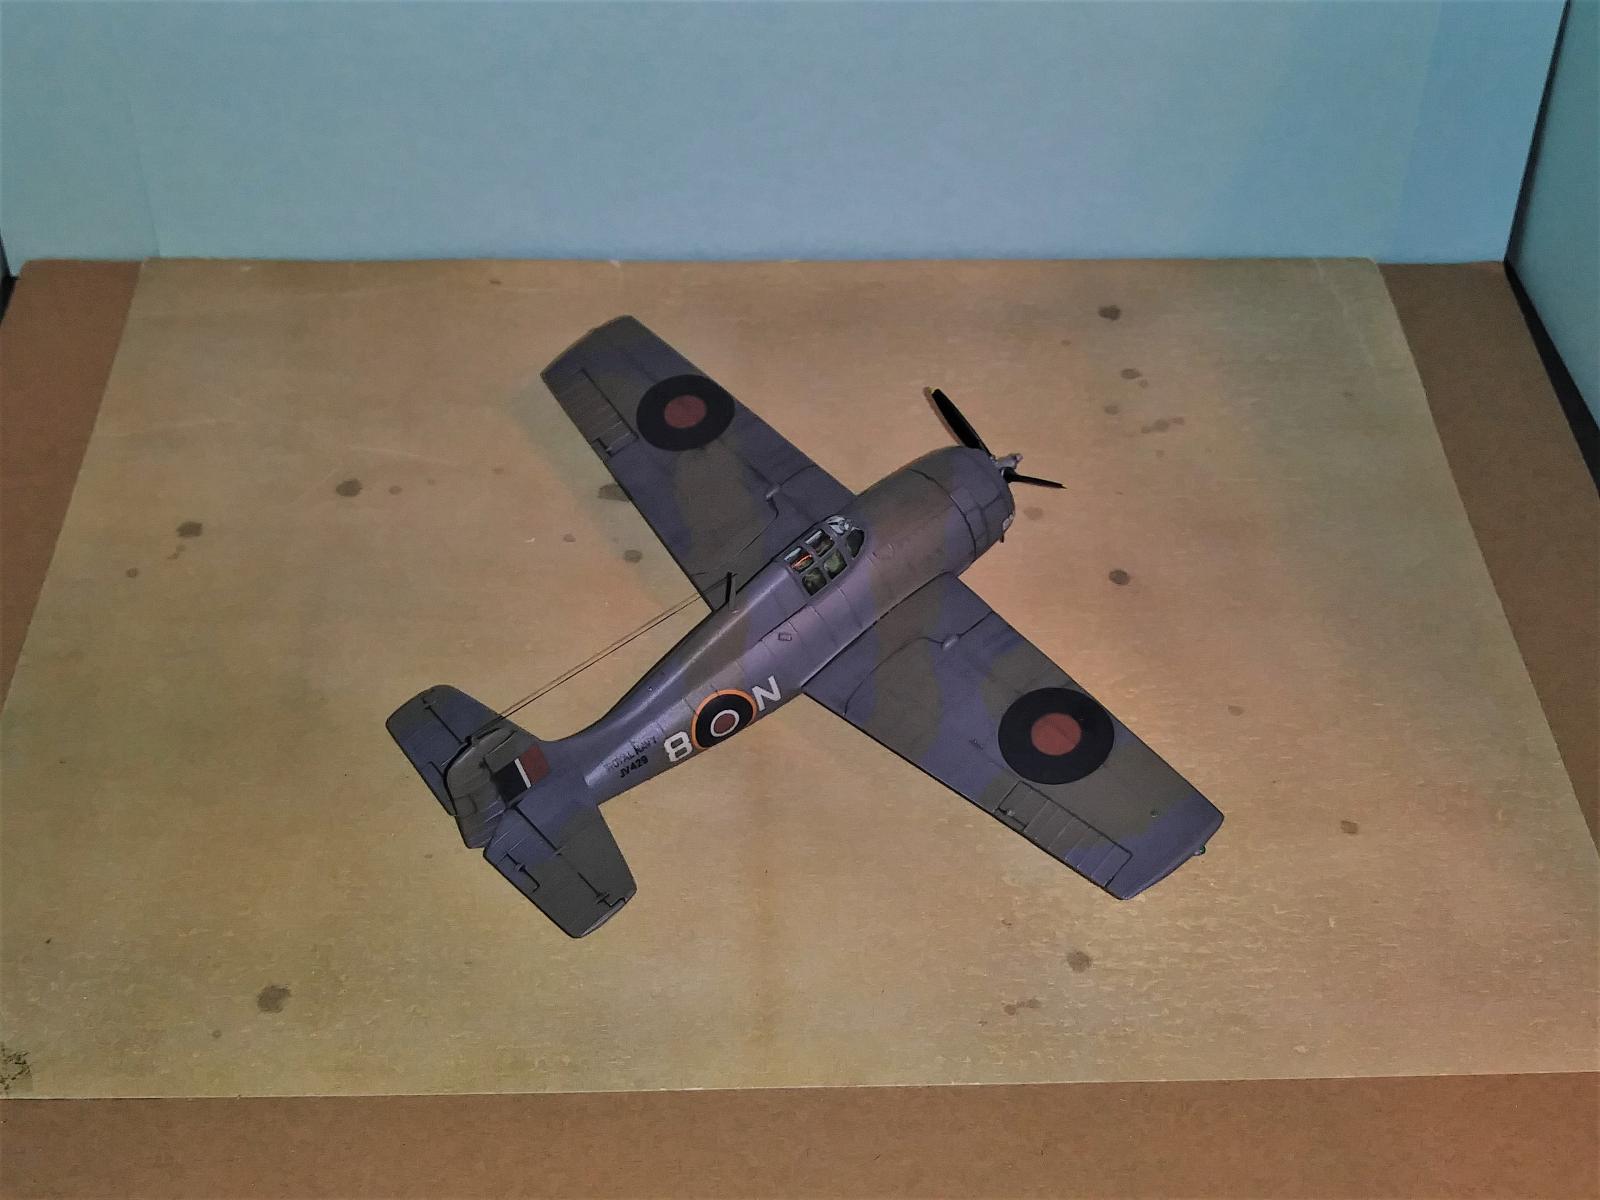
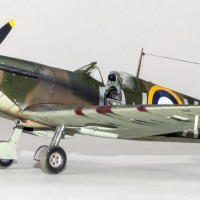
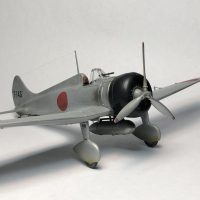
I used the decal that came with the Frog kit and made both options. The Revell build used the American markings from Operation Torch, 1942, VF-9, USS Ranger. The Frog build is the marking from a Martlet Mk. IV, 896 Squadron, Fleet Air Arm, HMS. Pursuer, February 1944.
-

- 1. Frog Martlet Mk. IV
- 2. Revell F4F-4 Wildcat
-
- 1. I used the decals that came with the Frog kit and made both options. The Revell build used the American markings from Operation Torch, 1942, VF-9, USS Ranger. The Frog build is the marking from a Martlet Mk. IV, 896 Squadron, Fleet Air Arm, HMS. Pursuer.
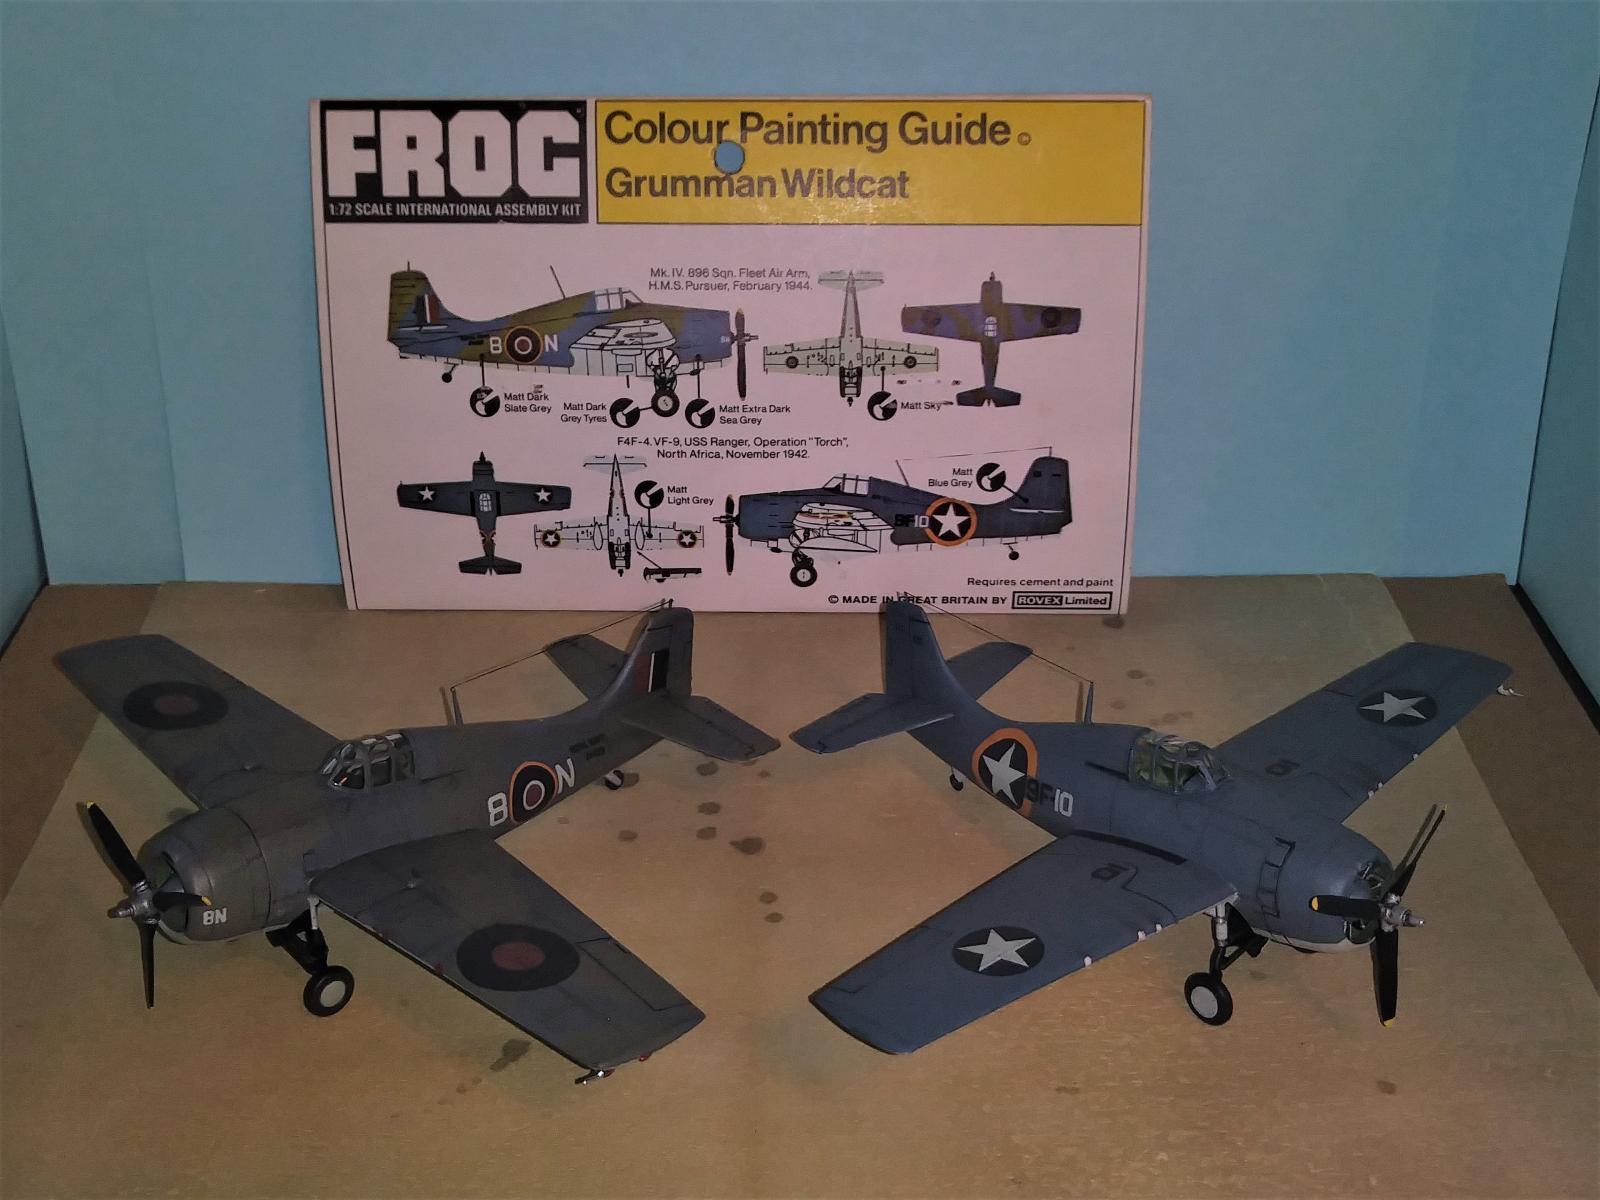


Both of these turned out great ! I especially like the Operation Torch yellow band around the fuselage star.
You put a lot of extra work on both of these oldies and it improved them. Good job, Bob @v1pro !
Thank you Jay, I like the Operation Torch markings too. This aircraft has the right size for it. I really enjoyed these two builds.
Very skilfully done Bob. Love the wildcats and it’s variations.
I can relate to warped Frog kits. Where there is a will, there is a way to straighten anything out!.
Thank you Bernard, after so many years of not making a Wildcat, these two builds made me realize how much I really liked the Wildcat. I hope to make more in the future and hopefully with no warps parts.
Nice work on these oollldddd chestnuts!
Tom, thank you. I liked the way on how these two old kits end up looking.
Both do look great, Bob @v1pro
Nice to see them together in different schemes.
John, thank you. I am glad the old decal sheet from the Frog kit worked out. I had another decal sheet with similar schemes for both if they did not work. But yes, I like seeing both together too.
Fantastic job on both of these classic kits, Bob!
Thank you Spiros, I enjoyed the builds of these two classic kits. I am happy on how they turned out.
Nicely done Bob, two oldies you've made goodies.
Thank you Allan.
Nice to see these old kits get the attention they deserve! Nice work Bob, double the build - double the fun.
Thanks George, I’ve enjoyed the double builds in the past two years.
@v1pro, Way to go Bob! I love that project and the great result! 🤩 They may be old, but they sure look great. 👍
Gary, thank you.
Both looks great!
Thank you Lis.
Very nice - I'm surprised those old decals held up so well - they both look great!
Thank you Greg, yes it was great to used this decal sheet on both builds, I was pretty happy with them at the end but they did not lay down nicely after first applying them. It did not want to follow the contours or in the Revell's case all the minute rivets on the surfaces. I was pretty worried at first but a few rounds of using Micro Sol and rubbing the decals onto the area saved the day.. The Revell build took longer to tame the decals while on the Frog build it blended in quicker.
Well done, Bob (@v1pro). I like doing these old kits. Frog kits can be a tall mountain to climb, but you have certainly brought out the best. I have a few of these old Frog kits that I hope to tame one day. I really like the camo schemes on both planes.
Thank you George, this was my tenth Frog build in the past 2 years and I also restored one old build from the early 80's. I have a pretty big collection in my stash so I still have a ways to go but I am having a blast building them. They are definately a different kind of build.
What a nice pair of vintage Wildcats! They look great!
Thank you Greg.
Nicely done, they look better than the Academy kit. I tried to fix a warp fuselage of a Monogram 1/72 Phantom, no joy, now it's a spares kit.@v1pro.
Thank you Robert. The Frog kit should be close to the Academy kit but it looks a little thinner and the canopy looks a little longer. I was thinking of building the Academy kit to do a comparison but decided on the Revell/Frog combo since I had them in my stash.
Warp kits are no fun, I once had the late 70’s release of Airfix’s Lancaster with both wings warped. I tried to fix it but with no success.