When "Perfect" is the enemy of "Good Enough"...
Normally, I spend about 2-3 months on most of my builds. This seems fair for the amount of detail, workmanship, and the research I put into my work. That said, my build of Eduard's 1/48 MiG-21 PFL has taken me over eight months…and is FINALLY done!
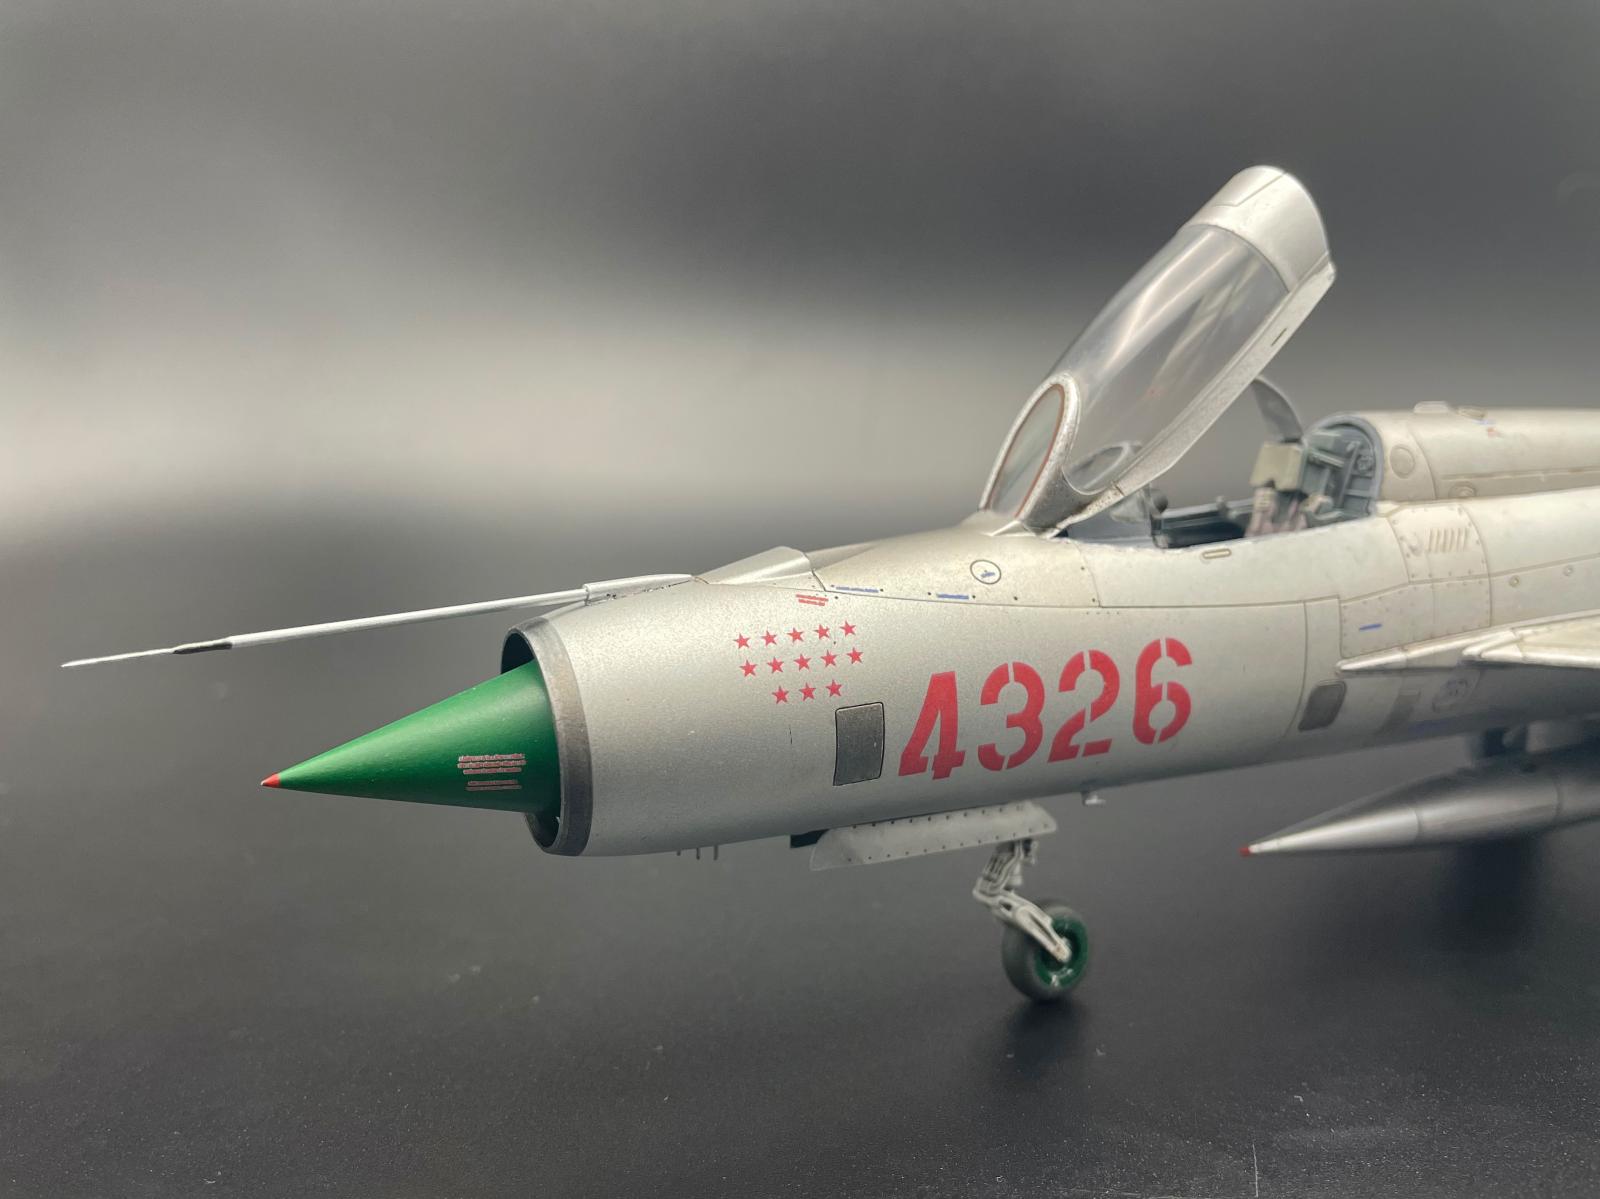
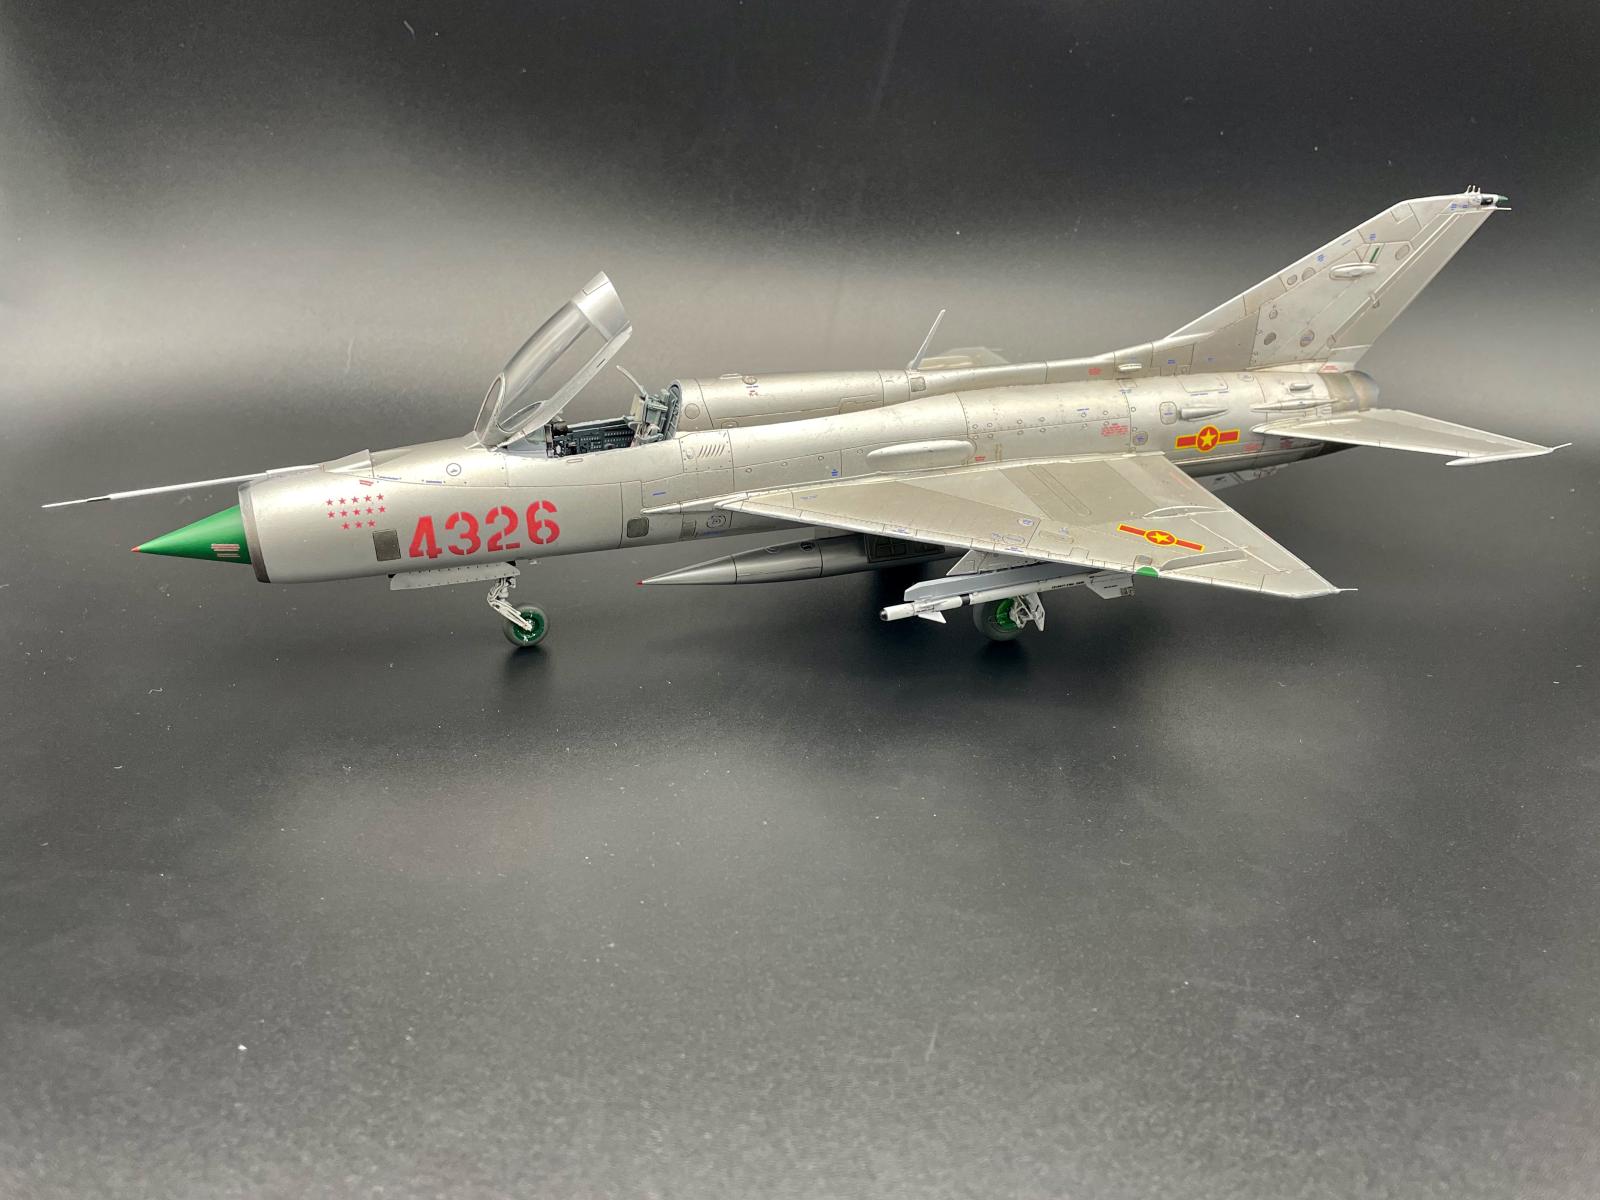
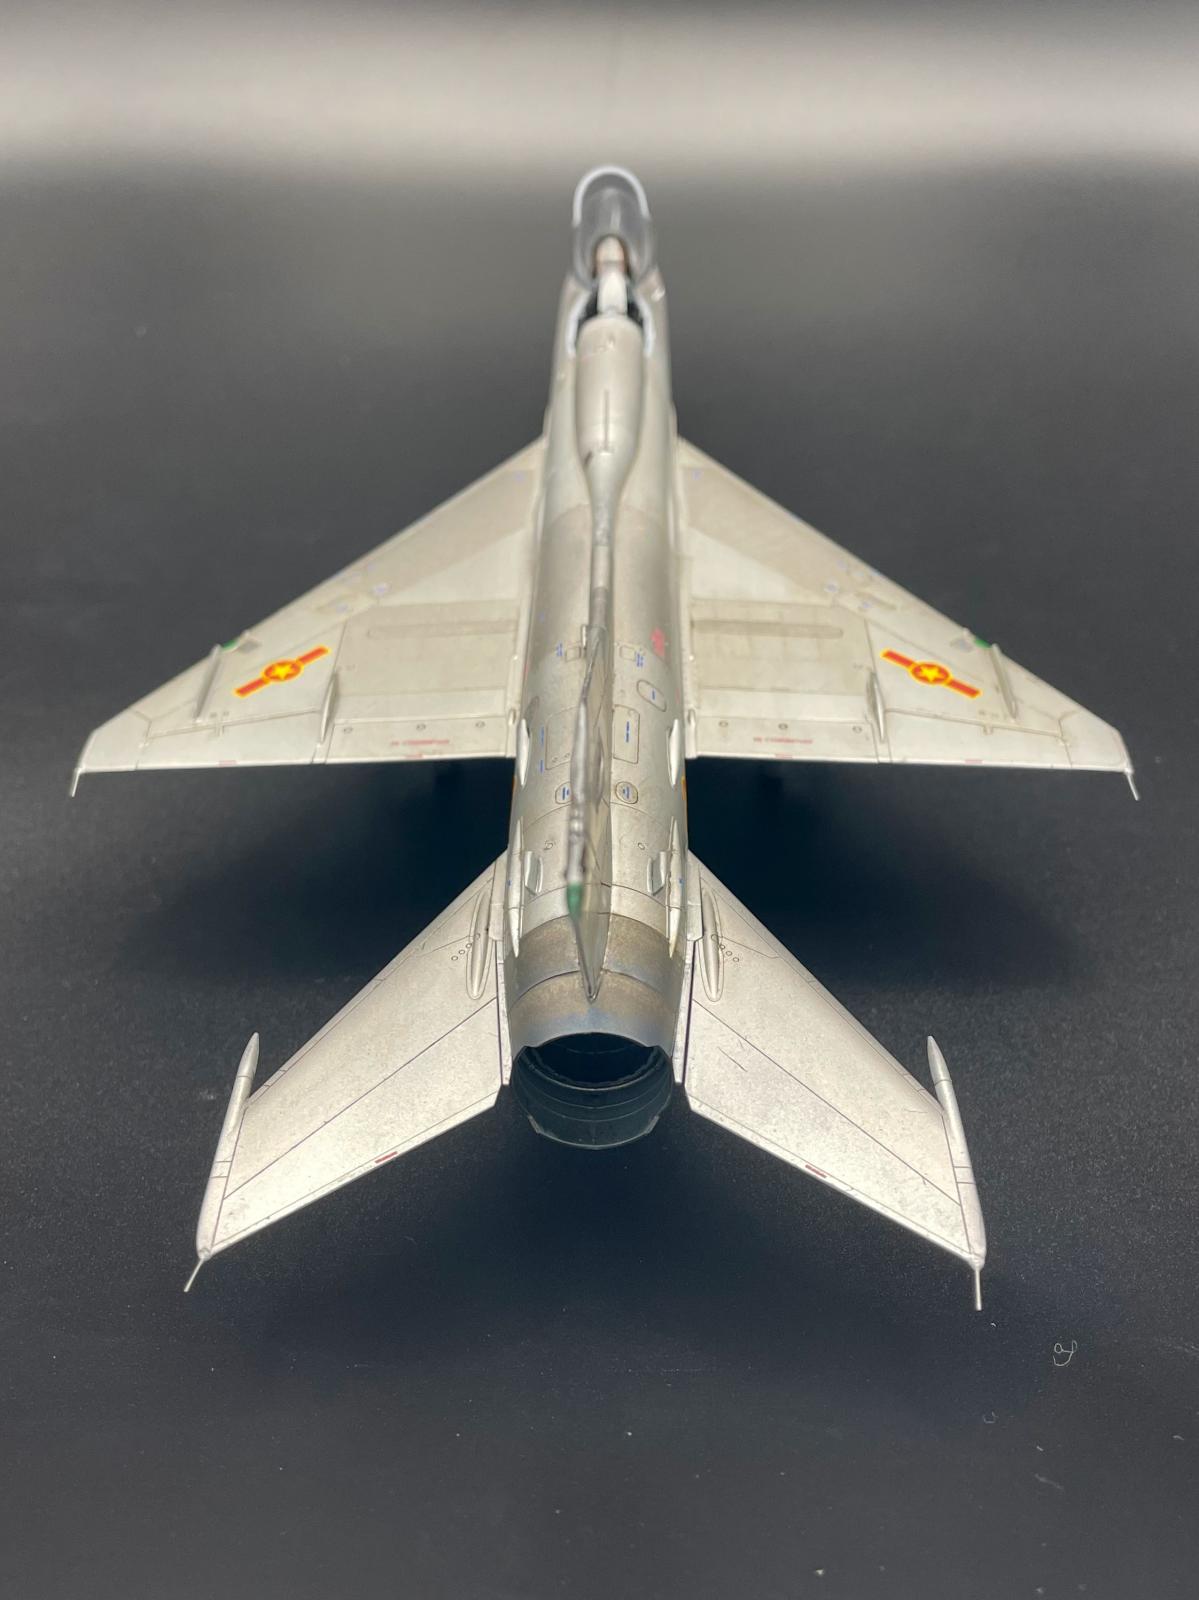
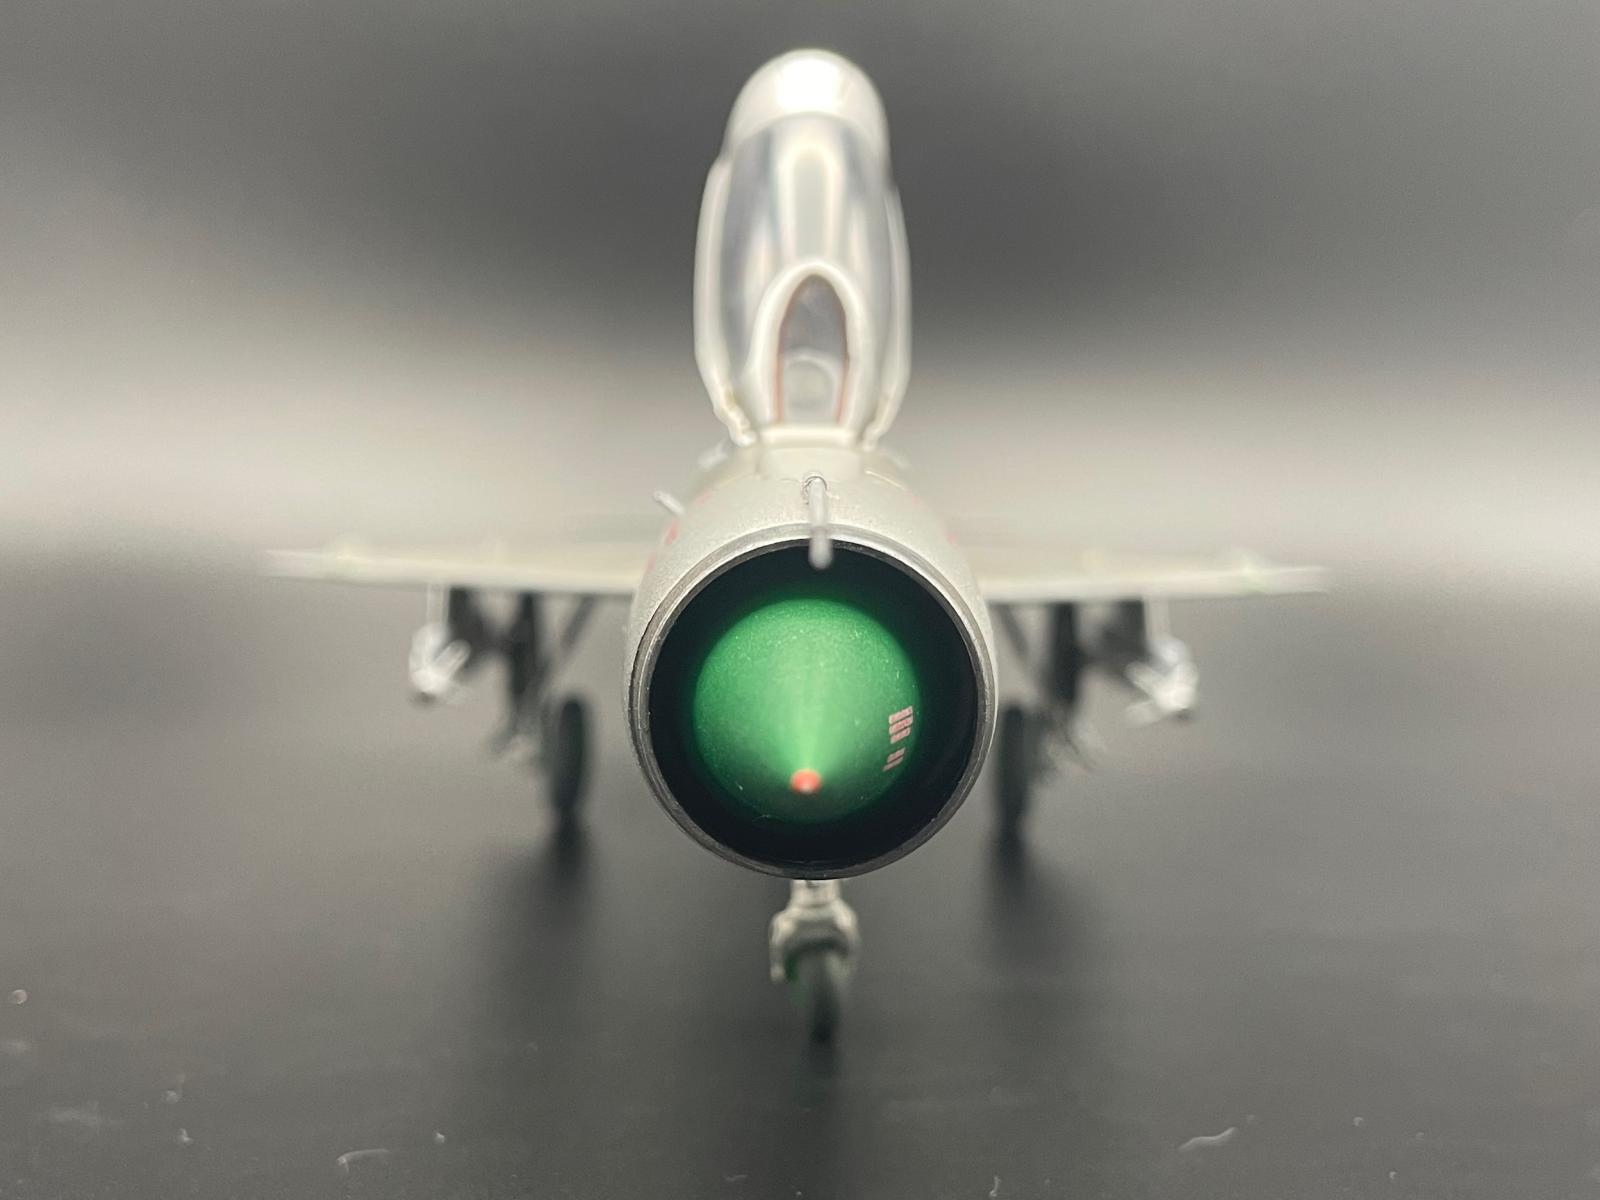
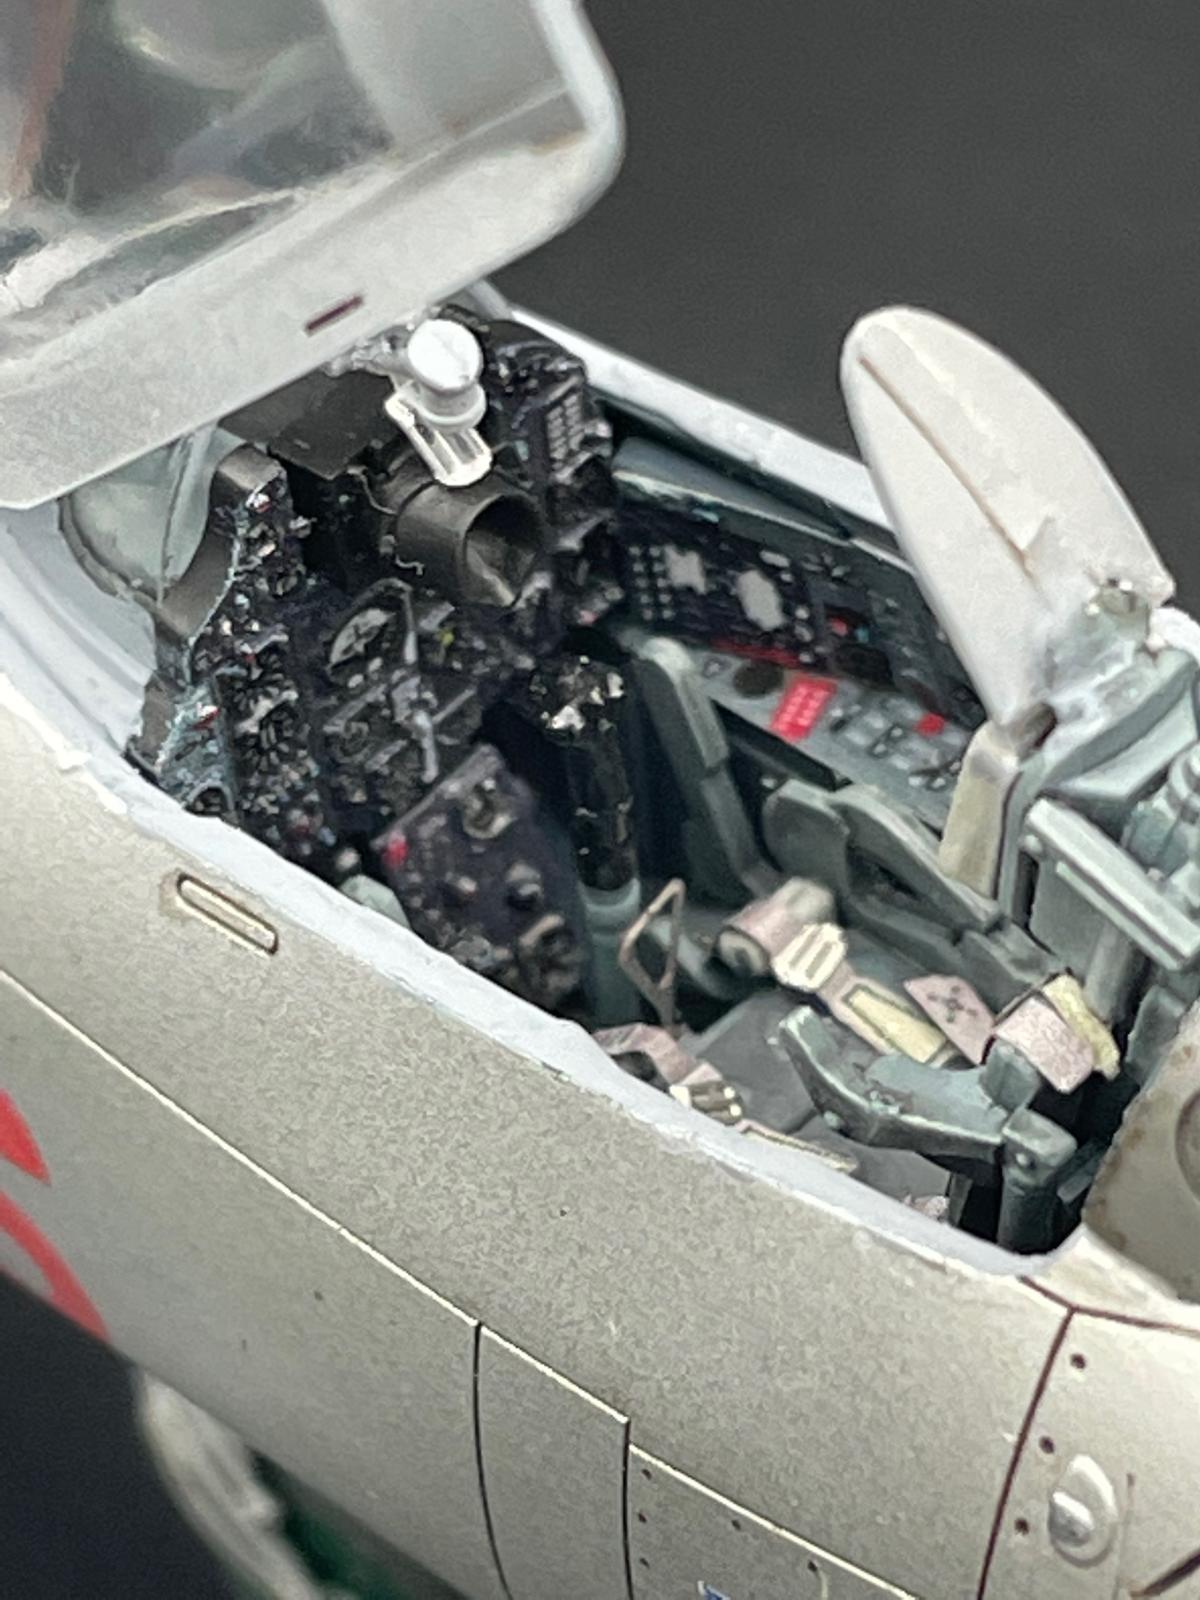
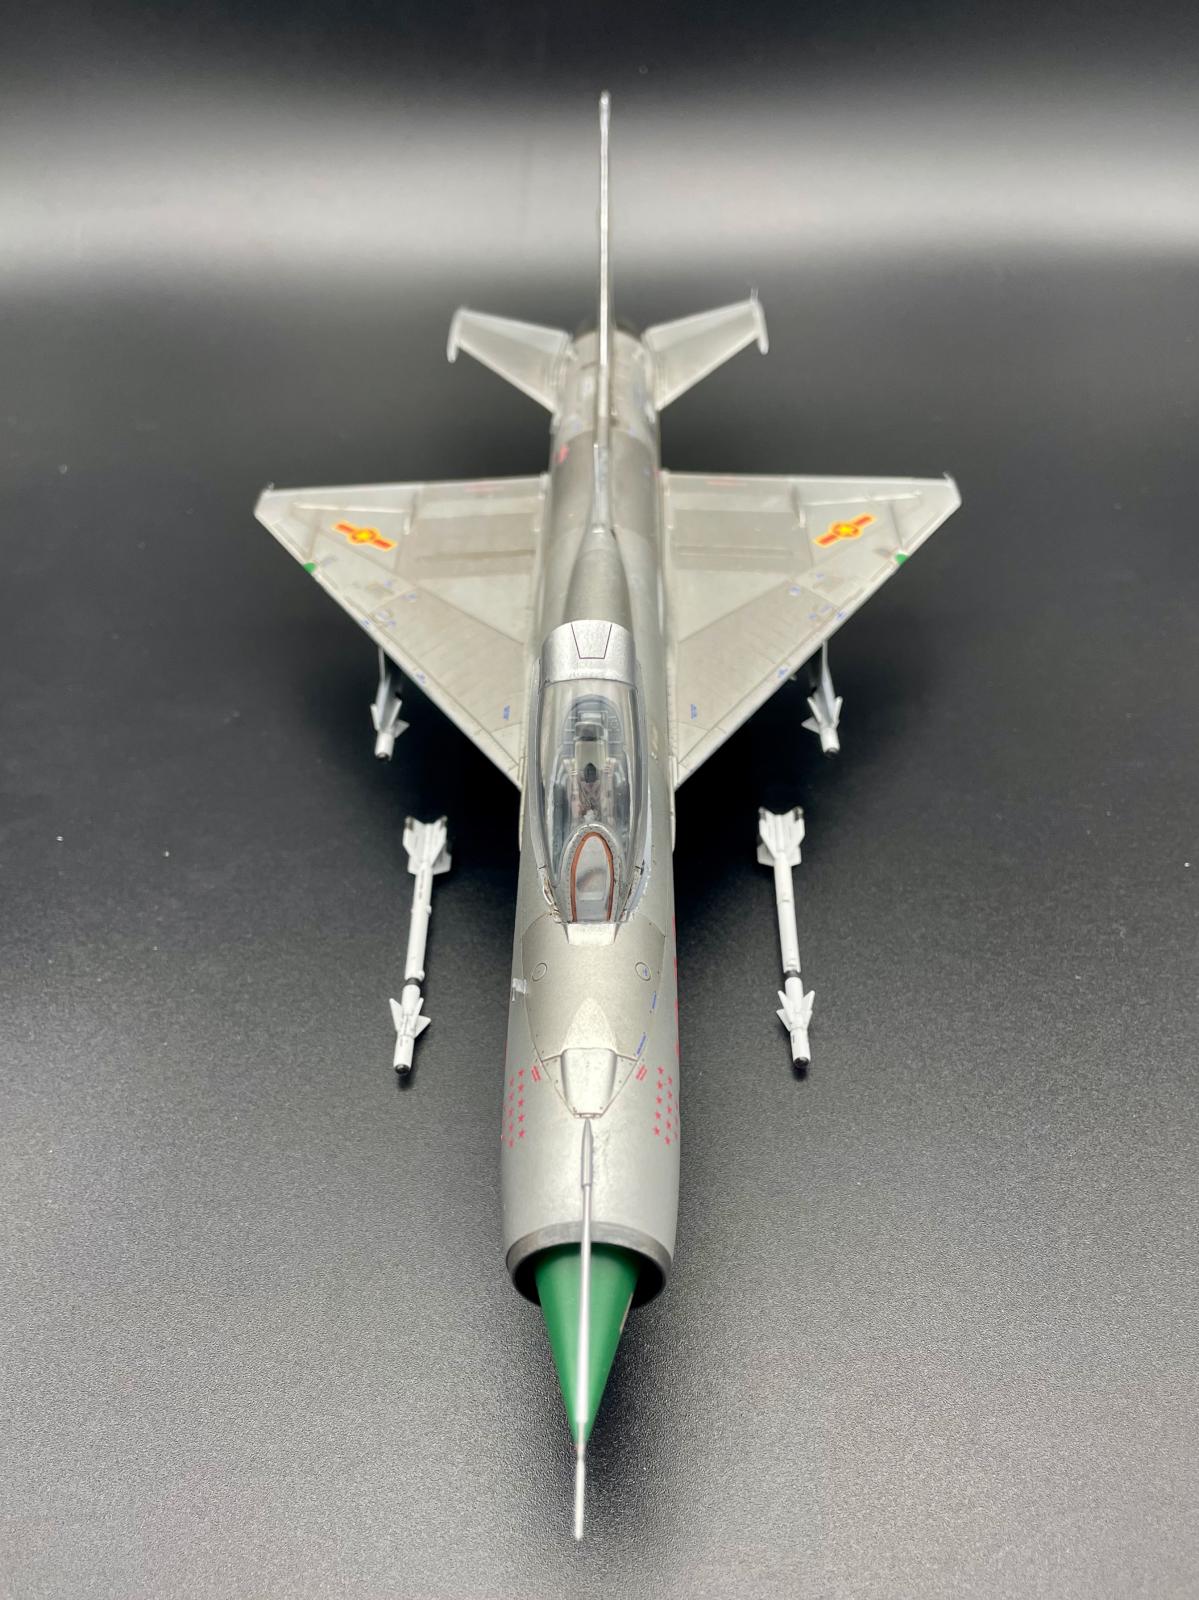
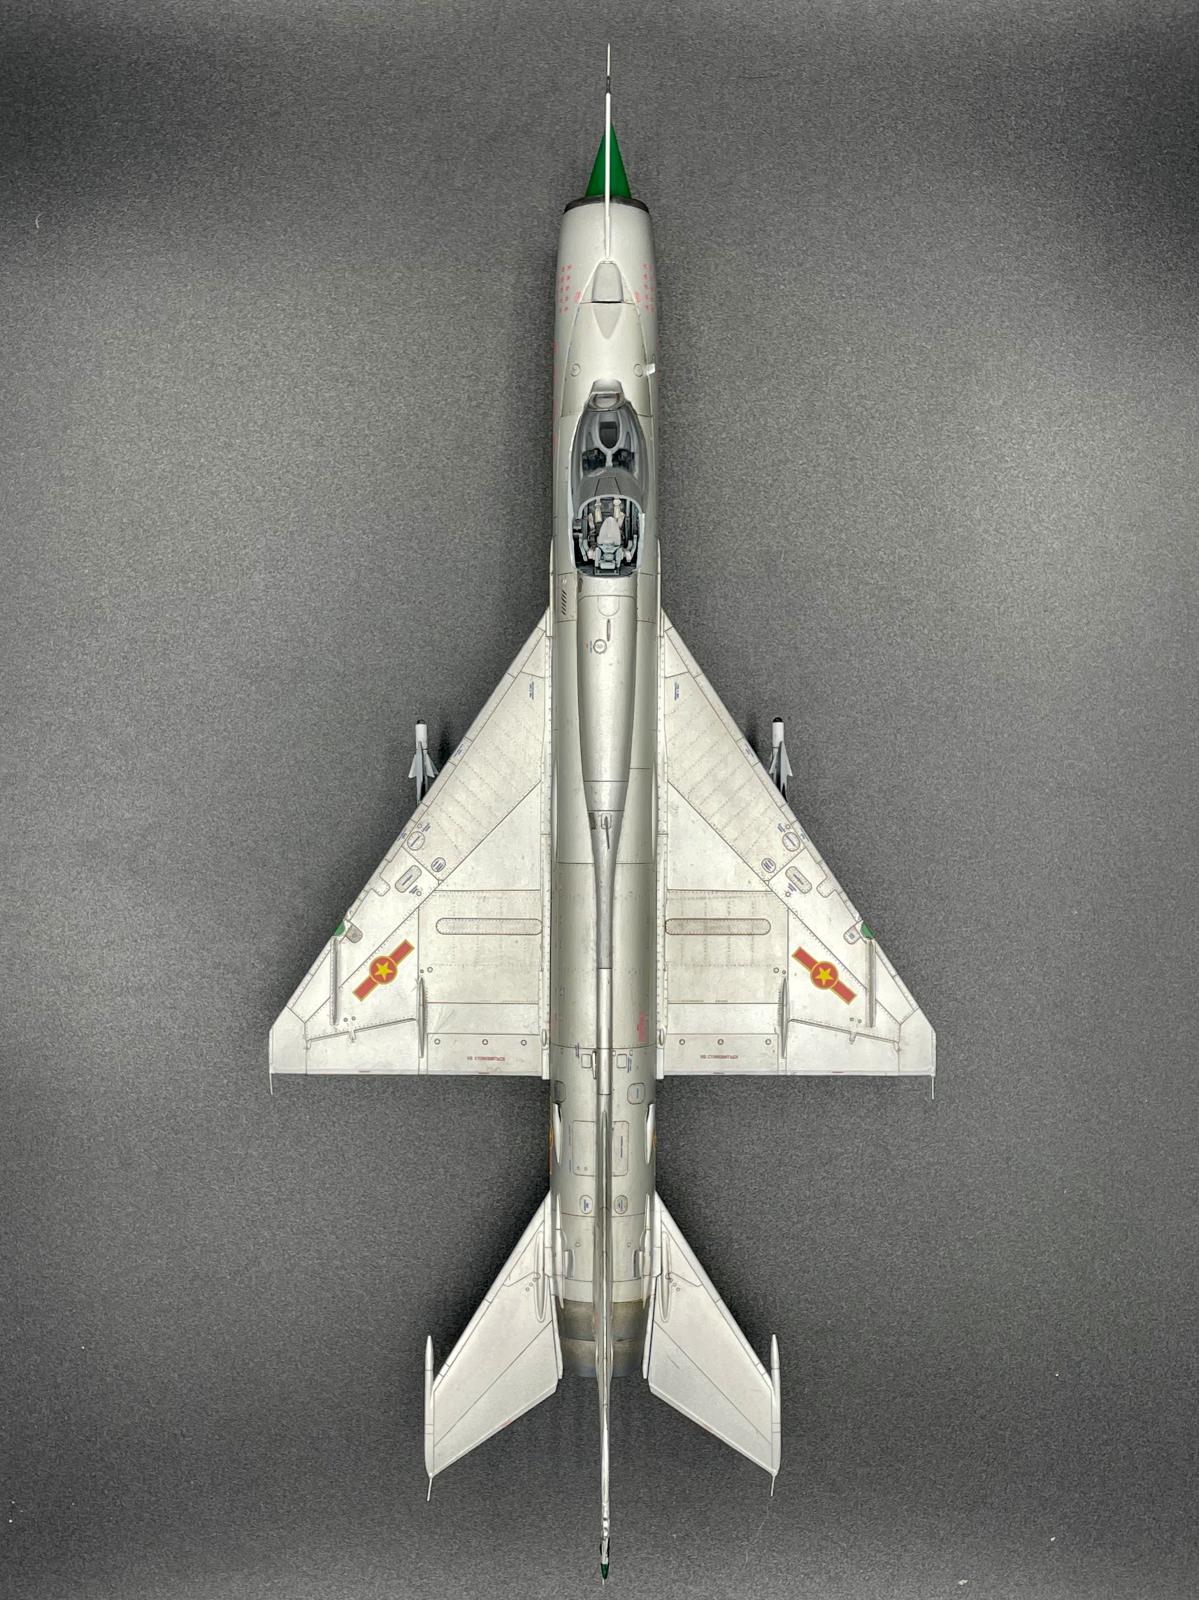
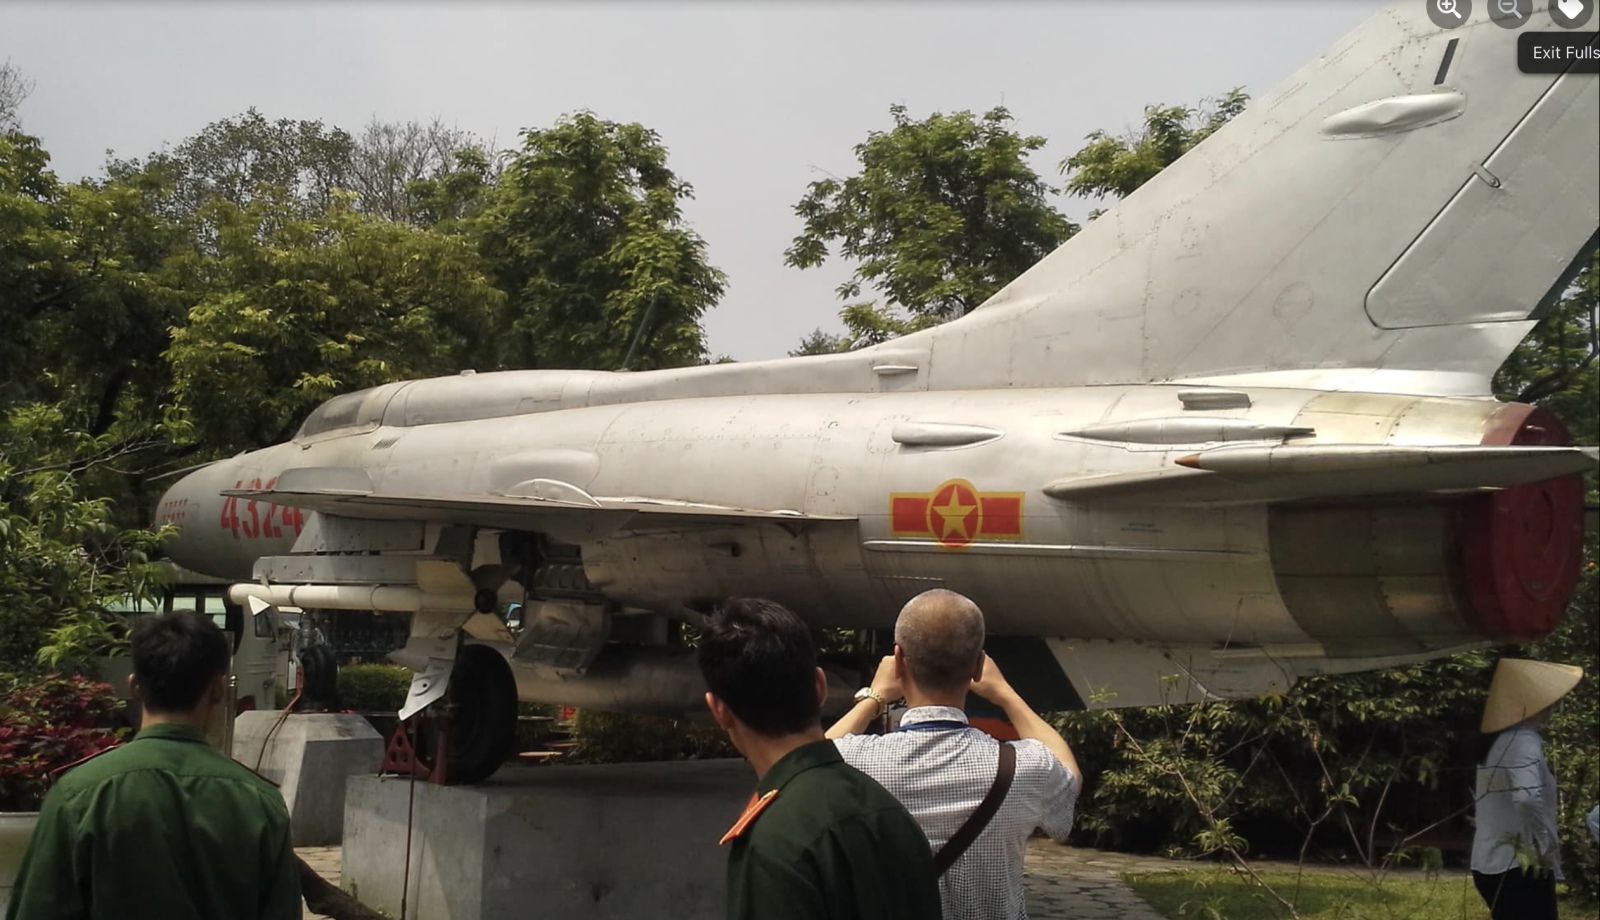
My build is intended to replicate a MiG-21 PFL of the 921st Fighter Regiment of the PVAF based at Noi Bai Air Base near Hanoi in the late 1960's and early 1970's. The PFL was the PVAF export version of the MiG-21…the most visible physical “identifiers” being the gray cockpit interior and the lack of radar altimeter antennas under the wing tips. Various of the unit's pilots flew this specific aircraft and the thirteen red stars denote the kills made by them in this jet. Of note, Nguyen Van Coc, the PVAF's leading ace with at least nine kills, downed an F-4B on May 7, 1968, while at the controls of this aircraft. The U.S. Navy confirmed that the downed F-4B, BuNo 151485, callsign Silver Kite 210, of VF-92 launched from Enterprise. The pilot, Lieutenant Commander E.S. Christenson, and his RIO, Lt.(Jg) W.A. Kramer ejected safely from their aircraft before impact and were recovered a short time later. (As a side note, Nguyen Van Coc, himself, was one of the MiG-21 pilots shot down but ejected safely during OPERATION BOLO on Jan 2, 1967).
Today, “Red 4326” is on display at the PVAF museum in Hanoi (2016 photo from my friend Terry Hilliard).
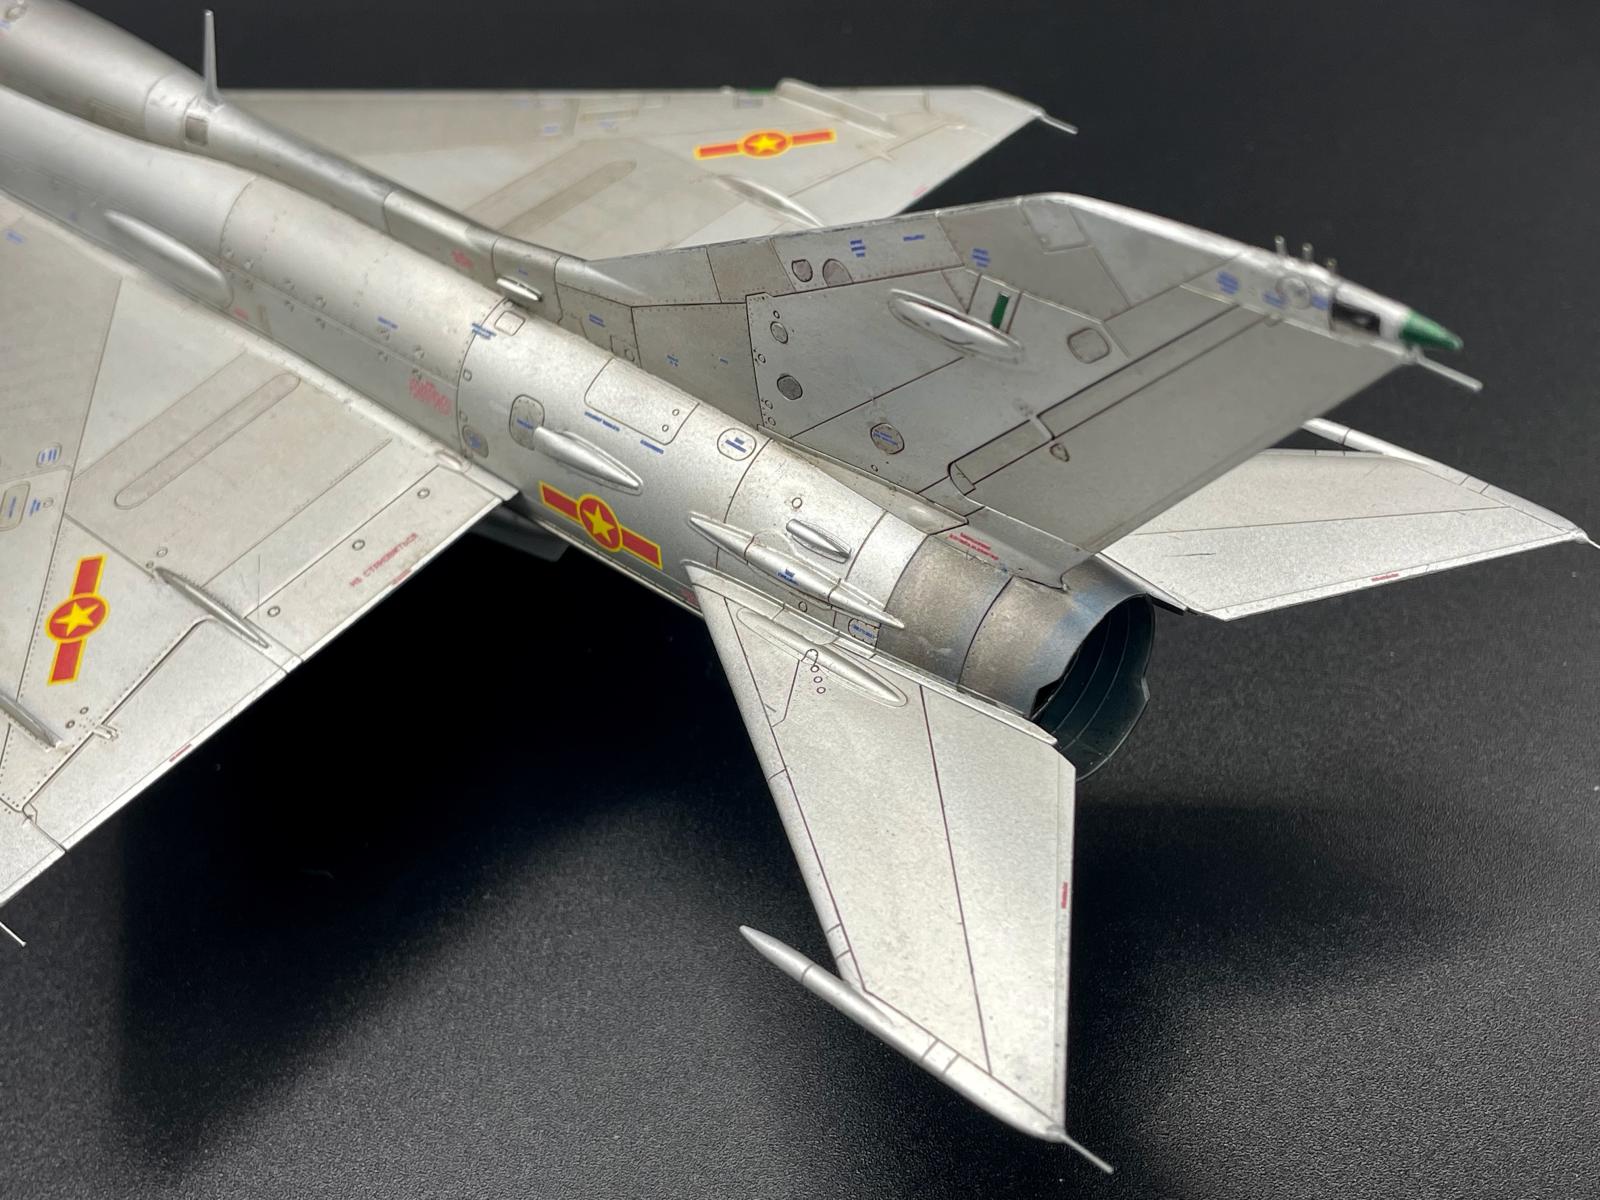
The kit detail and fit are exquisite, and construction went along with no issue to speak of. There were no big “gotchas” along the way and NO filler was needed anywhere…which is nice. The following after market bits and bobs were used to complete the build…
Eduard Löök MiG-21 PF grey cockpit #644096
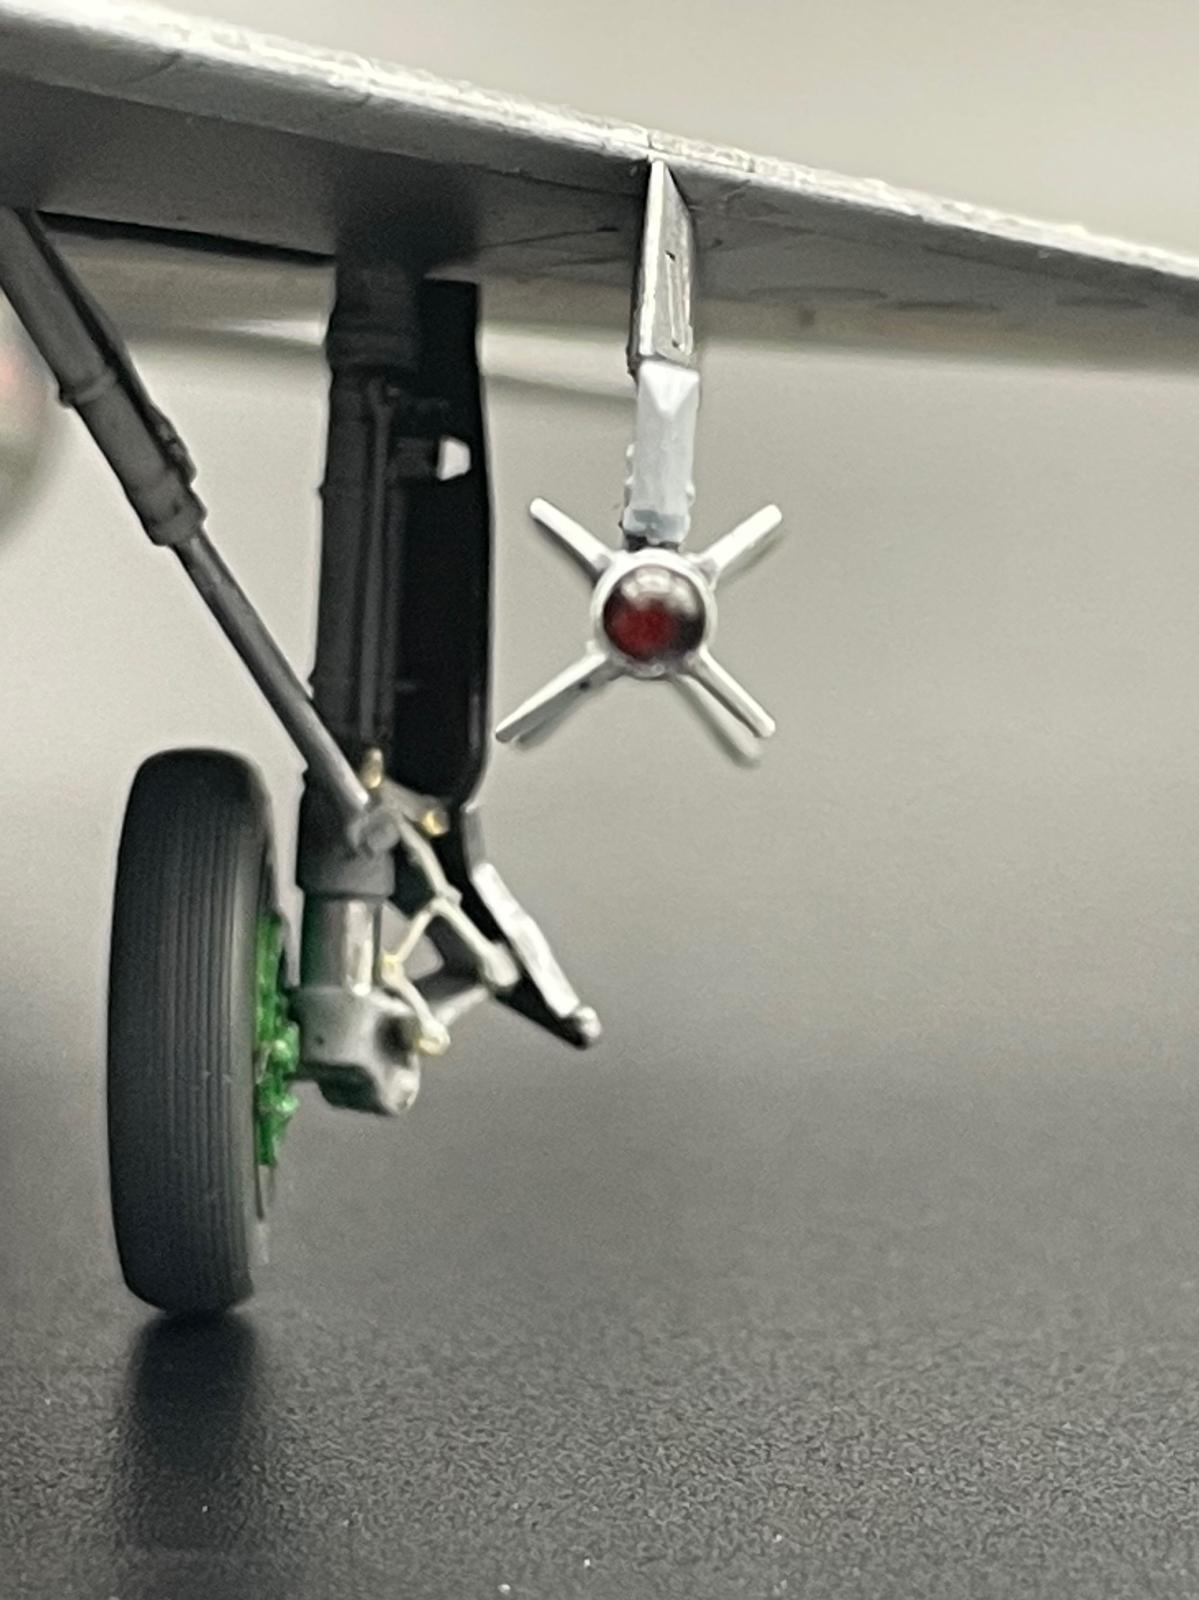
Brassin bronze MiG-21 undercarriage legs #648080
Brassin MiG-21 PFM wheels #648110
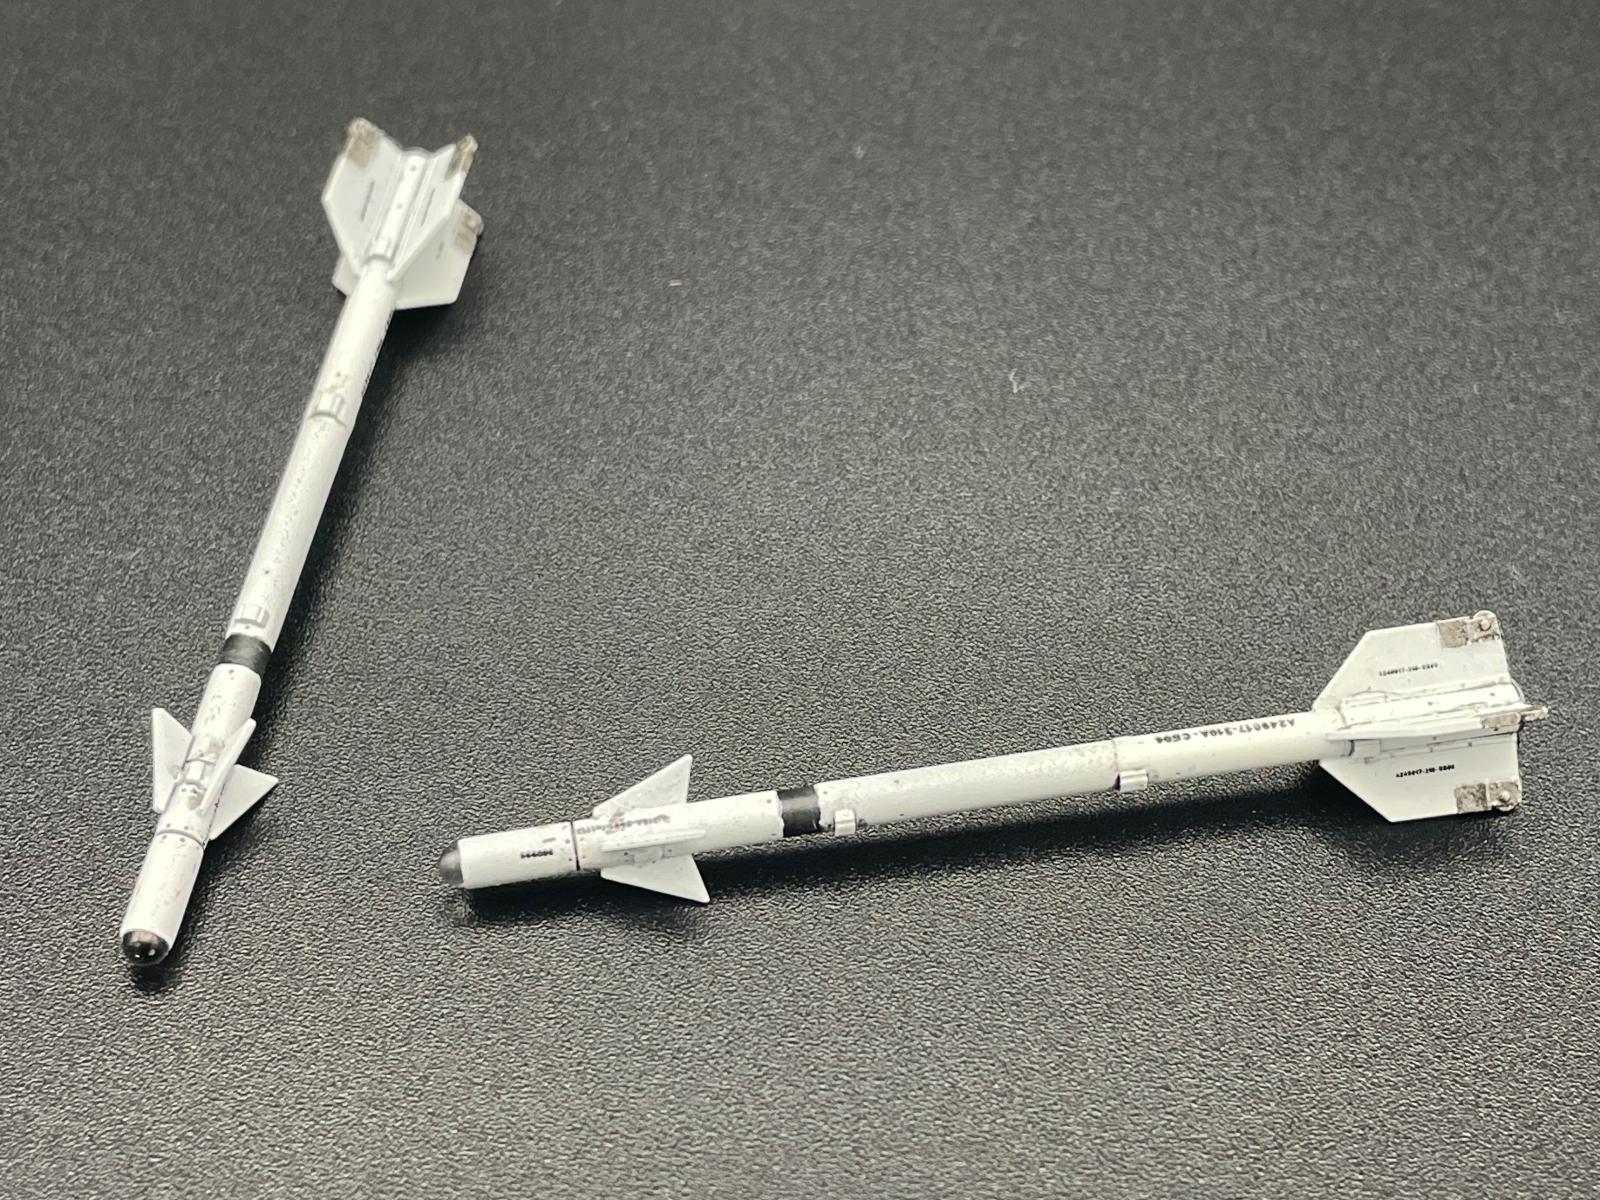
Brassin R-3S/AA-2 Atoll-A missiles #648125
Eduard MiG-21 PF TFace canopy masks #EX 637
BarracudaCast MiG-21 Radome set BR48294
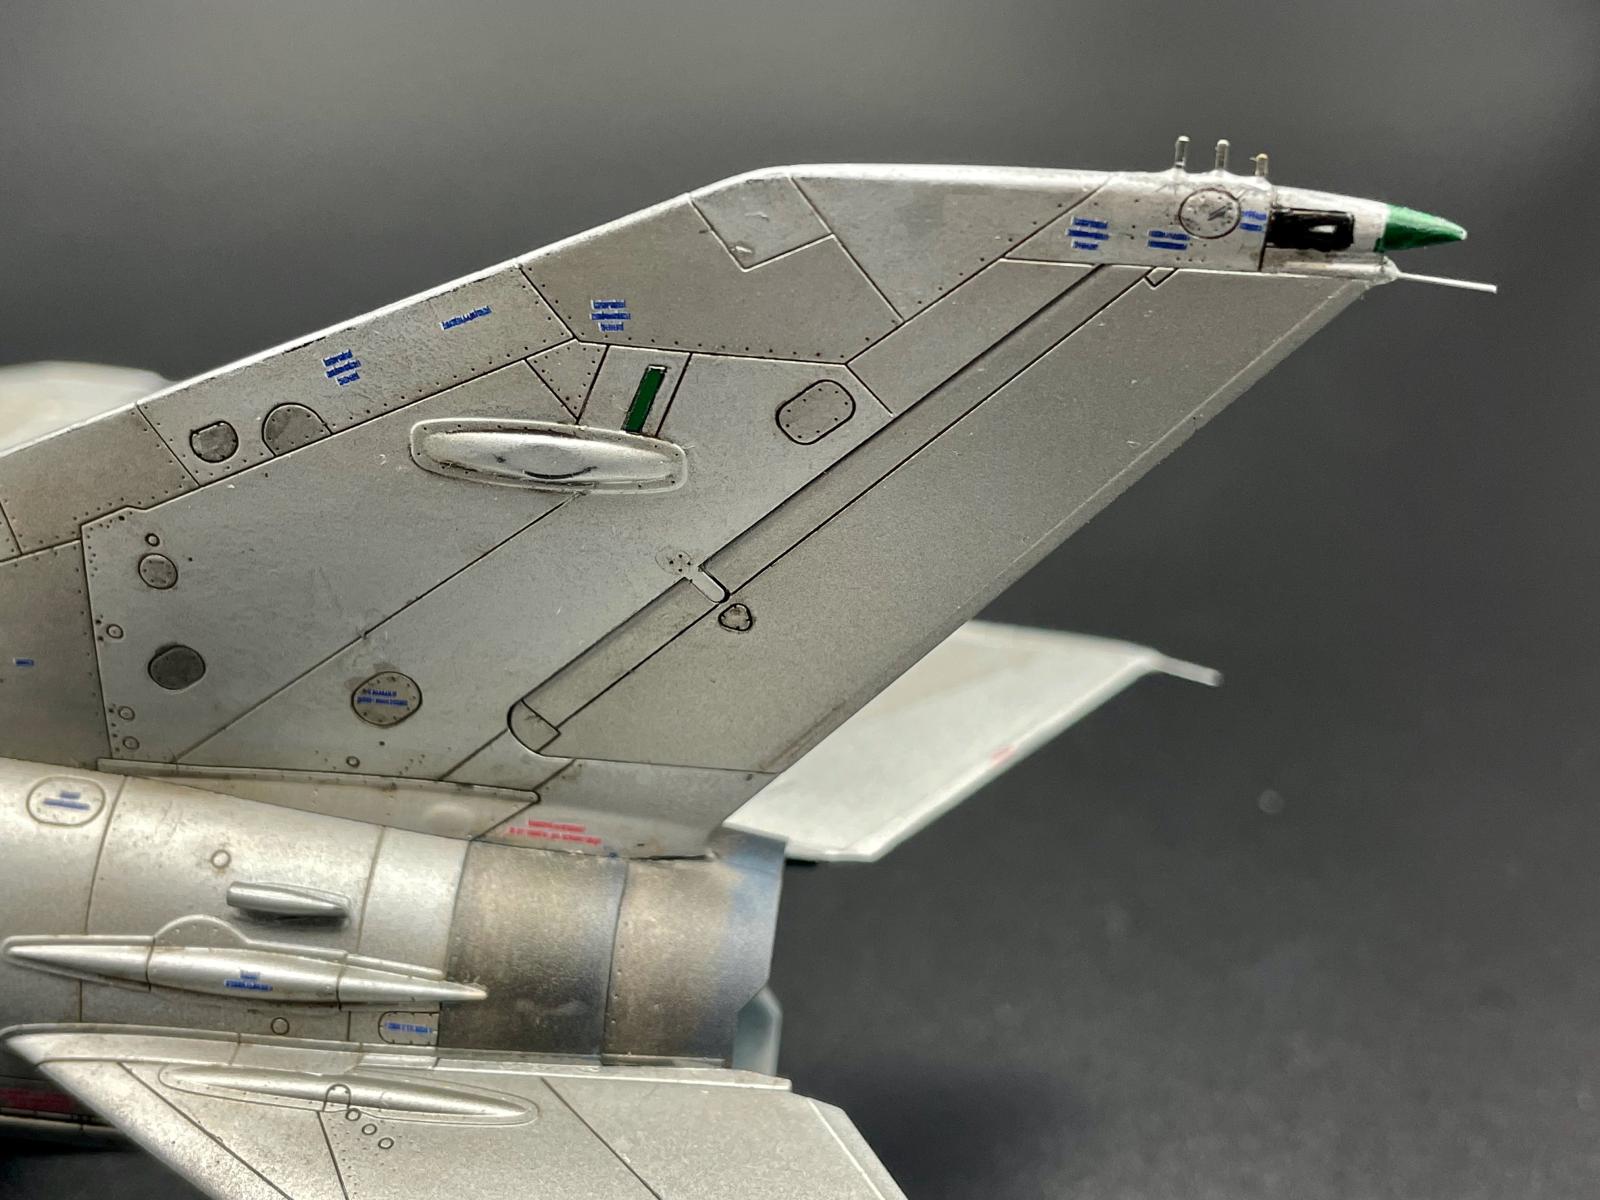
Master-Model MiG-21 PF Pitot Tube AM-48-064
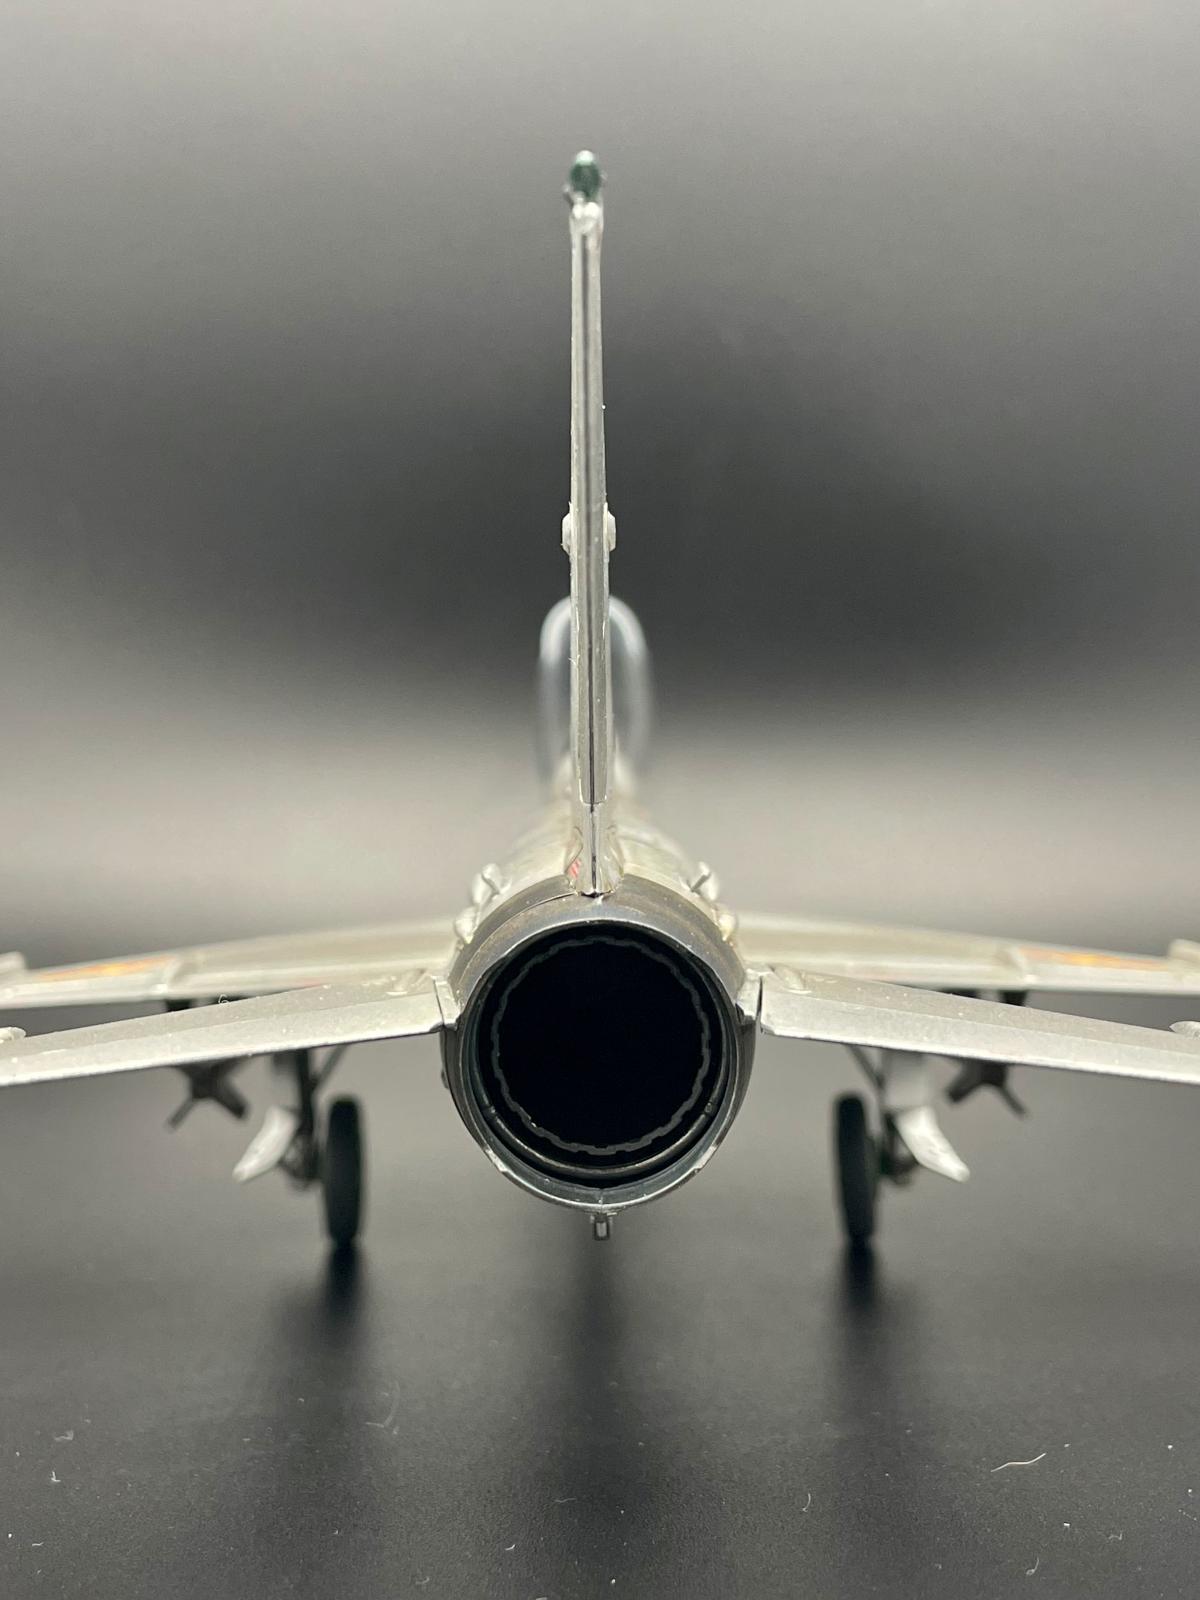
As you can see, I was already heading down my “rabbit hole” searching “Perfect”. Of note, each Atoll missile was a kit unto itself and had more parts than a 1950's Aurora plastic airplane kit. Each missile and launch rail were made up of eight parts and eleven very little decals. These took several weeks to get done to my satisfaction. The kit PE static wicks were a bit of a problem because each time I touched/bumped them, they broke off. I replaced them using Albion Alloys tubing but had the same problem. Finally, I used my old standby for whip antennas…toothbrush bristles. Attached with CA glue, they will flex when bumped but not break off…unless you are serious about doing damage. Lastly, I lost/misplaced the nose landing gear doors, so I had scratch build them…Grrrrrr.
The paint job is where my desire for “Perfect” REALLY collided with “just Good Enough”. I have seen so many beautiful and realistic NMF paint jobs over the years but NMF's are one of my weak areas. Because these MiGs saw rough duty, I wanted to do a “mottled/weathered” finish like I have seen some of my friends do (and VERY well I must say) …and down the BIG rabbit hole I charged. I tried various techniques on a “paint mule” F-105, but never was able to get the effect that I wanted. This endeavor ate up over a month, killing my mojo, and leading to other delays as I tried to figure out how I was going to do the paint job. Not quite a “Shelf of Doom” project, but close. In the end I just settled on using different shades of Vallejo Metallics aluminum on various panels over a base of Tamiya X1 Gloss Black thinned with Mr. Color Leveling Thinner. Next came a sealing coat of AlClad Aqua Gloss and application of the kit decals. I used the “white spirits technique” to remove the decal carrier film and had NO problems at all. This was followed by a brown oil pin wash to give some variation to the finish. Lastly, a final coat of Aqua Gloss and I was done…
Not “Perfect”, but hopefully “Good Enough” …


Looks great, Tom! Your finish is very realistic. Mig-21s (and most other Soviet jets) were delivered with a clear coat over the metal. Many were eventually painted silver at major overhaul time.
Thanks. In a way that is funny because the Russkies were never much for “Perfect”…just semi-bulletproof.
Looks great to me, Tom. I like the look. In my opinion, no body gets it perfect.
I think you got the "NMF in tropical conditions" look you wanted, Tom. This looks really nice.
Thanks, Tom. Now to move on to the BV 141 my son gave me for Christmas. He likes "Eclectic" vehicles.
I WILL NOT take that long on it...but I will do a good job.
Be sure to use a different prop from an Fw-190 kit - the one in the Bv-141 kit is backwards. Other than that, that's actually a very nice kit and makes up into the weirdest model you will ever have in your collection.
Actually no need for a new prop. Hobby Boss corrected it in the kit I have and it turns the right way. All I Preallyhave to do now id correct the exhaust stacks.
This is a superb result, Tom!
Thanks!
Looking perfect, Tom @trod348
The NMF to me looks excellent, very realistic, with the different tones.
Well done, Tom; really good looking MiG-21! The more research I do, the more I find myself looking at after-market stuff that always extends the build timeline and keeps Amazon & e-Bay in business. Probably why my wife uses the term "squirrel" so much to describe my personality, LOL!
Exquisite in every way. Cockpit is a masterpiece. Build well worth the time to "get 'er done."
@trod348, That's mighty nice! 😃 I've always loved the '21 but have only built one so far. Well done on this one Tom! 👍
Yes well done Tom @trod348. Certainly agree with regarding “enough is enough”. I also saw that very MiG when I was in Hanoi 3 yrs ago. Somewhere I have a profile photo of it.
Thanks a bunch. The museum has some really good photos on line.
Great looking Mig 21!
The NMF came out great! Very nice -21.
Looks perfect from here, Tom, I liked your write-up as well, good post.
Super job Tom @trod348 !
I think you efforts paid off the NMF looks spot on !
Great build!