The hard working bunny: Academy F-4J Phantom II (with Furball decals)
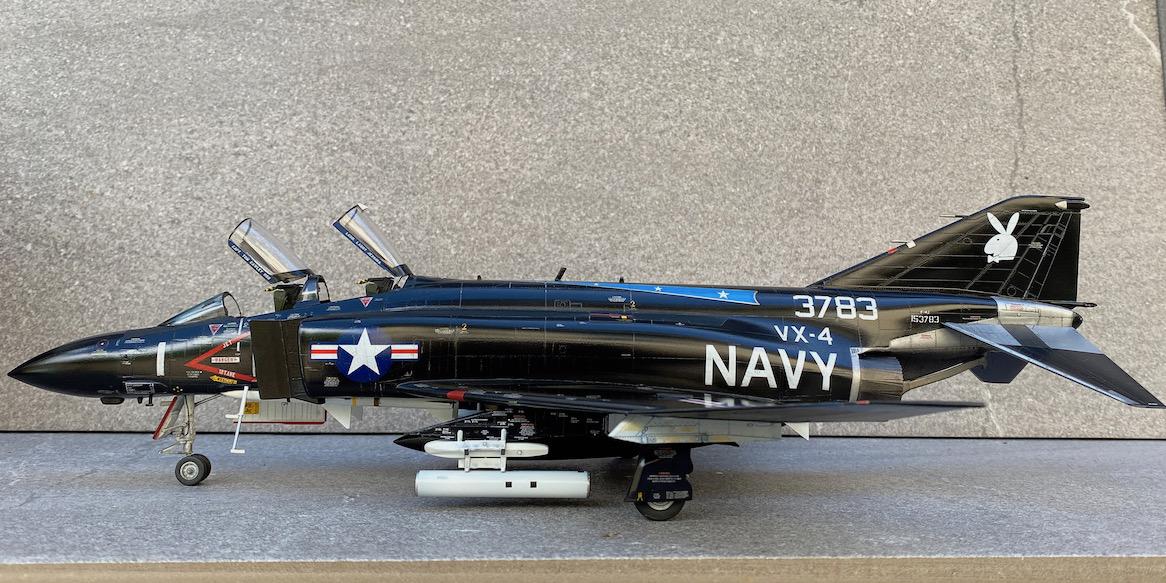
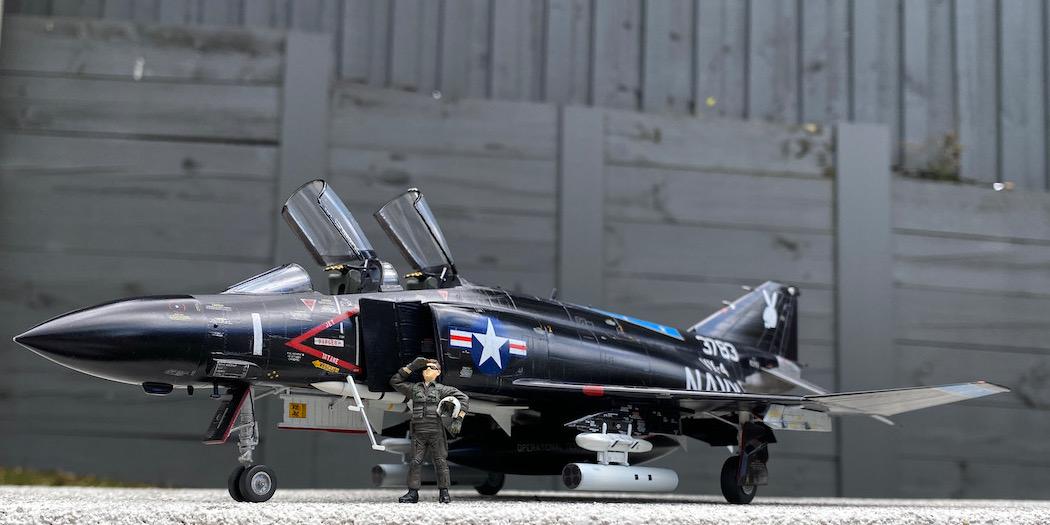
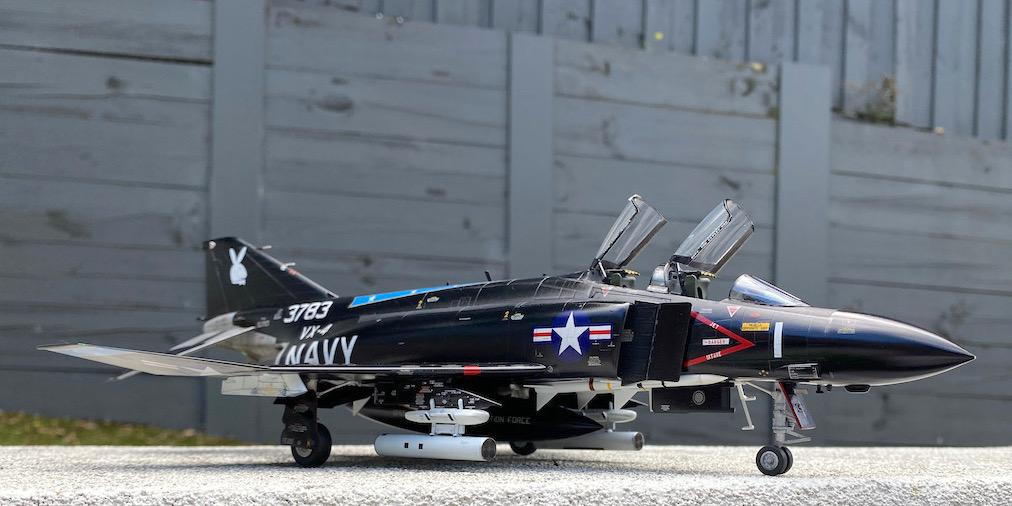
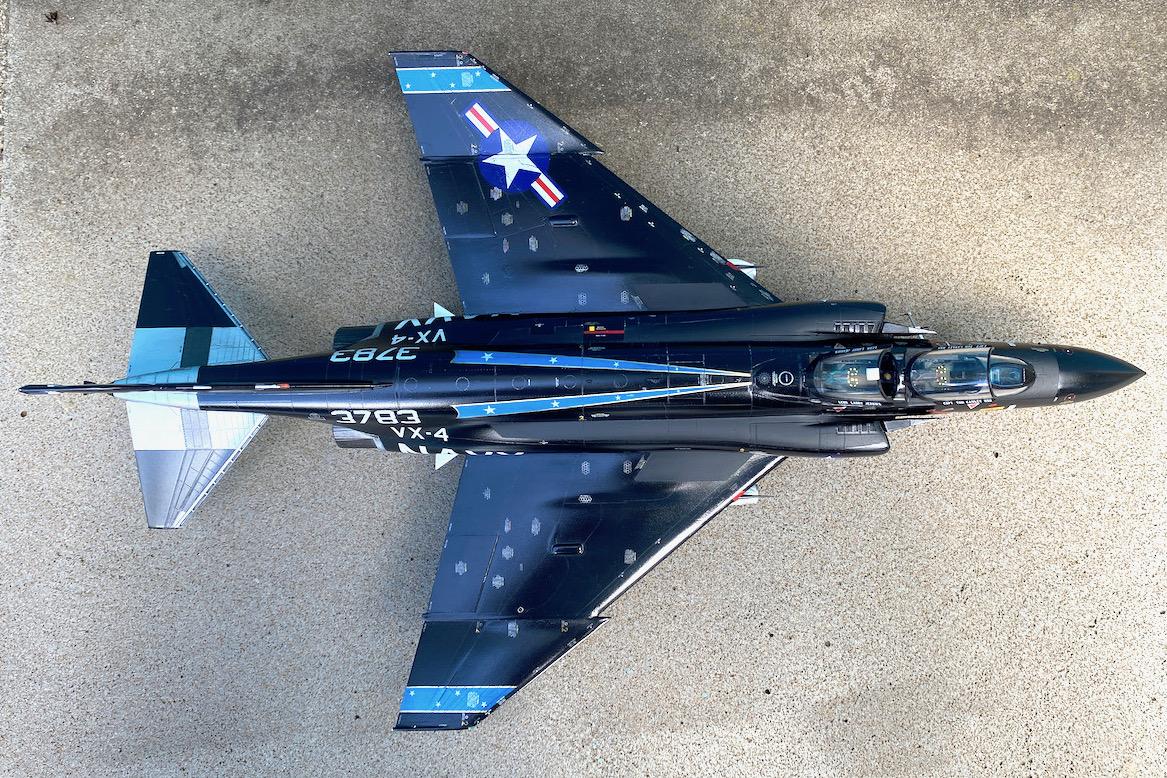
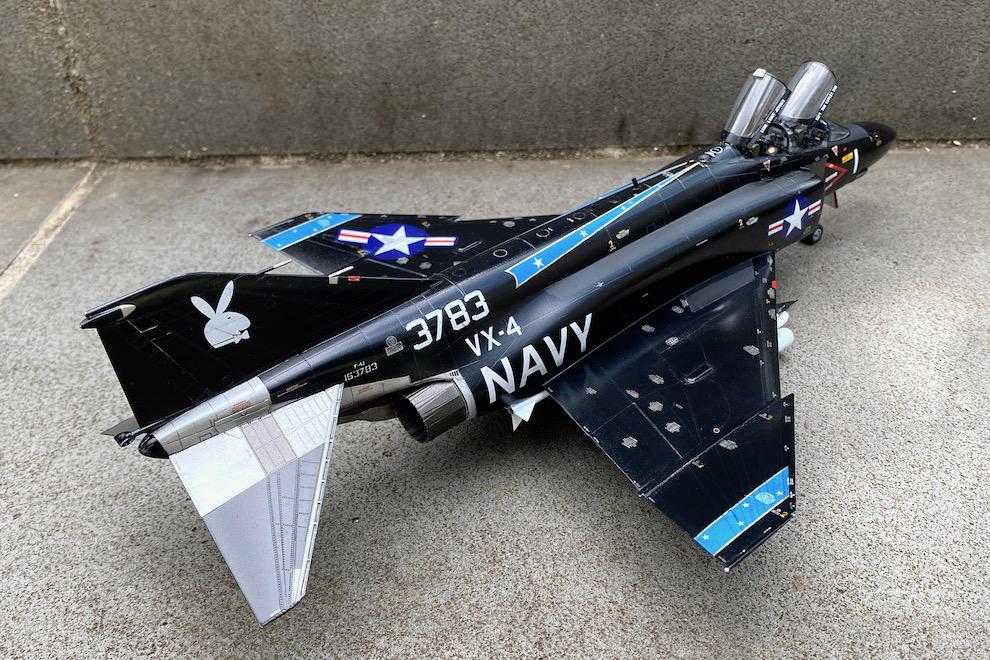
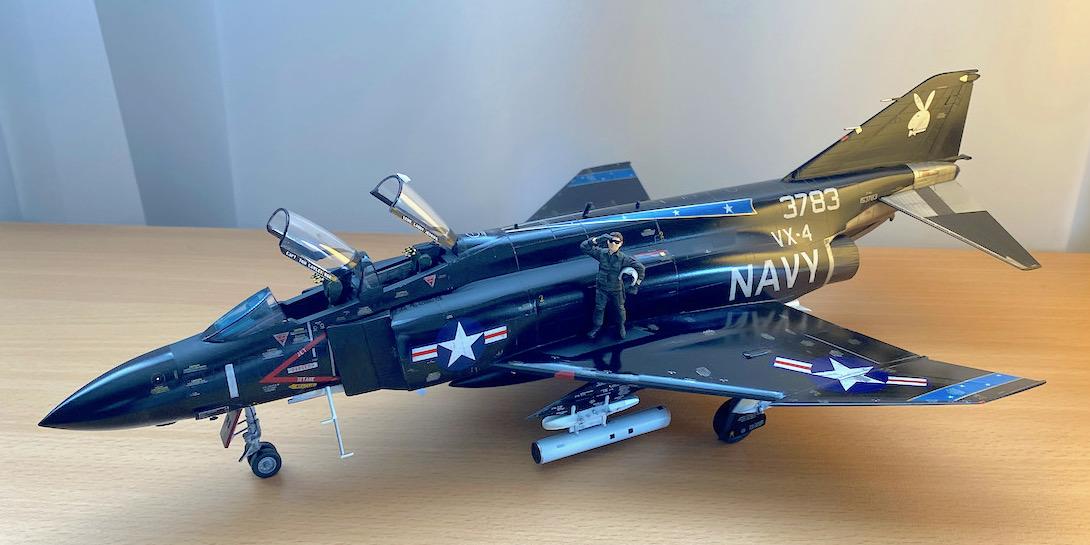
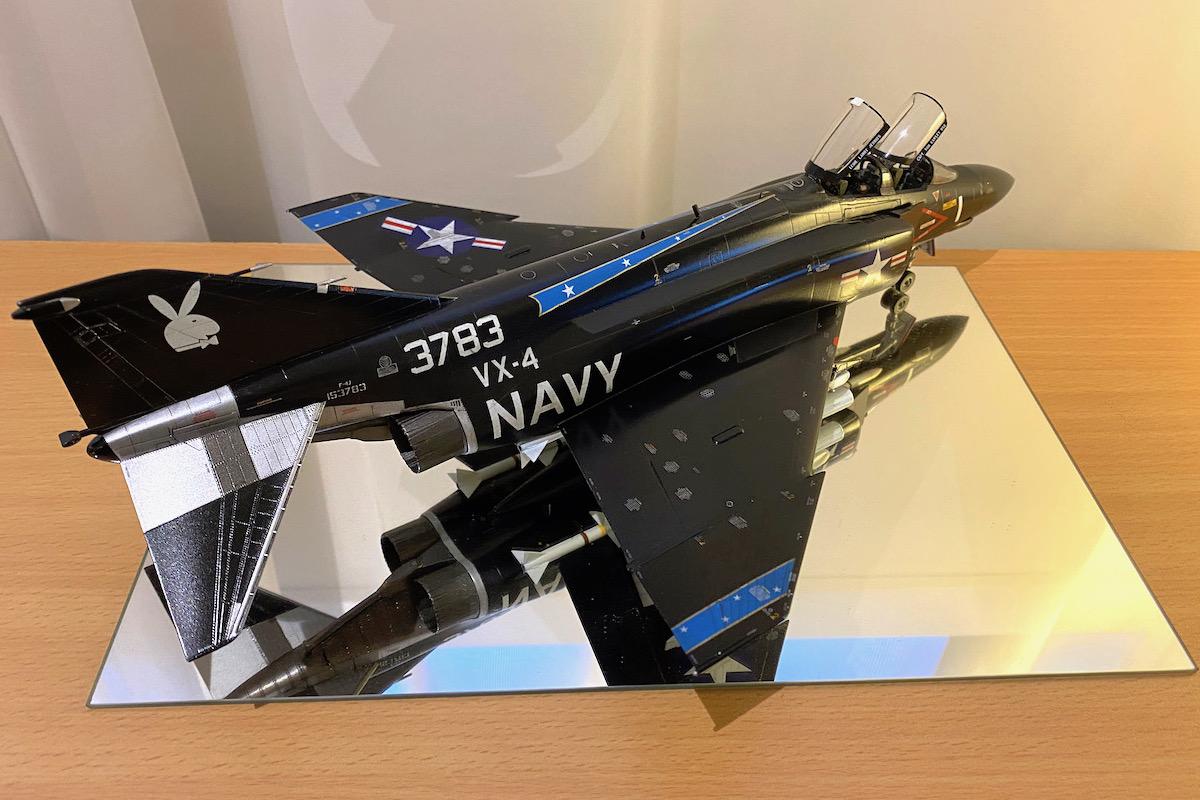
It can be rightfully argued that no model airplane collection is complete without a Phantom. But with so many extraordinary Phantom models out there, how can a "developing" modeller aspire to do something with a potential to stand out a bit? To me, the answer was to try to recreate an unusual paint scheme. My choice fell on the first of the "Black Bunnies" (BuNo 153783) flown by VX-4.
I am unashamedly a budget modeller. Thus, once deciding on the subject, the Academy kit was the natural option - despite some internet sources suggesting that it is an abomination. So, before you can scream "Zoukei-Mura!", let me state clearly that I am happy with this choice. Yes, the riveting is heavy, the panel lines too deep, and the level of detail leaves something to be desired in the undercarriage and cockpit. But none of this bothered me. I softened the heavy riveting and panel lines by sanding, to a level which I was comfortable with, and the detail is sufficient for my enjoyment. In the end, it looks like a Phantom, and I managed to made it look like the Black Bunny, without breaking the bank.
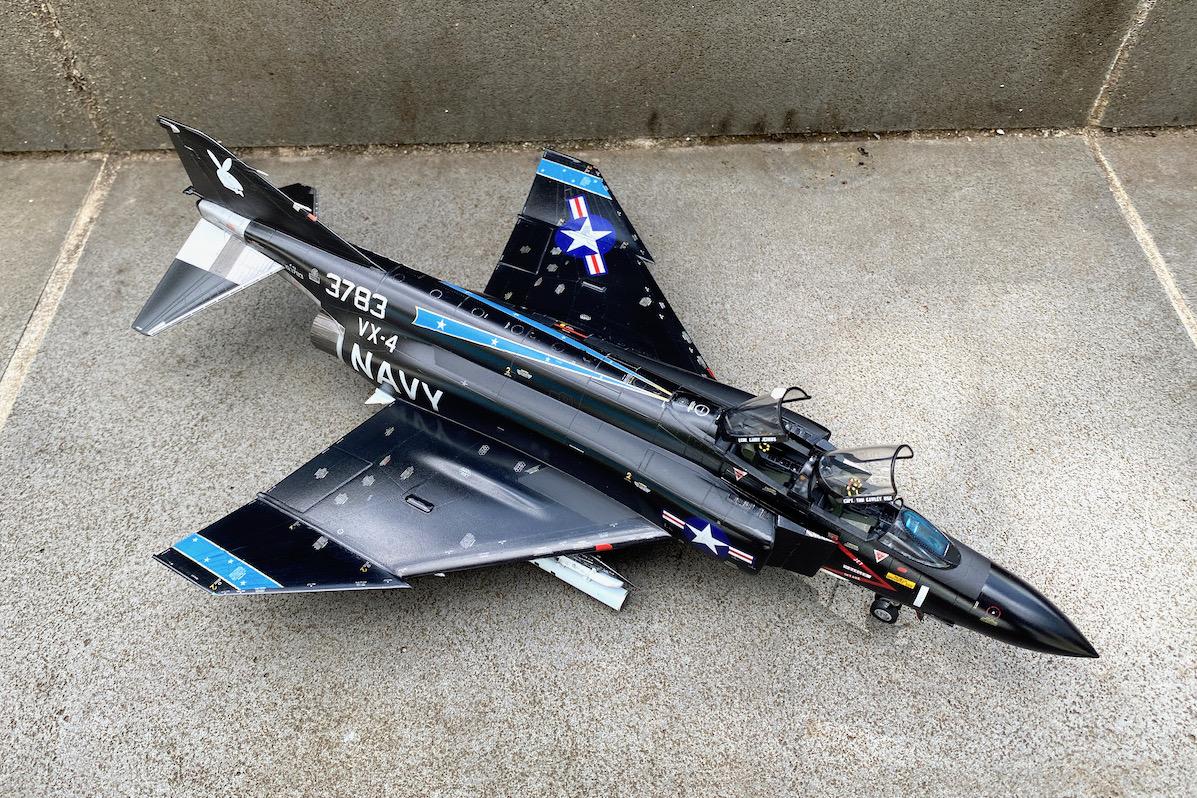
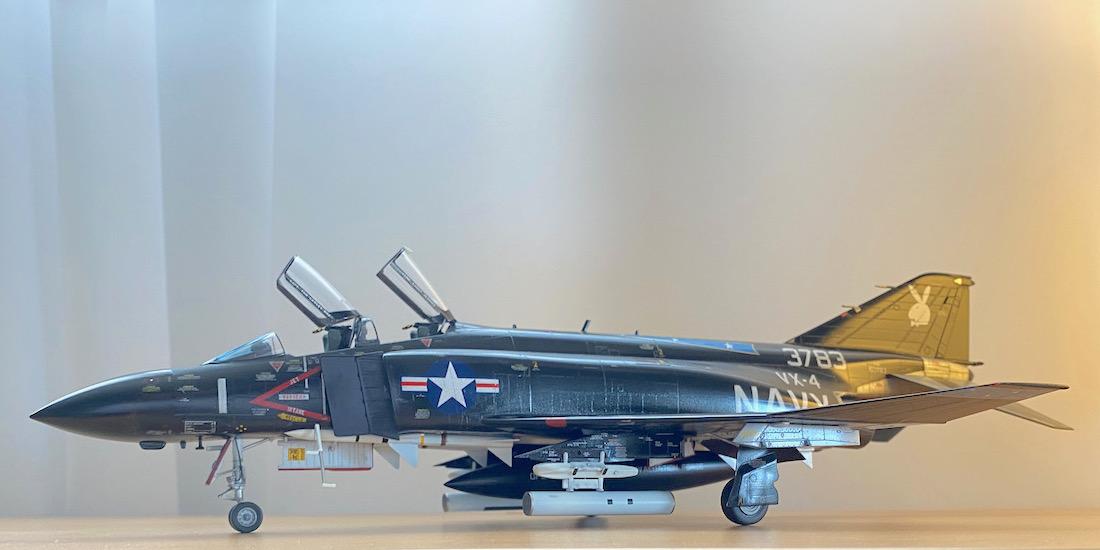
The pictures I could find online suggest that most modellers tend to represent this plane as it would look fresh out of the paint shop, with very white stencils forming a stark contrast with the glossy black paint. I tried to imagine how this plane would look like at the end of a few weeks of hard work. This was more difficult than I first imagined. Most of the time in this build was spent trying to find the correct balance between a little bit of wear and tear, and not going overboard with weathering (and thus preserving the good looks provided by the gloss black).
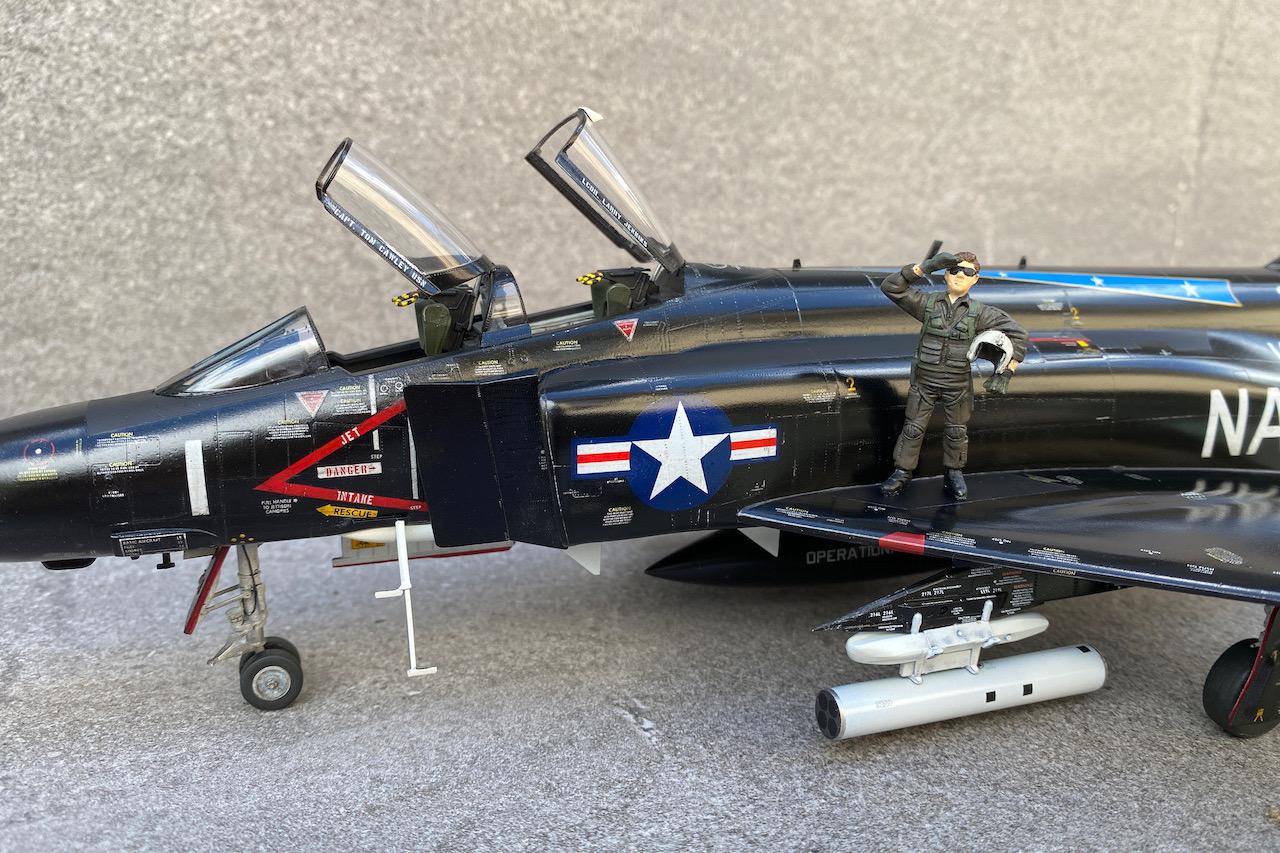
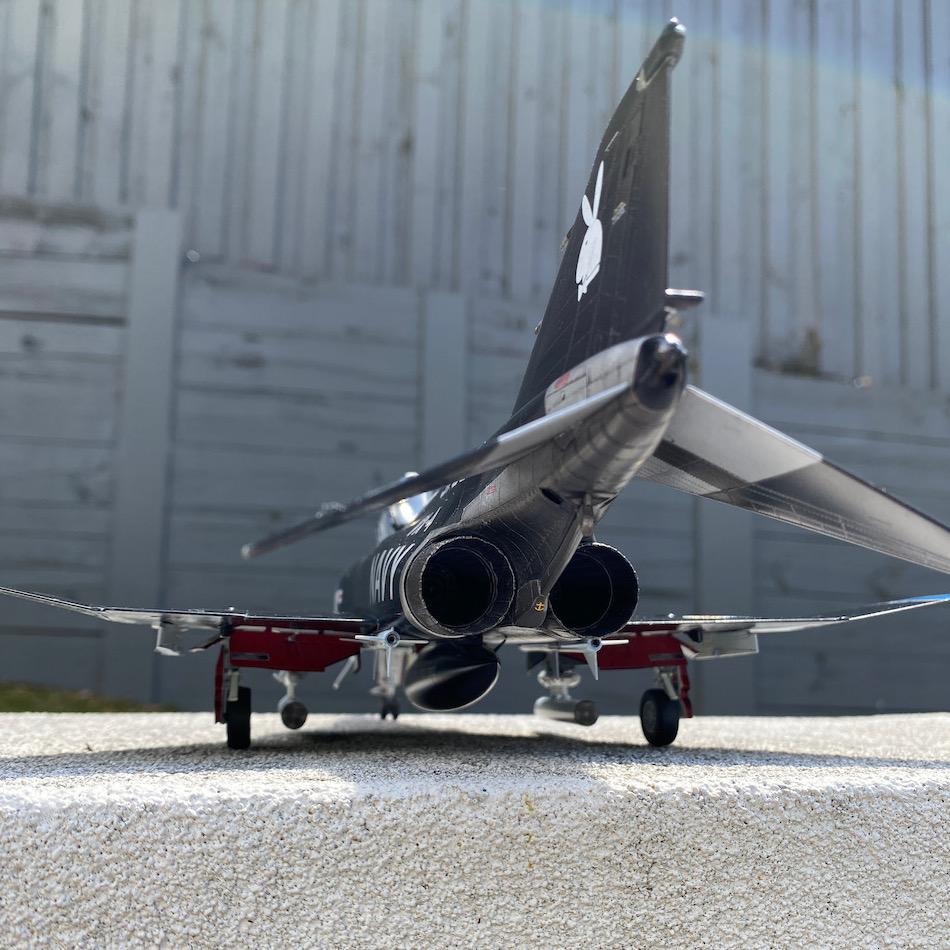
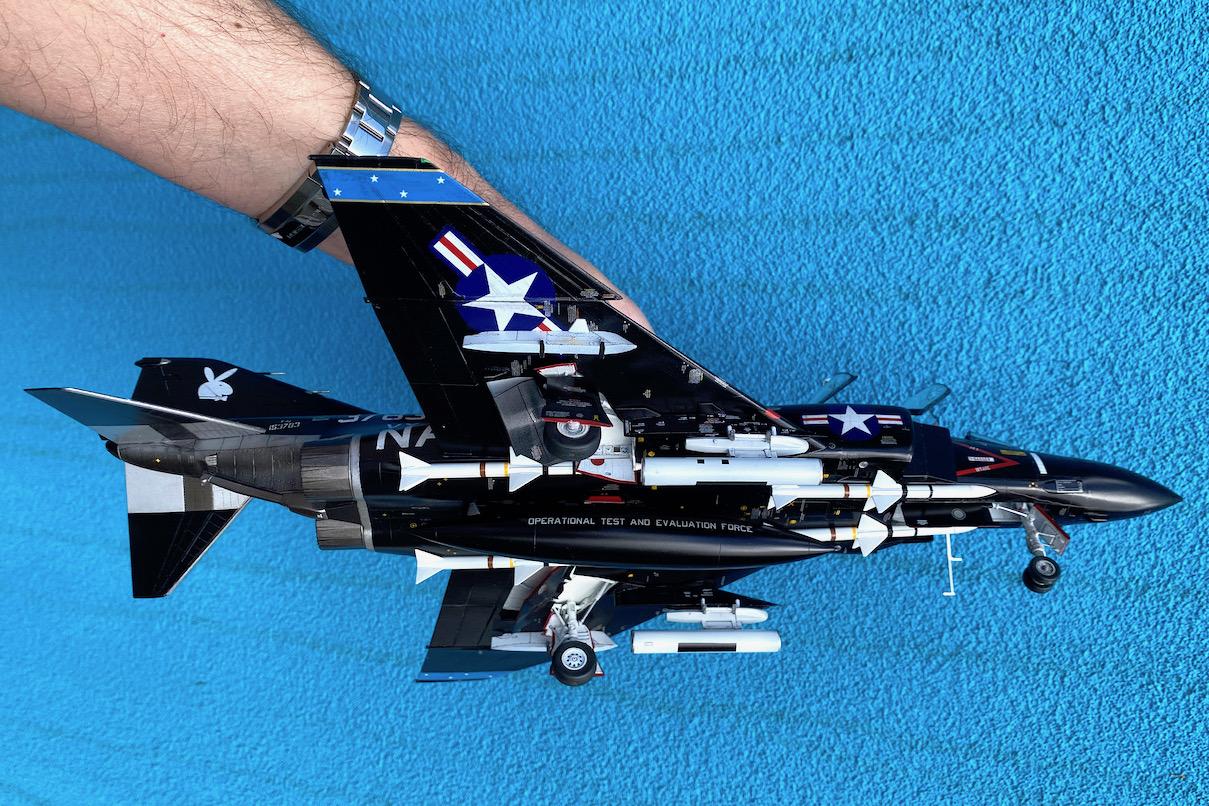
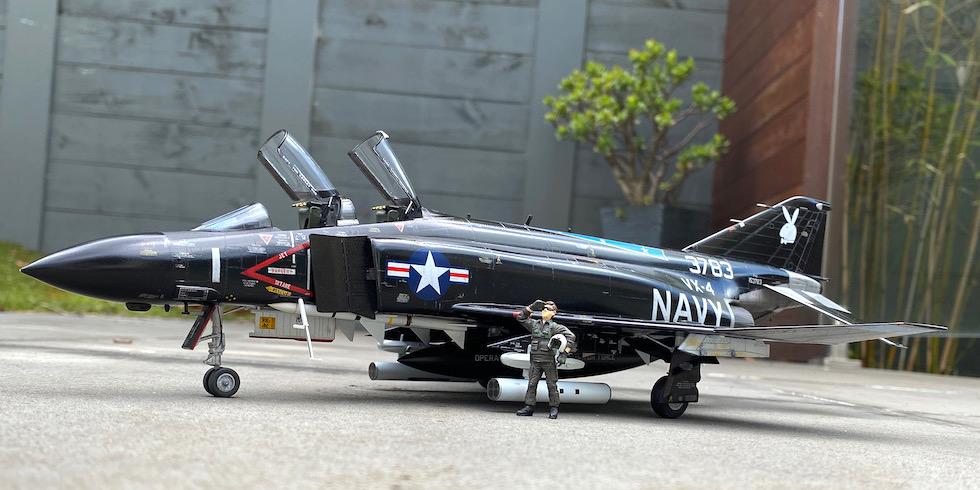
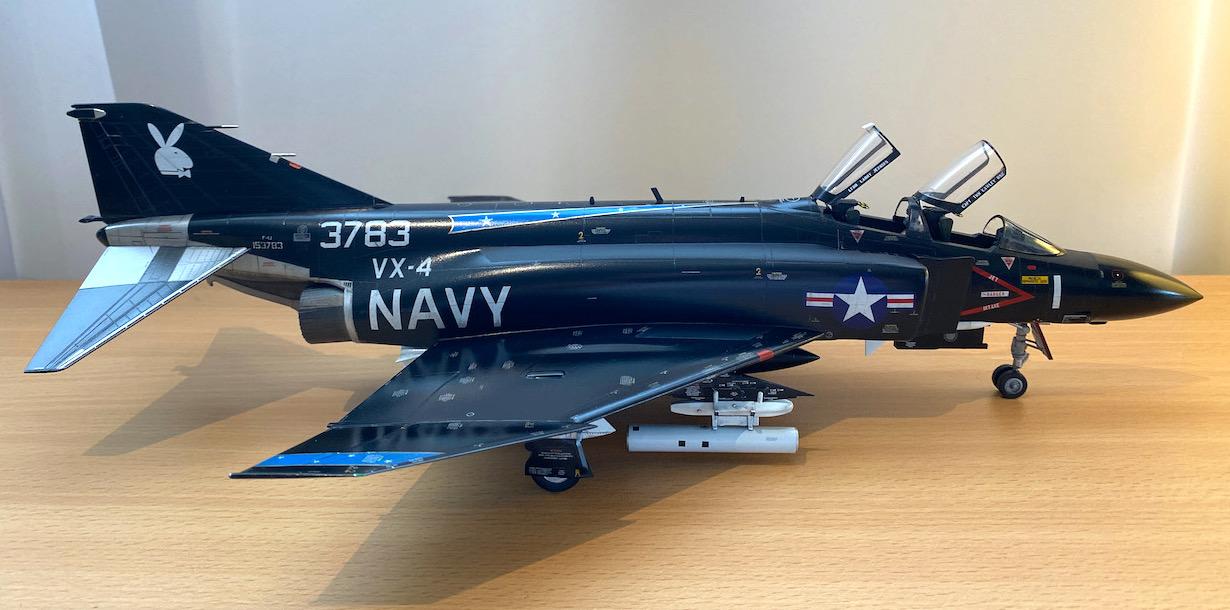
The kit had everything you need to build a Phantom is out of the box. Not only that, I have accumulated lots of spare weapons, antennas, wheels, exhaust cans, pilot figures, etc. for future use. You can't accuse Academy of being stingy with spare parts. The only aftermarket item was the decal set, provided by Furball and printed by Cartograf. The decals themselves were great: sharply printed, and just sturdy enough to not curl, but still thin enough not to look "raised" against the unforgiving shiny black background. However, I am sorry I can't say the same about the instructions, which had a number of errors that got me, on multiple occasions, trying to read little white letters under a magnifier lens. Also, as detailed below, the colours of some of the stencils demanded corrections.
A few of the most obvious cables, pipes and decals were added to the undercarriage and undercarriage bays, based on photos I got from "walk around" sites. LAU-10 launchers for Zuni rockets, which are often seen in photos of Vandy 1, were scratch built.
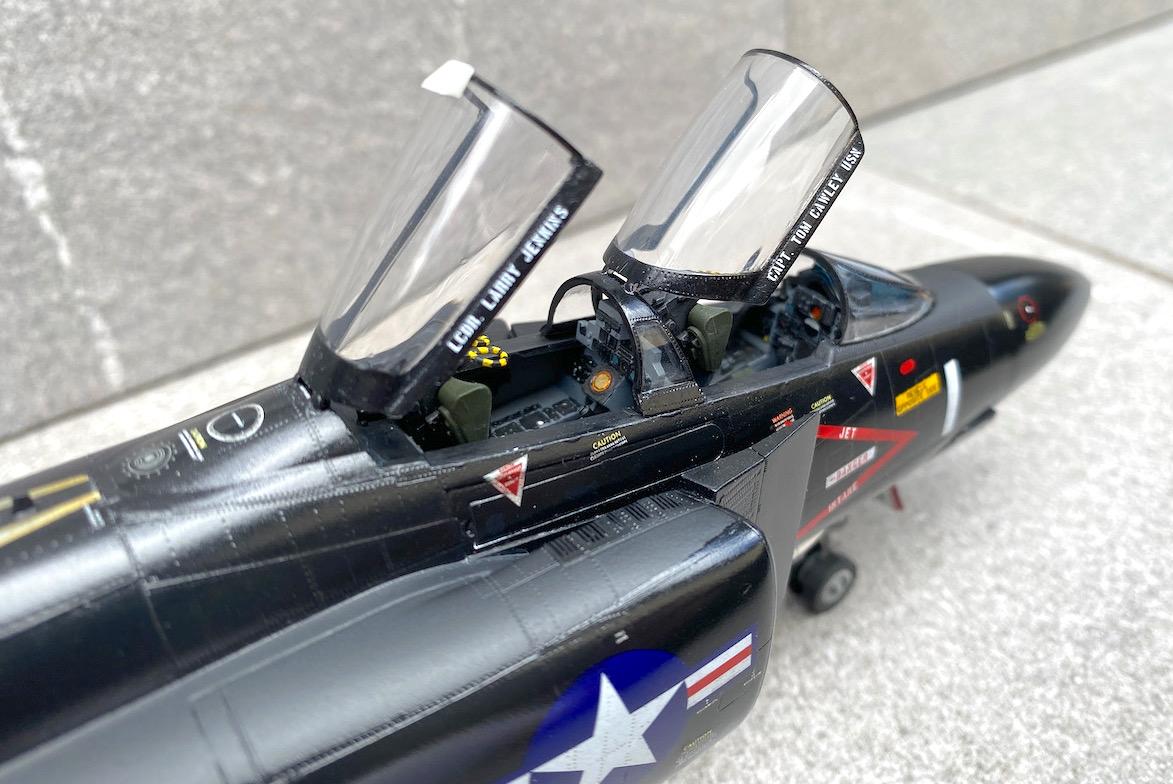
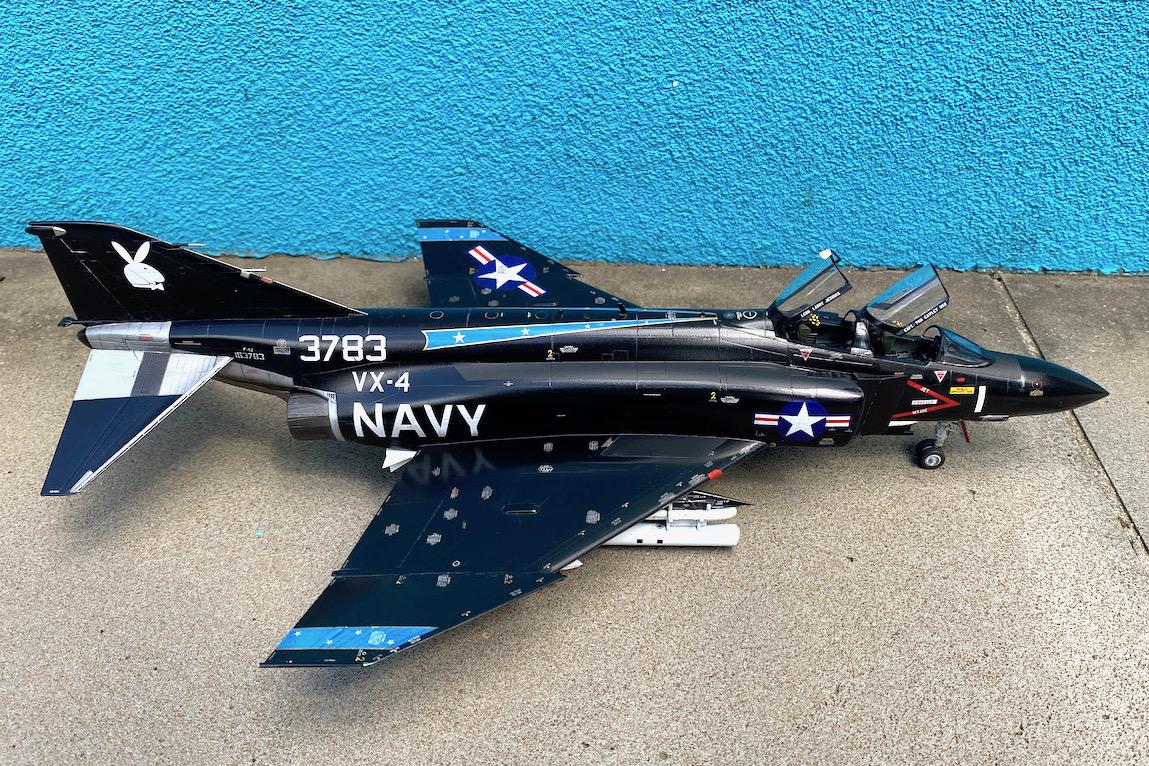
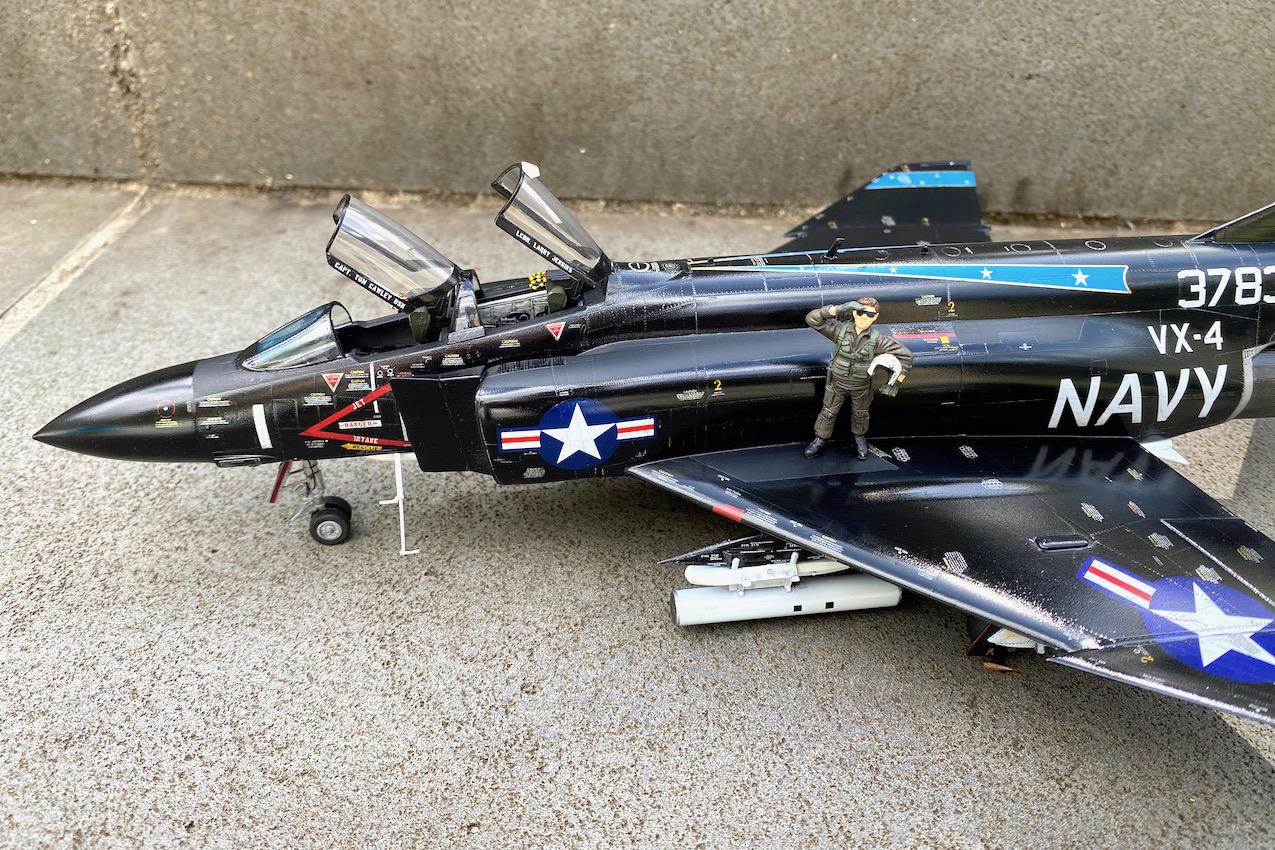
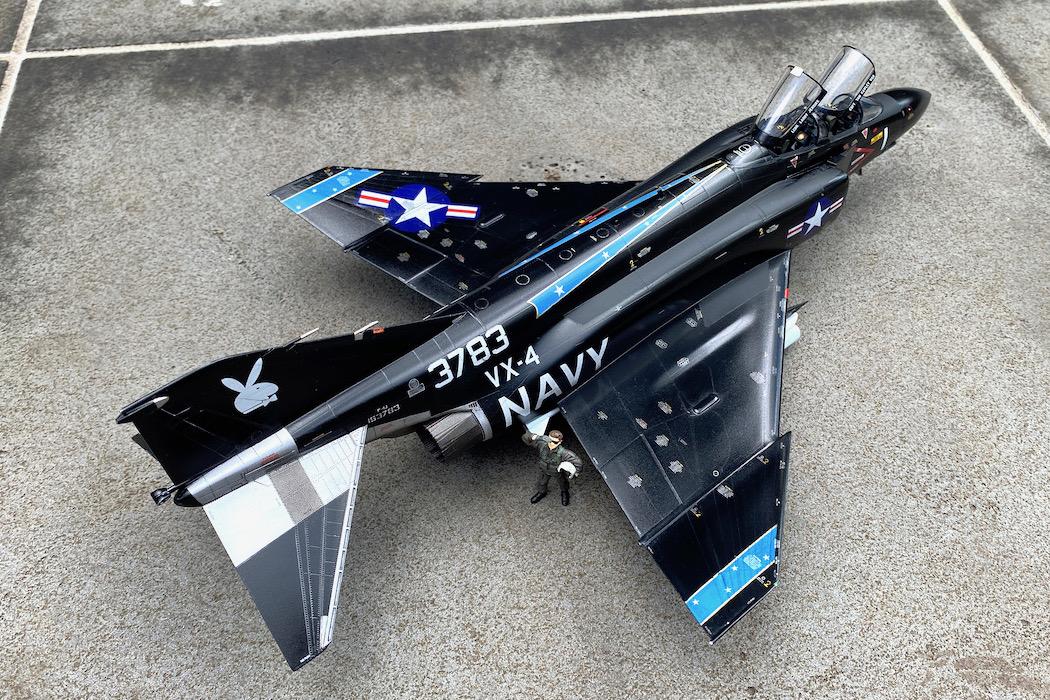
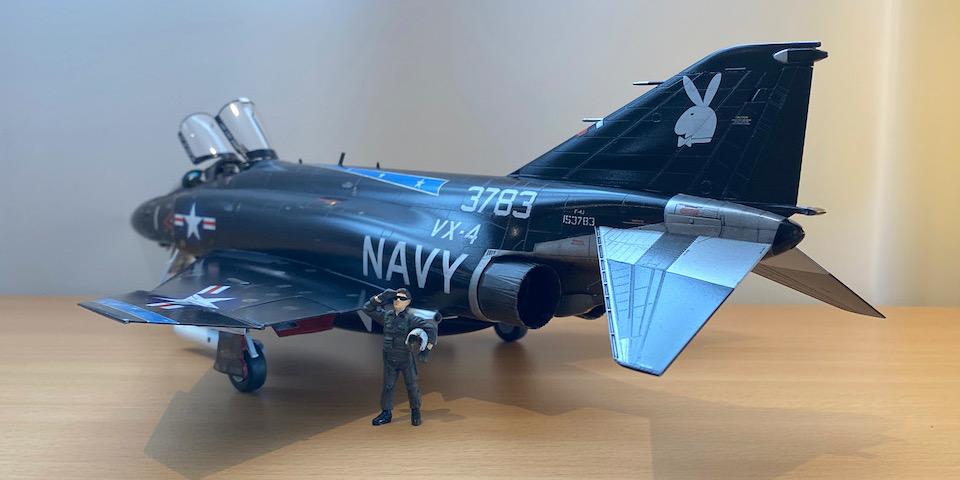
One aspect that demanded correction was the colours of some of the stencils. The lettering for all instructional stencils was provided in white decals. In reality, some of the words were yellow (e.g. all CAUTIONs) and some red (e.g. all WARNINGs words). This was circumvented by creating appropriately coloured "filters", by mixing equal proportions of floor polish and Tamiya clear acrylics (X-24 clear yellow, and X-27 clear red). This mix could be applied carefully over the appropriate words to tint them using a fine paintbrush, in most cases requiring multiple layers. This worked well against a dark background.
Another issue with the decals is that immediately after application the white stencils stood out against the black background a lot more than I felt they should, compared with the contemporary pictures. Maybe this comes from the difficulty in printing decals that could accurately replicate the small size of the lettering. In any case, this resulted in an unrealistic "toy-like" look. My "solution" was to dry brush X-1 over the stencils until they faded a bit, and looked like they had suffered some weathering. Because at that stage the decals had already been sealed, this could be done safely, if necessary multiple times, with any excess being removed with Zippo lighter fluid.
For a complete build report, and more photos, see https://www.marcellorosa.com/f-4jphantomblackbunny


The Phantom is an iconic plane and the Black Bunny one of the iconic Phantoms, Marcello!
You did an absolutely spectacular job!
Thank you Spiros. I am happy that I managed to do this using the sometimes maligned Academy kit, which saved me some money for more kits!
Nicely done!
Thanks, Rob!
Your build looks much more than a budget kit, Marcello @marcellorosa1
This amazing scheme ensures that you dpn't see the lack of detail.
You did build this iconic plane superbly.
Thank you John; your comments mean a lot to me.
Pharout Phabulous Phantom! Looke great! This was probably considered their show bird, so I'm sure it was kept in shape. I don't think that they got the wear and tear as the fleet birds
@roofrat Thanks, Robert, I hope that the light weathering looks realistic.
Nice result with one of the mist iconic Phantoms there is. I like it.
@tcinla Thanks, Tom. Considering how good your models are, I am proud of the fact that you liked mine. I may bother you later with advice on what will probably be one of my the next models: the 1/72 Martin Marlin. I heard this is a plane you know something about...
Lovely Phantom.
Thanks George; it is good to hear from you. I have consulted your pictures of the A-4E for a previous build.
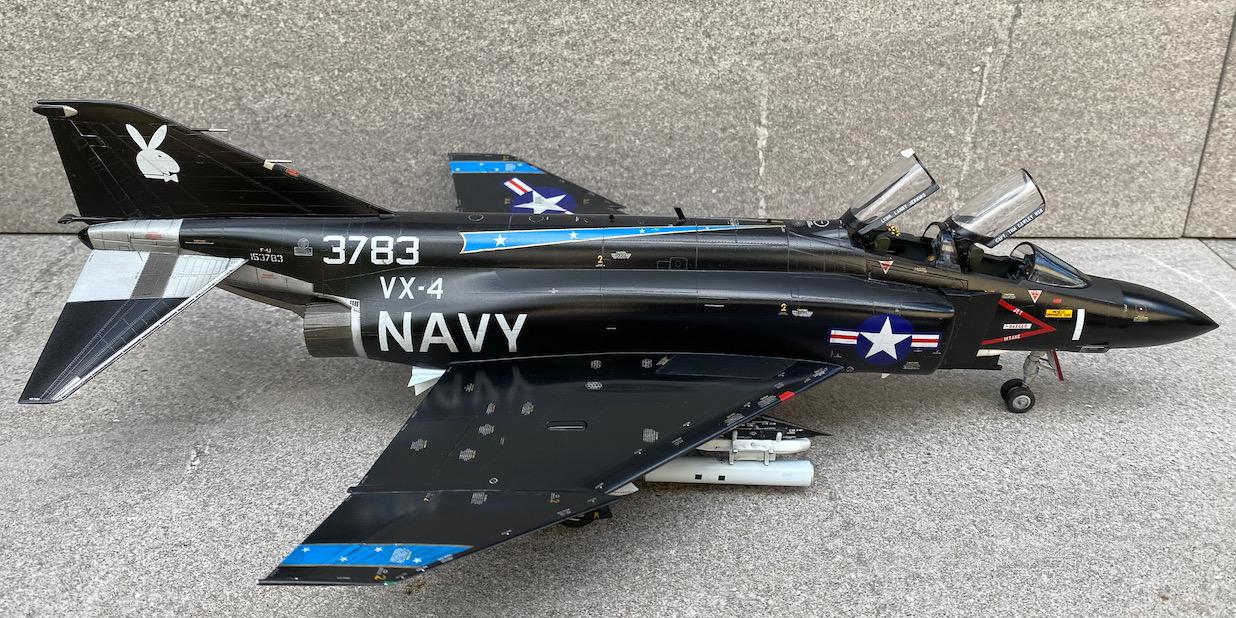
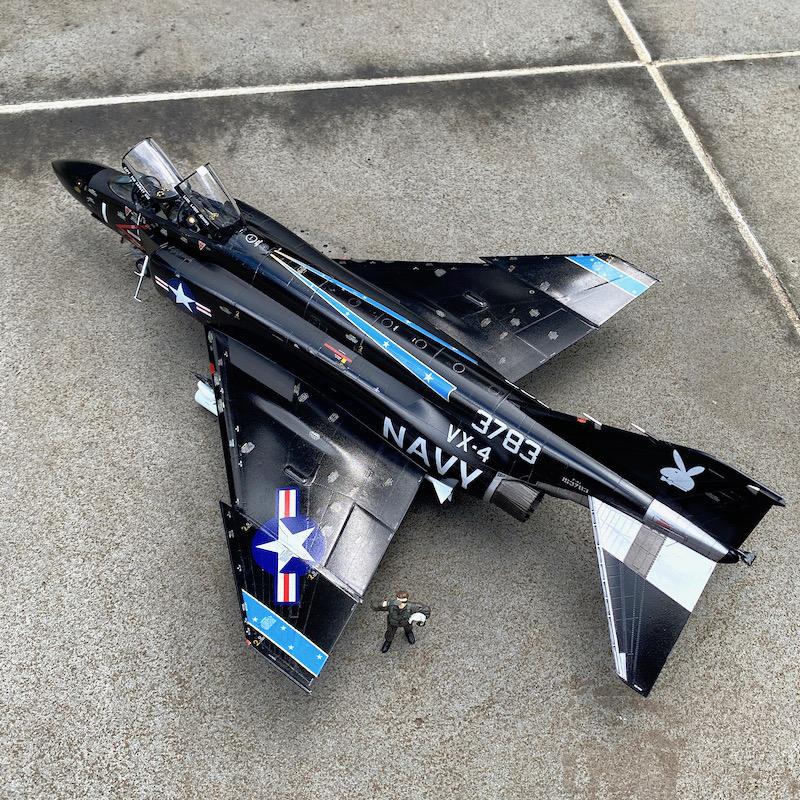
Excellent work on the gloss black which isn't easy despite being one of the more iconic Phantoms.
@dbdlee Dan, this was where most of the time was spent. This kit had no serious issues requiring filling, sanding or scratch building, but getting the black gloss "right" to my eyes was the challenge. That is; not as shiny and uniform as to suggest a toy, but also not "dirty" (like in most photos of the real plane). Different people will see it differently, but to me the result is more or less what I was trying to achieve.
That is a really nice F-4, the cockpit and opened canopies look great!
Thanks @jroamer. This was all out of the box.
Nice work, Marcello. Nothing wrong with budget modeling. I still like Esci F-4s found in bags at swap meets……
Thanks John. I have not been lucky to find the ESCI one when I decided in this project, but have had my own adventures with “vintage” kits. I built an HMS Tiger which arrived in my house in a shoe box, and without instructions…
She's a real beauty! I'm looking for 1/72 decals for the same bird, but can't seem to locate a set. I have some that came with the Fujimi Phantom kit, but they are pretty old and I'm afraid they won't look good. I wish Furballs had a 1/72 set!
Hi Greg
Thanks for the comment.
I think one issue with 1/72 for this plane would be the size of the stencils. As they were, in 1/48 it was already the case that the letters were too thick, so they stood out too much in comparison with the real ones. With 1/72, they may appear more like a smudge than writing. But if they did one of the later “bunnies “, then my interpretation of the photos was that most stencils were not included. This would make it easier.
Greg a company called Hobbydecal has Vandy 1 the bunny bird for 20.00 US.@gkittinger.
Good finding!
@gkittinger This one is for the same plane I did (3738). You could write to them and ask if the set include the stencils.
http://www.hobbydecal.com/detail.cgi?number=al72001v1
Thanks Robert - bought a set!