Crippled Corsair
If I have to name one plane that I really love and admire, that would be the F4U Corsair, especially the wartime variants. Actually this plane got me into scale modelling. When I was young, I came across with Revell's antic 1:32 Corsair, which I painted with a toothpick. Later I've seen a Tamiya F4U-1D corsair in a magazine ages ago and I told myself, I have to build one of these. That was my first serious build that time wiith an airbrush for first time, ok it was a cheap Revell airbrush, but still. Later I've put aside my passion for building one until one day last summer, when I visited Warsaw and of course I had to take a visit to one of the local shops. There I spotted her and it switched back my memories, how delightful was building the 1D model. So without thinking, I took her home and started the project. My first action was to buy a few things, like Eduard basic etch set, also placards set from Eduard, a Quickboost engine, Armory wheels set and HGW's excellent decals set. Oh and I have stacked Vallejo's USN / USMC paint set. Which I truly regretted, but later on to that.
So everything was ready for the build. Of course it went together like it did 15 years ago. In the cockpit I used some of PE and placards and scratchbuilt the harnesses.
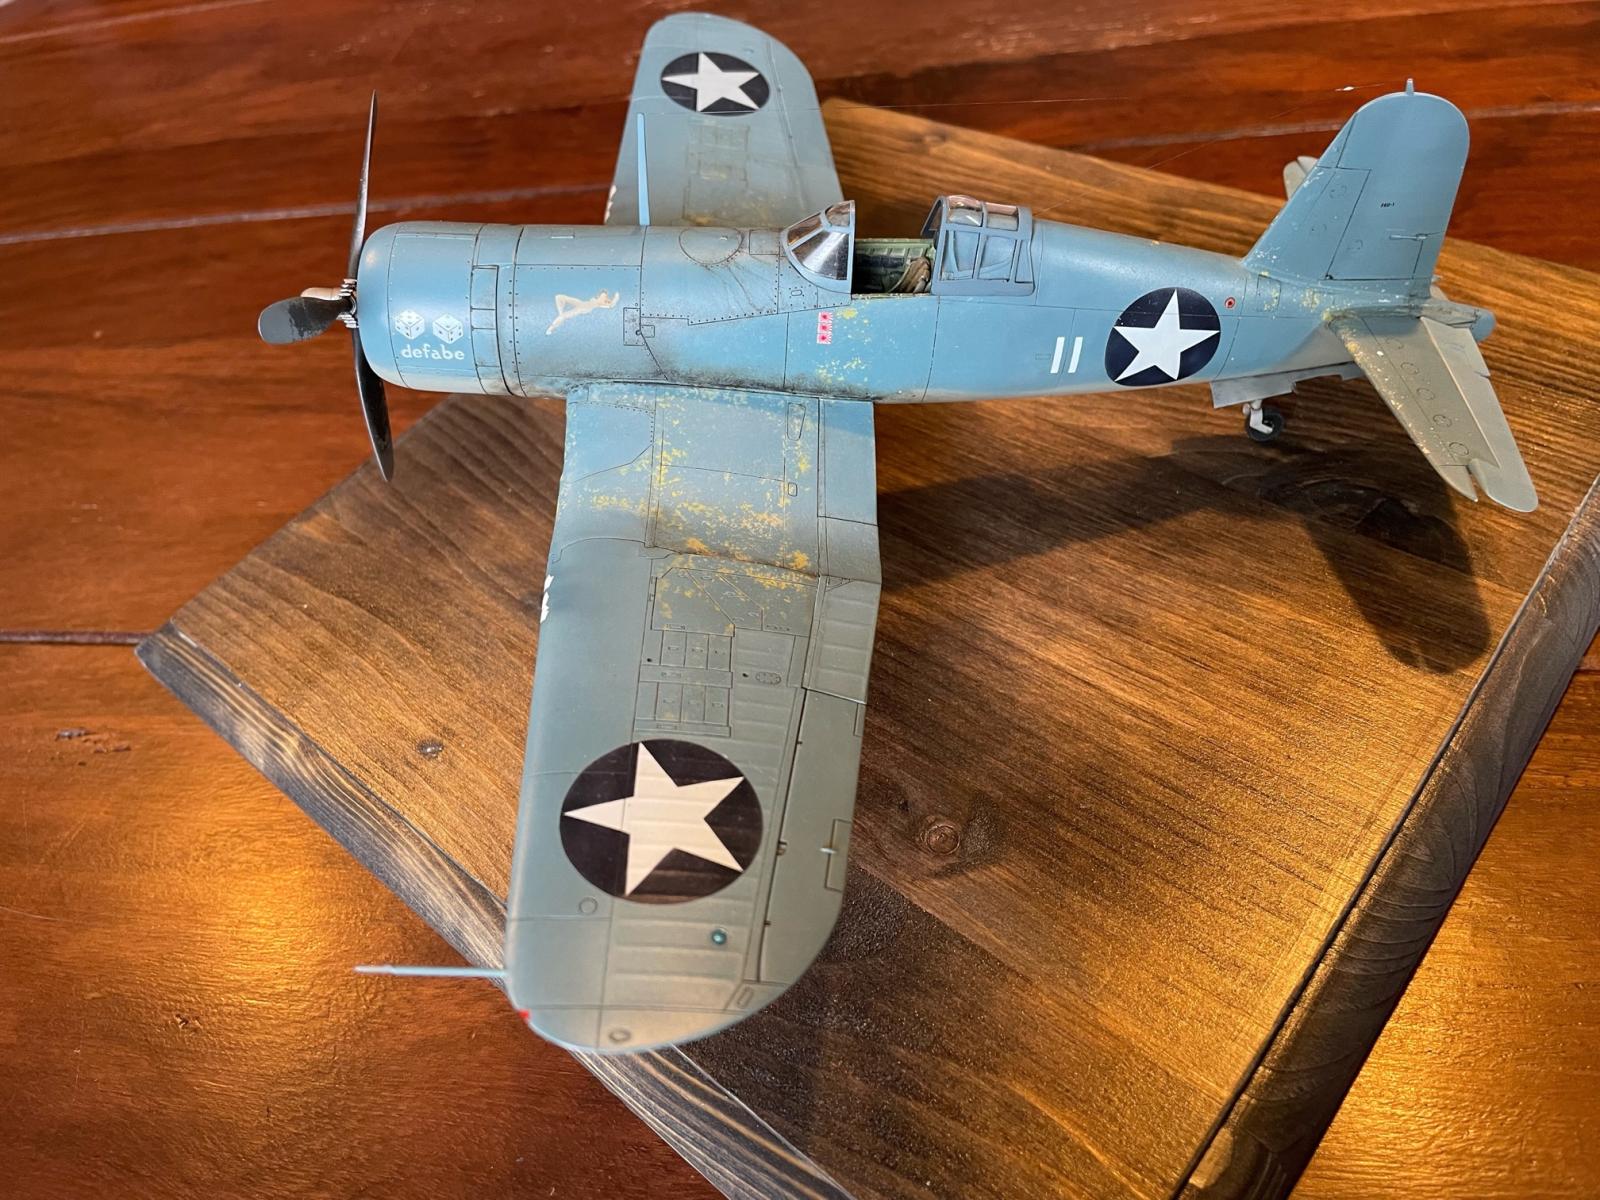
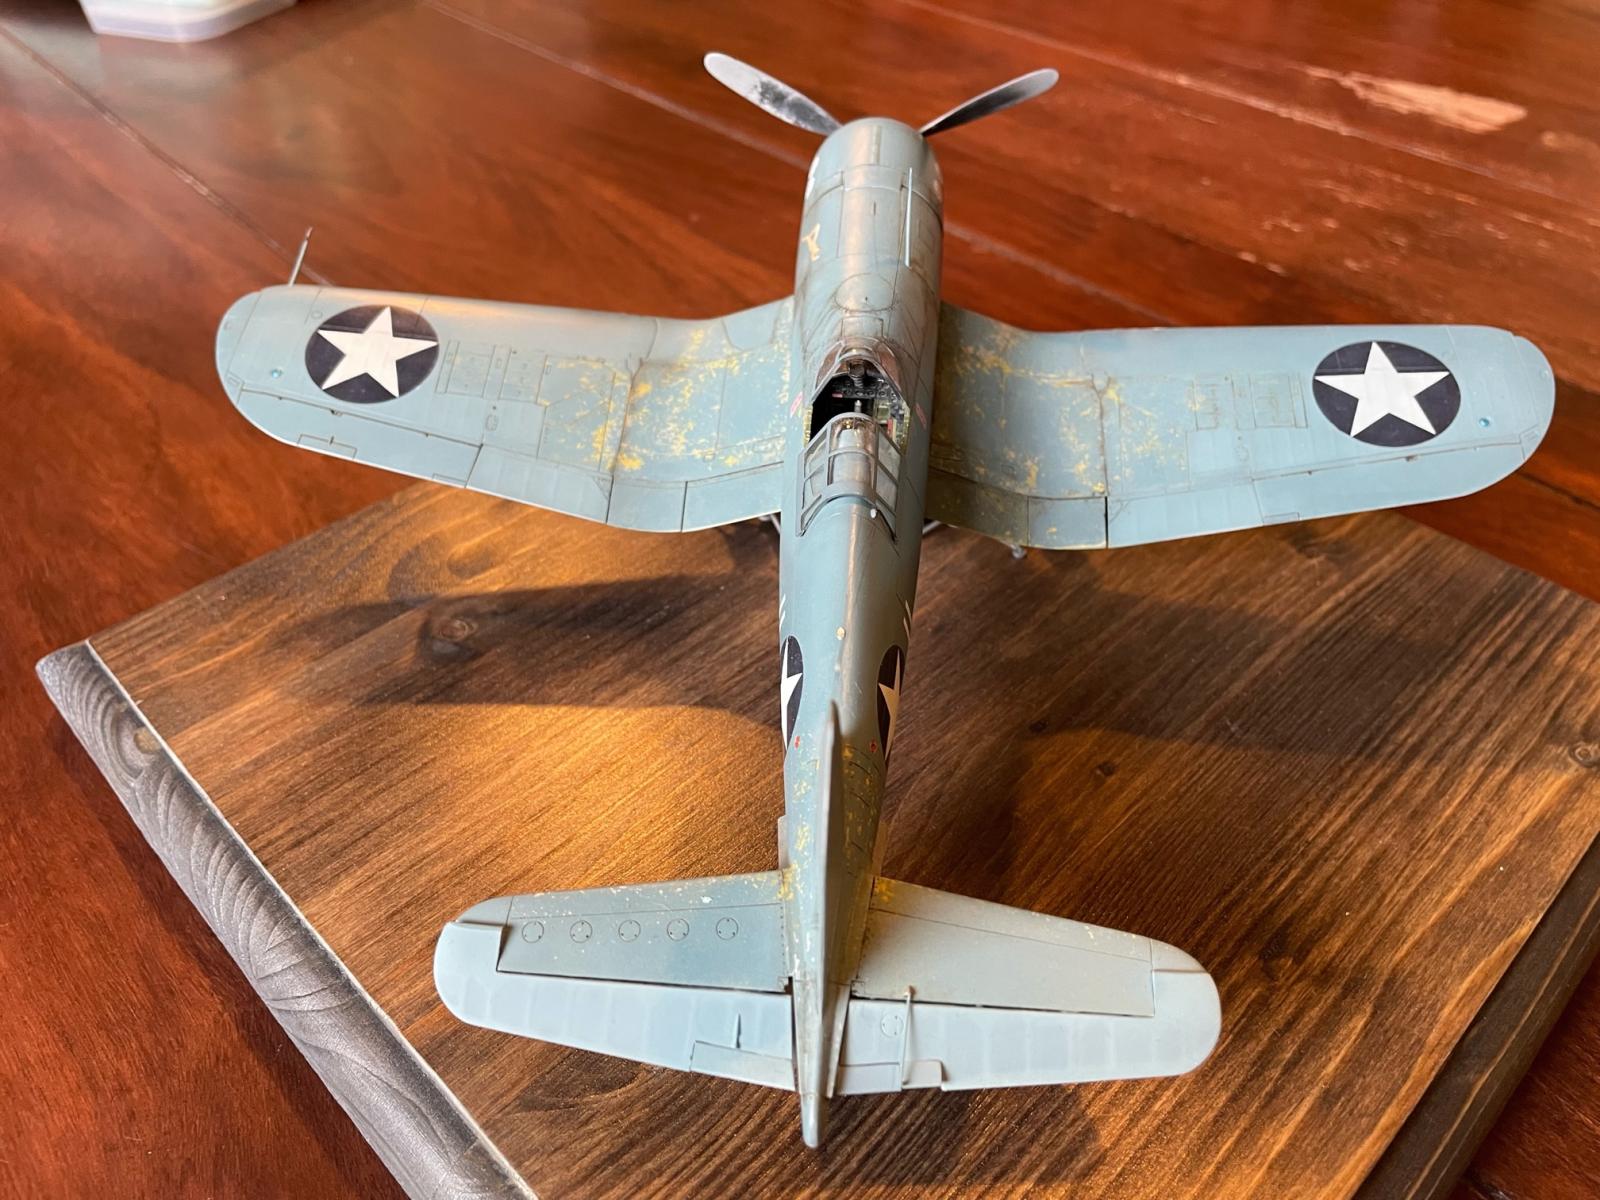
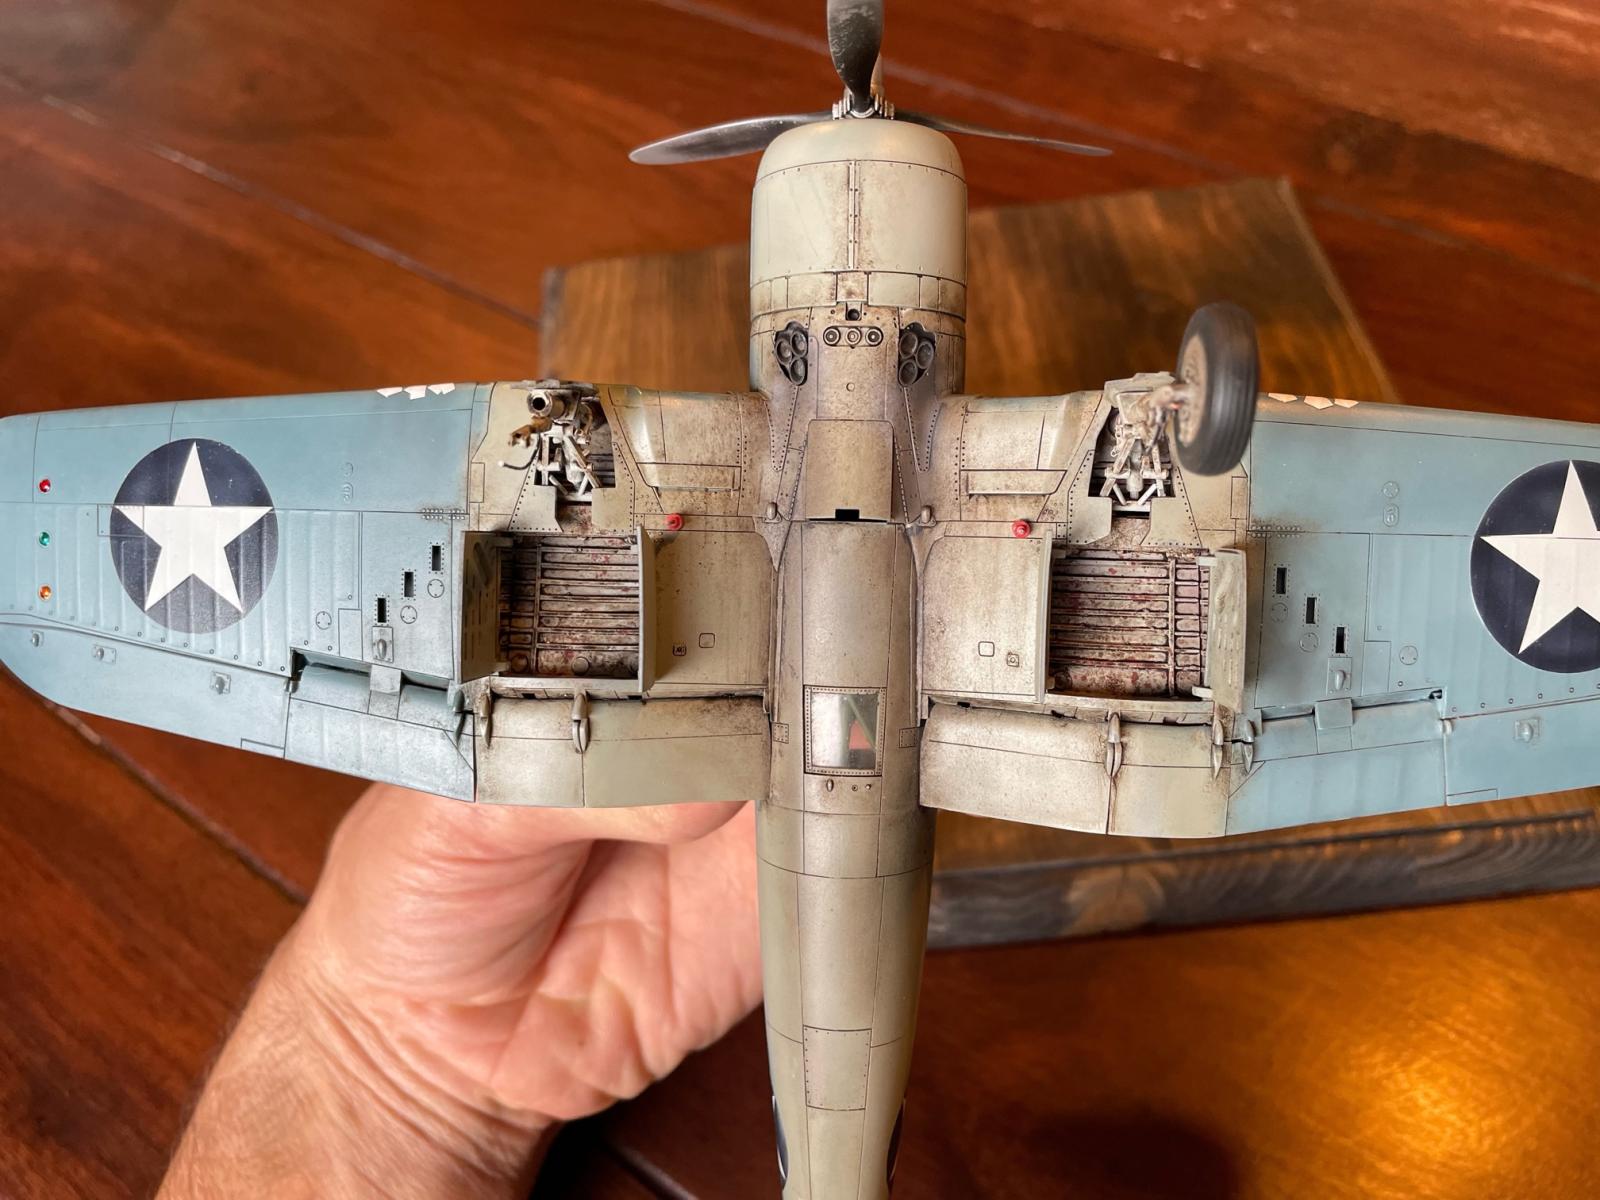
There were two major modifications done on the model. The first was, to put the flaps in retracted position. I was wondering how to do that and while inspecting them closely I realized, Tamiya hid an amazing help for tose, who want to raise the flaps. There is a tiny thin line marking the line, where one have to cut off a piece from the flap. Now it was easy job, I simply cut it and glued them on the wing. Speaking of wings, I wanted them in extended position.
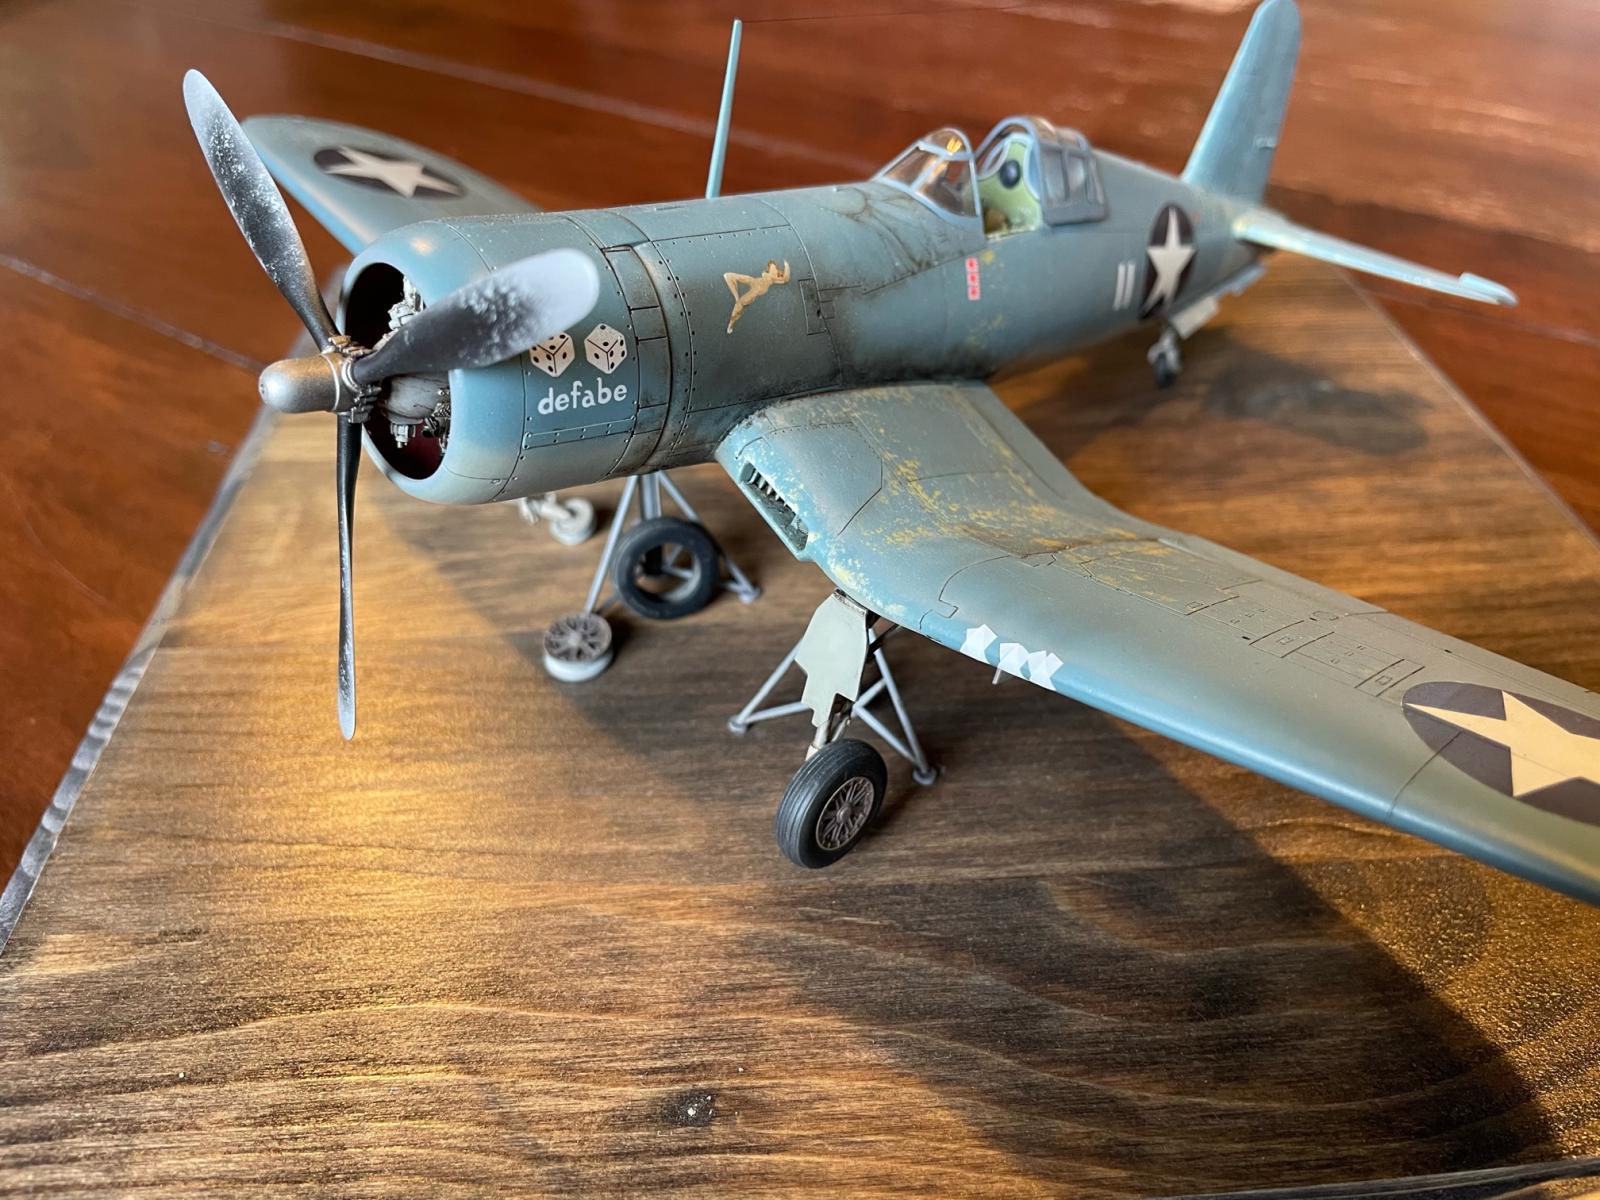
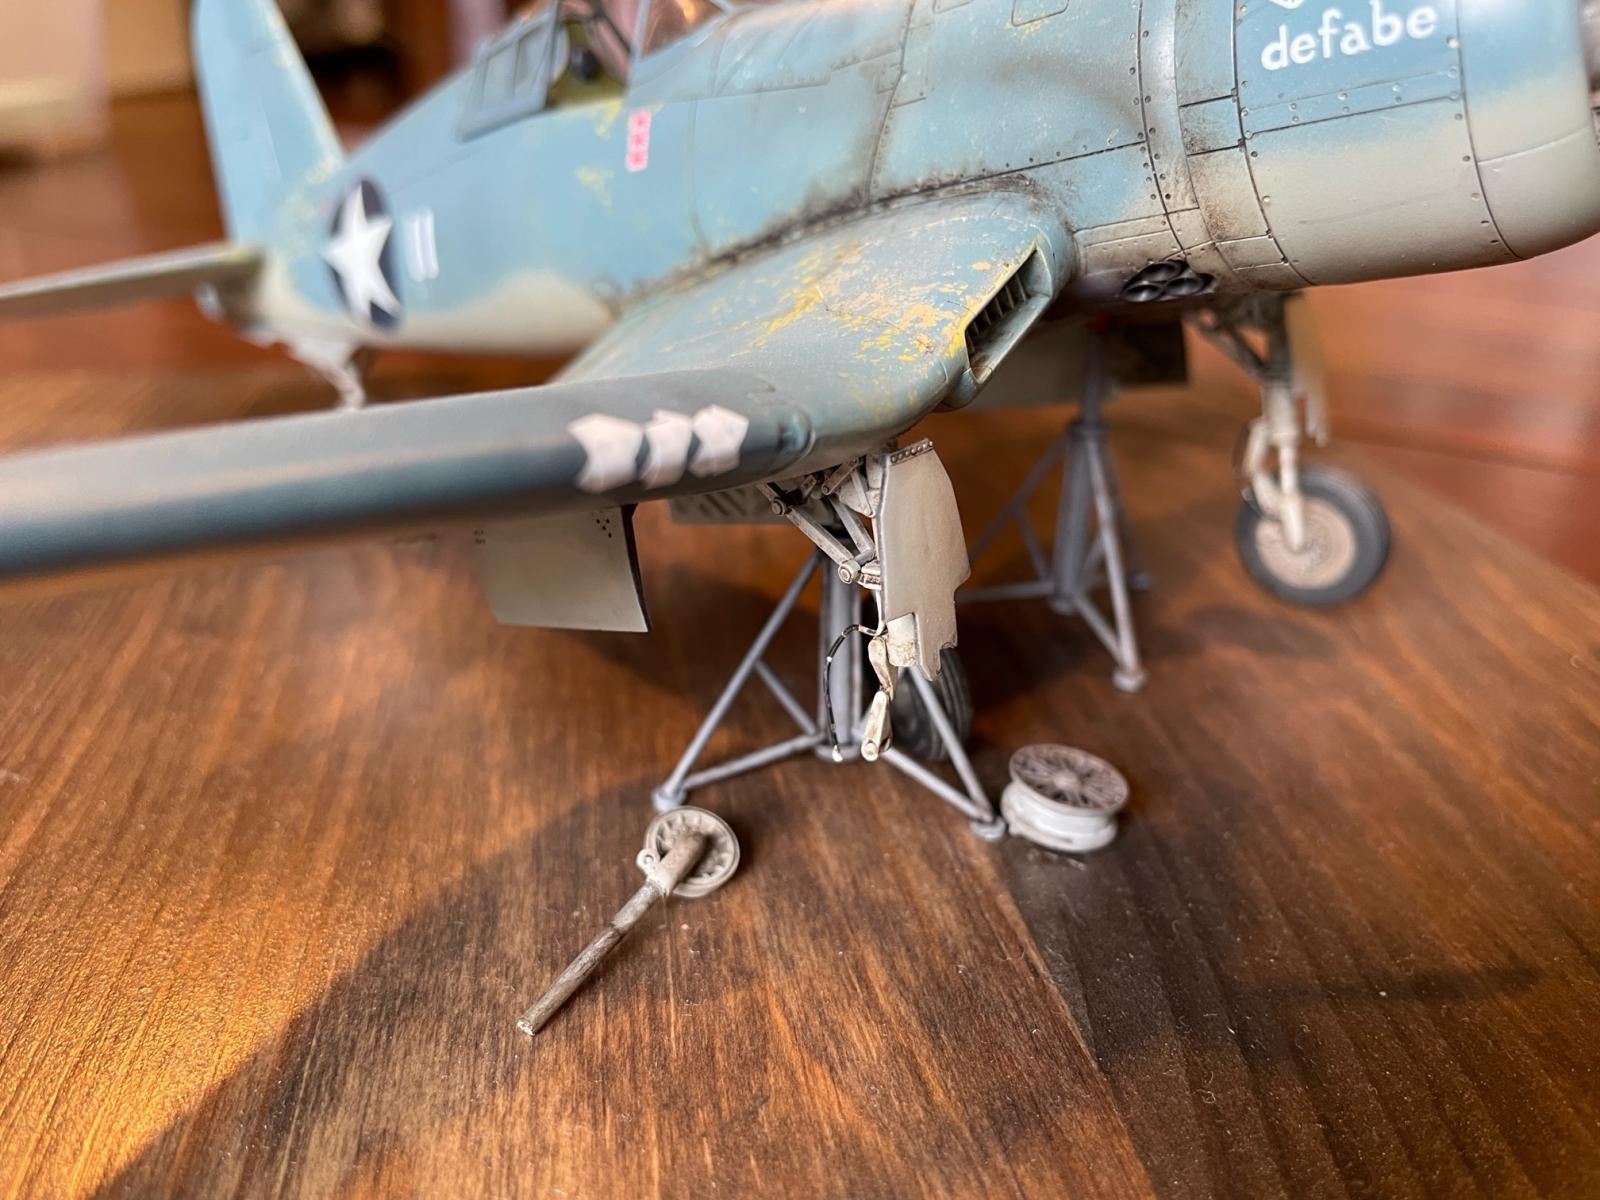
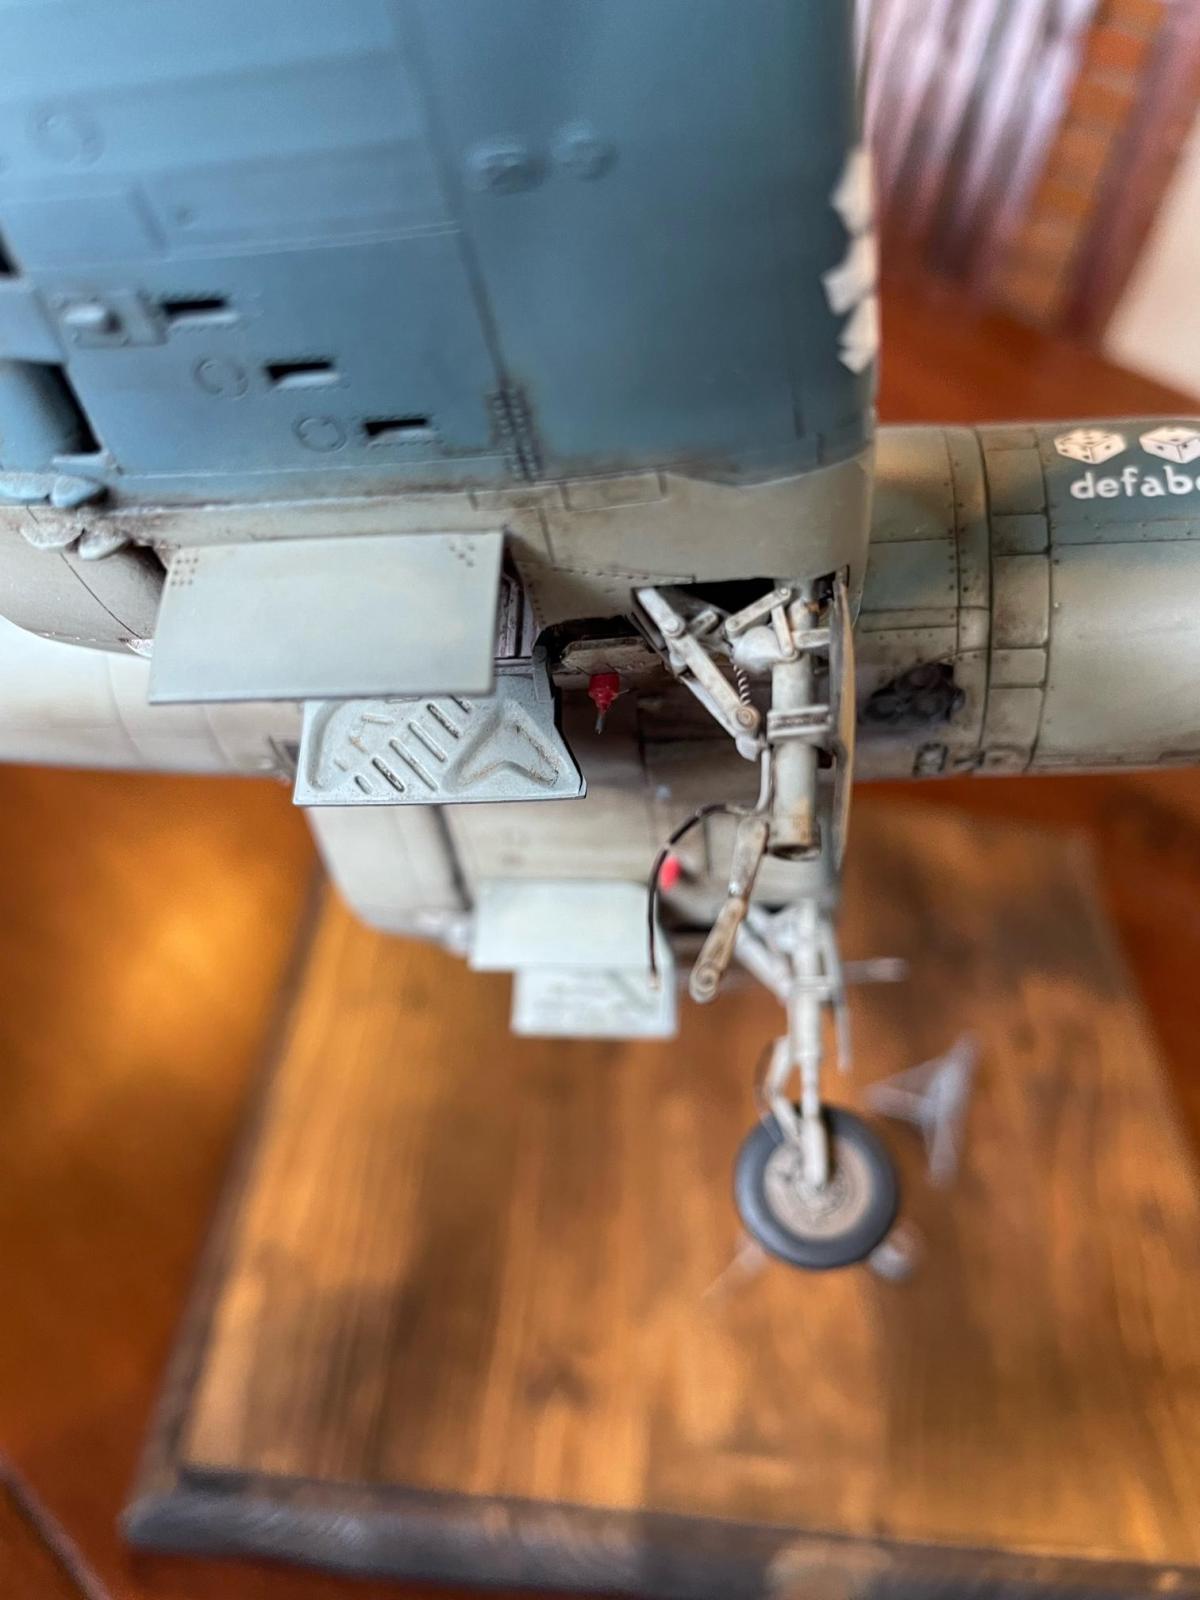
The second modification was the landing gears. I didn't like the way tamiya molded them, since it is unnatural that the struts are fully slipped in. You can see this phenomen on museum ones, but rarely seen on operational ones. So I cut it up to pieces, drilled the parts and used brass struts in various parts to represent the wheels. And here came the idea to pose it during maintenance and remove one strut, like there was a hard landing ( which could easily happen due to poor visual from cockpit ) and an inspection was needed. Originally I intended to build a Hobby Boss corser parallel with this one to see, which is better, but I quickly gave up on that one, so I could borrow a few parts from that kit's landing gear.
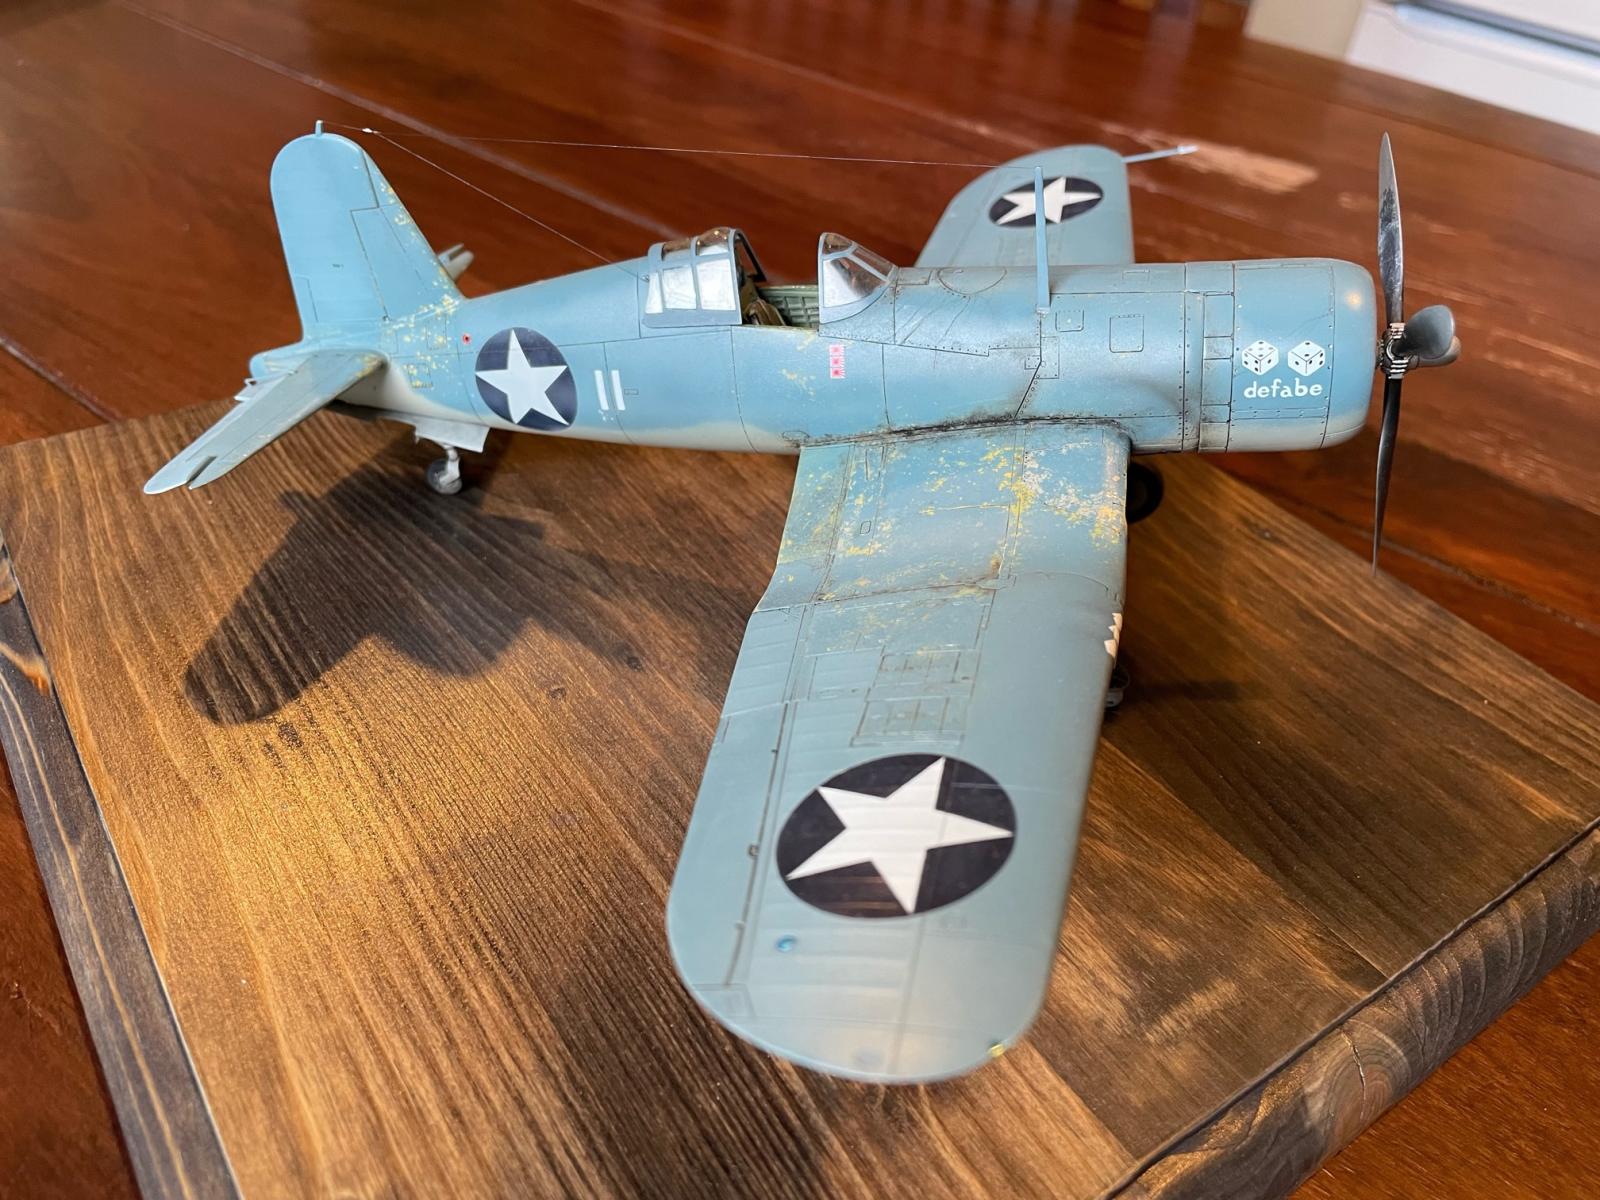
With the building done, I started off painting. Used Salmon pink where needed and ZCY on external areas as a primer. On the extremely used areas I painted airframe aluminium before the primer and sprinkled salt on it first, then primer, salt again and finally the top layer.
There were no issues with painting, except for Vallejo. Maybe, or most likely it's me, but I couldn't get a thin ang nice coat on her. Also I always struggled to get the proper mix of dilution. Anyway, next time I won't use that brand, except for the metals.
With the painting done, I used masks and painted on the markings and even the pinup girl, since I accidentally peeled off her, so I had to 🙂 After the markings I sprayed an MRP gloss couat and started weathering. One good thing about Corsair is that it can't be overdone regards to weathering since they were operated in the harshest conditions. Used oil washes and sprayed different smoke marks an a lot, I mean a LOT of oil streaks and smoke on the bottom and around the engine.
As a final step, for now I scratchbuilt two stands and put them underneath. One day I'll build a proper base on a beach for her, she deserves that.
I really liked this build just like the previous one 15 years ago and I definately will build more of these, maybe an A version next time. Thank you for reading!
Happy modelling!
Really nice, Gabor (@kistuz). Your extensive modifications really raise this kit a level, as well as the paint and finish. Hand painting the nose art is really next level. Well done.
Thank you (@gblair) !
Actually the dices are decals, they went on OK, however the girl was intended to decaled up from 2 separate decal layers. AS I put ut the second decal and torn off the carrier film, it peeled off the first layer as well. Saved up the silhuette of the lady, cut my own mask, airbrushed a white base layer, then used artistic oils to paint her up.
Ditto with @gblair comments, Gabor! Superb result!
Nice, Gabor. I really like the overall look of the paint/weathering.
she's a beauty! Nicely done.
Great job Gabor ! 👏👏👏👏
A true gem, Gabor @kistuz
Painting, weathering, the way you present it, all is exceptional.
Thank you all for the kind words!
Nice work on this, a very inventive idea for displaying it. Very good paintwork.
Well done, Gabor, your enjoyment of the build really shows in the finished model.
Excellent paintwork. I really like the exposed primer.
Your weathering is excellent, and your write-up offers some good hints & tips to learn from. Fine looking Corsair, well done Gabor.
Thank you all!
Nice! Great job on the extra work done to the main gear having maintenance done to it, the jacks, and the overall finish. Superb!
I agree, excellent work!