1/24 RealSpace Pioneer 10
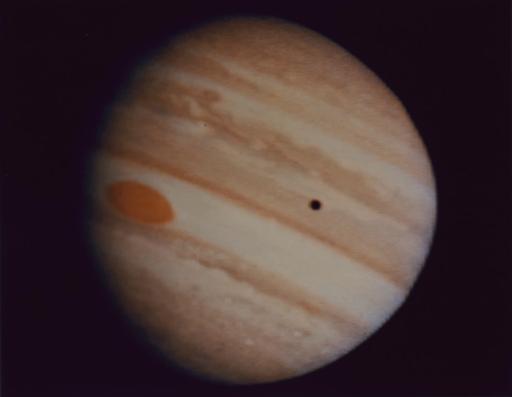
NASA's Pioneer 10 was the first space probe to study the outer planets. Launched in 1972, it traversed the asteroid belt and made its closest approach to Jupiter nearly two years later, at a distance of 82K miles. It beamed back this first, up-close view of Jupiter:
Amazingly, it continued to send data to Earth up until 2003, eventually losing sufficient energy to power its radio transmitter. Now cold and silent, Pioneer is drifting into deep space, having recently crossed the heliopause in 2020 at a distance of 120 AU.
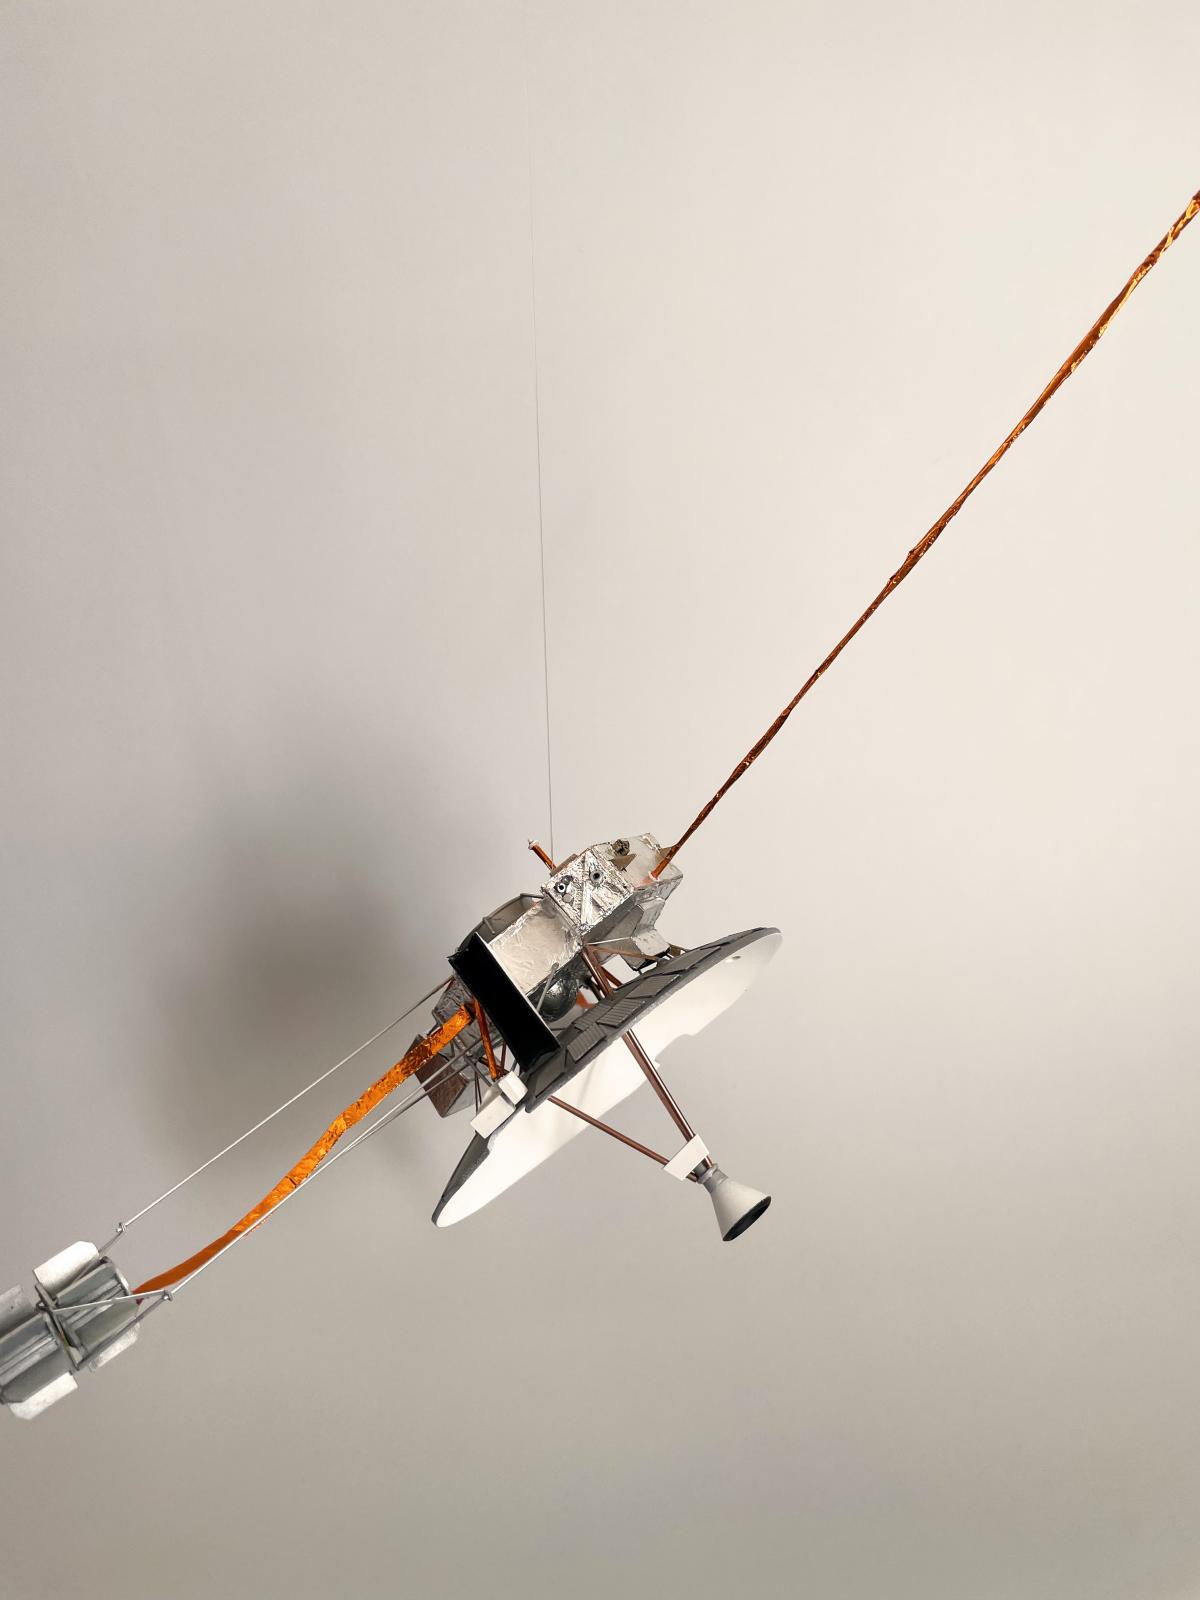
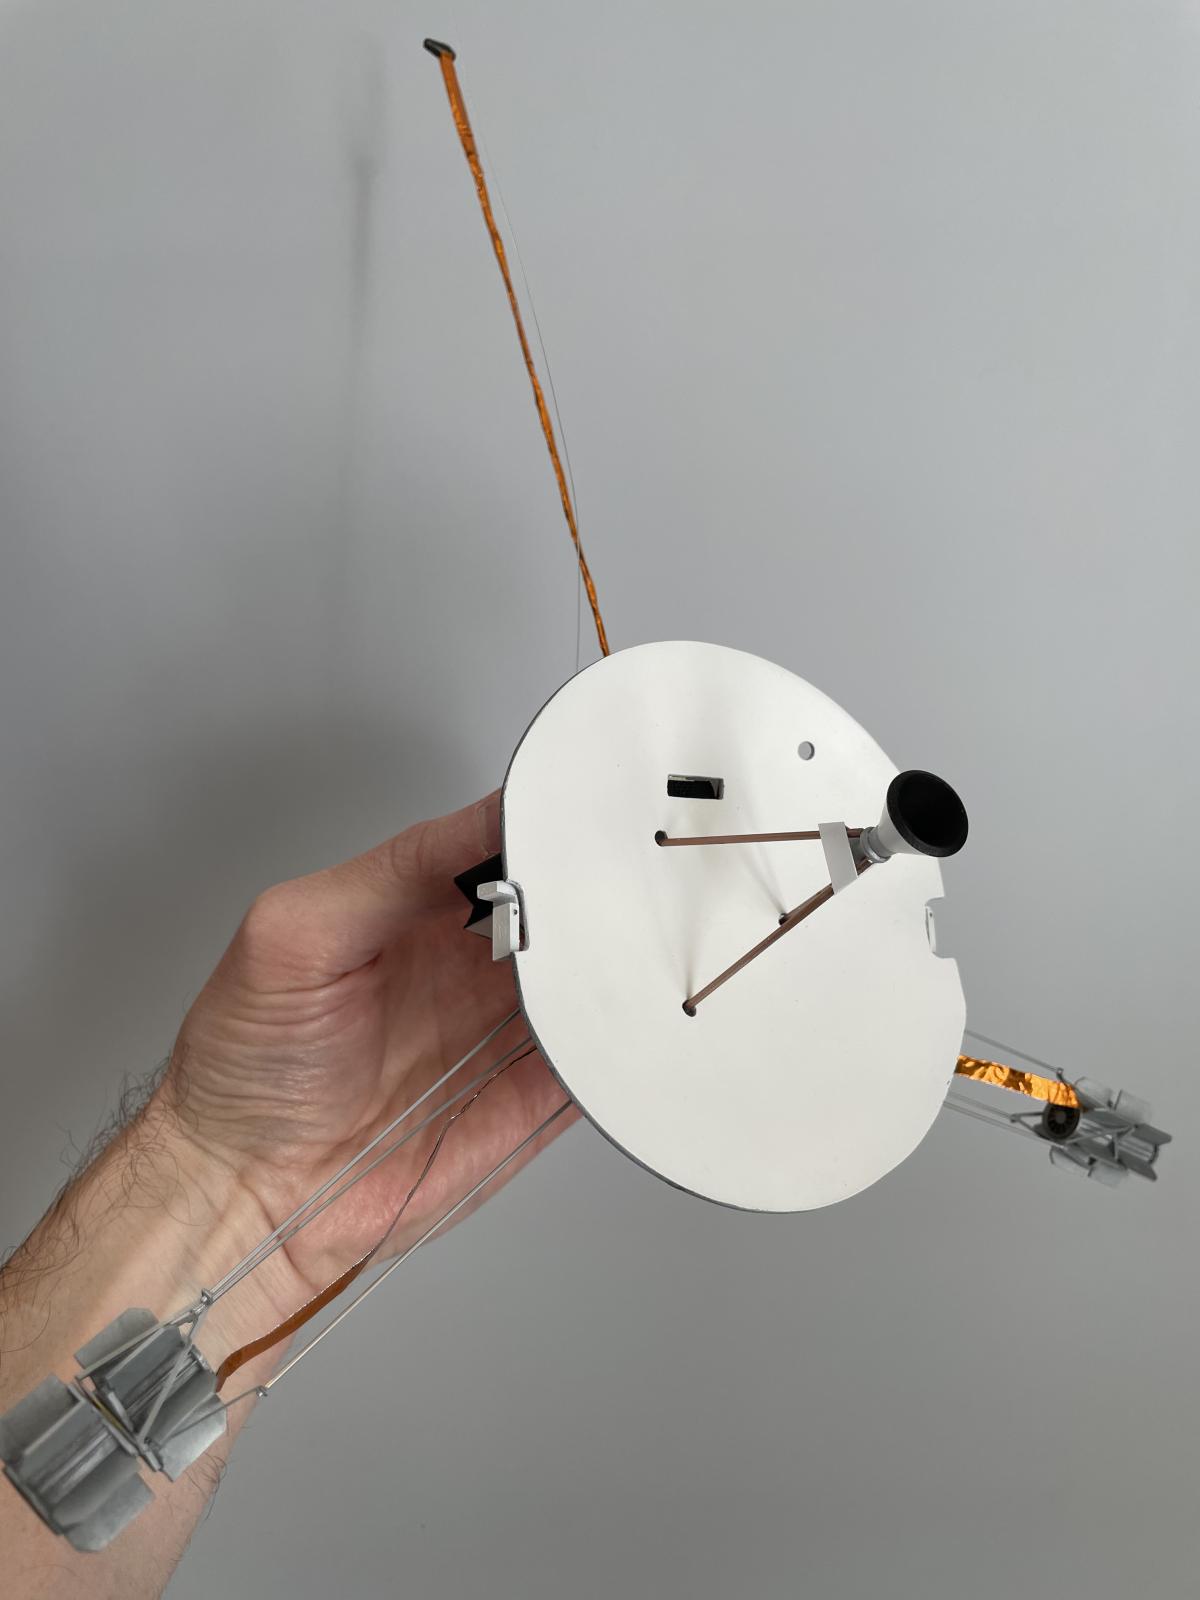
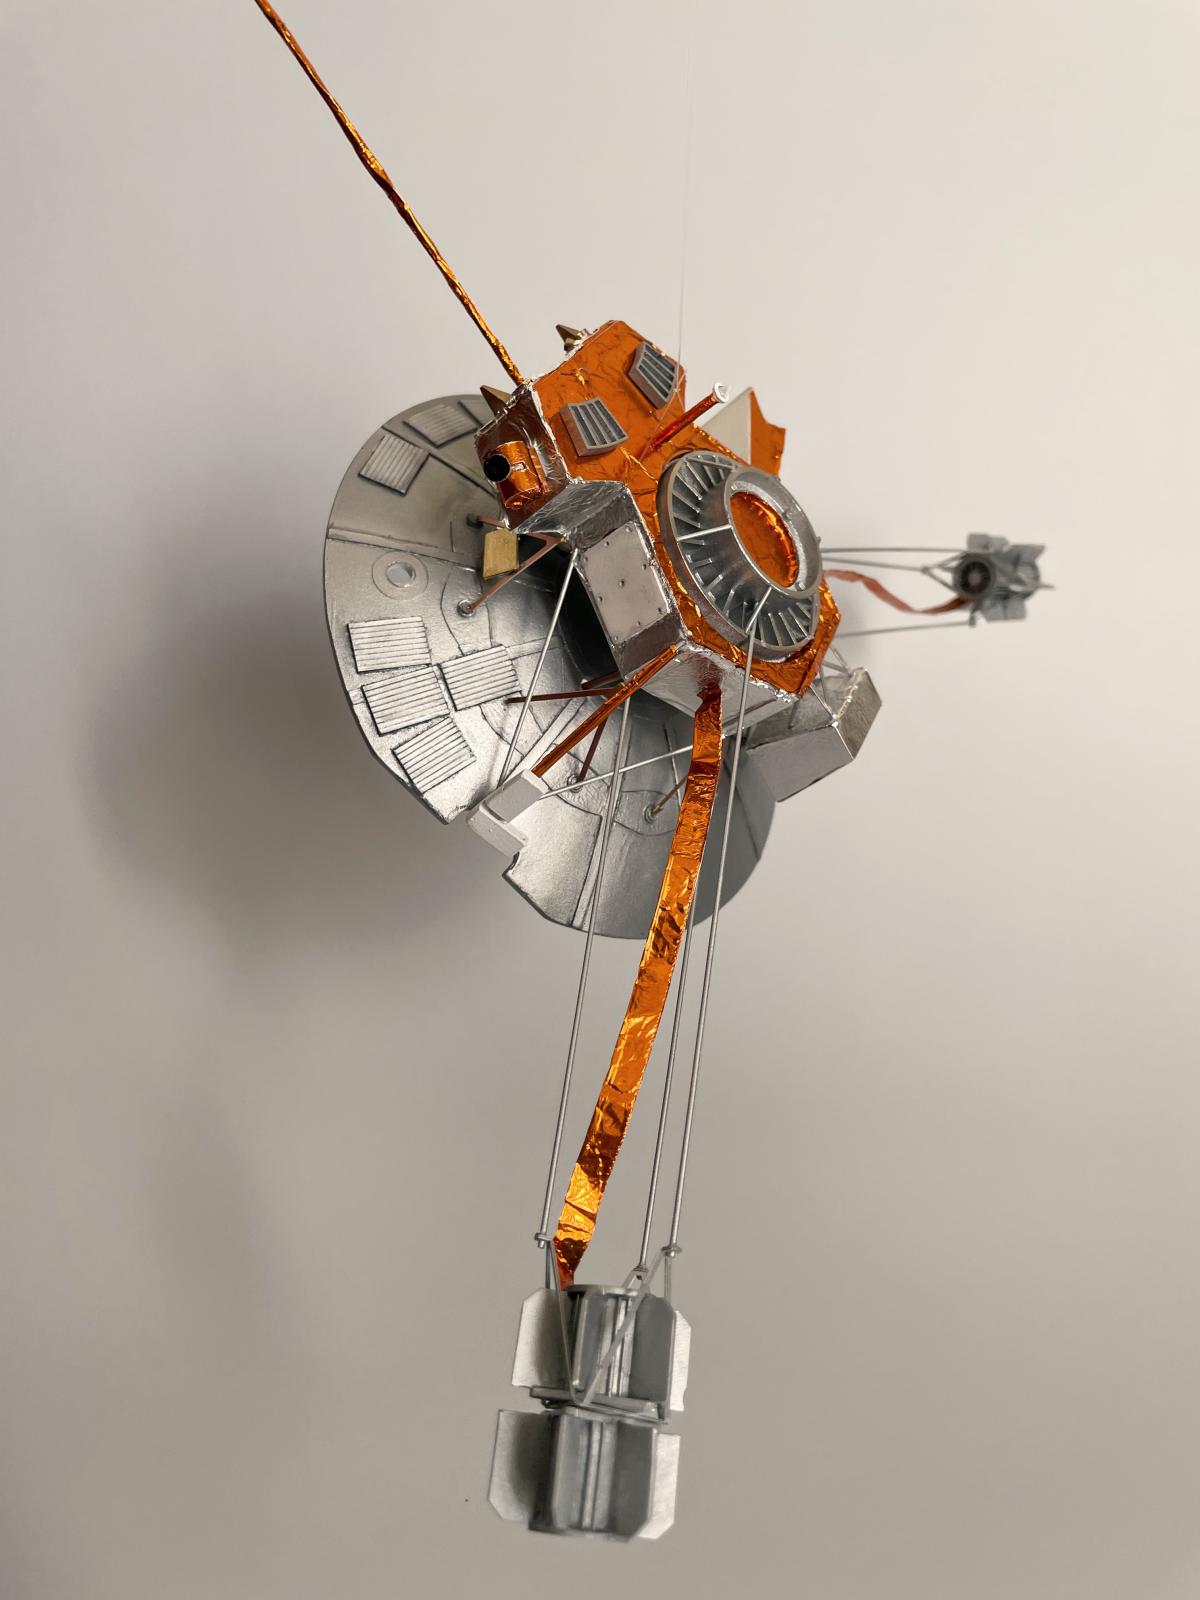
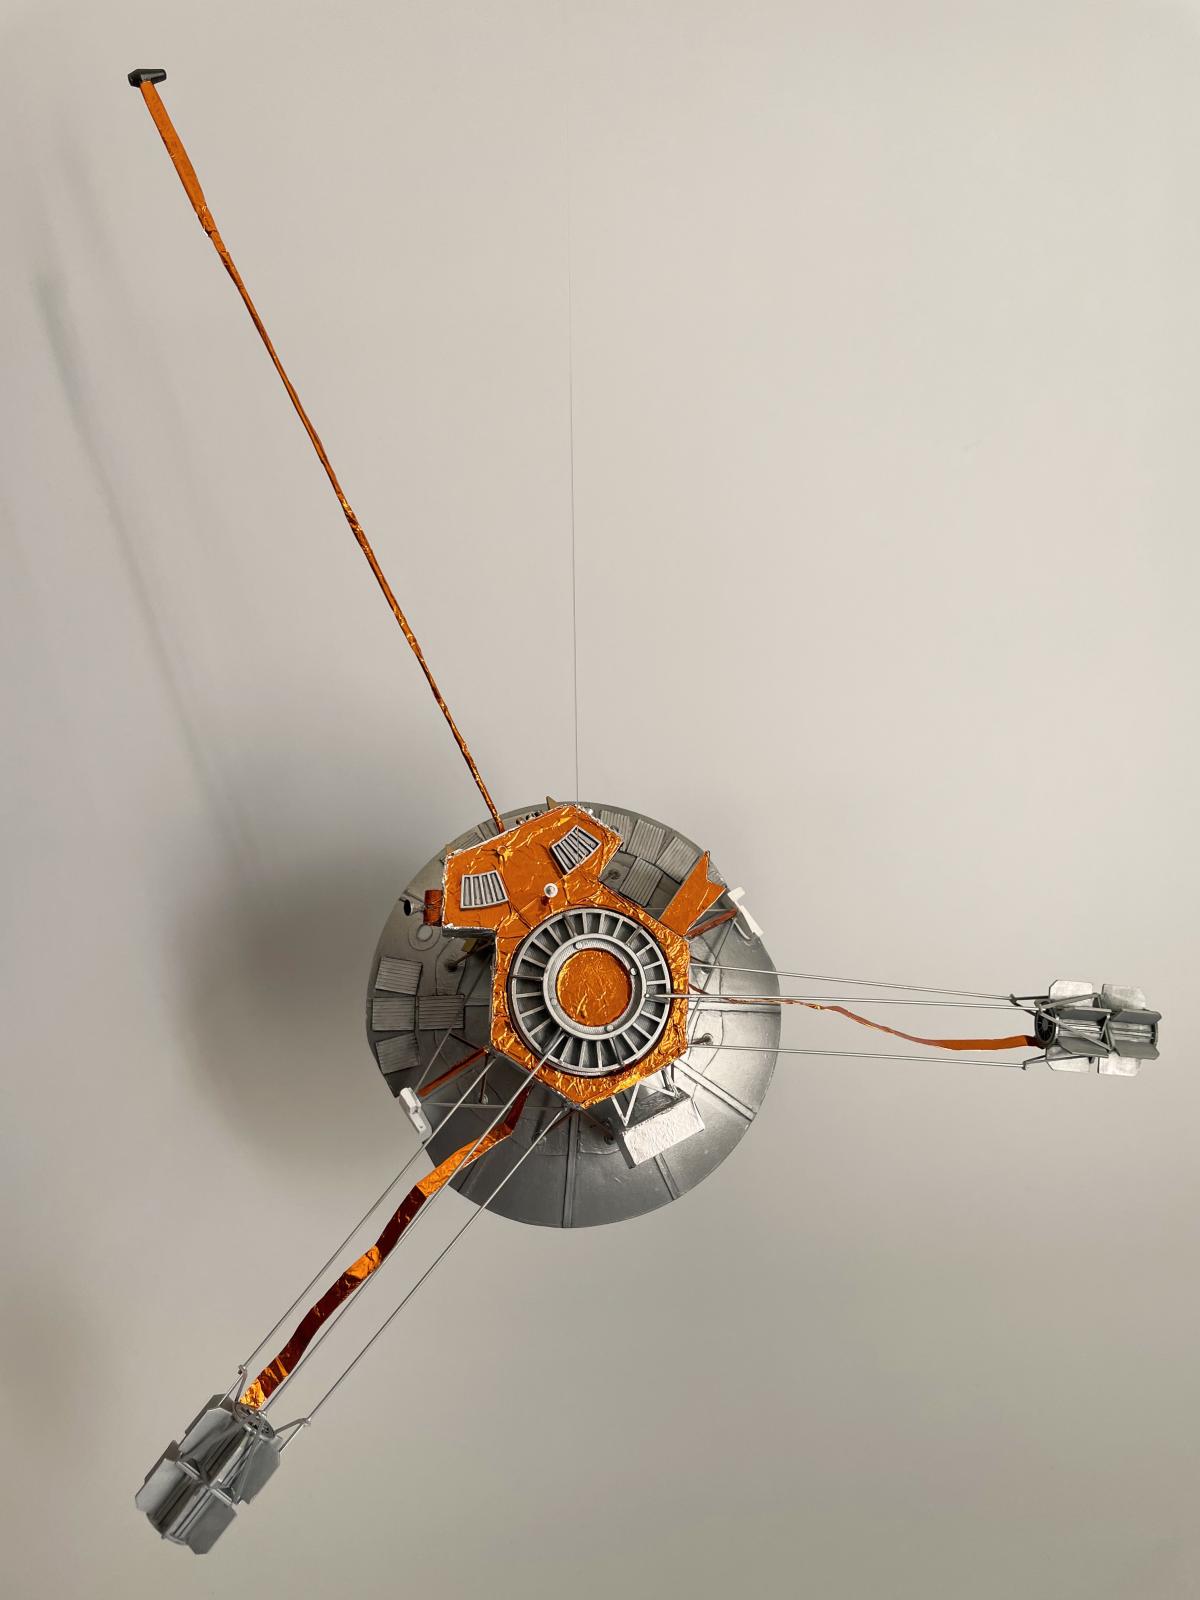
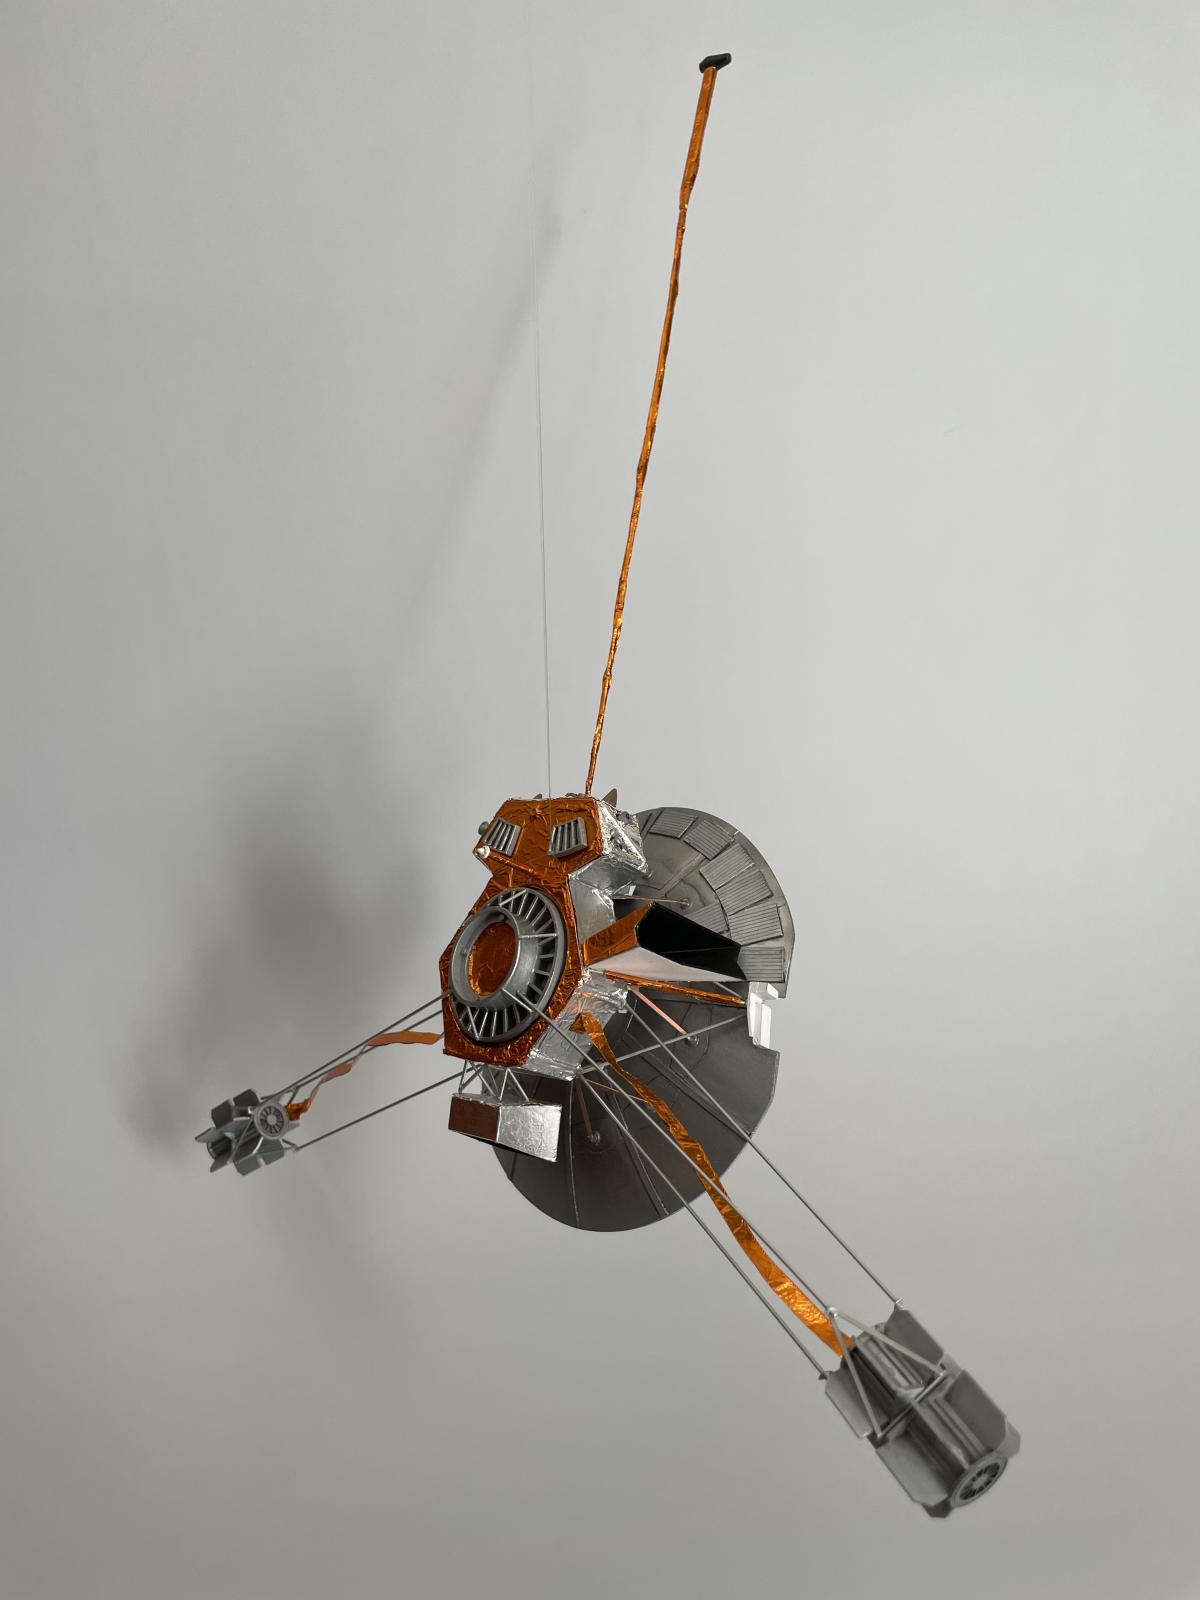
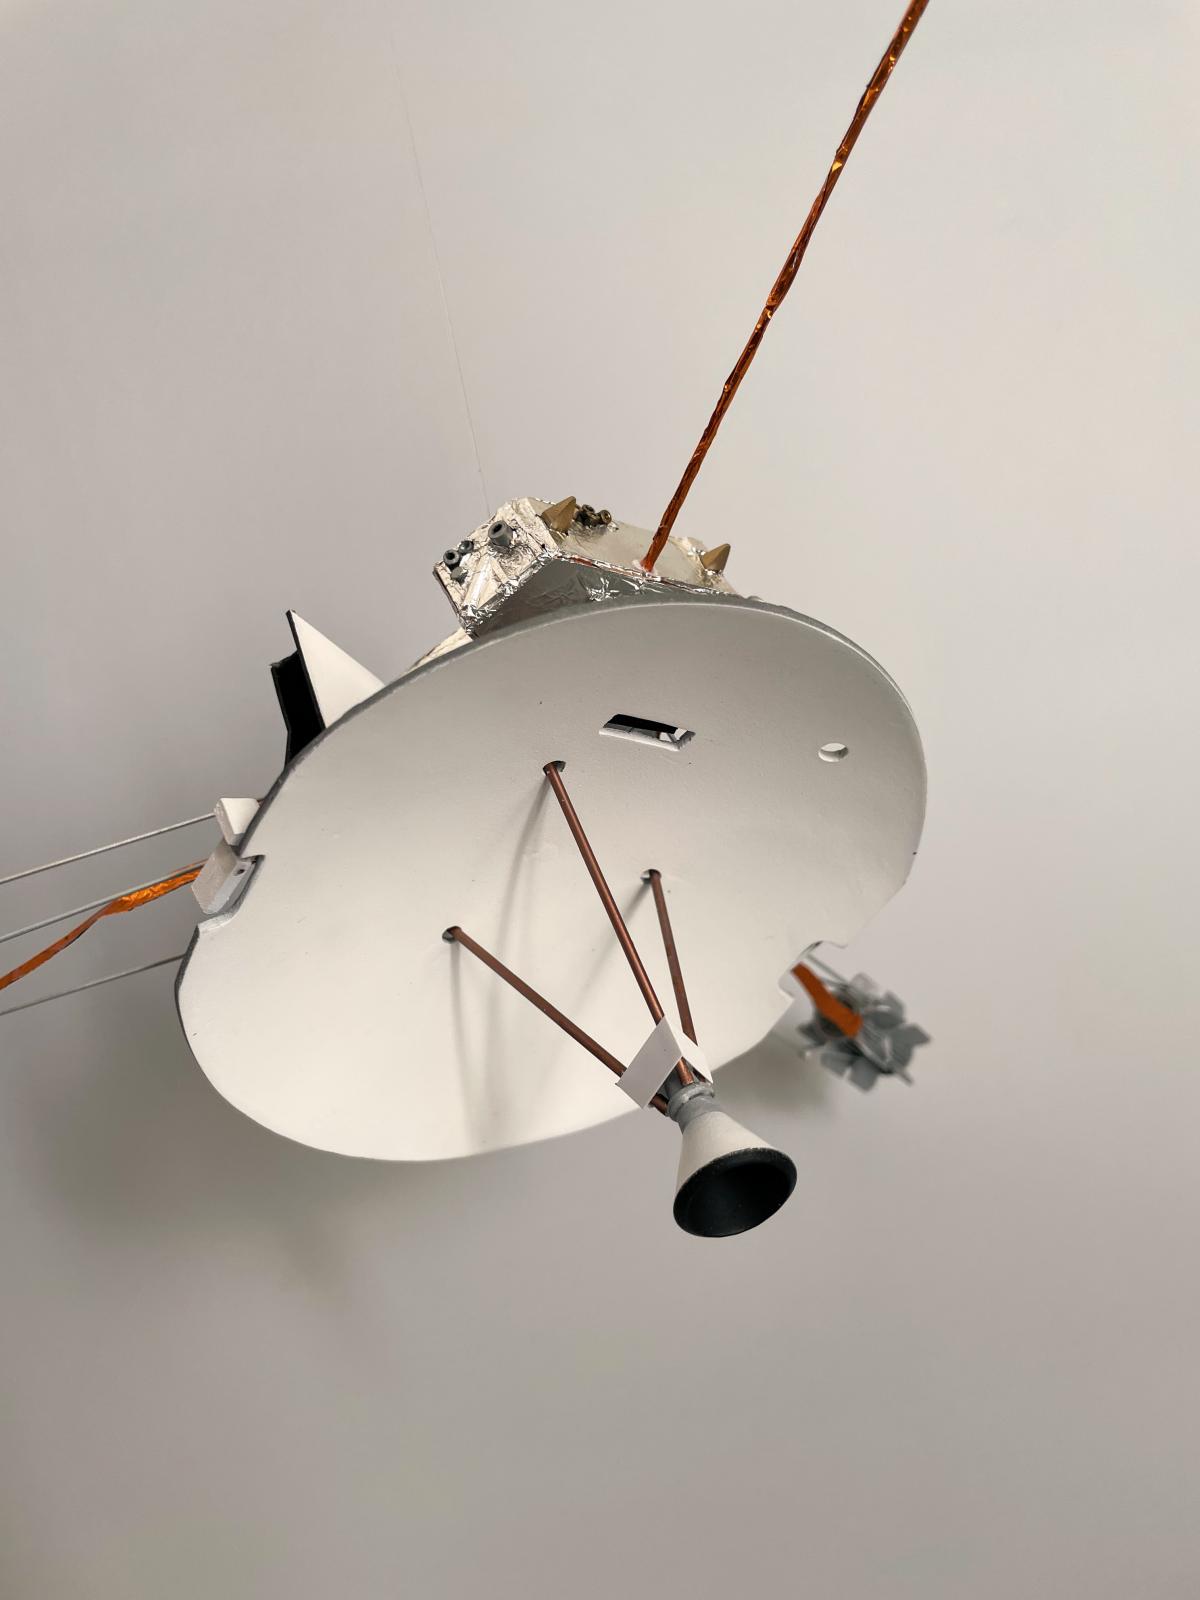
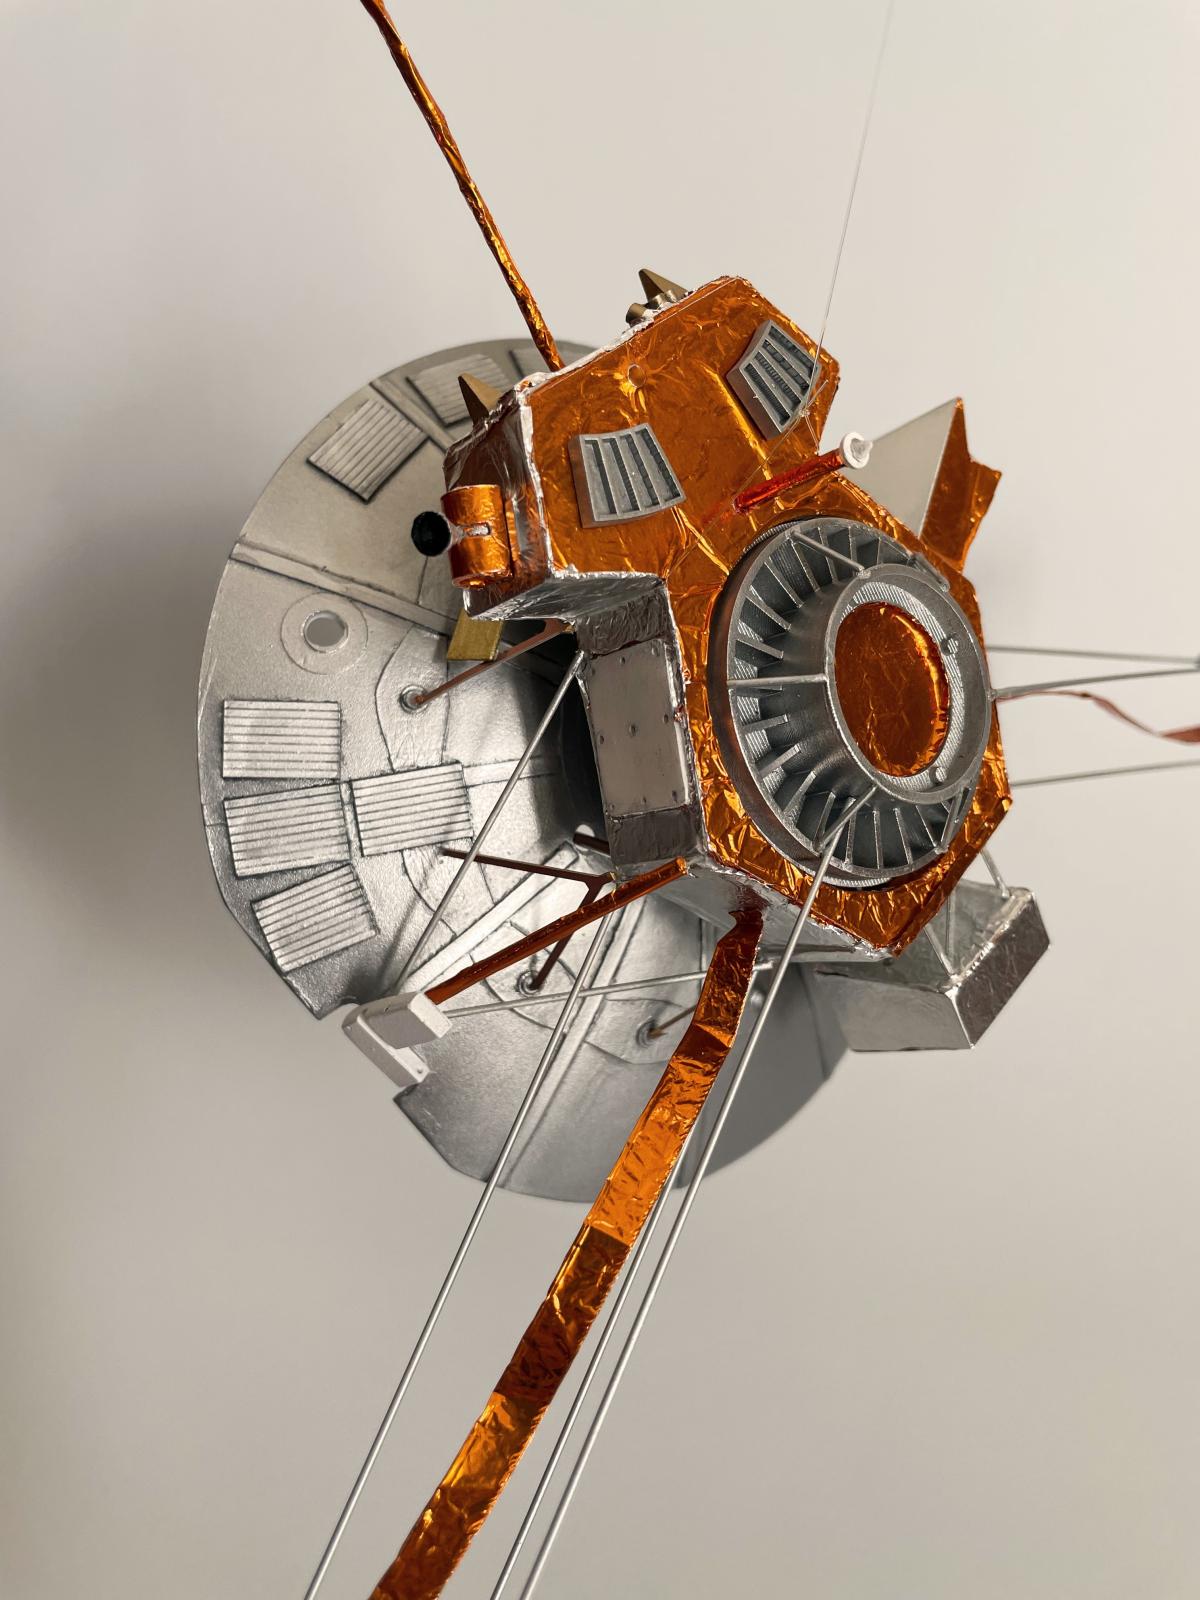
Pioneer 10 is based around a hexagonal bus with a 9 ft-diameter high-gain antenna. It carried a host of scientific instruments meant to measure the environment of the outer solar system, including the solar wind, cosmic rays, and to study the properties of Jupiter, including its magnetic field and composition. It was powered by two radioisotope thermoelectric generators positioned at the ends of two 7-ft booms subtending an angle of 120 degrees; the generators were located away from the scientific instruments to limit their radiation exposure. The magnetometer sat at the end of a 20-ft boom to isolate the sensor from stray magnetic fields of the instrumentation. The craft flew with its antenna pointed towards Earth, rotating about the antenna's axis at a leisurely 5 rpm.
The mission was a great success, offering humanity its first detailed glimpse into the outer solar system. Pioneer 11 would follow, visiting both Jupiter and Saturn, and later the Voyager missions would continue our exploration of these distant planets.
The Kit
The RealSpace 1/24-scale Pioneer 10 comes in 25 resin pieces, some of which are 3D printed, a variety of aluminum and copper rods, 9 photoetch pieces, and foil:
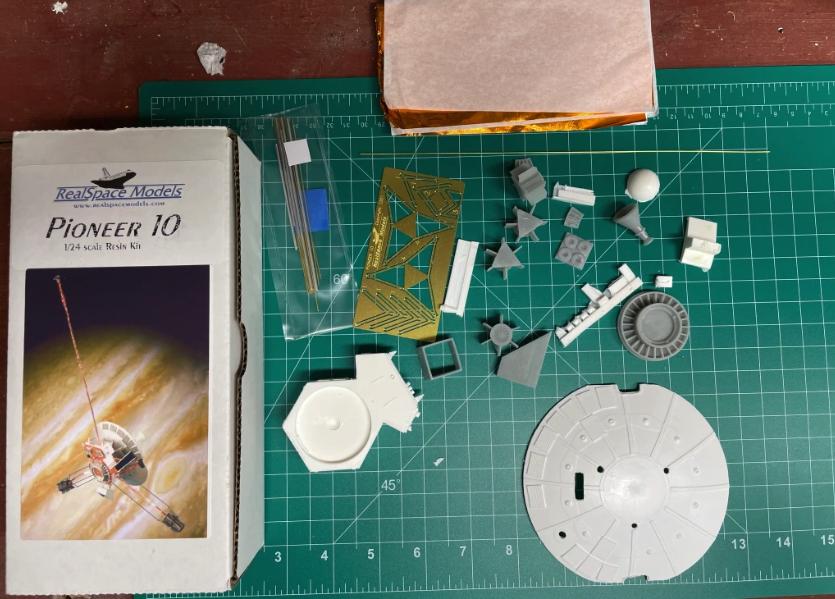
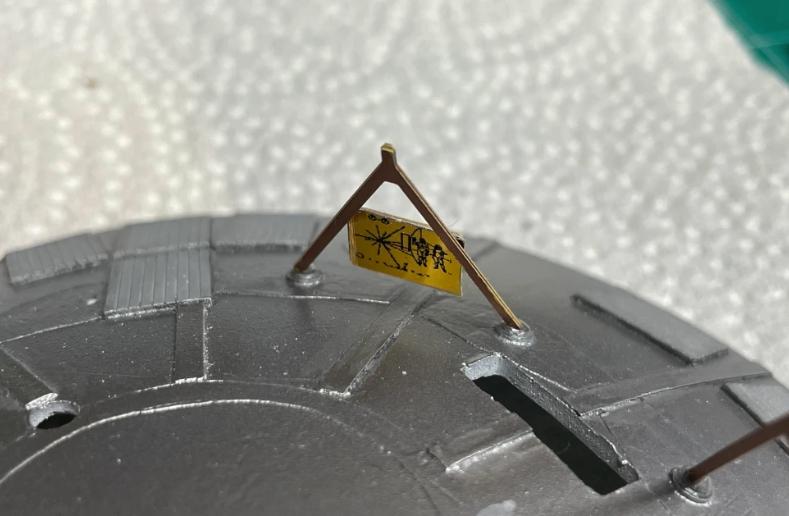
Decals consist of a single sticker of the gold plaque placed on Pioneer in the event it's ever found by friendly galactic neighbors,
Instructions are hand-drawn and relatively clear. The 3D-printed parts are crisp and detailed, but they are often textured, which can be especially problematic for metallic finishes, and so some surface prep is especially important for these parts.
The foil is very thin and delicate: this makes it easy to cut and shape, but it also tears and folds over easily. This means you must be careful handling parts that have already been foiled as you build.
While most of the cast resin pieces were well-formed, this is not apparently consistent between kits. I ended up purchasing a second kit because the main antenna in the first was a tad warped, having been wedged into a box too narrow for it:
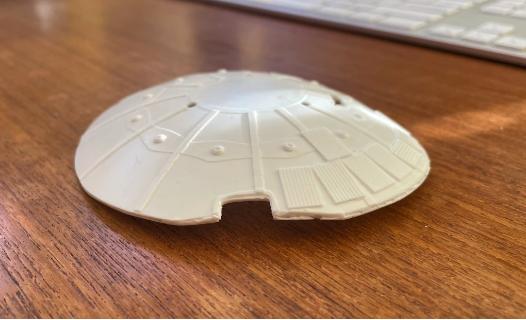
So, I did real stupid thing. I sandwiched it between two heavy books and hit it with a blowdryer. The damn thing flattened like a deranged pancake. Bummer. The new kit comes and I notice that the details on the hexagonal bus are much improved compared to the original kit:
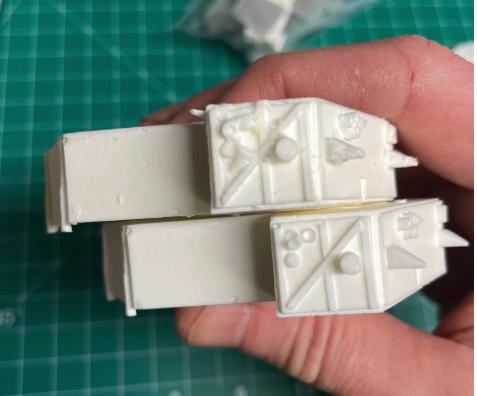
So, I guess there was a silver lining to this mishap. The antenna dish in this kit was also warped, but this time I did the more sensible thing of soaking it in warm water then just carefully pressing it down onto a flat surface. Worked like a charm.
Now, this is not your typical model. Get out your files, sanders, knives, wire cutters, and even your metal saw. Yes, we're going to war.
This thing is a beast!
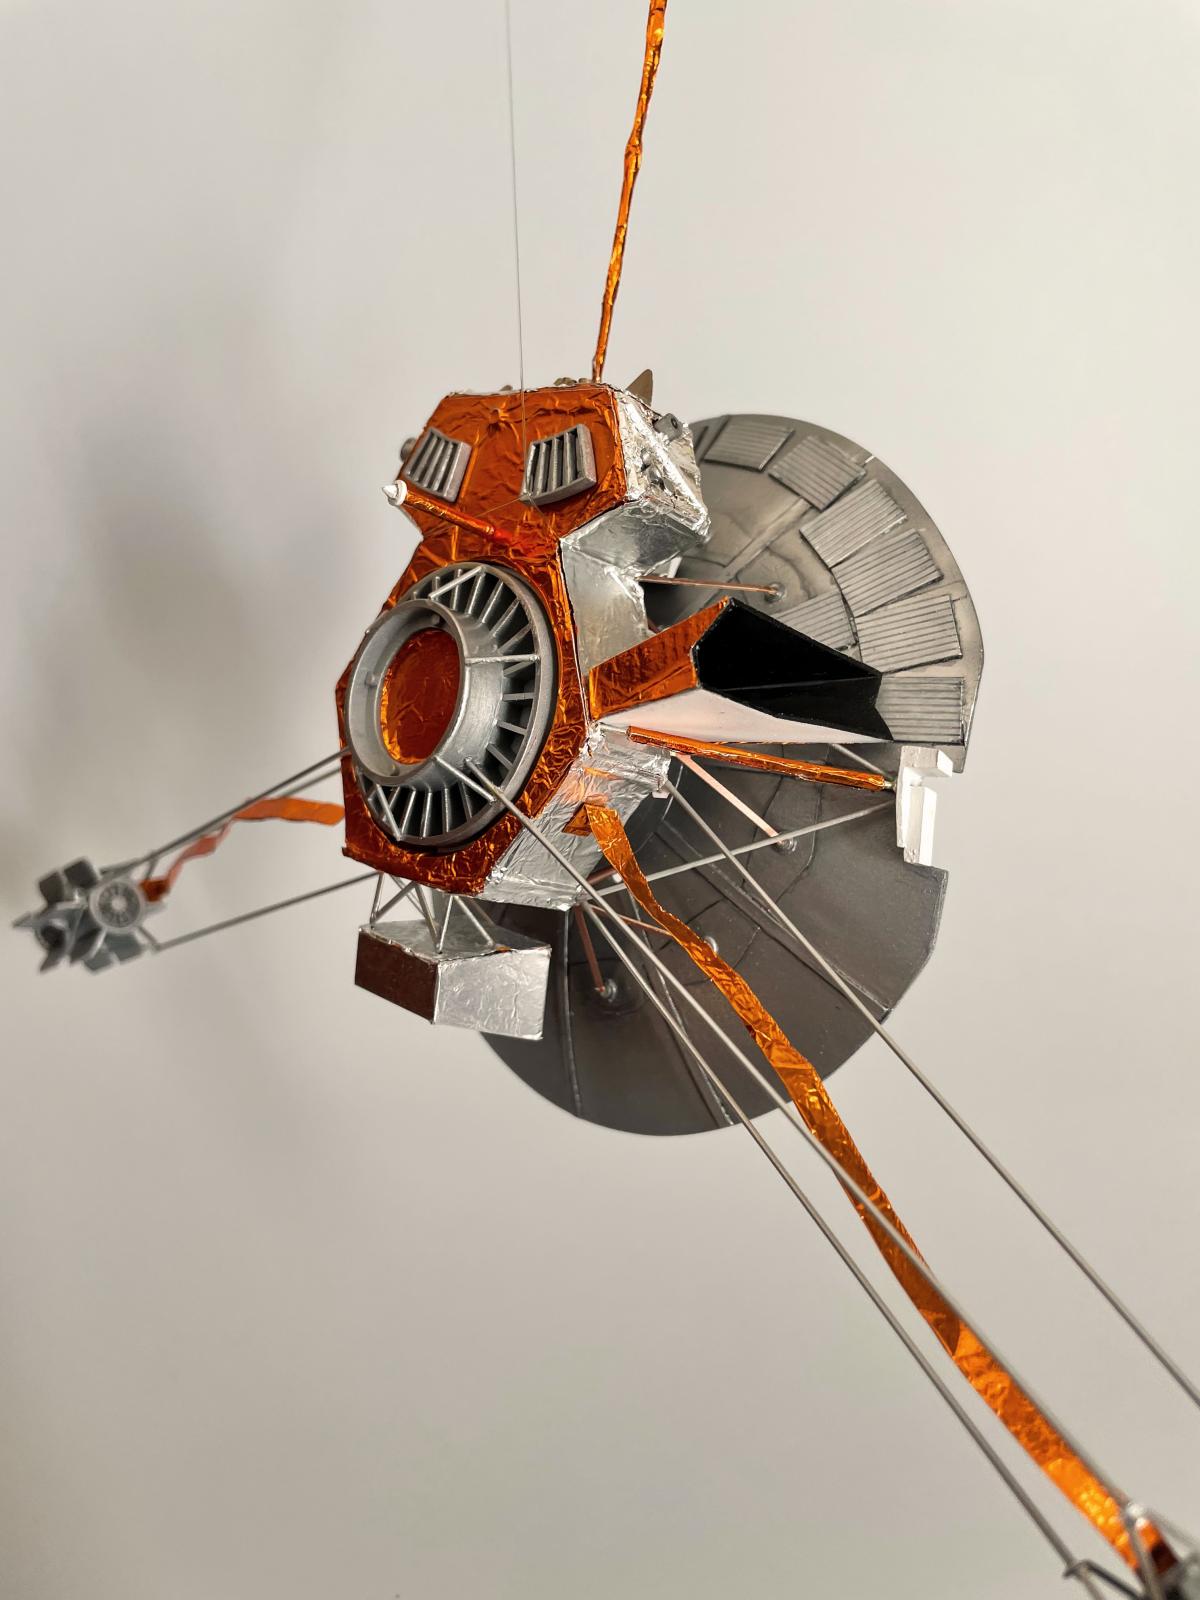
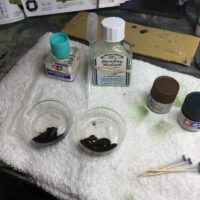
Most of your time is spent foiling. This involves carefully cutting out pieces of foil in the appropriate shape, often using the part itself as a stencil and just slicing around it with a knife. Foil was glued on with white glue, as per the instructions. This takes a while, and just about almost makes you go crazy.
The instructions direct you to cut the various rods to various sizes, which, marvelously, fit almost perfectly. One caveat: there is an aluminum tube through which one of the smaller-diameter copper rods must fit; cutting it to size with wire cutters closes off the end (naturally), in a way that I couldn't fix. Luckily, you get a bit more tubing than you need, so I could try again, this time sawing the part to size.
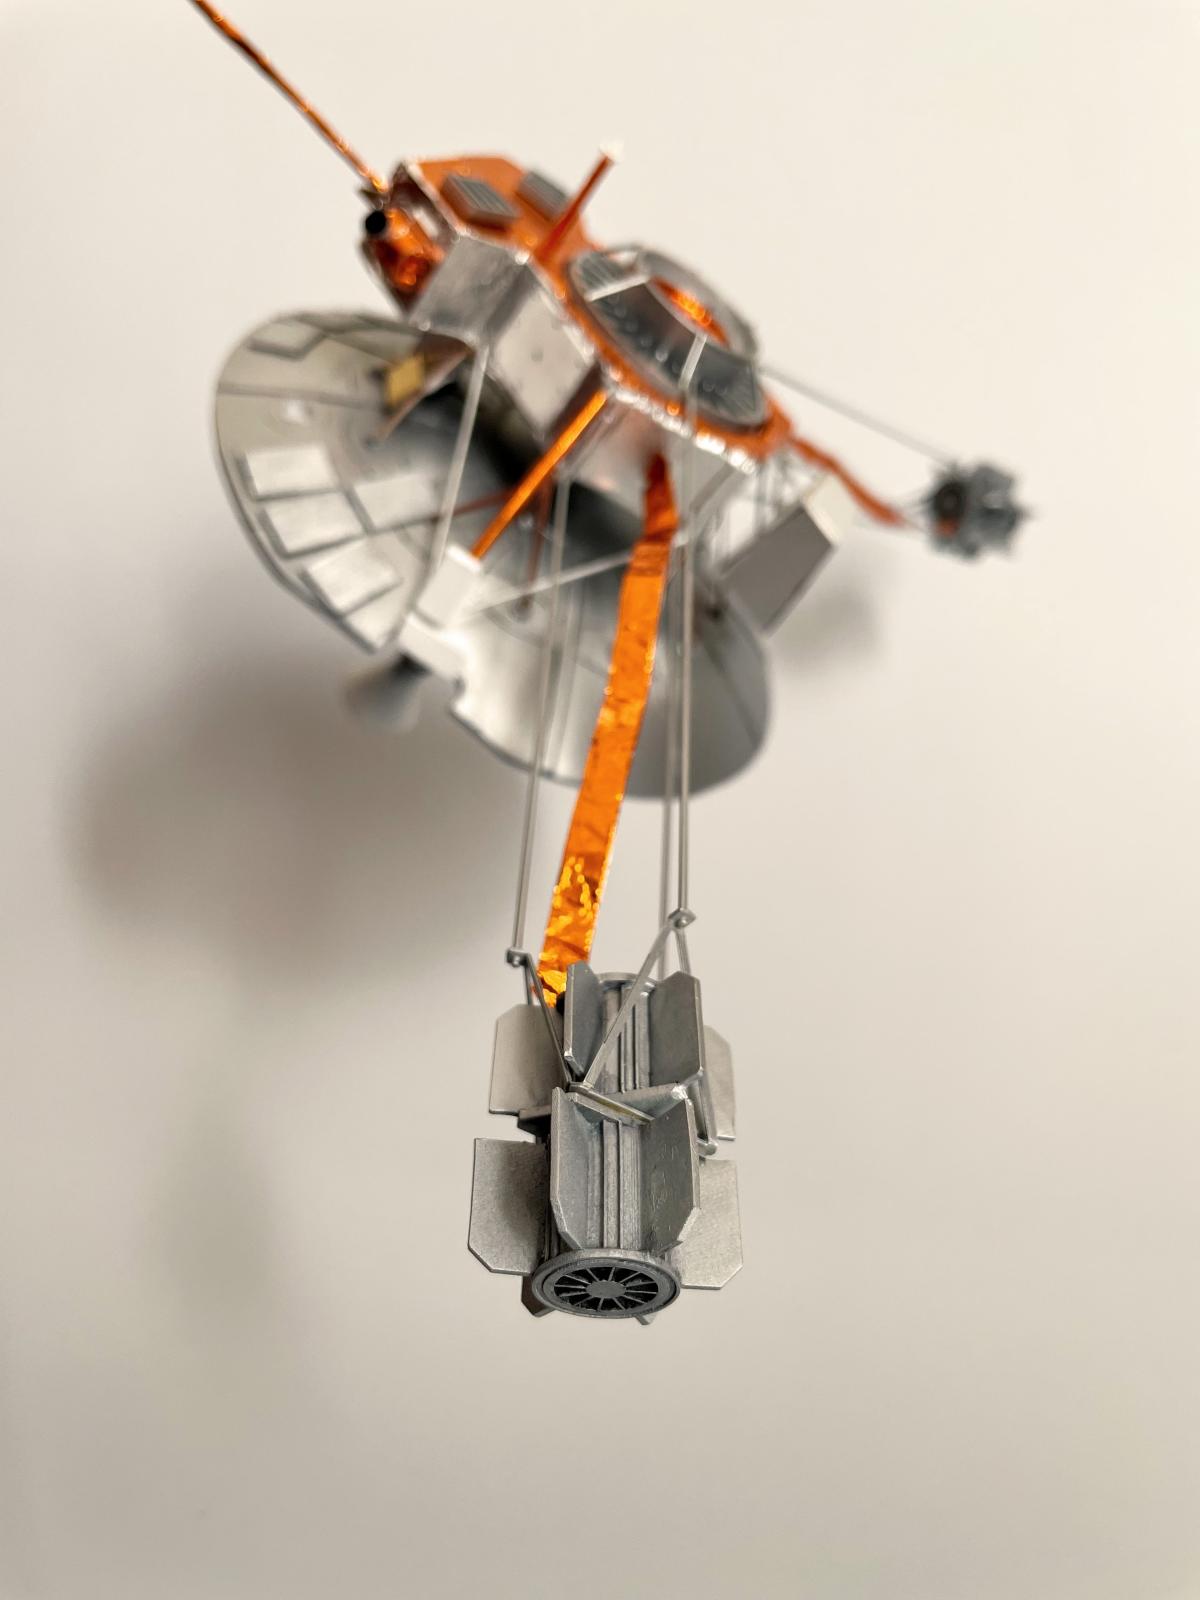
After constructing the two radioisotope thermoelectric generator booms, they are each attached to the bus through small holes in two tabs molded to the bus. The holes must be drilled into these small resin tabs, and this generally resulted in the tabs splitting or breaking off. This caused some trouble when it came time to attach the booms, but crazy glue is one hell of a drug.
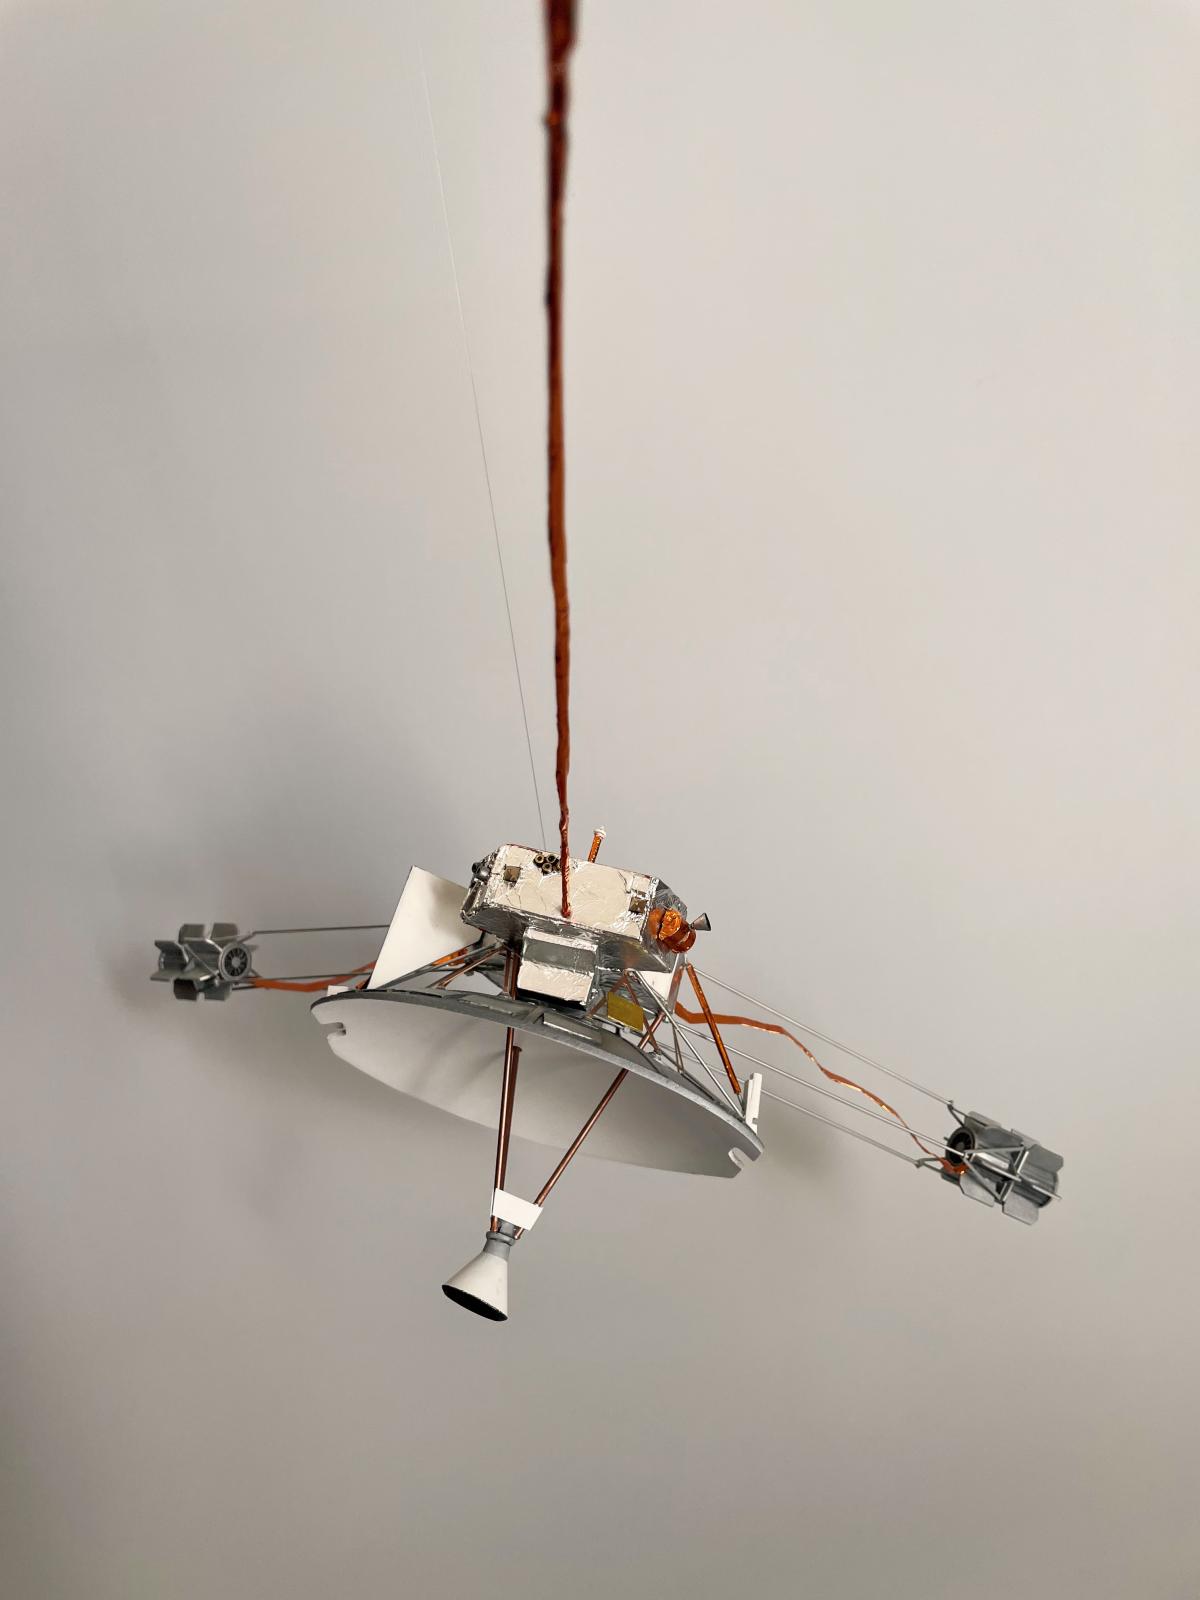
There were no other hiccups, and the build was mostly a success. It was a lot more like crafting than building a model, and for sure there were steps I've never taken before. Having just prior to this finished a resin HL-10, I'm looking forward to digging into some styrene next!

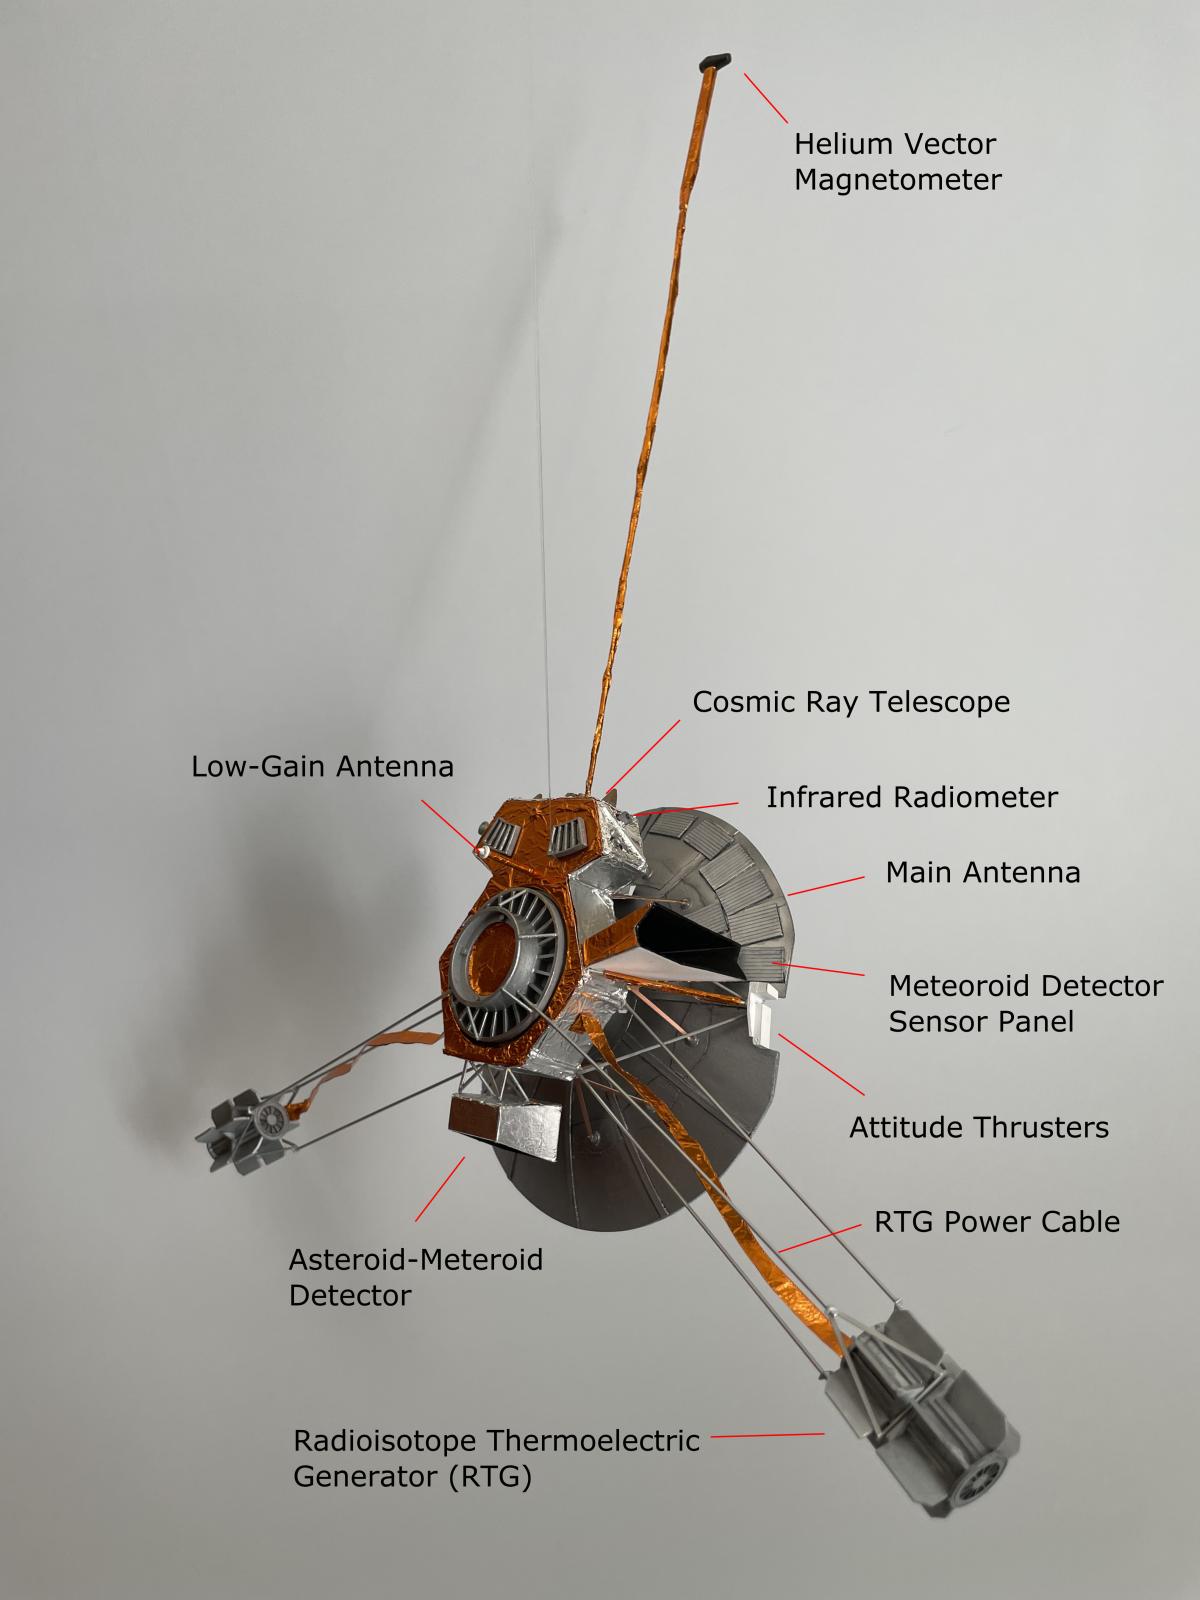
And, for those of you interested in what all these gadgets are,


An amazing model ! Good job on this unique kit..
Nice job, Brian! It's nice to see a real space build.
That's a wild one! Well done!
Well done Brian! Simply amazing!
@bapowellphys - very cool build Brian!
It looks like a work of art, Brian, especially well done.
Brilliant!
Beautiful, nice piece of real space history.
Great looking model of a machine we wont see again... and if we do it will prove the worm hole theory... Love the gold coloured foil details.
Looking really great, Brian @bapowellphys
Very nice description on your building experience as well, indeed a beast.
Hats off to the perseverance with which you have built this fantastic model. Excellent article.
Thanks everyone, really appreciated!