Making Holt Flare brackets in 1/72
Introduction
The Holt landing flare system was very common during the Interwar years and in fact the company that produced or licensed it claimed sales of over 60,000 units to countries all over the world. Some manufacturers do include these flare brackets but a lot ignore them. Here's a simple way to make them - be warned it's very fiddly. Apologies for the quality of the photos but I don't have a macro function on my camera.
Tools and materials
0.3 x 0.3 square plastic strip
0.8 mm diameter brass tube
Sharp knife
Fine tweezers
Eyeloupe or strong optivisor
Graph paper
Tamiya extra thin
Superglue
Technique
-
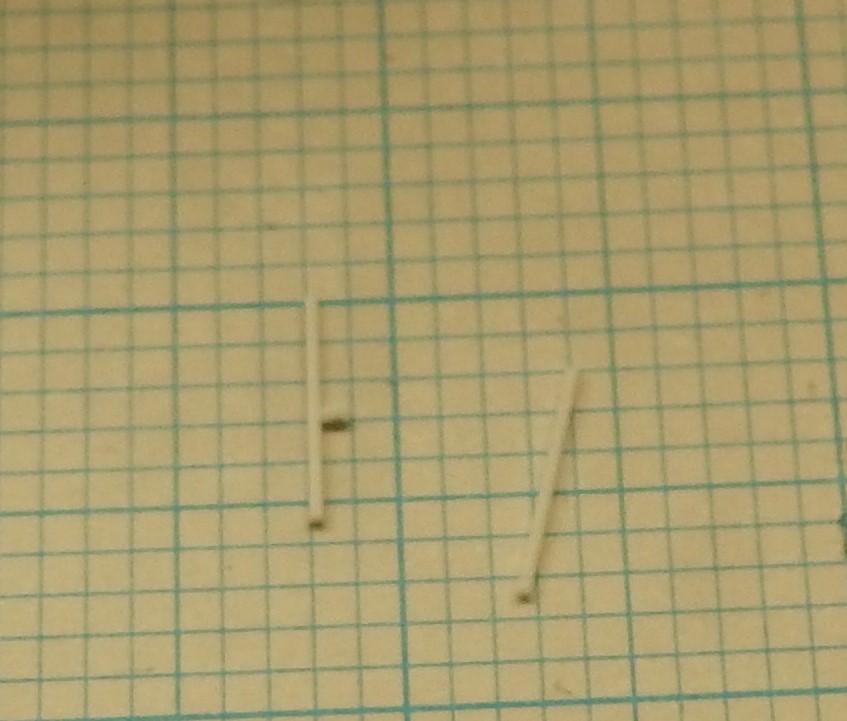
Cut two long strips (5.5 mm) and one short strip (0.5 mm)
-
Join the short strip to one of the long strips 3 mm along it using the flooding technique and the squares of the graph paper to align the strips
-
-
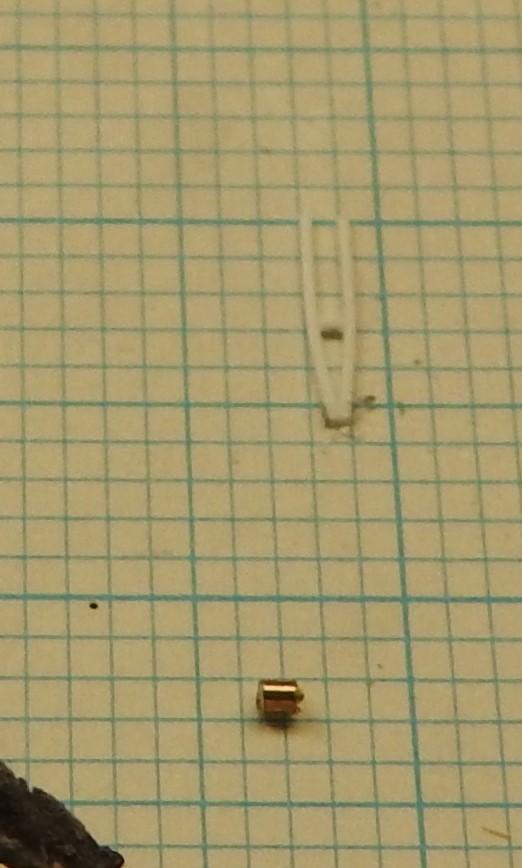
Join the other long strip making sure all is square - wait a bit
-
-
pinch the two shorter ends together and glue
-
-
The flare battery is made from a 0.8 mm diameter length of brass tubing. 1 mm is about right.
-
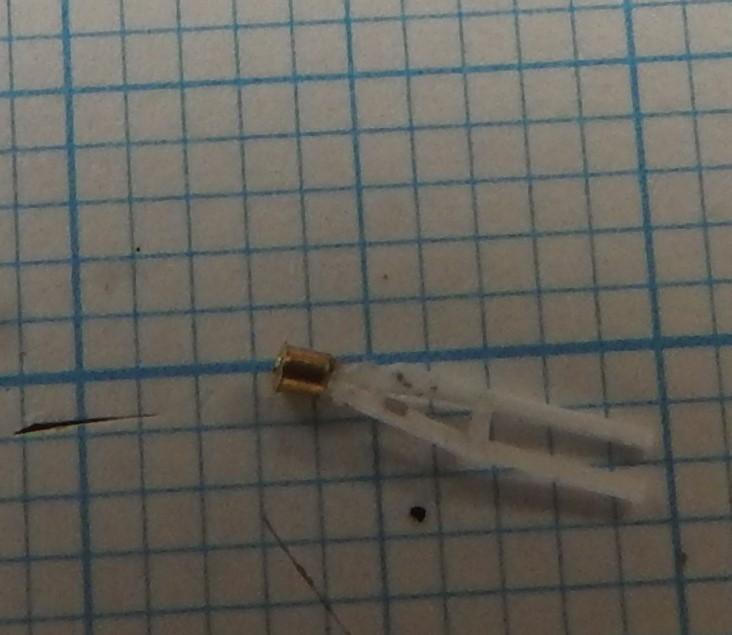
Attach the length of tube to the bracket holder with superglue and the Holt bracket is finished.
Once it's dry it can be attached quite easily with superglue and painted. By upscaling the dimensions other scales can also be catered for. -

Nice technique, Christopher @christopher
Thanks for sharing this.
Thanks so much John - despite being fiddly this one is quite fun and the end result is very satisfying.
Great technique, Christopher! Thanks for sharing!
Thanks Spiros - it's a very useful one