The Beauty of Rivets
I took a break from building models to spend some time building the real thing. I worked on the restoration of an incredible gentleman's Grumman/McKinnon G-21 Goose. That ten year long project completed he is now working on a Beech Craft T-34 Mentor. My former co-worker and friend contacted me and asked if I would like to come up and help him out with putting on some belly skins. All the skins had to be replace due to a gear up landing when the plane was in a CAP unit. He had made all the skins and was ready to install them but couldn't do it alone. Attaching the skin is of course is done with rivets. Lots and lots of rivets.
Rivets attach the flimsy piece of sheet metal to a flimsy structure and together the make an incredibly rigid and strong structure. When building components I would often shoot and buck the rivets my self but when doing large skins and structures my co-worker usually shot while I usually bucked. Its funny he thinks bucking is harder than shooting and I think shooting is a bigger challenge. We make a good team that way. There is something soothing and rewarding about the pounding impulses while bucking rivets, when your 6ft tall 190 frame is stuffed in the tail of an airplane.
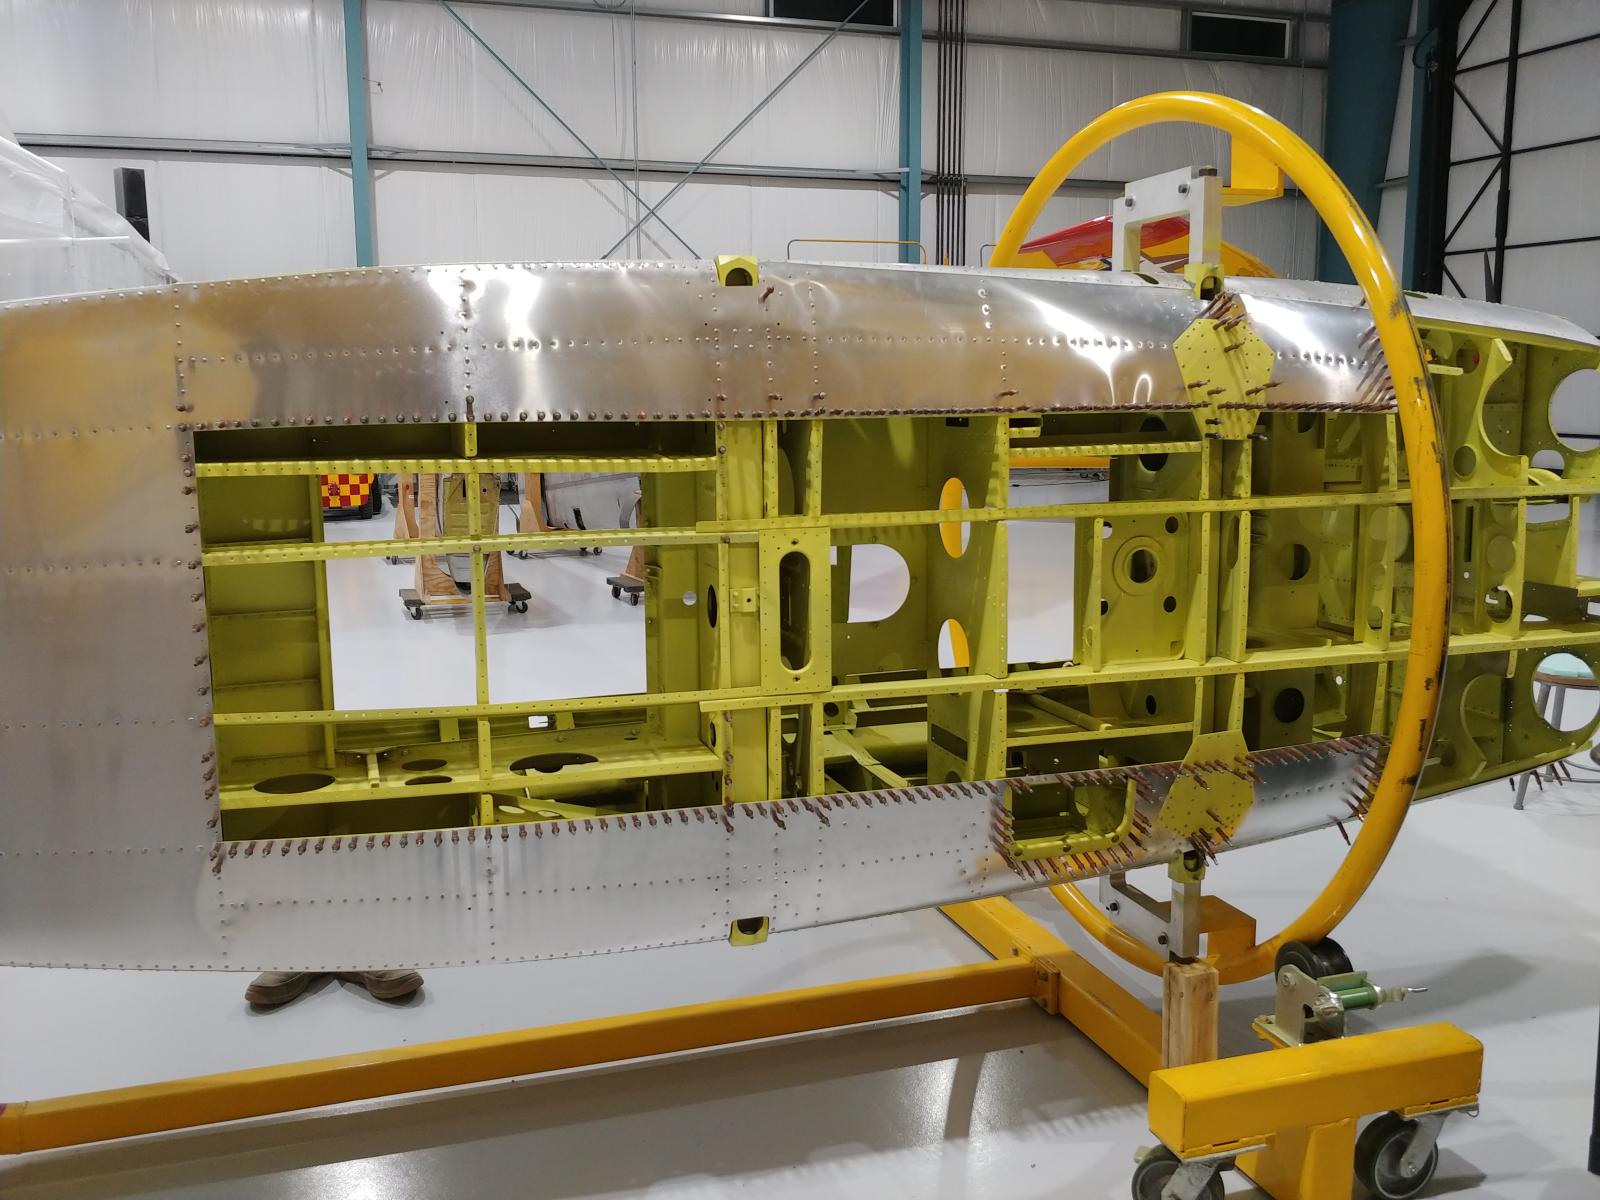
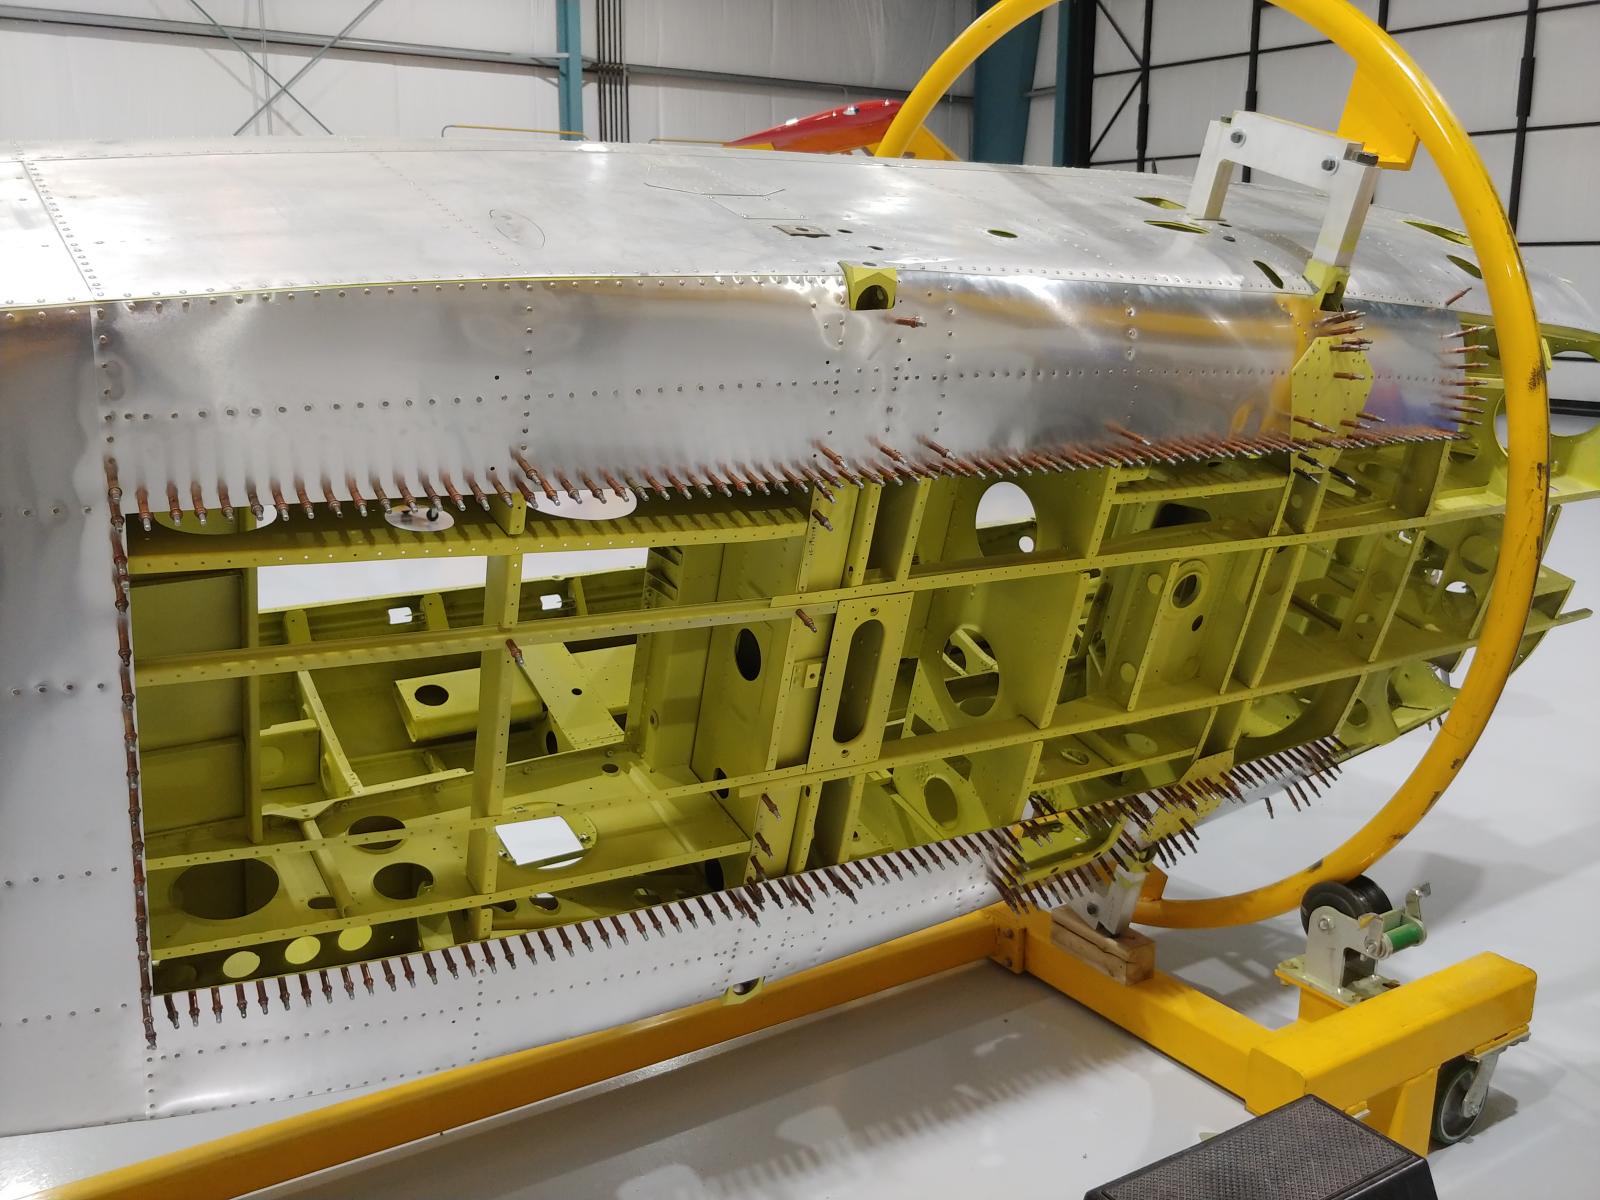
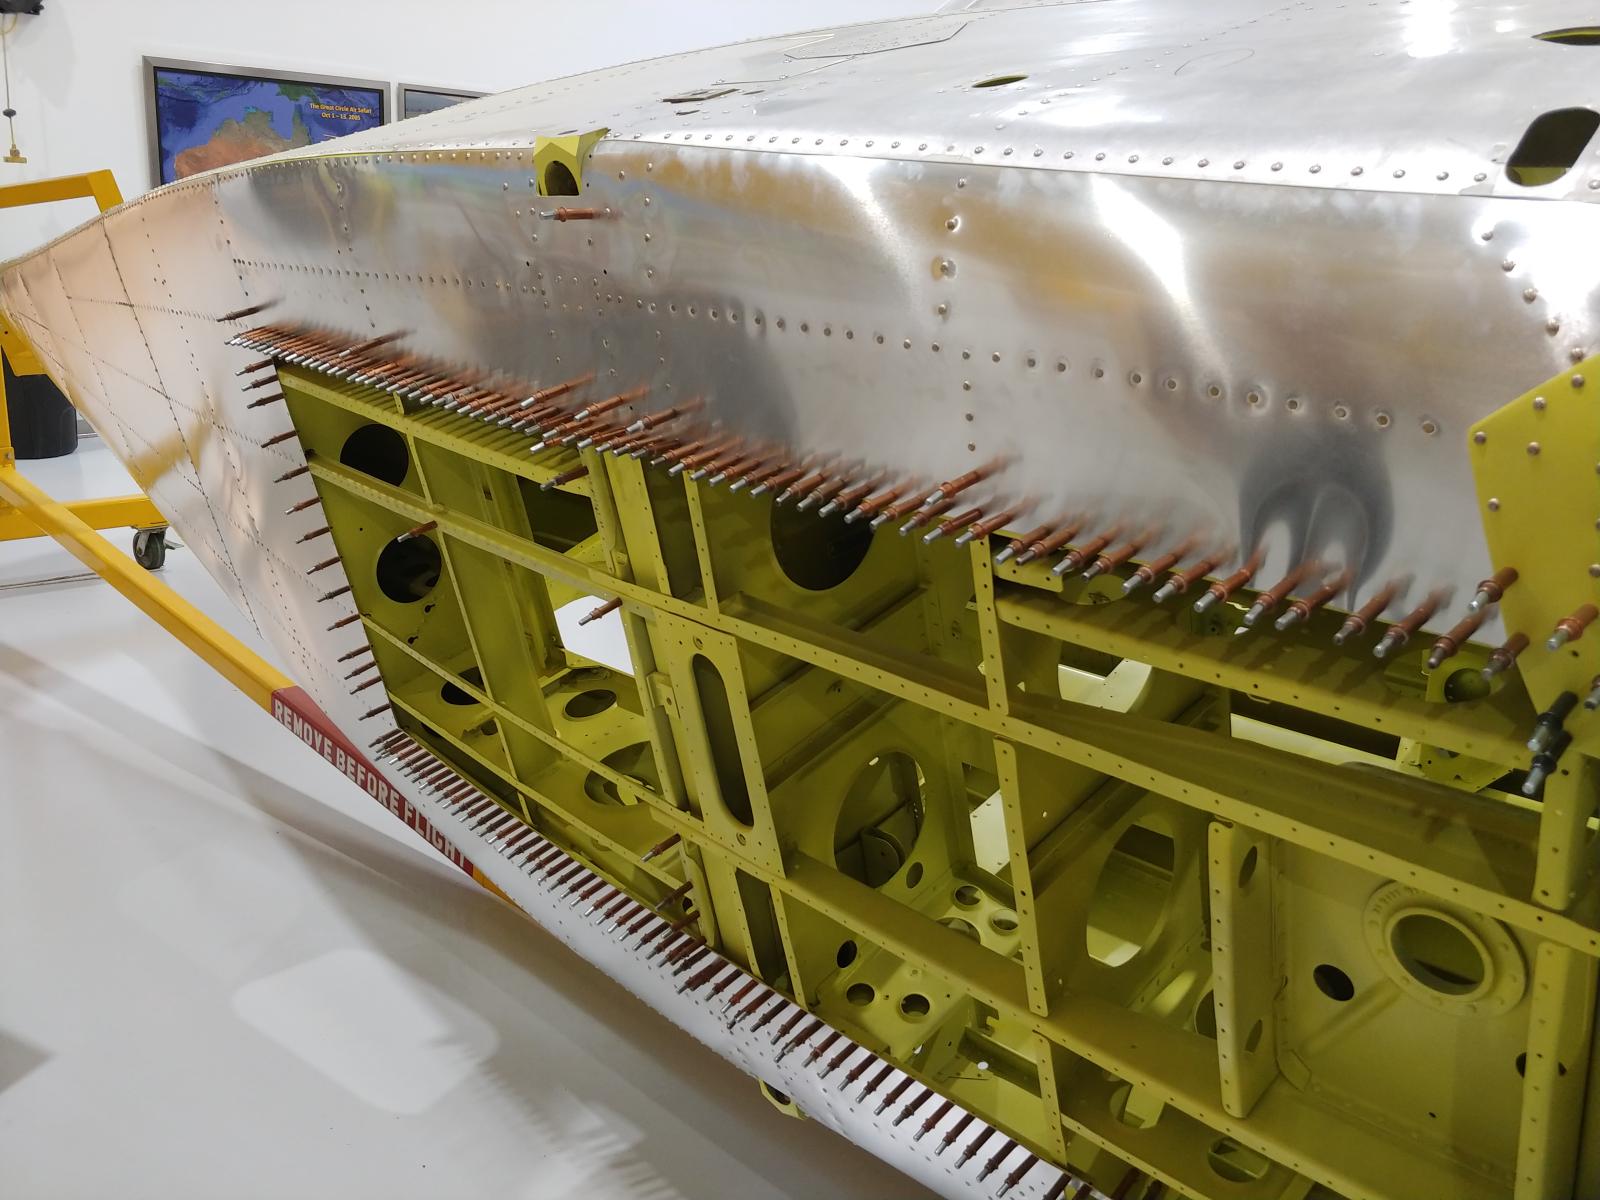
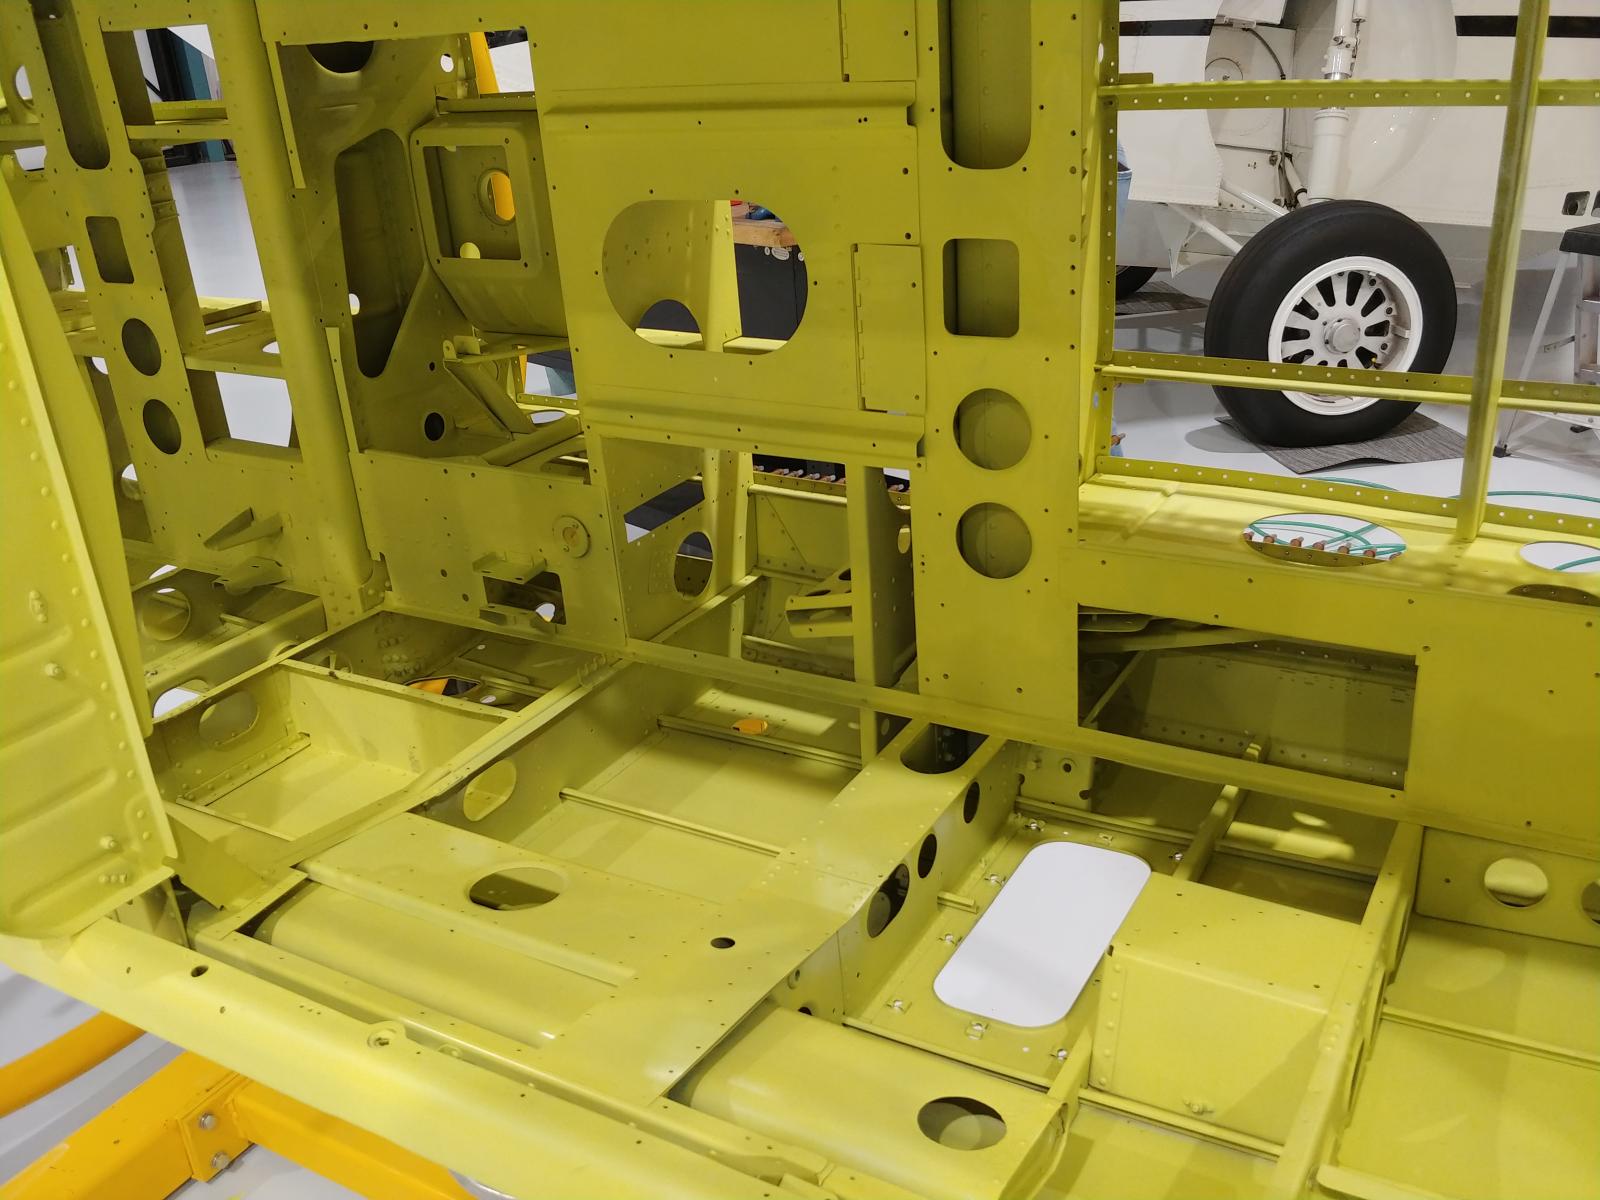
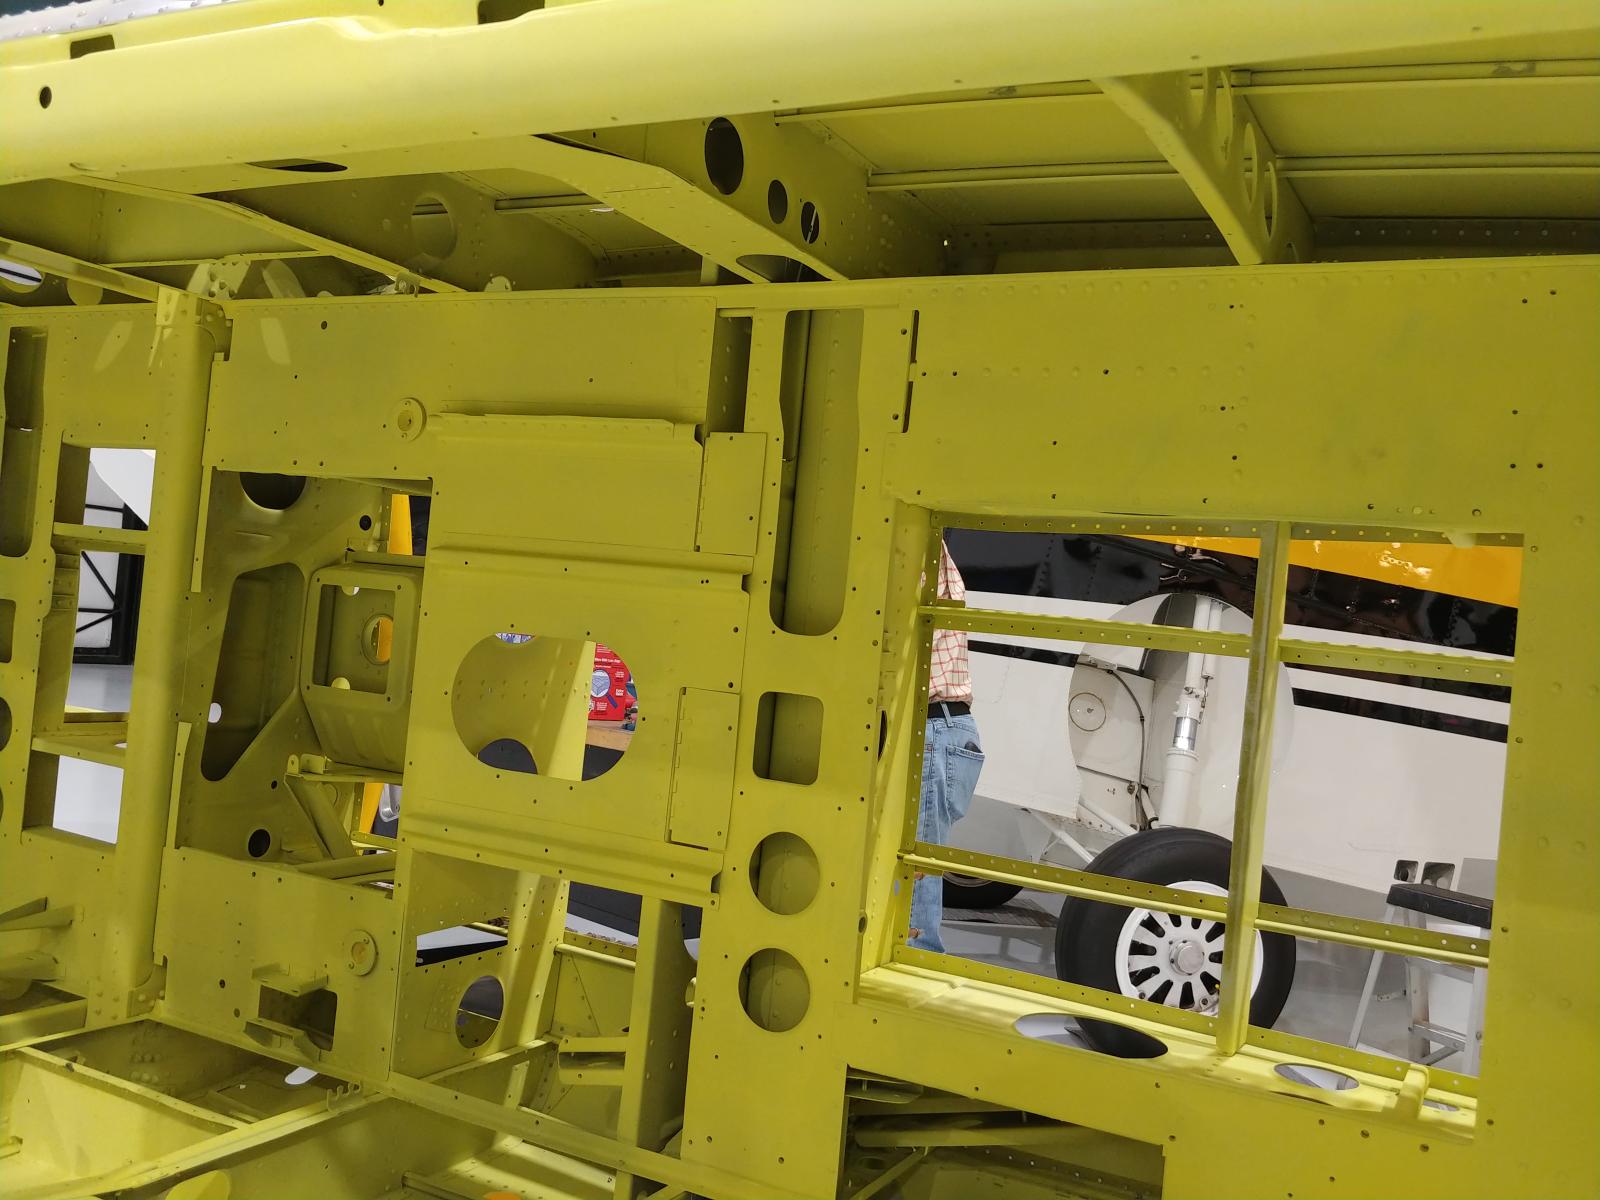
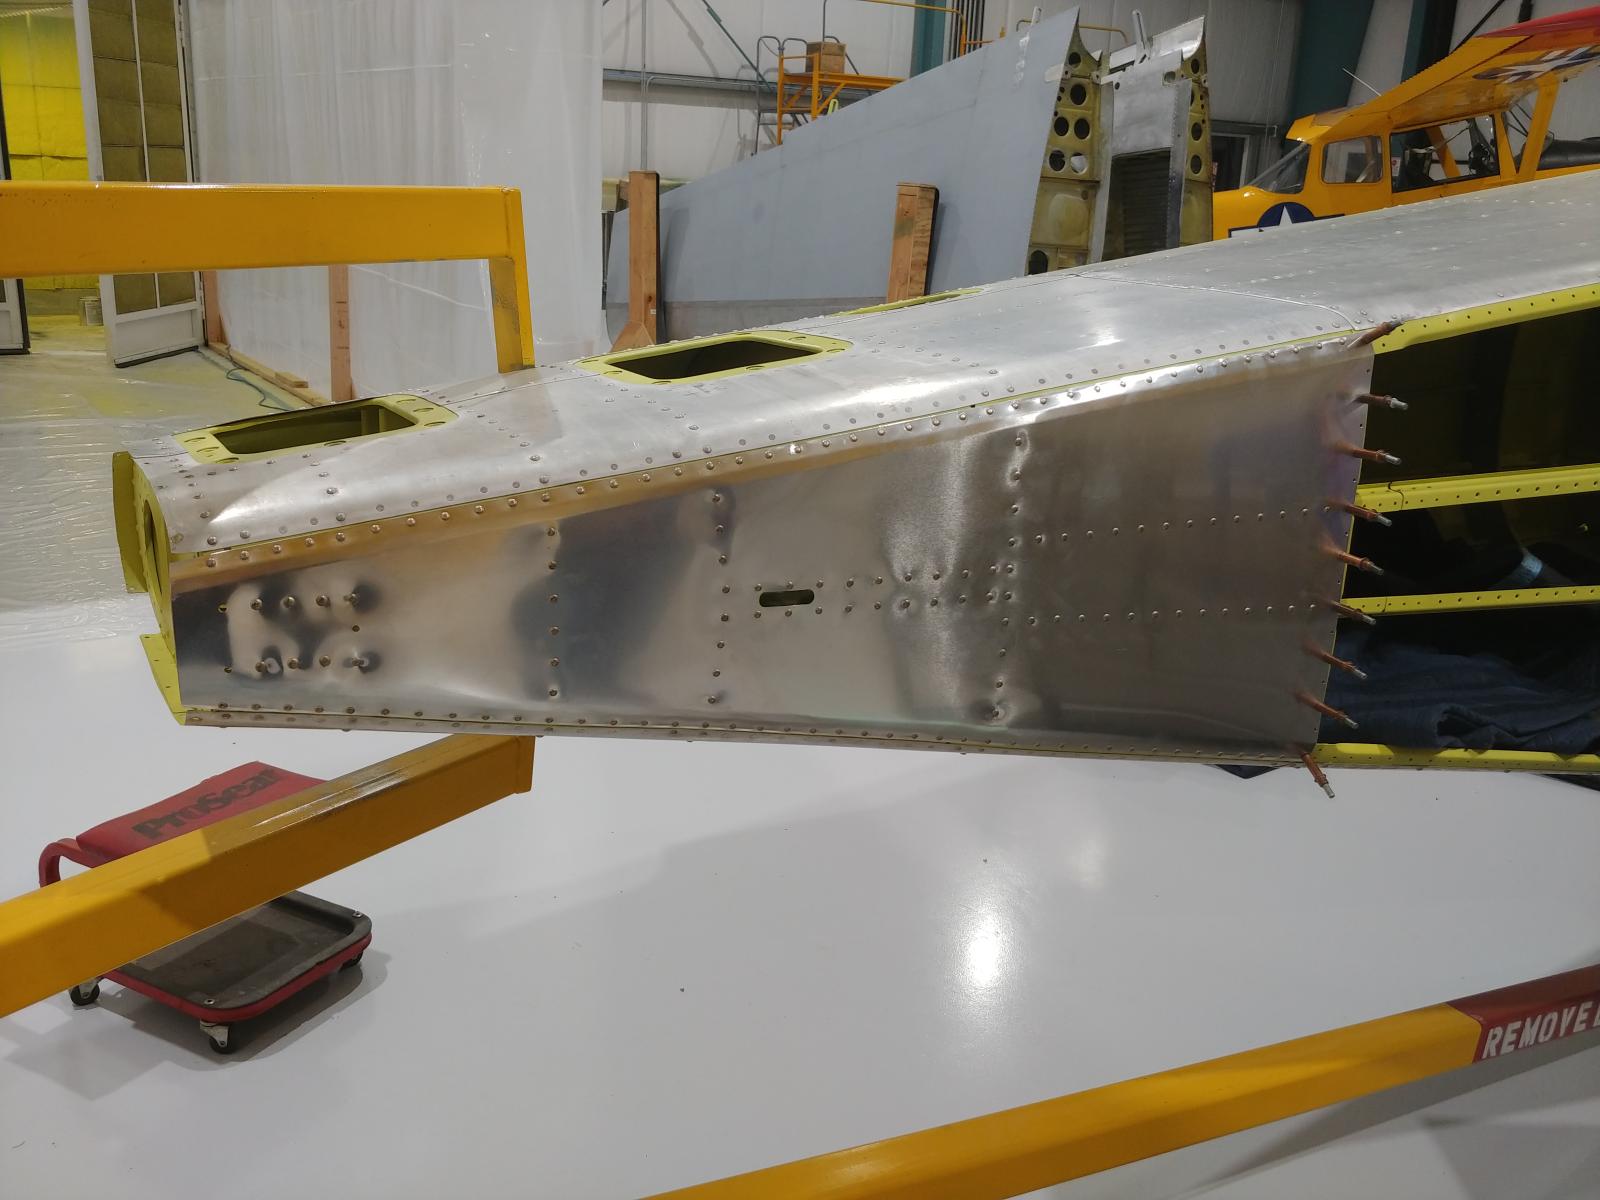
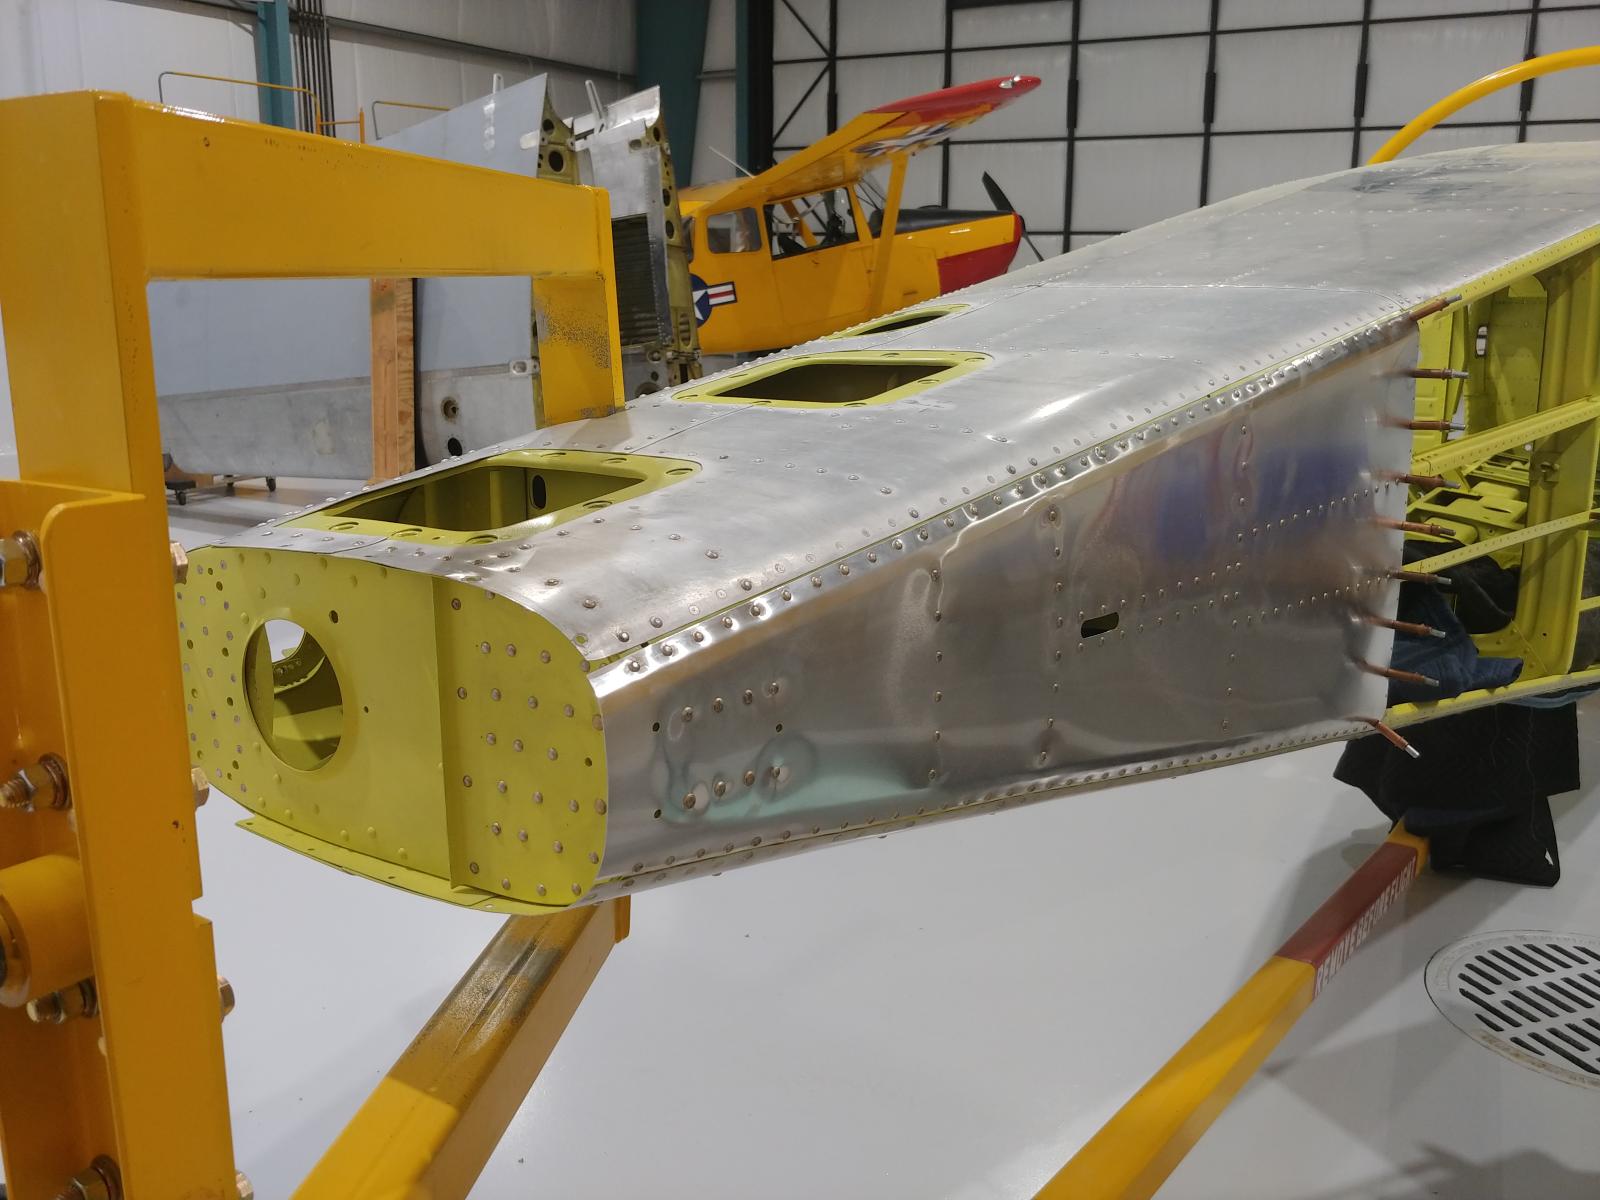
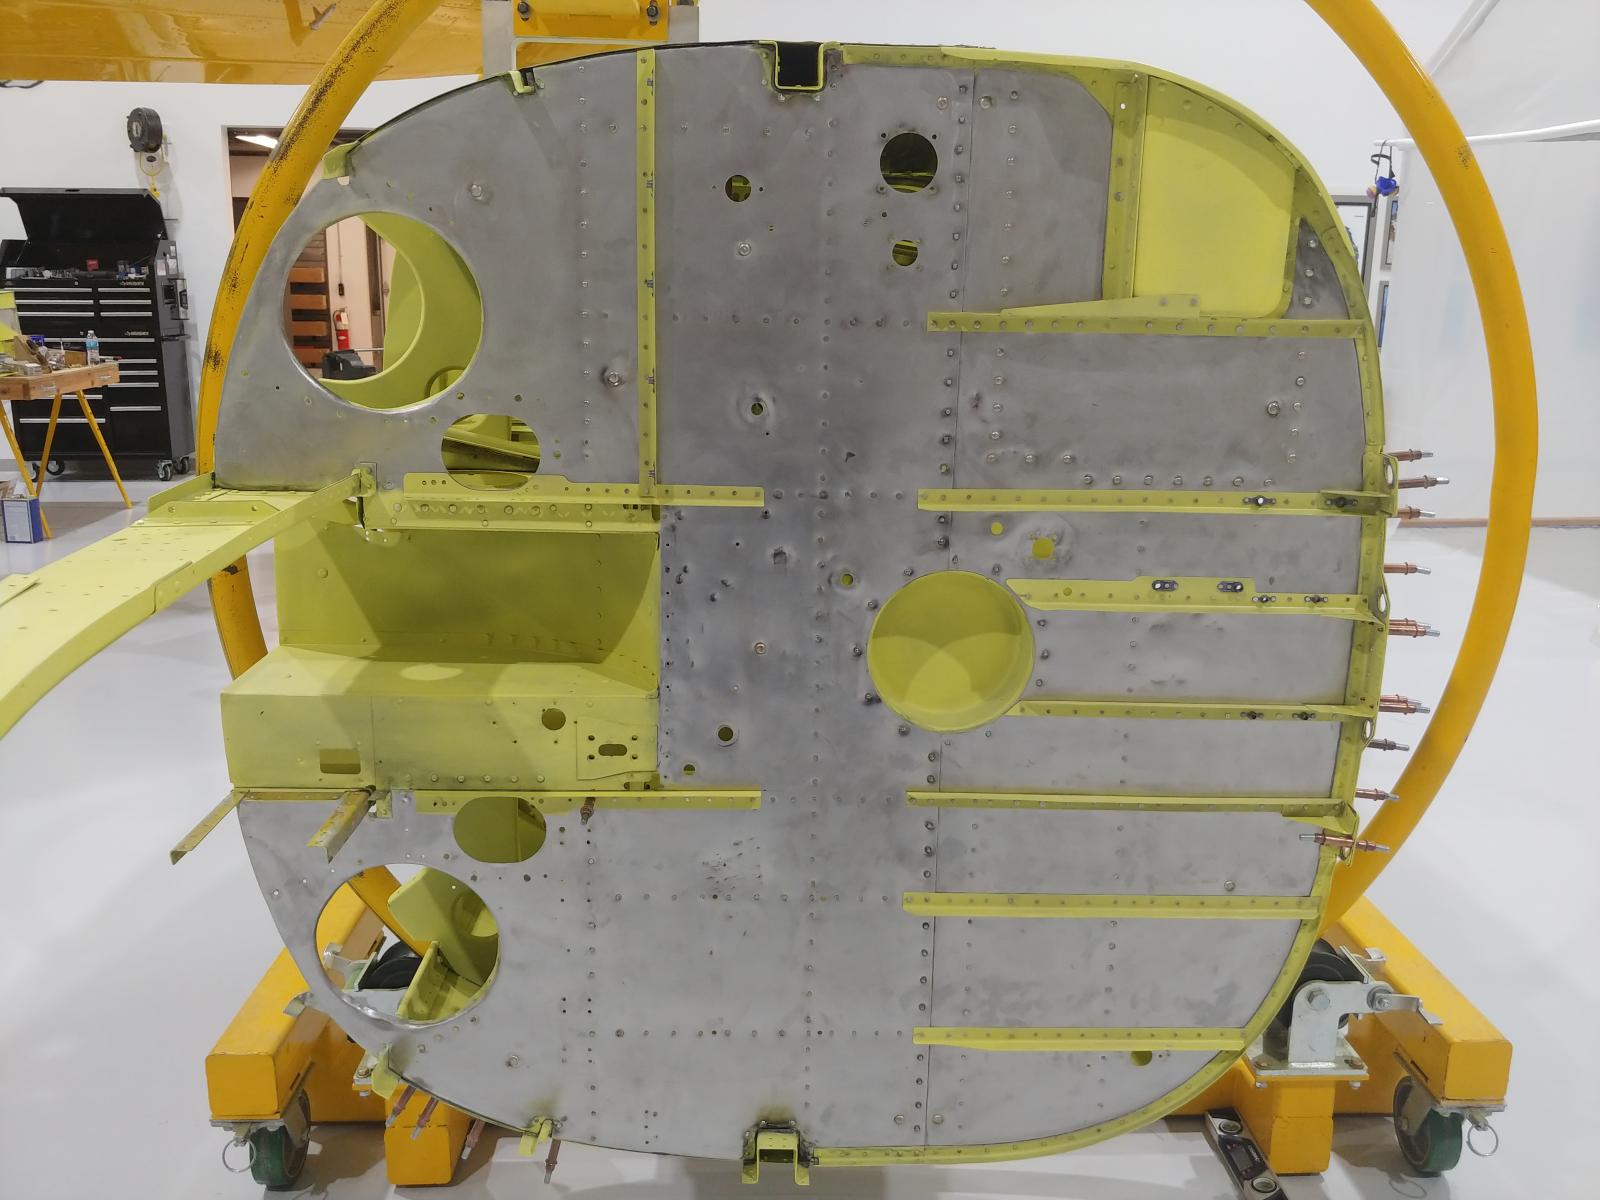
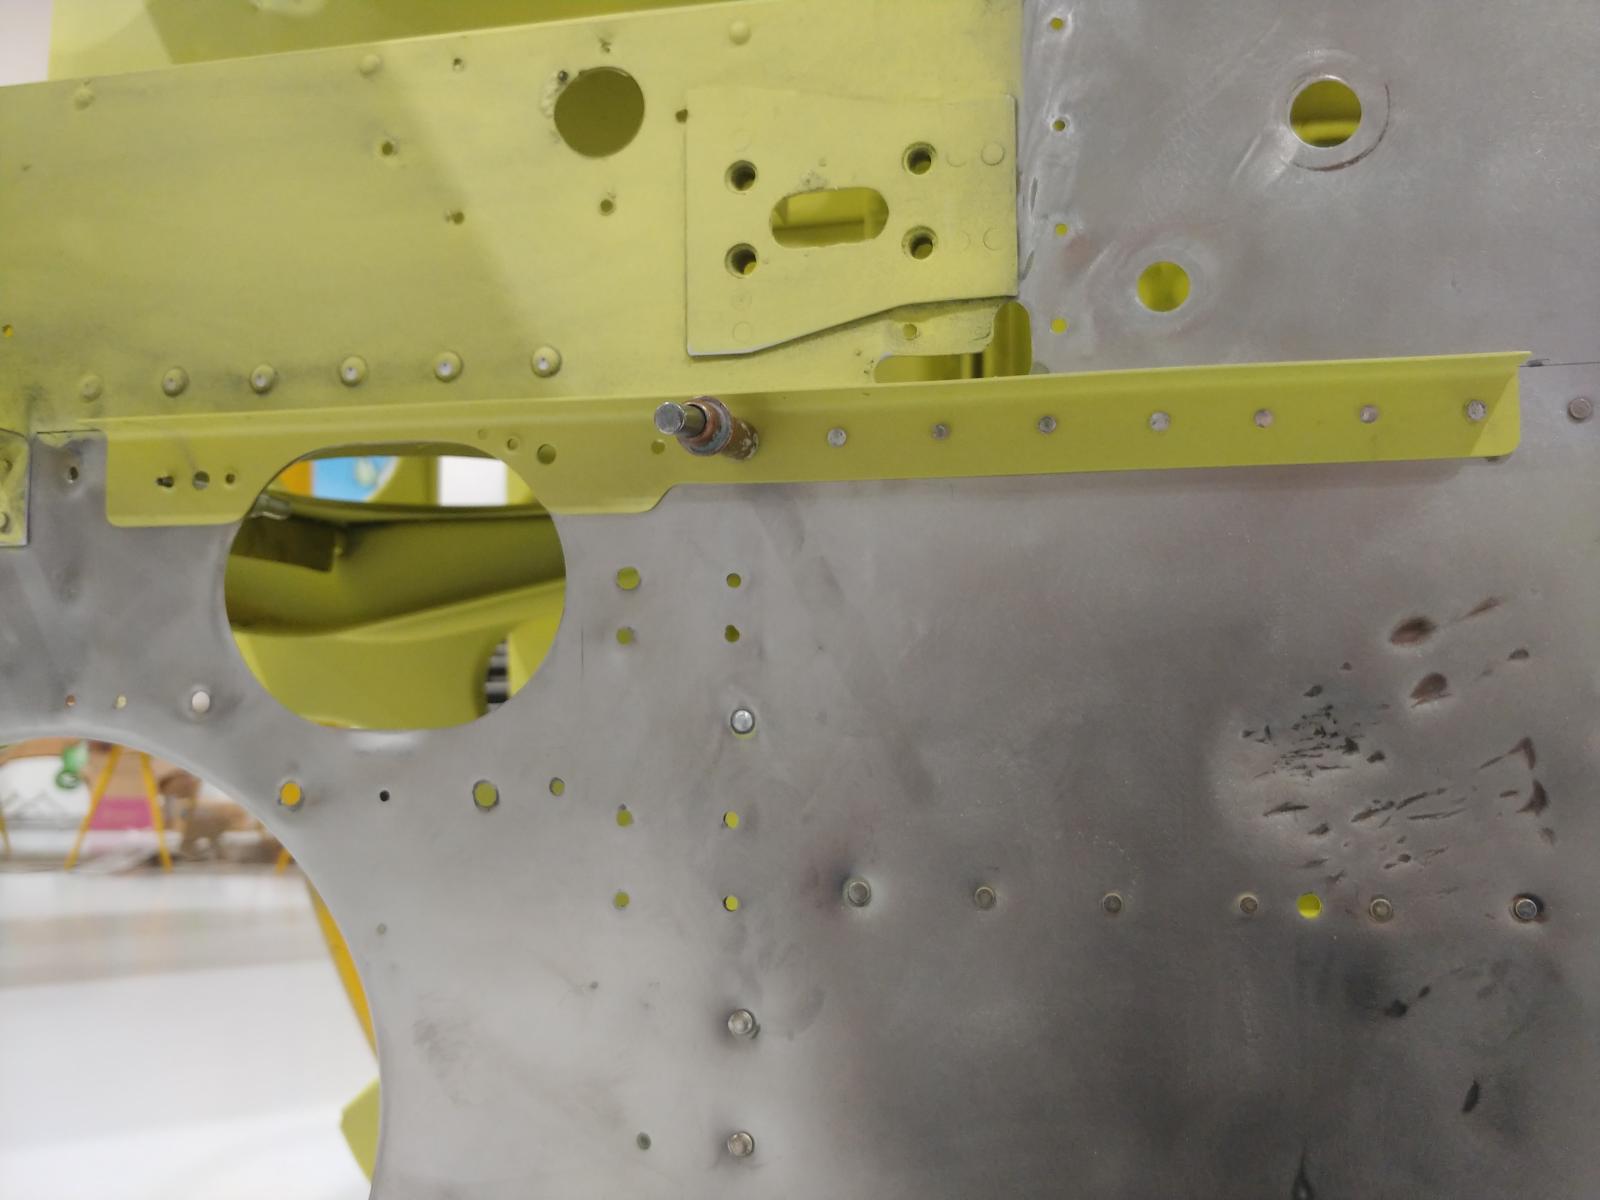
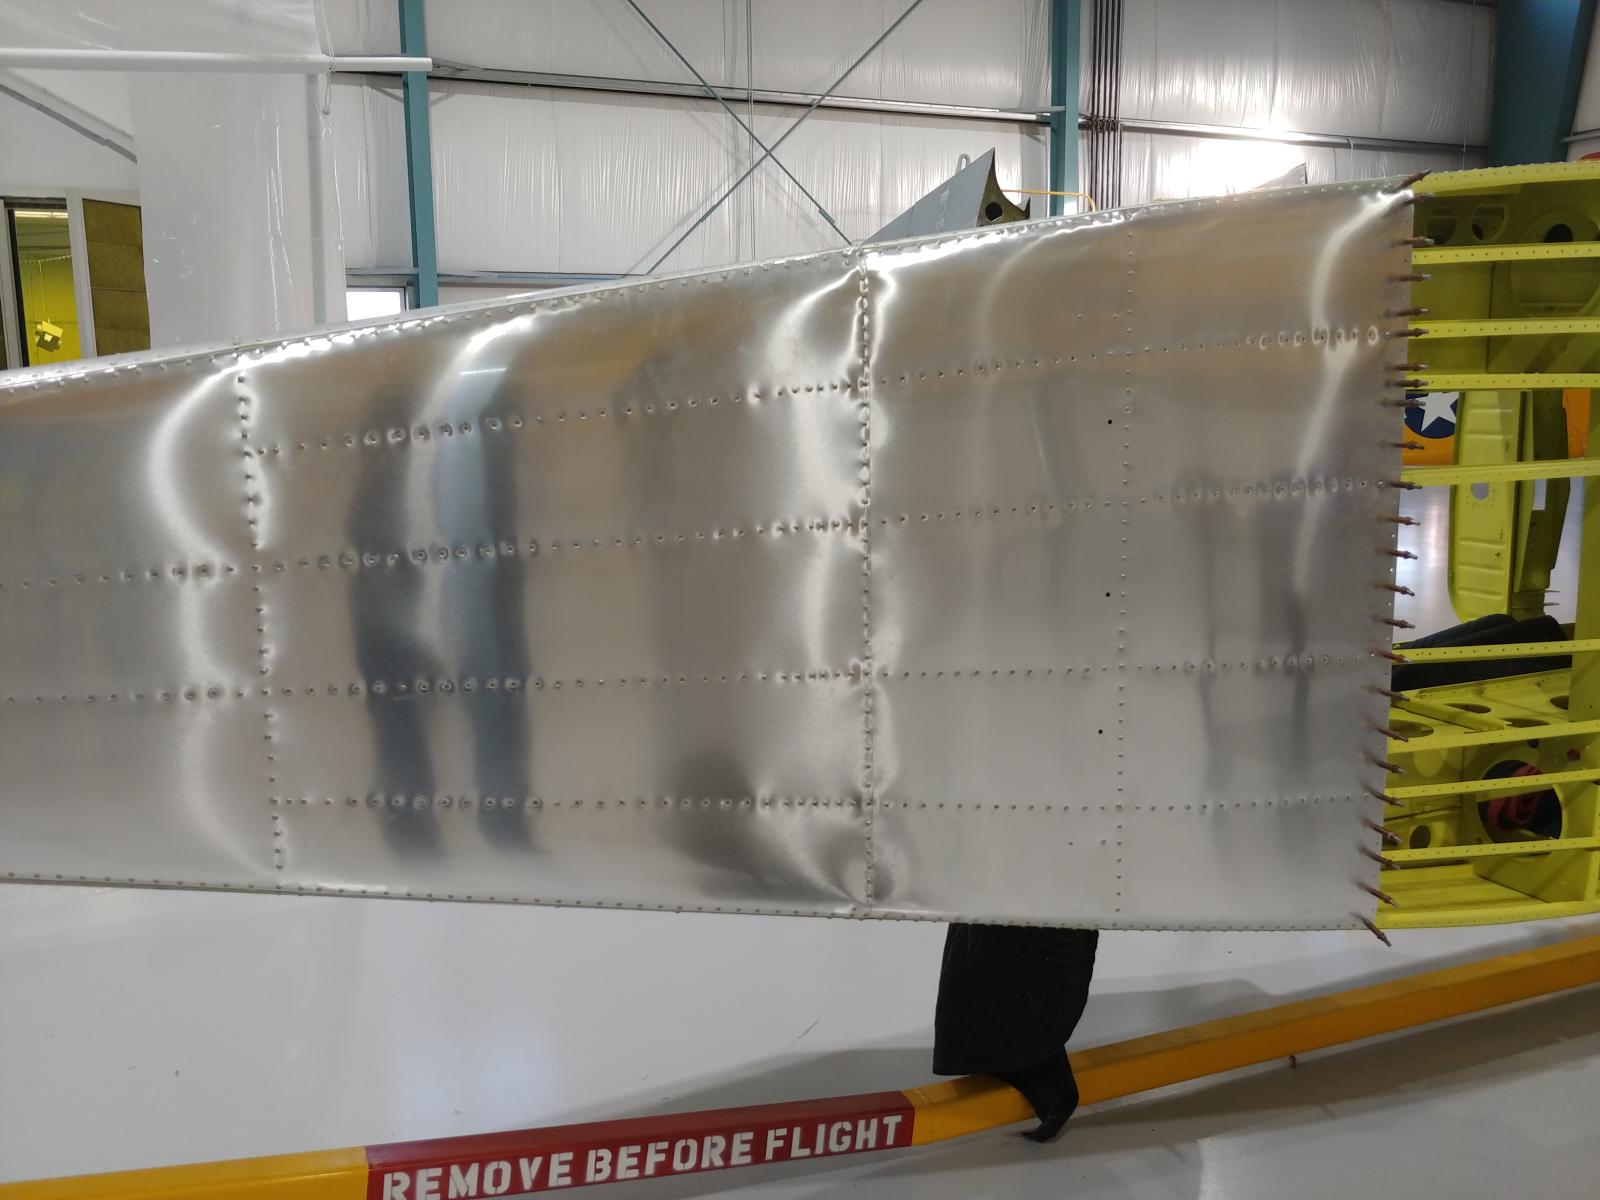
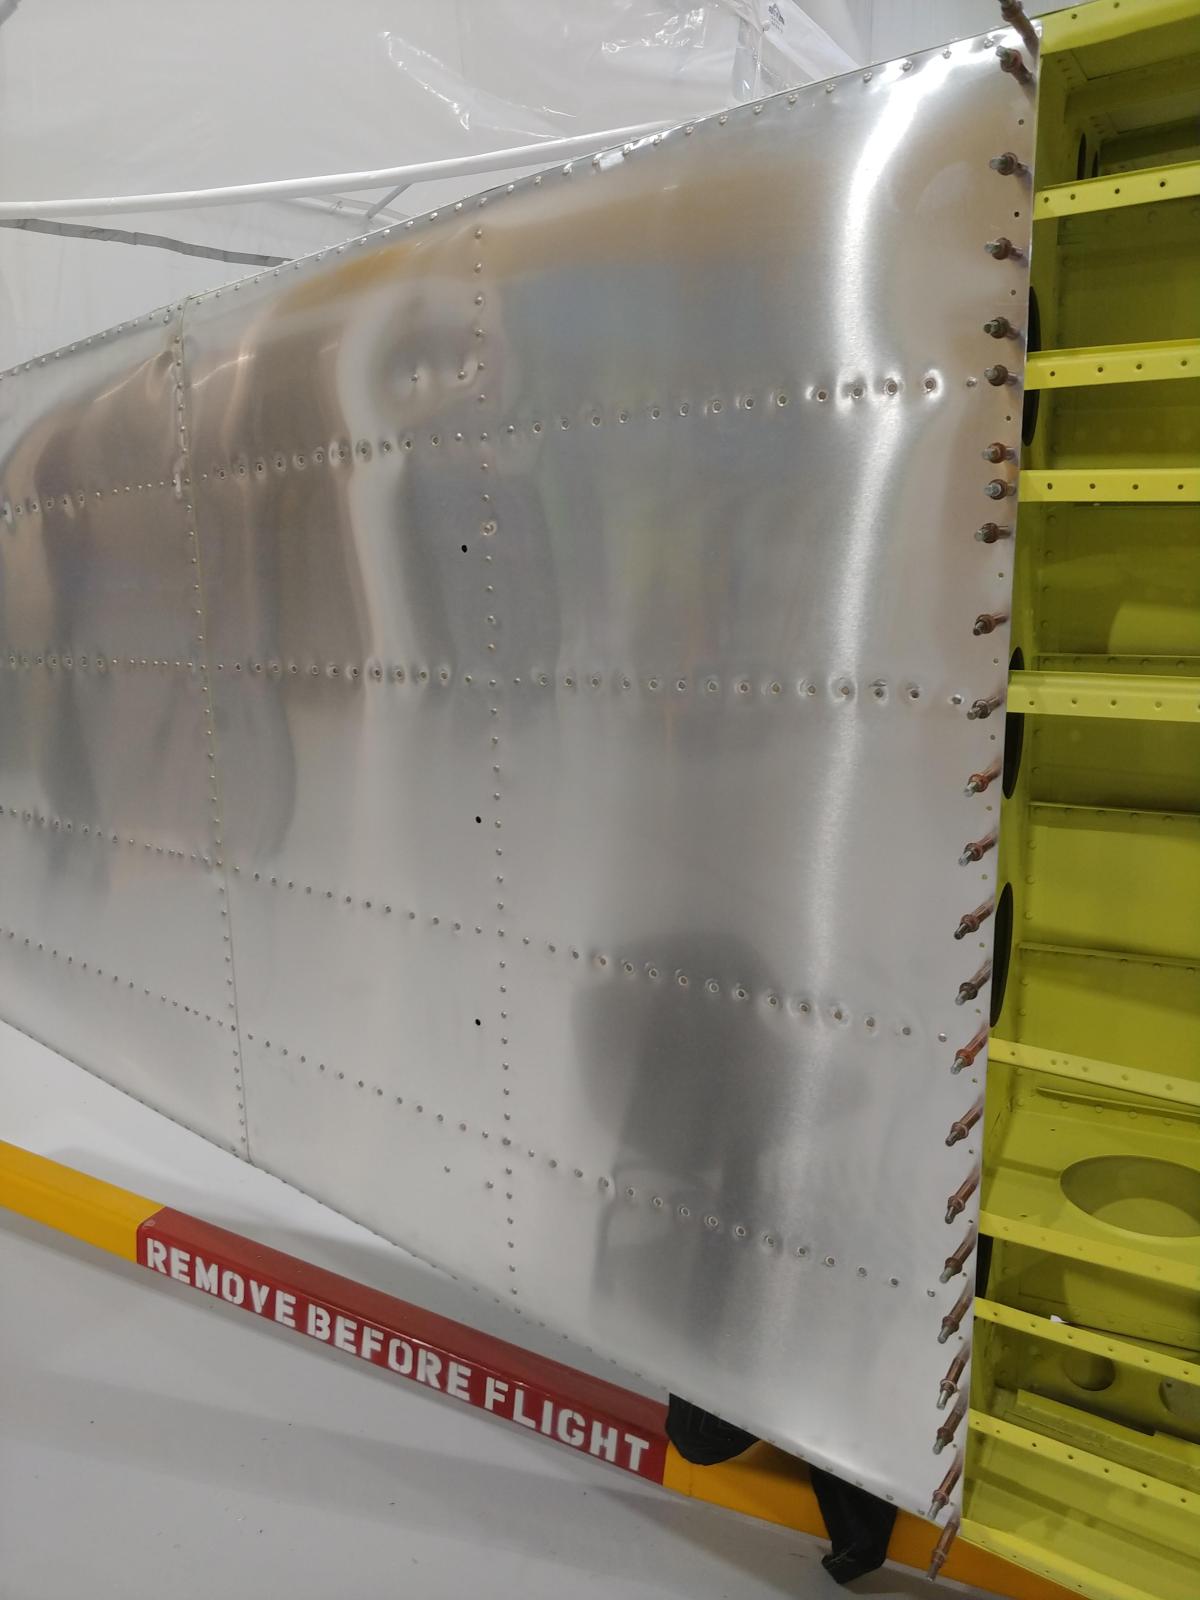
I have attached pictures showing the panels we riveted, an while it doesn't look like a lot, there is almost 30 hours worth of work between clecoing the panels on, shooting the rivets and then moving to the next panel. The T-34 luckily uses mostly #4 rivets (1/8") which are pretty easy to shoot. The challenge is that you don't always get to see the it is you are bucking. As you can see there is lots of structure including the floor that gets in the way. Bucking you find yourself contorting your body and arms through lightening holes and around structure to get the 2 pound tungsten bucking bar balanced on your finger tips squarely on the back of the rivet so that it will drive straight and not toe nail.
While it doesn't look like much the two long skins down the side of the fuselage were clecoed onto the plane with a cleco in every other hole. Each skin took about 350 clecos.
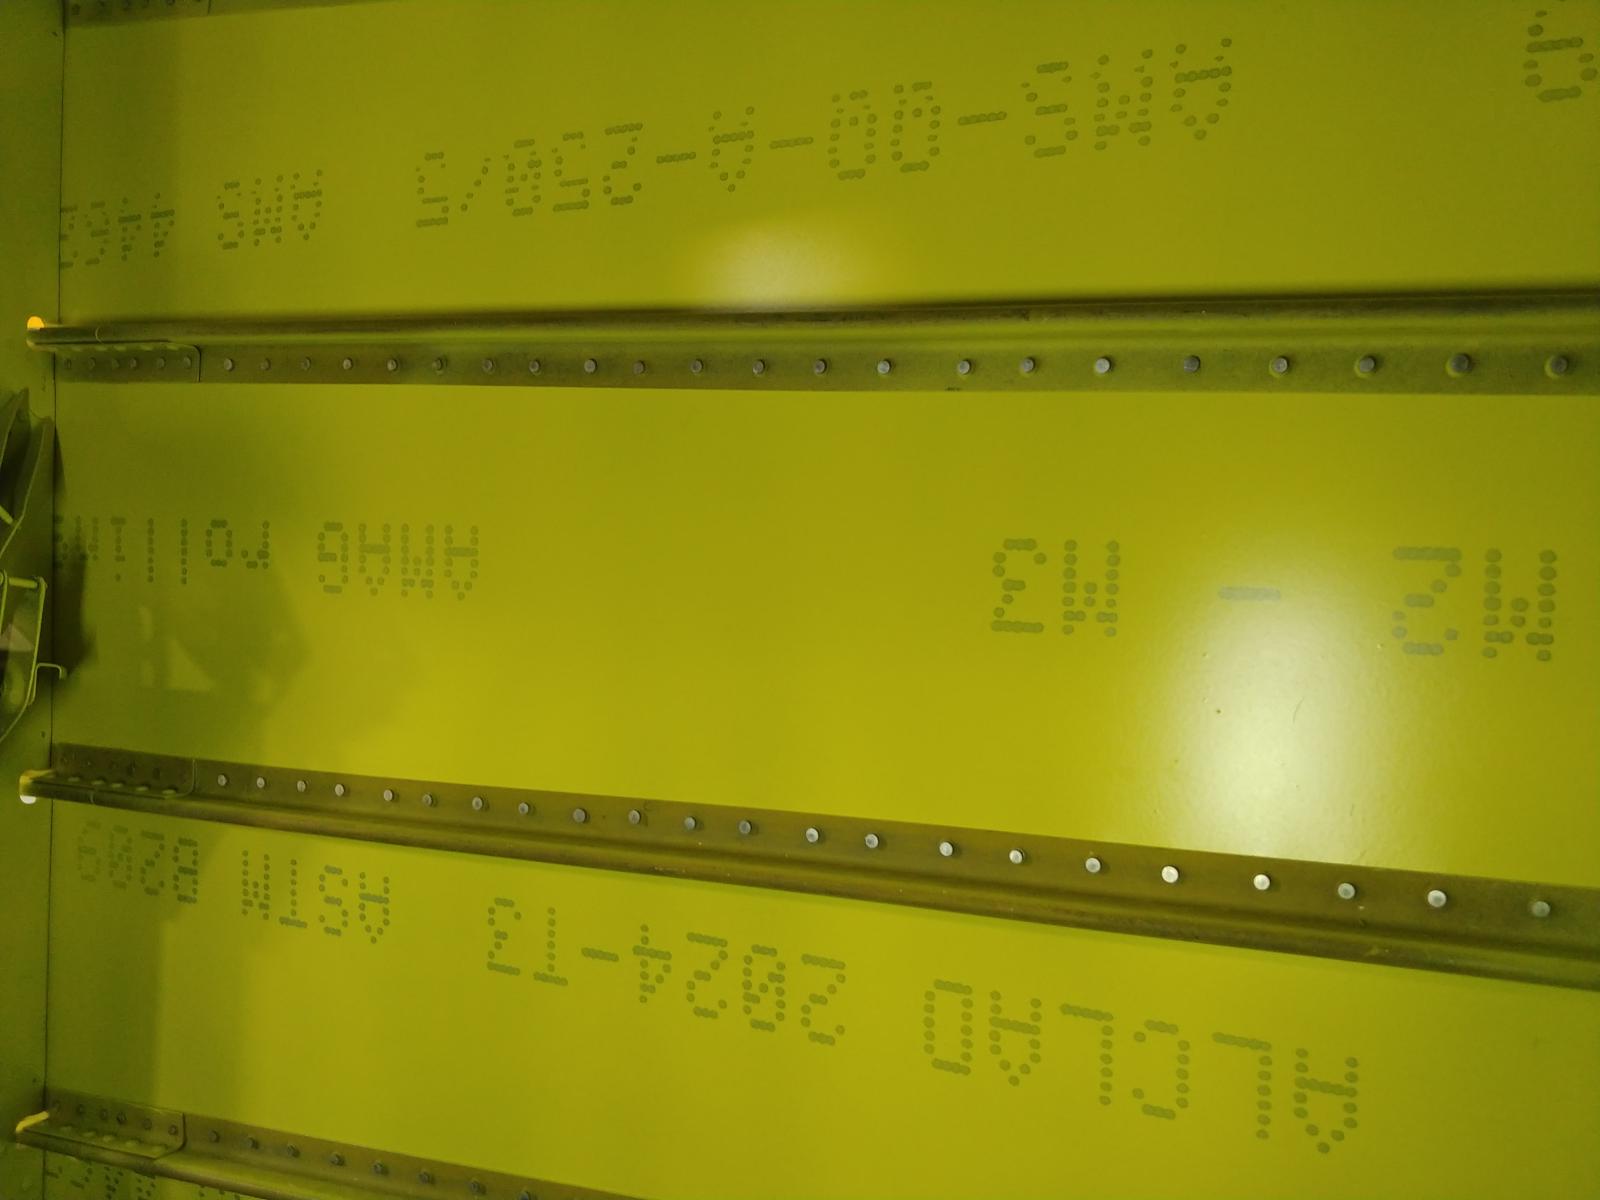
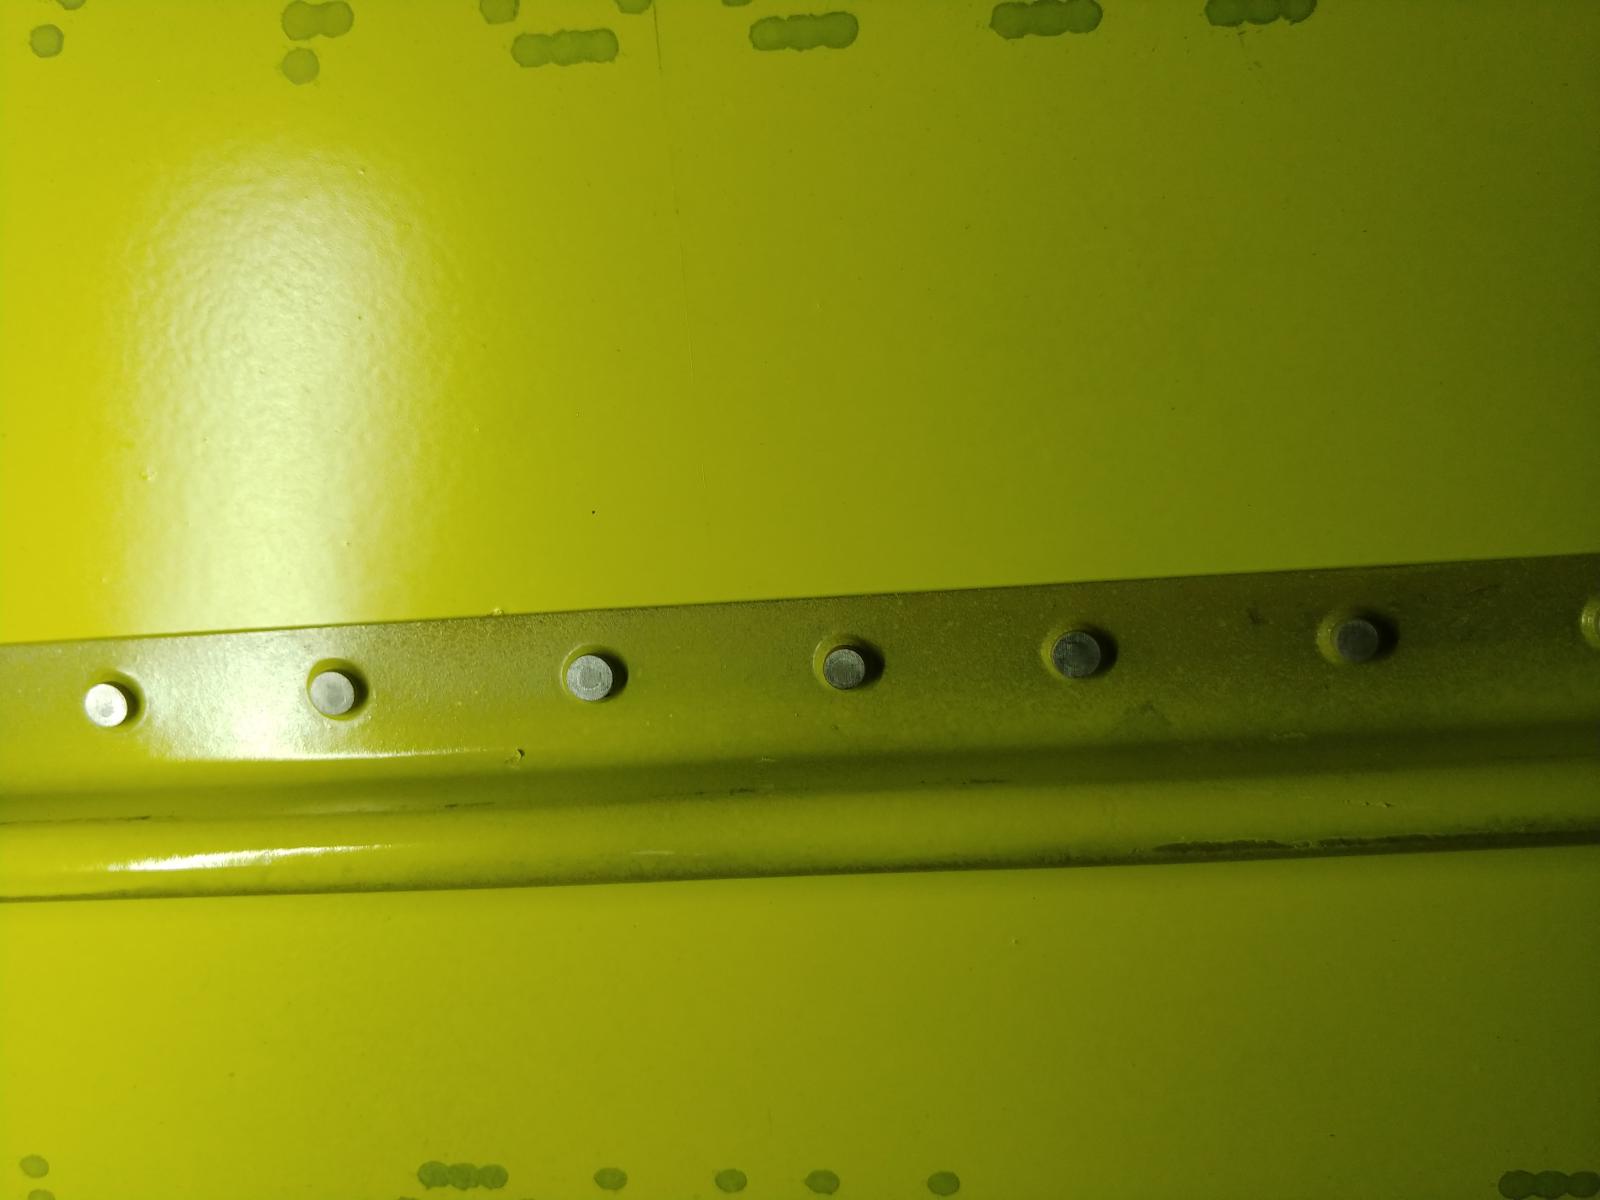
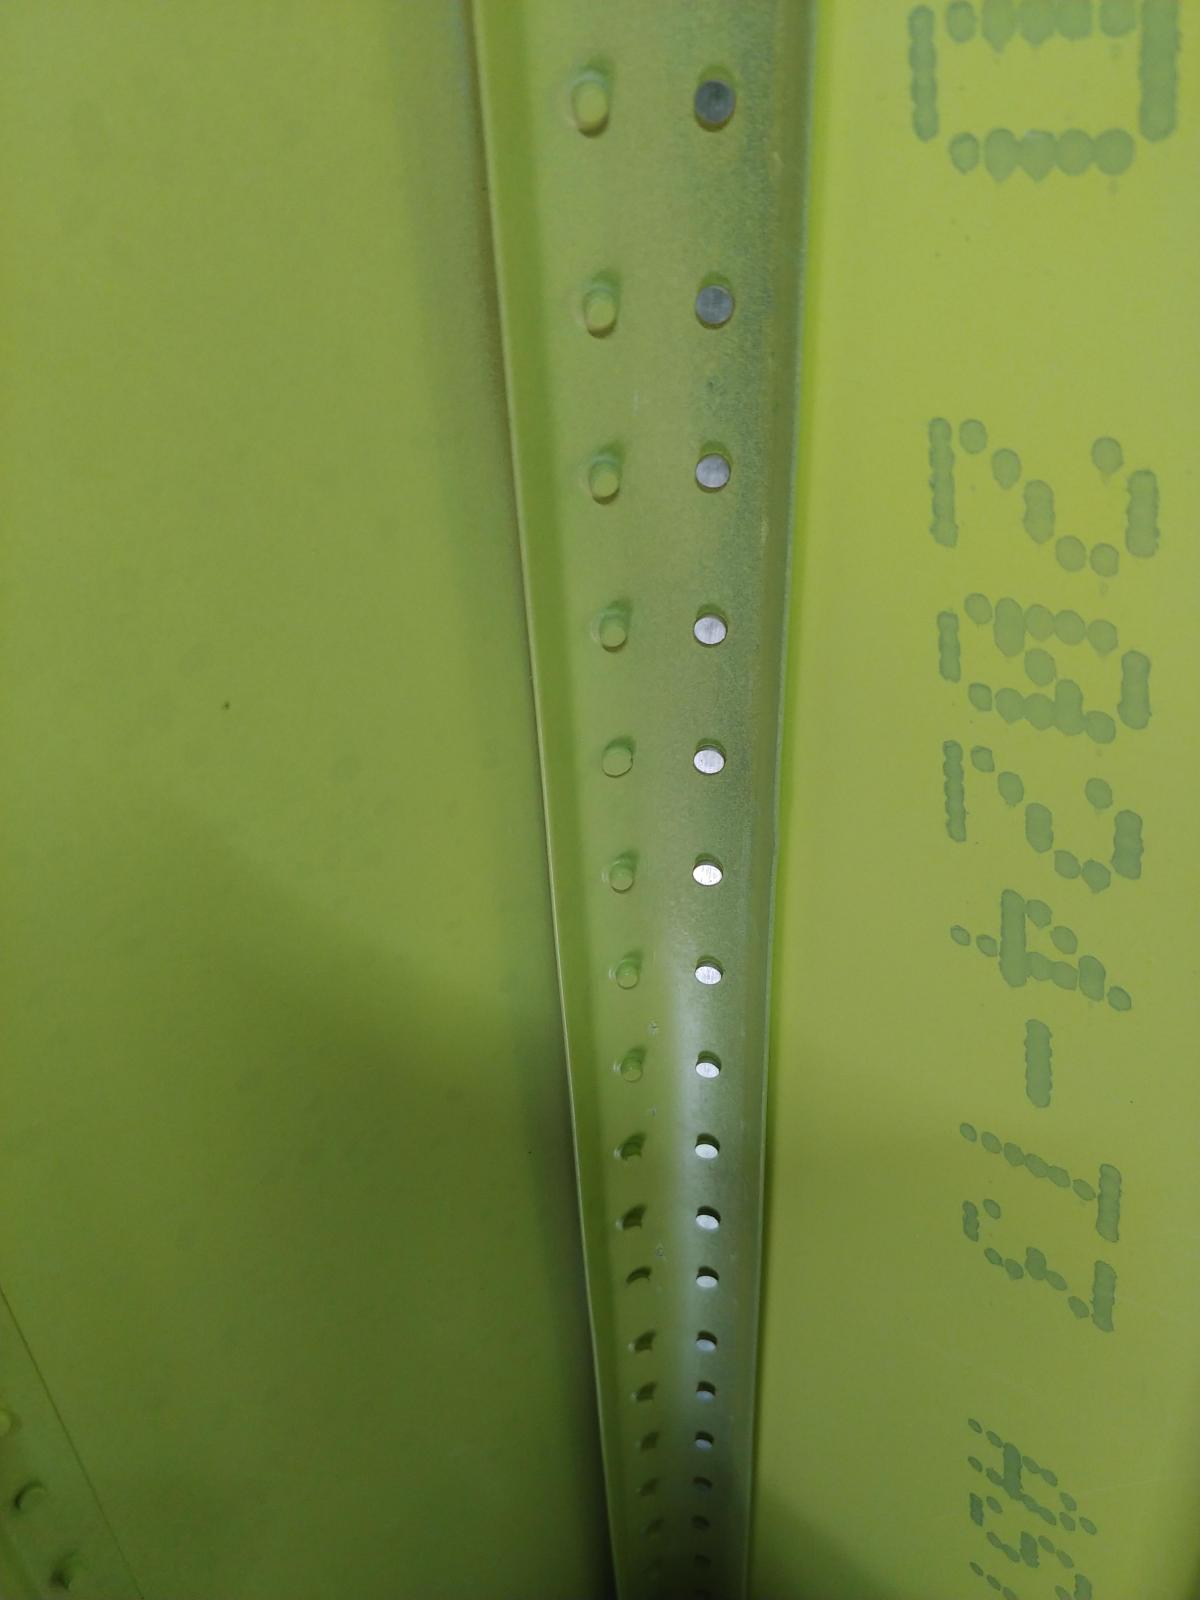
Anyways I hope you will enjoy these pictures showing just how pretty riveting can be, it also give you a little bit of a study on how it should show up on the model. Rivets are not JUST along panel lines. Rivets also follow all the stringers, doublers and internal components attached to the skin.

Thanks for posting, Walt! Brings back memories of working at GD on the F-16 line building-up forward air intake assemblies.
Best,
Mike
Being part of, and working on such a project must be amazing, Walt @luftwaffe-birdman
Beautiful pictures, thanks a lot for showing and explaining them.
A wonderful time spent there, Walt! Thanks for sharing those!
That is a lot of cleco's!
Pretty indeed. How do you know the shape of the aluminium panels, do you make templates before?
Cool! That is a wonderful project and one that would be so satisfying to be a part of! Walt, you seem to have more than a passing familiarity with that metal work. 😀 Good show indeed!
I worked as a sheet-metal mechanic/tinsmith for 13 years and we used hammer rivets for many jobs, including 20 ga. sheet-metal water cisterns. We had all sort of bucking tools and rivet sets in our old shop. Here's an example of one of our cisterns; two men who knew what they were doing could turn out one 6'x6' two-ring cistern in eight hours of hard work. 😊
Thanks Gary, @garybrantley, I do have my airframe certification and love sheetmetal working. We too have a variety of bucking bars, some purchased, some fabricated for special needs. Working aroud the structure left me with bruise and cuts but we get it done. The issue is sometime the access is just big enough to get your hand to touch the rivet but when you try to grip the bar there isn't enough room. Other time you need to bend your arm in what seems like three directions to get to the rivet. I am happy to say even with the challenges, we only miss shot about six rivets out of about 1200 rivets.
Thanks Stellan, @stellan, for panels a lot of timed we are able to take damaged skins and use them as a template for a pattern. Sometimes when a skin or a part is not available you have fabricate it on your own. These skins were made from the old skin templates.
I have attached a few pictures showing some of this process.
8 attached images. Click to enlarge.
1. Damaged Skin Bottoms from Goose
1. Drilling out the New Skin using Old Skin as a Template. That piece of Aluminum is over 12 feet long.
1. Both New Skins Riveted on. Each panel took once we started installation could not stop till done due to the sealant that was applied before the skin was clecoed on. Each skin took about 9 hours to rivet.
1. This is a former made for a part that was missing from the Goose.
1. Fromed Aluminum
1. Lightning holes added
1. Lightening holes flanged, parts heat treated and annodized.
1. Painted and fit into place
So each hull sheet is sealed at the rivet rows, where it meets with some other surface?
I wonder what a typically crude MiG-21 would look like if repanelled by you... Probably would pick up it neatness after a while.
Stellan, @stellan, when we rebuilt the Goose we used a urethane sealant and yes each panel seam, stringer, cross member or bulkhead had a bead of urethane on it, and then each rivet was dipped in it before installed. Messy and since the urethane started curing as soon as you applied it we had to rivet until completely done. Once done we had to clean off the excess urethane the oozed out before it cured. Happy to say that the plane has flown and landed and floated around in water and even with all the thousands of rivets and seams, after a day of flying and floating around they get maybe a couple quarts total from the entire fuselage, and both the floats stay bone dry. The floats are 7ft long.
The original Grumman construction used a cloth tape imbedded with a tar like substance that they would wet with something like mineral spirits and rivet it while it was wet. If it started to dry they would just wet it down again and keep riveting. Remarkably when we pulled off skins there was virtually no corrosion present anywhere from water incursion. That system worked very well.
1 attached image. Click to enlarge.
Thanks for that, Walt. Do you think it would be according to the rules to still use the tar strips today?
The Goose has been a favourite of mine since the early 80s TV series "Tales of the Gold Monkey".
I don't know if it would be a matter of rules or not Stellan, @stellan, it was an effective an rather simple method that worked. I believe if some company was going to build an amphibious plane out of aluminum they could use this method, but with modern sealants they probably wouldn't.
I too really like the Goose and was an avid fan of "Tales of the Gold Monkey" and we had the complete series DVD set in the hanger, I took them home and watched them all. I like the lines of the original Goose better than ours. Ours is one of the four surviving McKinnon Turbine Conversions. I am very much a radial man, but the turbines really make a difference in performance and capabilities. The gross weight increased by over 50% from 8000 lbs to 12,500 lbs. Cruise speed from around 150mph to 235 mph and increased the service ceiling of the aircraft also. Still the radial engined ones are beautiful and honestly this aircraft is beautiful also.
If you got time to kill, you can go back and see all the work that was done to rebuild N642, most of the rebuild process was captured and posted on line on the "Goose N642" Facebook page. Its about 10 years of posts, so lots to look at.
https://www.facebook.com/profile.php?id=100064783626189
2 attached images. Click to enlarge.
Really cool pics! Like the one with four in-flight.