The "Hangar-Games" Part III: GPM's big hangar on a small scale
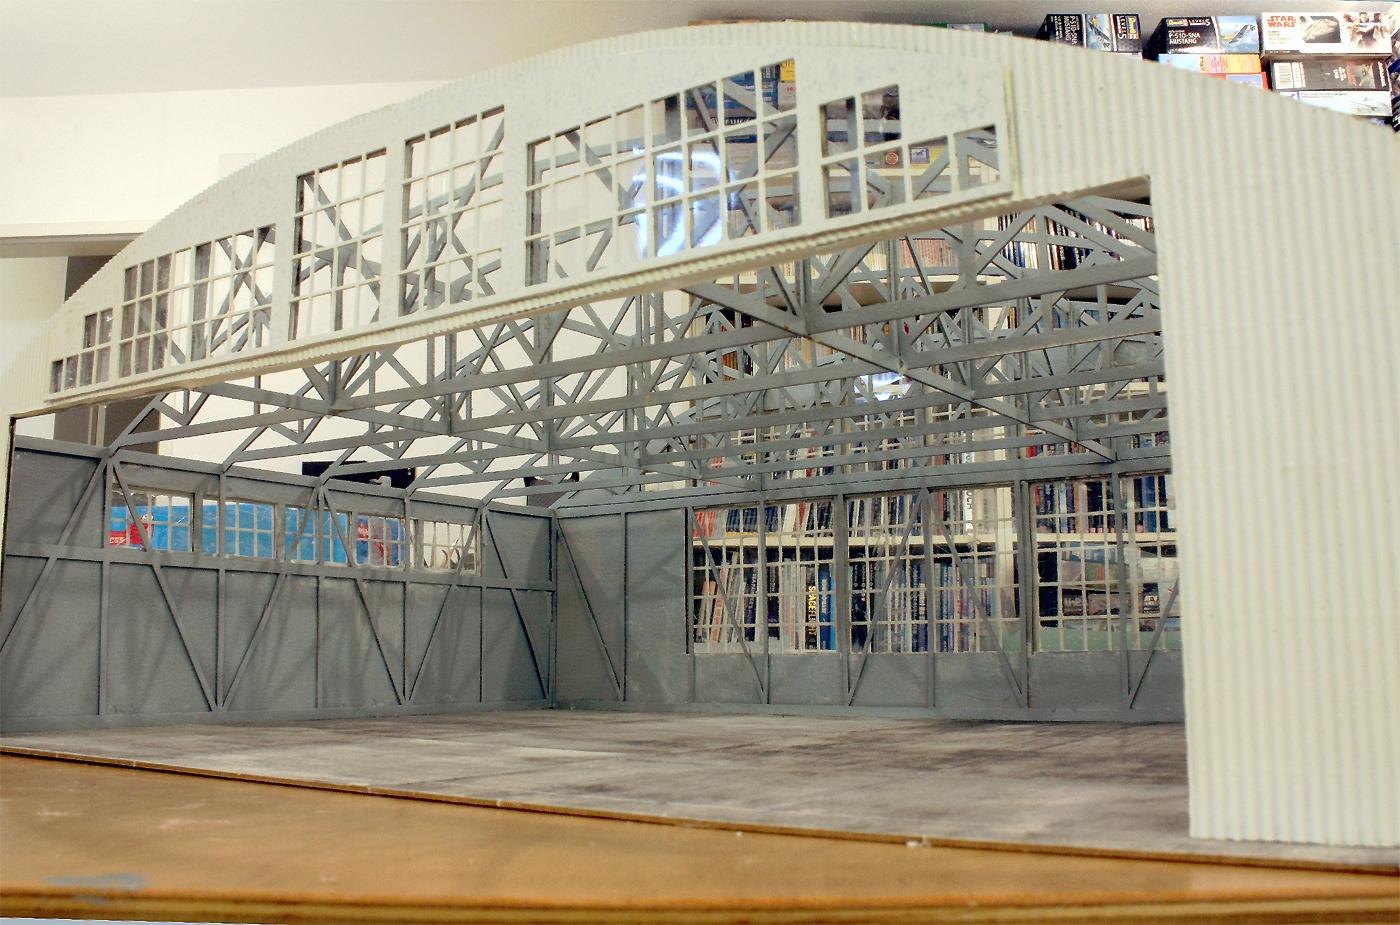
My search for photogenic backgrounds for photographing aircraft models led me to the cardboard models of the Polish manufacturer GPM. As a newcomer in the field of cardboard model building, I was surprised at how complex and at the same time well thought-out the construction of an impressive and realistic hangar is prepared here: at first I could hardly imagine what could be achieved from this flat cardboard and the three layers of quite unsightly looking corrugated cardboard!
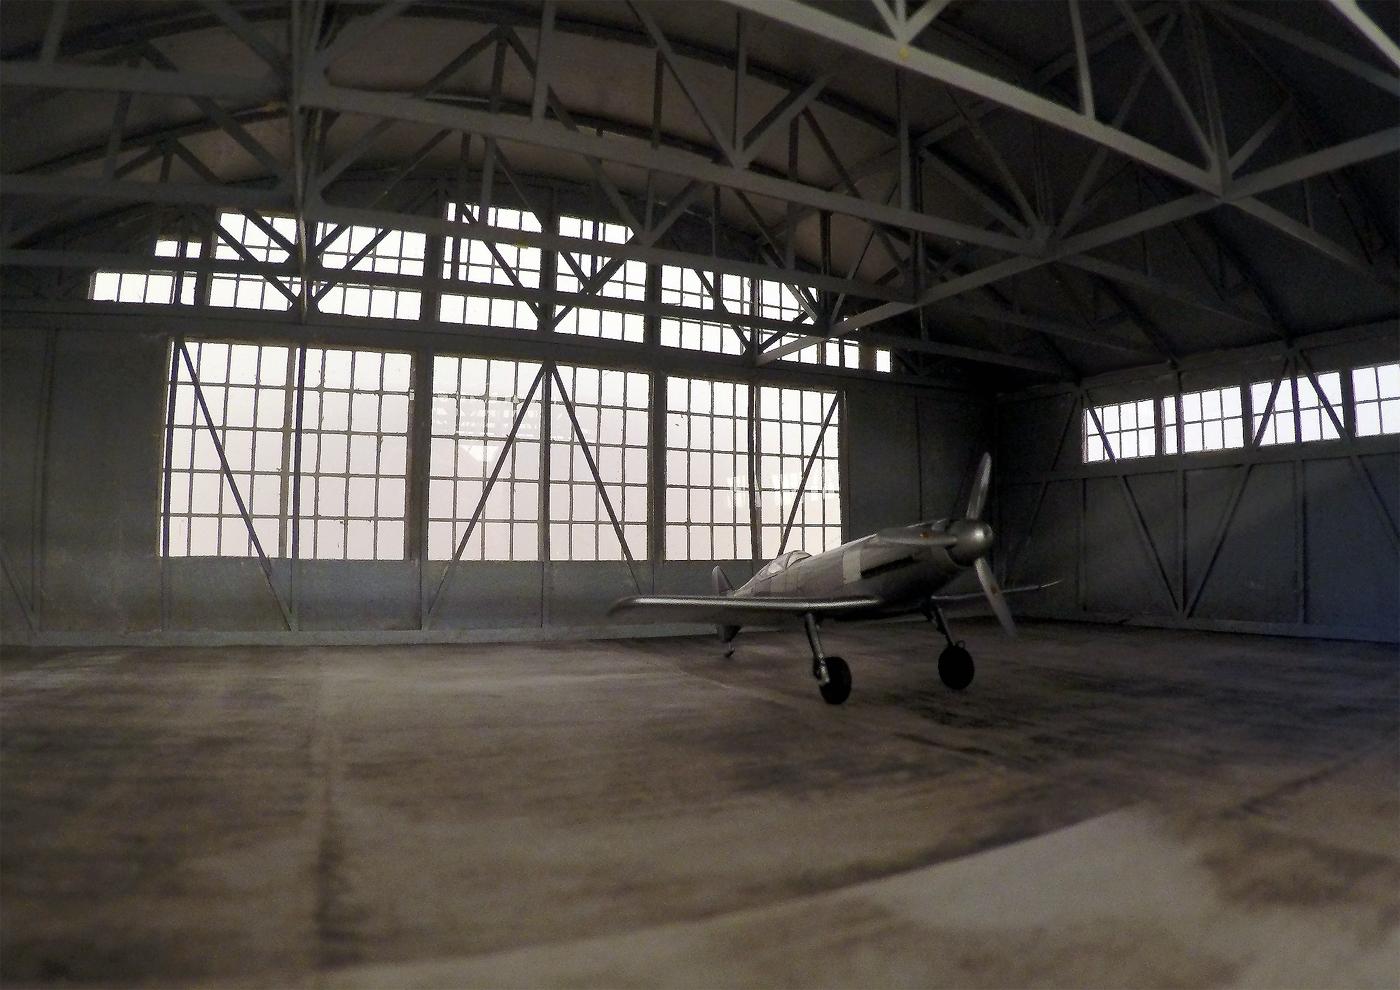
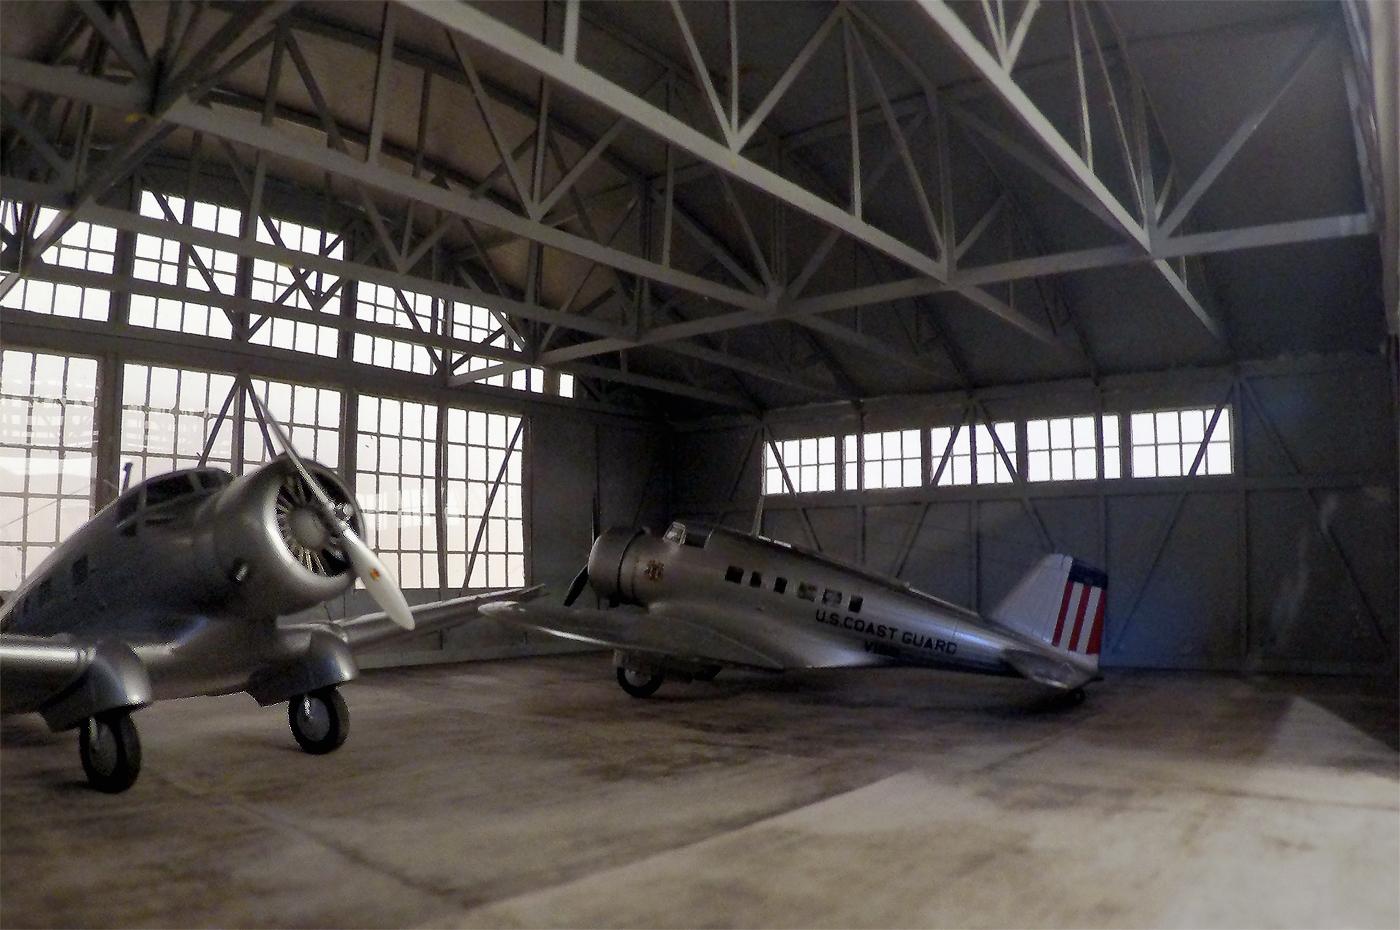
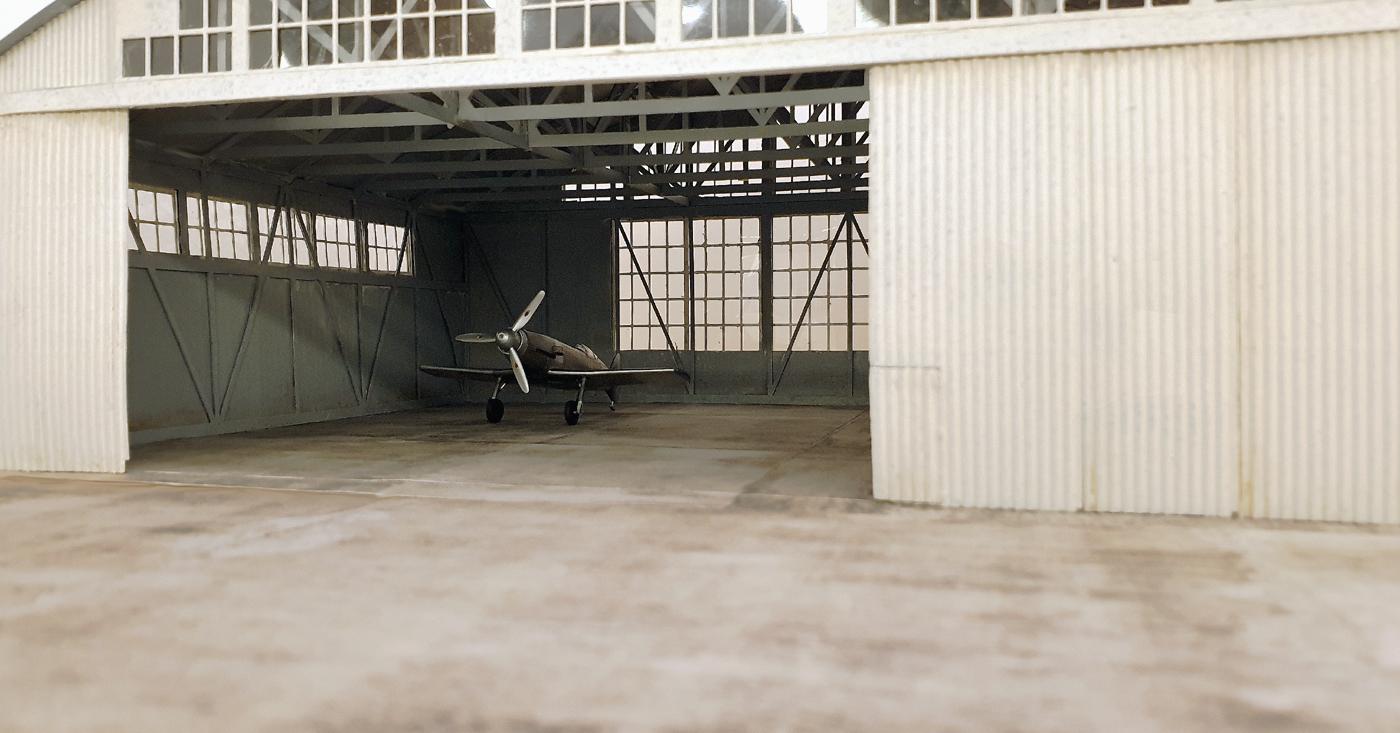
However, after just under a week of very relaxed building, I was able to curiously take the first test shots from inside the hangar with my "Gopro" camera. I have to admit right away: it's really fun to make these small rooms look as big as a hall with a wide-angle lens that focuses in depth. It is amazing how aircraft models even in the small scale of 1:72 gain in realism with a little architectural background!
But one thing at a time: at the beginning I would like to share a few hints and experiences I made while building this hangar from GPM.
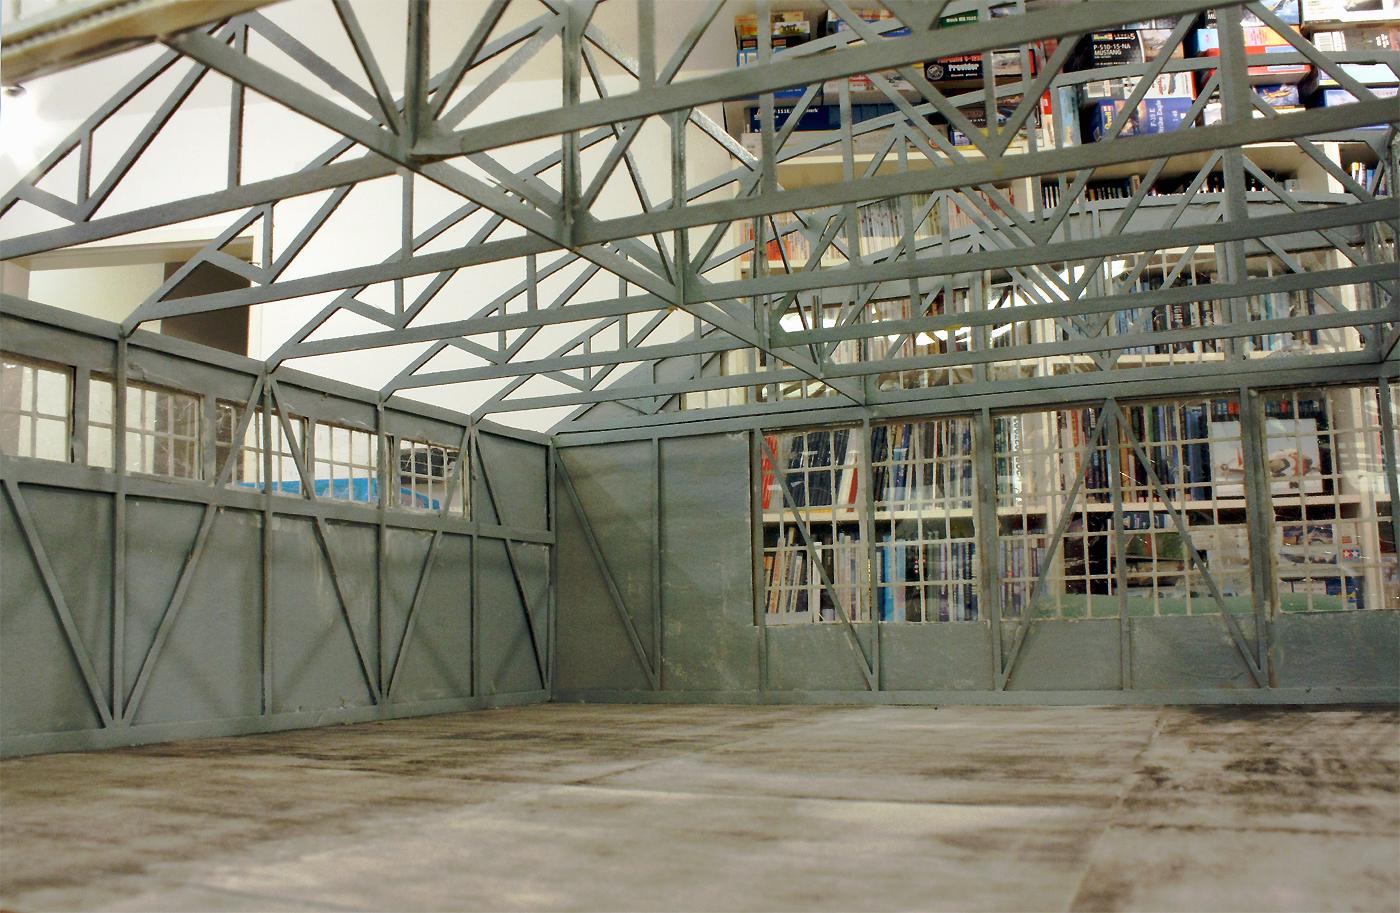
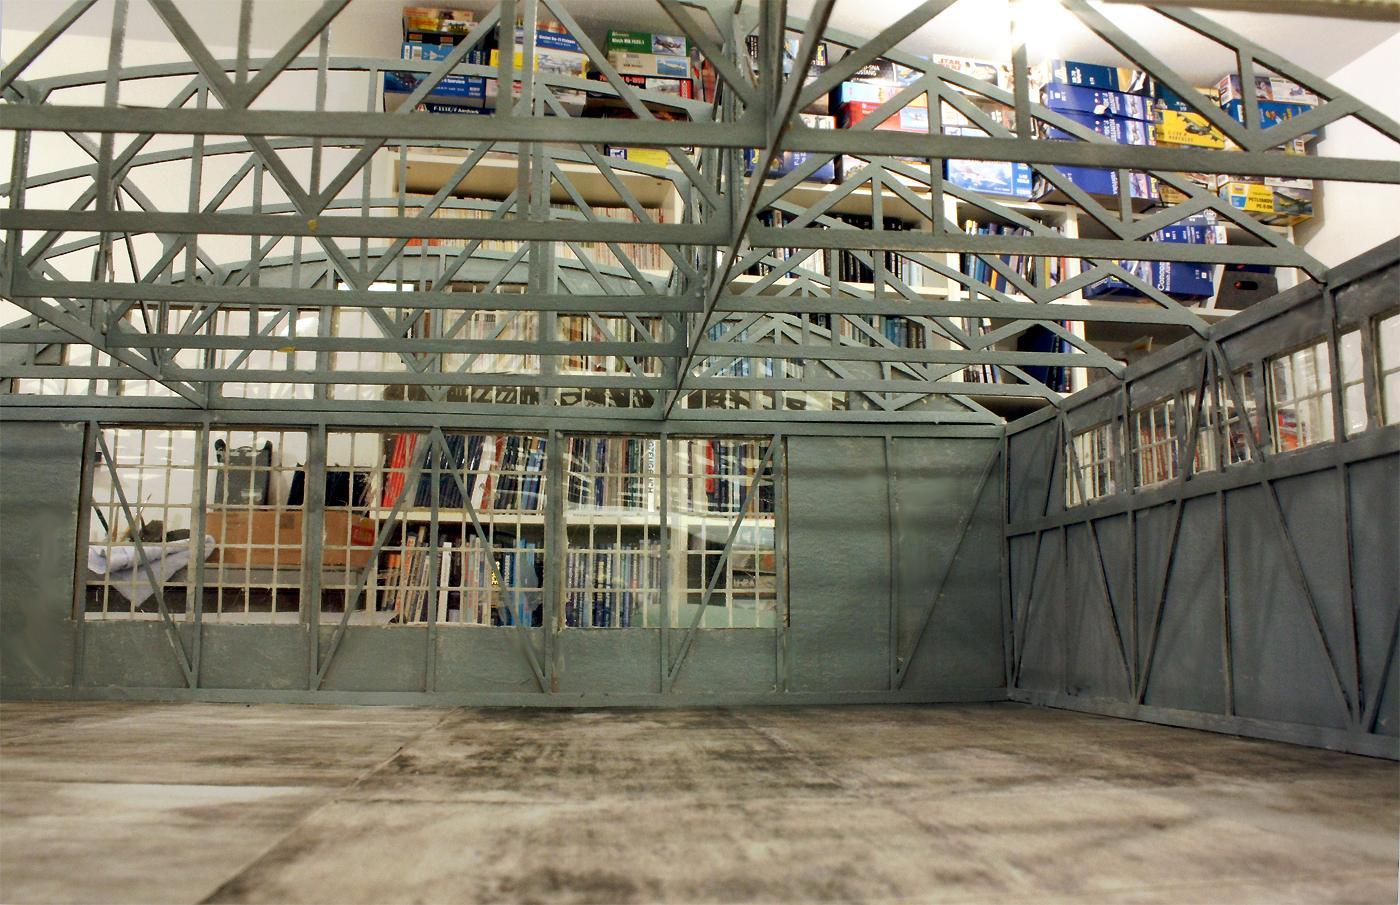
The already mentioned complexity of the hangar model becomes apparent right at the beginning when building the interior supporting structure of the walls: here you should have read the building instructions well and familiarised yourself with the logic of the construction, otherwise far-reaching mistakes can easily creep in. Once you have familiarised yourself with the planned construction steps, the actual assembly does not take much time and works like clockwork.
At this point, however, a note on colouring is important: I advise you to decide in good time before you start building how you want to colour the parts. It can be very tedious to have to paint all the many sides of a completed skeleton architecture with a brush! To avoid this, I painted the laser-cut individual parts with a small paint roller before removing them from the cardboard surfaces. This is done quickly and is also satisfying in that the narrow side edges of the skeletal building elements are also coloured in at the same time due to the rich application of paint with the roller. Fittingly, the paint roller is also the tool used to quickly colour the surfaces of the corrugated cardboard walls of the hangar.
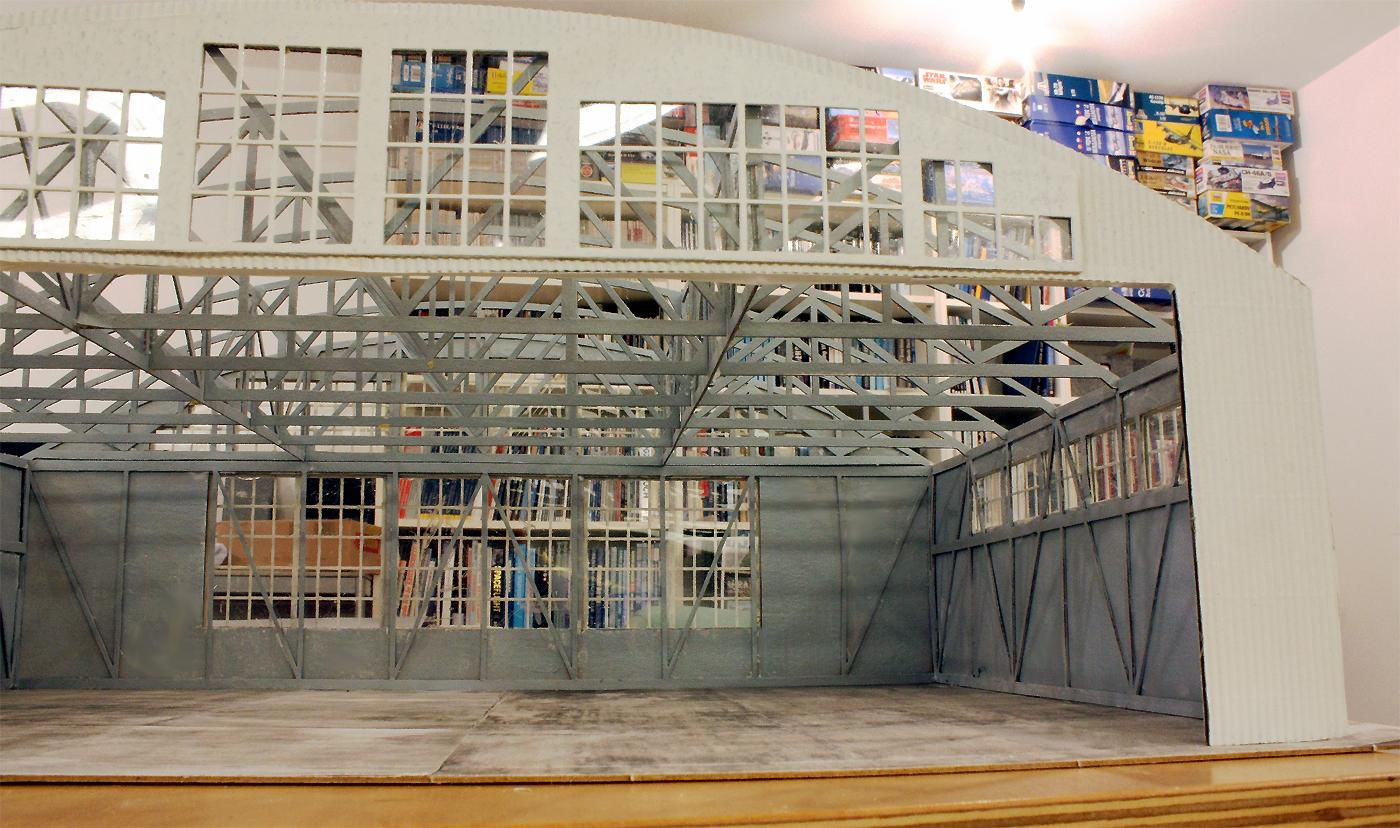
I used water-soluble varnish to paint the hangar in two shades. When painting the surfaces, just be aware that the cardboard will warp if the paint is applied on one side, so it is best to treat both sides at the same time. In the final colouring of the architectural model, it is also good to consider the interior as well as the exterior with traces of use and dirt - applied with restraint. I used ochre and brown shades of pastel crayons for this.
Cyanoacrylate - super glue - worked well for joining the paper and cardboard parts. For less delicate areas, I also used the gel glue of a well-known brand.
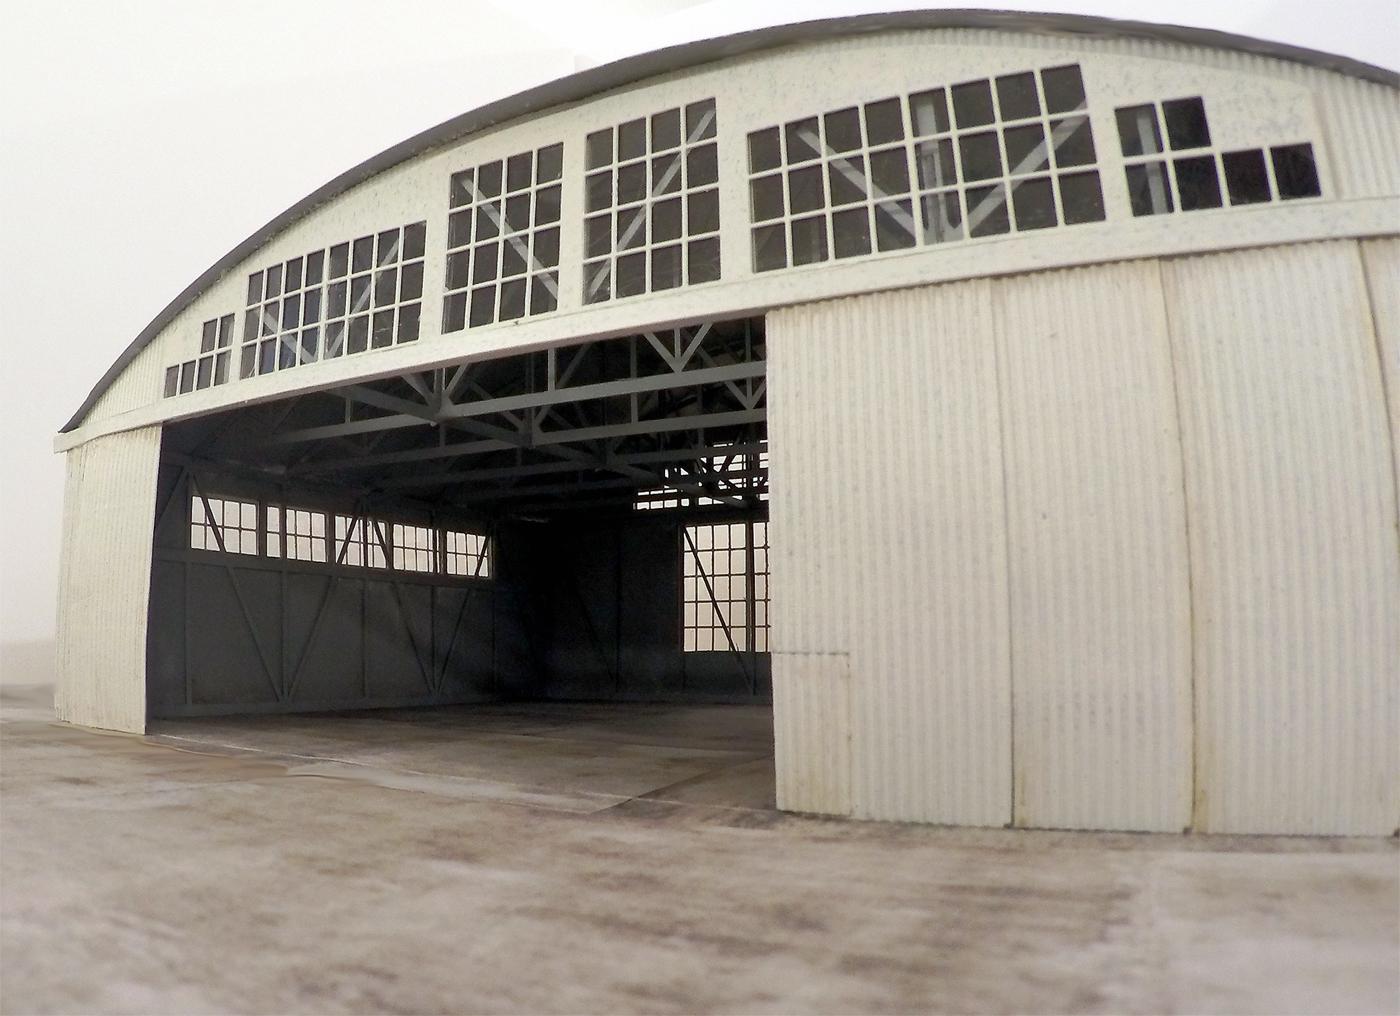
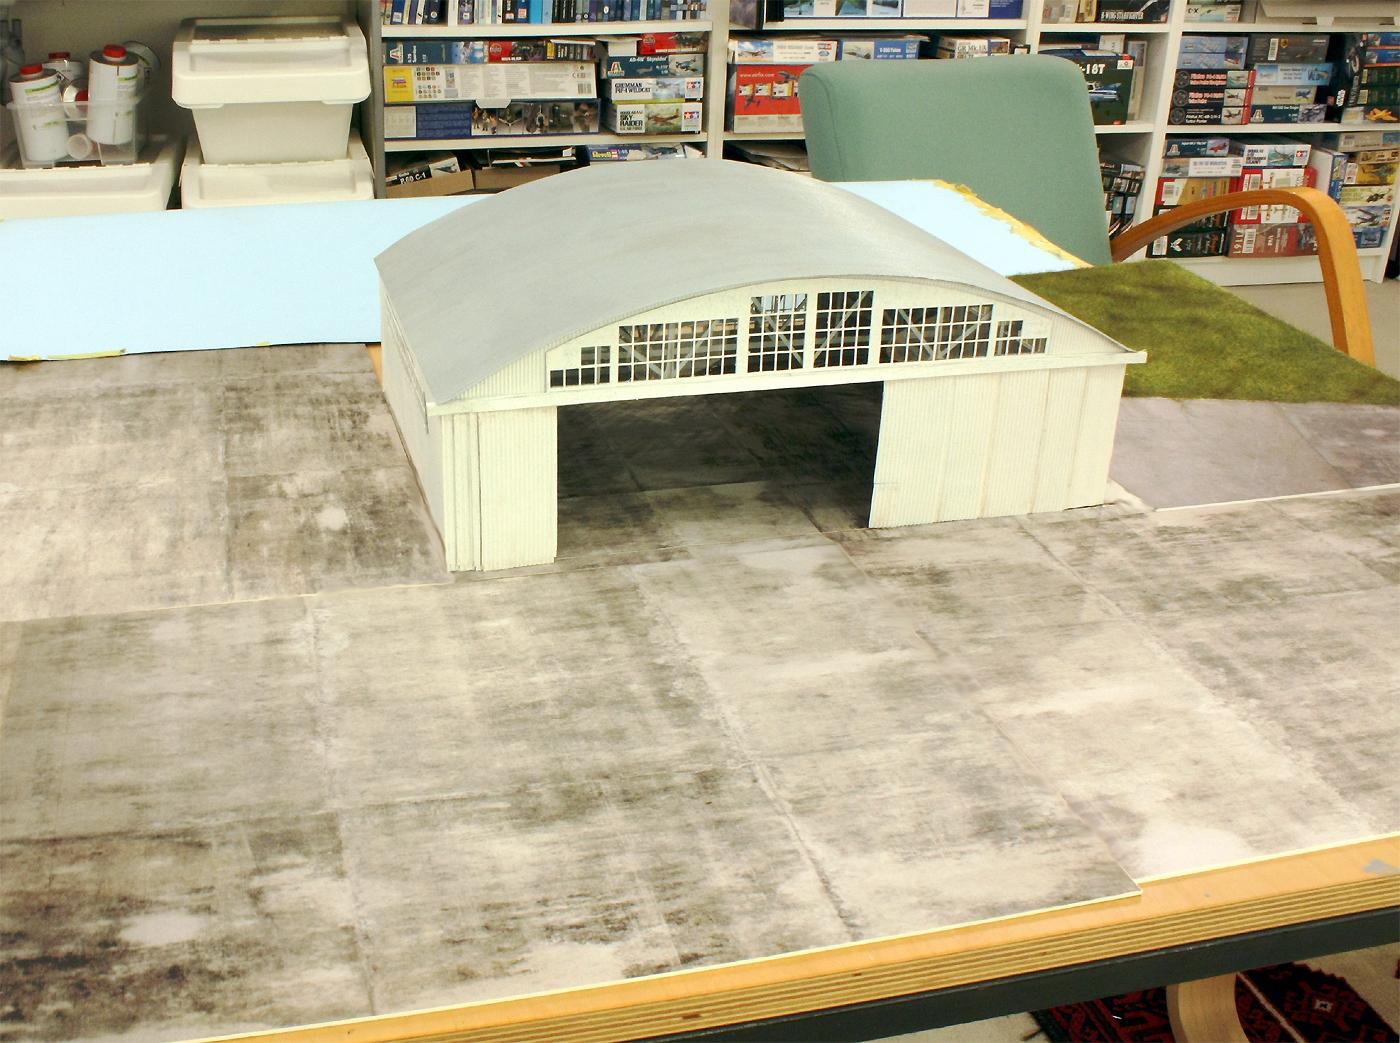
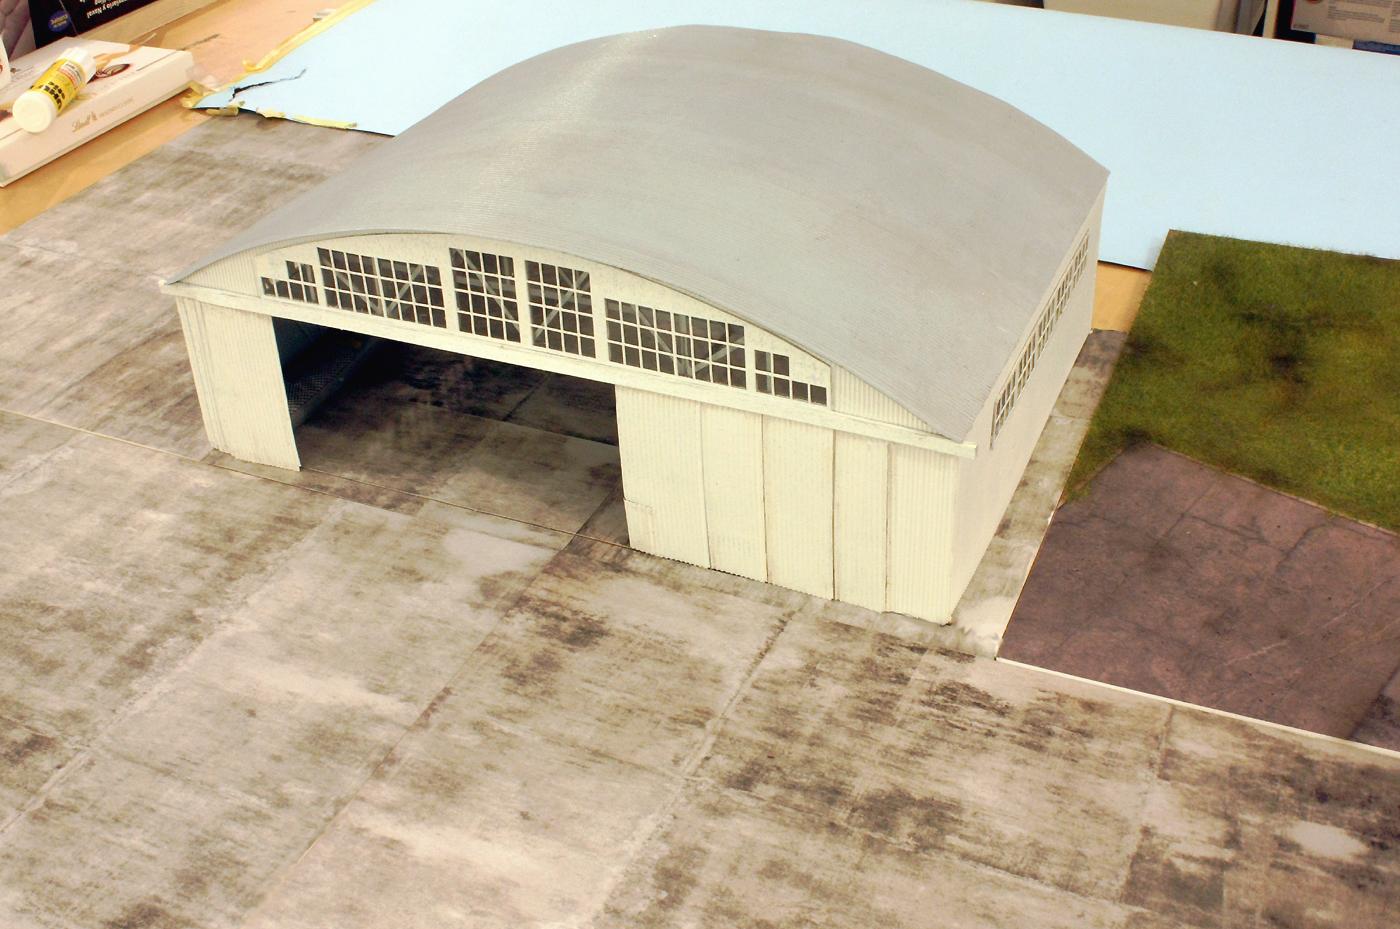
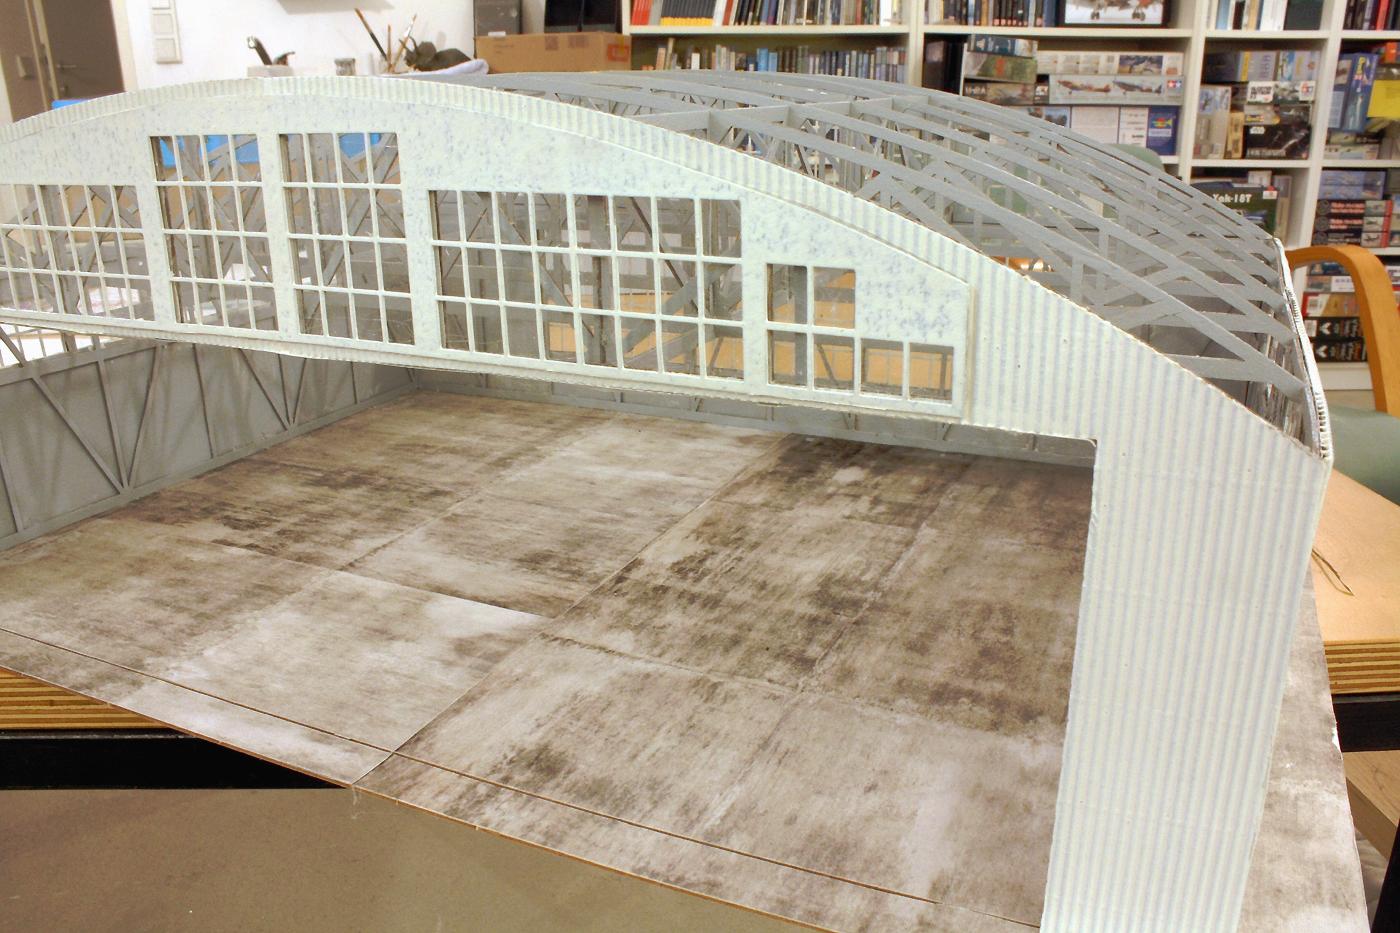
The floor of the hangar has to be designed by myself. I printed out a scanned image of a "concrete slab" in slight variations several times and glued the paper surfaces cut to fit onto the cardboard floor of the interior. It made sense to glue further printed variations of the concrete floor onto cardboard panels in A3 format to create elements of a hangar apron that can be extended as desired. The pictures of the hangar from above give an impression of a possible extension with these panels.
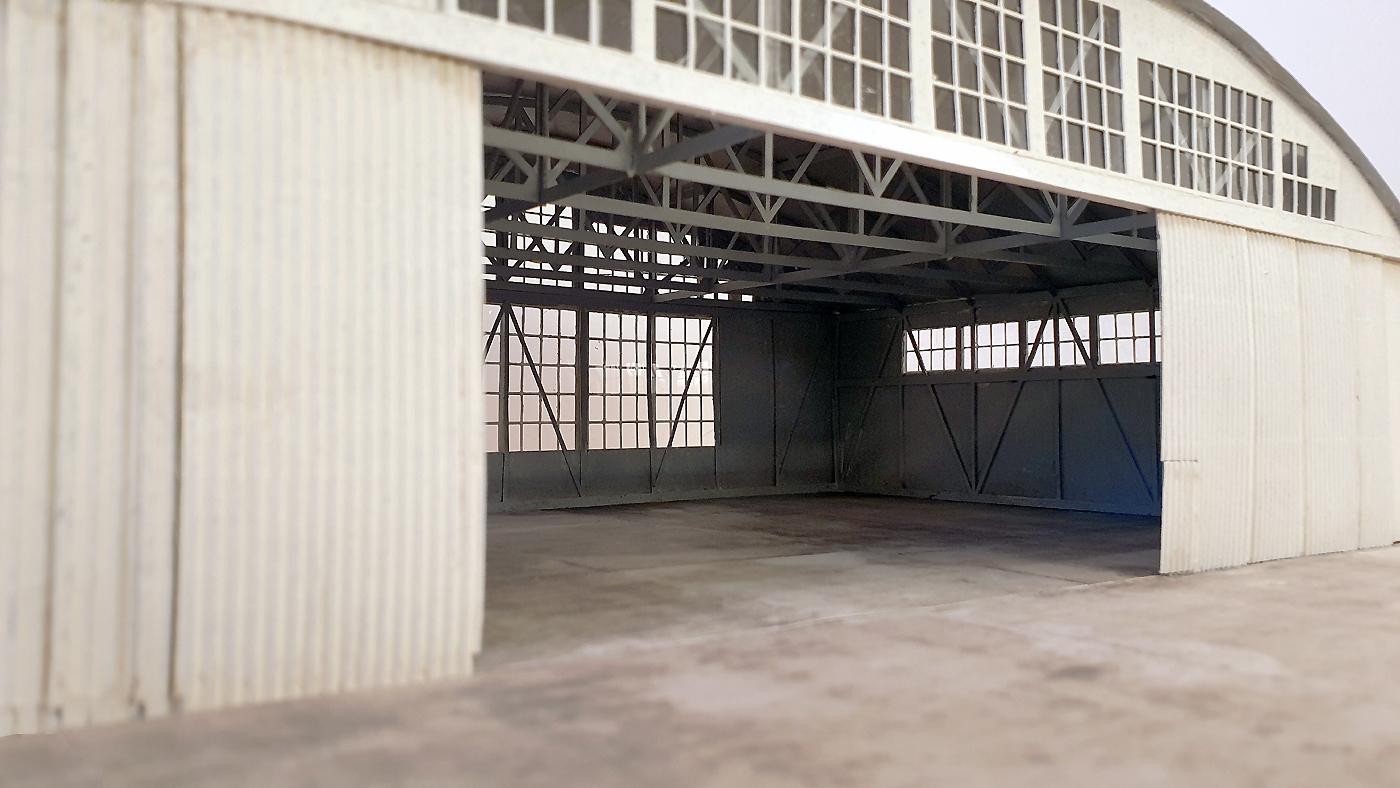
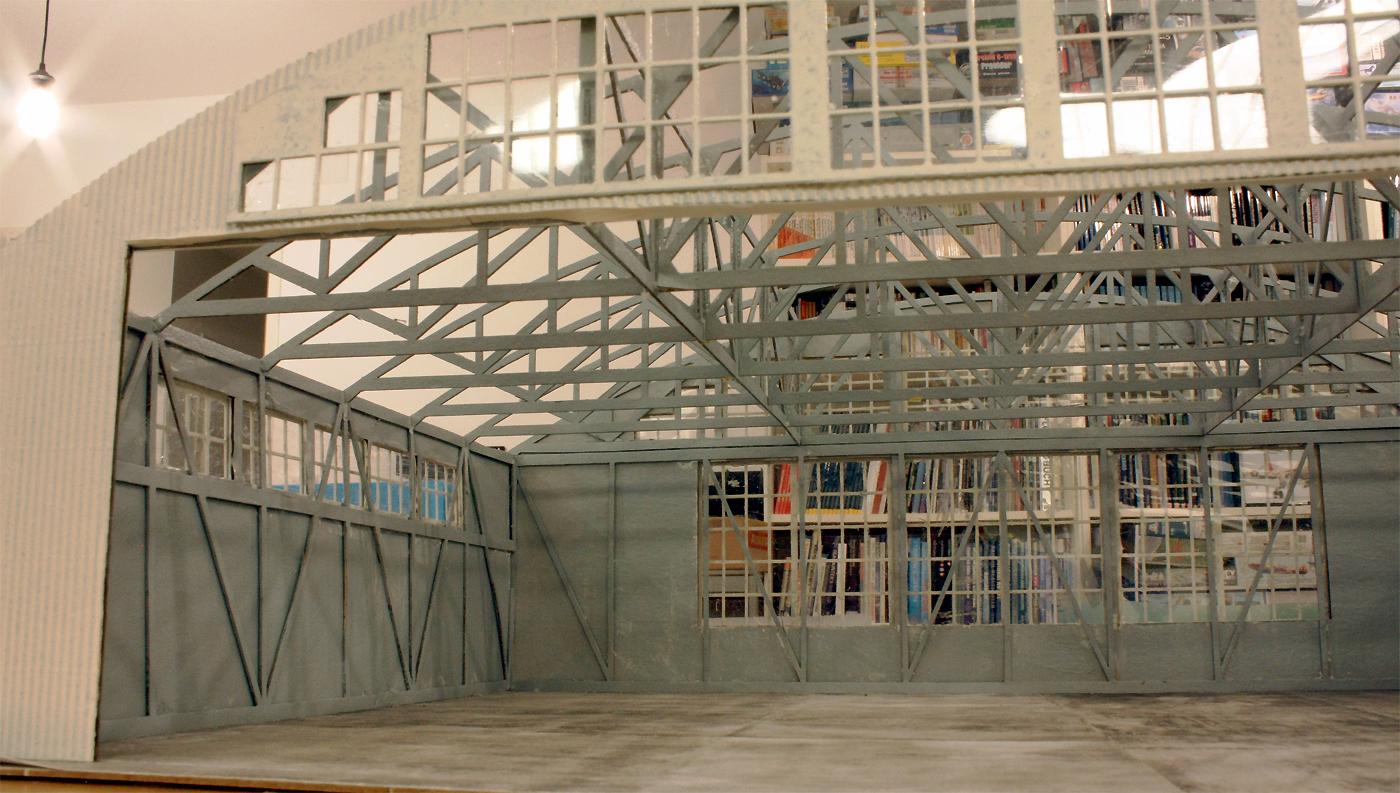
A recommendation refers to researching the original. In particular, one should familiarise oneself with the functioning of the elements of the large sliding door before starting to assemble its cardboard parts. The sequence as well as the position of the individual gate elements in relation to each other are not defined in detail in the building instructions. So you have to think for yourself in order to arrive at a sensible and original arrangement.
A look at the possible real examples of this GPM building model is not only recommended with regard to the mechanics of the hangar doors. Details such as colouring, extensions and furnishings, but also traces of wear and dirt on these large architectures also become vivid and can be included in the design of the model.
Incidentally, this also reveals another extremely remarkable fact: the type of hangar selected by GPM seems to be omnipresent. This refers to geography - this hangar is literally in use on every continent - as well as to the dimension of time: the oldest buildings of this type seem to have been erected in the late 1920s and are sometimes still in use today. For the modeller, this means a wide range of possible scenarios in which these building models can be used; GPM has indeed made a good model choice here.
I am already looking forward to being able to use this hangar in the future for the presentation of completed aircraft models. For this purpose, the camera tripod is set so low that the horizon line comes to rest at an estimated two metres above the ground to scale. With this human scale, rooms appear like models in a size that is very close to their real appearance. As soon as a depth-of-field range is added, which shows the models sharply from far in front to the rear areas, the impression can arise of actually standing in front of a realistically large aircraft or in a real architecture.
In conclusion, I can say that this excursion into the field of cardboard model building seems to me to be time and energy well spent. Apart from the anticipation of using it for model photography, building the GPM hangar was a lot of fun - so much so that a second 1:48 scale hangar is already in the pipeline!


THis is extremely cool Roland @rosachsenhofer. Thanks for sharing this as I have not hear of GPM prior to this. I love the way you put this together both the build and as a backdrop fopr your photos. Very nice indeed.
The hangar looks wonderful, Roland! Thanks for the equally wonderful article, with all building details and photographing tips.
Great achievement and outcome, Roland @rosachsenhofer
Thanks for sharing al the useful information.
Your hangar will make a wonderful backdrop for your aircraft models, much better than a display of paints and tools, etc, so often seen.
This is really a nice looking hangar. It does provide a great background for your builds, storage too. Great job on putting this together.
Great job!
Wow, fantastic! I was thinking of building one myself.
Pretty hard to come by so it seems, but I got it 🙂
How did you fix the doors?
The cardboard doors are cut out individually, once a position was found they were inserted into the guide rail of folded paper at the top and into the slot cut in the bottom cardboard at the bottom and fixed with glue- it works quite well!I am very happy that you like GPM's hangar!
Thank you all for your interest and motivating words - I am very happy that you like GPM's hangar!