Zvezda Kamov Ka-50 Hokum
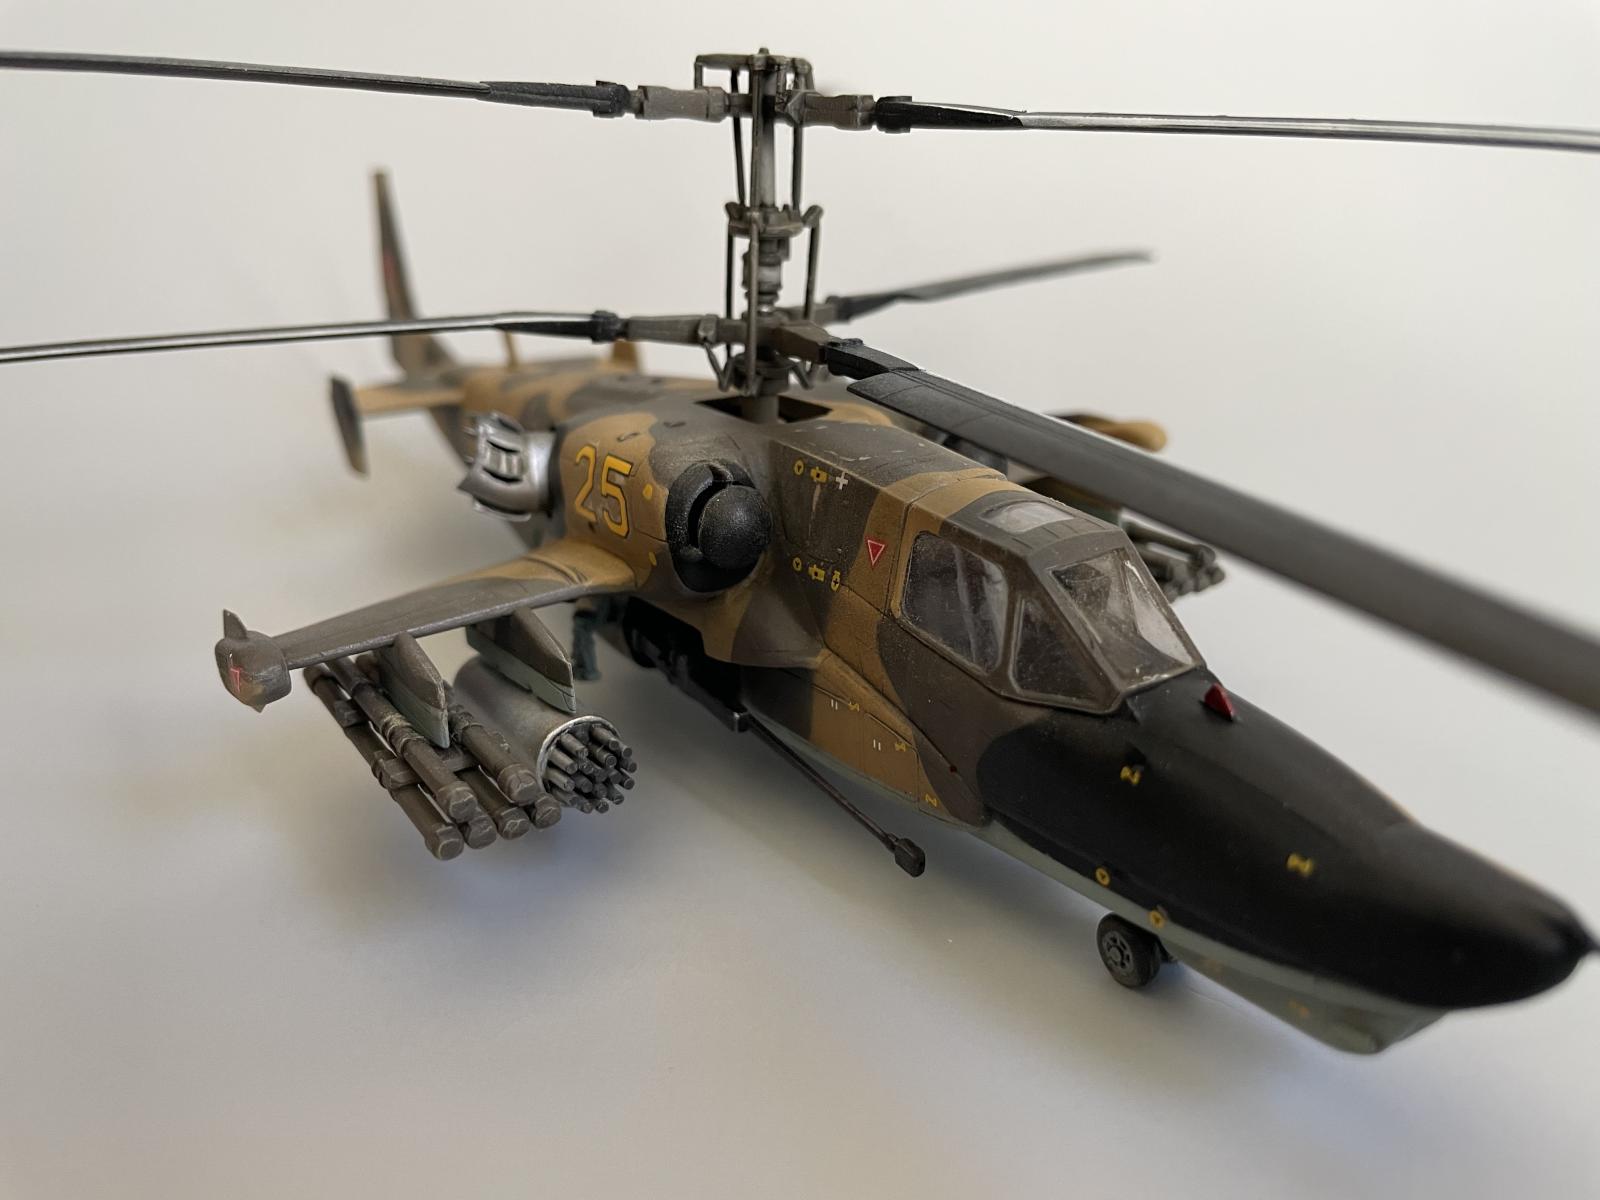
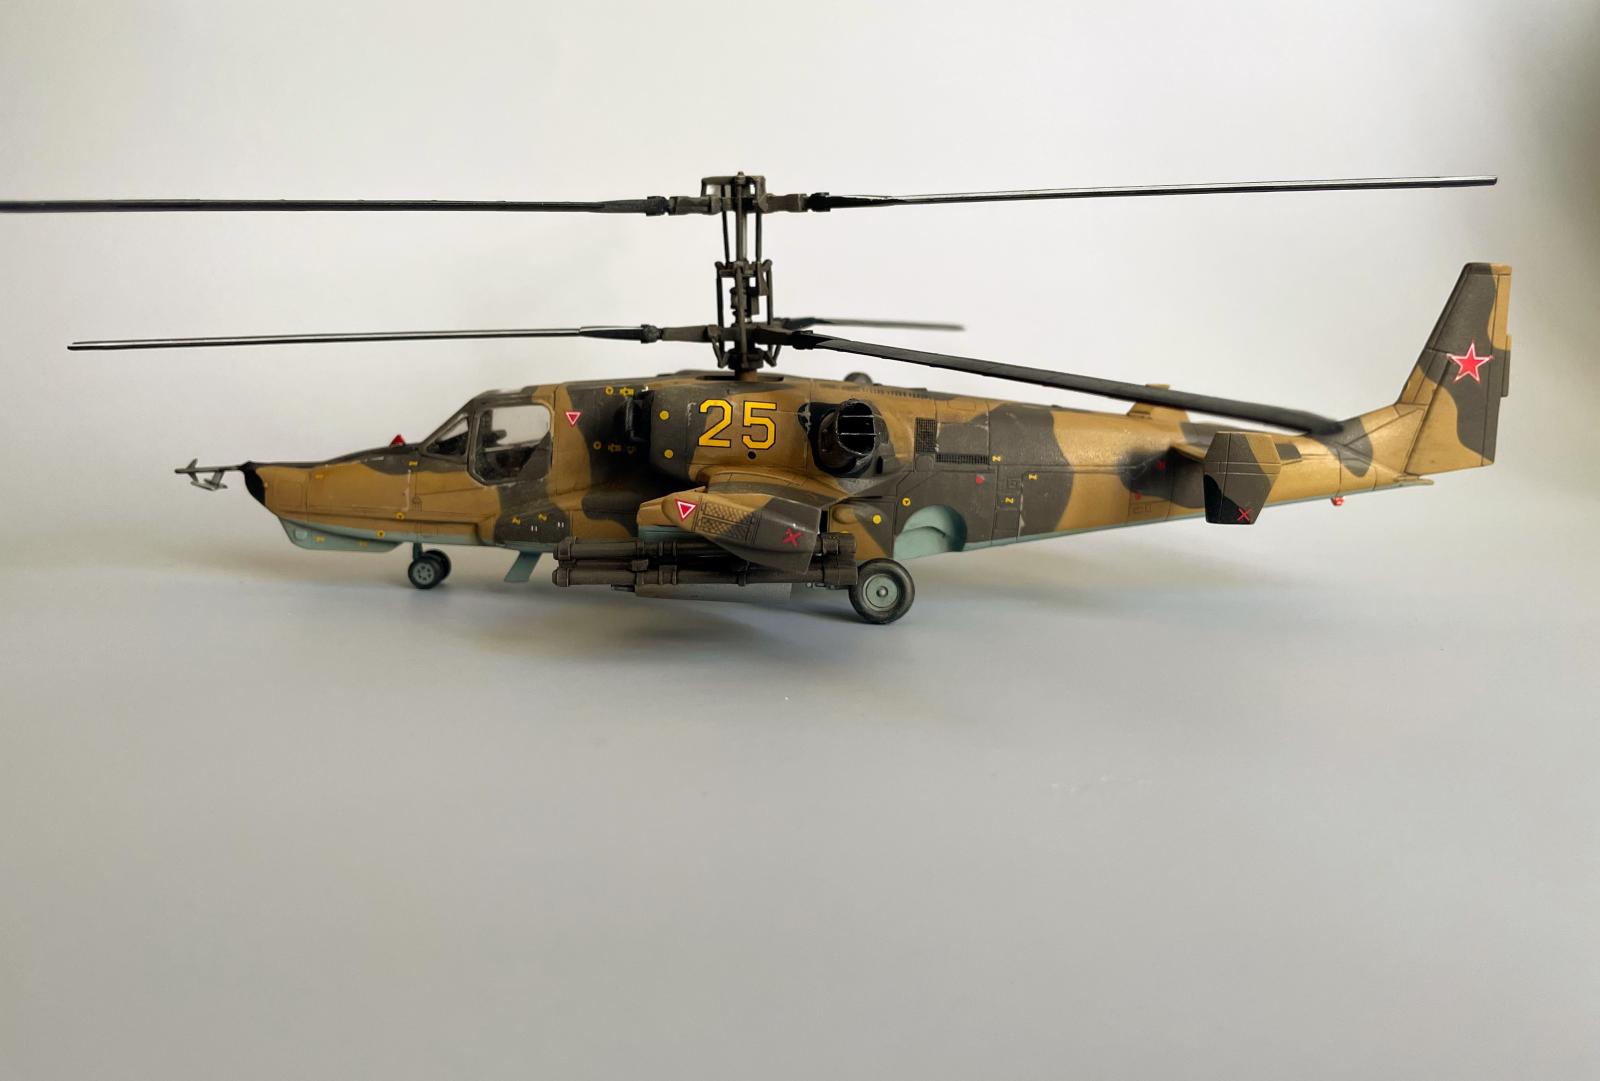
The Kamov Ka-50 “Black Shark”, better known in the West by its NATO reporting name “Hokum”, is a Russian attack helicopter distinguished by its coaxial dual rotors. Compared to single rotor designs, the Hokum exhibits improved aerodynamics that allow it to roll and perform loops, and make flat turns at speed. Absence of the tail rotor assembly improves engine efficiency as well. The aircraft is armed for anti-armor attack missions, with chaff and flare countermeasures available in pods on the wing tips. The cockpit is armored, designed to withstand up to 12.7 mm armor-piercing bullets; however, Ukrainian military intelligence alleges that small-arms fire has been successful in bringing down the Ka-52 in the current conflict there.
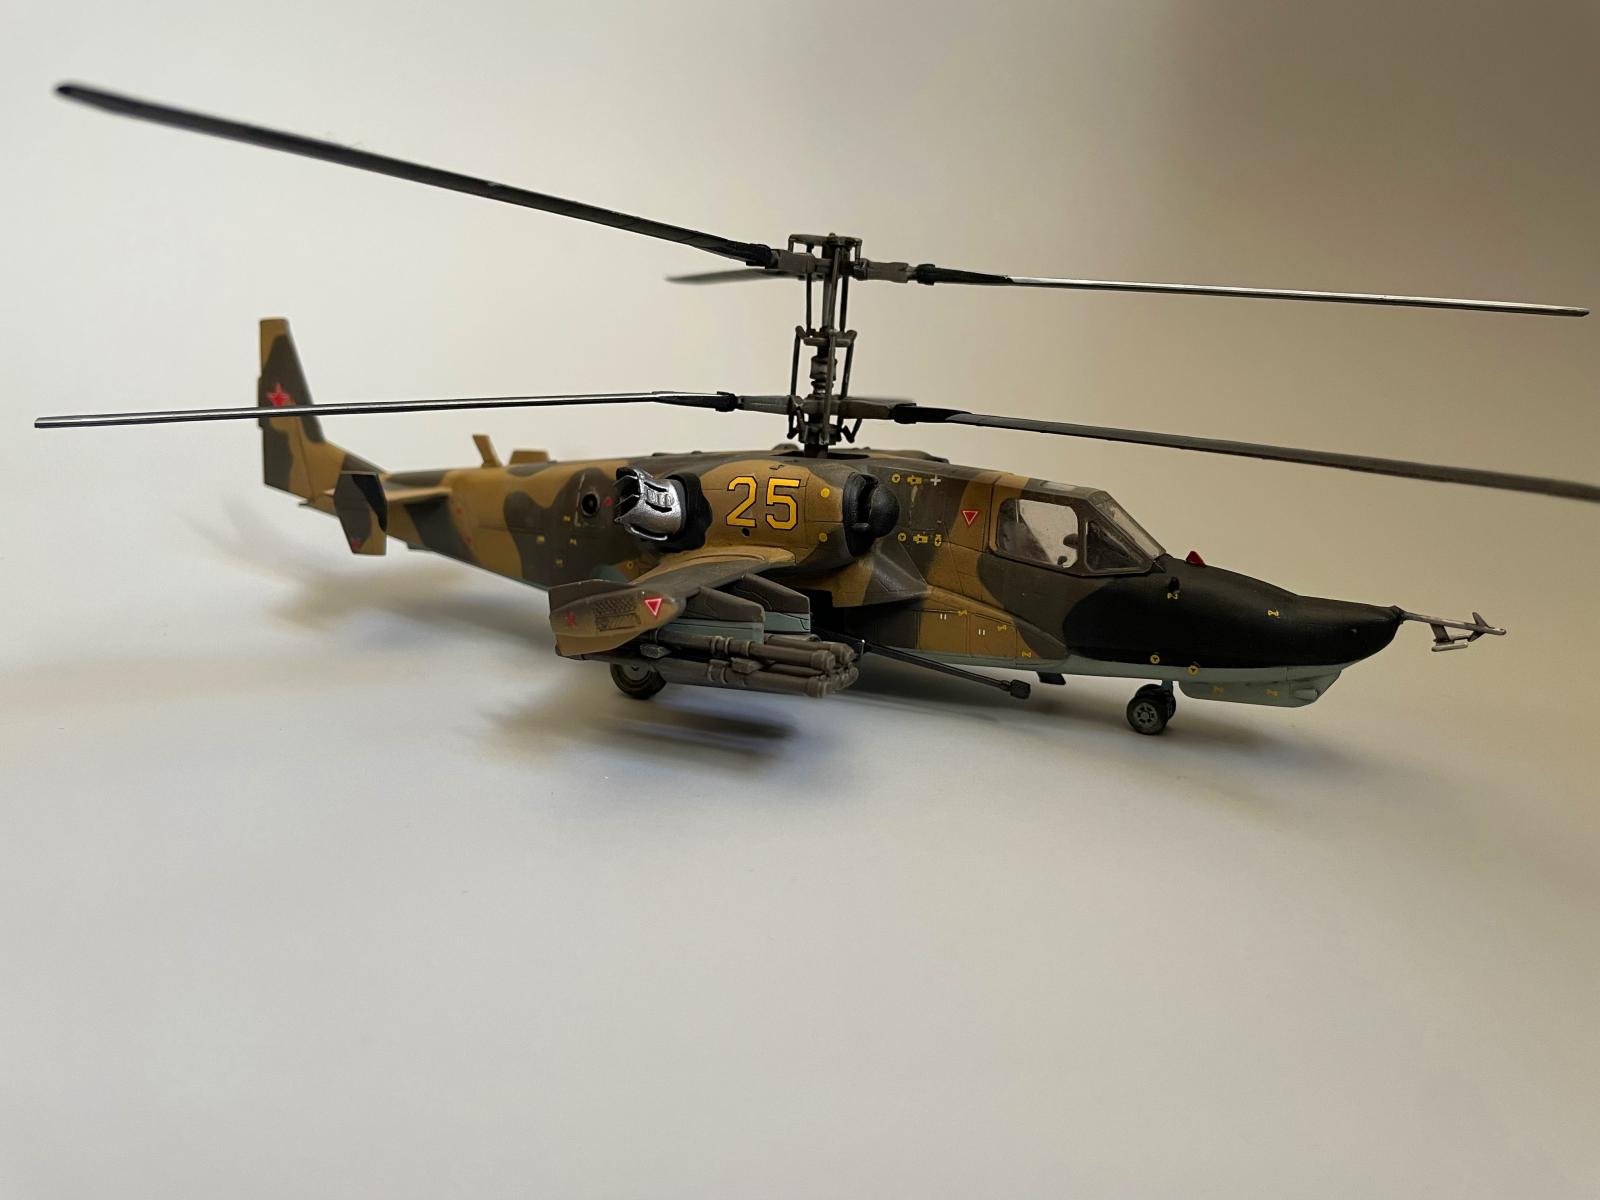
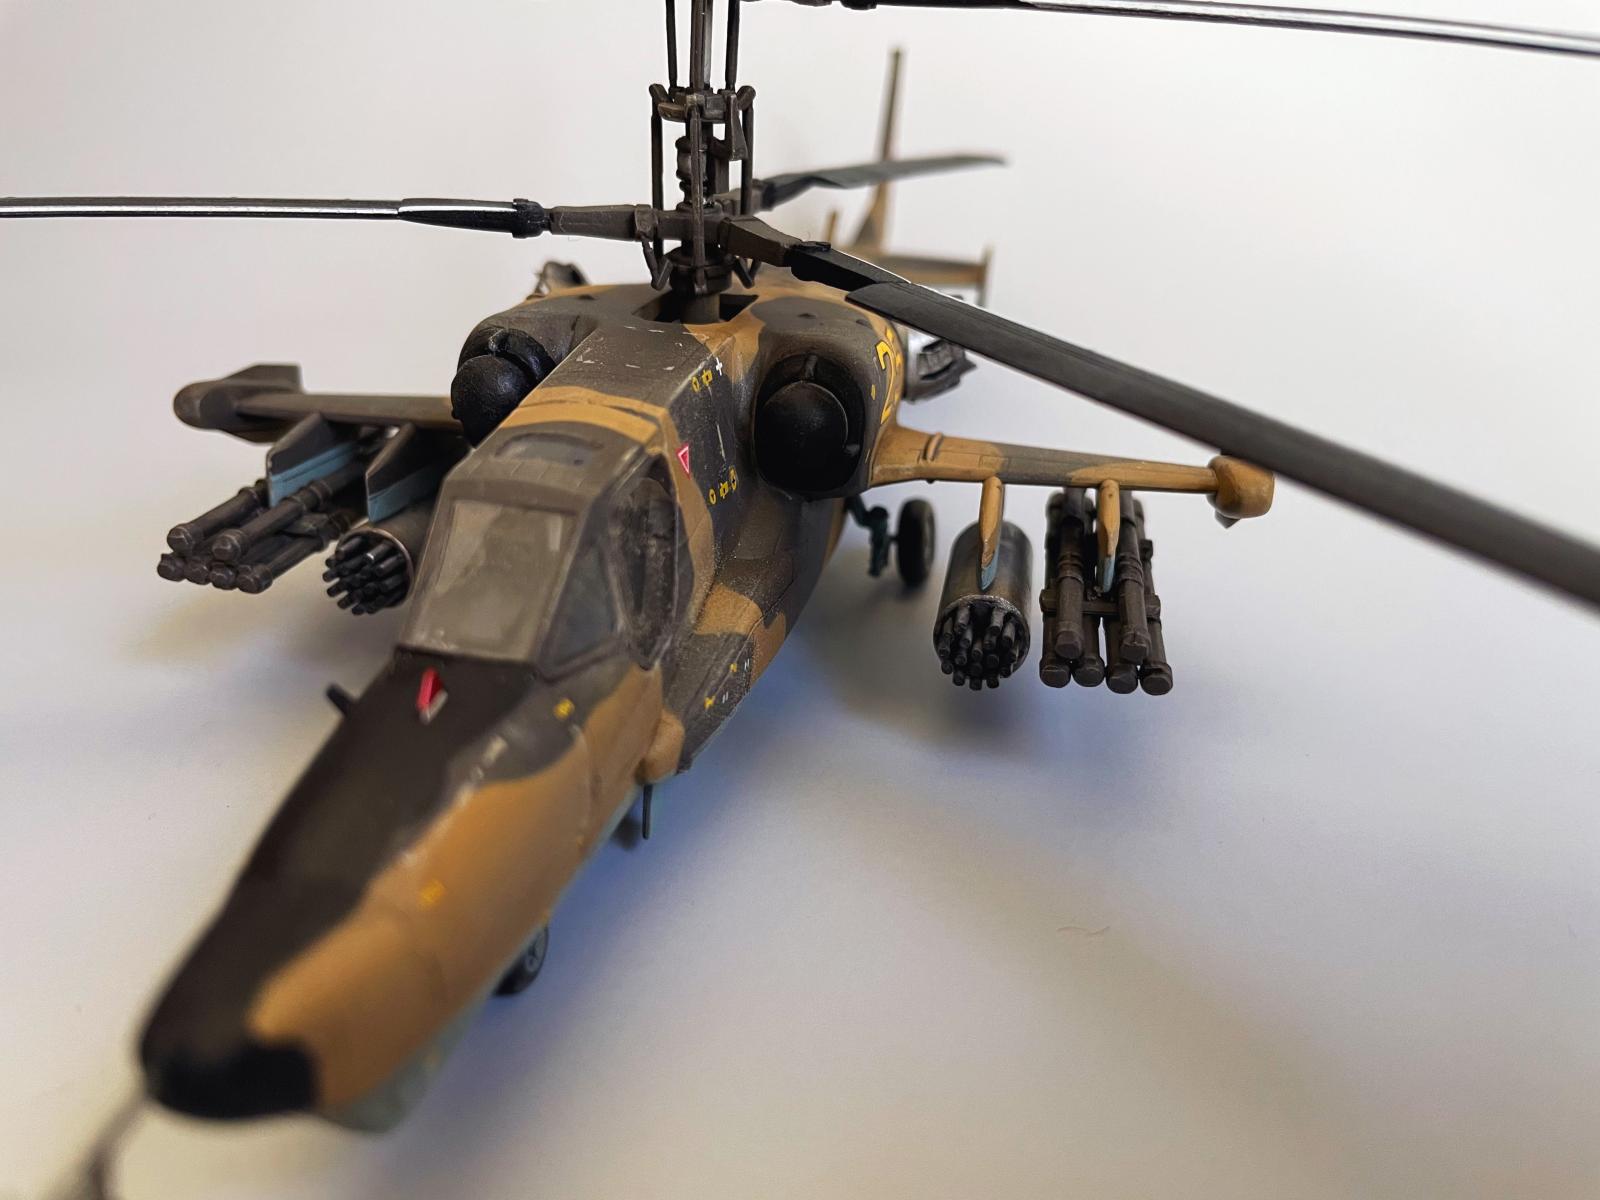
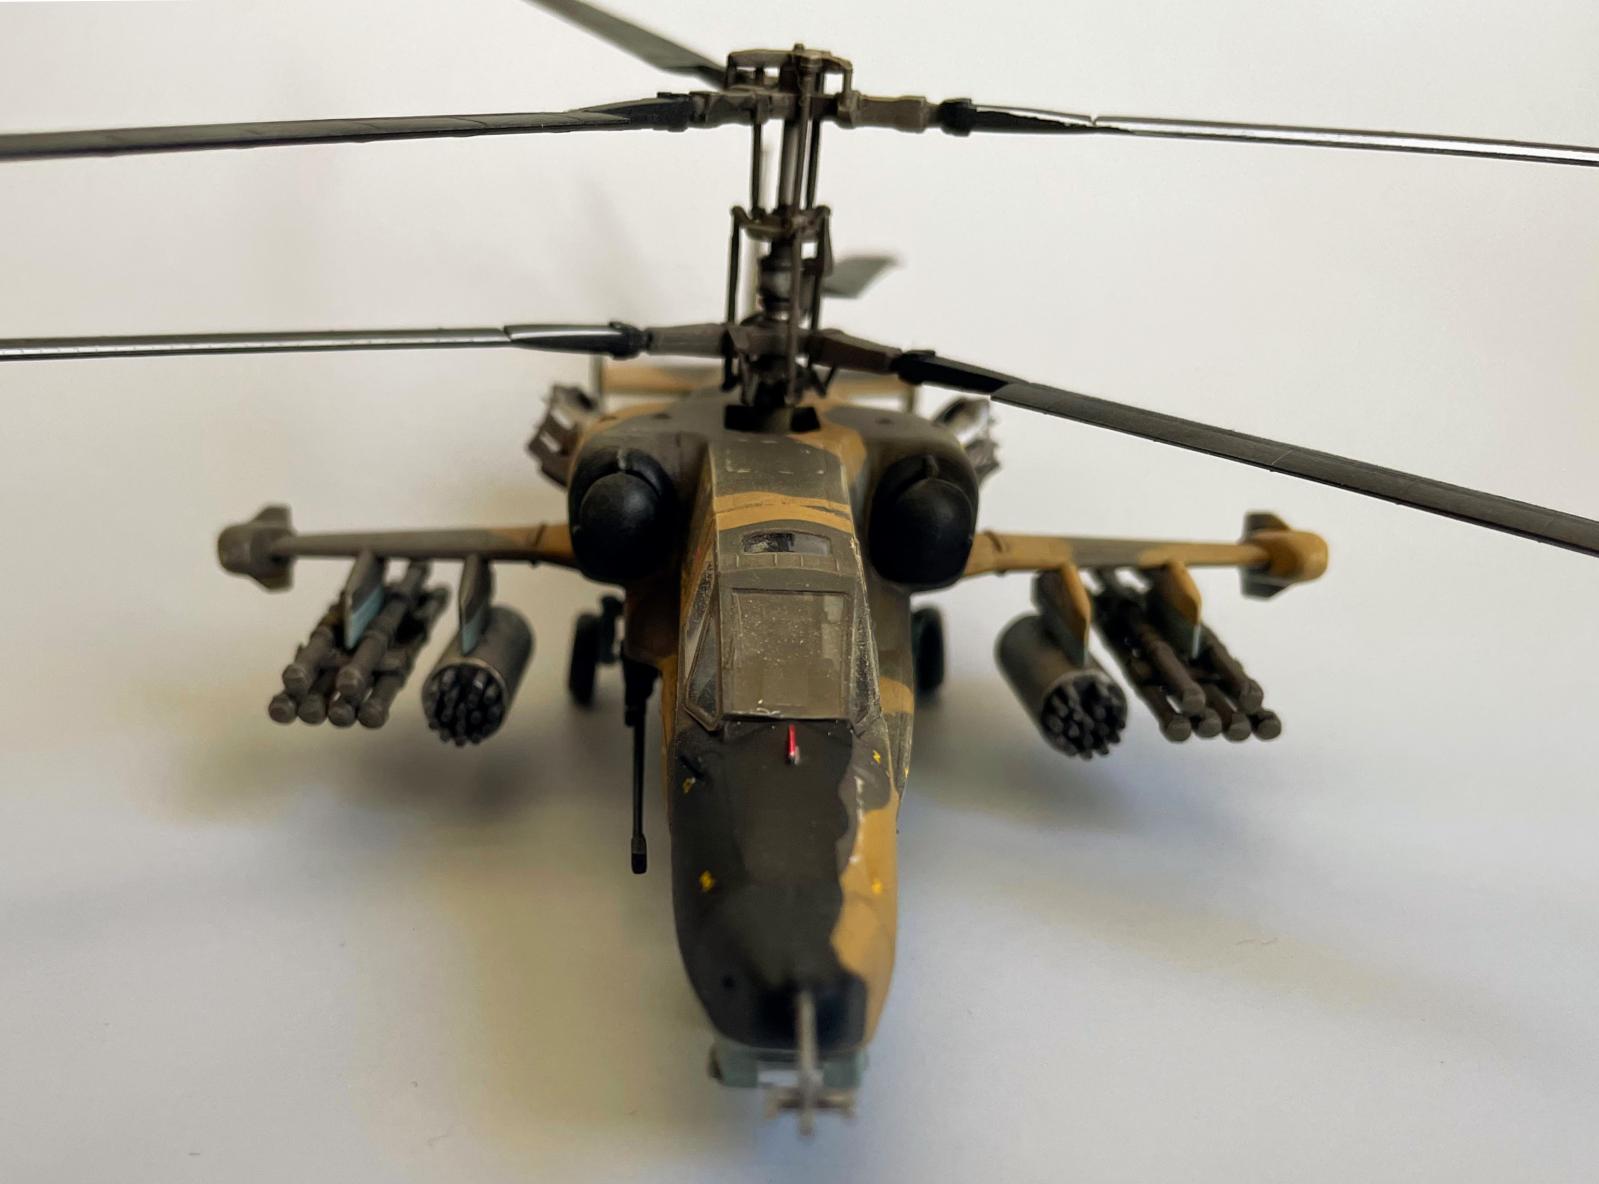
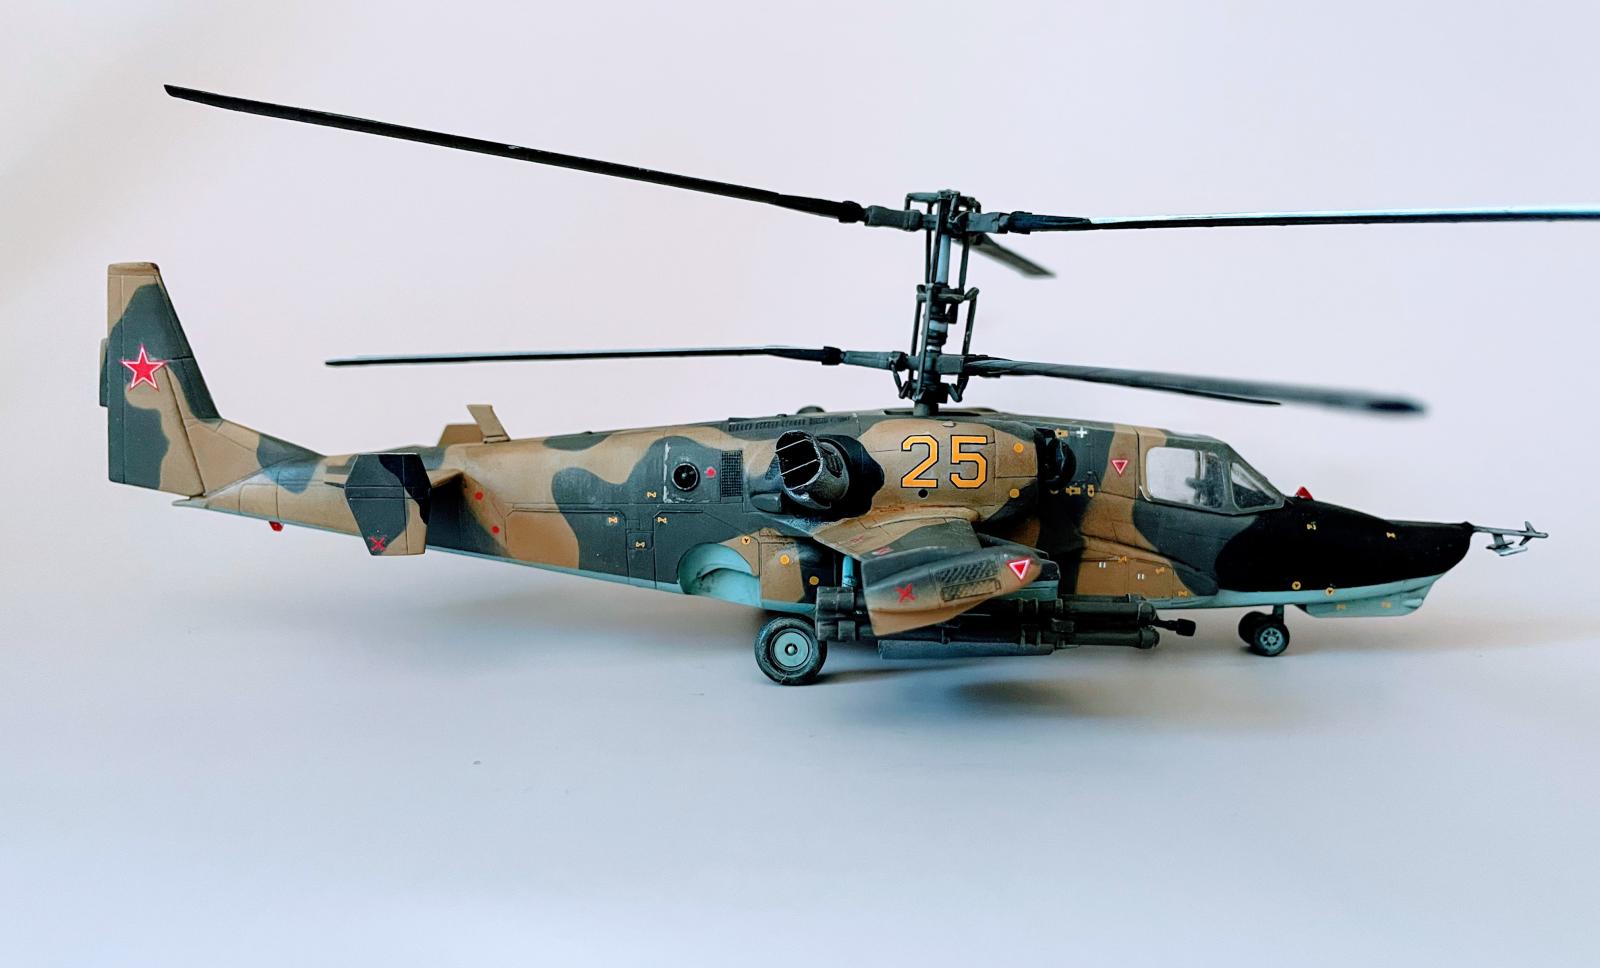
Only 18-19 Ka-50s were produced, with most Hokums the Ka-52 two-seat variety, introduced some 15 years later. Regardless, I dig the look of the Ka-50, particularly its raccoon-like “snout” that looks almost cute from side profile. Of course, once it turns to face you with rockets bristling, it isn't so cute anymore.
The Kit
This is the Zvezda Kamov Ka-50 Black Shark “Hokum” in 1/72 scale. It comprises 136 parts in soft gray styrene and 6 clear pieces making up the canopy and various lenses and light covers. The paint guide gives equivalent Tamiya codes, though the names don't match the codes: e.g. XF-51 is not Khaki (as per the instructions) but Khaki Drab. I took the codes to be definitive, since the names seemed generic and not always even real (XF-59 is Sand as per the instructions, though no such Tamiya color by that name exists). But, I suspect I erred because the greener Khaki is much closer to the proper camo color than Khaki Drab, which is quite brown. Obviously, more skepticism and more testing was appropriate.
Decals are provided for two different motifs: the khaki/sand camouflage or an all black version. They are of good quality.
The molding is crisp and there is nice recessed (and raised where appropriate) detail
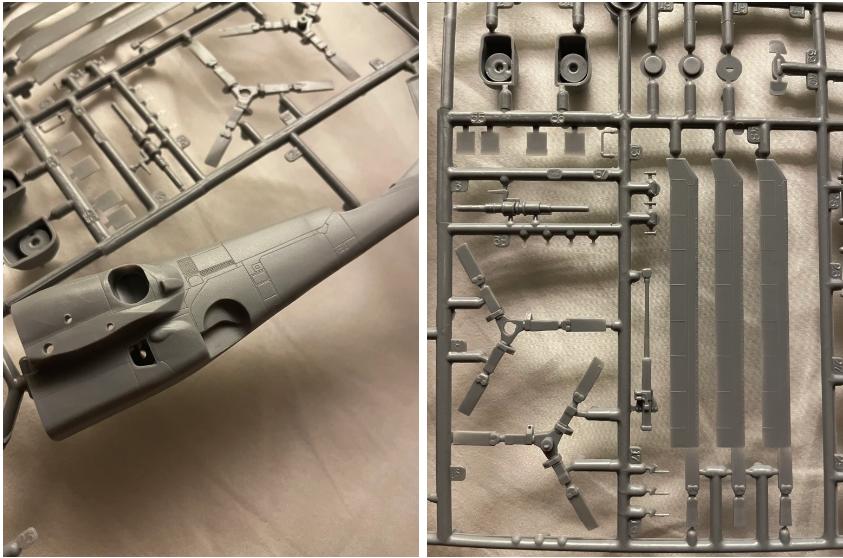
There is an annoying habit of panel lines ending at joints which do not correspond themselves to panel lines on the real craft. Since this happened mostly on the bottom and wasn't particularly agregious, I let it lie. The rotor assembly is quite sophisticated and lends considerable realism to the model, although components didn't always align as expected.
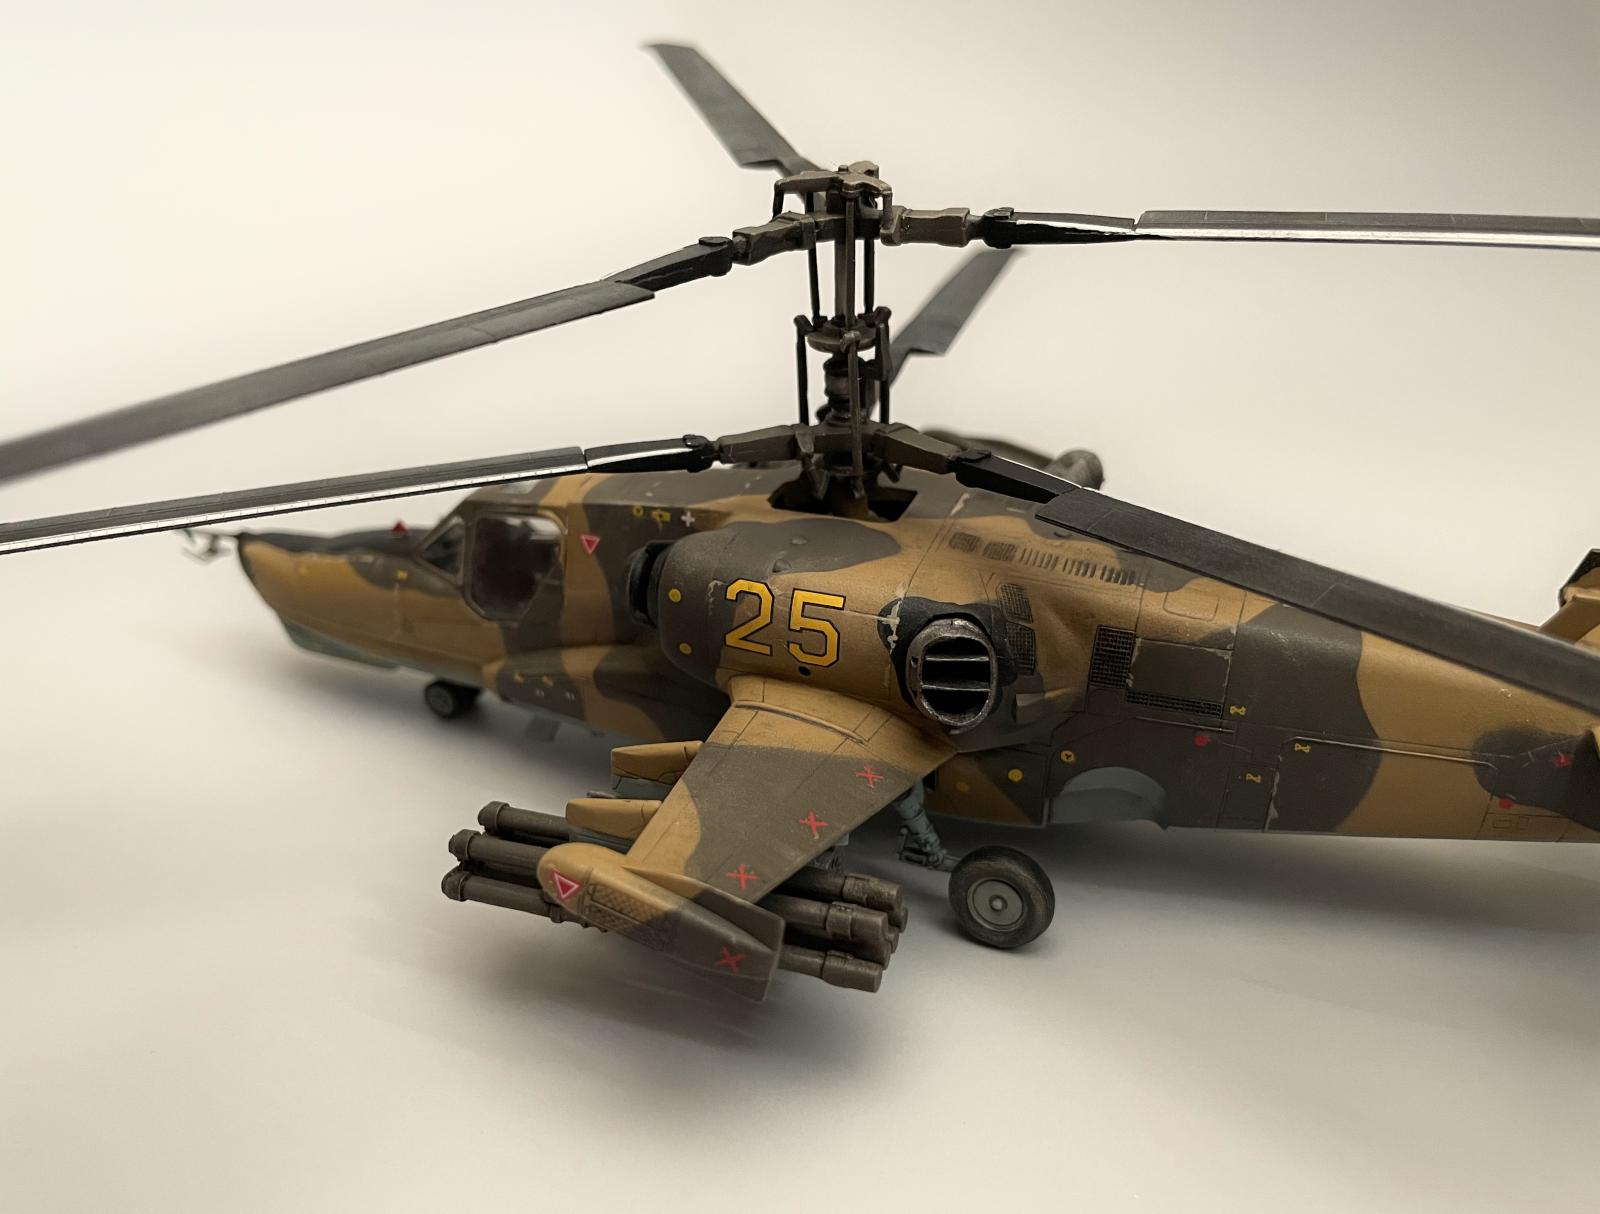
Armament includes two groups of six 9K121 Vikhr (NATO reporting name AT-16 Scallion) laser-guided anti-tank missiles, and two 80mm S-8 rocket pods on the stub wing pylons. The Shipunov 2A42 autocannon can be articulated through 20 degrees or so, which is quite realistic as I understand it, but this would require attaching the gun before the fuselage halves were joined, requiring somewhat involved masking to get everything painted. I decided to simply glue the gun in place after assembling and painting the fuselage. Wheels can be configured up or down, and the cockpit door can be made open. There are around a dozen small handles to be arranged around the fuselage exterior, which I did without because they looked too thick and imposing.
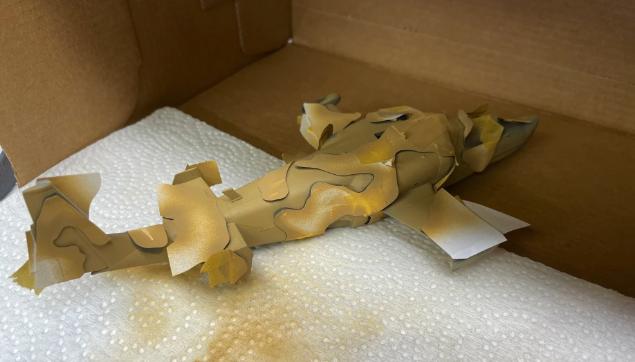
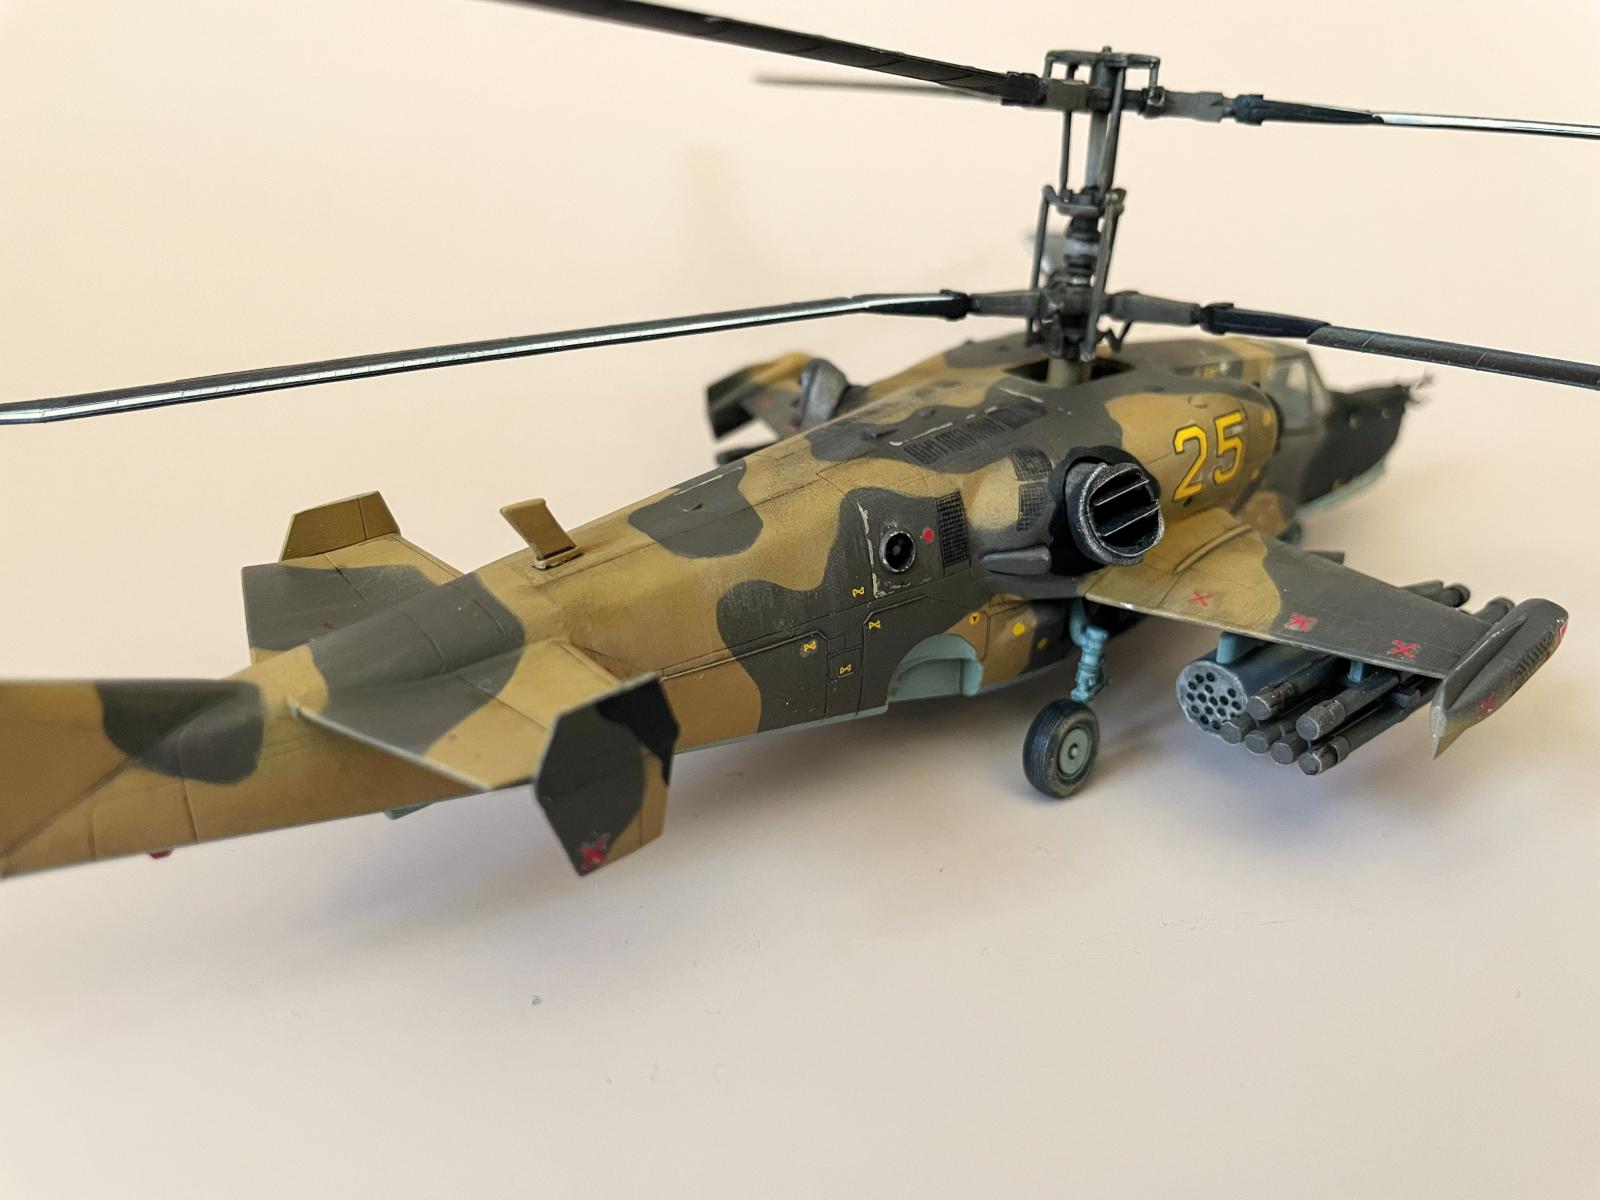
To apply the camo, I used the paper template technique (I seriously can't get blue fun tac to stick to models). This was challenging given the rather curvy and expressive shape of the aircraft, but it all worked out eventually.
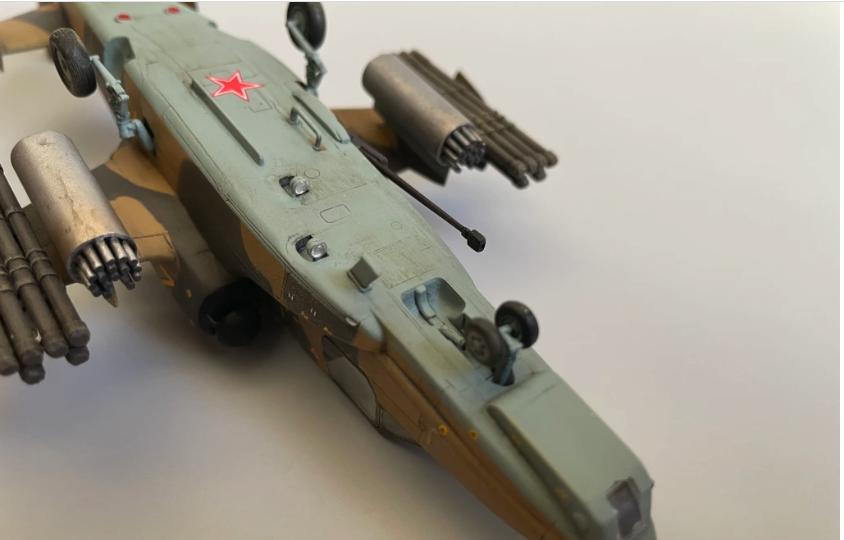
The rocket pods are bare metal. I applied Alclad White Aluminum with Pale Burnt Metal near the front, where I imagine heat from the rocket motors might differentially heat the metal. Black enamel wash was applied on the front and back for contrast, and light gray oils were blended around the pod (in the angular direction). Dark gray oils (my favorite, Mig Starship Filth) were streaked sparingly towards back and among base of the rocket tubes. Finally, Rubber and Neutral Gray AK weathering pencils were stippled around to create some blemishes.
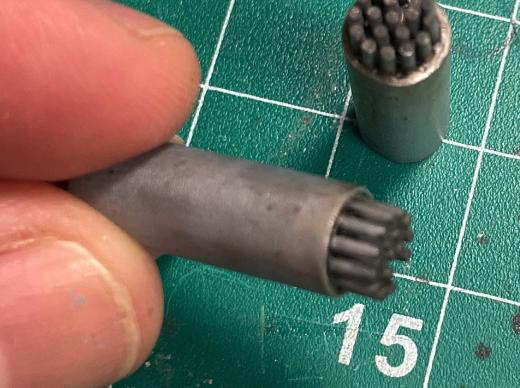
(Would have been nice to have gotten a photograph in focus, but you get the idea.)
The underside has these two cute little drop down lights:
Weathering involved the usual combination of enamel wash and oils. I used AK's Panel line wash (AK2071) on the sand and light blue, and Mig's Dark wash on the brown. I used several Mig Oilbrushers shades for highlights and contrast: Earth, Dust, Medium Soil, and Ochre. Abteilung Sepia and Burnt Umber were used for grime streaks on bottom. I used Tamiya Buff to simulate some chipping along panel lines and cockpit. Finally, I rounded it off with Tamiya Weathering Master sand-colored pigments.
Having noticed on past occasions that oils applied over the acrylic gloss coat would become muted, sometimes just about disappear, upon application of a lacquer dull top-coat, I've been lately applying oils over the final dull coat. But, I've noticed that after working in a certain area for a while (blending, cleaning up with white spirit, and so on), the dull coat seems to reactivate. Things get sticky and shiny and I have to stop. Happily, after a few hours things settle back down and nothing is ruined, but something is still not right. I wondered if the vanishing of the oils upon dull coat application is a result of this reactivity. So this time I applied another coat of gloss over the oils (hoping to seal them) before the final dull coat and all was good.
A fantastic result over a challenging kit, Brian! A superb, informative article, as well!
I personally prefer the looks of the Ka-50 (your version) than those of the dual-seater Ka-52: the Ka-50 looks more "right" to my eyes.
Congratulations!
Excellent result, Brian @bapowellphys
You tackled this kit perfectly in all aspects. The Ka-50 is a very innteresting aircraft, quite a low profile fuselage for a helicopter.
Nicely done Brian.
OK, it looks cute from some angles, great work on what appears to be a “difficult” kit.
Nice work Brian! the design does look like it could from those animated Airplane movies.
Awesome job on this. Camo came out great. Great build of a unique subject
Looks great! Love the camo scheme, and the weathering and finishing looks really good.
Excellent result, Brian! An amazing looking build.
Looks like it took more than its share of hard work to get to the excellent result you have here. Very nice!
Unique build. Very interesting And superbly done.
Thanks everyone for the kind words of encouragement. Much appreciated!