The last two days have been some really fun days with some great progress on the plane. (Not really, I'm being sarcastic). Yesterday I planned to apply the Eduard masks that I got for this plane, and today was supposed to be a painting day.
I ran into all sorts of problems with the masks. These masks are supposedly designed for an Academy B-17, with options to use them on either a B-17F or B-17G. In my mind I am imagining extra masks that are appropriate for whichever version you are building. The masks that were in this set were appropriate for a B-17G, with just a few that would work for my B-17F. So I ended up making my own masks for the waist gunner's windows, the nose cheek windows, the tail gunner's position, and (worst of all), the top gunner's position. Using a combination of Tamiya tape and masking fluid, it took about 4 hours to get all of these successfully masked.
-

1. The tape that is a brighter yellow marks the areas that have homemade masks.
-

1. Upper turret. This was really fun to mask by hand.
I'm not sure how well the masking on the turret will turn out. This B-17 had the old style turret with lots of framing and some really small sections of glass. I wonder how the gunner could see well enough through all of that framing to shoot at attacking fighters.
-

1. Two versions of old style upper turret.
-
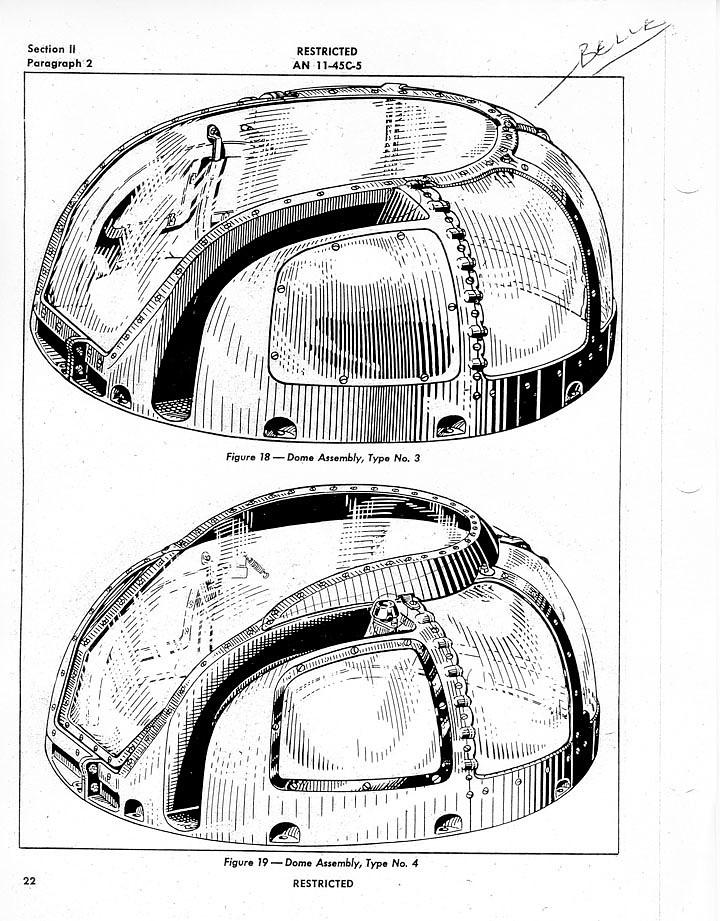
1. Two styles of newer upper turret.
This masking exercise highlighted the number of small changes that were made as the aircraft evolved through its various models. I really hope to get some painting done tomorrow. Cheers everyone.
-

1. Newer style tail position.
-
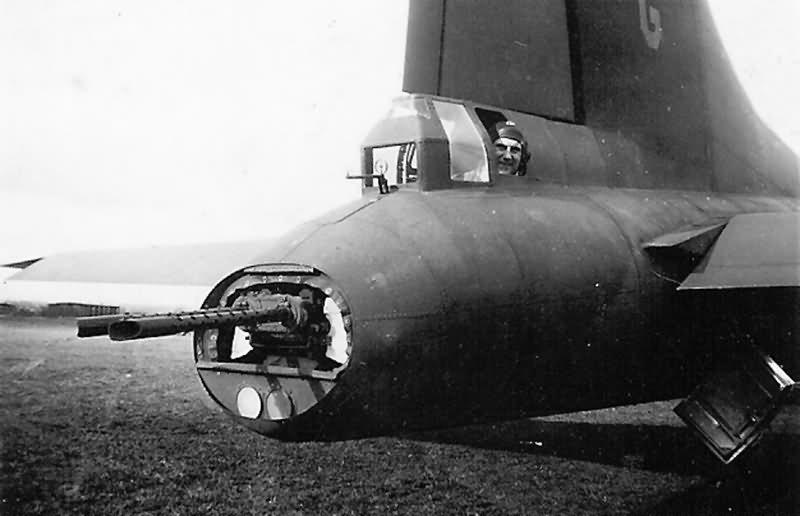
1. Old style tail position.