The final vehicle in this series is the M5 105 motor carriage. Which will be represented by the White M3 T-19 halftrack. The difference is the M5 was produced by International Harvester, and a good way to tell is the rear part of the body has rounded edges. Not sharp corners like the M3/M2 has.
The movie has a good shot on the back side of the halftrack showing that detail.
-
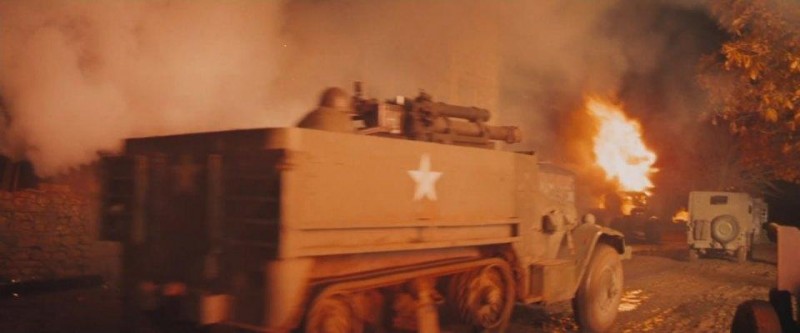
1. rounded corners on rear body
The kit finally arrived the past week. Nice sturdy box.
Let see what is inside. First thing you will notice is that Dragon has moulded the vehicle in grey plastic not the normal OD or dark green plastic like say Tamiya or Italeri. All the parts sprues are in separate bags. 250 parts in the kit. Not all will be used.
The instruction booklet is a bit tall with instructions in several languages. The parts map is on the first page.
The paint codes are for the Gunze line of either Acrylics or Enamels. (Mr Hobby/Mr Color).
Dragon calls this a "Smart Kit" which means it contains either PE, metal and or resin parts within the kit. Which has a fret of PE in that is included, the radiator/grille slats that can be displayed open and the headlamps grille guards.
The decal sheet are for 4 European theatre and 1 African campaign vehicle. A nice touch is an extra sheet with extra set of numbers which you can create your own Id number.
-
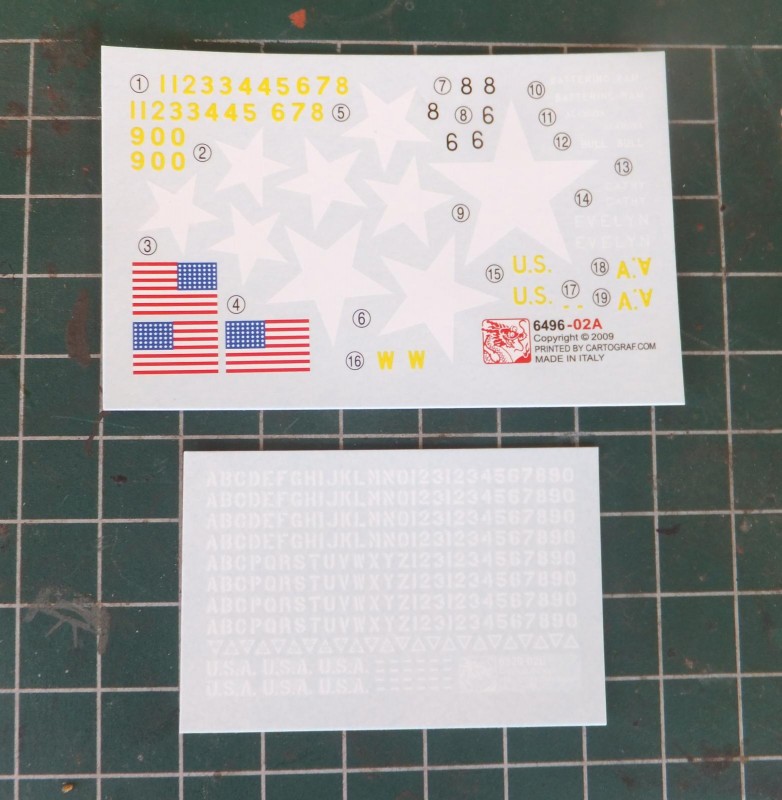
1. Extre decal sheet with numbers to create your own id number
The 105 comes with a nice turned barrel really nice touch.
Finally we can start looking at the sprues. No AM stuff really needed for this kit. First Sprue "A"
contains the frame, engine, cooling, engine components, driveshafts, axles. Most of the suspension.
The frame is 1 piece, which is nice, most kits this size would be a multi piece affair which can easily be off a bit no matter how careful you are. The lower part of the engine with the trans and transfer case is moulded into the frame.
Nice detailed radiator and fan shroud.
-
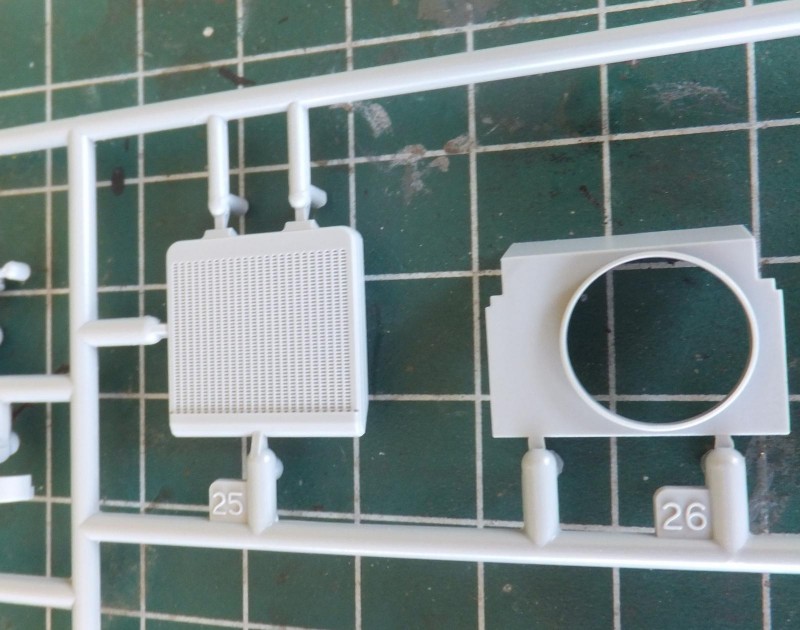
1. Even a fan shroud is included
The 6 cyl gas engine, with intake and exhaust manifolds, fan and drive belt with pulleys. And air cleaner assy.
-
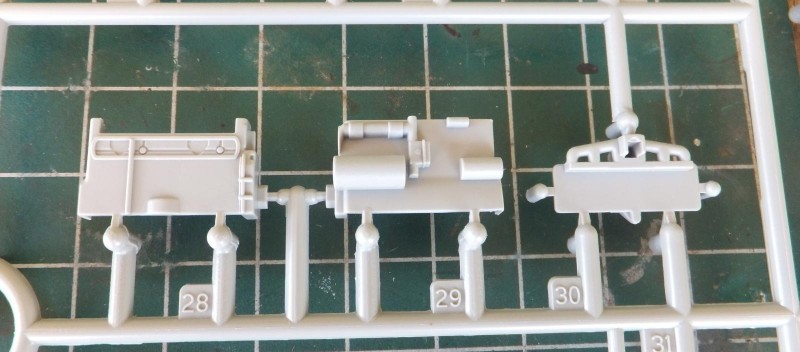
1. 386ci 6 cyl gas engine
-
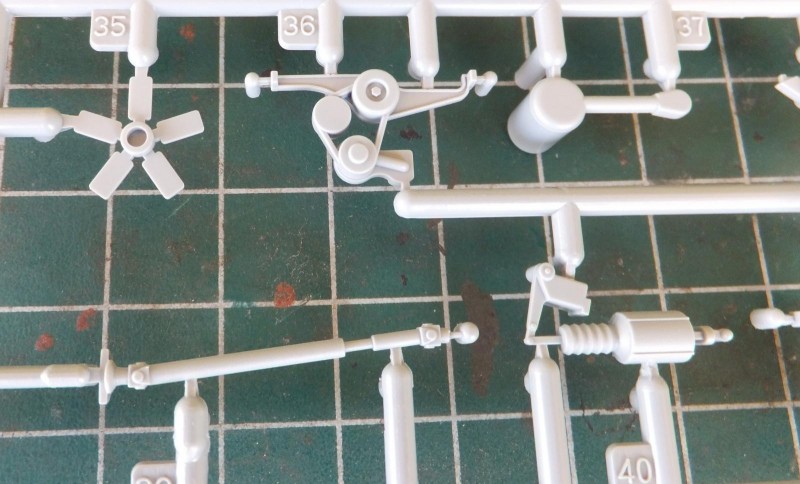
1. Nice detail on the drive belt with pulleys and brackets
2. Air cleaner
Differential and rear drum with nice hub detail.
-
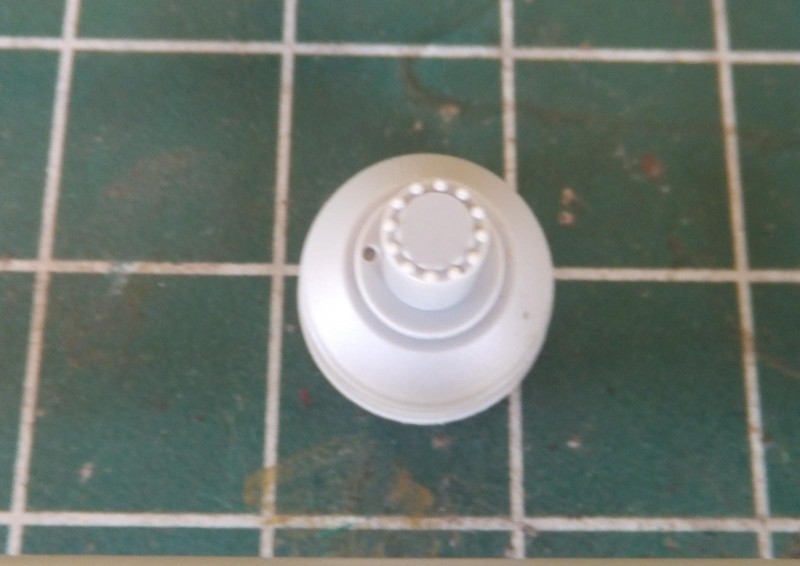
1. Nice bolt detail on hub
Sprue "B" contains the the floor and fender molded as one piece. Front cab parts that will not be used on this version. There is a separate sprue with those parts that will be shown later in the review.
The fenders and floor assy as 1 piece. Very nice diamond plate detail on the floor.
-
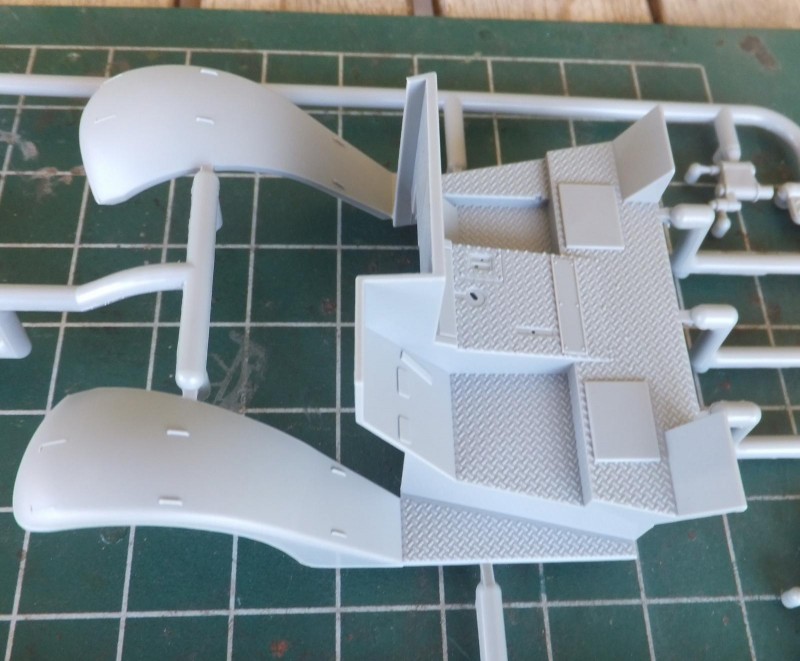
1. Nice Diamond plate details
The hood is very nice, with crip detail and bolts. Though this one will not be used on this version.
The instrument panel is very nice. One can really enhance the gauges with careful steady hands. no coffee when doing this step.
-
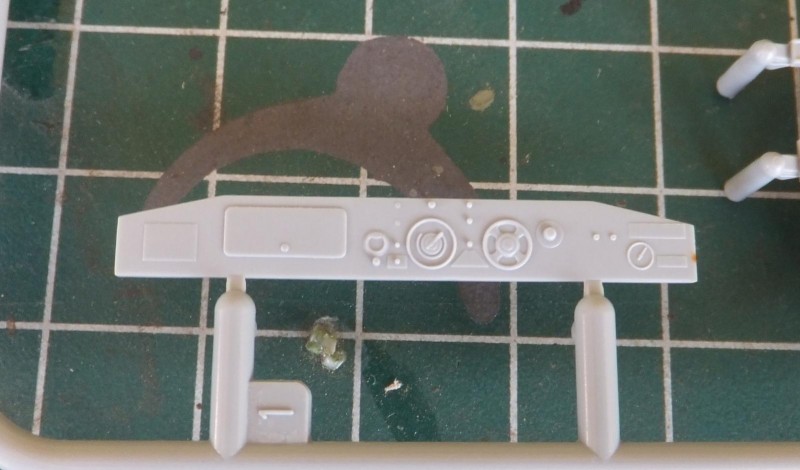
1. Nice details that can be enhanced with a careful hand
Next Sprue "C" contains, the ft bumper and roller assy, frame and interior detail bits. Trailer hitch and parts within the fighting compartment.
The front bumper roller frame rails.
-
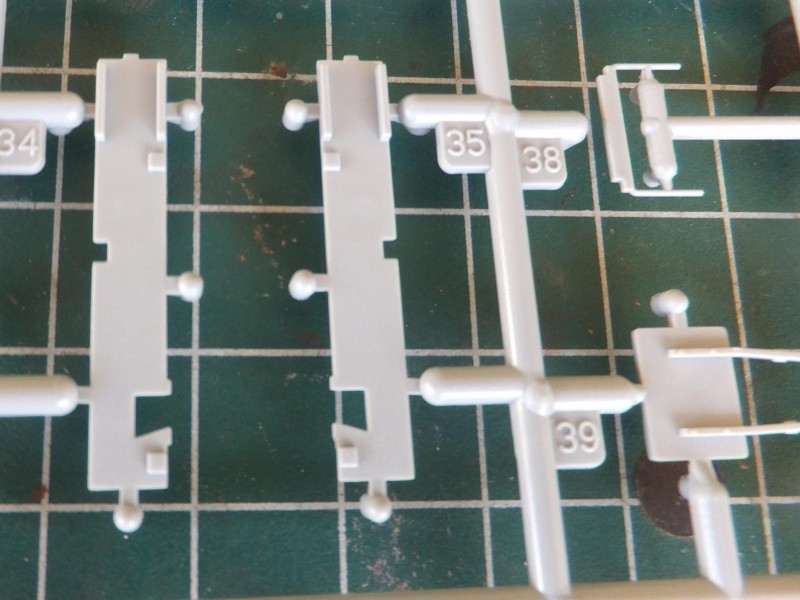
1. side rail extensions for front bumper
Trailer hitch and rear frame detail bits.
Sprue "D" contains the front wheels, tracks, seats and rear suspension parts.
The front wheel is very nice, even with a slight bulge for weight. No need for a resin set. As the details are nice, the bolts are hexed and well represented.
-
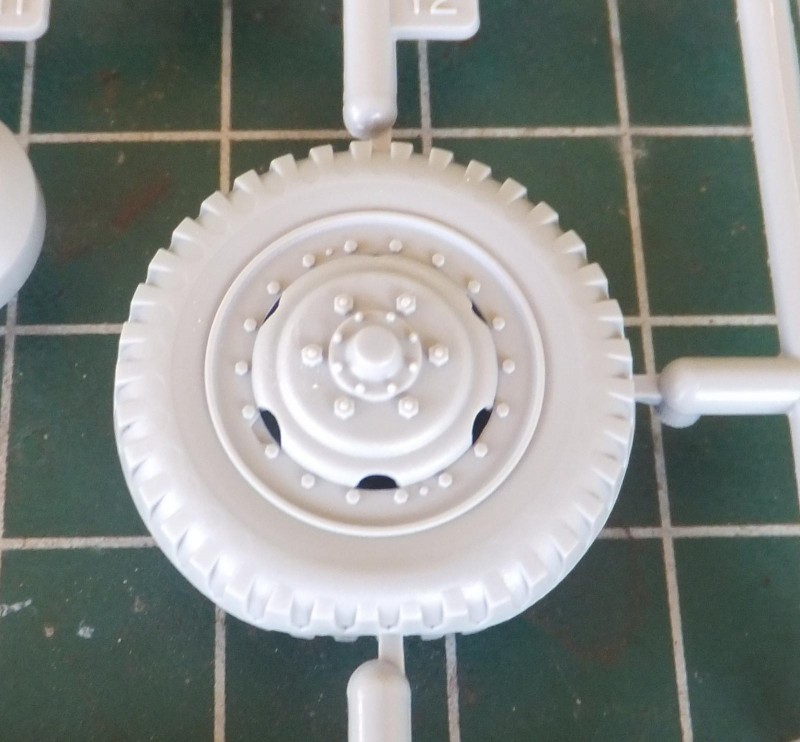
1. Bulged tire
2. Hexed wheel bolts
The tracks in this kit are plastic, not the typical vinyl bands that are provided in the Tamiya kit which is a weak point as it tends to wreck the suspension when you try to attach them. These are well detailed and has the correct style of guides that keeps the tracks centered on the bogies and idler wheels. Nice nice!
-
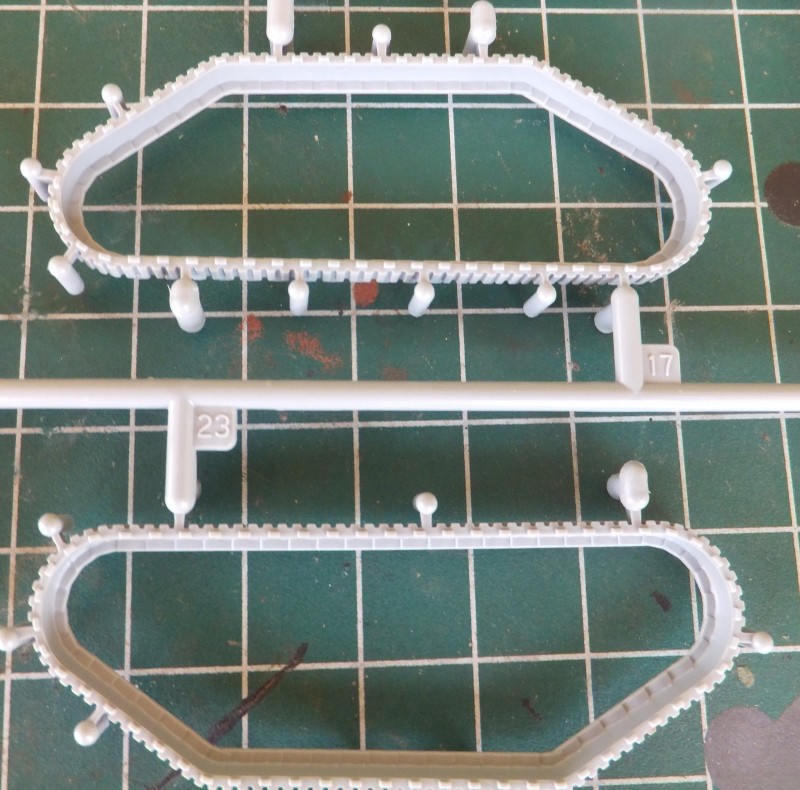
1. Tracks are plastic not vinyl bands
2. Has the center guides nice
Nice set of seat with the wrinkles in the cushions that look pretty good.
-
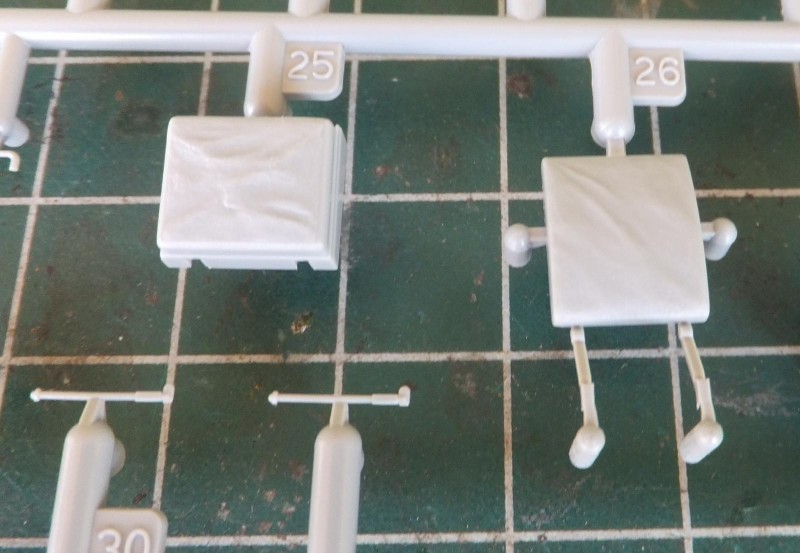
1. Nice wrinkles in the cushions
Rear suspension parts, real nice details on the suspension trucks.
Sprue "E" are the clear parts, the windshield and headlamp and parklamp lenses. Kept in the baggy for safekeeping.
-
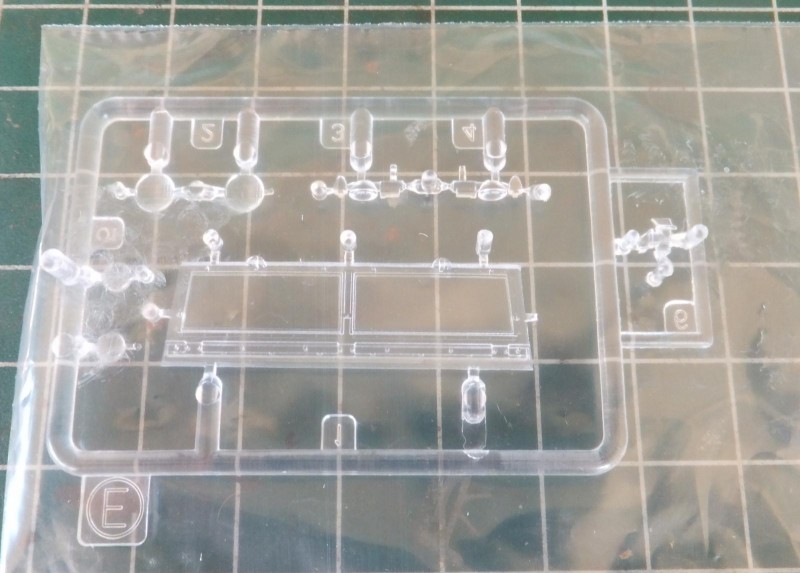
1. headlamp lenses
2. parklamps
3. windshield
There is no sprue F. but Sprue "G" has the rear body floor, side panels, rear panel, door, gun shield and seats.
Again the floor of the fighting compartment, nice diamond plate as a 1 piece unit will help when assembling the rear body section. It will help to keep everything squared up.
-
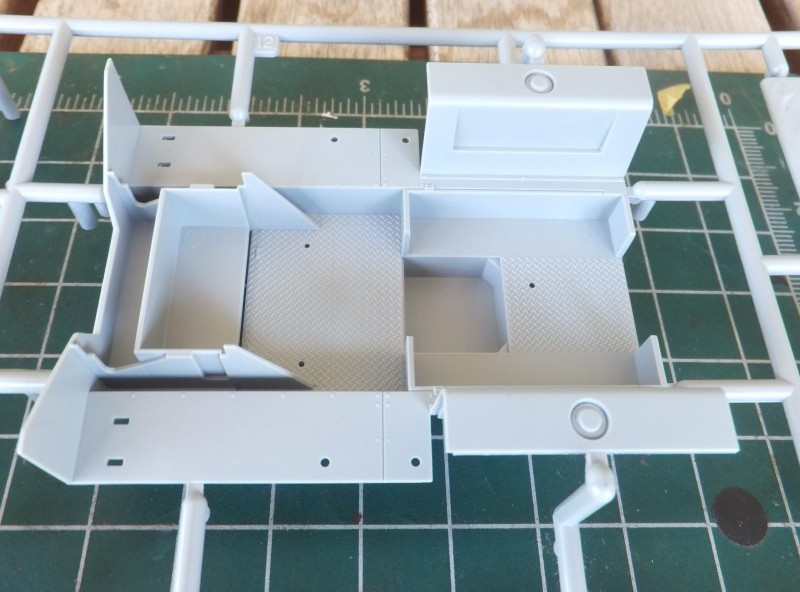
1. Nice floor section
2. Diamond plate floor
Nice gun shield for the howitzer.
105 shells
Personnel rear seats, again with nice wrinkle detail on the cushions.
The back panel also can have the rear door posed open.
The .50 cal pedestal comes in it's own baggie. Interesting packaging by Dragon. At first I though it was a resin piece, but no it's plastic.
The next sprue is "H" which actually has 2 parts, the close grille slat option or the open grille frame to attach the PE parts too.
Then next sprue is" J", (there is no "I"), this contains the interior parts, pioneer tools, the .30 and .50 cal machine guns. weapons and the radio set.
The .30 and .50 cal guns are well detailed. Very nice as no AM are needed here.
The radio set is well done, and again a steady hand can enhance the details with detail painting.
Kind've confusing on this sprue which is "A", but to explain is that it is a sprue from a stand alone kit of the 105, which is used for this version. So the whole sprue is supplied in the kit to build it as a T-19. And the parts don't disappoint.
First the fine detail in the elevating mechanism. The fine gear teeth represented in plastic is well done and defined.
-
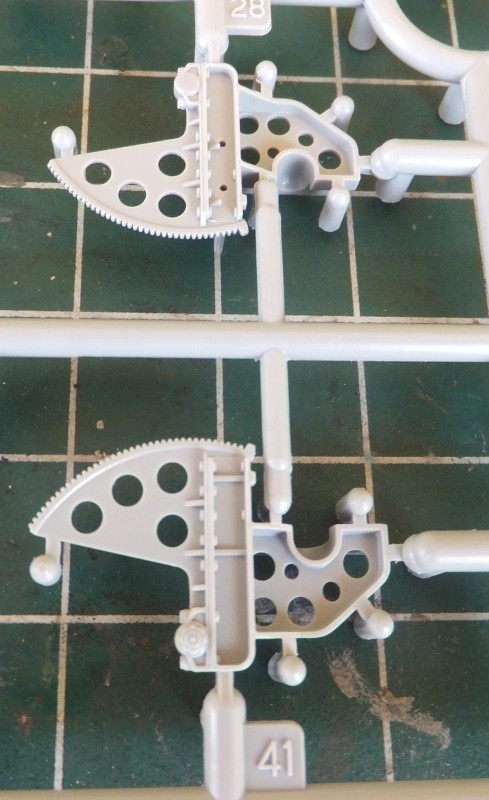
1. Look at those fine detailt
The center portion of the gun is well done as well.
The last sprue is "T", which contains the T-19 version of the cab section. Ft side panels and hood.
The RH cabside is well detailed and include the ability to pose the door open.
And finally the drive wheels and sprocket are in separate baggies. Very delicate fine detail, another way that Dragon thoughtfully kept them separate and removed from a sprue. And will remain in the baggies until it's time to install them.
Looking forward to start on this final vehicle. This one may be the most intense one of the 4 currently in process. Did I say this kit had lots of parts. More to follow.