After a bit of time, back to the Sherman. Will work on adding the details onto the upper hull.
On the rear panel, the jack handle is stored under the storage shelf that is mounted behind the rear body panel.
-
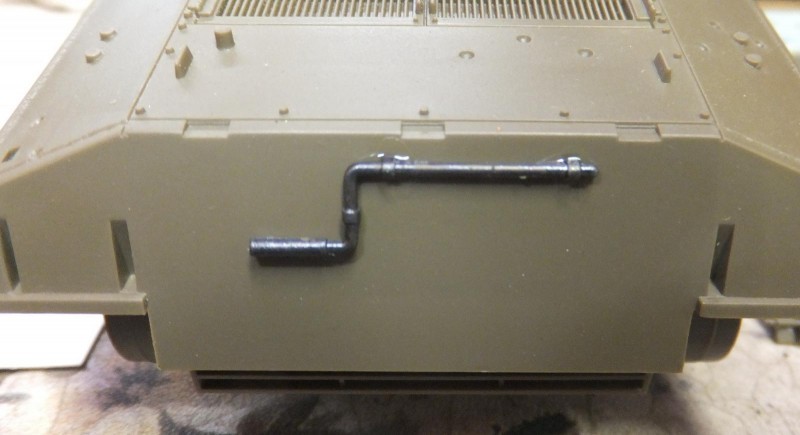
1. Attached to rear body panel
Then the shelf is attached over the handle.
Next the 2 support braces are attached to the shelf.
-
1. Support brace, there are one on each end of the shelf
2 taillamp assy's are removed, cleaned and attached to each side of the rear deck.
The .30 machine gun mount on the front armor plate is removed and then installed on the front fascia
-
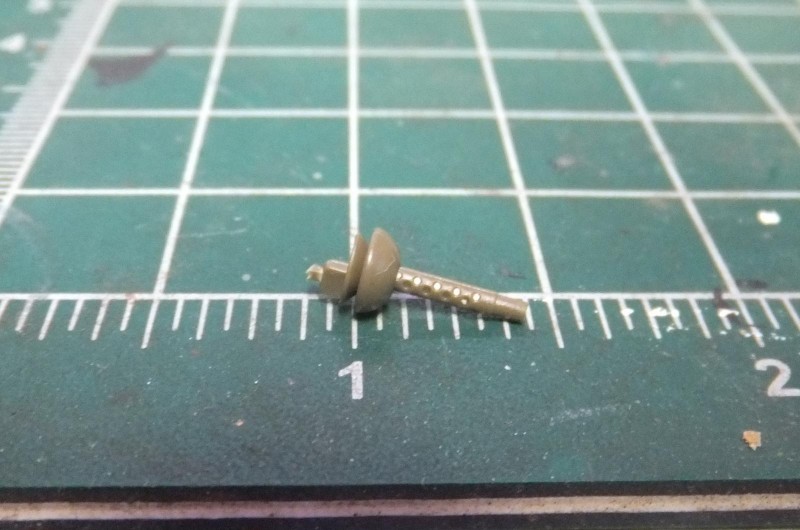
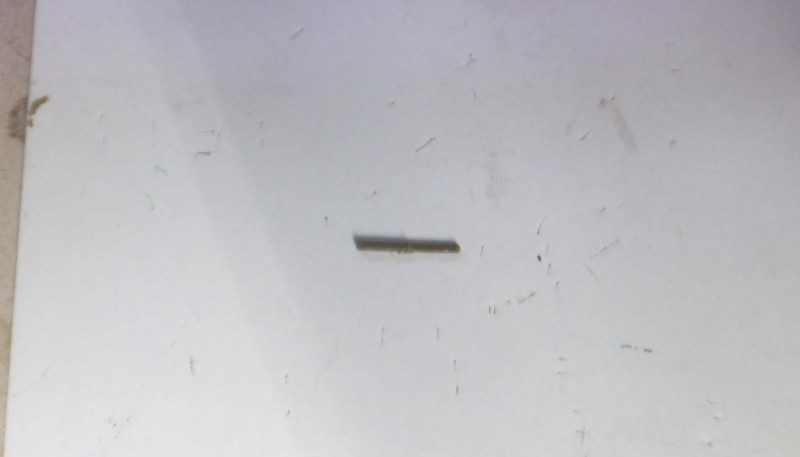
1. .30 cannon barrel on that comes through the front fascia
A pair of headlamps are then attached to the front armor plate.
-
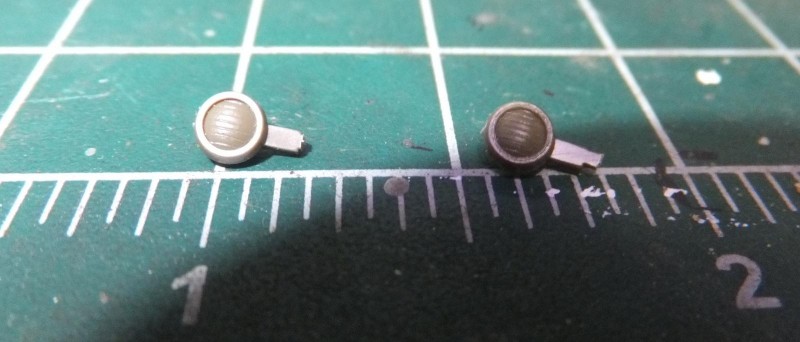
1. pair of headlamp assemblies
-
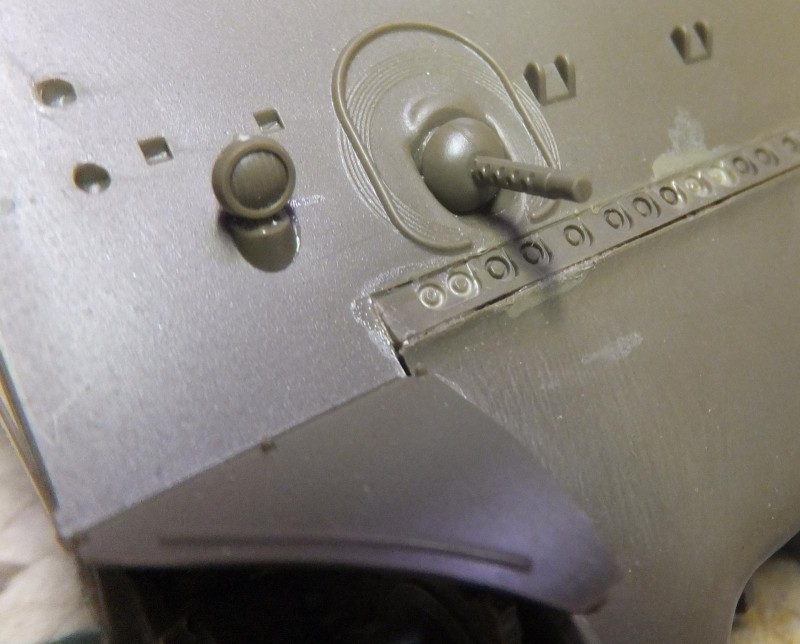
1. RH headlamp attached on the front plate
Then finally the spot lamp is attached next to the LH headlamp assy.
-
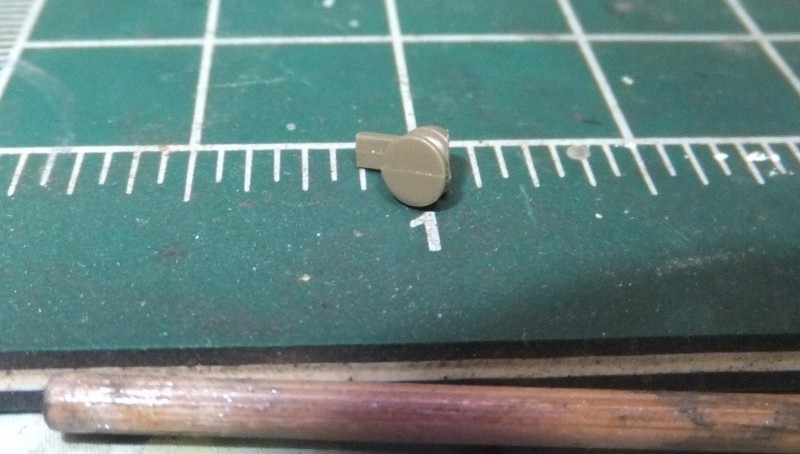
1. spotlamp, sits next to the LH headlamp assy
The tank in the movie has the barrel lock removed, so I will leave it off on this tank.
Next more work on the upper hull and turret.
More to follow...