Before assembling the bed. First to install the headlamps and place them on the front fenders.
-
1. Testors clear cement used for the lenses
Then the windshield glass is installed on the frame.
Next to start to assemble the bed.
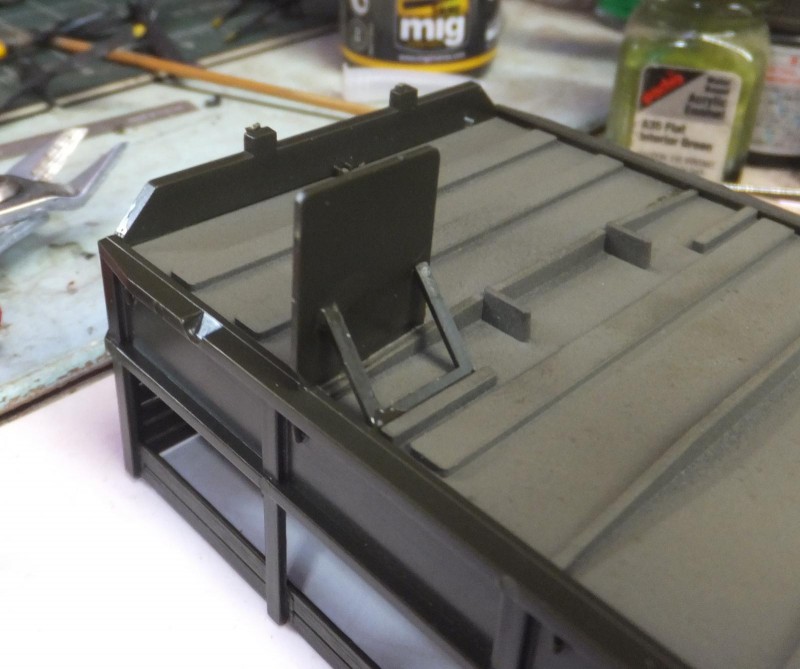
The floor of the bed and front panel. The bottom side has been already painted Olive Drab.
-
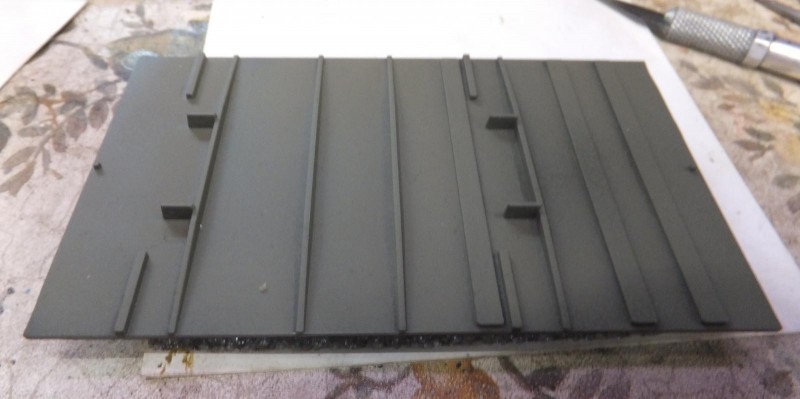
1. The of the floor is painted the darker shade of OD.
The front and RH side panel of the bed are attached to the floor.
Next the tail gate panel is attached to the floor and RH side panel.
-
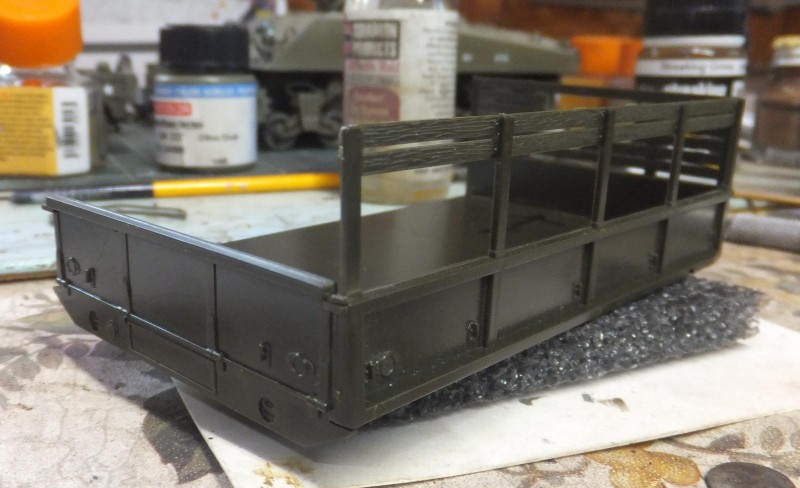
1. Fit is good so far
2. Nice wood detail on stake boards
Once the LH side panel is installed, everything aligns up properly. No issues to this part of the build.
I place the bed assembly temporarily to check fit and alignment. All is well.
-
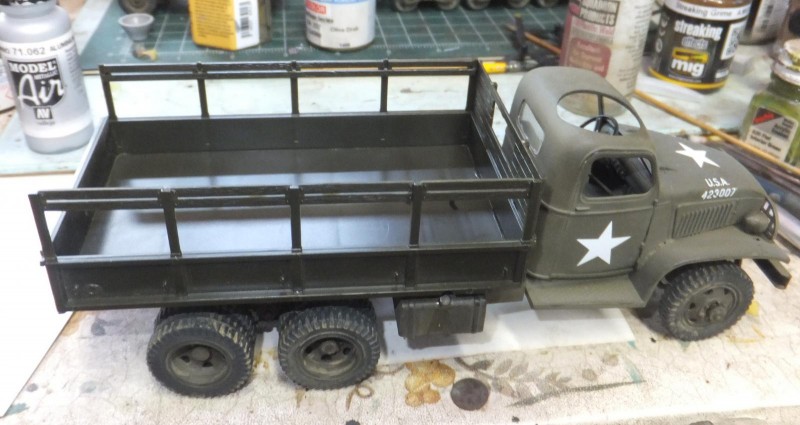
1. Test fit of bed assy on frame.
-
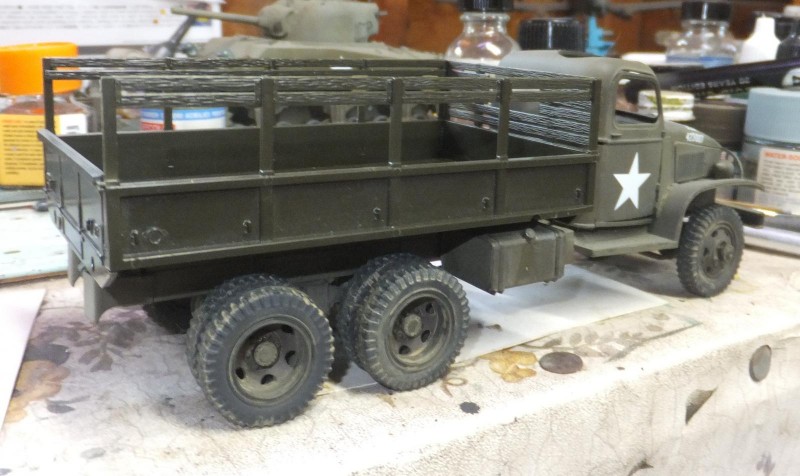
1. Alignment looks good, mount points on the frame match.
The mounting points to frame match perfectly, nice and level alignment.
Pulling the bed off, next is to install the fender mud flaps.
Fenders and braces for the front section under the bed.
-
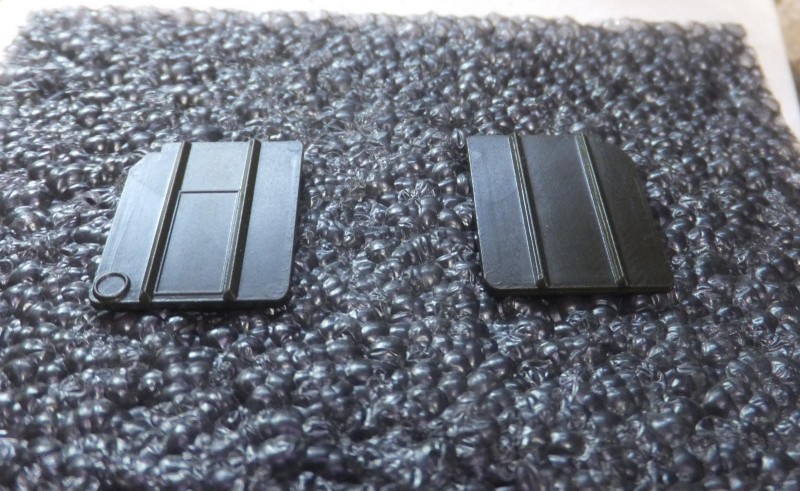
1. Rear flap
2. Forward flap
3. Rear flap has reflector
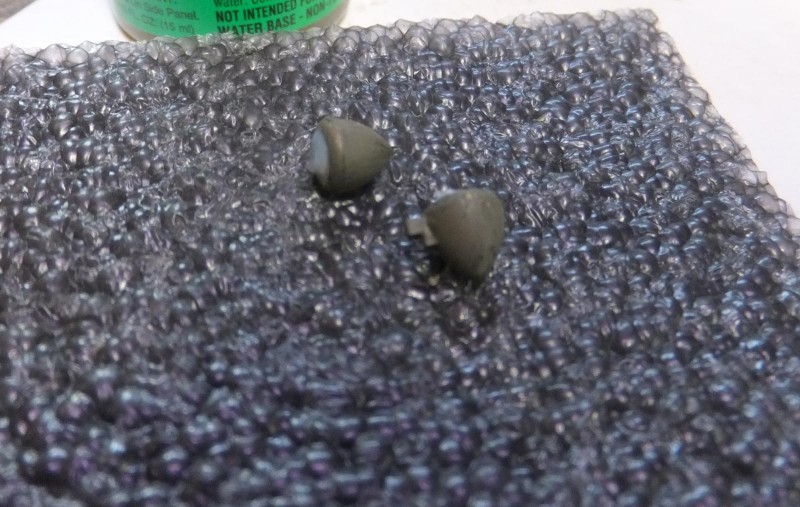
Rear fender/mud flaps and braces and counter weights?
One of the counter weights had a deep sink hole filled.
The forward flaps and braces are attached,
-
1. brace attaches at this point here
Rearward flaps are assembled, check to make sure the reflector lens faces outboard before attaching to the bed.
The basic bed assy is completed. Next will get it painted and attach the detail bits. More to follow.'
1 additional image. Click to enlarge.