Before I tell you about my first build for this group, I wanted to take a minute and explain why I'm a little nervous about participating. I have always seen myself as a "renaissance" builder: I don't know a lot about the planes I build, but I do know a little about a lot of planes. So, when I look at the builders in this group who really do know a lot about these planes, I got a little nervous. I figured I could build a Bf-109 or two, and they would get lost in all of the other really awesome 109s that everyone else would build. But the giant flood of 109s that would hide my less-than-awesome or less-than-accurate 109s never materialized, instead everyone is building models that represent the vast inventory of German aircraft, and there aren't a bunch of 109s that I can hide behind. So, now that you have messed up my plan to hide my models in plain sight, here is the info on my first build.
I am getting ready to move to a new house about 130 miles from my current house. Thanks to all of the virus shortages, our new house may take almost a year to complete. My wife and I have been slowly packing things and moving them to storage, including most of my models. I kept some models back, including a couple of inexpensive 1/32 109s that I could use as a canvas to try some new painting and weathering techniques.
The first one is a Bf-109F-4 by Twenty-First Century Toys that seems like a poor choice for any form of serious model. In the early 2000s, this company made a line of plastic "die-cast" planes that were sold as already-built and painted collectables. At some point, they started selling these planes as unpainted kits. As a kit, they have a decent amount of detail and build into a respectable model, as long as you don't look too closely at the specific details. I previously bought and built one of their 1/32 Macchi C.202 kits, which built up into a fairly nice model.
-
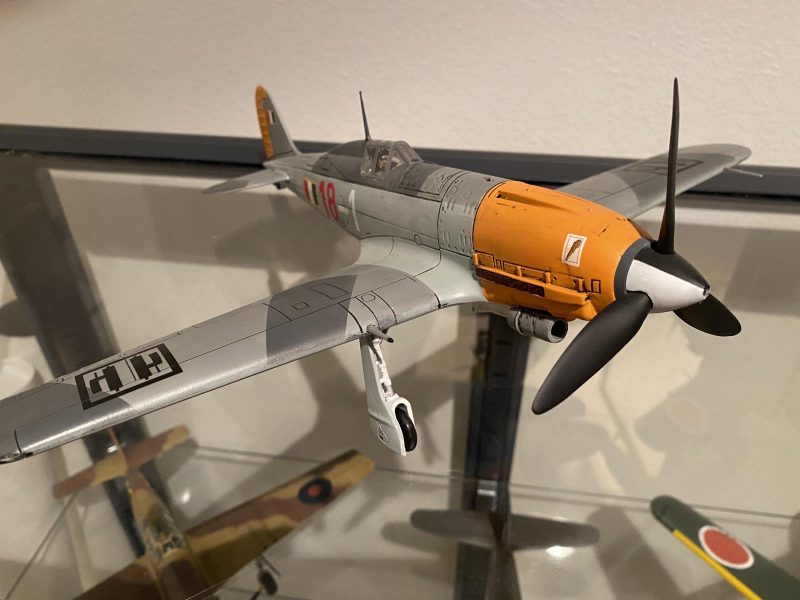
1. 21st Century Toys 1/32 Macchi C.202 that I built a few years ago.
-
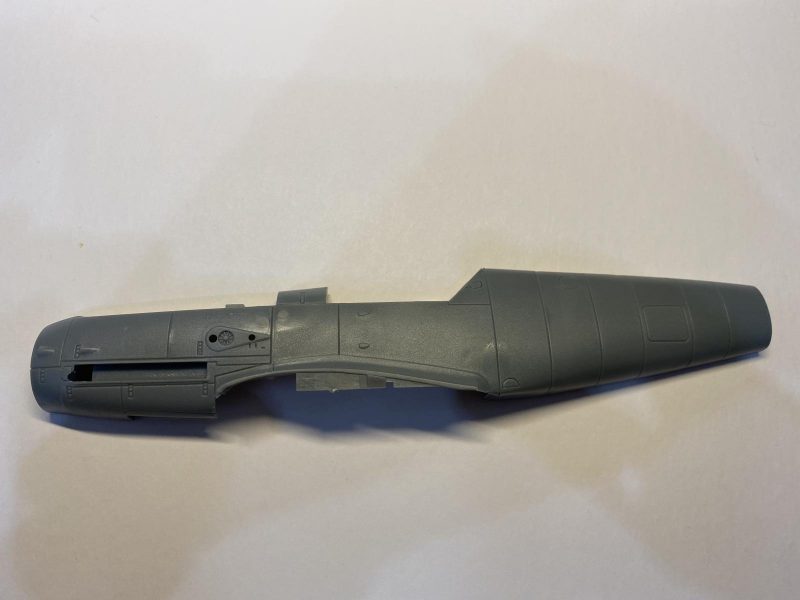
1. Fuselage looks good, panel lines are a little deep and wide.
-
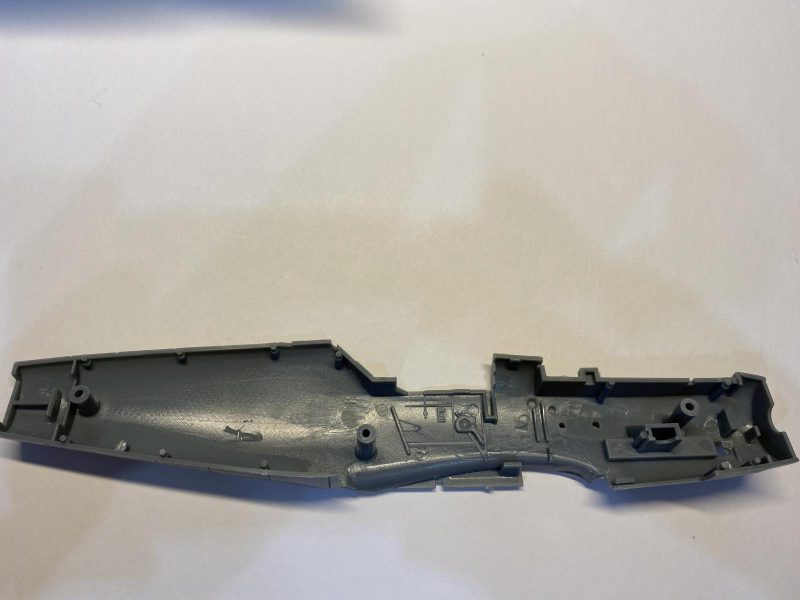
1. Interior side walls are sparse. I may try to scratchbuild the additions rather than use the resin.
I saw this 21st Century Bf-109F in the consignments at my local hobby store for $10, so I bagged it for some cheap painting practice. When this group build came along, I decided to use it as my first entry. I wanted to try adding some detail to the cockpit, as well as trying to upgrade some of the details. In my research, I discovered that Tom Cleaver (
@tcinla) had built this kit in 2005. So, rather than duplicating his background history of both the airplane and the model, please visit his review at:
http://modelingmadness.com/review/axis/cleaver/tmc32f.htm
To start the build, I ordered the stuff I wanted to add to the kit. I got a full resin cockpit, a new set of wheels, and an Eduard "Look" instrument panel and seat belts. For markings, I found some decals for a really cool 109F-4 that was flown by the Spanish Air Force during WW2. Since getting the resin, I have discovered that some of the parts of the kit are as good as the resin replacements. With all of these goodies in hand, I am ready to tackle my first project. Off we go...
-
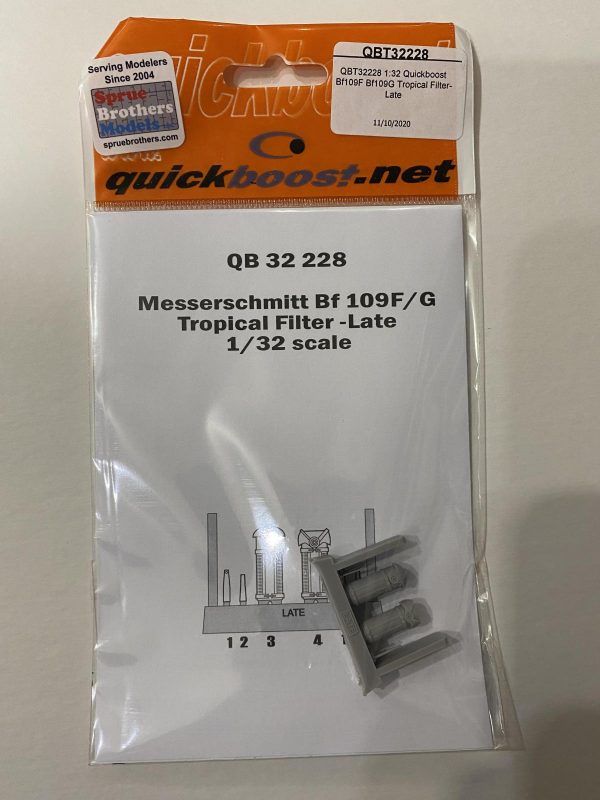
1. The decals are for a 109 trop, so I got these filters. I haven't found any photos of these Spanish planes with this filter, so this set may be extra.
-
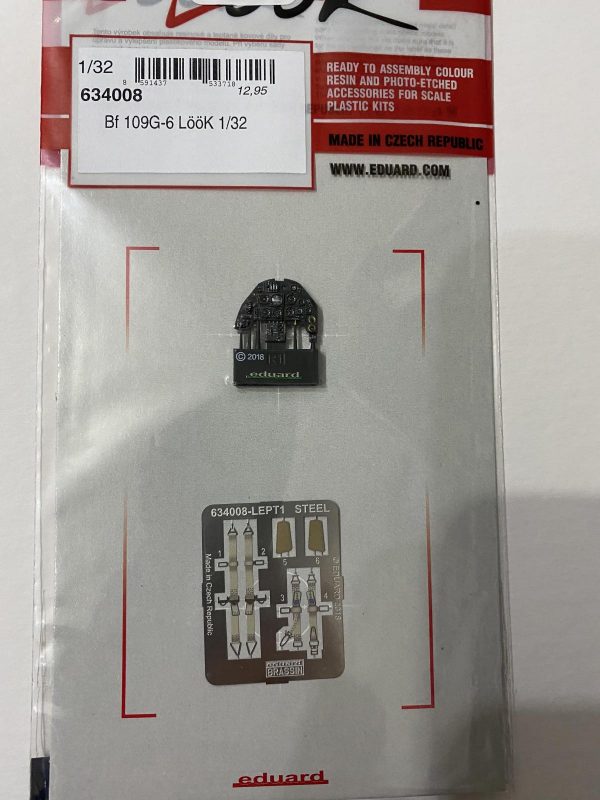
1. This instrument panel is for a G-6. Maybe no one will notice.
-
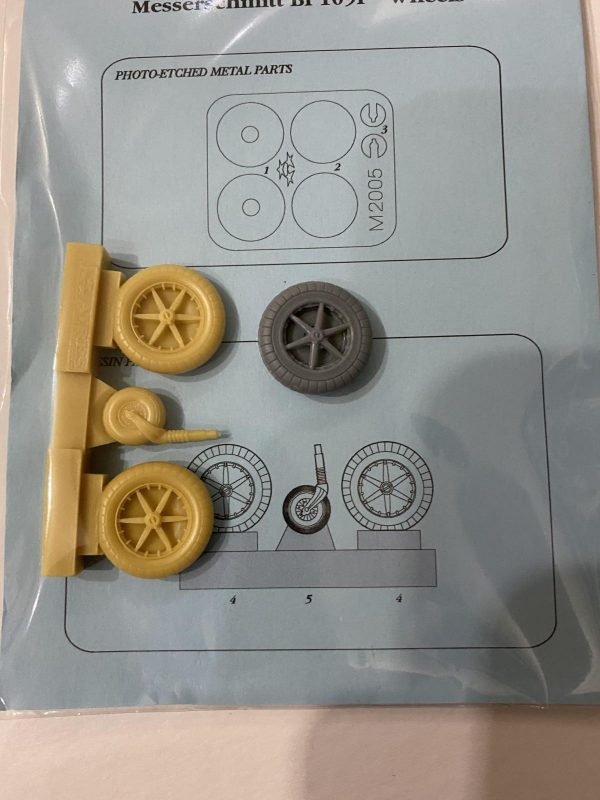
1. Kit wheel compares well to the new resin.