Thank you , Pedro, Michael, Spiros, John and Louis. Sorry I haven't replied or updated in some time. I have not been posting for nearly a month due to life stresses. I am glad to get back into modeling and sharing again to get some of that behind me.
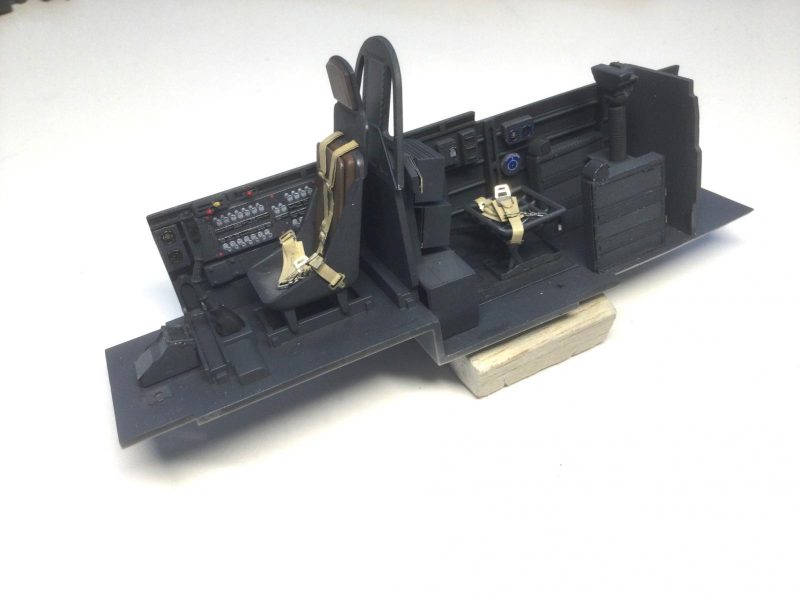
Here is an update on the Stuka build. I have included quite a few pics of the interior work, since it is nice demo of the results you can get from the kit detail married to the Eduard color etch set. I have photographed it with and without sidewalls built up to show how the detail gradually comes together into its full depth. I spent awhile getting the right shade of RLM 66 to match the etch tones. This entailed spraying on a Flat Black pre-shade, out of bottle Tamiya XF-63 German Gray followed by a dusting of the same lightened considerably with Flat White.
-
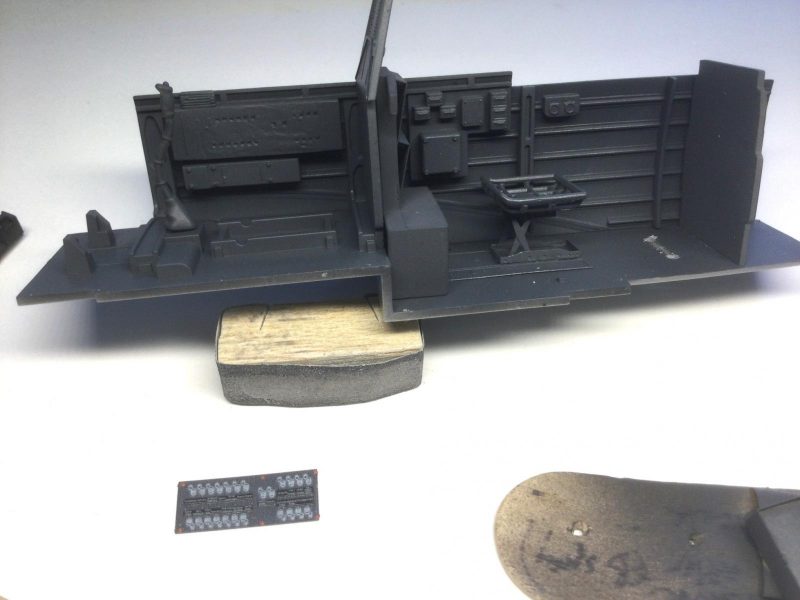
1. Painting done before etch side control panel is added. The kit detail on this panel but it is no where near s detailed and 3D as the etch, so it was sanded off.
2. Etch seat structure is nice but completely invisible later when the sidewalls go up.
3. Sidewalls are just taped on at this stage to check fit of components. I did this continually throughout the build.
-
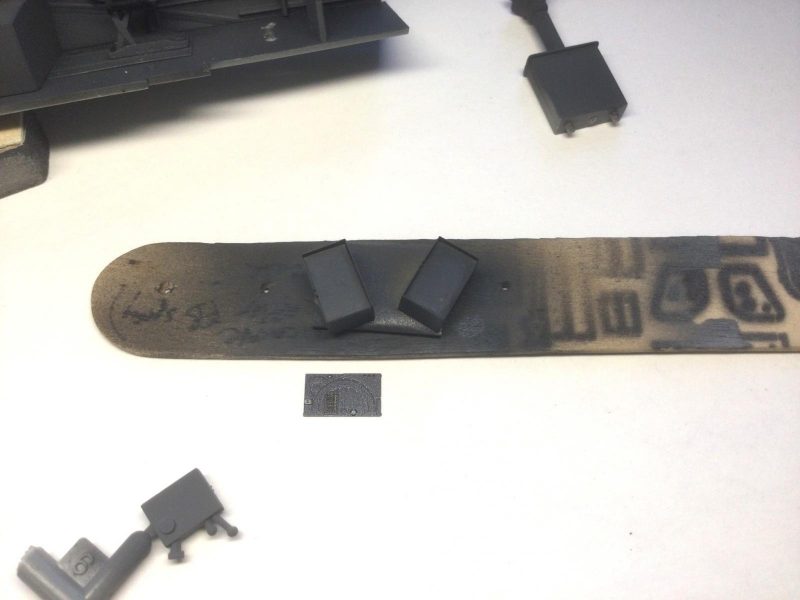
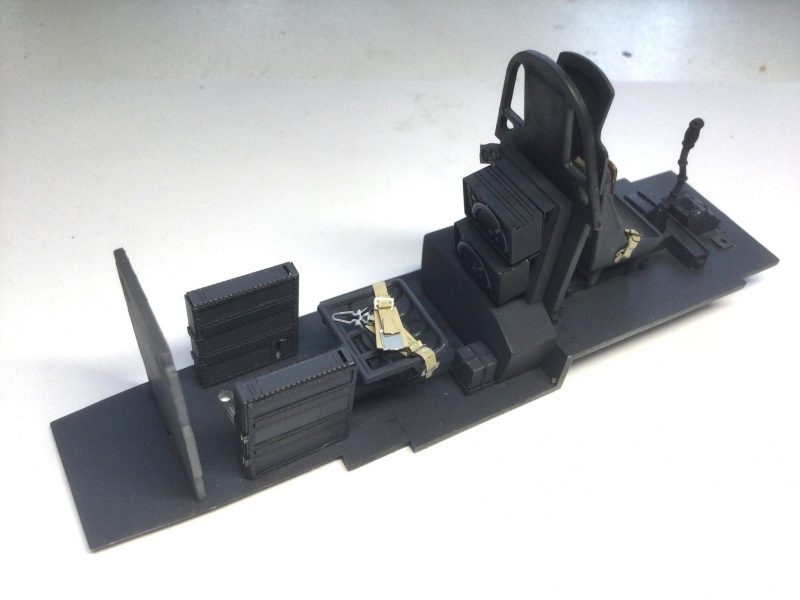
1. Etch radio boxes are built up with a styrene sheet insert added as backing for the etch instrument face.
-
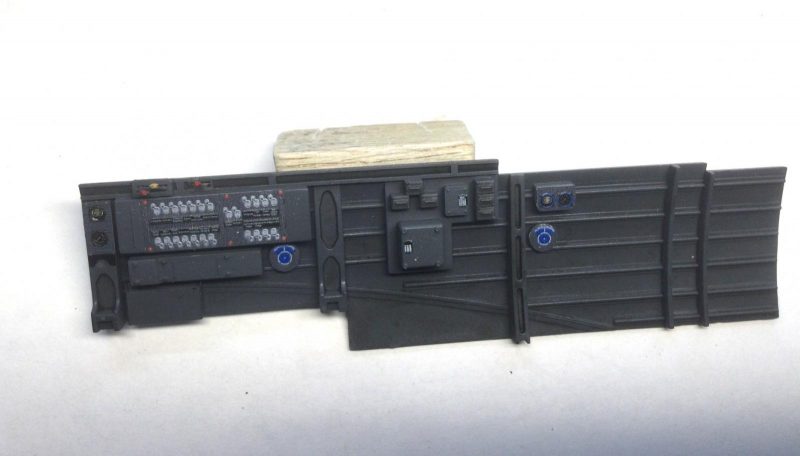
1. Etch added for side panel plus oxygen regulators, instrument dials etc.
-
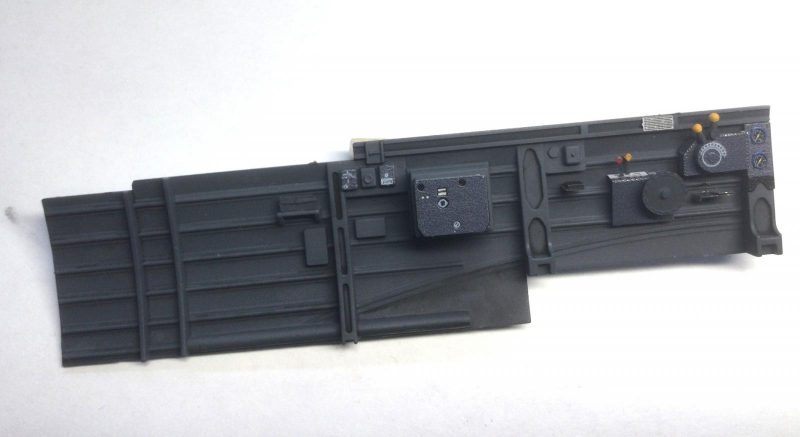
1. Some really nice etch hear plus kit levers and knobs.
After a coat of Tamiya Clear, I did further highlighting with an oil wash. Although many of the knobs on the controls were pre-painted, I painted them again to enhance their appearance and thickness. I used most of the etch set which required painting for the ammo boxes, gunners seat bracing, pilots forward viewing window and various boxes, i did not use the etch seat.
-
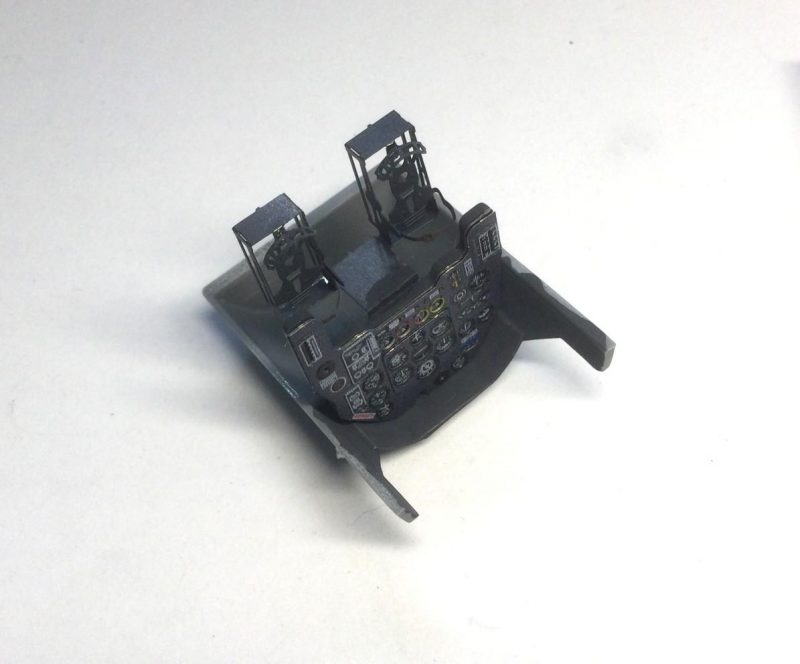
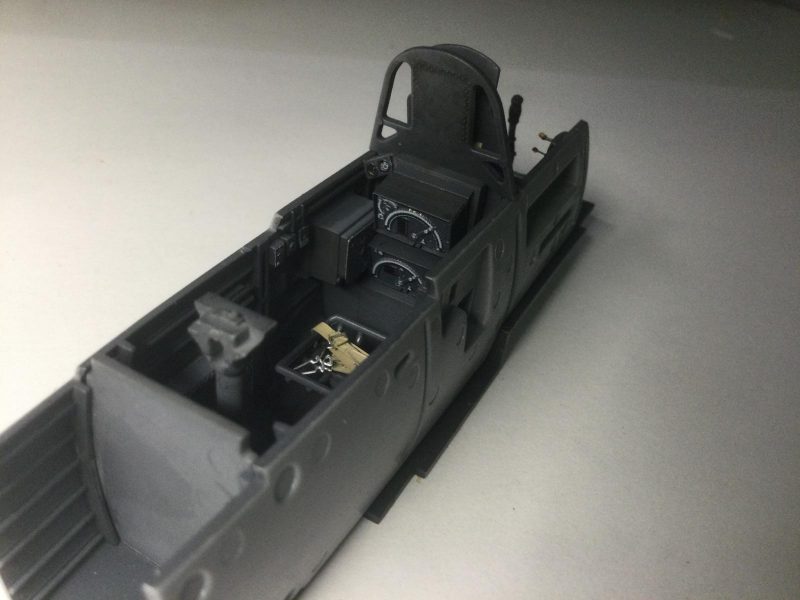
1. The Eduard IP is fantastic but it was a chore to make sure it would fit without damagin it in fuselage assembly.. all went well, in the end.
-
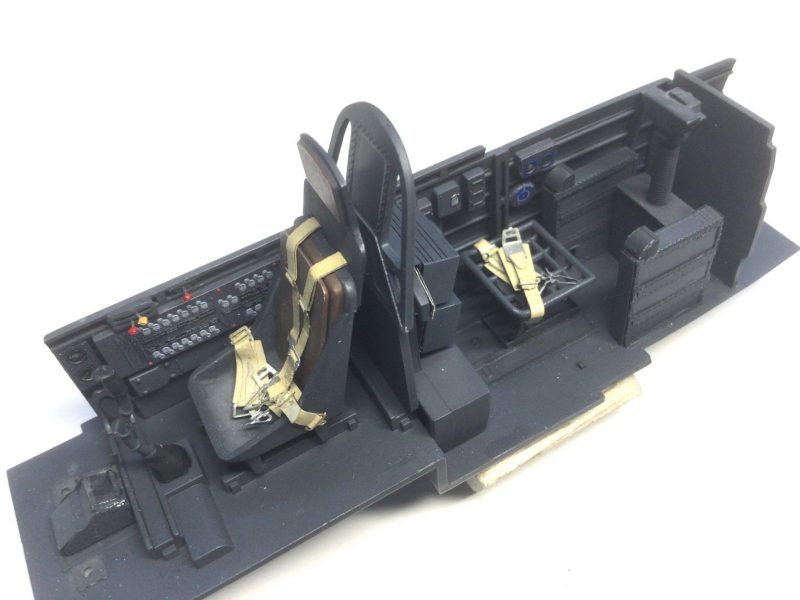
1. This layer of the seeat pad was added from styrene sheet, I bent it and creased it to add a realistic leather look to the plain pad. It matches the look of the pad I have seen in photos.
-
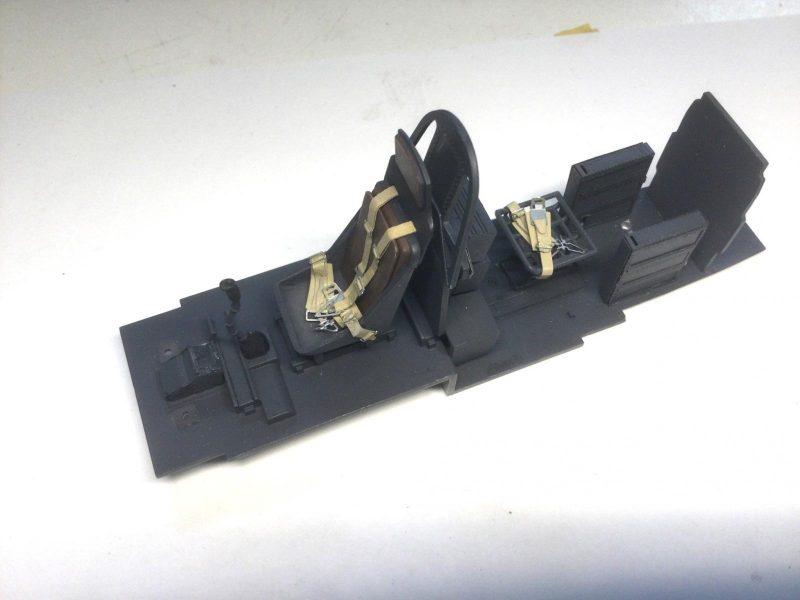
I did not feel it was particularly accurate representation of the real airplane's armored seat and also reasoned that the kit seat would support the pressure of the etch belts better as they were pushed down and bent into conformity. I did thin the seat plastic a bit by sanding, however. I also added a layer of styrene to give depth and texture to the seat pad. The leather of the pad and headrest was painted Tamiya Red Brown. The results look good to me. I used early Eduard Luftwaffe seat belts, which had to be painted. I dispensed with the metal strips for the harness however and used the buckles in the set with paper belts I made myself. These were much easier to handle, bend and glue in than etch. I have not done the rear guns yet as these will be left to late in assembly painting. I will probably do the barrels with the etch I have, but I may find resin replacements. Overall, as the pit finally came together, I liked the results.
-
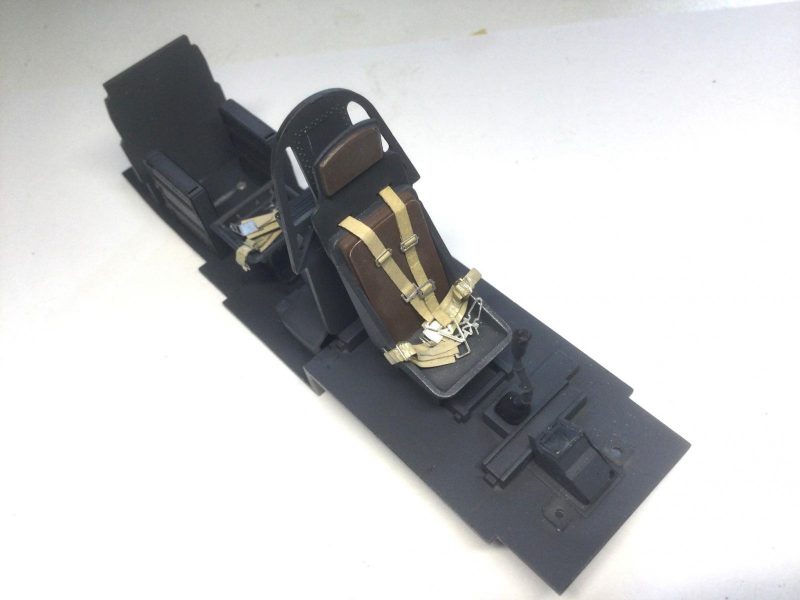
1. The paper belts I made drape much better than the etch strips, IMHO.
-
1. First pic with starboard sidewall glued on. Much detail is hidden but overall depth added is impressive.
-
1. This photo shows the etch box assembly for the pilot's forward viewing panel - with a clear acetate window.
-
1. These color etch radio boxes are superb but required great care to assemble and place (only the face are color etch)
-
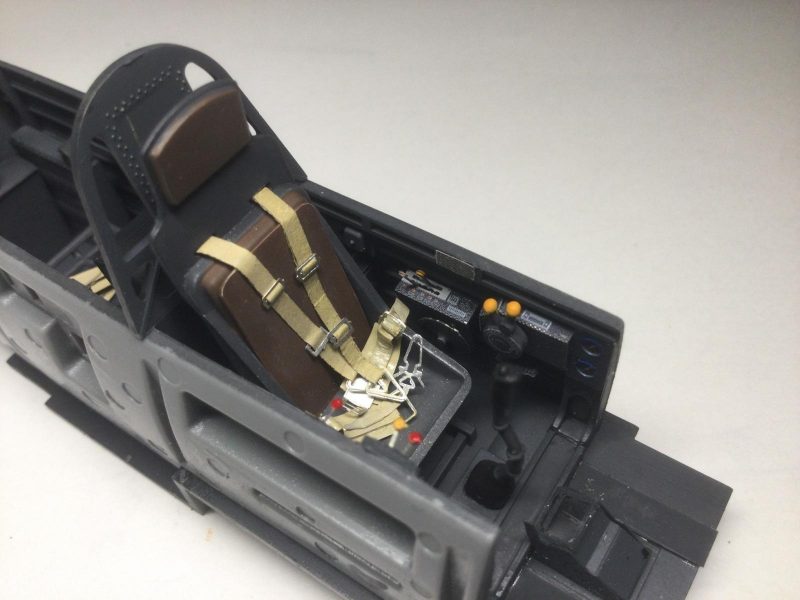
1. Final shot of port side before fuselage assembled. Details are pretty nice, I thnk, in close-up.
2. I added strips of sheet styrene to cover up the blemishes left by removing the original molded in rudder pedals.
I have now closed up the fuselage, attached the wings and tail and filled all gaps with stretched sprue, welded in with liquid glue.
-
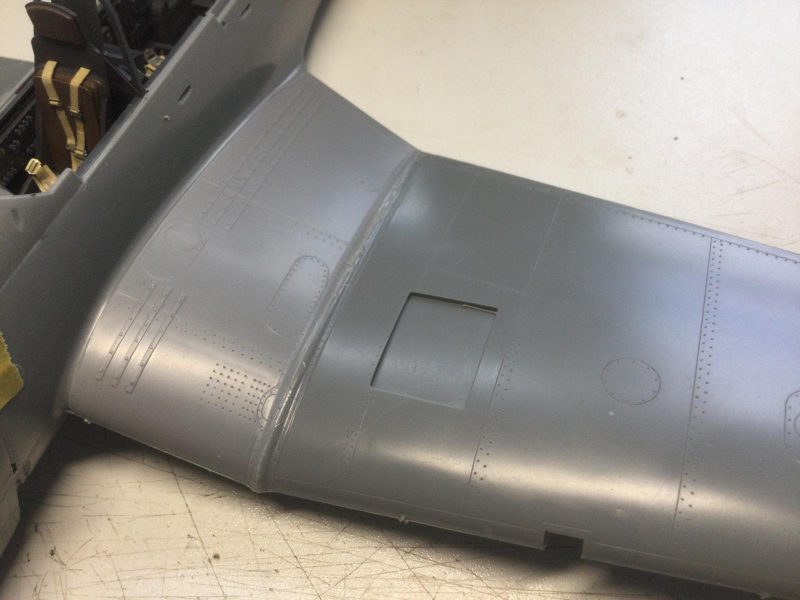
1. Long fine pieces of stretched sprue were glued at one end then stretched though the gap and welded in with more liquid glue applied along the length of the gap.
I find this is cleanest and most precise method to fill gaps without leaving excessive residue of plastic or glue. The main gaps are between the inverted gull wing joins and around the wells for the wheels to attach. I have attached the cowling and propeller assemble with tape only for now as I am still working on the intake screening. Overall, I really like the lines of the Stuka.
For all the conventional talk of its ungainliness, I think the more streamlined later models are really rather sleek and hyper-aggressive-looking. This one will be soon ready for
the spray booth. I will attach the wheels and clear parts shortly and sand all filled gaps. Here is my "basket' of wheels and undercarriage assemblies for the Heinkell, Bf-109s, and Stuka about to be painted in RLM colors and black tones tomorrow.
So, that's it for now. I hope you like the progress. I should think it's a pretty good ad for Eduard photo-etch,even if it was also enhanced with some modelling skills.