Today was a busy day at the "Iron Werke"... I got a LOT done on these two. Please follow along with me, and I'll explain to you what all is going on... and there's a lot to explain.
I started out by lightly scraping the seams on the fuselage using a razor blade to remove the excess glue that squished out. Next I gave these areas a few swipes with a sanding / fingernail file board. I have some of these in various grits and they work great for doing this type of work. I am able to polish the plastic using them too.
At this point, both Corsairs looked like this. The wings were previously assembled in the Corsair "Kindergarten". So it didn't take me too long to get to this stage.
The wings and horizontals were glued on next. Now these two are starting to look more like a Corsair.
and then there were two:
-
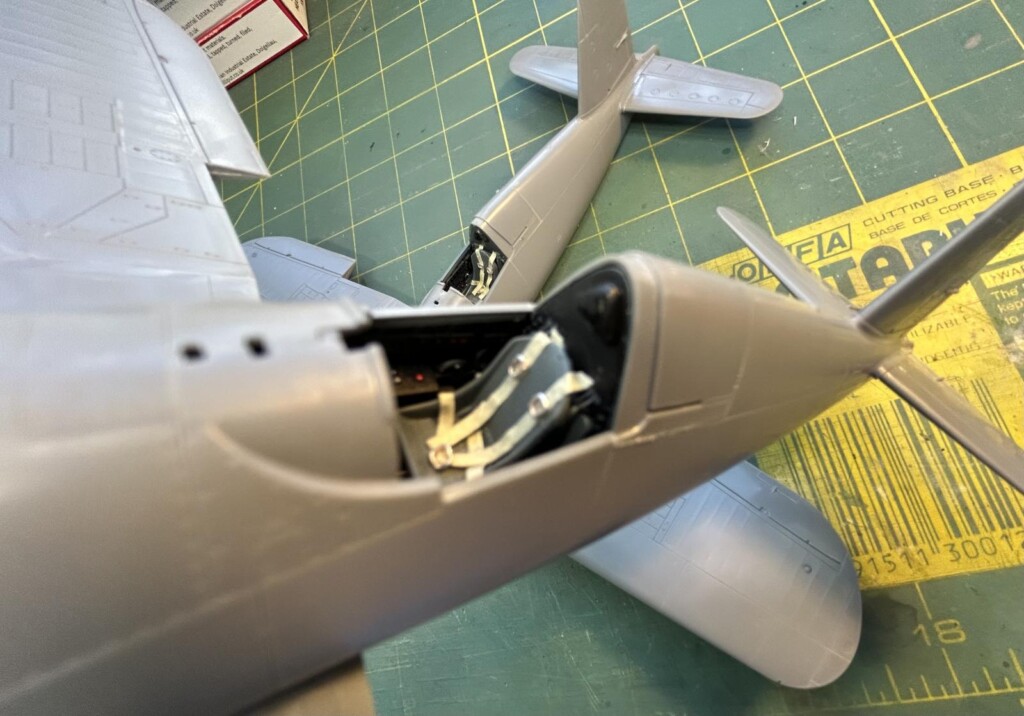
1. Dull Dark Green armor plate
-
1.
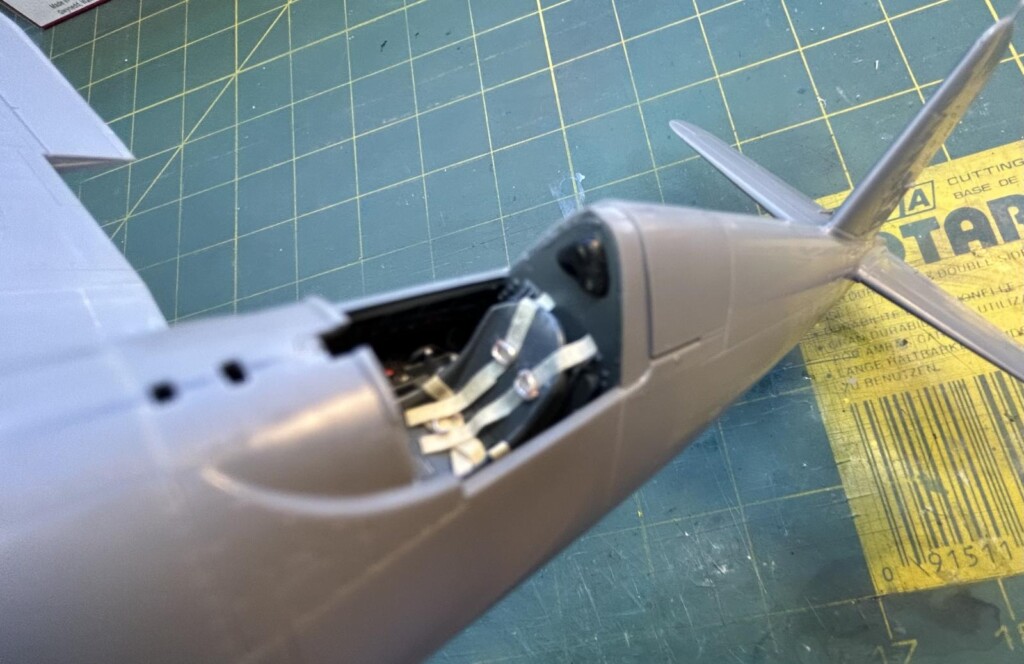
2. Flat Black armor plate
I have read that sometimes these Corsairs had some parts of the cockpit interior painted in a Flat Black color, most notably the armored plate behind the pilot's seat. So I took the liberty to paint one Corsair in this manner. The other was left "as is" in a Dull Dark Green color, looking very similar to the "Birdcage" Corsair that was pulled up from Lake Michigan some years ago.
Next I got busy with the engines. I had previously built and painted the engine assemblies when they were in the Corsair Kindergarten...this also saved me some time now.
I painted the exhaust pipes using a burnt metal color that I home brewed. I also painted the intake manifold pipes using a Gloss Black. These are only slightly visible when the engine is installed. But if you look really close you can actually see them.
Then I glued on the engine cowling cooling flaps. Since these two planes were operated in the South Pacific, I decided to leave them open, and picked the appropriate parts that were included in the kit. Tamiya offers the builder a choice between open or closed cooling flaps for the cowling. I personally think the Corsair looks best with them open, but that's my opinion.
The next step was to install the engines into the cowlings... like this. I didn't bother adding ignition wires.
and then there were two...
These completed engine / cowling assemblies were now glued in place on the front of the fuselages like this...
and then there were two...
Next I started working on the tail wheel strut landing gear doors. I like to add them now, before painting actual doors. This allows a bare plastic joint, and it's much stronger. So I carefully scraped off some of the pre-painted "Salmon" color inside the fuselage, and attached the doors.
The main gear doors were installed next. These areas will be painted using a "Flat White" color soon. The majority of the wheel well was painted like this by Vought. Vought painted the main landing gear bays the same color as the underside color. Some small traces of Salmon color (what is really Indian Red pigment mixed into Zinc Chromate), was occasionally visible in some spots that was in hard to reach areas.
I had previously assembled the flaps while these Corsairs were in the Kindergarten. The step opening on the Starboard side inboard flap was filled in and sanded smooth a while ago, so here again, the Corsair Kindergarten saved me some time.
I pressed the inner most flaps in place, but only on a temporary basis. It was not glued in permanently. I can pull them back off later to allow for much easier painting. This was the reason why these inboard flaps were not permanently glued in place. They were simply used to help me properly align the other flaps when I installed them in permanently.
The clear under fuselage window was glued in place. I have to do some research to see if these were painted over on these two planes, or if I should leave them clear as they are now. It's also possible these windows were painted over, or possibly even replaced with metal in the field, and then painted to match the surrounding area.
This is how these two Corsairs look like now. It was a very productive day at the Iron Werke today. They are ready to go to the paint shop next. Hopefully tomorrow I can start spraying some Flat White on these two U birds.
As usual, comments are encouraged. Thanks for stopping by.
1 additional image. Click to enlarge.