Yes Louis this kit has a lot going for such a small vehicle. Well not that small, but still not a tank. The kit #35228. It is an update with modern tooling for the time in the mid 90's. So far the fit is excellent.
Spiros thanks, it is a neat kit so far, but I am going to do an easy mod to add a bit more character to the armored car.
Eric, 48th scale has come along ways, for a long time there was very little as this scale was quite neglected in armor. Int he 60's and 70's up to the turn of the century, the only game in town was Bandai, and they were hard to find. Seems like I wanted at least a Jeep to park next to some of the WWII aircraft just as a comparison and a bit of vignette. Now there is a nice selection, some are just as pricey as the 35th scale stuff. Like the Tamiya airfield fuel truck I have my eye on.
Now on to step 2. Spiros, this is the mod I am going to do on the M8,
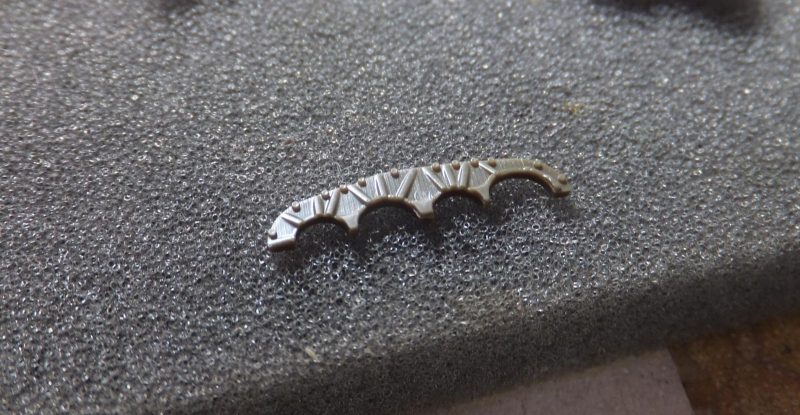
A drop in fit front differential which allows you to pose the wheels in a turning postion. In resin.
The directions pretty much follows the Tam kits just substitute the resin front diff in place of the kits.
-
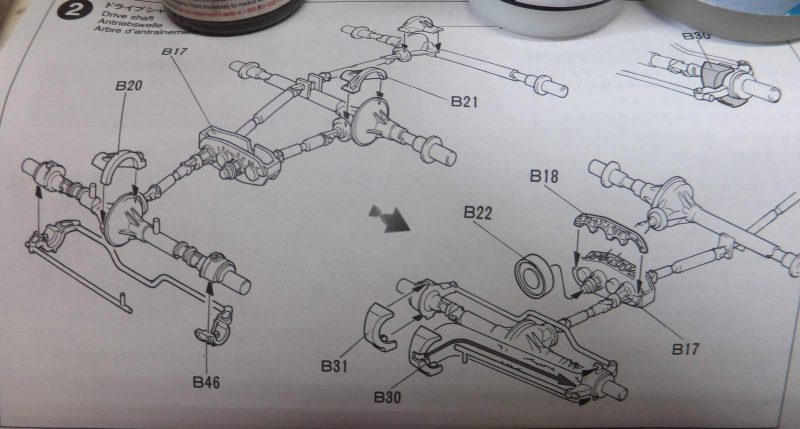
1. Original kit directions
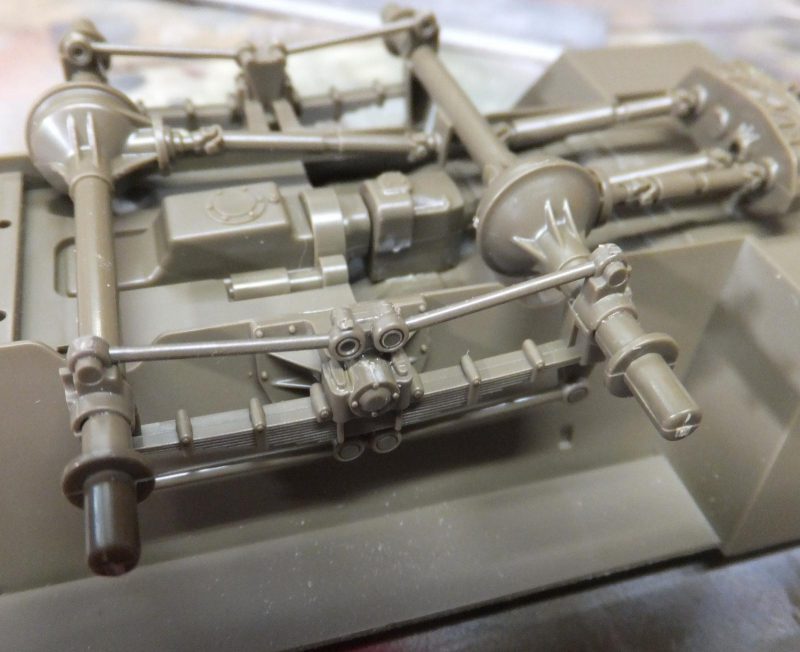
1st the kits differential and driveshaft assy is all one piece with all 3 diffs connected to the driveshafts.
-
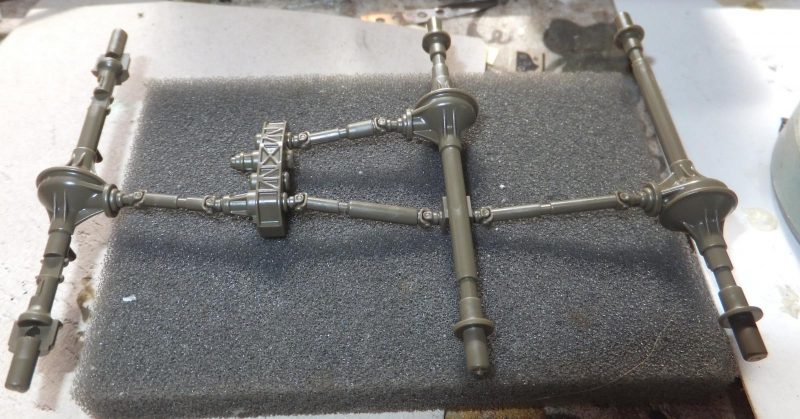
1. Tam has all 3 differentials, driveshafts and transfer case as 1 piece
2. front
The resin diff and kits are exact except for the separate knuckles on the resin part.
-
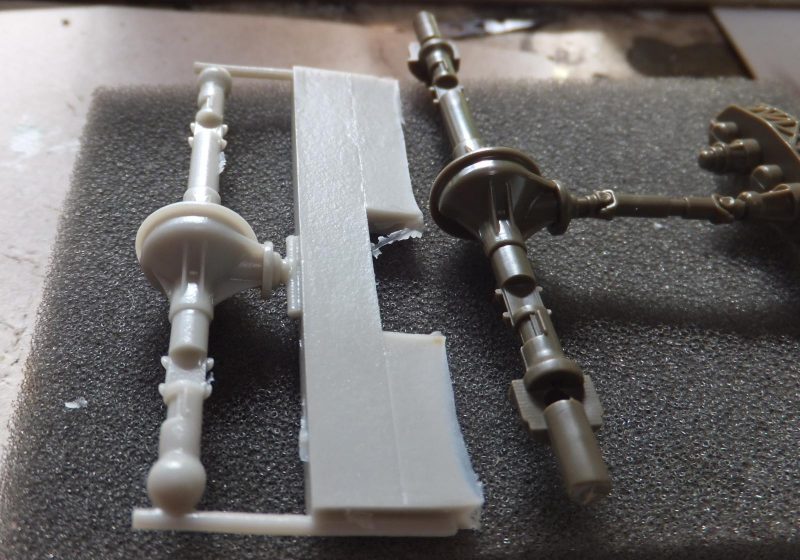
1. resin differential
2. knuckle
The resin differential is a drop fit replacement part, no modification required.
Cut off the kits differential from the drivetrain assy.
Before moving on, E-brake drum is attached to the transfer case.
-
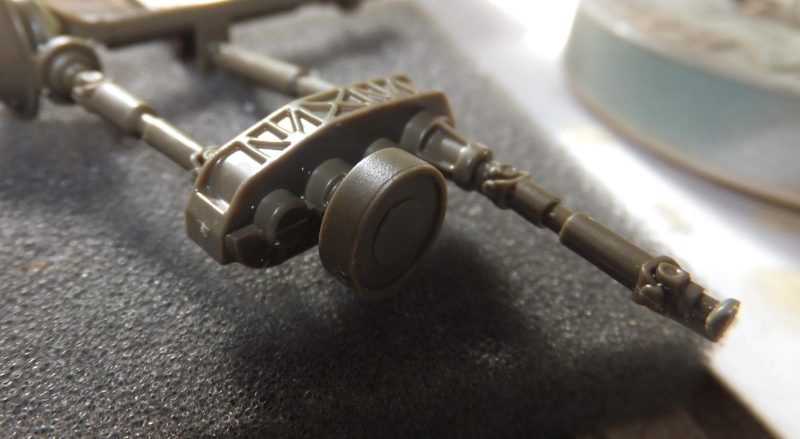
1. Attached to transfer case
2. Front diff already removed
Next the top cover of the transfer case is then installed.
-
1. Transfer case Upper cover
-
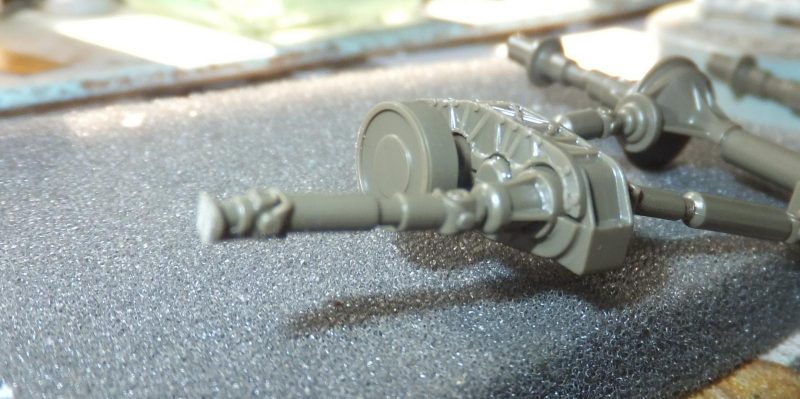
1. Nice bit of detail on the transfer case
Next is to install rear pumpkin covers over the differential gear sets. Pumpkin is slang used for the 3rd member or center portion of a differential, as they do look like a pumpkin in shape on some vehicles, so the term is used in the automotive industry for all makes and models, when mechanics talk to each other. Where as a customer may not know what they are talking about.
-
1. 3rd member or "pumpkin"
-
1. 3rd member cover installed
Now next is to install the assembled drivetrain.
1st the drive train is installed to the lower hull.
The rear torsion rods are next attached on each side of the rear differentials.
]
-
1. One attached to each side
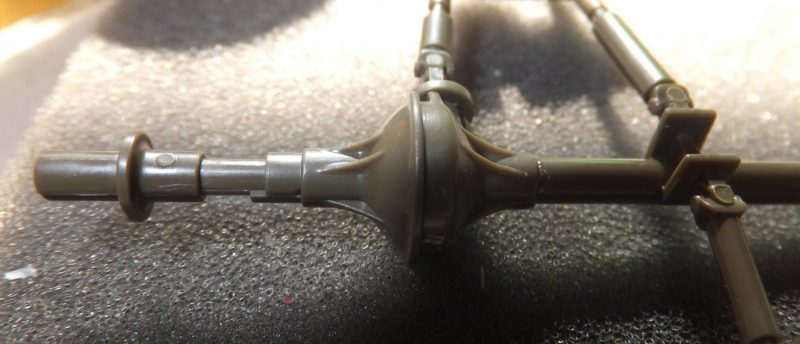
Next the resin differential is installed using Super Glue and placed in round pin holes in the hull, excellent strong contact point. The only issue is the driveshaft sits a bit low where it should be centered. Didn't catch that before the cyano had set. Being fragile I am going to leave it.
-
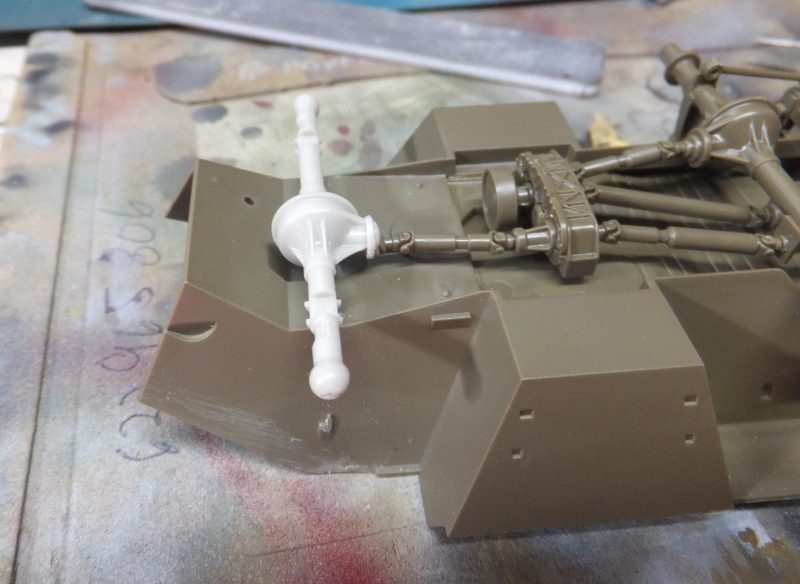
1. Resin differential attached to lower hull, perfect fit,.
2. Goofed as the driveshaft is a bit low
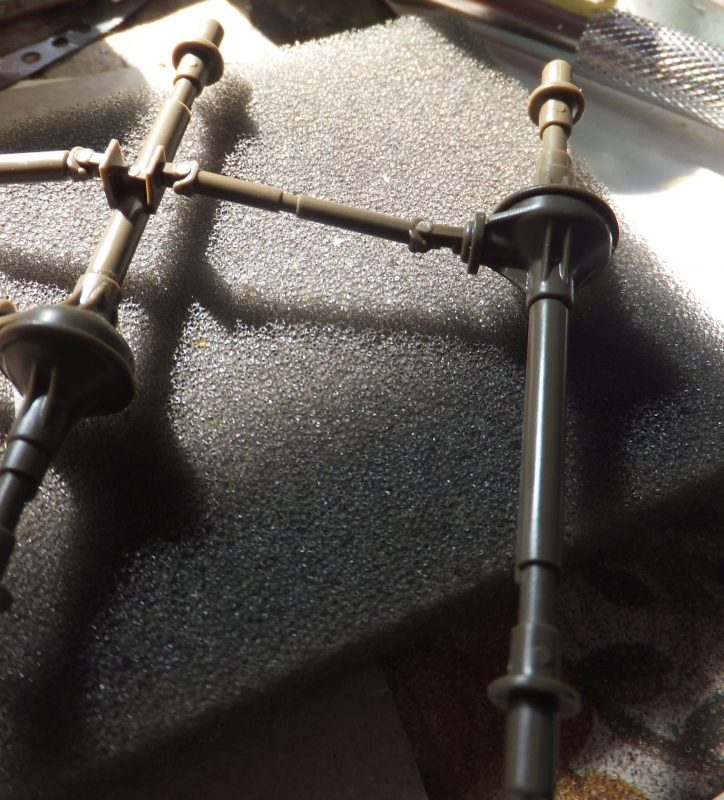
The front shocks are next up. These will also help support the front differential. Contact points are very strong.
The radius arm is then temporarily placed in front of the differential. Extremely fragile, I really don't know how it survived removing it from the casting block without breaking it.
-
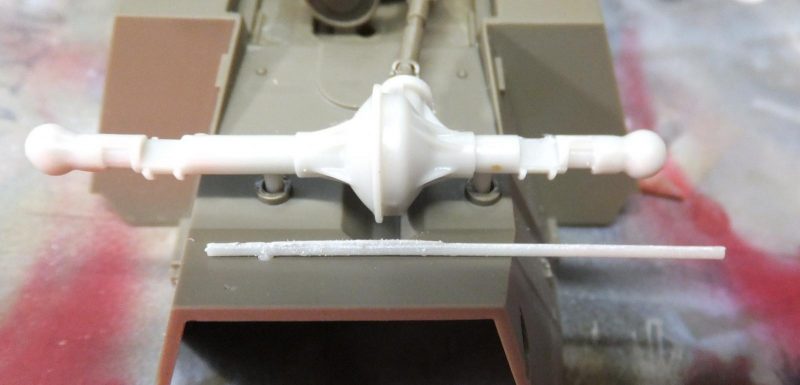
1. Will sit higher when the steering knuckles is attached
Finally in this step the underside is painted Mission Models Olive Drab Acrylic. Love this stuff.
Next is to complete the undercarriage.
More to follow.
2 additional images. Click to enlarge.
-
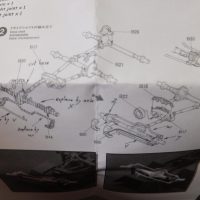
1. Resicast directions
2. Resin diff
-
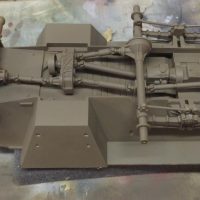
1. Painted Mission Models Olive Drab,