Now start work on the interior. The side walls are white and the floor is OD.
Before painting will start with some basic. components. First with the rear bulkhead/firewall that separates the interior compartment to the engine. Side note, plenty of room in the engine compartment if one wanted to have a resin engine installed in place.
RH side panel which also has the storage compartment door molded in place.
-
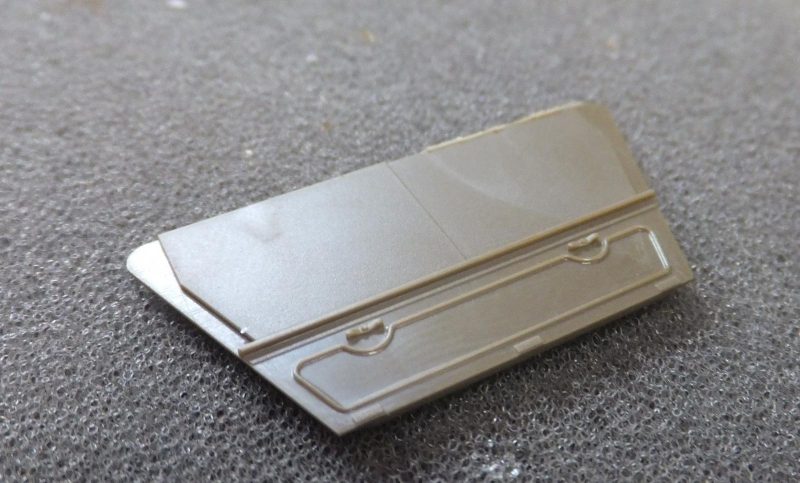
1. RH side storage compartment wall
-
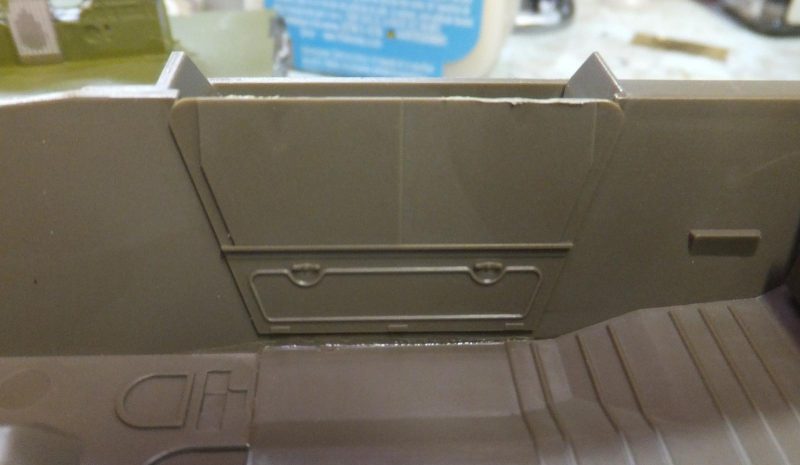
1. Compartment door molded in
Radio shelf mounts on the LH side of the fighting compartment.
A PE panel is attached to the to of the differential hump that juts up from the floor.
The shifter console with the e-brake handles is then place between the front seats.
A pair of storage boxes are placed at the rear LH/RH rear side panels in the fighting compartment.
Next a PE flash light holder bracket is attached on the RH side wall towards the co-driver.
Next is to paint the side walls Glossy white using Tamiya Acrylic. And the upper structure sides as well.
Next to add more interior components.
More to follow.