Thanks for the sympathy everyone! @fiveten @airbum @uscusn @stellan
I do usually use masking tape to protect the area I am filling. I taped the first application of putty, then discovered that I needed to apply the putty to an area that was so large that I was going to wipe out the panel lines anyway. Plus it saved me having to buy some new masking tape.
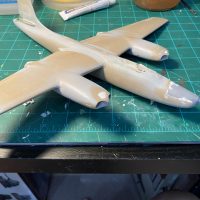
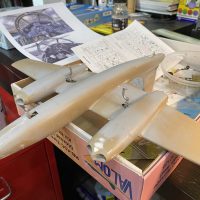
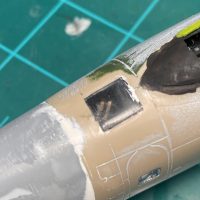
I have made some good progress and I am pleased with how it is going so far. The fuselage took 3 rounds of fill and sand. After that, I started on the wings. The worst fitting areas were around the engine nacelles. These were hard to deal with because of the complex curves and intersections between the engines and the wings. Attaching the wings to the fuselage was almost an anti-climax thanks to a spar that was designed to support the wings. Thanks, Valom. I re-scribed some of the panel lines that were obliterated, but this task was made more difficult by the very hard plastic of this kit. I really had to press on the scriber to get it to cut a line, but I was concerned that one slip would really mess up the surface.
Attaching the landing gear required some modifications to the kit parts. The pin on top of the gear that is supposed to fit into a hole in the gear well was only about 1/16 inch in height. No way this would hold the gear in place. I added a small plastic piece to the gear well that would fit over the top of the strut and provide a more solid attachment.
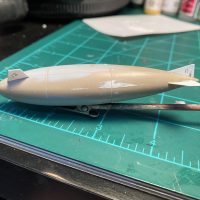
The last challenge was attaching the horizontal tail surfaces using the infamous butt joint. These were some really big chunks of plastic, and they attached at an angle. I should have known that things were going too well. The tail-pieces went on very well. I was busy patting myself on the back when I set the plane on its landing gear and discovered it no longer sat on 3 wheels. Apparently the weight of the recently added tail surfaces overcame the large fishing weights I put in the nose. I started looking for someplace to stuff some more weight, but with no luck. I then remembered that I haven't attached the tip tanks on the wings yet. Not as good as getting the weight more forward, but I managed to stuff a goodly amount of BBs into the forward part of the tanks and then secured with super glue. Attaching the tanks will probably come tomorrow, so we will see then if I still have a tail-sitter.
About the only thing left besides the tanks is to attach the canopy. Then it will be paint time. Yeah. I have also started a Gulf War Jaguar that I work on while stuff on the Tornado is drying. Both are 1/72, and the size difference is amazing.
Every stay safe!
18 attached images. Click to enlarge.
-
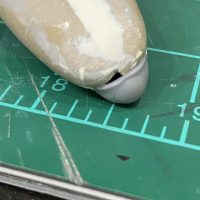
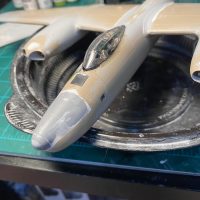
1. Fit on the nose is not the best.
-

1. Wing 1 glued to fuselage.
-
-
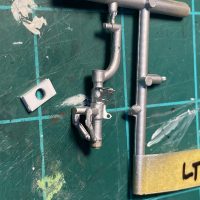
1. This tiny, barely visible pin is supposed to hold the gear in place.
2. Block that will support the gear in the well.
-
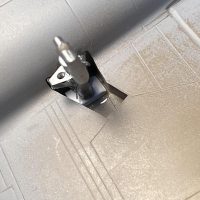
1. Gear glued into well with additional block to support. It is very sturdy.
-
-
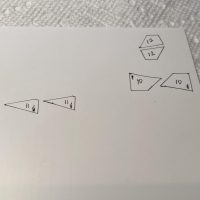
1. Replacing photoetch fins on tip tanks with homemade plastic ones.
-
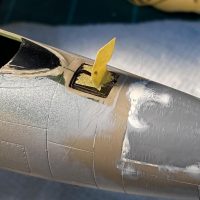
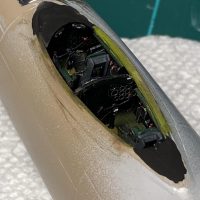
1. I used a handle on this window to be sure it didn't fall into the fuselage while I was positioning it.
-
-
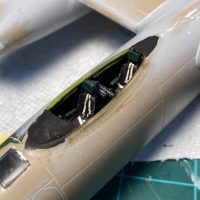
1. I had to sand this glass to make it fit. After getting down to the finest grit, you can actually see inside the fuselage. Some future should really help later.
-
-
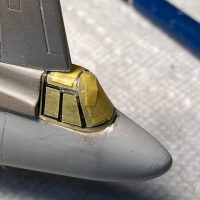
1. The actual cockpit is also this dark.
-
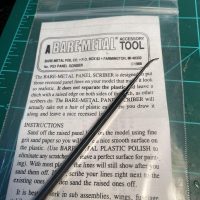
1. I used this to replace some of the panel lines that were sanded off.
-
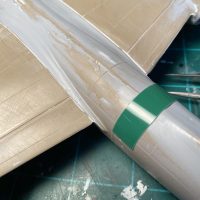
1. Dymo Tape used as a guide for rescribing panel lines.
-
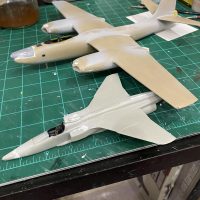
1. Size difference is amazing.
-
-
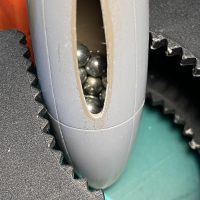
1. BBs plus super glue in each tip tank.
-
1. Trial fitting the canopy. No glue yet.