Thanks Greg, despite it's simplicity, once I get it finished I'm hoping it will look just as well next to the more complicated Trumpeter MiG-23.
Now to first paint the cockpit framing Interior Grey/Green before applying the paint scheme.
-
1. Russian Interior Grey Green over the cockpit framing
Next is to apply pre shading around the airframe before applying the final paint scheme.
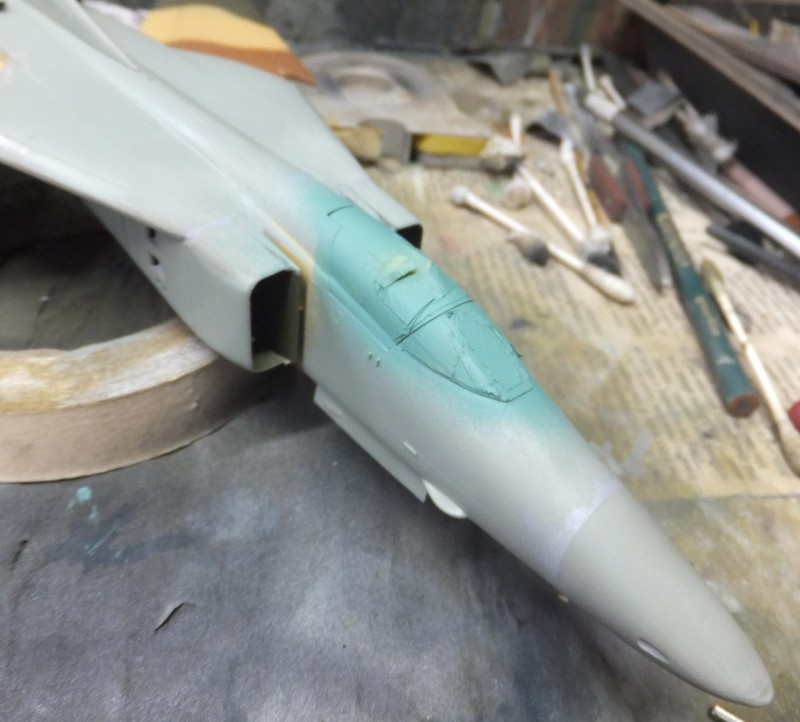
Will start with the undersurfaces in Russian Lt Blue. But I did note that I did miss a seam to clean under the nose.
-
1. Somehow in my haste I missed this
Tamiya Lt Blue Acrylic is used to airbrush the under surfaces.
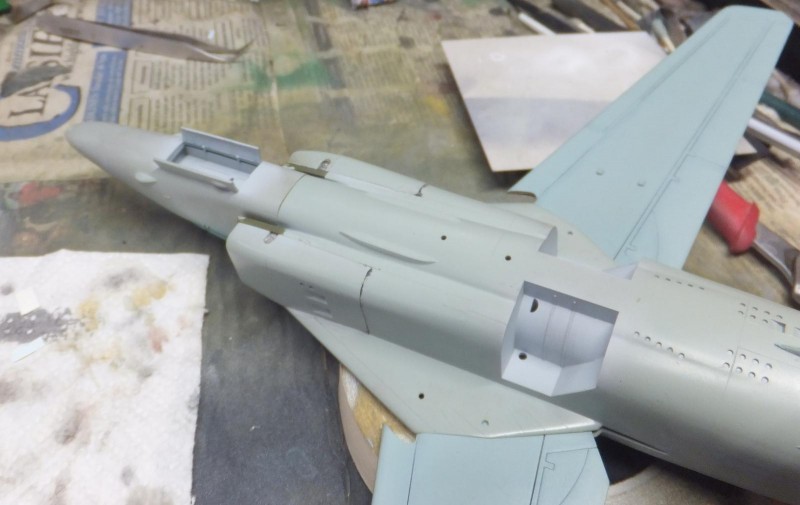
Before airbrushing the tri color upper scheme, first I attach a pair of probe sensors on each wing glove leading edge.
-

1. Sensor pods that attach to each wing glove leading edge
With the Lt Blue dry and harden, using Tamiya too mask off the surfaces that will have a sharp edge. And to protect from overspray.
-
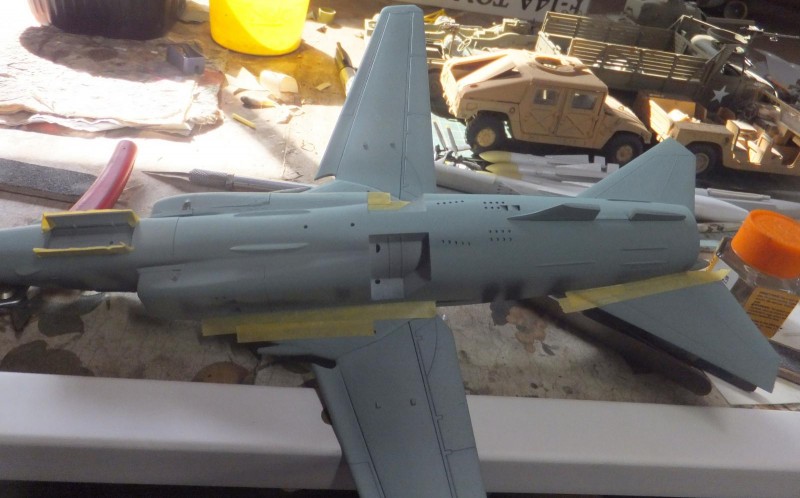
1. Tamiya tape to protect from overspray
2. Nose gear doors protected as well
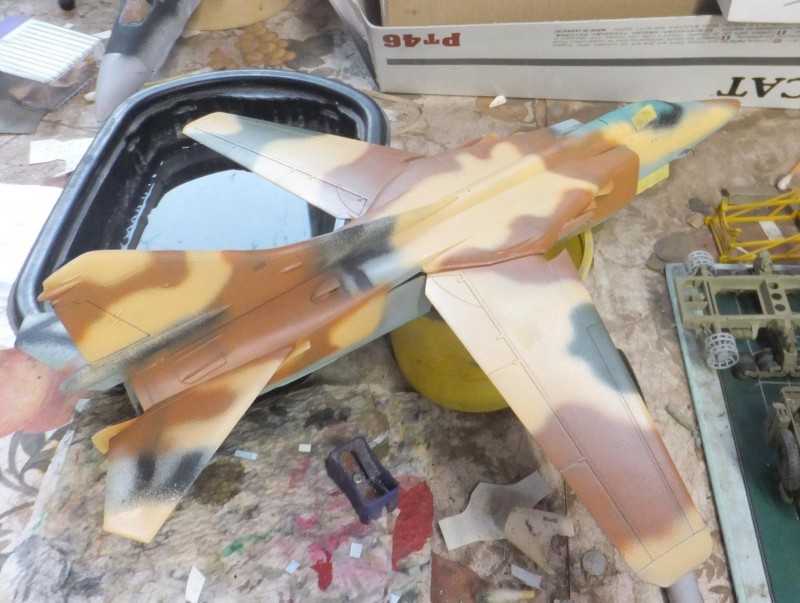
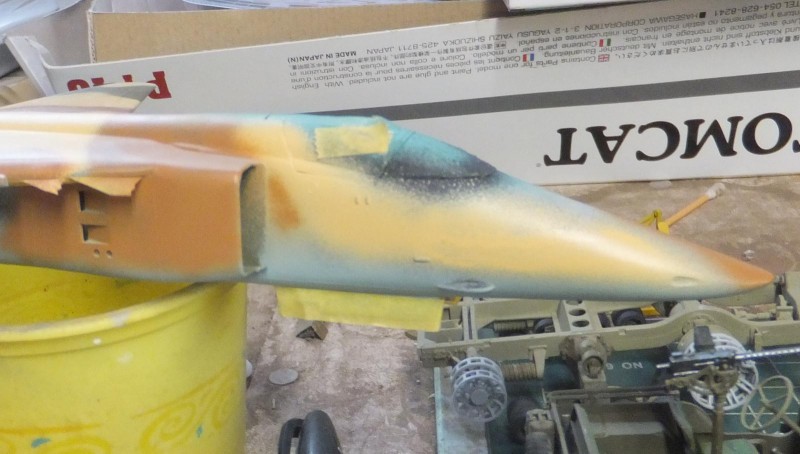
First starting with Ammo Mig Sand Yellow, then Clay Brown followed by Dk Green. Each color applied only in the areas they are assigned to.
-
1. Ammo MiG Sand Yellow #030
-
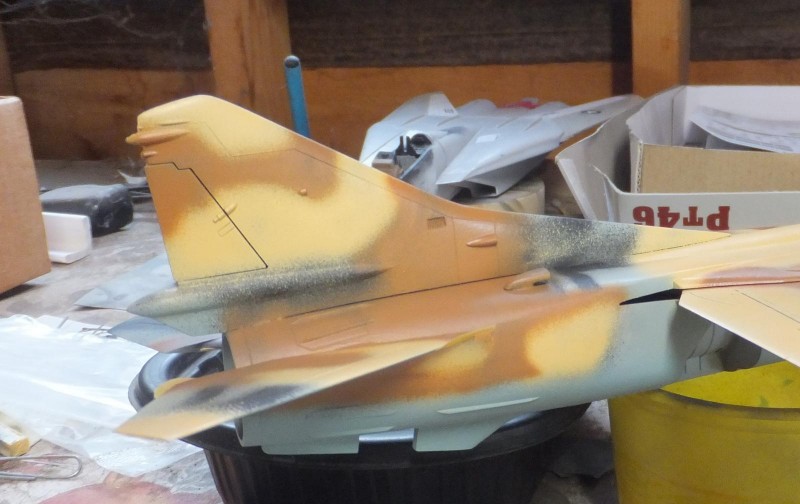
1. Ammo Mig Clay Brown #079
-
1. Ammo Mig Clay Brown #079
Once the 3 colors are applied, I will go over again to clean up the overspray.
-
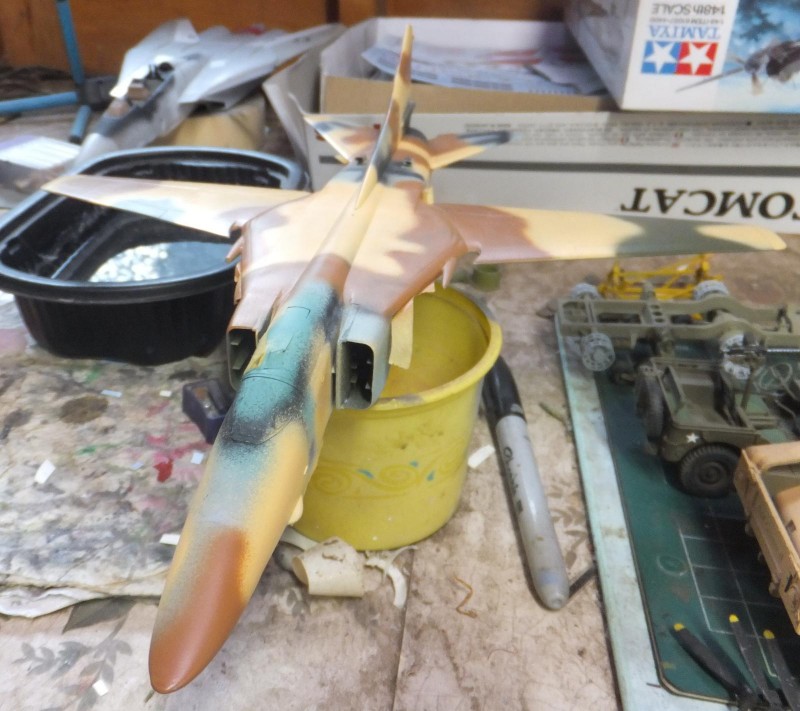
1. Ammo Mig Dk Green #206
After tightening up the demarcation lines on the camo and also the lower demarcation line from the blue to the upper scheme. Will apply the clear coat and will start the decal process.
Will also come back to paint the dialetec panels on the tail and the rear lower ventral strake. Dark Grey.
More to follow.