Colin, @coling
This is a wonderful build journal. I have the 1/32 scale desert version, and my plastic is molded in a tan color. I bought mine many years ago when it was a new release. After reading your article, I dug mine out of the pile, to take a look at it.
-
1.
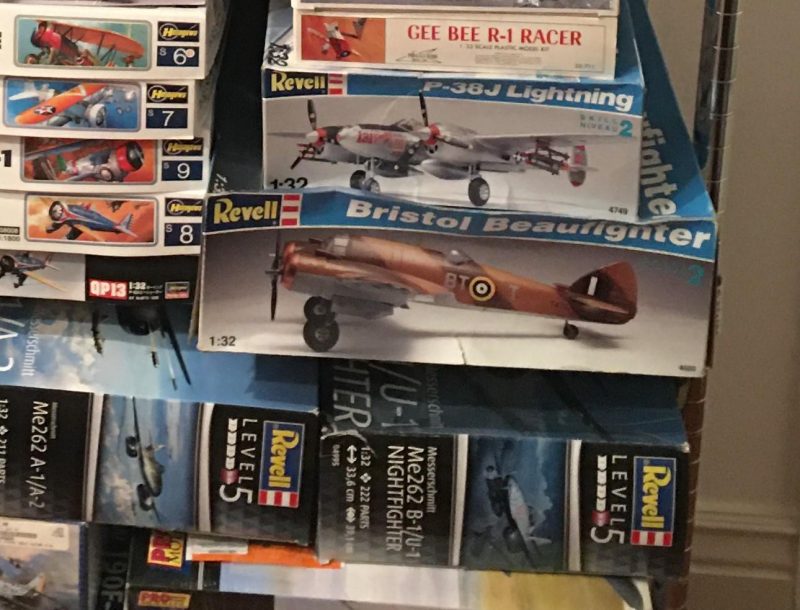
2. Here she is !!! 1/32 Beaufighter kit
This is a BIG model... and just as you mentioned, not much is present in either crew compartment. I think by adding the additional plastic strips to represent the fuselage stringers, yours will look better.
As far as sanding on the clear plastic parts, you really can't place too much pressure on the part, for fear of creating a stress induced crack into the plastic. It might not be visible at all angles. I recently had a problem with the windscreen in a 1/48 scale Tamiya Corsair, and I was able to make a replacement using the "heat and mash" method. I ended up using the original part as a template to make some spares for some of the remaining Corsairs in my stash... when the original part melted after 3 or 4 were completed. The original part would best be used to cast a more durable form out of heat resistant materials should you want to make more.
The canopy work you have done so far looks good. I have been able to remove molded in frames by lightly wet sanding and using the back side of a clothes pin as a sanding block. This will keep things nice and flat and also help not to remove too much material. These wooden sticks you have should do the trick as well. Use wet or dry sand paper, sanding the clear plastic while the paper is wet. It also pays to change out your water as you go to increasingly finer grits, as the coarser grit plastic sediment can actually cause scratches in the plastic.
I use an automotive plastic polish made by Meguiars. It's simply called "Plastic polish" and is available in most of the better paint and body supply stores. However, I have heard that Novus works well too, I just have never tried it personally.
Once you have sanded it to where all of the frame is removed, I would consider simply polishing it using a plain old cotton T-shirt in between the changing to finer grit paper. This will show you just how bad or deep the remaining scratches are.
It acts as a test and will show you just how much more work you have to do. Then finally, after it is all done to your satisfaction, you can dip the clear plastic canopy into some Future, Pledge or whatever they are calling the clear floor acrylic nowadays...
If this one is going to be anything like your other large scale builds, we are in for a treat ! Thanks for posting it. I will definitely be looking for updates.