You would think that a kit with only 30 parts or so would be quick to build. But when you know that you are building an airliner with a natural metal finish, you take some time to make sure that everything is smooth and seamless.
For this plane, the entire cockpit roof is one large piece that glues to the fuselage. I wasn't worried about keeping the glass clear, since the cockpit windows are supplied as a decal. But I did want the canopy piece to blend smoothly into the fuselage. It took several rounds of putty, sand, and primer to get something that would be OK. This process was repeated on several fuselage and wing seams that kept popping up.
-
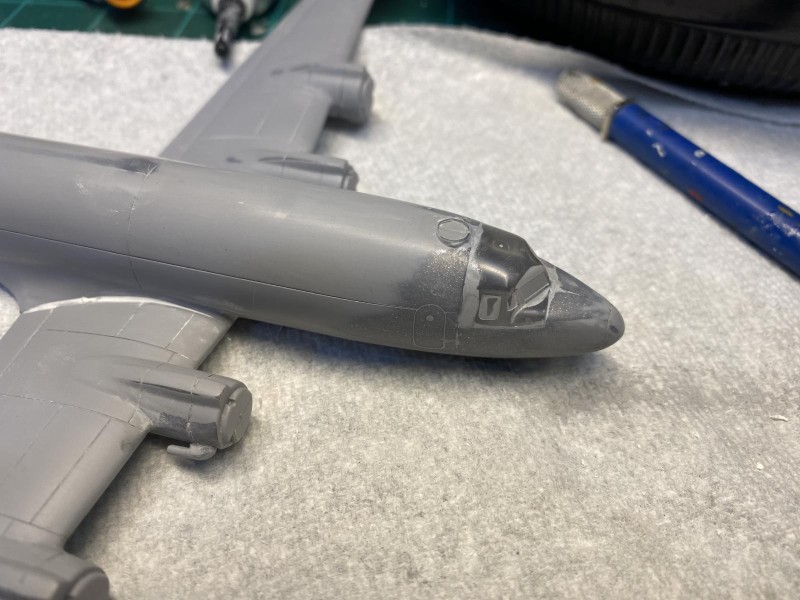
1. Lots of blending needed here.
-
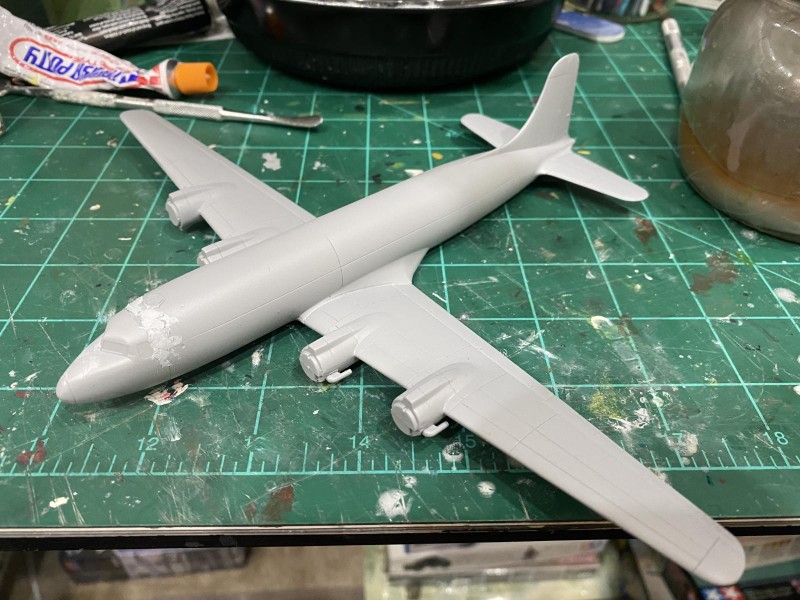
1. Several rounds of fill and sand were needed.
I did some planning for the four engines. The engine piece is glued directly to the front of the cowling. A dry fit of the cowling to the wing revealed that some filler and sanding would be required. I wanted to paint the engine before I put it in the cowling, but it looked like there wouldn't be any way to protect it during the painting of the NMF. I decided to paint the cowling in its metal color, add the engine, glue it to the wing, then do the putty and sanding. At this point, I could mask the forward part of the engine and repaint the sanded portion along with the rest of the plane.
-
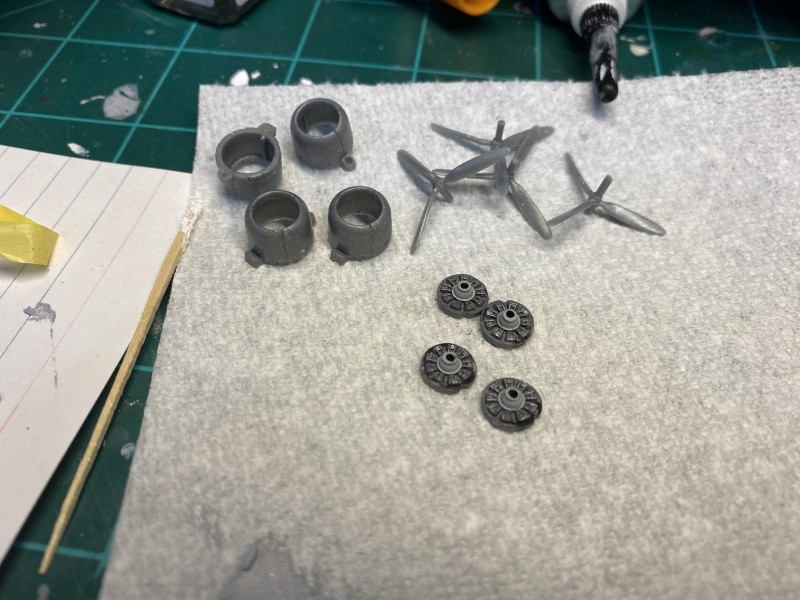
1. Engine components cleaned and ready for the next step.
-
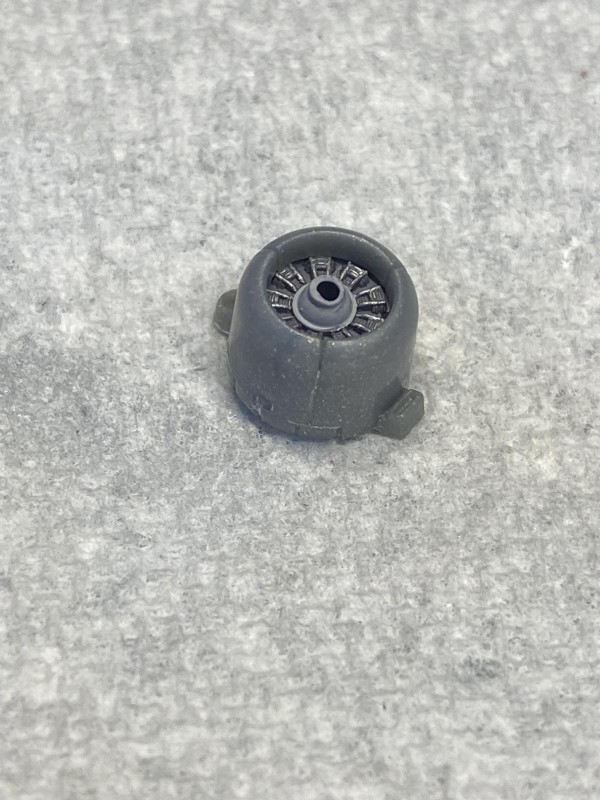
1. Engine fits tightly against cowling, making painting after assembly difficult.
-
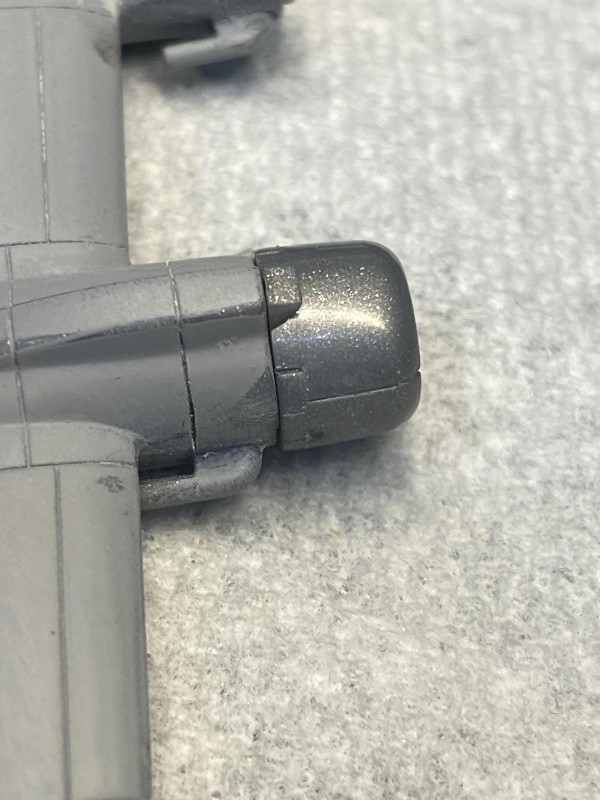
1. Putty will be needed on this intake.
-
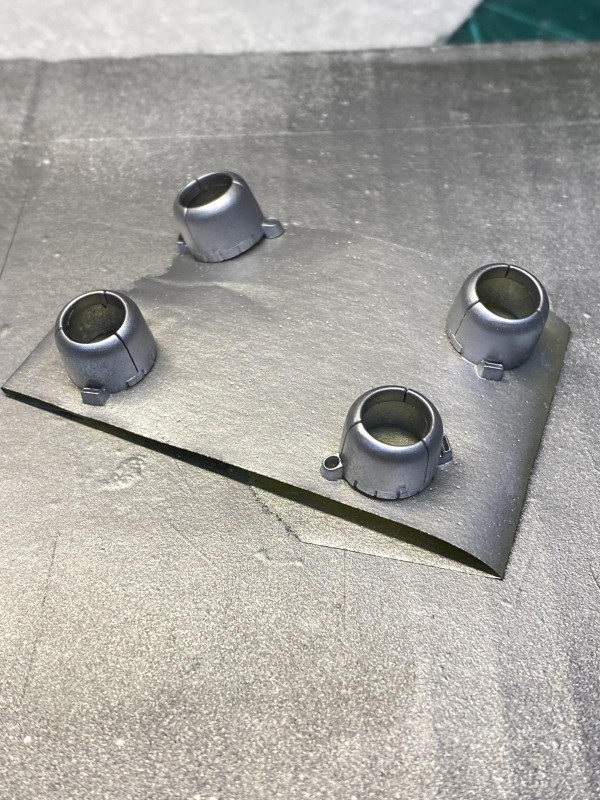
1. Painted and ready for engines.
The props were delicate and care was needed to clean them up before painting. The plane has silver props with a dark blue band on each blade near the tip. There were decals for this band, but I chose to paint the band instead. I painted the blades blue, cut thin tape to mask the line, then painted the blades silver.
-
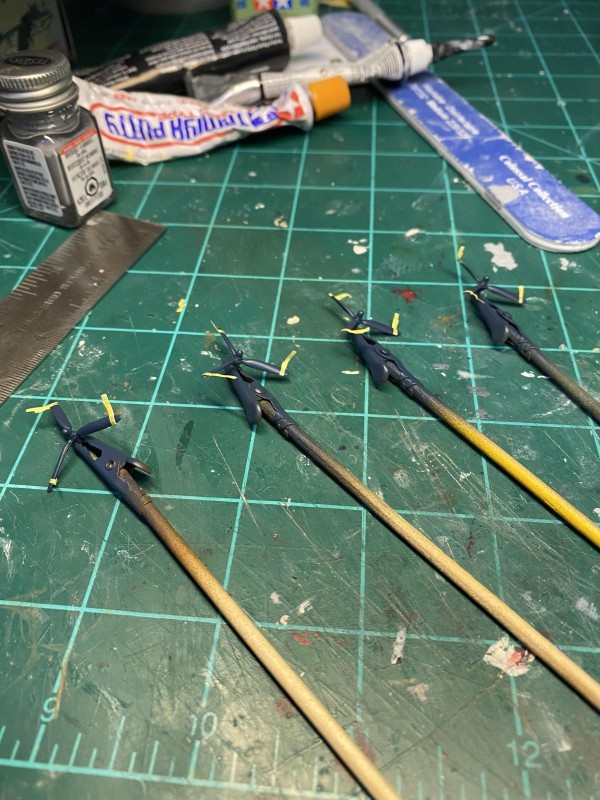
1. Props painted blue and stripe is masked, ready for silver paint.
I was 99.9% sure this would be a tail-sitter, so I added a bunch of weight to the nose before I closed the fuselage. I added the landing gear, only to find out that it was still sitting on its tail. I managed to dribble some small ball bearings into the fuselage through the nose gear well, so we will see if that was enough after the glue dries.
Once I get the nose weight sorted and give the plane a last once-over with very fine sandpaper, it will be time for natural metal finish. This should be interesting. My last model with a NMF was probably in 1973. Everyone stay safe! Cheers.