Just a brief update on the RCN Tribal Class destroyer I am working on these days. I have been attaching photo-etch, trying to work from the center out, at least for major components.
-
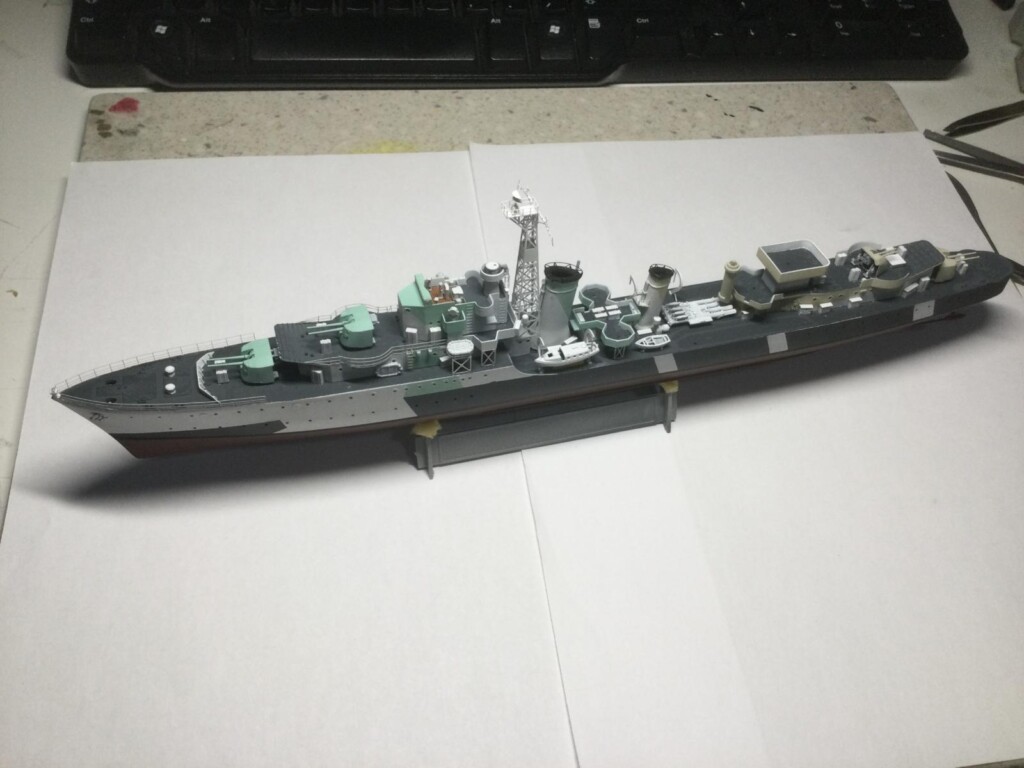
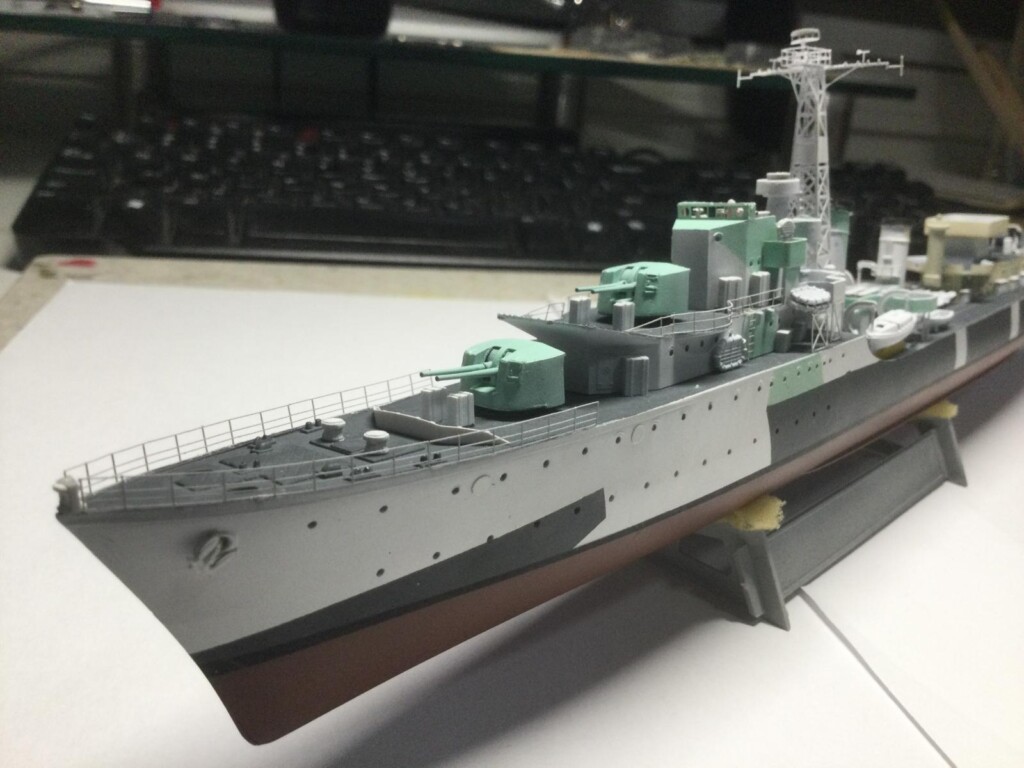
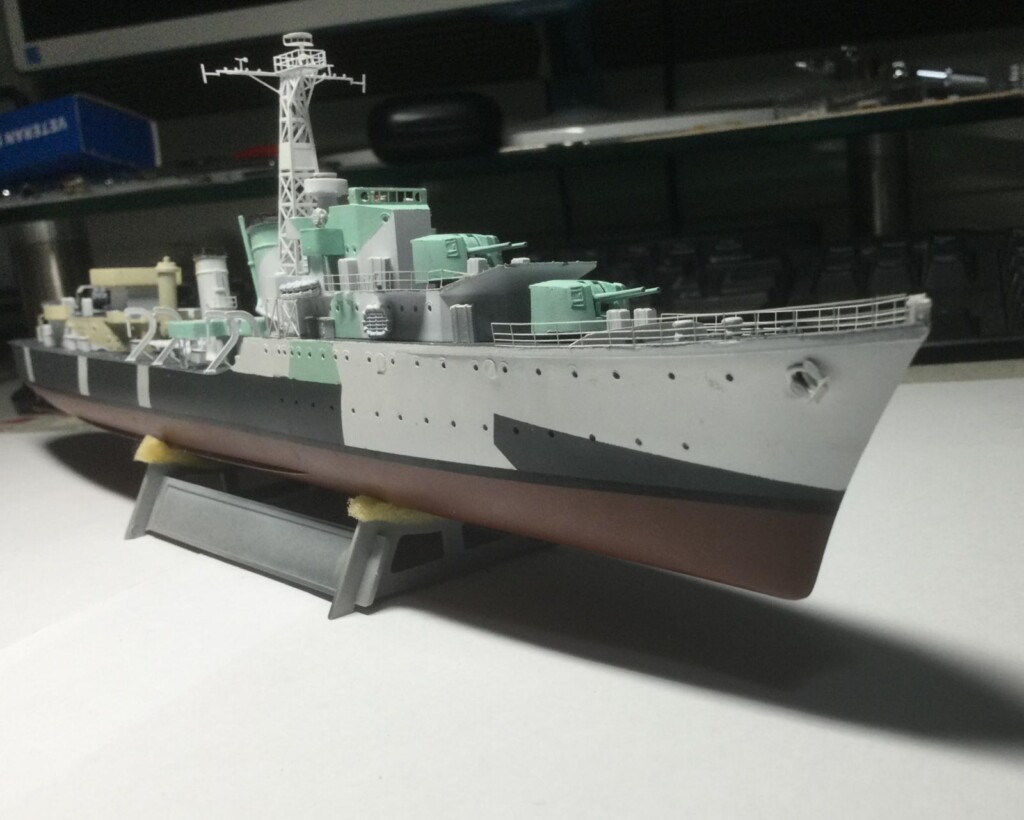
The main mast is mostly done, with the yard arms - or yard - reinforced with a pin glued on the back - I don't see how else it would support the rigging later. I did some etch for some small ladders, supports for the bridge structure and railings for the forward front B gun deck, and, finally with great trepidation, began work on the the railing of the forecastle, which has a curved uplift. Since I did the surgery myself on the foc'sle, I was afraid the curved etch rail from the White Ensign set would not match the curve perfectly. In fact the fit was very good. I took hours to get the most curved section, which was about 8 spans when the piece was cut in half, to fit perfectly using tiny amounts of superglue and Gator Glue thin. I couldn't cut it any shorter because the curve of the deck needed a longish piece to sit well. Here it is from various angles.
-
-
-
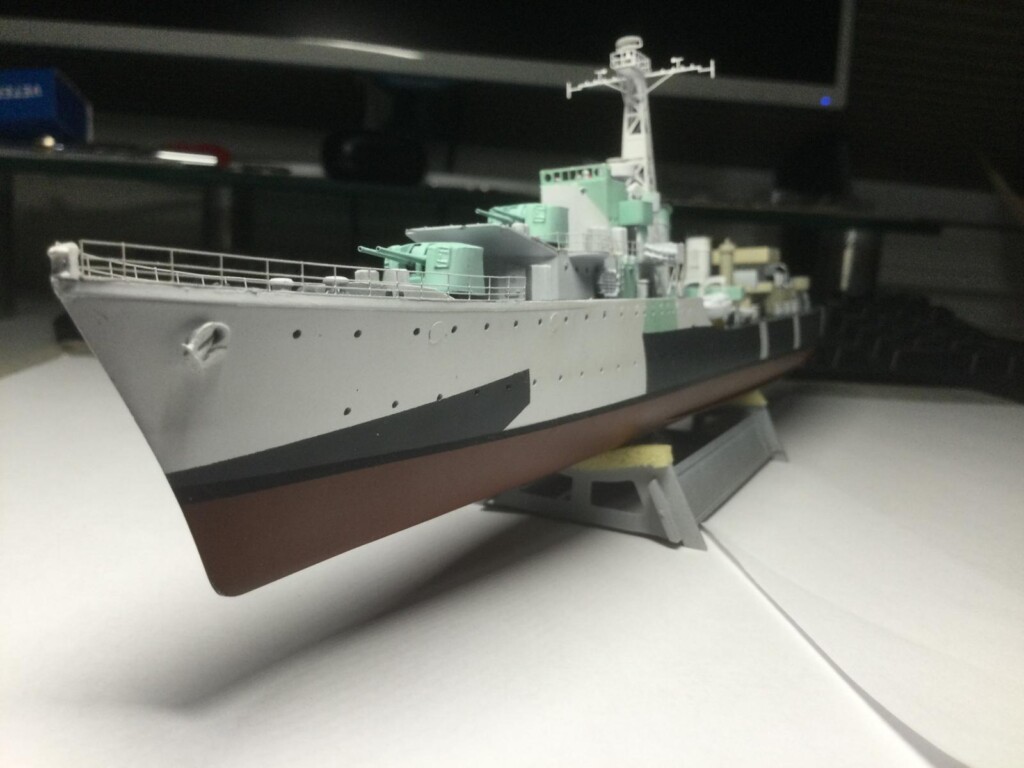
1. curve is good and base securely attached with no unsightly gaps. The flag pole base on the prow of the ship was a great guide and fixing point for attachment the railing.
-
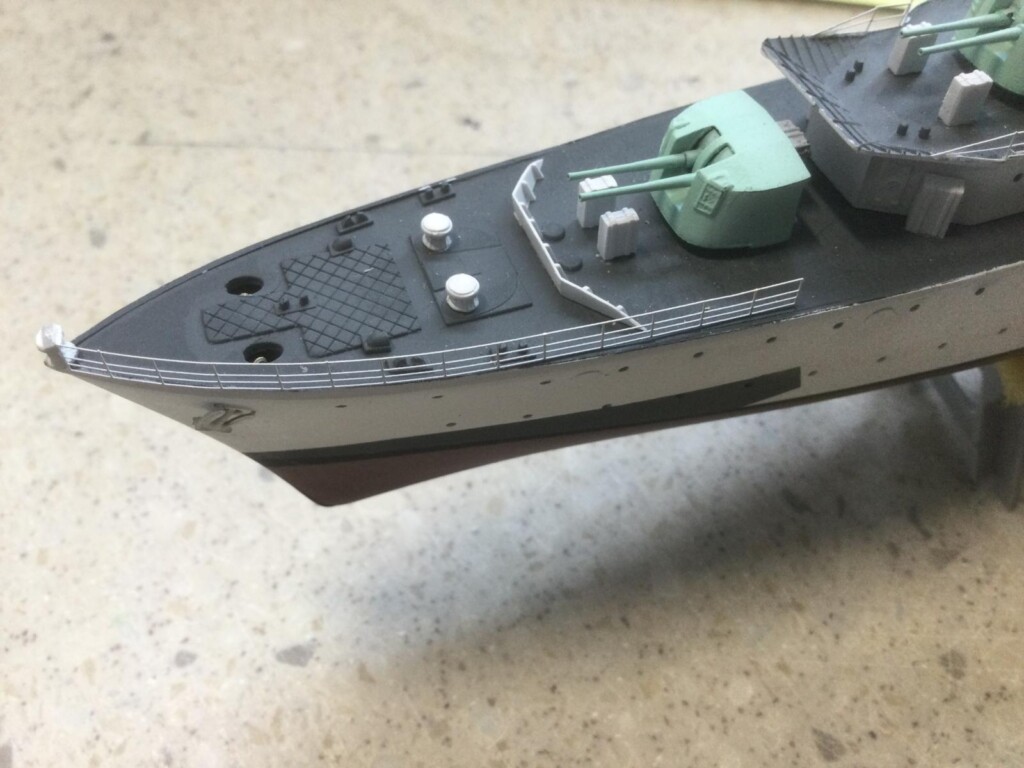
1. A IN PROGRESS shot to show how a glued down the front part of the railing to the deck and flag pole base first before bending this rear section into place to be glued
2. Glued down only at the front at first.
3. flag pole base from kit - reduced in size and drilled out for better accuracy.
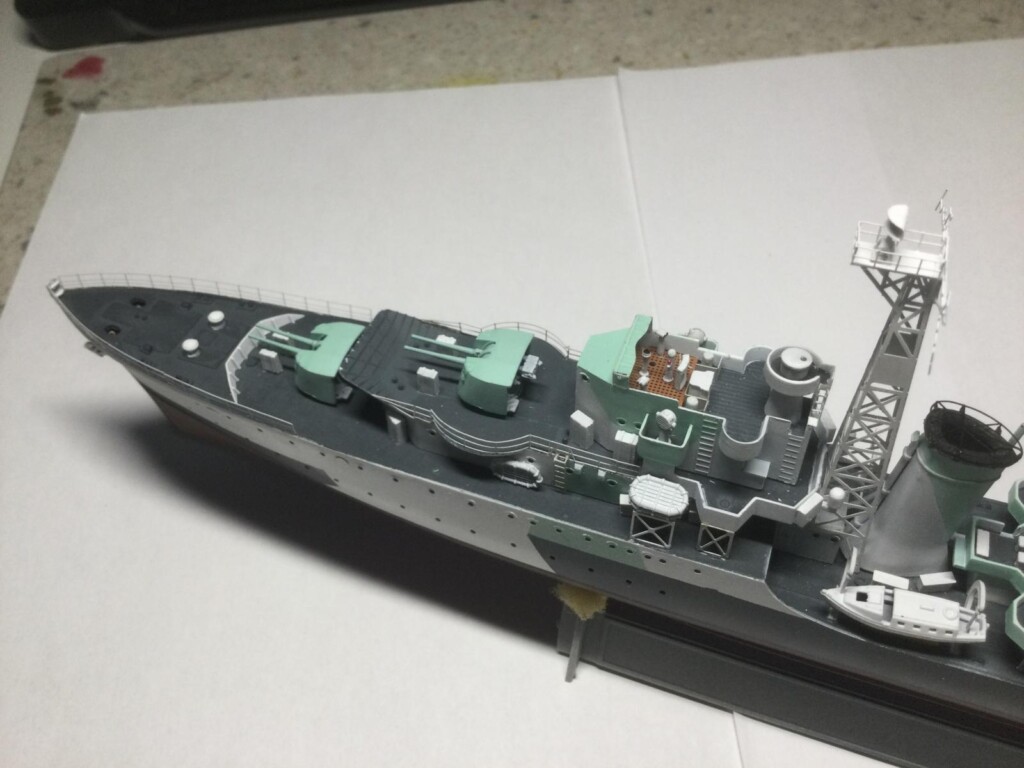
This is my second attempt at railing after spending an equally long time on the B deck rail around the deck gun. The most aggravating thing is accidentally crushing or twisting other railing on another part of the ship while fitting the outer railing. It is all in how you hold the model, which I am gradually getting better at. I snapped the mast off twice by accident while doing other etch, so I am acquiring new patience as a modeler making constant repairs, re-gluing as I go. Demanding almost as much attention as the railing are super-tiny and fragile mast details , like the Yagi antenna array. I lost this a couple of times by accidentally launching it into the space of my office but recovered and repaired it each time.
Anyway, the pics speak for themselves, I guess.
-
1. B- deck railing was done first for practice before attempting foc'sle deck railing with more subtle curves.
-
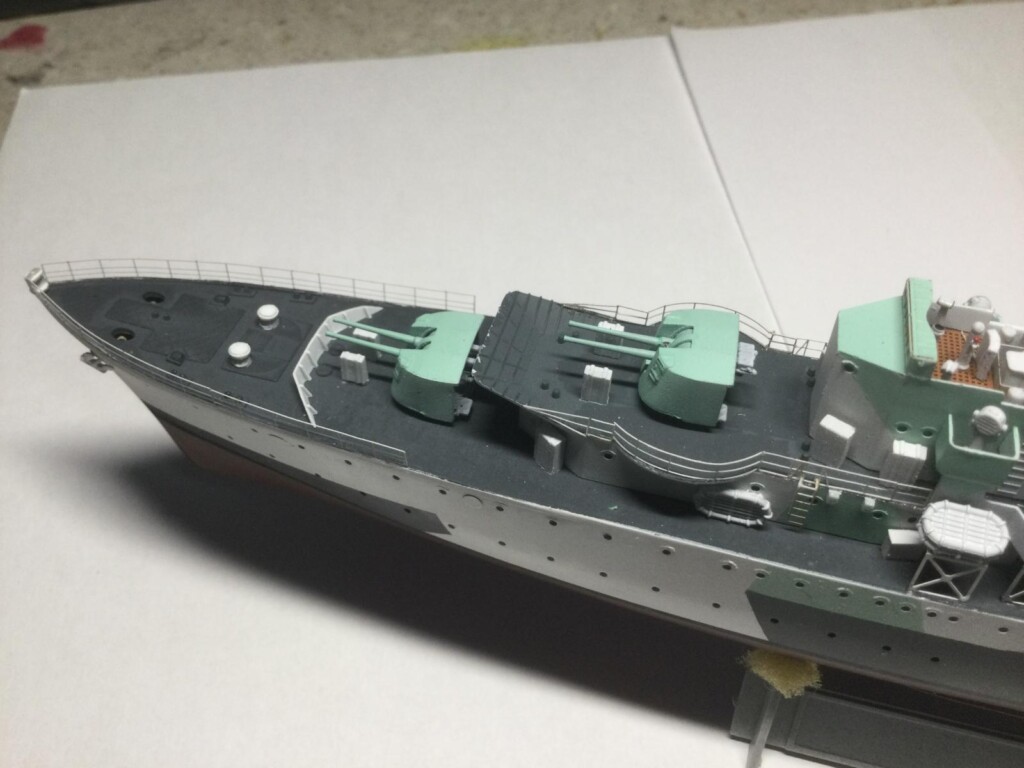
1. No gaps, glue splotches ro distortion in the railing so far. I sucessfully repainted tiny shiny bits of glue with white and Navy Blue for the railing and deck respectively.
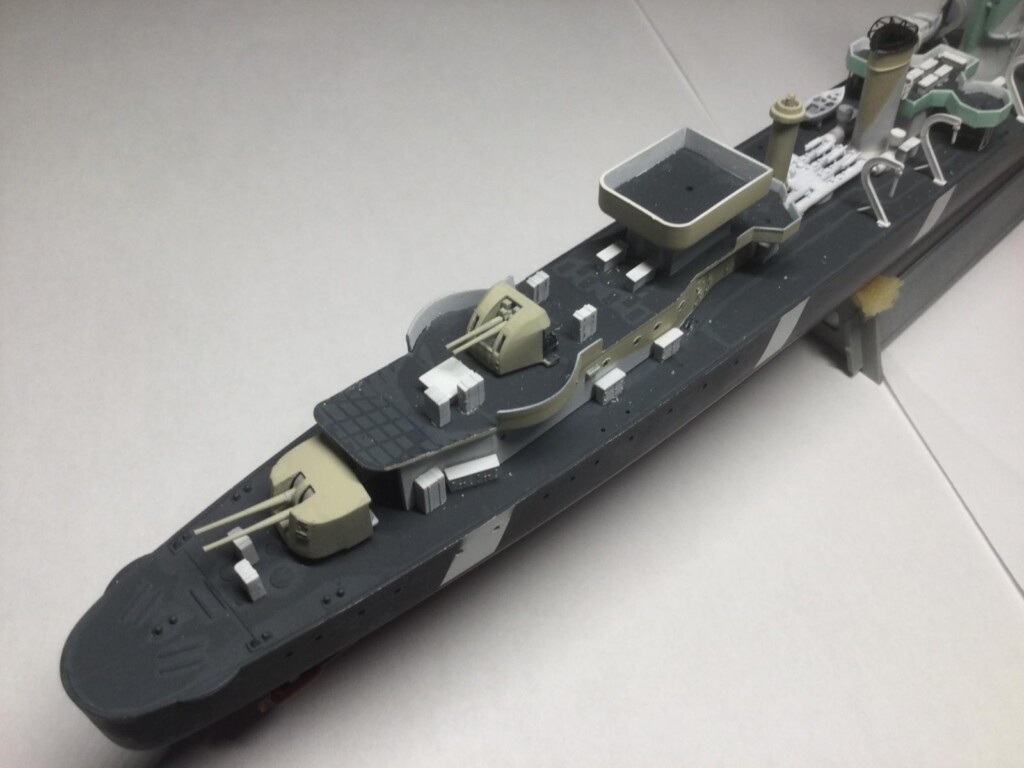
It may be of interest to some that I have left the bridge,B deck and X deck platform pieces as friction fits without glue so I can pop them out and work on etch detail for AA guns and supports to one side, all before I finally glue them to the main deck. It is nice to be able to do this when the etch and resin detail that gets built up in tight spaces is so is so fragile. The 3-D printed gun turrets for 5 in and 4 in guns have also been fragile and I had to do major repairs with superglue on the rear most turret - luckily it is good as new under a fresh coat of paint now.
-
1. These two rear turrets were not finished last time I posted. I really like the look of the 3D printed turret with brass barrels, very crispy detailed and accurate.
2. This whole deck section for the 4" and pom pom and other AA is not glued down so I can pop it off to add resin and etch bits separately. Th fit is nice and tight that way but not so tight that anything wil get damaged when removing and reattaching it
I don't think I mentioned how much work I did to create post mounts for each turret and drill our mounting holes in each deck so the turrets can be lifted out when needed and also so they rotate smoothly. All that early work has really paid off as I still remove some of them from time to time for painting and detailing tasks. The 3D printed boats look very nice and are just test fitted for now. I will paint some wooden details on them before gluing them in. That's it for now. Lots of work to do yet on the resin and etch pom pom guns, Oerlikon AA, boats and davits, 3D printed anchor chain, depth charge racks and etch details. Just wanted to share the good results with the railing so far. Fingers crossed I don't mess anything up as I continue.