I was looking for something a little different to do, and Special Hobby has obliged me with a brand new kit of a WW2 IJA plane. Even better, it isn't a fighter or a bomber. I saw this kit advertised in one of the English modeling magazines, but no one around here could get it. Off to Ebay, and I had the kit in just a couple of weeks.
Aircraft Background:
The Ki-54 Tei, also known as the Army Type 1 Advanced Trainer Model A (Ki-54A), was designed as a twin engine advanced crew trainer. It first flew in 1940, and began reaching the training squadrons in 1941. The Ki-54 was flown by the Imperial Japanese Army and by the puppet nation of Manchukuo. It received the code name "Hickory" from the allied forces. The Ki-54B was developed later, as was a transport known as the Army Type 1 Transport Model C (Ki-54C). The last model developed was the Ki-54D, which was used as a maritime reconnaissance and anti-submarine warfare aircraft. By the end of the war, 1368 Ki-54s had been built. Following the war, the plane was appropriated to provide transportation in Asia and SE Asia by various nations, such as Nationalist China, North Korea, France, Great Britain, and the United States. Some of these countries used the the Ki-54 until the mid-1950s. Thanks to the internet sources I used to find photos, including Wikipedia and Wikimedia and all of the other sources I forgot to right down.
-
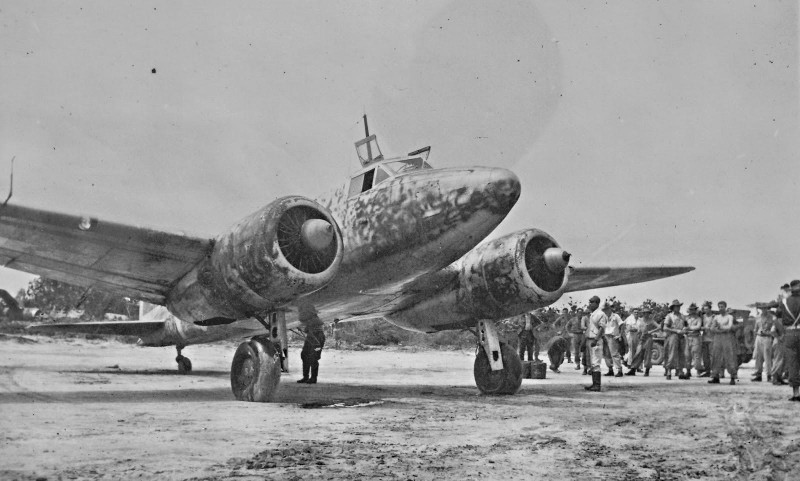
1. Not anxious to try this camo.
2. Some nice detail on the gear.
-
1. Camo almost looks brushed on.
-
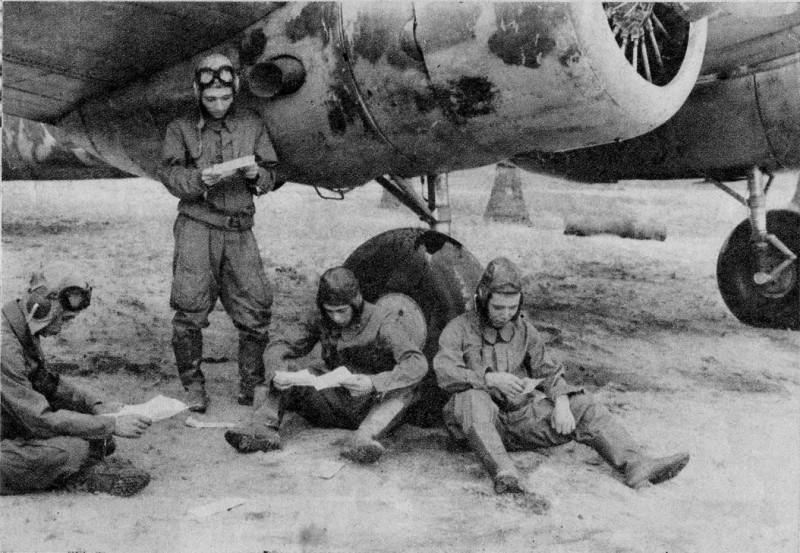
1. This camo might be fun to do if I can figure out colors used
2. No gear covers
3. Different style of hinomarus on the three planes in this row.
-
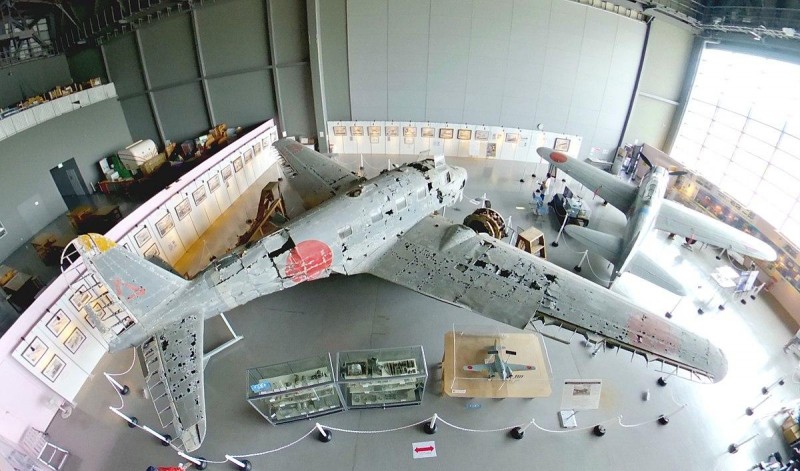
1. Plane being restored. Apparently there are only 4 Ki-54s still around.
-
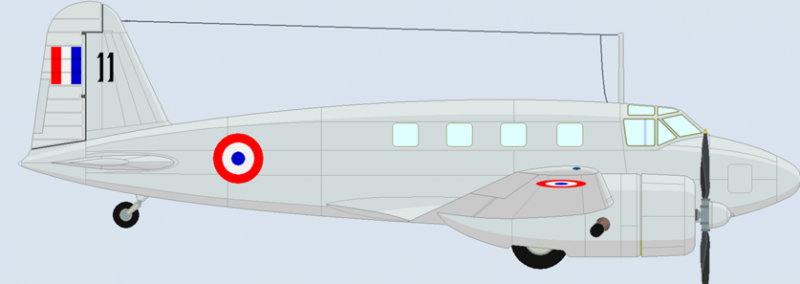
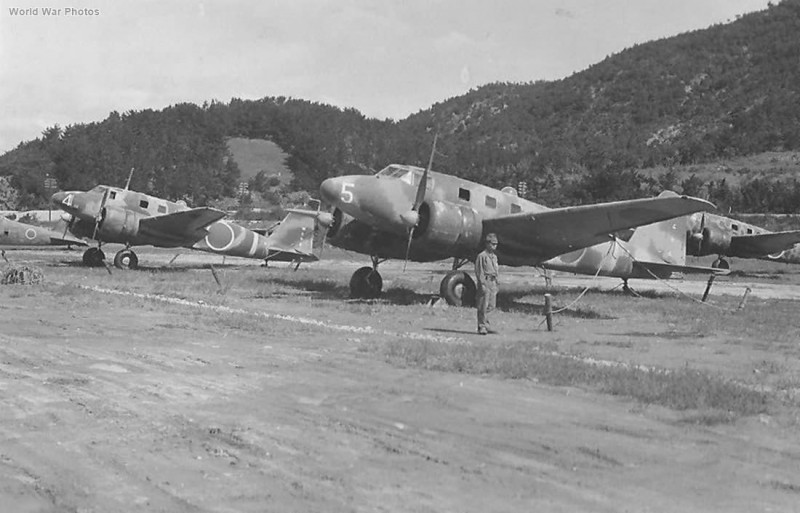
1. Used postwar by the French in Indochina.
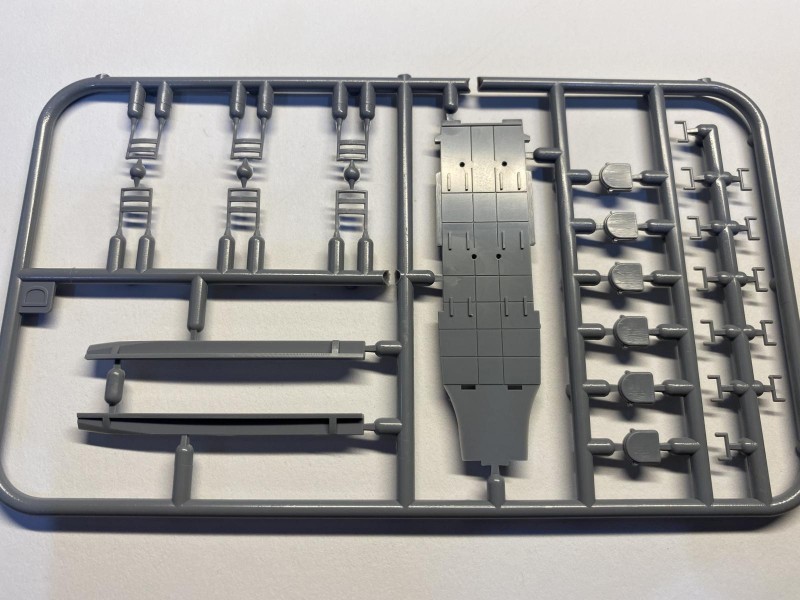
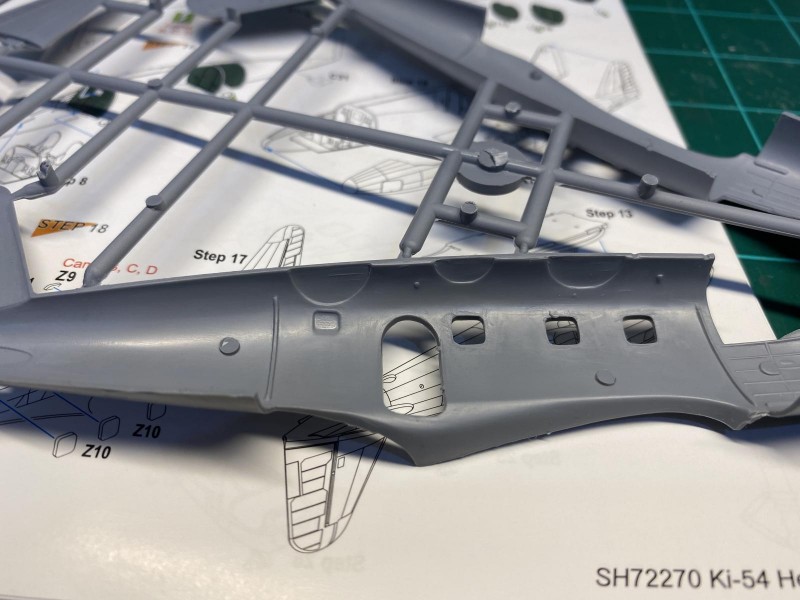
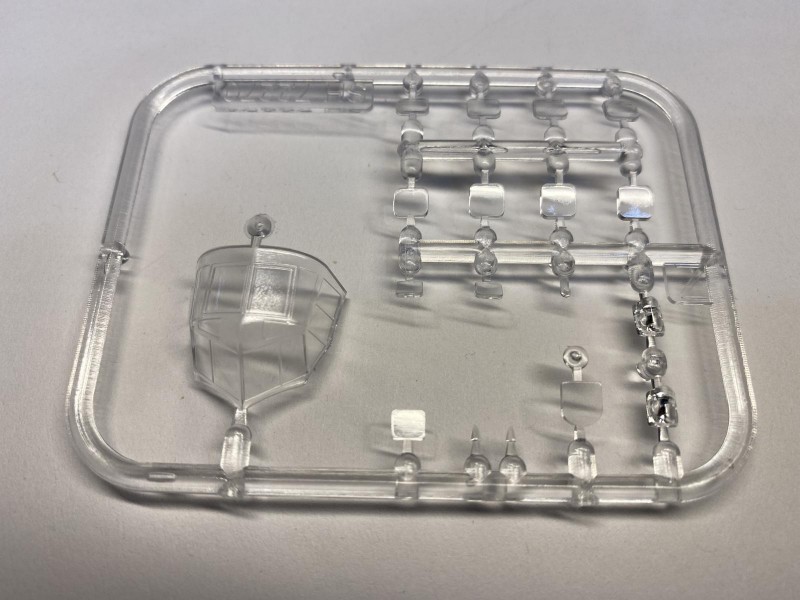
That is about all I can find out about this plane from Wikipedia and other sources, so let's take a look at the kit. My first impression of the kit is very favorable. This is one of Special Hobby's newest kits, and it appears that the technology used to make the kit parts has improved tremendously. There are still no positive locating pins, but the plastic features fine panel lines, no flash, crisp detail, and finely molded parts. There is a lot of detail in the cockpit, as well as in the passenger compartment. The clear parts are thin and very clear. The decals, which include the instrument panel, appear to be well-printed. My only complaint is that 3 of the 4 paint schemes illustrated in the instructions feature planes with a camouflage so complicated that I wouldn't even consider trying to replicate it in this scale (or any scale, for that matter). I took a quick look at some of the online hobby shops and wasn't really surprised to find there are no decals, resin, or photo etch available for this plane. I did find a set of canopy masks, which I immediately bought.
-
-
1. These depressions will be cut out for the next version released by Special Hobby.
-
1. Wing tip lights. Should be fun.
-

1. Lots of nice detail in the interior.
-

1. Yes.
2. Nope. Not even going to try this one.
I searched the internet for some photos of other paint schemes that might be useful for this build, but I couldn't find much. I only found 1 color photo, and it is of a plane being currently restored. One of the paint schemes in the instructions feature this plane. There is one black and white photo of a camouflaged Ki-54 that I might try to use, but I will need to take a guess at the colors.
I hope to start on this plane tomorrow. I am trying to work around a looming move to a new house, as well arthritis that has migrated into my hands (getting old sucks). As you know, it is a lot harder to pack and move a built model than it is one in a box, so I plan to stretch this build out for a while so I can limit the number of newly built kits that I will have to move.
Everyone stay safe.
Cheers