I got some stuff done today.
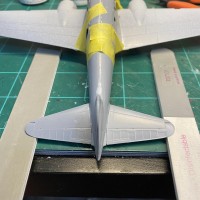
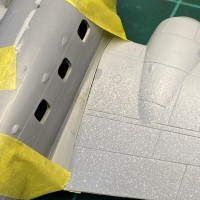
The wings have a small fillet on each side of the engine that closes a small hole next to the wing. It basically acts as a filler between the forward part of the engine pod and the wing. Unfortunately, these pieces didn't fit and required a lot of cutting and shaping, followed by filler and sanding. Finally they are all smooth and sanded, but some panel lines disappeared. I have never had much luck using the usual tools to replace the panel lines. I always end up skating across the plastic, which results in more filling and sanding. I came across some photoetch blades from Tamiya that are basically miniature saws that cut panel lines. Gave it a try and I like it, so far. Seems more controllable.
-
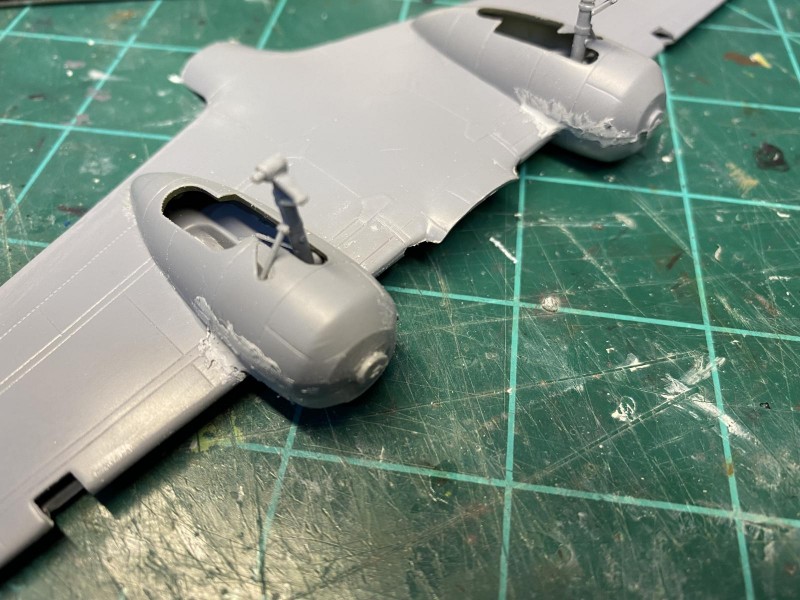
1. Location of small fillets.
2. Fit of the two engine pod halves needed some work.
-
1. Replacing lost panel lines.
-
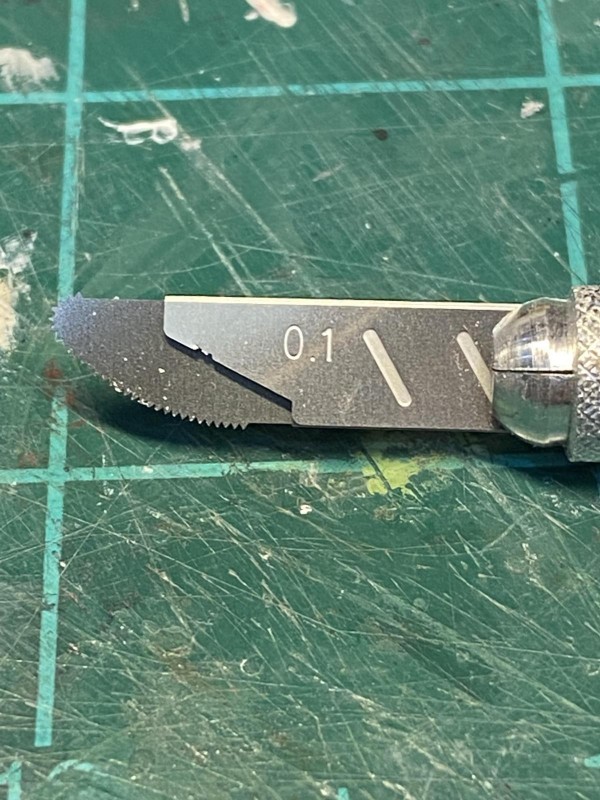
1. The saw requires 3 folds, and then it fits in a standard Xacto handle.
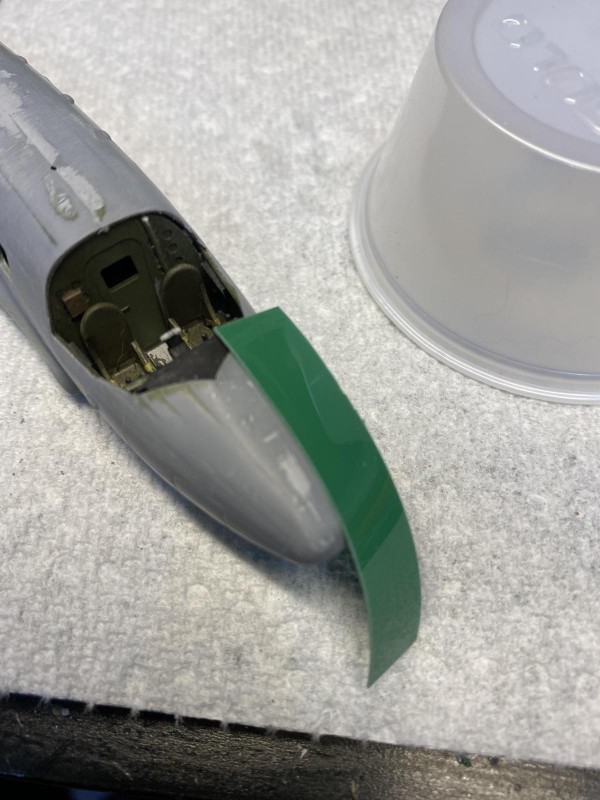
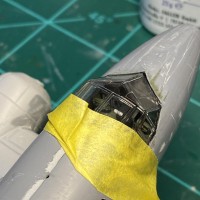
Test fitted the canopy and it needed a lot of fettling to make it fit. Once it was ready, I gave it a dip in Future. Once dry, I gave the edges some treatment with a black marker, and then glued it in place.
With that done, I hit the fuselage and canopy with filler, smoothing everything with various grades of sandpaper, When that was done, I attached the wings and horizontal stabilizers. Things look pretty good, and now it is just a matter of waiting for things to dry.
Done for now. It may be a few days before I can get anything new done. I have been having trouble with one of my hands, and the orthopedic doctor gave me a couple of injections in the joints in my thumb with something that is supposed to keep my thumb from locking up. So, I figure it will be a couple of days before my hand is useful for building again. Everyone stay safe. :o)
6 additional images. Click to enlarge.
-

1. A dip in Future really makes the canopy look great.
-
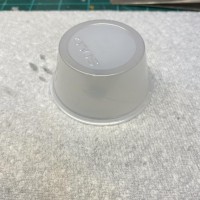
1. This is how I keep dust and cat hair off the canopy while it is drying.
-
1. Hi-tech tools to insure stabilizers stay at correct height while the glue is drying.
-
1. Joint between wing and fuselage worked out well after some carving and sanding.
-
-

1. Cowling came in two halves. Not a fan. Took some work to get it all smoothed out.