Thanks Spiros, the Mission Models Aotake, seems to capture the correct look of this color when it dries with a hint of green. Really liked the way this paint has performed so far.
Now to assemble the lower wing panels. Lots of polycaps used on this kit, not just for the prop or weapons.
The lower wing panel is removed and trimmed. Hase has been known to make the wheel bays to shallow like on the Hein. But these look fine and nice structure detail.
-
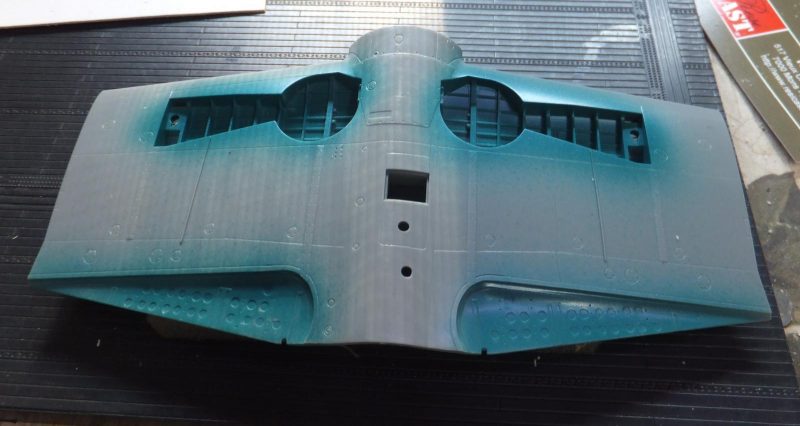
1. Lower wing panel
2. Hase has been known to make these wheel bays too shallow, These look ok.
Poly caps, poly caps, is used quite a bit on this kit. First set inserted in the back of the wheel bay most likely to insert the landing gear struts.
-
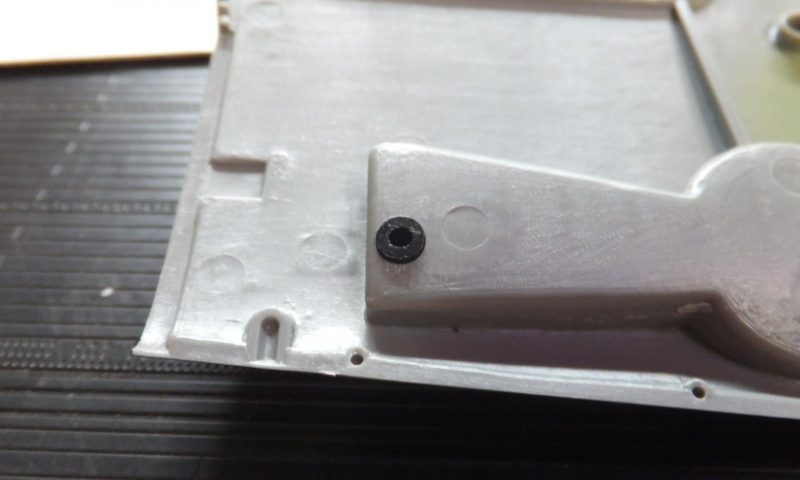
1. inserted into wheel bay
The details are well done on the wingfold insert and the panel lines and rivets on the top panels.
Next set of caps are the clear ones and these are located into the center portion of the wing panels. A pair of round covers are then cemented in place over each poly cap.
-
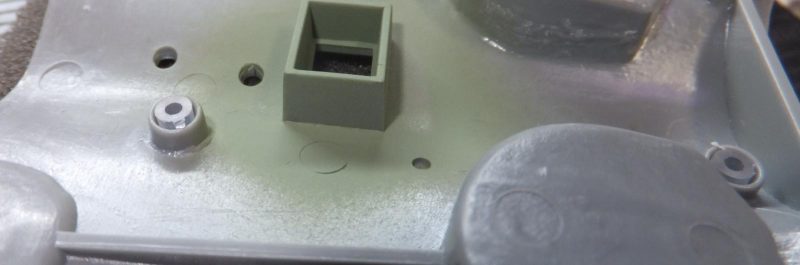
1. Clear caps inserted here
-
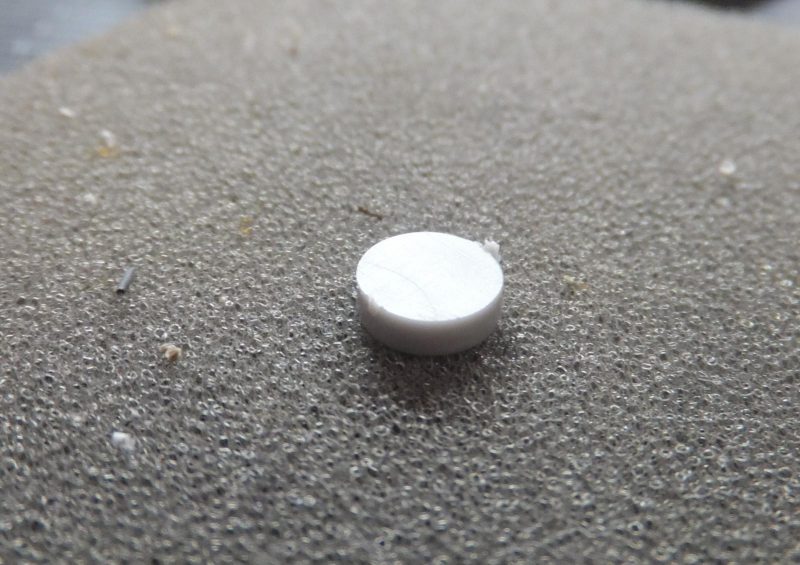
1. 2 covers to hold each cap
Another pair of poly caps are placed on each of the wing fold mechanism panels, and then again covers are place to keep them in place.
Now the top wing panels are then attached to the lower wings.
Next is to attach the lower wing panel to the fuselage. And I would have to say this is one of the best fitting wing to fuselage join that I can remember, there is always seems to be a bit of a step no matter how careful. Not this case just a very easy to fill seam at the rear lower fuselage to wing join.
The forward fuselage section also fits very well all around the contact points to the fuselage and at the front of the wing join.
Finally installing the wing fold inserts into the ends of the wing panels.
more to follow