RAF Chinook HC.1 Italeri 1/72nd

Started by Chuck A. Villanueva · 74 · 1 year ago
  • Profile Photo
    Chuck A. Villanueva said 2 years, 11 months ago:

    First to my usual pre painting of the interior components before we start actual assembly. a couple of more pics of the instruction sheet, parts map and color call outs using Testor's Model Master line as a suggestion.


    First using AK Black Primer to paint the blades, forward section of the cockpit floor and forward sections of the fuselage.

    The cabin bulkhead and forward section of the flight deck.

    Next was to paint the rest of the interior 36320 Dk Gull Grey. Using Polly Scale Acrylics to accomlish this step. The fuselage interior, rear ramp floor, the cargo area of the interior floor.

    The forward section will have 2 front cabin bulkheads/

    Which will separate the forward black section from the grey.

    The lower panel section of the fuselage.

    Next up to start with the cockpit.
    more to follow.

  • Profile Photo
    Chuck A. Villanueva said 2 years, 11 months ago:

    Hi Allan, that looks great and wow what a difference not even close to the actual width once you did the update. I already have one issue to deal with as one of the blades was loose off the sprue which lead to find that it had broken off right at the base of the blade. That is going to be a bit tough to fix.

  • Profile Photo
    Allan J Withers said 2 years, 11 months ago:

    I will reattach my blades by drilling and pinning them.

  • Profile Photo
    Spiros Pendedekas said 2 years, 11 months ago:

    Nice progress, my friend @uscusn!

  • Profile Photo
    Chuck A. Villanueva said 2 years, 11 months ago:

    Allen may try that myself to repair the one blade and shore up the others, It is quite a weak point.
    Thanks Spiros, just getting started.
    Now to start with the cockpit.


    The flight deck and cargo floor assy is 1 piece.

    Next to open up some holes for the RAF version of the Chinook.

    The center console details are removed and replaced with the Bilek PE panel.

    A bit oversized but it won't in the way of any misalignments/

    Next is to remove the moulded in seat belts from the seats.

    Then the seats are painted overall flat black with Khaki drab seat cushions. Then put them aside to dry.

    Next to work on the instrument panel, for 72nd scale the details are pretty good. 1982 era helo with analog gauges.

    The details are removed and attached in front above the center console.

    First the gauge panel is attached over the plastic IP.

    Then the panel overlay is attached over the gauges. Looks real nice. PE access panels are also installed on each side of the center console.

    Now to attach the shoulder harnesses on the seats.

    Then the seat belts and buckles.

    Then after the cement has set. Each seat is set in place on the flight deck.

    The cabin bulkhead is then installed.

    Next up the control and cyclic sticks will be attached, pedals and rear bulkhead.

    More to follow.

  • Profile Photo
    Spiros Pendedekas said 2 years, 11 months ago:

    Wow, this is a great looking cockpit, my freind @uscusn! and it's not even finished!
    Thos gauges look phenomenal for 1/72.
    Looking forward to this super build!

  • Profile Photo
    Chuck A. Villanueva said 2 years, 10 months ago:

    Spiros, the PE really enhances the cockpit. Hopefully you can see some of it once it is all buttoned up.

  • Profile Photo
    Chuck A. Villanueva said 2 years, 10 months ago:

    Next to install the cyclic and collective control sticks.

    1st with the collective thrust levers. Then each one placed on the LH side of each seat.
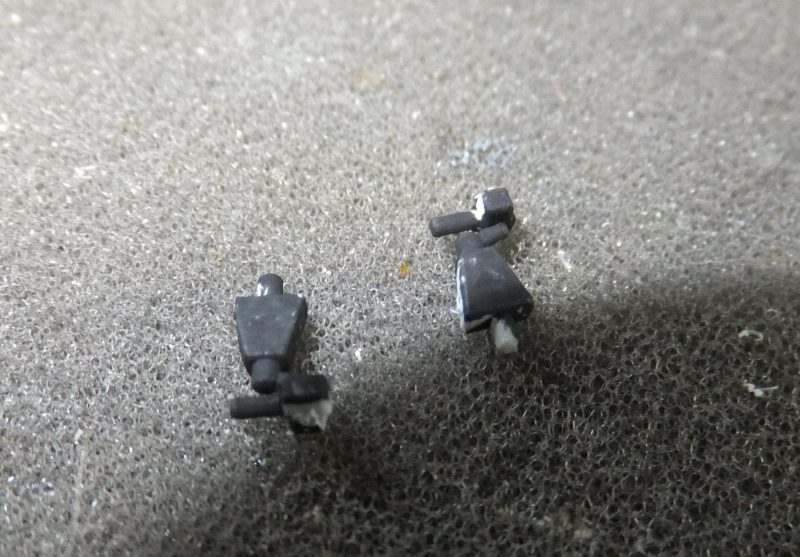
    Next the cyclic control levers. These are placed in front center of each seat.

    With that part of the cockpit done for now, time to work on the fuselage and rotor shafts.

    The LH side escape rescue/escape hatches are installed on the LH side fuselage, the fit is ok, need some minor work on a bit of a gap around the hatch.

    The LH rear has a similar but minor fit issue,

    Next to drill out a couple of holes on both fuselage halves.
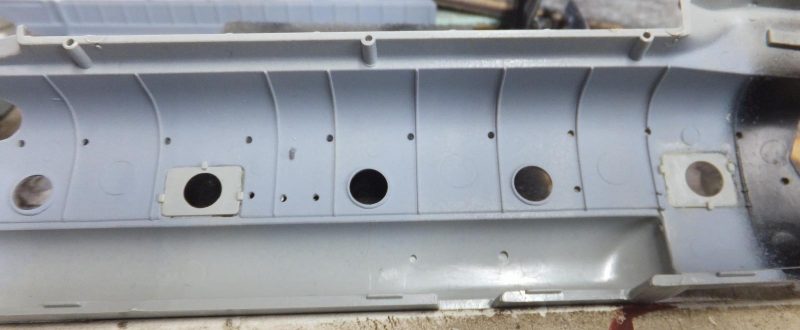
    Next to follow that same process with the hatches and drilled out holes for the RH side.

    Next to assemble the rotor shafts. 1st with base mount and shaft for the forward rotor assembly.

    Next a test fit of the shaft assy to the RH side fuselage half. Good fit, shaft spins freely.

    Next to assemble the rear rotor shaft.
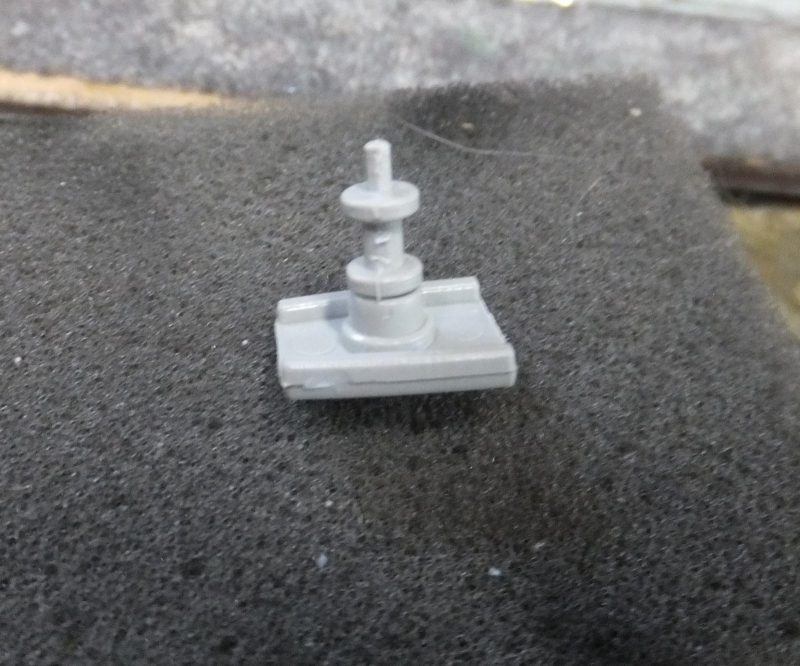
    Then placed on the RH rear side of the fuselage.

    Next is to cement each one in place and the temporarily place the fuselage halve together to let them set in place and aligned.

    The swash plate. Will leave off for now. Most likely will keep them removable once the helo is completed when time to transport the model.

    Will leave that air frame taped up as the rotor shafts set.

    Next to install the interior and button up the fuselage.

    More to follow!

  • Profile Photo
    Spiros Pendedekas said 2 years, 10 months ago:

    This is amazing progress, my friend @uscusn!
    Love all those internal details!

  • Profile Photo
    Erik Gjørup said 2 years, 10 months ago:

    Sorry Chuck, I got unstrapped, and are catchin' up here. Looks like you have made a lot of progress since I last checked in 🙂
    I like the use of PE in the cockpit - I suppose it will really make a difference with all that glass to see through.

  • Profile Photo
    Chuck A. Villanueva said 2 years, 10 months ago:

    Thanks Spiros and Erik, even in this scale the PE really enhances the overall appearance of the cockpit. Now hopefully we can see most of it once it is all buttoned up.

  • Profile Photo
    Chuck A. Villanueva said 2 years, 10 months ago:

    Before assembling the fuselage halves, first to add the 2nd bulkhead to the cabin behind the forward bulkhead to the cockpit.


    A little prep work in the lower front space where the pilots have the forward view area will add some details.

    The 2nd bulkhead is installed.

    The PE pieces are then placed in the front lower section of the floor. Will add the PE pedal details in a later step.

    Time to assemble the fuselage.

    Next to assemble the engine pods.

    These fit ok with some clean up on the seams.

    Not so much on the engine pod support braces. These need some work to make them look better.

    The pods are then attached in place on the upper rear deck. Fit is ok some seam clean up at the attachment points is in order. But not difficult to blend them in.

    The front fairing is cleaned up and then attached to front of the rear rotor tower.

    The rear fairing is then cleaned up and attached at the rear of the rotor tower.

    A bit of seam work will be need to smooth out the attachment point to the tower.

    The overall fit and interior alignment of the fuselage front to back is good. No issues, no PE bits being in the way of fitment.

    Next is to add the main fuselage lower components and details.
    More to follow.

  • Profile Photo
    Spiros Pendedekas said 2 years, 10 months ago:

    Great progress, my friend @uscusn!
    Cockpit looks nicer and nicer!
    Fit could be nicer at places, I believe...

  • Profile Photo
    Erik Gjørup said 2 years, 10 months ago:

    You have overcome the alignment issues nicely. Bit of sandin' and you have it nailed.

  • Profile Photo
    Chuck A. Villanueva said 2 years, 9 months ago:

    Hey Spiros my friend, keep strapped in as more to come.
    Eric, sanding and a bit of filler will fix the issues.