I blame Spiros (
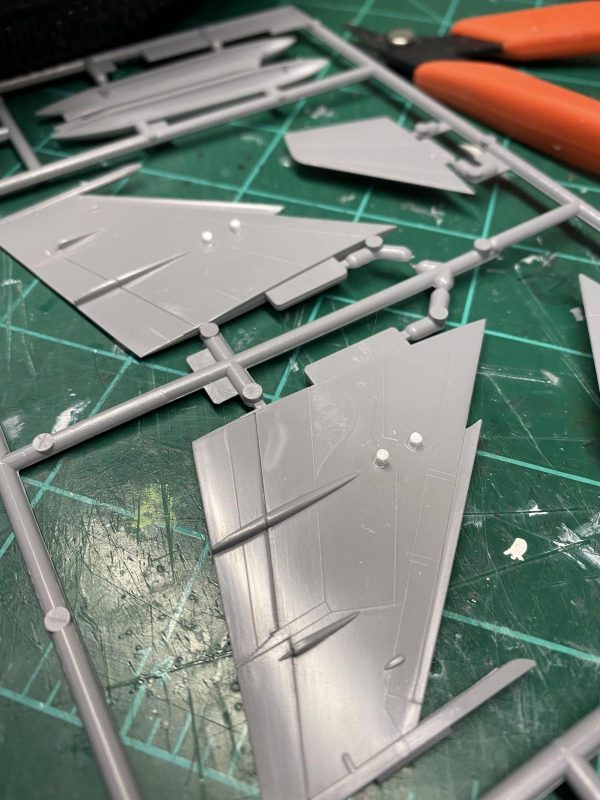
@fiveten) for this build. He is constantly posting really cool photos of the various planes flown by the Hellenic Air Force, along with their really cool paint schemes. It was inevitable that I would be enticed into building one or two of the planes. I will be moving to a new house this summer, so I am slowly packing up all of my models. I came across this Hasegawa Mirage F.1C in my garage, and decided to see what I would need to convert it to a Hellenic Mirage F.1CG. This kit, dating back to the 1990s, still appeared to be a decent kit, with the only negative being the sparse cockpit typical of Hasegawa kits from the 1990s. The differences between a standard Mirage F.1C and a CG seemed to be very minor, so the plane ended up on the workbench. Before I started, I wanted to get some canopy masks, some photoetch, and the appropriate decals for this version. The ejection seat in the kit was basically a slab of plastic, so I found a resin seat in my stash that looked like it would work. I also ordered some AIM-9 missiles, which I would need for the CG version.
I did a little research on the internet, and found that 40 Mirage F.1Cs went to Greece in 1975, and served with 334 and 342 Squadrons. The main difference between the Greek version, designated the F.1CG, and the standard version, was the use of the AIM-9 missile rather than the Matra Magic. The Hellenic Air Force retired the F.1CG in 2003, after 28 years of service and 160,000 flying hours. I searched Google for some photos of the plane in Greek service, and found that the plane was usually parked with flaps and speed brakes up, and that the planes normally flew clean (without tanks or pylons). This gives us a clean airframe without a lot of pylons and tanks hanging everywhere. Yeah!
It only took a week for everything to show up, and the build commenced. The decals, from Xtradecal, are for a F.1CG stationed at Tanagra Air Force Base in 2003, belonging to 342 Squadron, 114 Combat Wing. It is painted in a really cool 3-color camouflage that should be fun to do. The Eduard photoetch and canopy masks were for the Special Hobby F.1C, but I figured I could make them work.
-
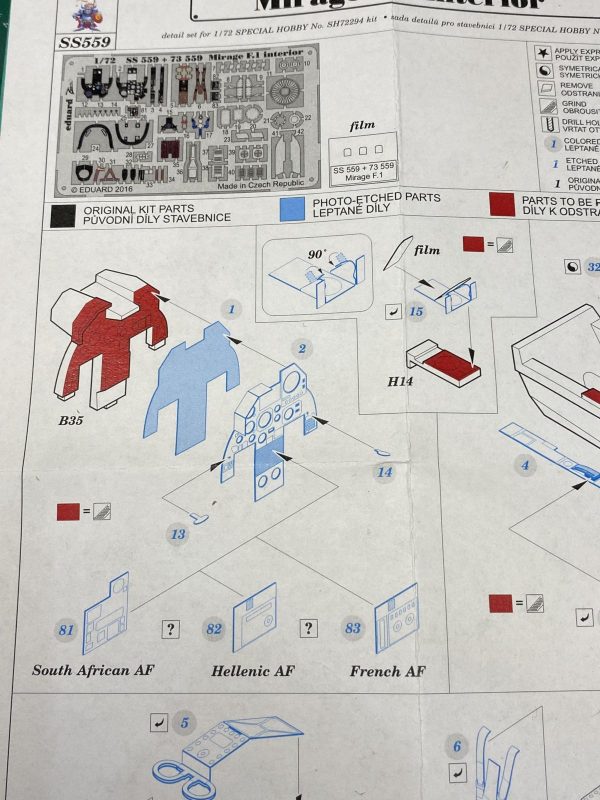
1. Eduard set includes parts for HAF, SAAF, and French planes. Cool.
As usual, work started on the cockpit. The ejection seat wouldn't fit between the kit's consoles, so I cut them off and rebuilt them with plastic strip. I added some plastic rod and strip to the back of the cockpit tub to make things look a little busier, everything was painted black or dark gray, and the photoetch was added. I used the Eduard F.1C seatbelts on my ejection seat. Everything was then added to the cockpit tub and it was sealed into the fuselage.
-
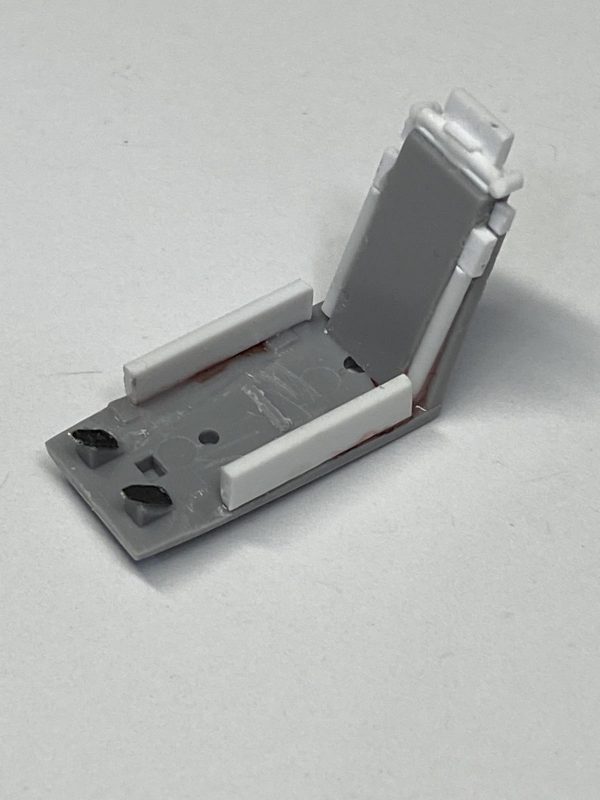
1. New consoles, as well as the new, busier back.
-
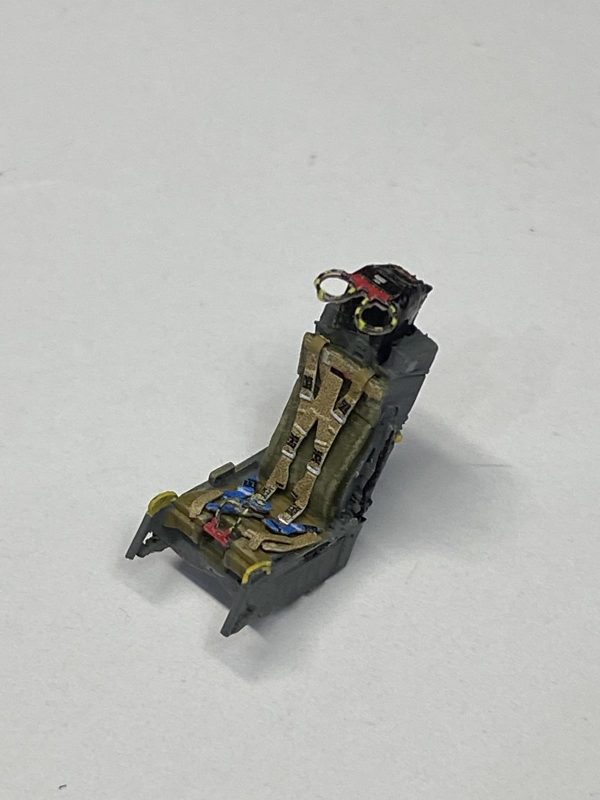
1. Eduard F.1C parts on my nameless seat from the spares box.
-
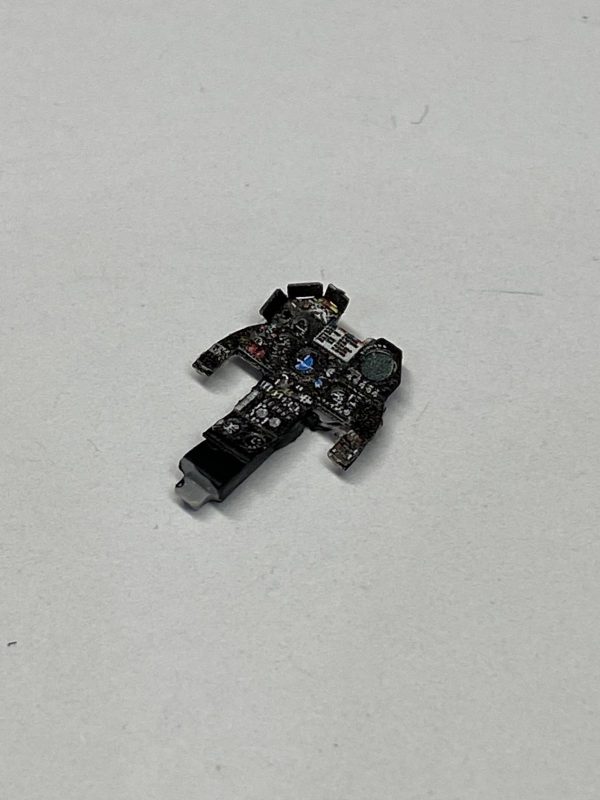
1. Eduard, plus the kit panel part.
-
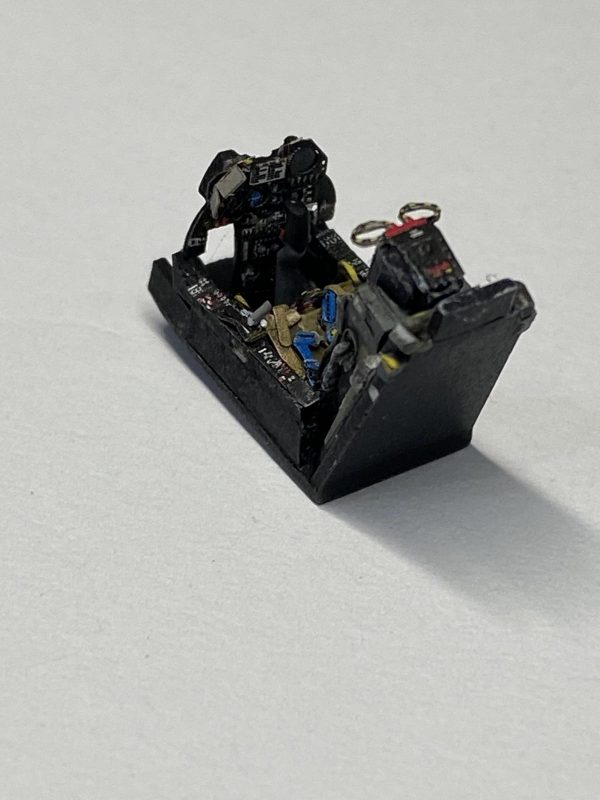
1. Adding the throttle quadrant and handle were fun.
The sidewalls of the cockpit looked a little bare after the tub was added to the fuselage, so I added some rails, gauges, and a couple of handles to hopefully mimic the real thing.
-
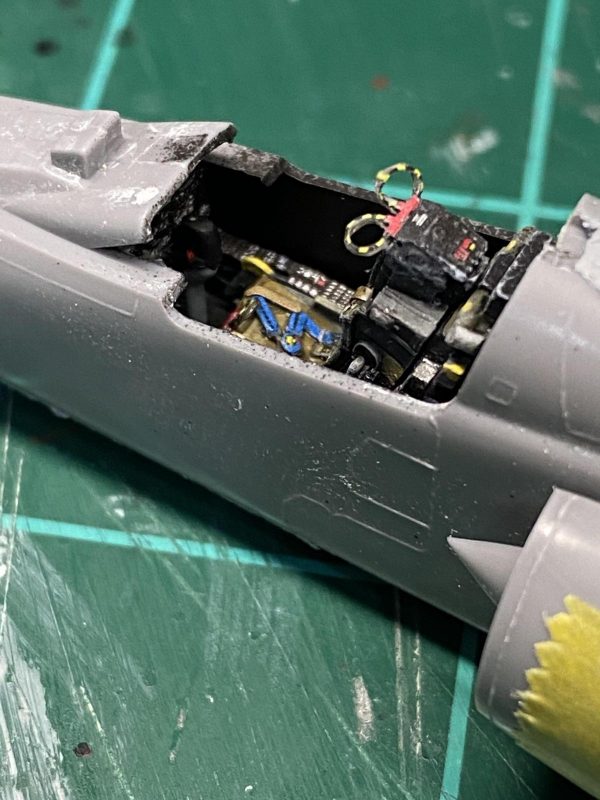
1. Cockpit walls looked a little bare.
-
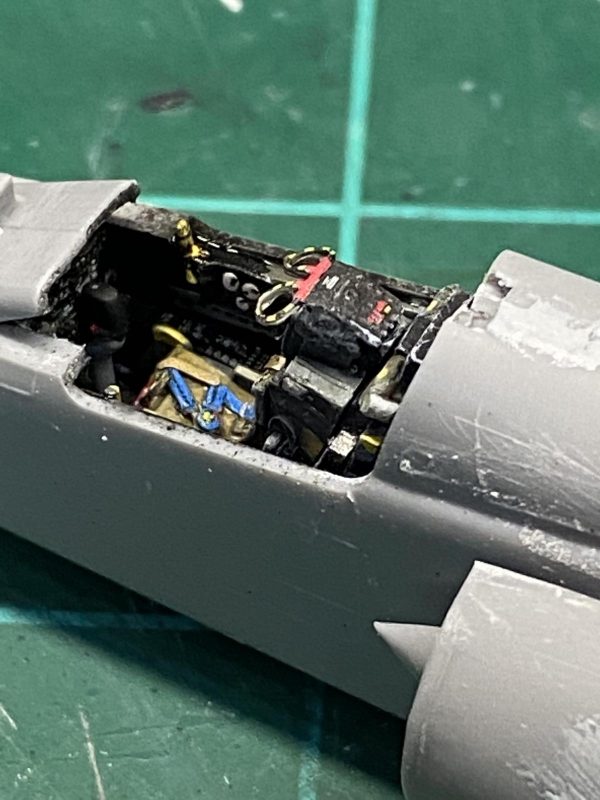
1. Various plastic pieces added to busy things up a little.
Engine intakes went on with just a little filler. I added the "police light" to the left intake. I had no idea what these were until recently, when Spiros added one to this F-16 build. Although not overly common on American fighters, many European fighters have these police lights to aid in night identification during aerial intercepts. Who knew? I also drilled out the holes in the speed brakes, which are very prominent in photos of the actual aircraft. I also filled the holes in the wings and fuselage belly for the various pylons and tanks, which I wouldn't be using for this build. The last bit to do before I close down for the day is to open up the troughs for the belly cannons, which are totally absent except for the trough. I will add something to represent the cannons, which are fairly prominent in photos.
-
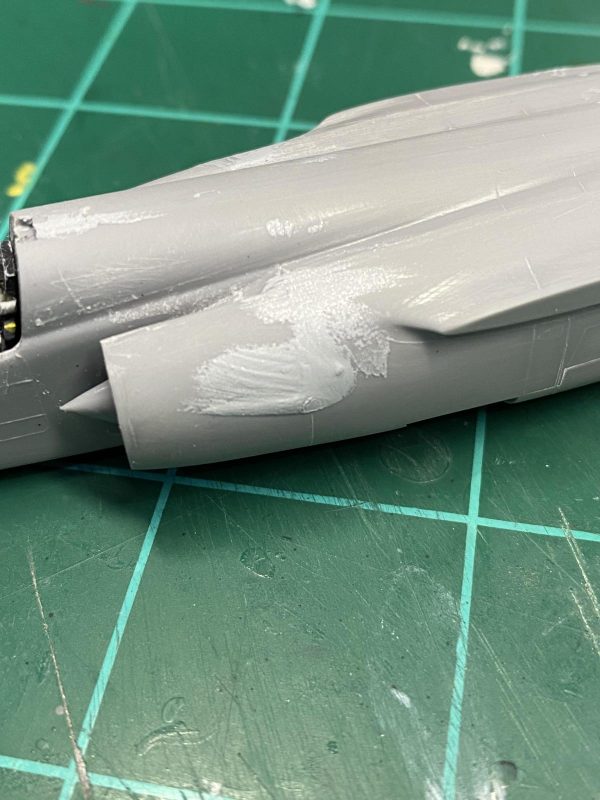
1. Intake went on fairly well.
-
1. Plastic rod glued into holes in the wing for the unused pylons.
-

1. Plastic rod cut off and sanded smooth.
-

1. Speed brake holes drilled out.
-
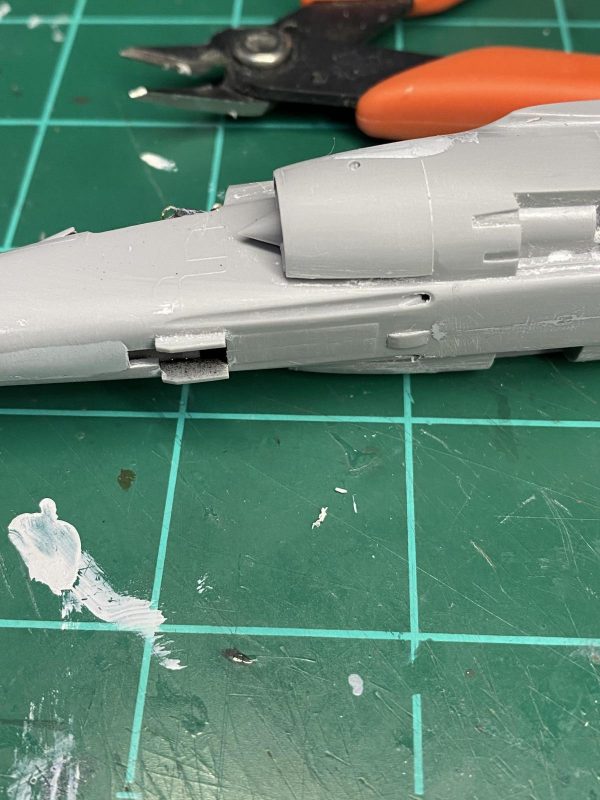
1. Machine gun trough drilled out.
Well, it's time to go pack a few boxes. Wings and tail surfaces to follow soon. Thanks for visiting.