With some nice B-24's outstanding builds going on lately. It was time to get started on my next 72nd scale project. Academy's 72nd scale B-24D. This will be my first Academy Liberator. My 2nd B-24 ever in this scale. My first one was built when I was about 11, the Revell B-24D, in 72nd scale. And it was the very first time using Aftermarket decals and learning the Microscale decal system. The only step I didn't do was the glossy stage which of course led to silvering on several of the decals.
Let see what is in the box. Upon opening the lid, is the instruction sheet on top. The parts are in plastic bags. Molded in the standard Lt grey styrene plastic typical of Academy.
The instruction sheet is a fold out type. Color call outs and parts tree map are within. The small decal sheet is for one B-24 serving in the Africa campaign.
A set of CE (cutting edge masks) to help mask all that glass and wheels. And a Super Scale Sheet for the decals. This will be "Chug-A-Lug", serving in the MTO, 98th Bomb Group.
-
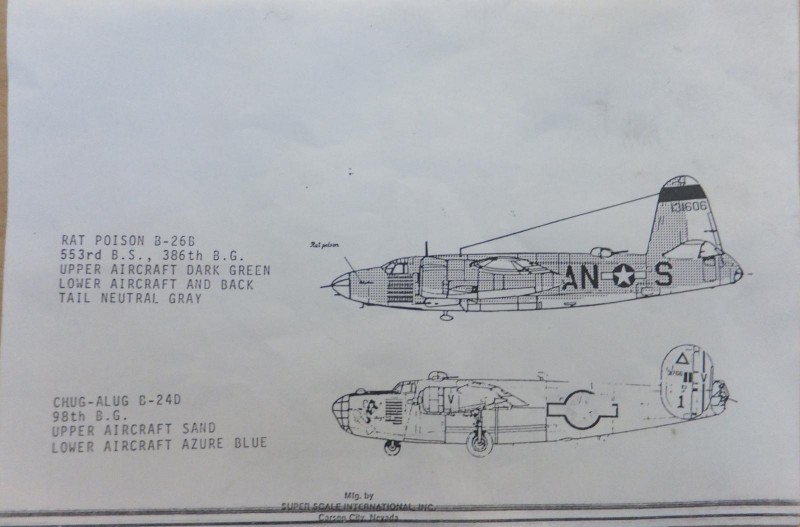
1. Chug A Lug, 98th Bomb Group, Super Scale decals.
1st set of sprues consist of the wings. The long tapered Davis wings that is one distinguishing visual aid that set the B-24 apart from other heavy bombers. 4 halves make up the wings, no move able flying surfaces. The wheel well bays are molded into the upper wings.
-
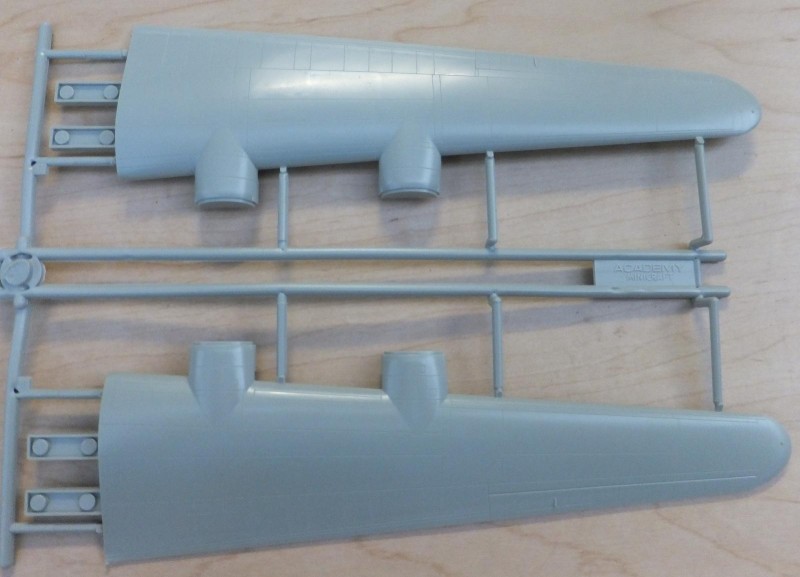
1. All the flying surfaces are built into the wings.
-
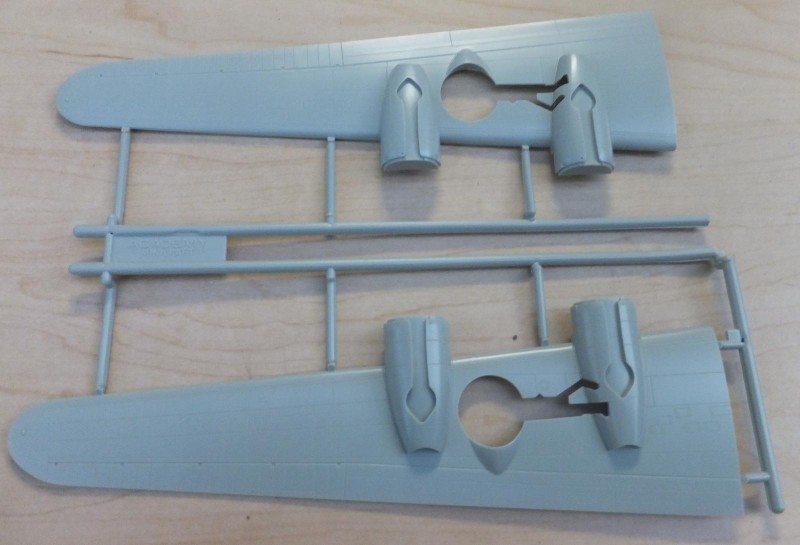
1. wheel well details are in the upper wings.
2. Flaps are molded in place into the lower wing
Sprue A contains the main fuselage, main wheels, tail rudders,bulkheads, and the flight deck.
-
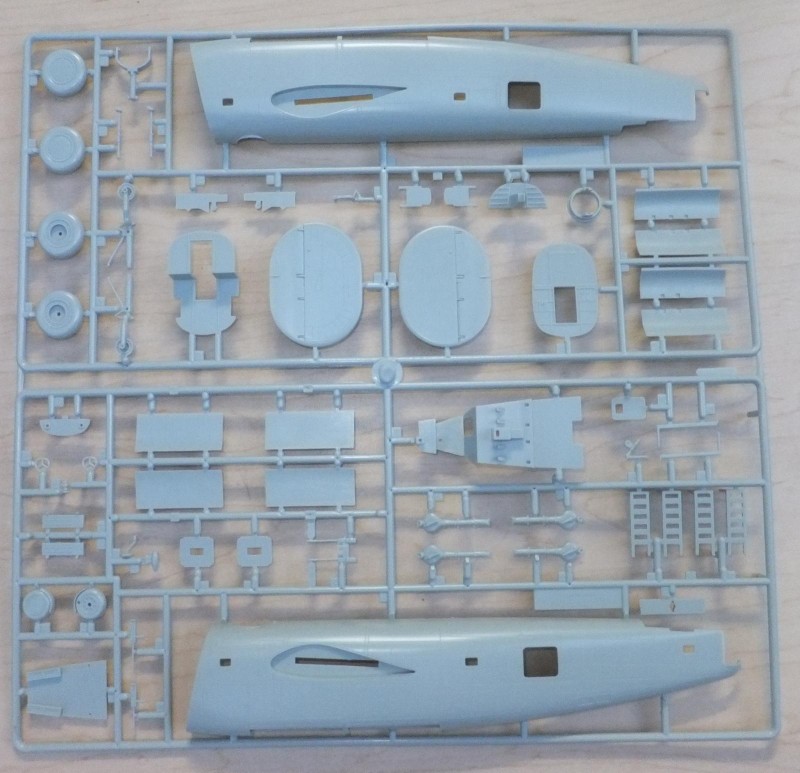
1. Fuselage halves have the nose separated. most likely for future variants with operating nose turrets.
The flight deck and bombardiers station. Forward bulkhead and main gear struts.
-

1. main wheels
2. main struts
Also the nose wheels, mid ship gunners compartment and the huge twin rudders.
The engine faces are ok, could be better. The 3 bladed props are good and will be proper for this build.
Full load of bombs, though I will not use them as this will have the bomb bay displayed closed.
The horizontal tail, upper lower halves, that support those huge oval shaped rudders.
Finally a decent clear sprue. Clear nose, canopy, turrets and windows.
Some pre-painting next. More to follow.