Here is another update:
-
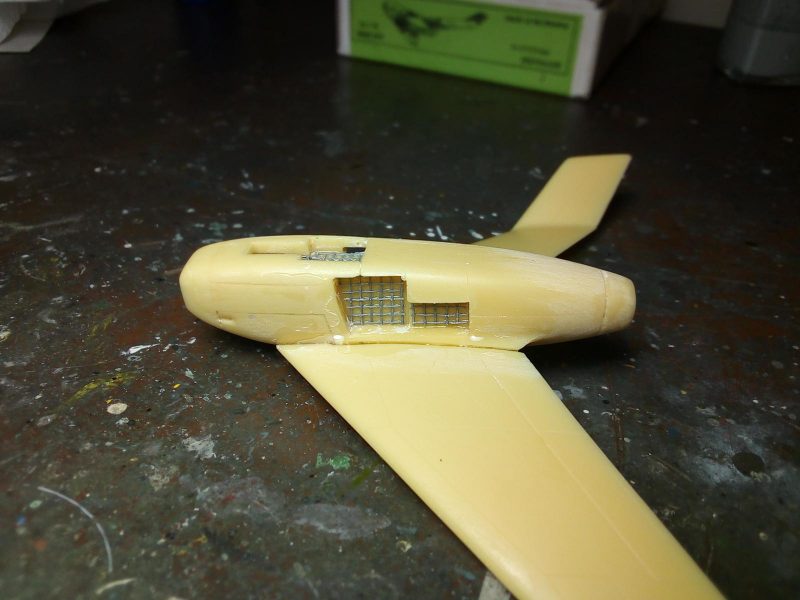
1. Mesh added to give some interest to the wells
Wheel wells looked a bit lifeless, so I added appropriately cut mesh pieces at both MLG and NLG wells
Looking busier now!
-
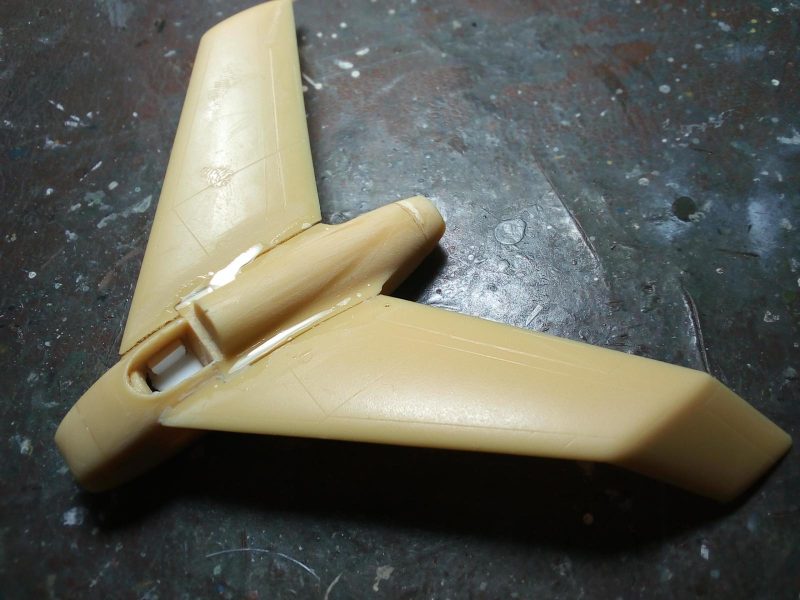
1. Gap filling cyano is not bad at all!
2nd round....
2. Air bubble revealed and cyanofilled
The 2nd round of gap filling cyano session is in process, and goes really well!
If you look at the port wing top root area, you will notice an air bubble, which was just under the surface; I took no risks: I bravely revealed the hole with my Excel blade tip and flooded it with cyano...
About the camo: I lean towards painting this whatif plane as close to reality as possible (...go figure...lol...).
At the last days of WWII, how would the rushed-in-flight testing prototype be painted? RLM02 as base, with some green mottling hastilly applied? What do you think?
Thanks for watching, my friends!