Thanks, John, Spiros, Erik and John for your comments. I hope you try 1/32nd for your 109 build, Erik. The Bf-109 is quite a petite aircraft, I find, so it might fit in your cabinet space. As for the Buffalo, it is really small, in spite of the generous space in the cockpit. Not a space hog at all.
I have done more work in putting the seat together and a few other things. I think it is worth sharing progress at this point because I am running up against some of the specific challenges of this short run kit that are slowing me down. The seat was the easiest. I did have to respray the metal coat and then do a semi-matt sealer layer, because I found the finish was too fragile to take the handling of adding the belts initially. So, here it is with the belts glued on.
Before assembly, I dirtied up the belts a bit with CMK Dark Dust and Light Dust pigments and pastels. I managed to slip the center strap of the Sutton harness through the slot I made and then drape it a bit for realism and depth. I also went for a saggy overall look to the harness to simulate its weight and flexibility. It was funny when I put it together I realized that the arrangement was very much like my daughter's car seat, including how the harness straps fit behind the plate at the back.
No armor on my daughter's car seat, of course, but there was a plate there! Helpful life experience.
I removed the rear decking to allow me to fit the seat and rear deck after the fuselage was glued together.
I correctly anticipated that gluing the fuselage halves together would be a struggle. I didn't want to damage the seat or turnover pylon while clamping main components. I had to do the gluing/clamping in stages over two days because the bulkheads and flooring need to line up in their proper slots. Therefore, the fuselage needed clamping in select areas to dry solidly before moving on to other areas. Definitely not a Hasegawa fit.
The next stage was even more frustrating. I tried to fit the engine into the cage structure that runs through the wheel bay. As I expected, the fit was not good. Since the engine needs to line up perfectly to keep the engine and prop straight, I had to figure out how to anchor it to the fuselage structure directly. It took a while to figure out. I elected to glue the engine to the cowling itself first. Then I created shims to fit that part to the fuselage firmly and directly.
-
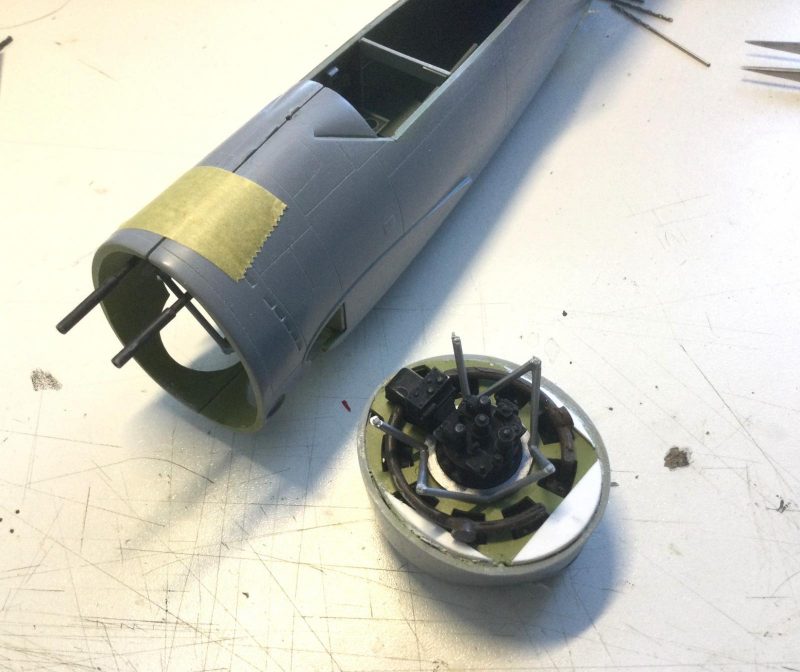
1. Shims fit inside the curvature of the fuselage to anchor and align the engine firmly and correctly.
2. The thickness of the fuselage on this side was greater so shims had to be adjusted.
3. i painted all this interior Zinc Chromote but I may repainted it bare metal later - easy to access it before engine is mounted.
The shims also allowed me to stretch the bottom part of the fuselage to the proper shape so it would fit evenly and correctly all around. It was a challenge partly in that the thickness of the fuselage was greater on the starboard side (limited run kit moulding), so the shim had to be trimmed to respond to this. Anyway, in doing this, I completely abandoned trying to glue the cage bits to each other. In fact I had tried and had to cut them apart because the attempt warped everything terribly and fought me all the way. In the end, with my shim solution, the cage parts line up perfectly inside the wheel well, without needing glue at all! Phew.
Another frustration was the color of the wheel well. The kit instructions say Zinc Chromate for larger components. I suspect that the rear wall may have been bare metal or the fuselage underside color on the RAF Buffalos. Not knowing was preventing me from assembling the thing! Anyway, I realized that I could, In fact repaint it fairly easily as needed after the fuselage was together but before mounting the engine. So, I got on with assembly.
I had forgotten that one of the things that had bothered me and made me put the kit aside earlier was the wings.
The crude fit of the two halves had caused a slight warp in the leading edge of the port wing around the wheel well. I had another look at this and worked out a solution to get the wings to match up and eliminate the warp/dip. See port wing with filler glued in and straight edge of starboard wing.
-
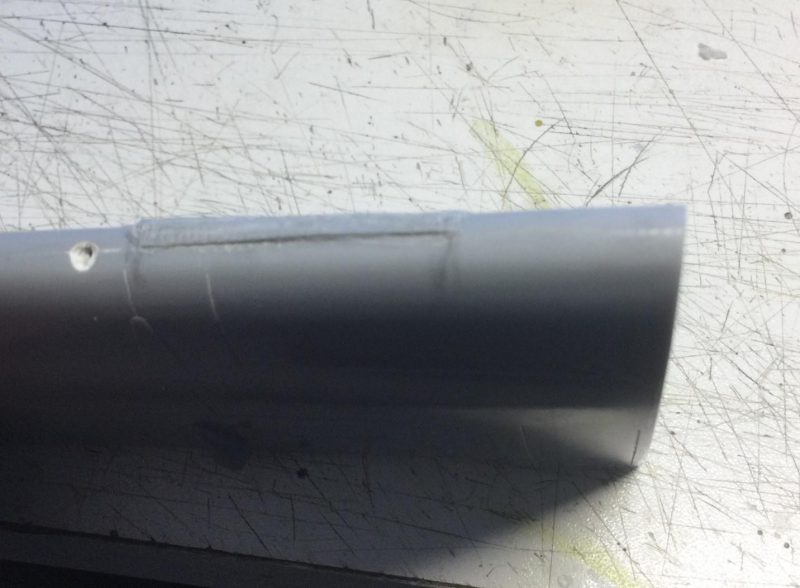
1. Dip here is corrected with filler scrap on the port wing
-
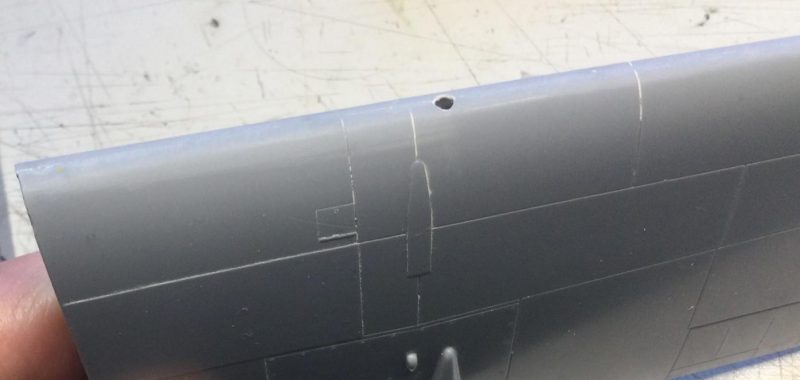
1. Nice straight edge of the starboard wing by comparison.
-
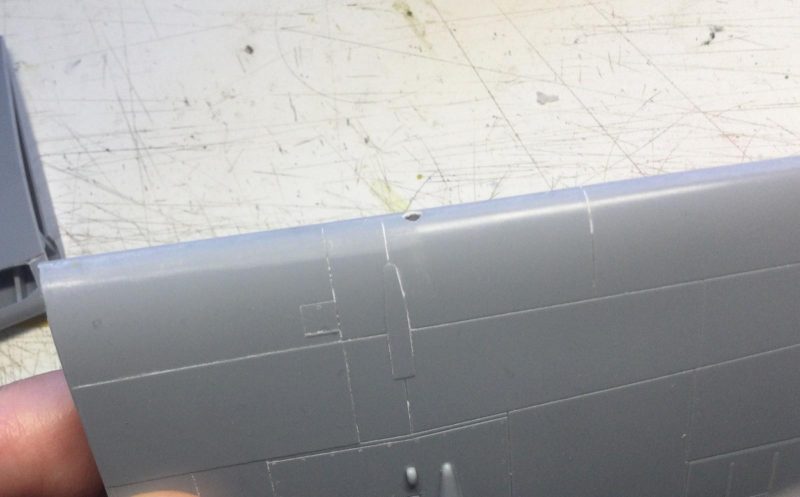
1. Straight starboard wing edge. from another angle.
I am waiting to sand down my styrene scrap "filler" glued to the port wing, but I am confident I can get this fixed now.
So that's it. I figure anyone doing this kit might appreciate knowing the challenges and my solutions, even though you might find a better way to do things. I still like the kit. Hopefully it will all come out OK in the end.